 LinkBack URL
 About LinkBacks
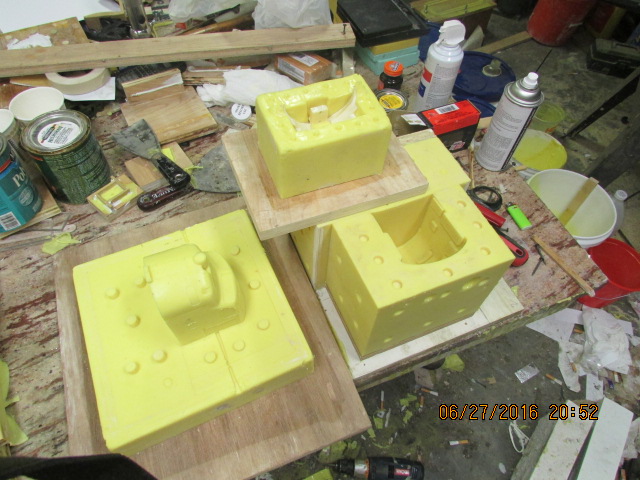
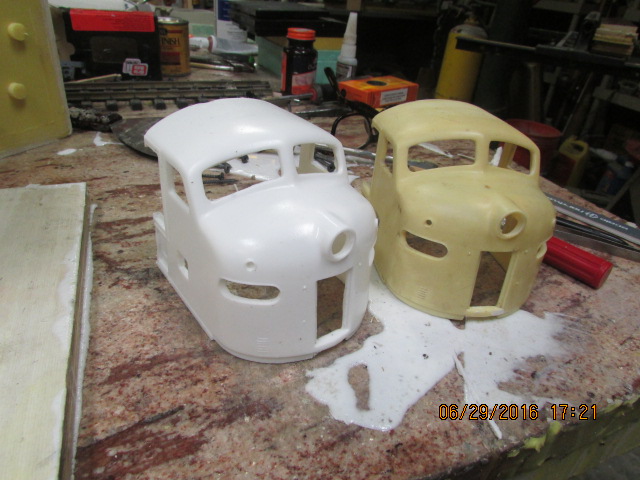
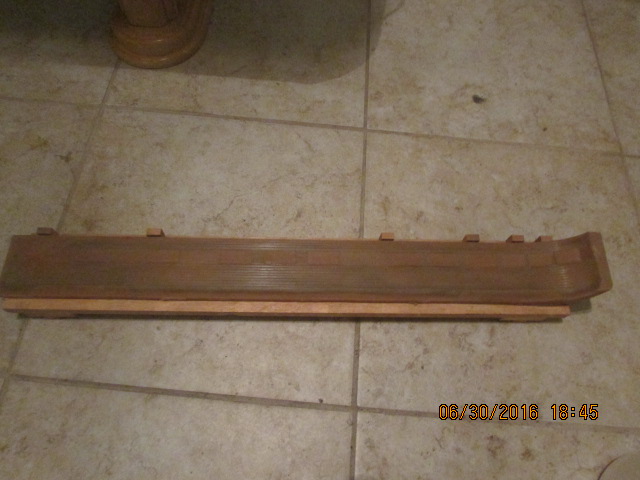
Half of the front skirt and all of the cab mold completed, Bob.


Half of the front skirt and all of the cab mold completed, Bob.

Paul Jones (Jun 29, 2016)
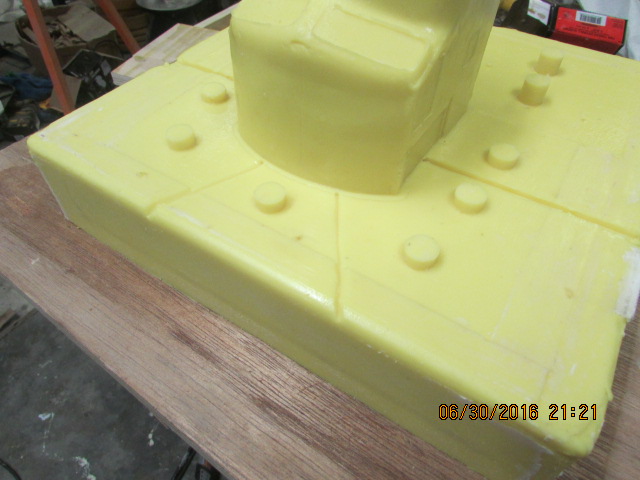
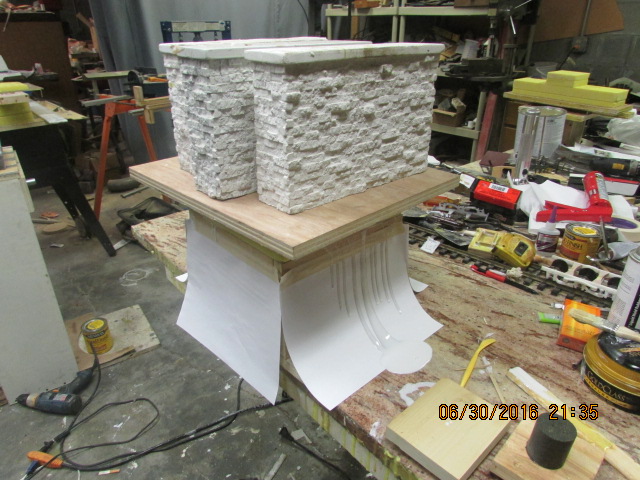
A mock-up for fitting some more parts. Bob.

Paul Jones (Jun 29, 2016)
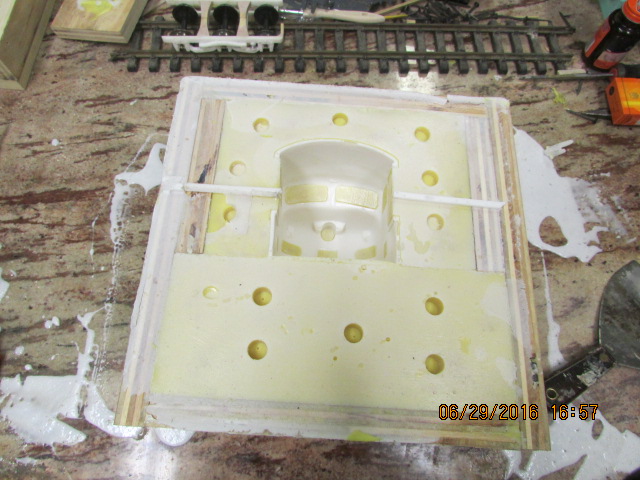
Thanks Paul.Here are some pictures of the completed cab part from the mold. *I will also have to make a pattern for the straight type pilot. Note the amount of flashing, minimal, it just fell off and that's good, shows that the mold parts are fitting tightly. Bob.
Paul Jones (Jun 30, 2016)

Bob,
The EMD E and F locomotive castings are looking very good. I know it takes a lot of work but a great opportunity where you can have a hobby and business that is fun. Thank you for showing your progress.
Regards, Paul
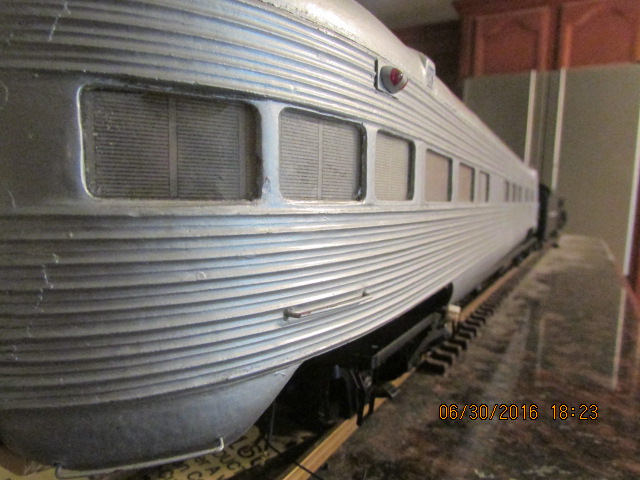
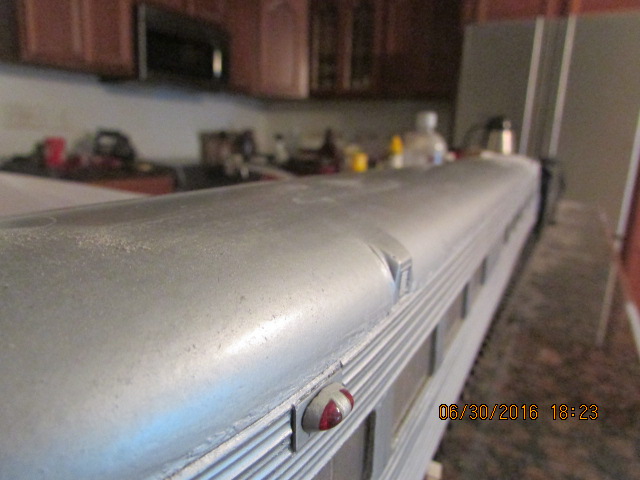
I wanted to share this with you. Back in the days when I didn't have any machines, such as, a lathe, a mill, a cnc router, or a 3D printer, which I still don't have, I made patterns out of wood with just a hand held router and a band saw. While this 1945 Pullman observation is not perfect, in my estimation, it still looks good. The fluting was made with a bullnose 1/8th inch router bit, spacing with different thickness plastic spacers on a jig that I made. The roof shape was made with 1 inch sections of wood. After the patterns of the sides and roof were made, an epoxy mold was made. I made the mold long enough for the round end and a straight roof, which I still use today. My point is, one can still make models without all of the fancy machines. Bob.
Paul Jones (Jul 1, 2016)
Some bubbles occurred in the last pour of the cab, so I added some some relief channels to the upper most part of the mold where the bubbles occurred, so I hope this cures the problem, I will know later on today, and also I have been taping paper, with vinyl caulking, since the tape won't stick to the waxed wood, to make the cleaning of the molds easier, works good. Bob.
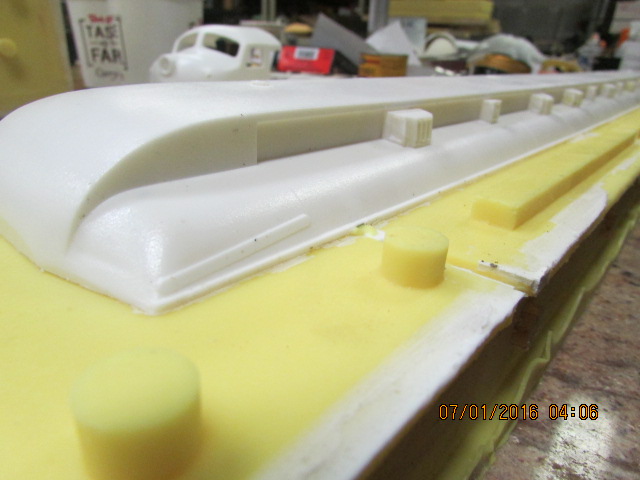
Paul Jones (Jul 1, 2016)
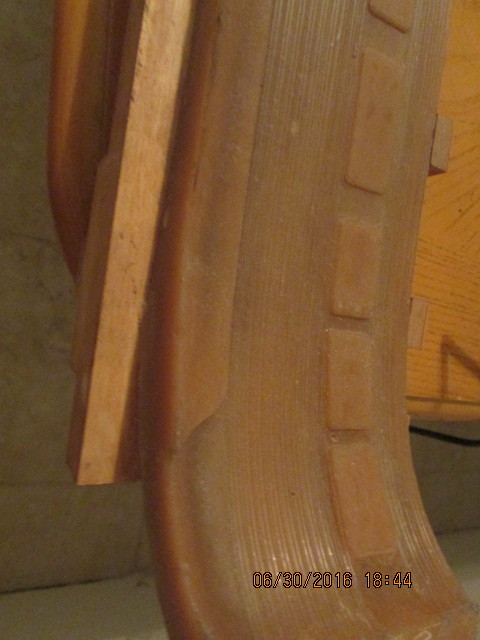
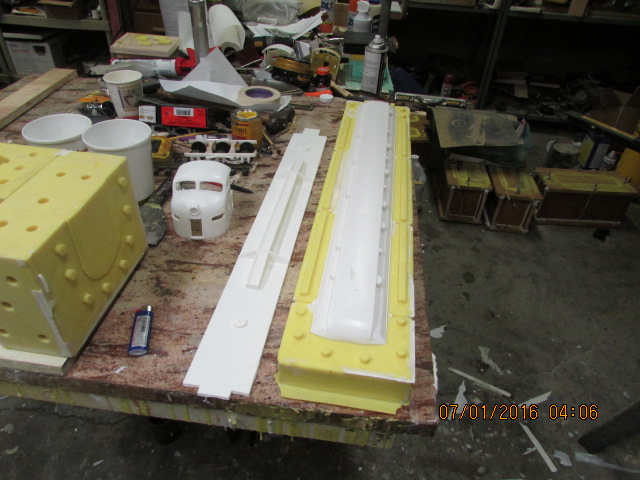
I couldn't wait, so I pulled the parts out of the molds, the chassis and the roof came out perfectly, but still having some small bubble problems in the cab. *None of the bubbles are bad enough that they can't be repaired, but I would like a bubble free part, here are some pictures. Bob.
Paul Jones (Jul 1, 2016)
Thanks Paul. I am sure that some of you have done this before, but I haven't, so I did. I had to get my trains off of the floor, so I cut a piece of plywood, 4x8, into 8 lengths and grooved them for track, saved about 300.00. The eight pieces gave me 64 feet of shelving. Bob.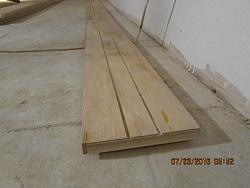
Paul Jones (Jul 4, 2016)
Thanks Paul. Just an update. Poured another 15 lbs. of urethane today for another heavyweight side, some parts for the truck, pilot for the cab,**and*reduced a*three part piece for the truck to one piece, starting the mold today. I keep forgetting to tell you this. *I don't know how many of you are using urethane, but if you do, this procedure was recommended to*me by the seller. *Part A, that is the hardener, to keep water vapor in the air isolated from the urethane, after opening, a shot of nitrogen should be shot into the bottle to preserve the hardener and to give it more shelf life. I found out the hard way, without that shot of Nitrogen, the hardener will gel much faster. *The part B doesn't need this step. When they ship it, a shot of Nitrogen is already in the bottle, but once opened, you have to do it again. *The Nitrogen is heavier than air, so it isolates the urethane from unwanted moisture in the air. *Urethane, in contact with air, causes the moisture to get into the urethane and causes air bubles in the urethane, just something that I had to find out the hard way.*Bob
Bob,
Good advice for using nitrogen to slow down the aging.
Thanks for the updates, Paul
There are currently 1 users browsing this thread. (0 members and 1 guests)
 Posting Permissions

 Reply With Quote


Bookmarks