Free 186 More Best Homemade Tools eBook:  
Get 2,000+ tool plans, full site access, and more.

User Tag List

Results 1 to 7 of 7

Thread: Another Hammer Forming Tool

  1. #1
    Supporting Member astroracer's Avatar
    Join Date
    May 2012
    Location
    Byron, Michigan
    Posts
    311
    Thanks
    20
    Thanked 570 Times in 174 Posts

    astroracer's Tools

    Another Hammer Forming Tool

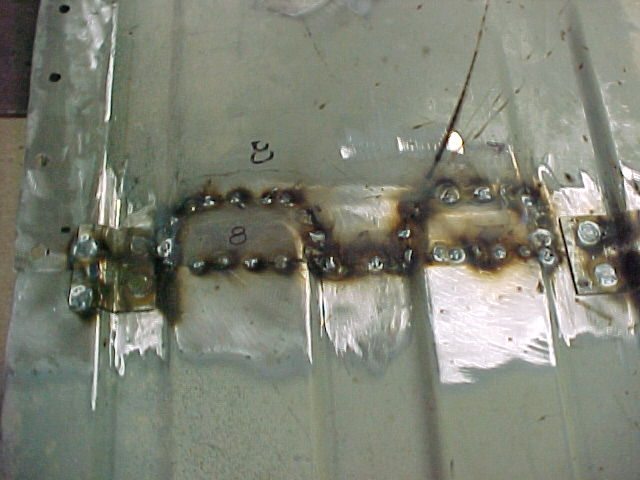
    With all of the changes I made to the Astro Van, moving the engine and cutting up the floor, I needed to "finish out" a few of the floor ribs while rebuilding the floor around the new engine position.
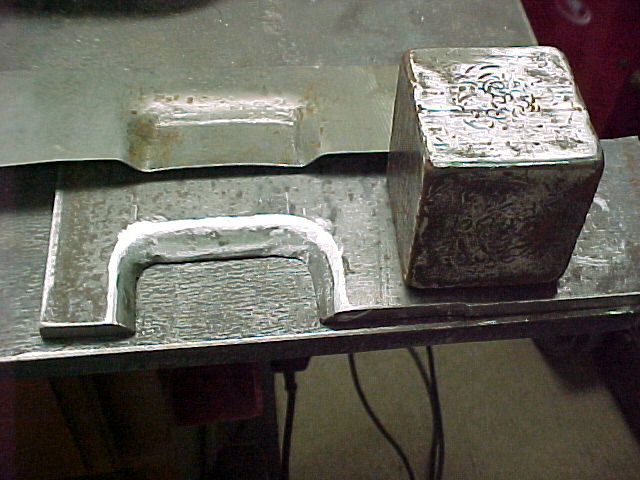
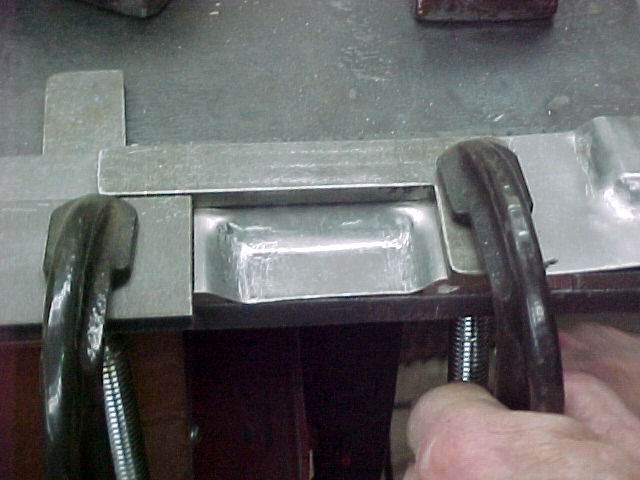
    This is a quick hammer form I built to reshape some sheet metal to match the existing floor ribs.

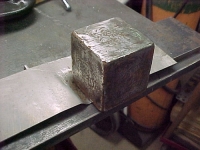
    This gnarly old block was used to press the intial shape into the steel.

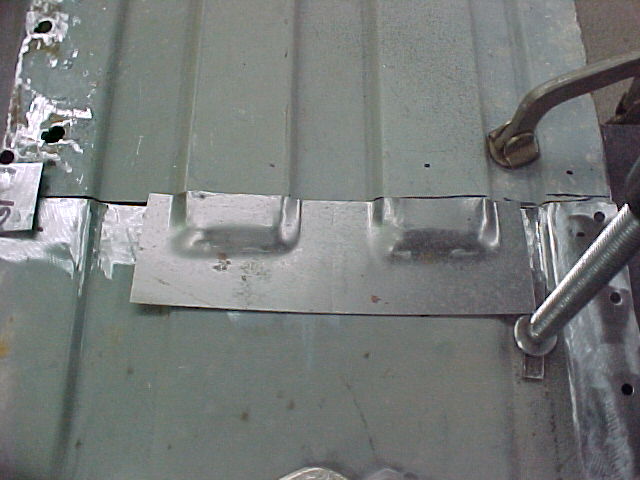
    After some work with a body dolly and a small ball pein hammer the shape is there.

    Here is the back side of the new shape as well as the initial "test piece" shown on the right.

    See next post.

    186 More Best Homemade Tools eBook
    Last edited by astroracer; Mar 13, 2016 at 09:51 AM.

  2. The Following 4 Users Say Thank You to astroracer For This Useful Post:

    blkadder (Mar 16, 2016), C-Bag (Mar 15, 2016), farzink (Jul 9, 2016), kbalch (Mar 13, 2016)

  3. #2
    Supporting Member astroracer's Avatar
    Join Date
    May 2012
    Location
    Byron, Michigan
    Posts
    311
    Thanks
    20
    Thanked 570 Times in 174 Posts

    astroracer's Tools
    Here you see where the new pieces will get welded into the existing floor.

    Tack welding the trimmed pieces into position.

    2000 Tool Plans

  4. The Following 4 Users Say Thank You to astroracer For This Useful Post:

    C-Bag (Mar 15, 2016), hansgoudzwaard (Jul 17, 2019), Jon (Mar 13, 2016), kbalch (Mar 13, 2016)

  5. #3
    Content Editor
    Supporting Member
    DIYer's Avatar
    Join Date
    Aug 2013
    Posts
    3,056
    Thanks
    773
    Thanked 1,852 Times in 1,653 Posts
    Thanks astroracer! We've added your Hammer Forming Tool to our Autobody category, as well as to your builder page: astroracer's Homemade Tools. Your receipt:


  6. #4
    Supporting Member C-Bag's Avatar
    Join Date
    Aug 2015
    Location
    California, central coast
    Posts
    720
    Thanks
    689
    Thanked 876 Times in 471 Posts

    C-Bag's Tools
    Very impressive. Did you hammer the old block into the form or use a c-clamp? It would take me weeks to do that whole process to find material like the block and form and through to end. We don't seem have that kind of heavy steel laying around. Then fashion it into the former and on into the finished ribs.

    Did you put the extra stock over the form and clamp it(and how tight?) before you formed it? Or was that after you formed? I imagine you would need something clamped over the to be formed metal to keep it from buckling and to make it stretch into the form? Did you use a shot bag to do your final smoothing or just metal or wood dolly?

    Just as impressive is the trimming to fit of everything. Lots and lots of time and work.

  7. #5
    Supporting Member astroracer's Avatar
    Join Date
    May 2012
    Location
    Byron, Michigan
    Posts
    311
    Thanks
    20
    Thanked 570 Times in 174 Posts

    astroracer's Tools
    Thank you Sir! The sheet was clamped in place, like you stated, before the forming began. The gnarly block was beat on with a 3lb DB hammer to get the initial shape. The 1/2" plate was a bit deeper then needed so the pocket could be formed deeper to allow for spring back. Both top and bottom radii were sweetened up with the peen end of a ballpein hammer. Again, using the 3lb DB hammer to do the work. A little offhand work with a body dolly got it looking as you see it in the upside down pic above.
    Took about an hour to make both pieces. Start to finish.
    Mark

  8. #6
    Supporting Member C-Bag's Avatar
    Join Date
    Aug 2015
    Location
    California, central coast
    Posts
    720
    Thanks
    689
    Thanked 876 Times in 471 Posts

    C-Bag's Tools
    Thanks for the details, I appreciate it!


    Quote Originally Posted by astroracer View Post
    Took about an hour to make both pieces. Start to finish.
    Mark


    Yes, but the pieces were the quick part, were they not?

    I'll admit I am slow as molasses and coupled with my ADD I would not probably have the time and patience to see something like your monumental project through. My hat is truly off to you sir! Thanks for posting as usual. Very interesting stuff.

  9. #7
    Supporting Member astroracer's Avatar
    Join Date
    May 2012
    Location
    Byron, Michigan
    Posts
    311
    Thanks
    20
    Thanked 570 Times in 174 Posts

    astroracer's Tools
    Quote Originally Posted by C-Bag View Post
    Yes, but the pieces were the quick part, were they not?
    Well... Actually, the whole job took about an hour... Making the form only took about 15 minutues with the bandsaw and angle grinder, the Gnarly block was on the pile and knocking out the pieces was real quick. Maybe an hour and ten...? Not much more then that.
    Mark


    186 More Best Homemade Tools eBook

Thread Information

Users Browsing this Thread

There are currently 1 users browsing this thread. (0 members and 1 guests)

Bookmarks

Posting Permissions

  • You may not post new threads
  • You may not post replies
  • You may not post attachments
  • You may not edit your posts
  •