Free 186 More Best Homemade Tools eBook:  
Get 2,000+ tool plans, full site access, and more.

User Tag List

Page 1 of 2 1 2 LastLast
Results 1 to 10 of 20

Thread: Clamp key and catch bar for Pollard tapping head

  1. #1
    Supporting Member Canobi's Avatar
    Join Date
    Mar 2016
    Location
    Shrewsbury, Shropshire (UK)
    Posts
    181
    Thanks
    92
    Thanked 361 Times in 98 Posts

    Canobi's Tools

    Clamp key and catch bar for Pollard tapping head

    Hi folks

    eBay has been a bit of a goldmine for inexpensive engineering items recently, which is great, because I run on very meagre budget for this game and some of the items I've managed to aqcuire would normally be well beyond me without some serious saving.

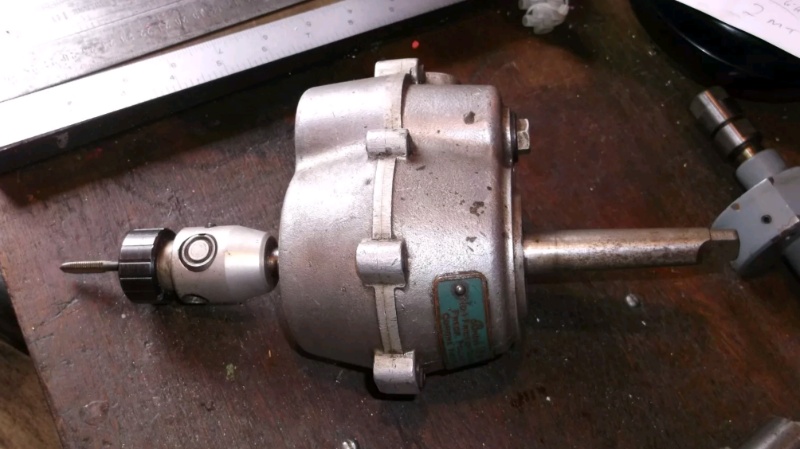
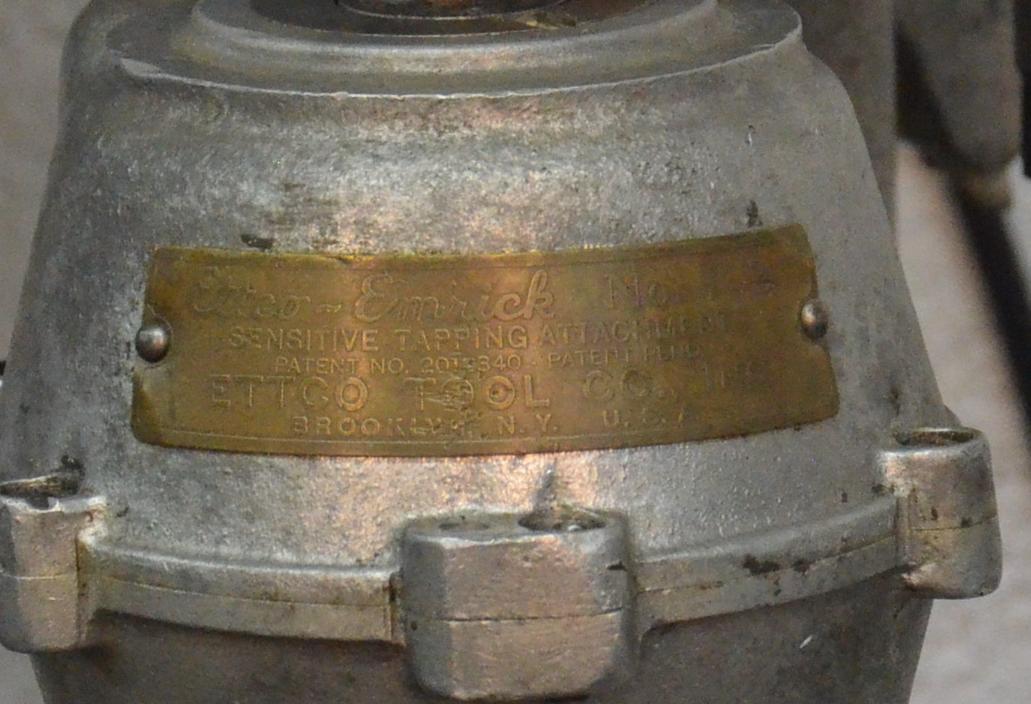
    One such is a Pollard auto tapping head, which I managed to grab for a shockingly low £37 (shipping included).

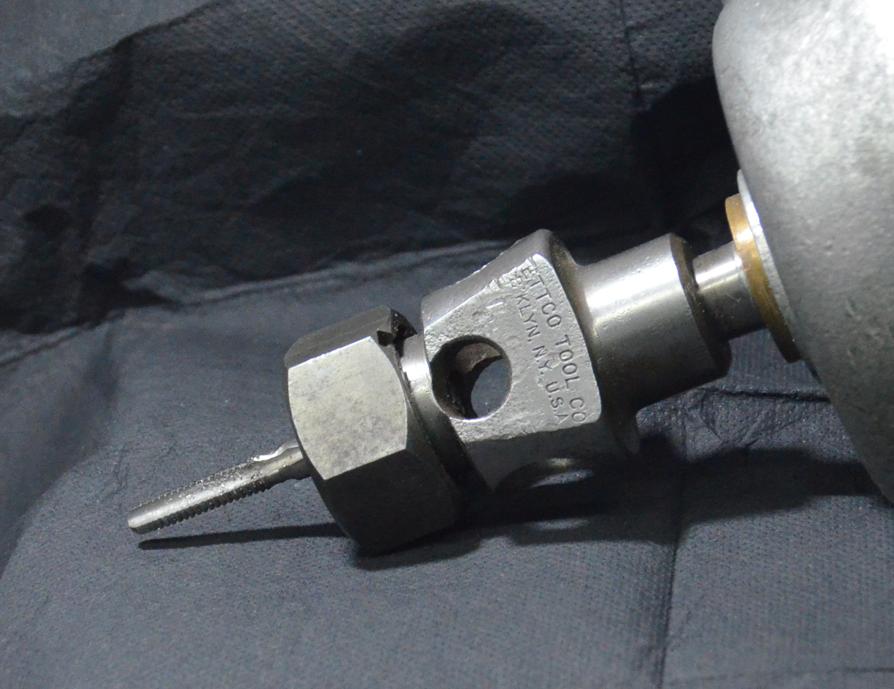
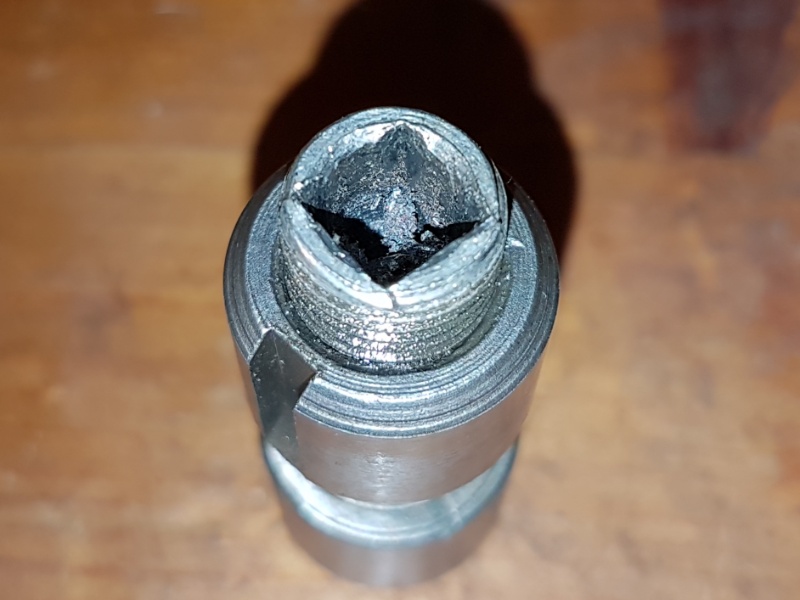
    I had a hunch there would be a catch as such expensive items don't usually go for so little without one. The catch with this one turned out to be the head, which was totally filled with chip infused crud and was jammed closed with the last used tap still in it:


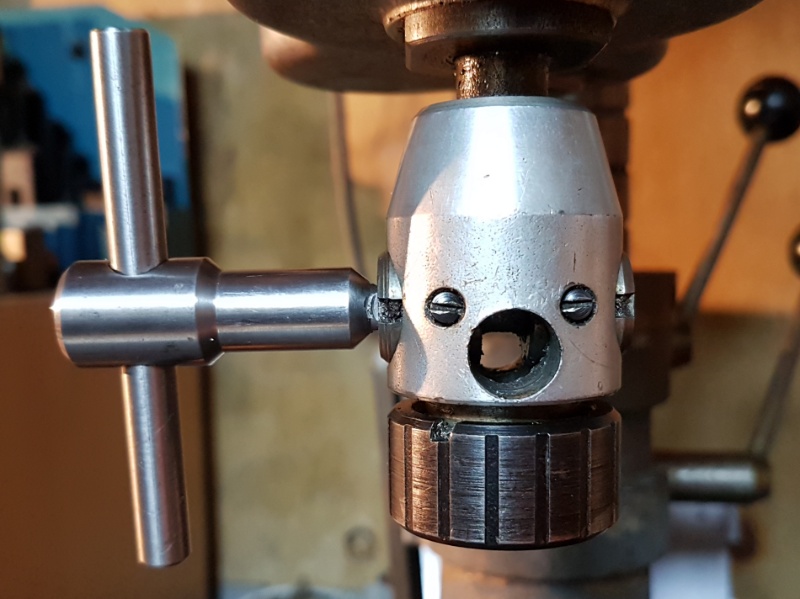
    Now I may be new to the engineering game but it didn't take me long to work out how the head was supposed to be operated and the issue largely revolved around the clamping mechanism, which uses something akin to a chuck key to close the clamps onto the tap flats and it's two tiny set screws. I must apologise at this point as I didn't take many pics, this was all new territory for me and I wanted to be focused on not screwing things up.


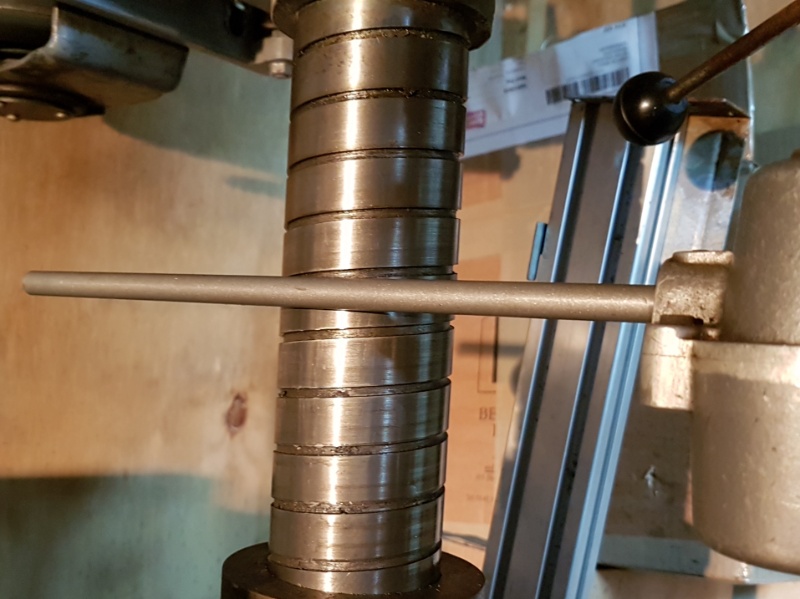
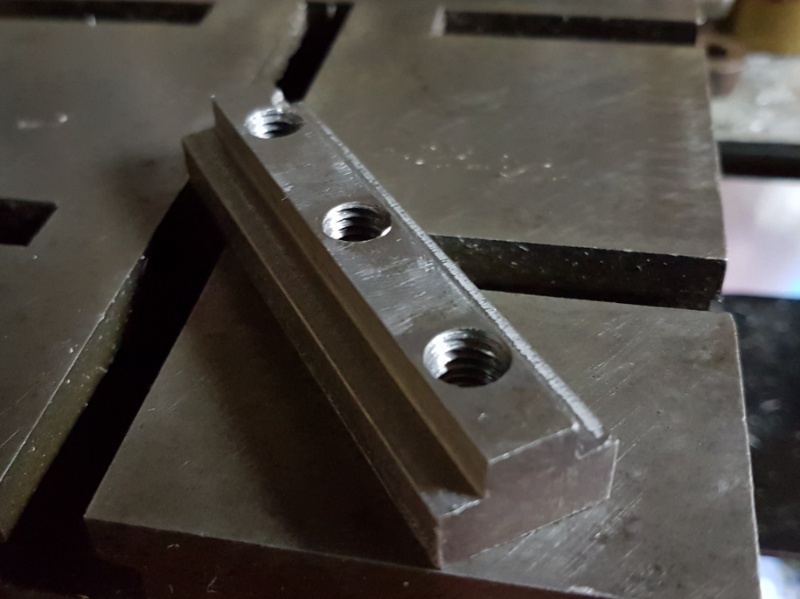
    Unfortunately the head didn't have the clamp key with it, or the catch bar (? Don't know it's proper name but its the bar that stops the main body from spinning while your tapping), so I set about making both of them while I let the head soak in some WD40.

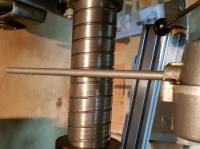
    The catch bar was made from a piece I chopped off a treadmill frame and took seconds as it was just a shade oversize and was already coated, which is a very close colour to the head so I just got lucky with that one:


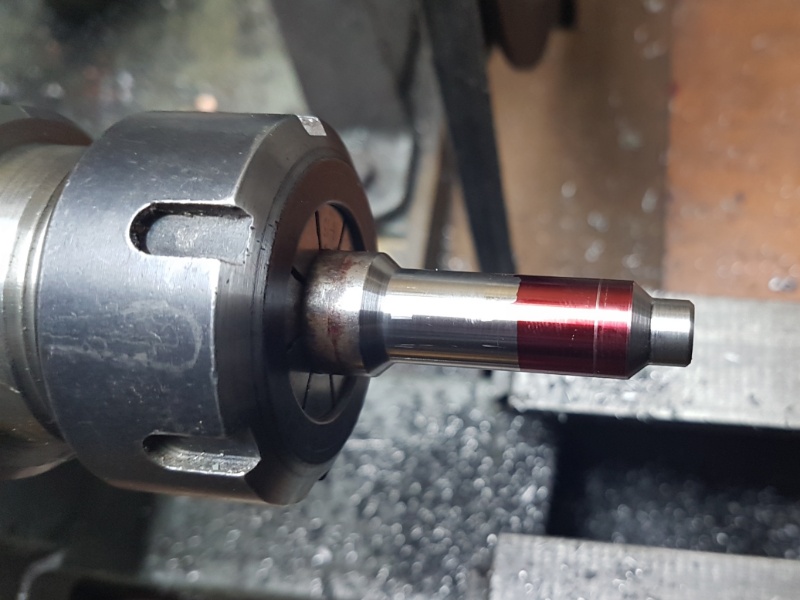
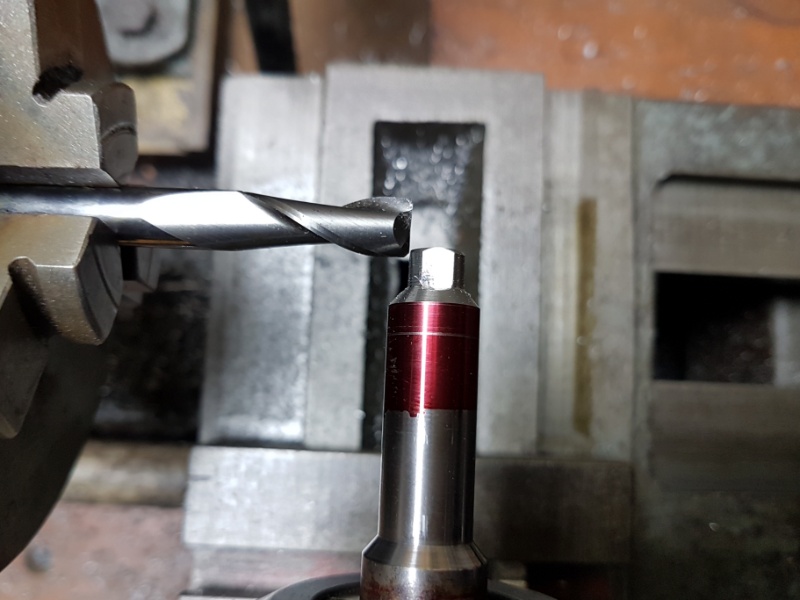
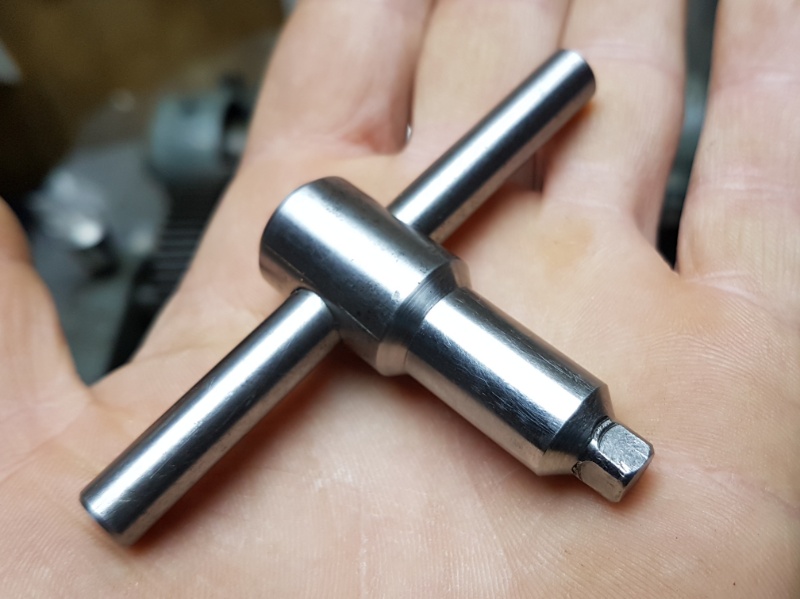
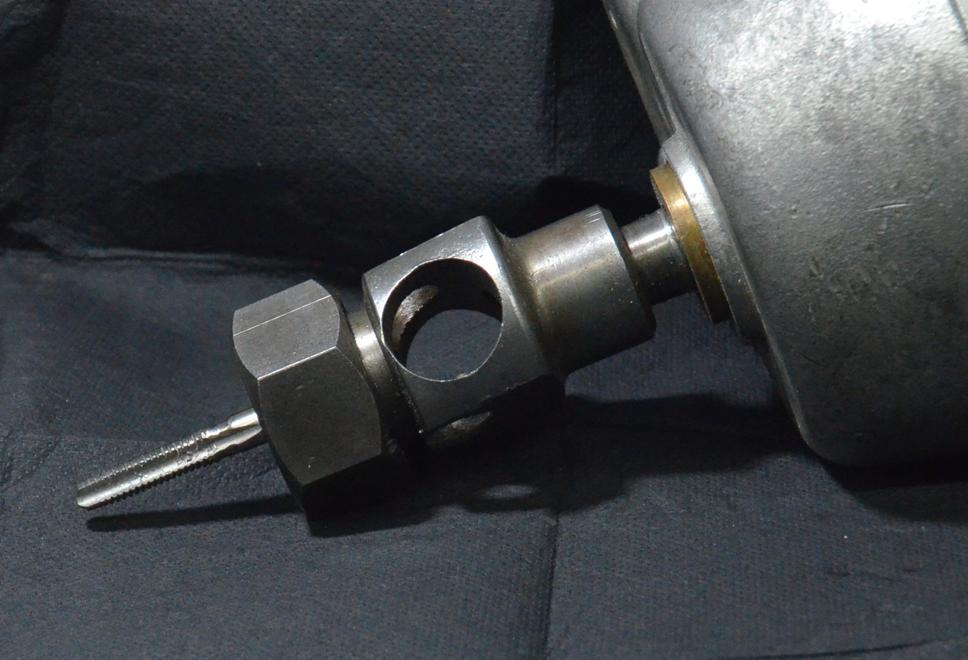
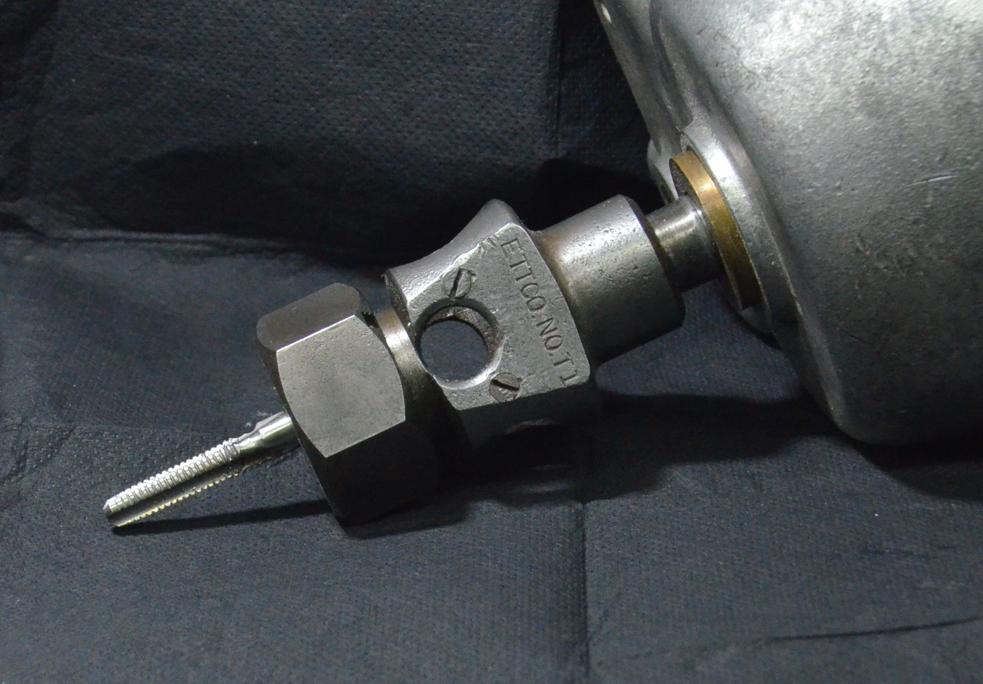
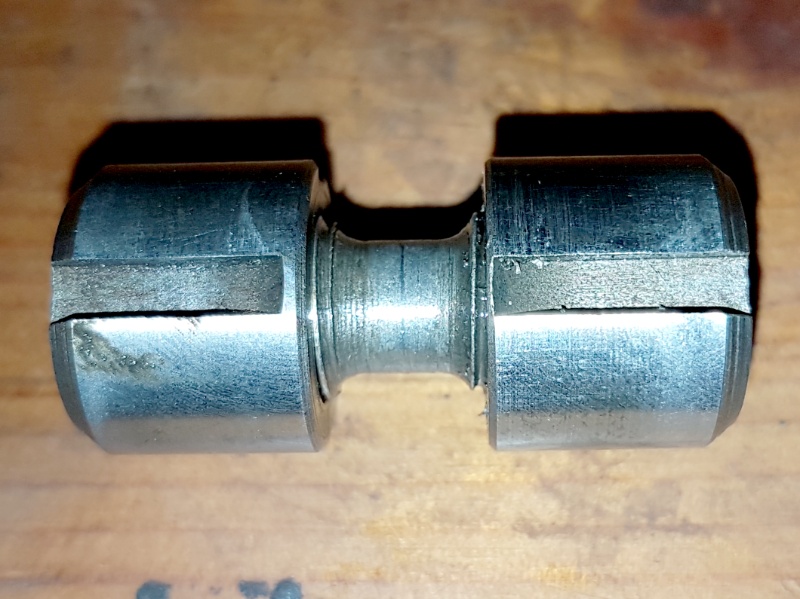
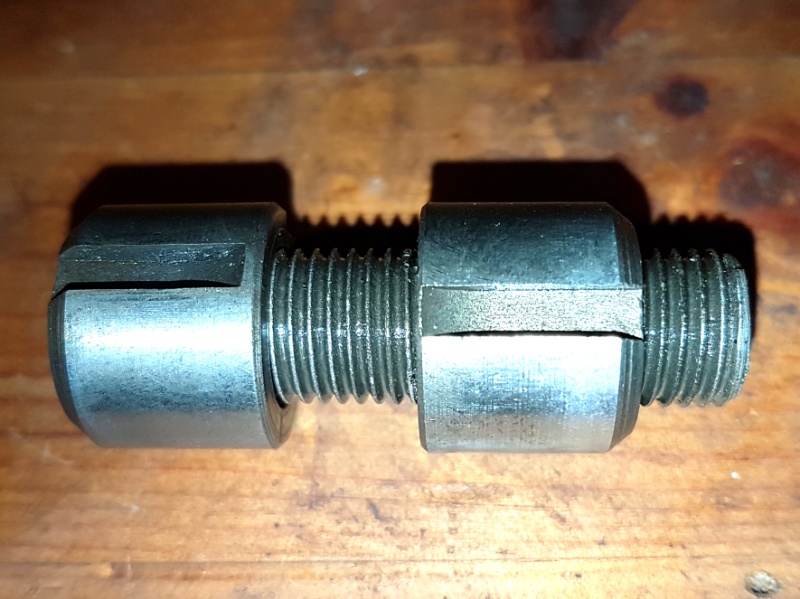
    The key on the other hand was entirely the opposite and represents many hours on my part spent working out setups and playing musical chucks with the dividing head and lathe for the various turning, drilling, tapping and milling operations performed while making it:


    I actually went too deep with the first set of flats in the pic above, so I turned the end off and started again. As such it ended up being a bit more stumpy than I'd intended but it's a perfect fit now so I'm happy as Larry with it


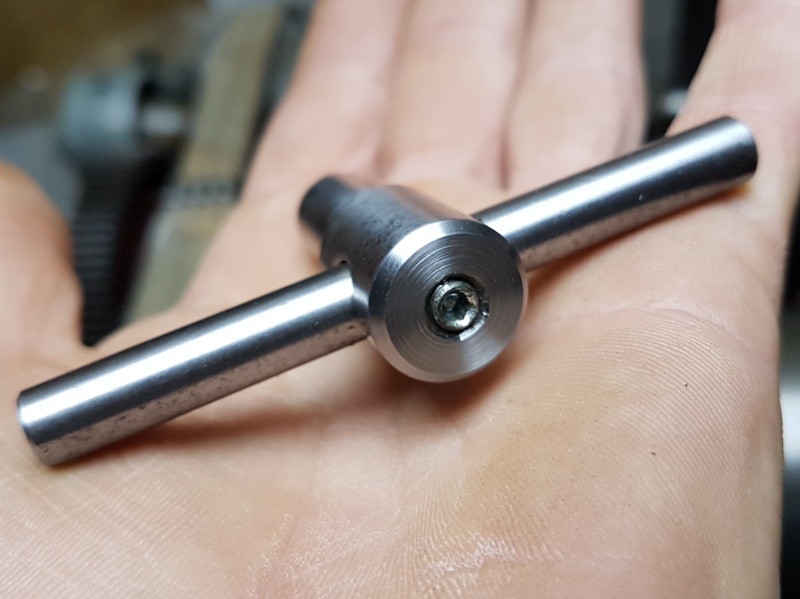
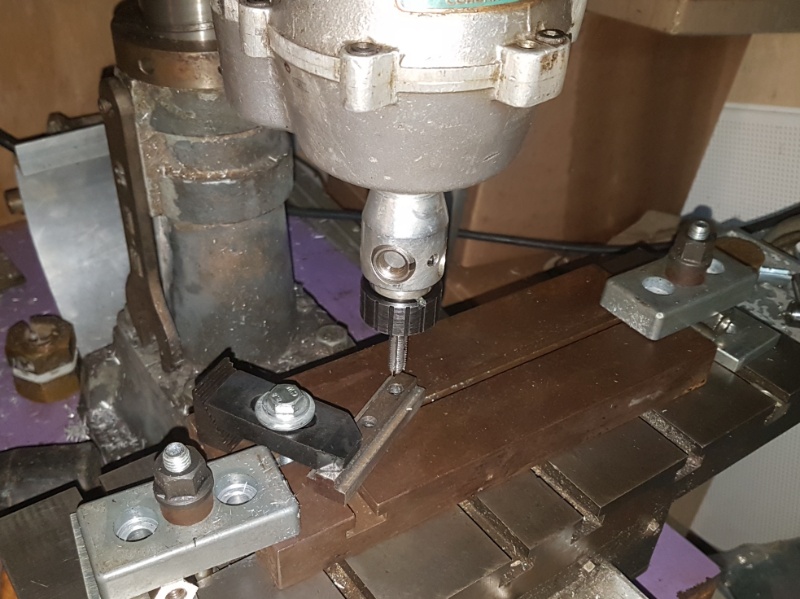
    I was then able to use the key to aid in the repair of the head, the only part I couldn't save was a twisted and broken spring in one of the three jaws in the head but other than one slightly shorter spring now, everything works as it should, though I made one last modification of my own, which was to cut the tang off the shank so it would fit into the spindle of my Dore Westbury mill, which is a little on the shallow side for standared MT2 tapers.

    186 More Best Homemade Tools eBook
    It's not the destination but the journey you take to get there that matters.

  2. The Following 10 Users Say Thank You to Canobi For This Useful Post:

    bigtrev8xl (Mar 4, 2018), Jon (Mar 3, 2018), lassab999 (Oct 21, 2022), olderdan (Mar 3, 2018), Paul Jones (Mar 3, 2018), PJs (Mar 3, 2018), rossbotics (Mar 4, 2018), Seedtick (Mar 3, 2018), Tonyg (May 9, 2020), Toolmaker51 (Mar 2, 2018)

  3. #2
    Supporting Member Toolmaker51's Avatar
    Join Date
    Feb 2016
    Location
    Midwest USA
    Posts
    5,331
    Thanks
    7,042
    Thanked 2,980 Times in 1,893 Posts

    Toolmaker51's Tools
    Great buy, worthwhile repair on a super timesaver. Thru or blind hole, power-tapping makes better threads. What makes these run best is a smooth quill especially with smaller taps. Good grade taps help too.
    In the US, these tap heads go under the brand 'Ettco'. That might help with parts, just in case, apparently they might still be manufactured too. You have a good find, looks set for steel flex collets, like ER's. Rubber-flex is other option; not better or worse, just different.
    I did tooling for a company making a well-known screw ID plate among other machinist tools. Women [better sense of touch] on sound but old drill presses were threading with ETTCO's; 1-80, 2-56 etc with ease.

    Here is a good breakdown on why tapping heads endure in the face of modern processes.

    https://www.ctemag.com/news/articles...ng-attachments

    2000 Tool Plans
    Sincerely,
    Toolmaker51
    ...we'll learn more by wandering than searching...

  4. The Following 5 Users Say Thank You to Toolmaker51 For This Useful Post:

    Canobi (Mar 3, 2018), Jon (Mar 4, 2018), Paul Jones (Mar 3, 2018), PJs (Mar 3, 2018), Tonyg (May 9, 2020)

  5. #3
    Content Editor
    Supporting Member
    DIYer's Avatar
    Join Date
    Aug 2013
    Posts
    3,056
    Thanks
    772
    Thanked 1,852 Times in 1,653 Posts


    Thanks Canobi! We've added your Tapping Head Catch Bar to our Tapping and Threading category,
    as well as to your builder page: Canobi's Homemade Tools. Your receipt:


  6. #4
    Content Editor
    Supporting Member
    DIYer's Avatar
    Join Date
    Aug 2013
    Posts
    3,056
    Thanks
    772
    Thanked 1,852 Times in 1,653 Posts


    Thanks Canobi! We've added your Tapping Head Clamp Key to our Tapping and Threading category,
    as well as to your builder page: Canobi's Homemade Tools. Your receipt:


  7. #5
    Supporting Member Canobi's Avatar
    Join Date
    Mar 2016
    Location
    Shrewsbury, Shropshire (UK)
    Posts
    181
    Thanks
    92
    Thanked 361 Times in 98 Posts

    Canobi's Tools
    Quote Originally Posted by Toolmaker51 View Post
    Great buy, worthwhile repair on a super timesaver. Thru or blind hole, power-tapping makes better threads. What makes these run best is a smooth quill especially with smaller taps. Good grade taps help too.
    In the US, these tap heads go under the brand 'Ettco'. That might help with parts, just in case, apparently they might still be manufactured too. You have a good find, looks set for steel flex collets, like ER's. Rubber-flex is other option; not better or worse, just different.
    I did tooling for a company making a well-known screw ID plate among other machinist tools. Women [better sense of touch] on sound but old drill presses were threading with ETTCO's; 1-80, 2-56 etc with ease.

    Here is a good breakdown on why tapping heads endure in the face of modern processes.

    https://www.ctemag.com/news/articles...ng-attachments
    I lucked out on the Pollard for sure, though my plan is to make a hand tapping jig for anything smaller than M3 and use the Pollard for everything upto M10.
    Just been reading a thread relating to changing the shank type on a Pollard No.2 and one of the posters mentioned Ettco, handy to know they're still going.

    I managed to source some springs which are an almost identical match to those used by the jaws, so I'll be able to effect a full repair.

    Cool article, thanks for sharing
    It's not the destination but the journey you take to get there that matters.

  8. The Following User Says Thank You to Canobi For This Useful Post:

    Toolmaker51 (Mar 3, 2018)

  9. #6
    Supporting Member tonyfoale's Avatar
    Join Date
    Nov 2016
    Location
    Spain
    Posts
    1,561
    Thanks
    687
    Thanked 2,644 Times in 709 Posts

    tonyfoale's Tools
    I have the same type of tapping head which I must have had for over 55 years. I don't think that the name plate says Pollard or Ettco but it is from the US. The tap holding system is different to yours. It is 01:15 right now but in the morning (I should say later in the morning) I'll take a couple of pix and post them here.
    If you haven't done it already, I would suggest pulling it apart (there is nothing to be frightened of inside) and giving it a good clean. Muck tends to build up on the clutch surfaces and they work much better after cleaning. I probably use mine at least two or three times a week, in fact it lives semi-permanently in one of my drill presses.

  10. The Following User Says Thank You to tonyfoale For This Useful Post:

    Paul Jones (Mar 4, 2018)

  11. #7
    Supporting Member Canobi's Avatar
    Join Date
    Mar 2016
    Location
    Shrewsbury, Shropshire (UK)
    Posts
    181
    Thanks
    92
    Thanked 361 Times in 98 Posts

    Canobi's Tools
    I couldn't help but give it try earlier today, I've been making some t nuts for the mill which needed drilling and tapping, so it was the perfect excuse....


    It slipped in the quill a couple times so I'll have to stick it in the 4 jaw on the lathe and put a threaded hole in the shank for a draw bar but otherwise it ran smoothly and did the job nicely. I'm glad you mentioned how simple it is inside though, I have been pondering having a look but wanted to get the chuck operational again first while I plucked up the courage.

    On a side note, I think I read somewhere that there's a kind of slip clutch or some system for the head so it doesn't break a tap, is that right?
    It's not the destination but the journey you take to get there that matters.

  12. The Following 5 Users Say Thank You to Canobi For This Useful Post:

    Jon (Mar 4, 2018), Paul Jones (Mar 4, 2018), PJs (Mar 3, 2018), rossbotics (Mar 4, 2018), Toolmaker51 (Mar 3, 2018)

  13. #8
    Supporting Member tonyfoale's Avatar
    Join Date
    Nov 2016
    Location
    Spain
    Posts
    1,561
    Thanks
    687
    Thanked 2,644 Times in 709 Posts

    tonyfoale's Tools
    Quote Originally Posted by Canobi View Post
    On a side note, I think I read somewhere that there's a kind of slip clutch or some system for the head so it doesn't break a tap, is that right?
    Yes there is a clutch but at what torque it slips depends on how much vertical force you apply so you could still break a tap but you have to try harder to do so.

  14. The Following 2 Users Say Thank You to tonyfoale For This Useful Post:

    Paul Jones (Mar 4, 2018), Tonyg (May 9, 2020)

  15. #9
    Supporting Member tonyfoale's Avatar
    Join Date
    Nov 2016
    Location
    Spain
    Posts
    1,561
    Thanks
    687
    Thanked 2,644 Times in 709 Posts

    tonyfoale's Tools
    Here are some pix of the tap holder on mine. It is basically just a collet system. I have always thought that something should fit into the large cross hole but the collets are complete as is. I use the small cross hole to put a bar in when tightening the collet nut.

    Clamp key and catch bar for Pollard tapping head-ettco-01.jpg Clamp key and catch bar for Pollard tapping head-ettco-02.jpg Clamp key and catch bar for Pollard tapping head-ettco-03.jpg Click thumbnails for full size pix.

    It is an Ettco as can be seen by the name plate, hard to read in this pic but it is a model 1-B

    Clamp key and catch bar for Pollard tapping head-ettco-04.jpg

    I must have had this tapping head for at least 55 years. I think that it was given to me by an elder workmate. I do have another tapping head which is newer but I prefer to use the Ettco. However, the Ettco collet doesn't accept taps with large shanks but the other one does, with that one it clamps on the driving square of the taps.
    Last edited by tonyfoale; Mar 4, 2018 at 02:15 AM. Reason: Additional text.

  16. The Following 2 Users Say Thank You to tonyfoale For This Useful Post:

    Jon (Mar 4, 2018), Paul Jones (Mar 4, 2018)

  17. #10
    Supporting Member Canobi's Avatar
    Join Date
    Mar 2016
    Location
    Shrewsbury, Shropshire (UK)
    Posts
    181
    Thanks
    92
    Thanked 361 Times in 98 Posts

    Canobi's Tools
    Perdy ♡
    Intersting chuck head design, looks like the alignment screws for the clamp are still present too, so I removed the clamp from mine and took some pics, in case you, or anyone else that's missing theirs will have some kind of reference to make replacements.

    By way of explanation, the clamp comprises of a bi threaded stud, one side being left hand (which also hosts the squre hole for a key) the other is right hand. Screwed onto either end of the stud are two thick threaded collers with matching left and right hand threads. The collers have a thin slot milled into the side which correlate with the two alignment screws in the chuck head, though the slot doesn't travel the entire length of the coller. This provides a "stop" for the clamps winding mechanism as the un-milled metal (positioned facing centre of the assembly)) catches on the two alignment screws, preventing the assembly from coming appart when unwinding an also prevents the assembly from falling out when not in use.
    It should be noted that the parts are hardened steel, mine had a burr which prevented it's removal when fixing it and had to stone it off. Also, the surface of the collers appear to have a fine ground finish, not bearing fine but close:


    Unfortunately the threads are damaged on the LH thread side and I can't get the coller off so I hope the pics and blerb are enough to go by.
    Last edited by Canobi; Mar 4, 2018 at 10:07 AM.
    It's not the destination but the journey you take to get there that matters.

  18. The Following User Says Thank You to Canobi For This Useful Post:

    Toolmaker51 (Mar 4, 2018)

Thread Information

Users Browsing this Thread

There are currently 1 users browsing this thread. (0 members and 1 guests)

Bookmarks

Posting Permissions

  • You may not post new threads
  • You may not post replies
  • You may not post attachments
  • You may not edit your posts
  •