
 LinkBack URL
 About LinkBacks


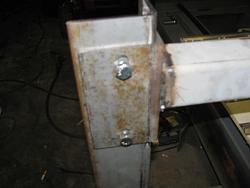
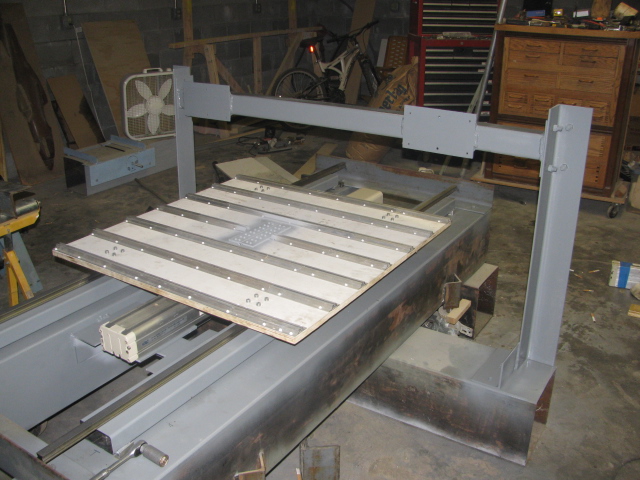
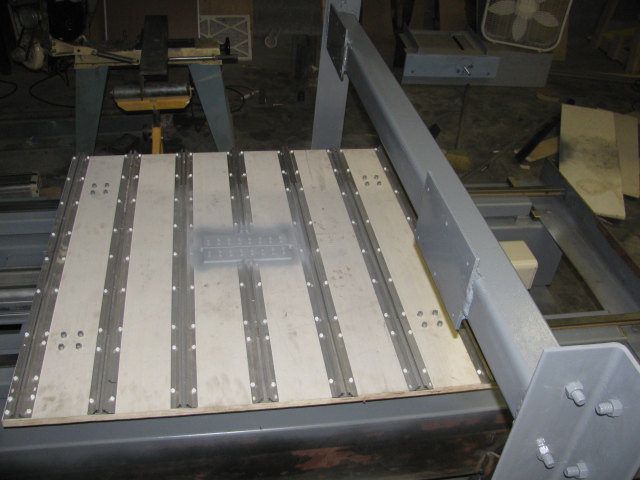
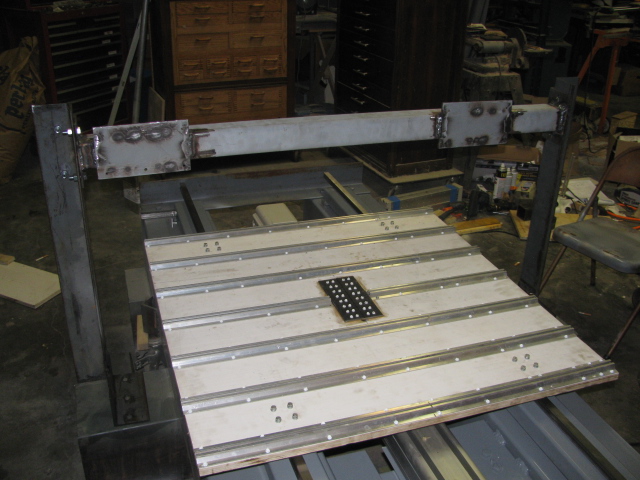
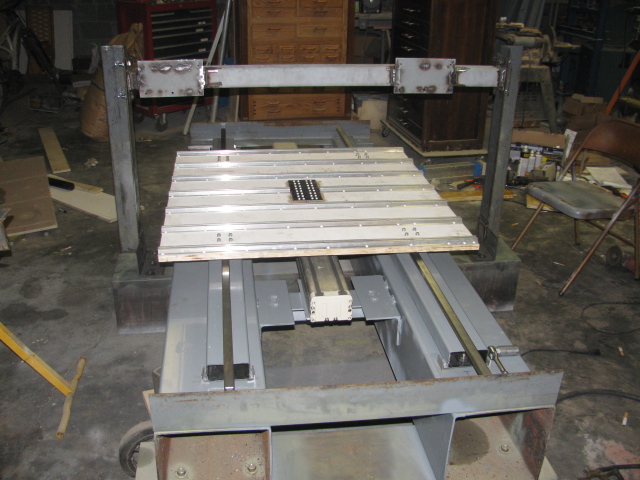
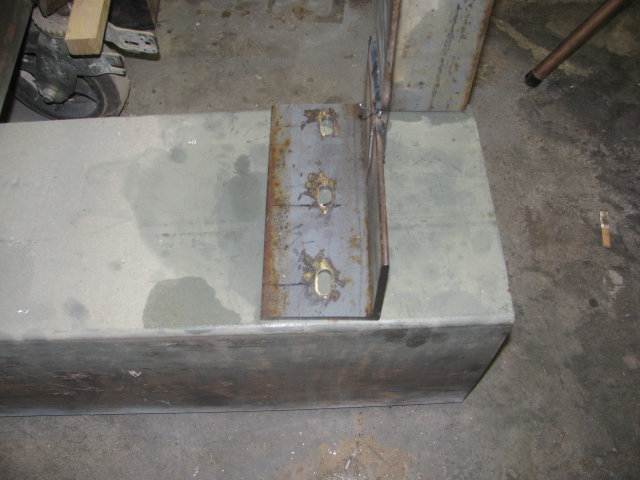
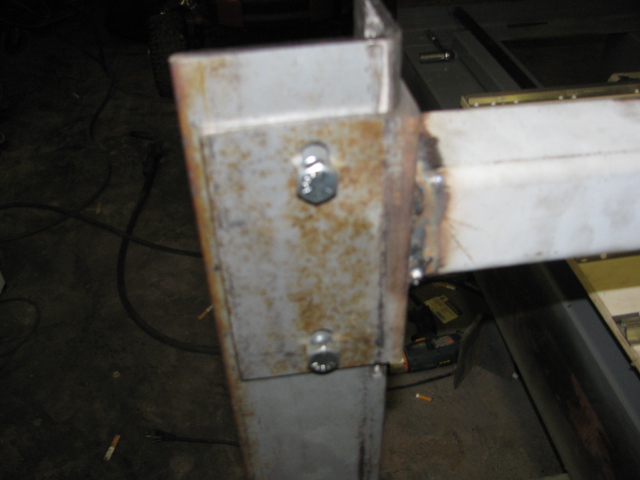
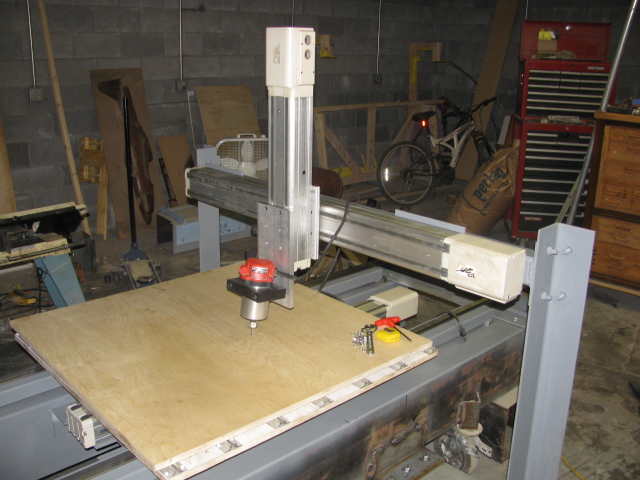
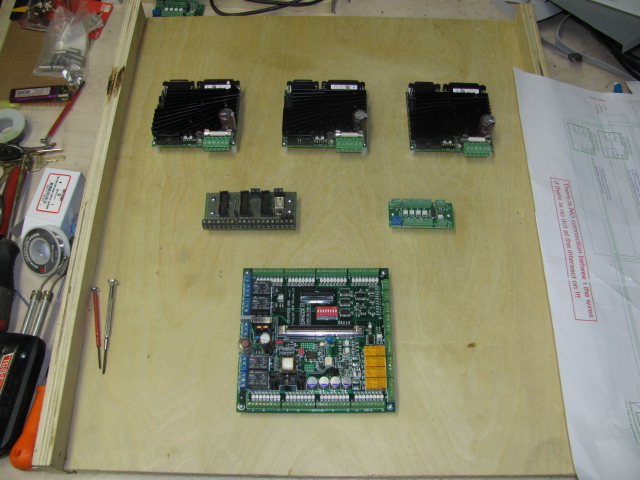
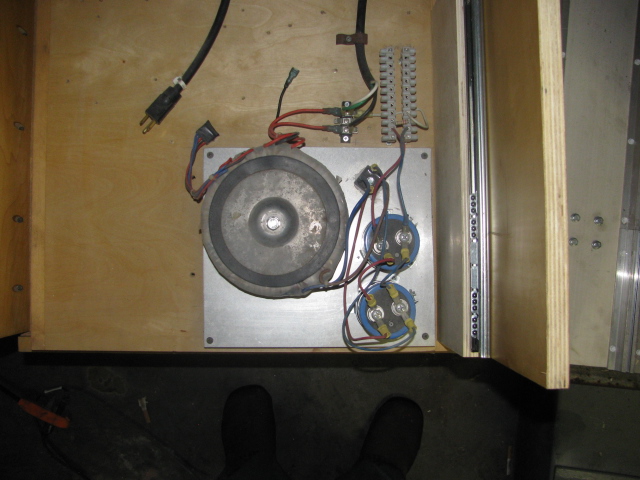
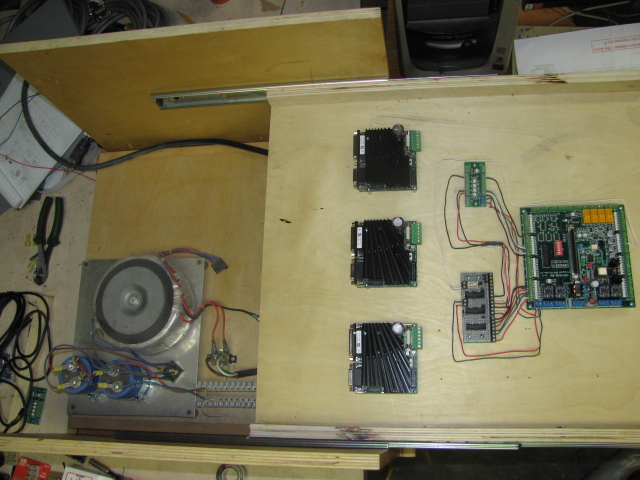
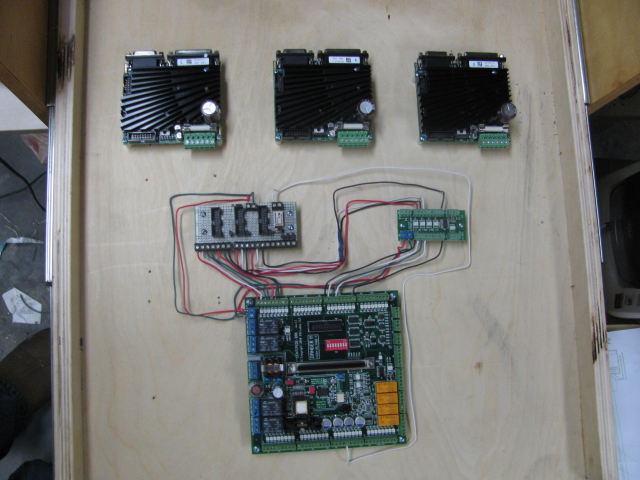
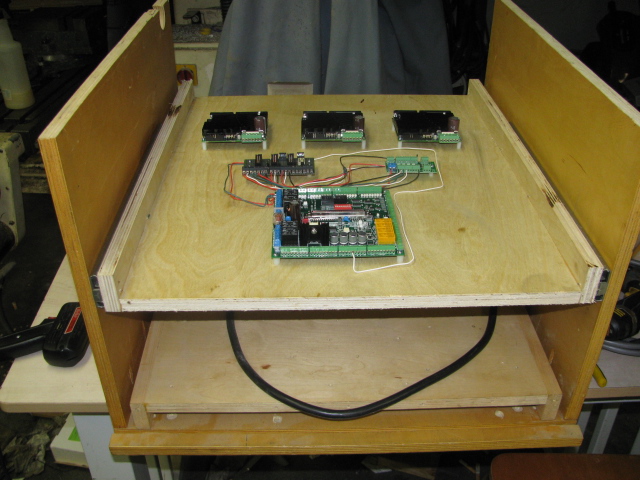
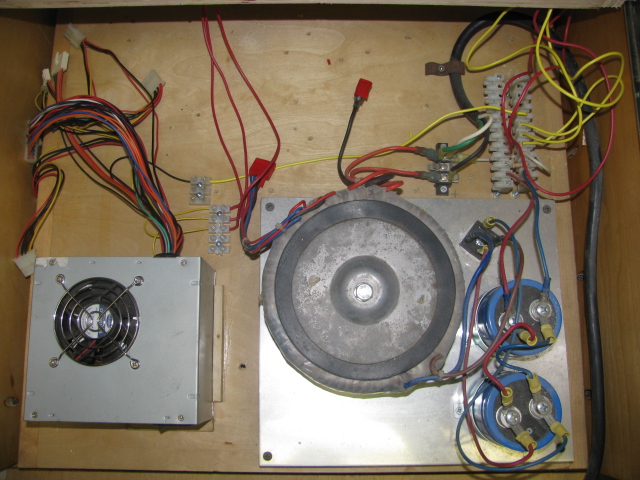
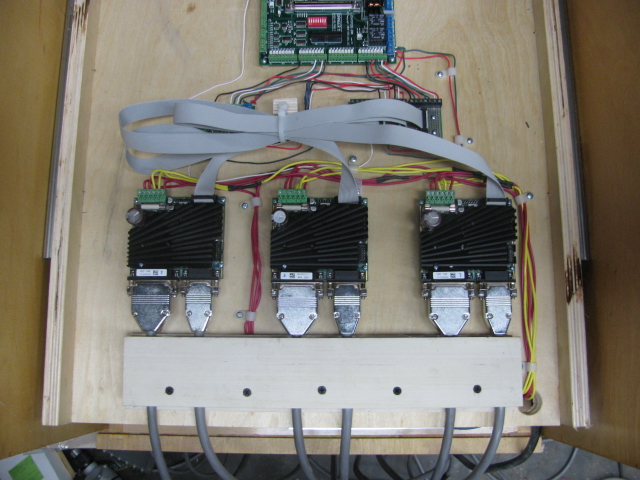
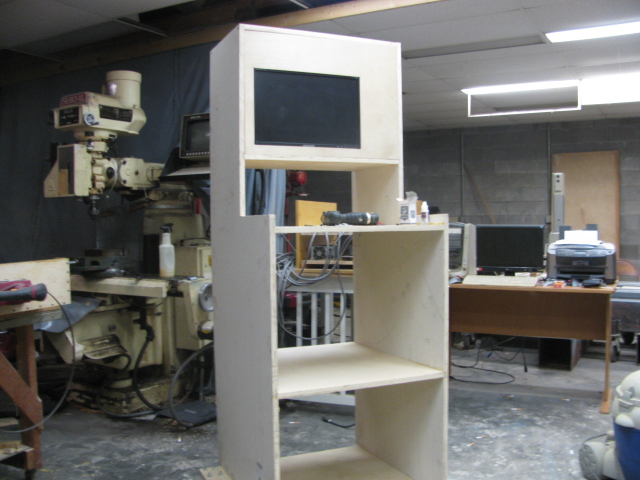
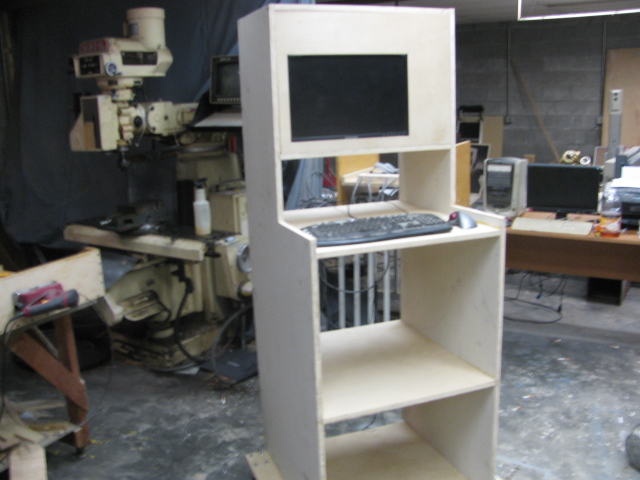
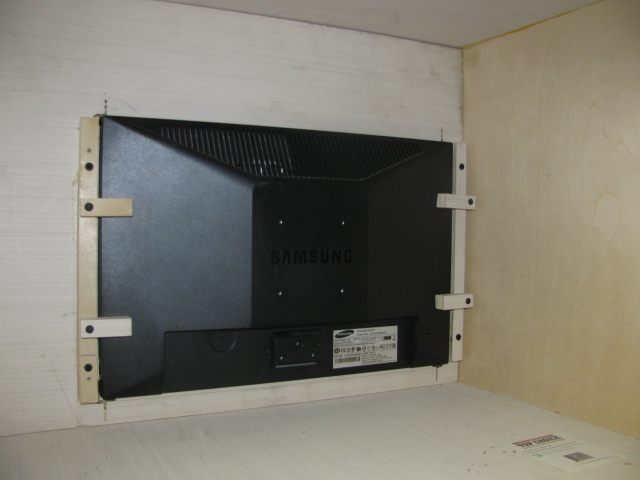
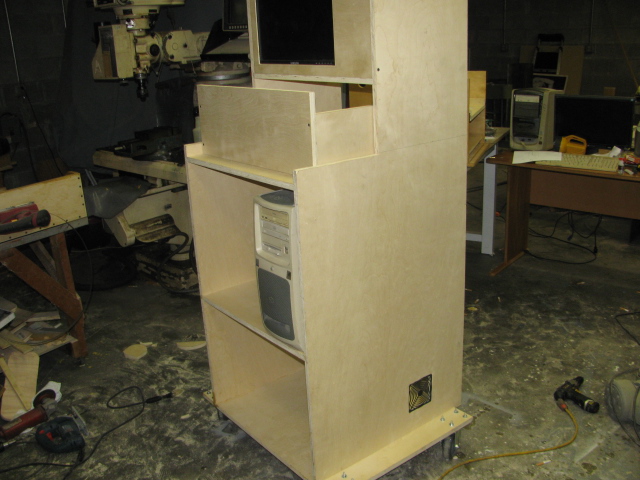
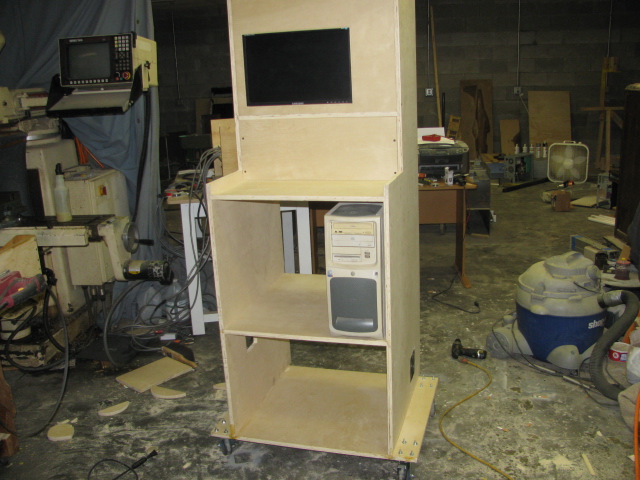
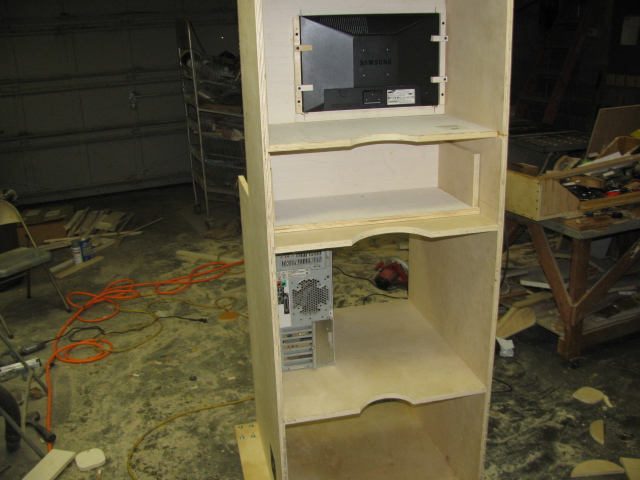
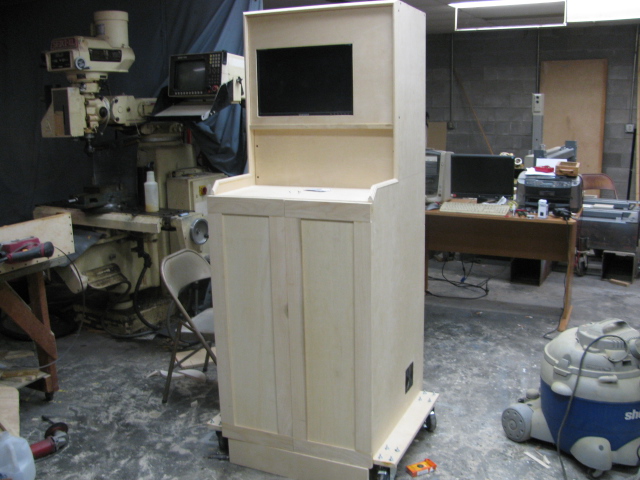
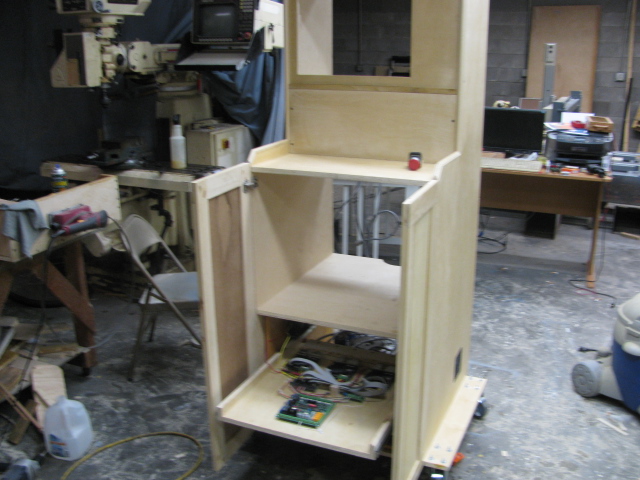
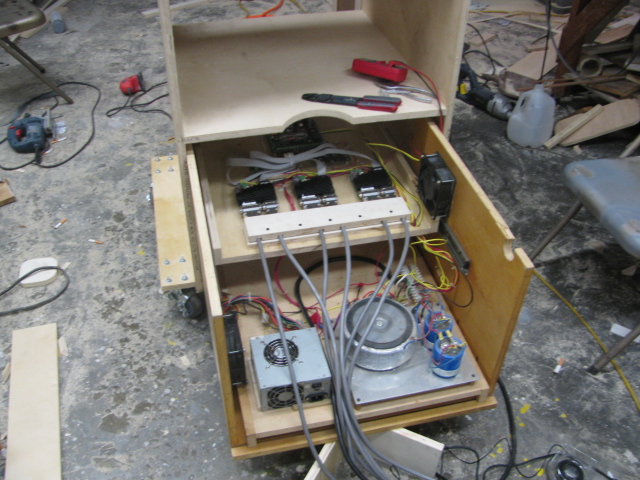
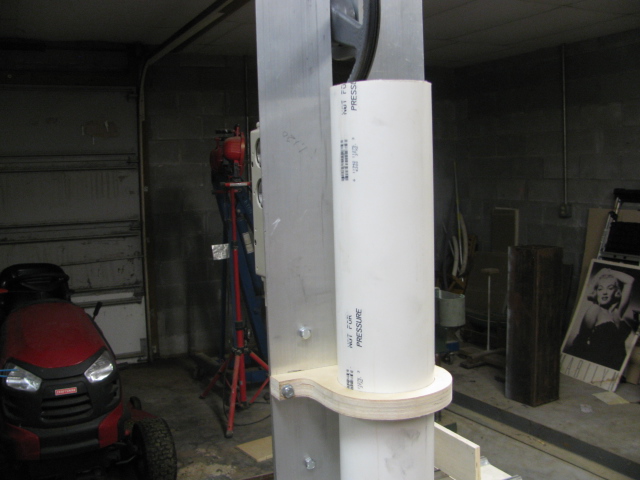
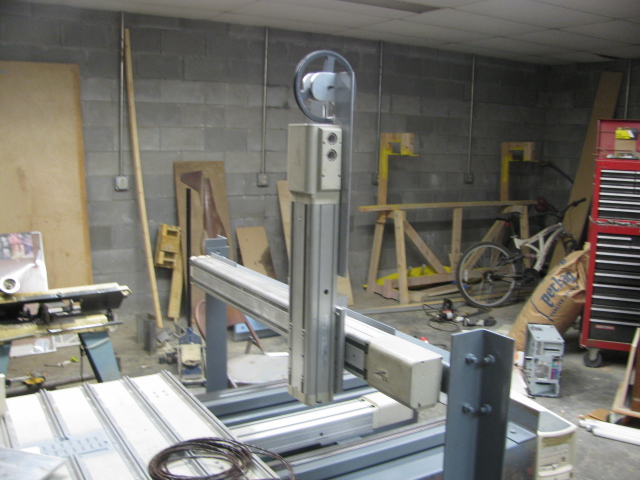
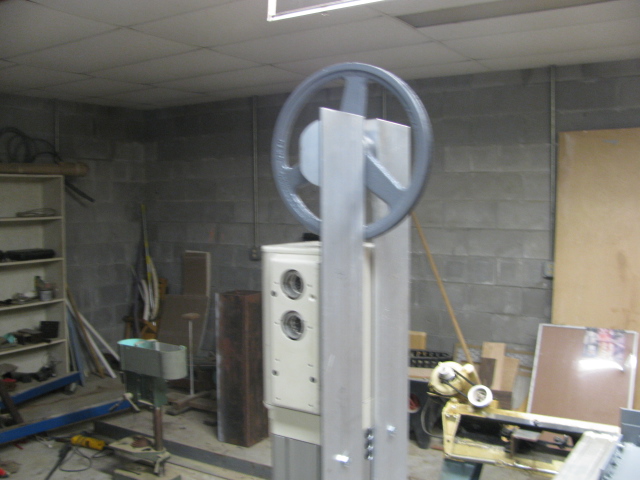
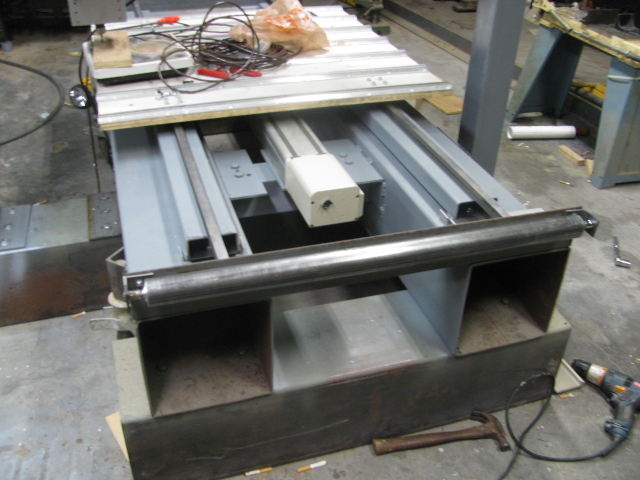
Today I installed the fixed gantry to hold the Y and Z axis. I slotted the holes, so that I can adjust the symmetry of the two axis'. I can move either side 1 inch to make things square. I am almost there to start the electronics, oh, yes some paint. I haven't got any plans for the control panel, but If anyone has any ideas, I would sure like to hear them. I will use Mach 3, unless someone has a better idea, Bob., here are some pictures.


 Reply With Quote
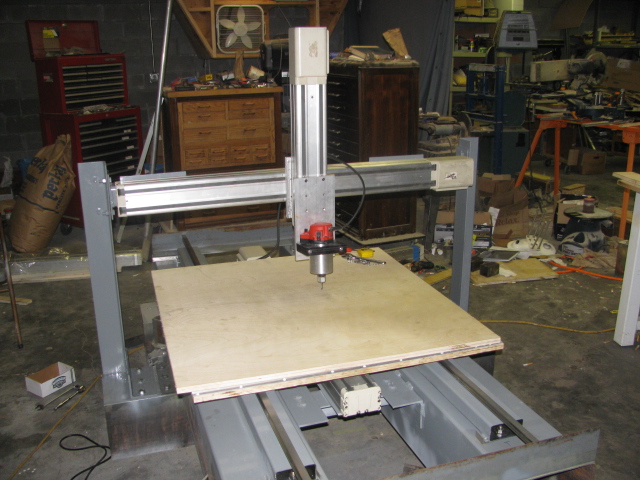


Bookmarks