
 LinkBack URL
 About LinkBacks


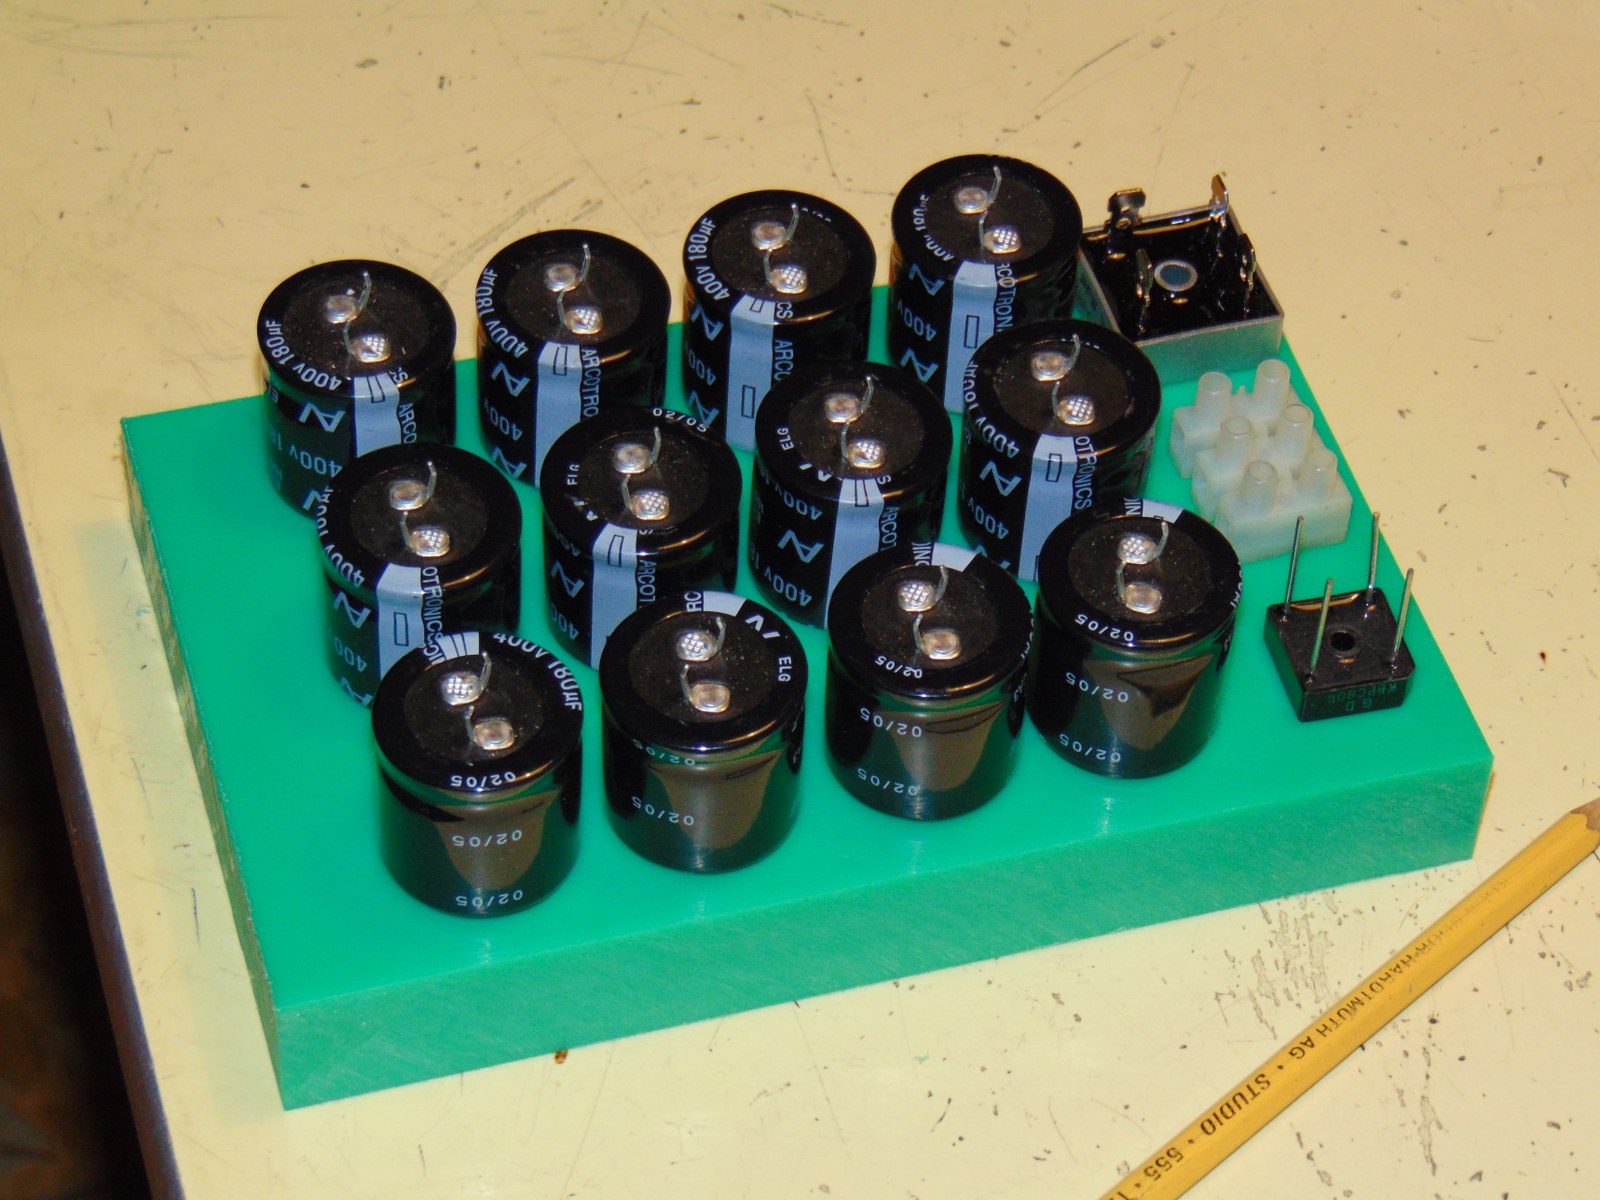
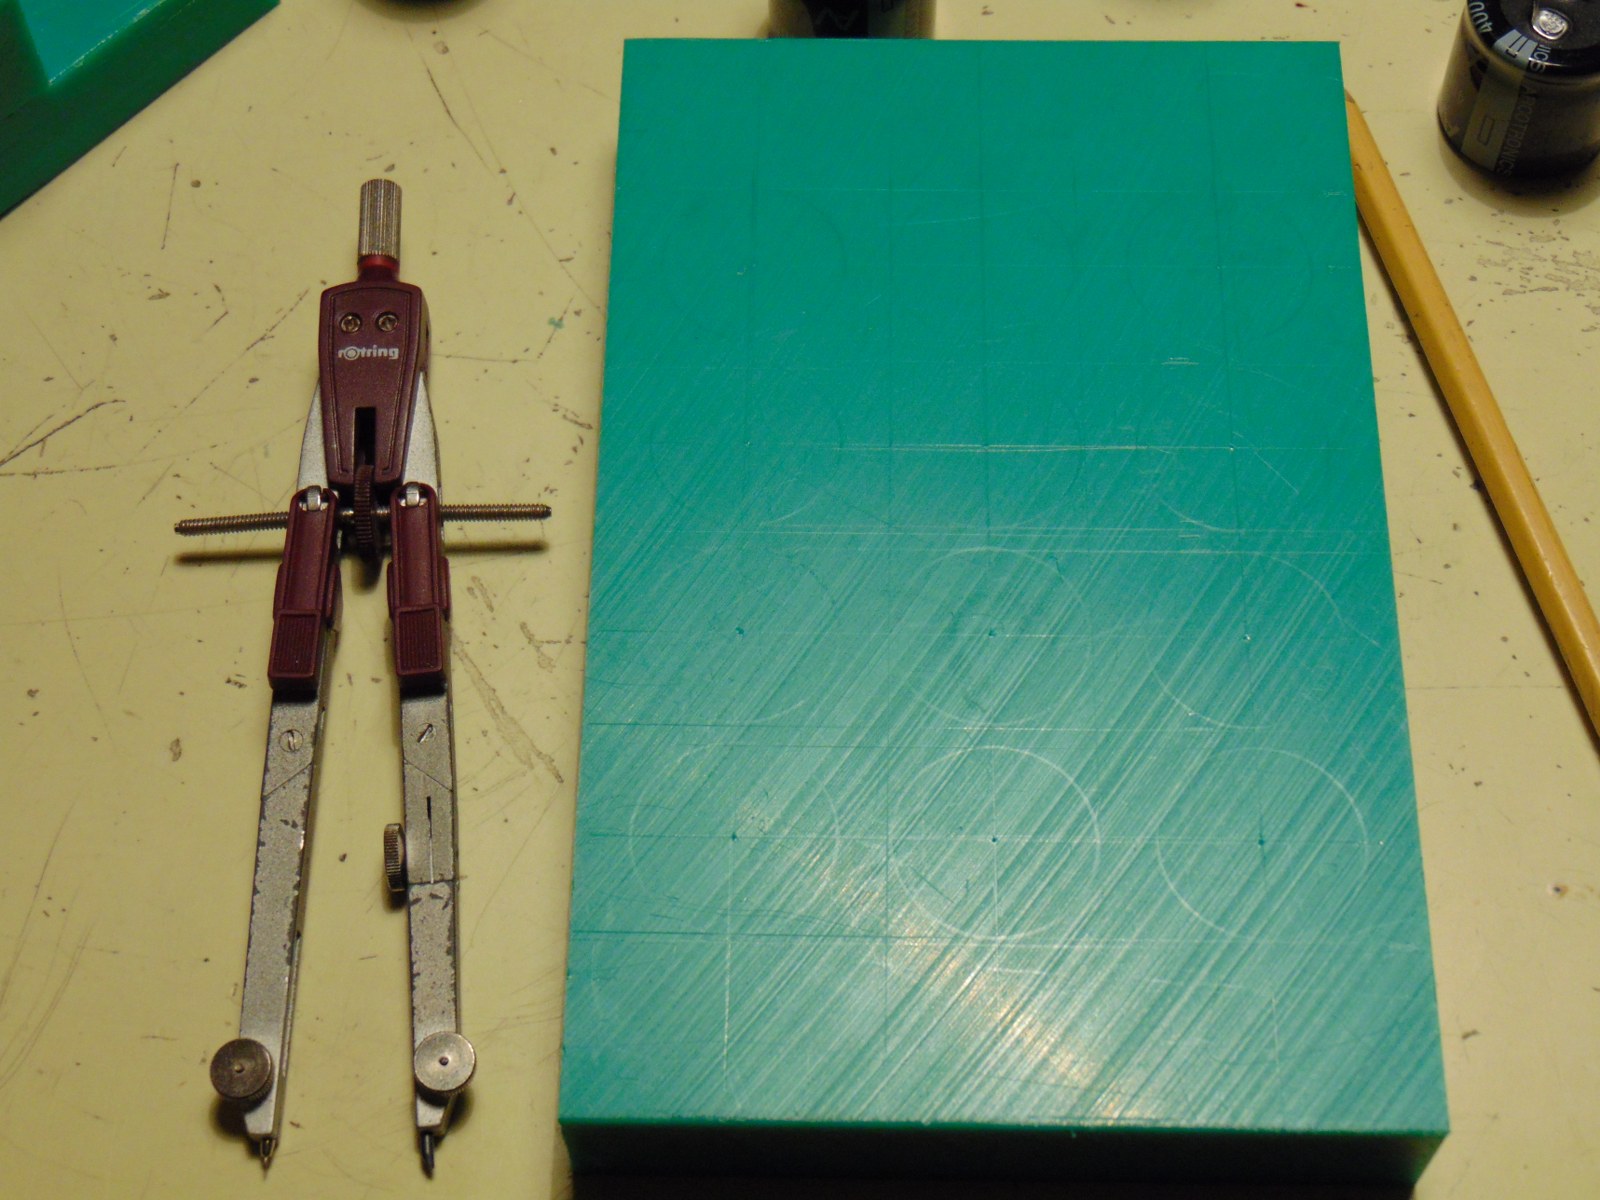
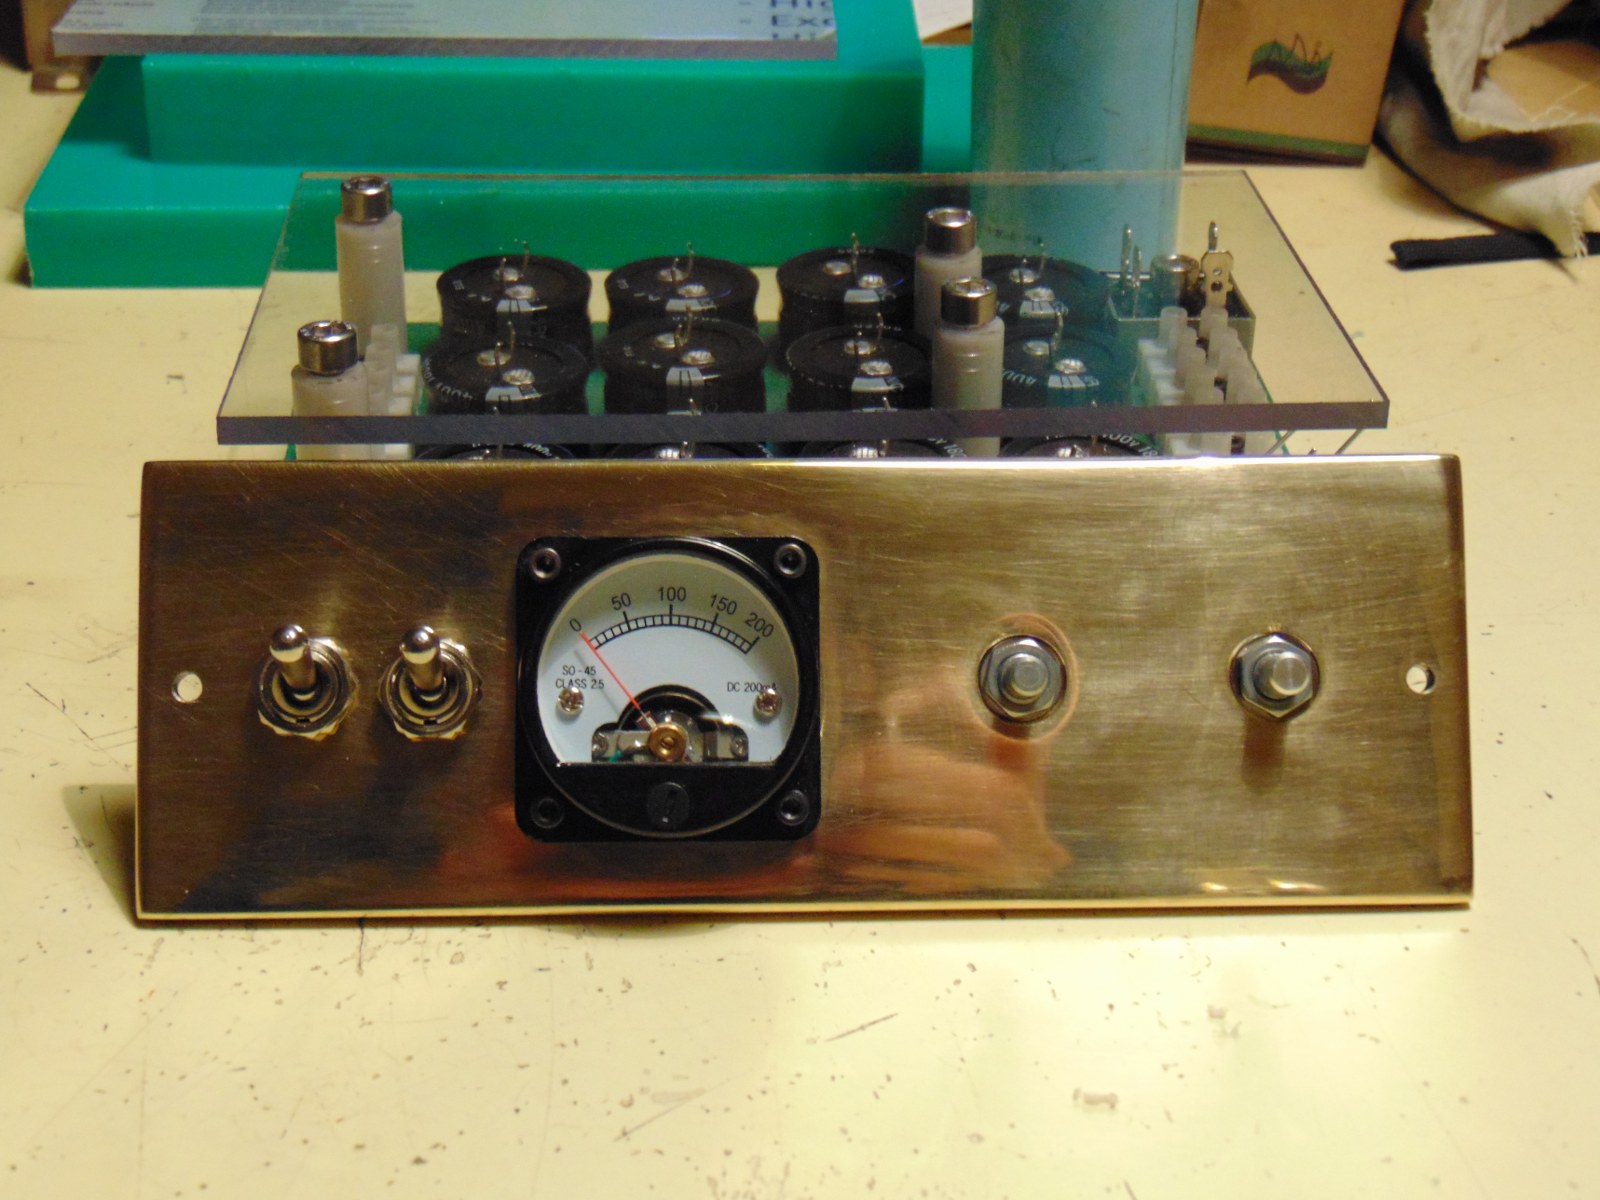
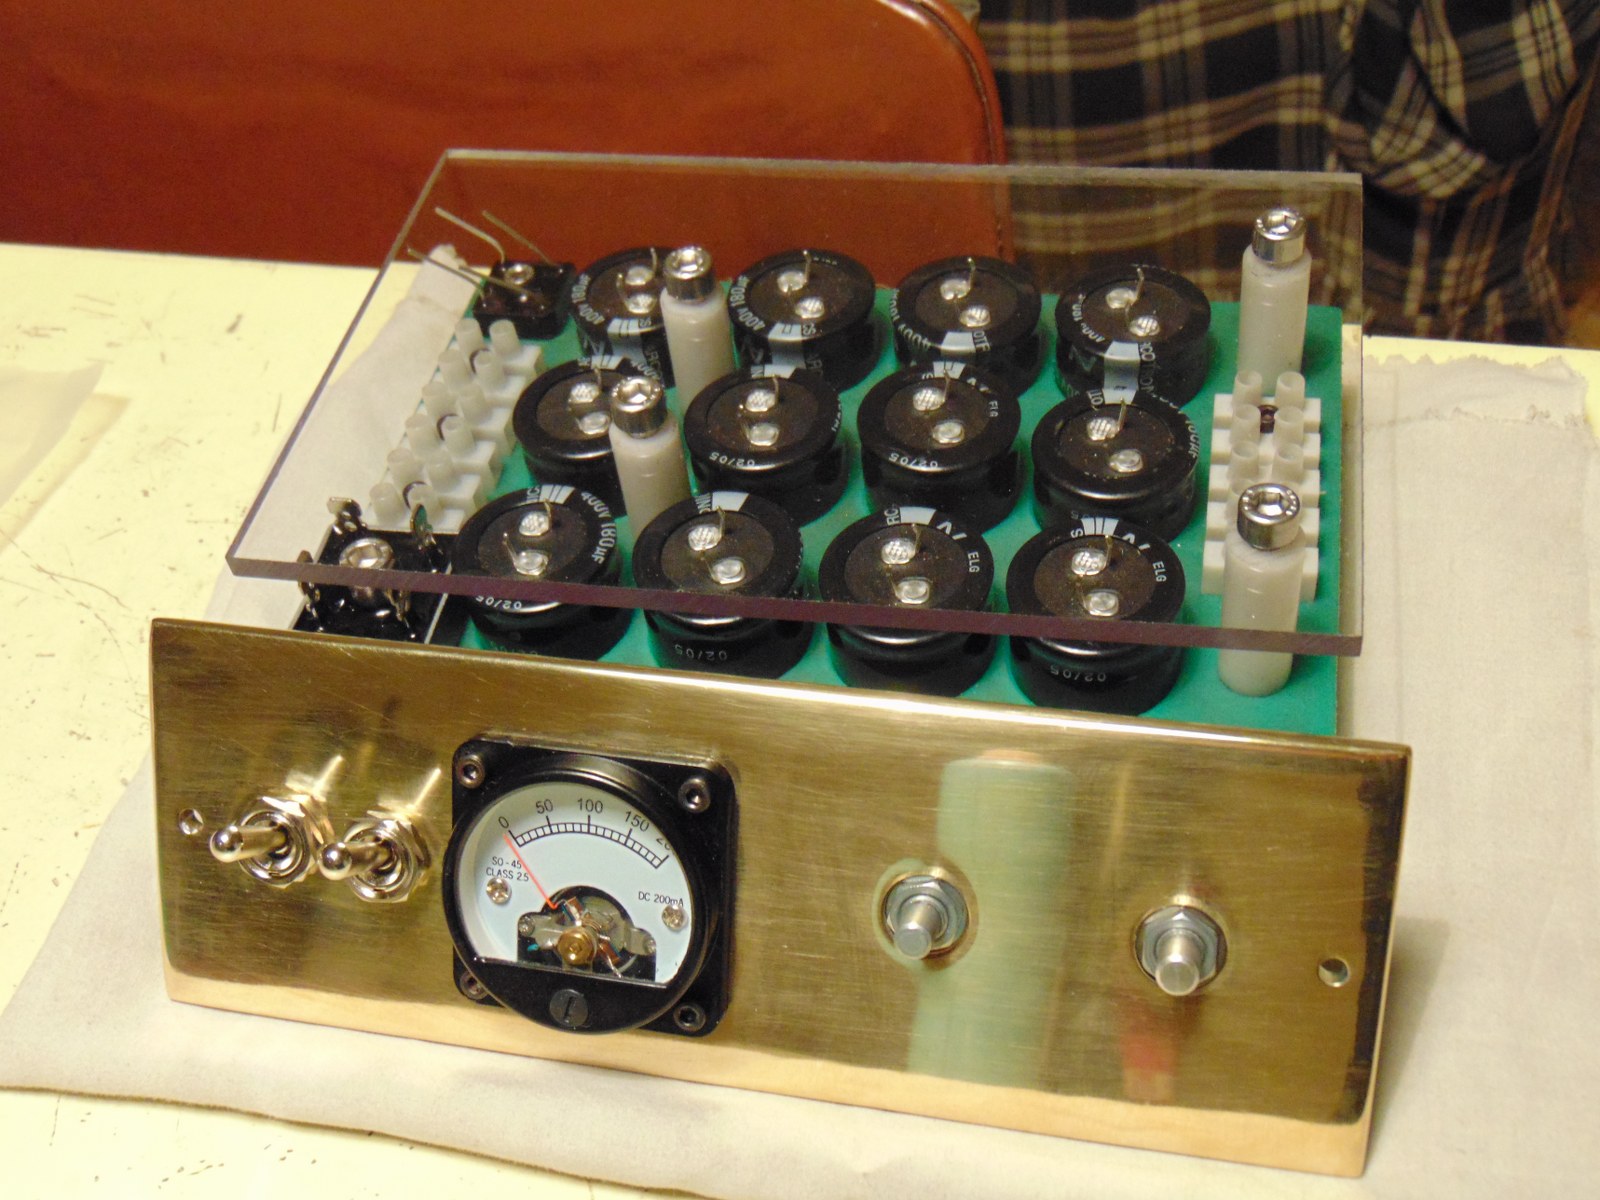
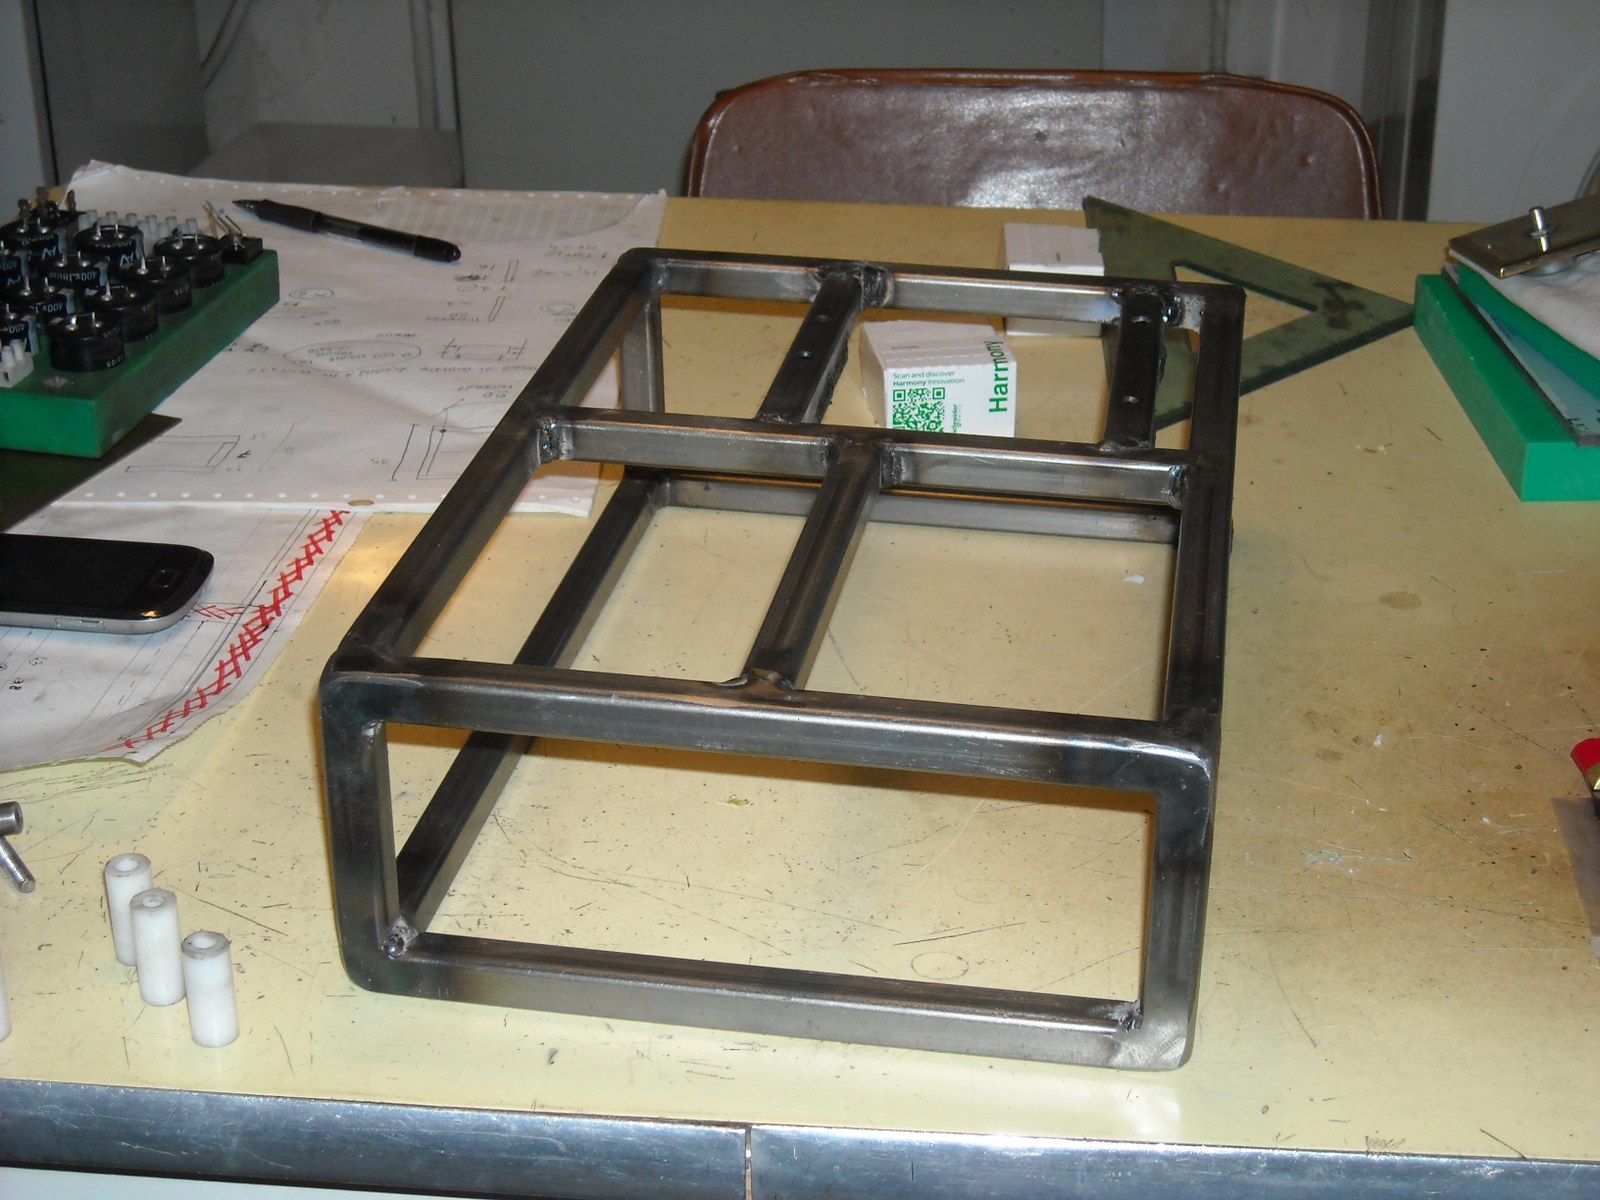
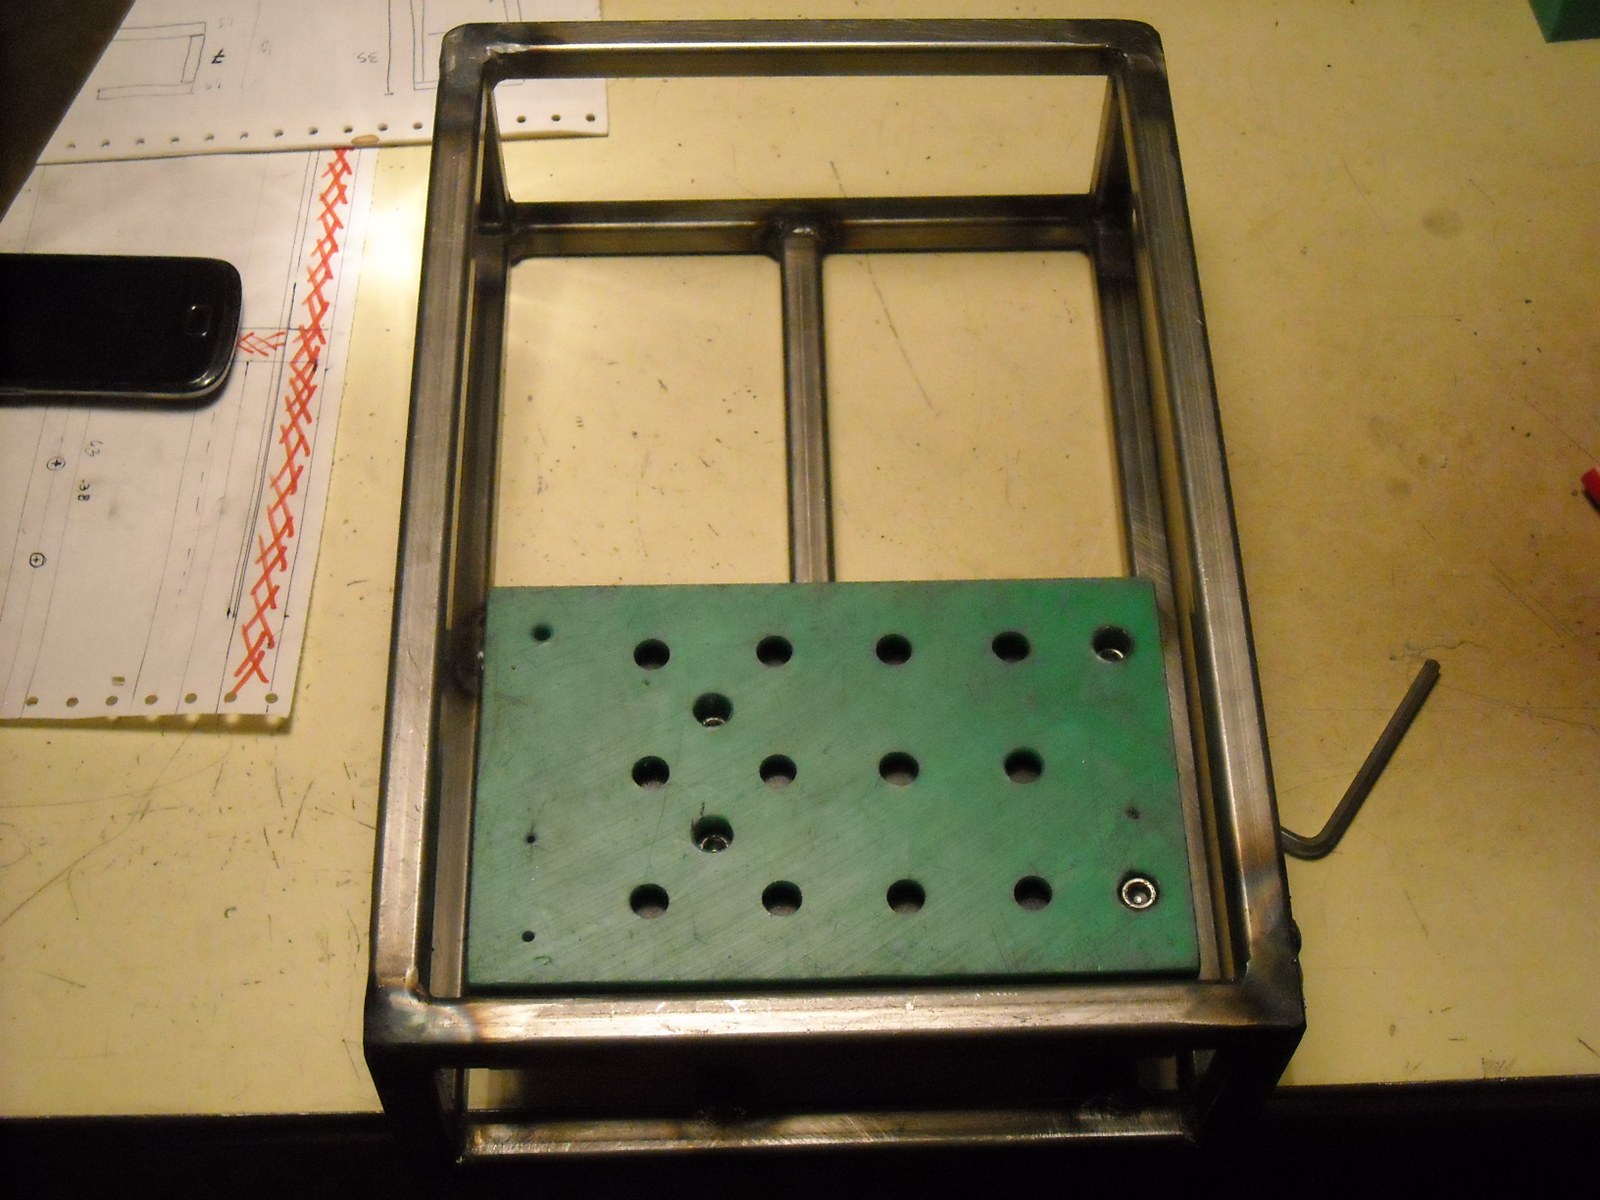
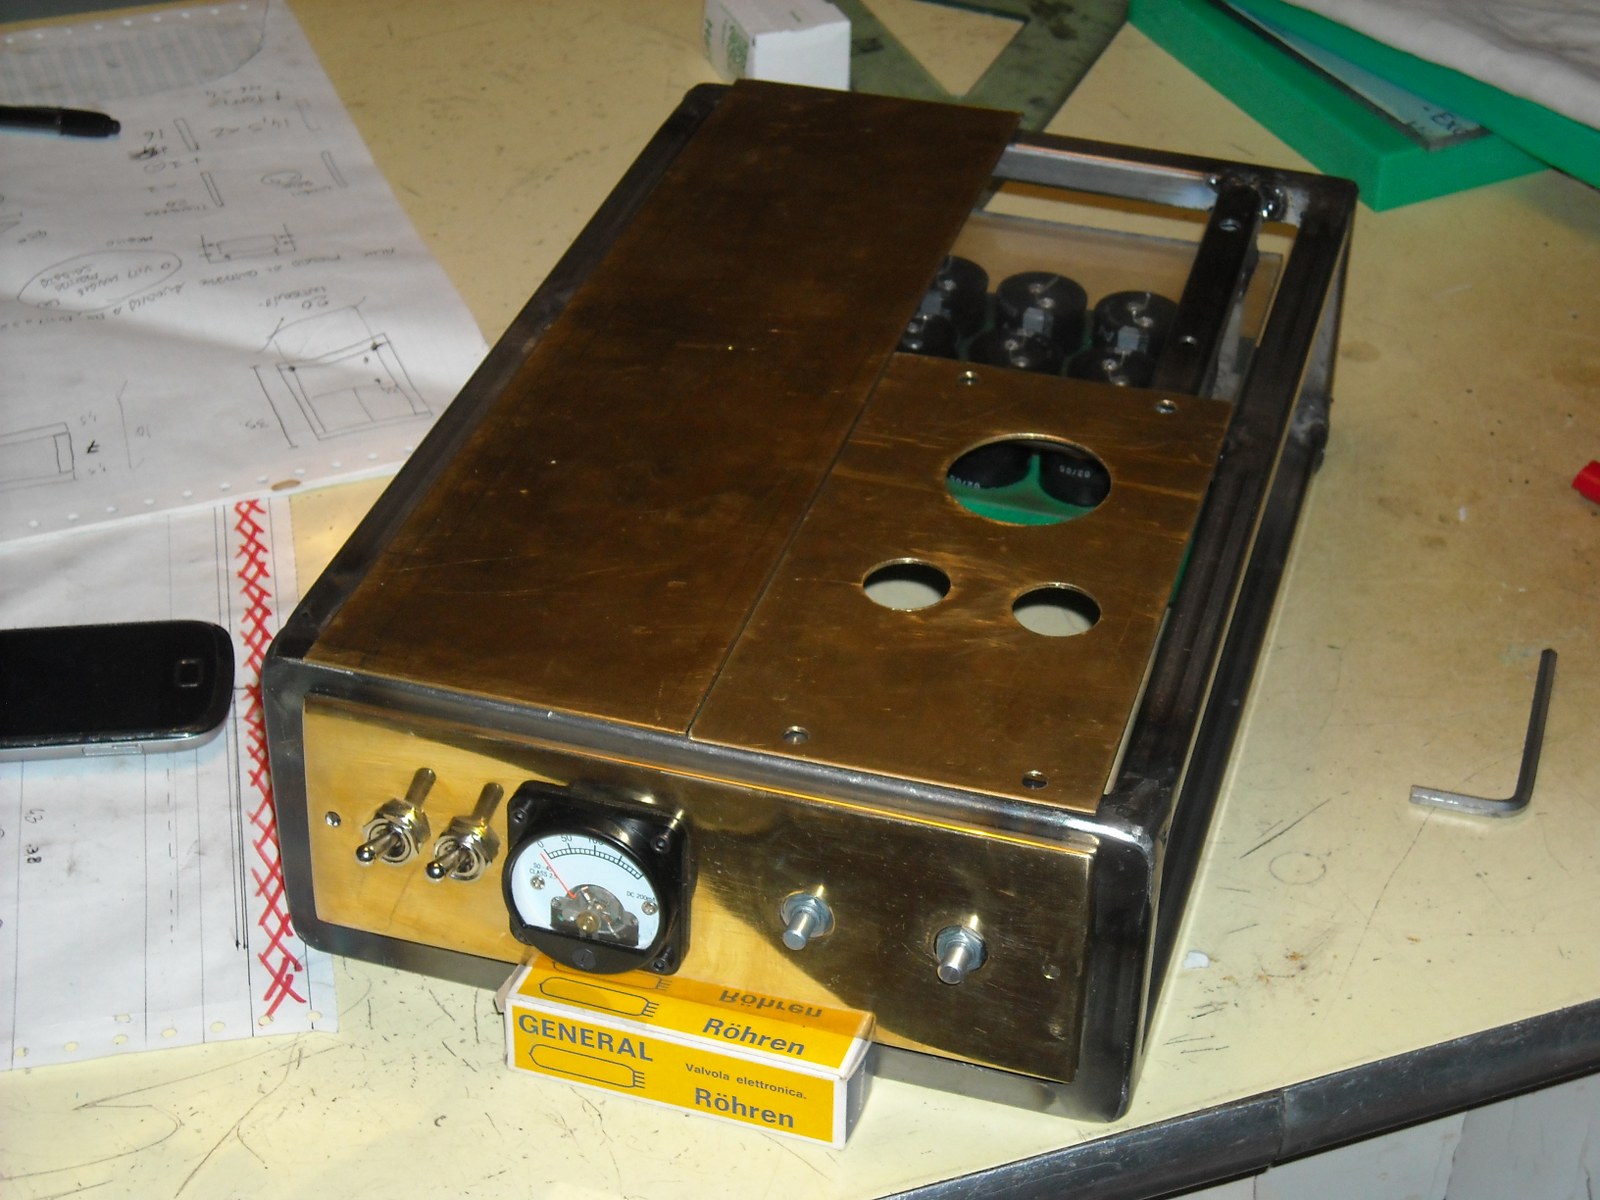
That panel will look great when its all polished up. And boy do I get all the hand work to get it to size, shape and finish. I agree with C-Bag about investing in clamps and a vice, even though I don't own a mill yet but used them over the years. The other is to get an import adjustable boring head. A few on e-bay but new imports aren't that pricey with bits. My brothers Grizzly (2"-50mm) one does surprisingly well. Nice camera deal! Look forward to your new pics with it.
Look forward to seeing what you come up with for your chassis...particularly the Faraday cage out of 316. Not sure if its available in your area but copper screen will work also and much easier to form. Stainless here is sometimes more than copper price wise. I've built a few over the years, my best was a separate power supply for a RX/TX pair of old Navy TCS's. I finished restoring the receiver but the transmitter had a broken shaft on one of the tuning caps and never found another...both in storage now. Also built a large HV 1.5/3kv supply and had to use heavy gauge AL to support the Xformer and in a make shift break at that. Built a small O'scope back in the day with a 3fp7 and a 4U rack panel front. Not much else other than some of the industrial stuff I did for a living.
I hear ya C-Bag about having access to scrap bins and discontinued stuff within reason...now its the junky's/scrap guys and they are pricey anymore. Also hear you about the wood racks. My Proto for the sound table stuff was an angle faced wood contraption which now supports my lathe with a 4U drawer for all my lathe tools and cheapy wood machinist box in the bottom. When I built the clinical version I used a laminate one from Sweetwater (in the pics before) and you are right about the isolation! Luckily the 3Ghz rack computer housing had a fair amount of caging in it to start with.


 Reply With Quote

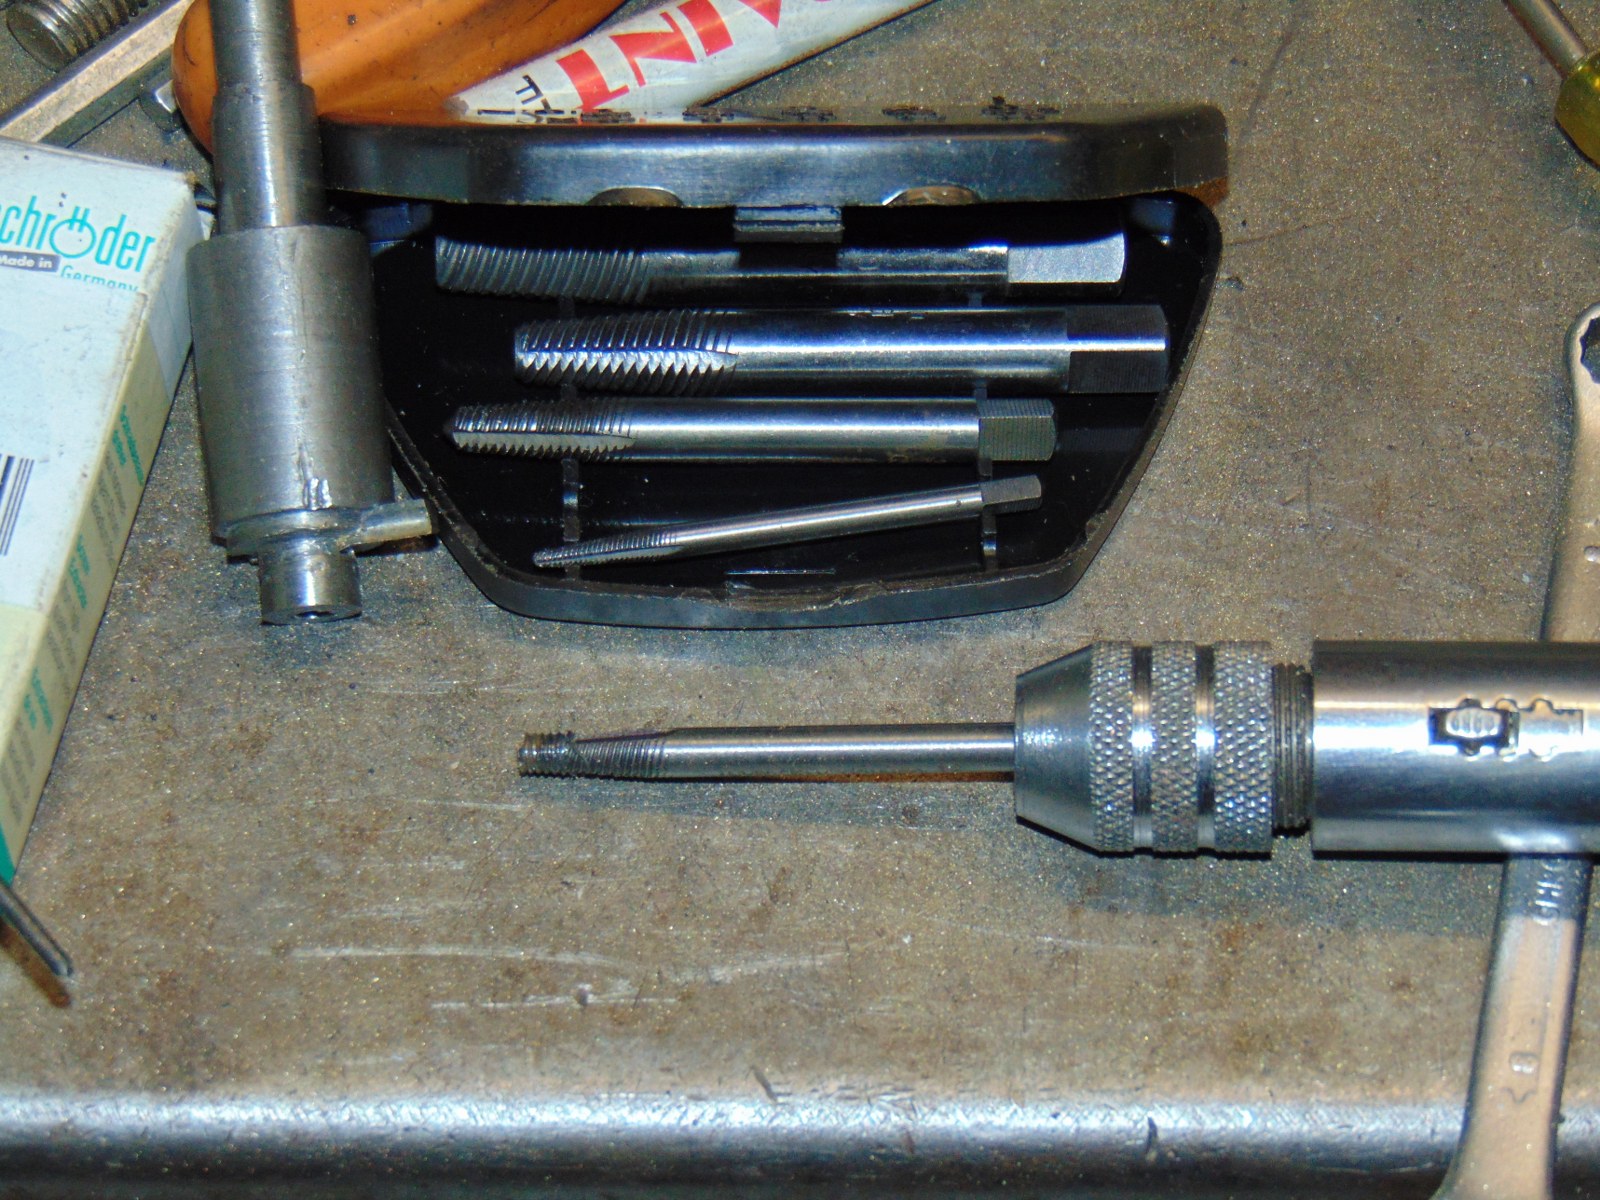
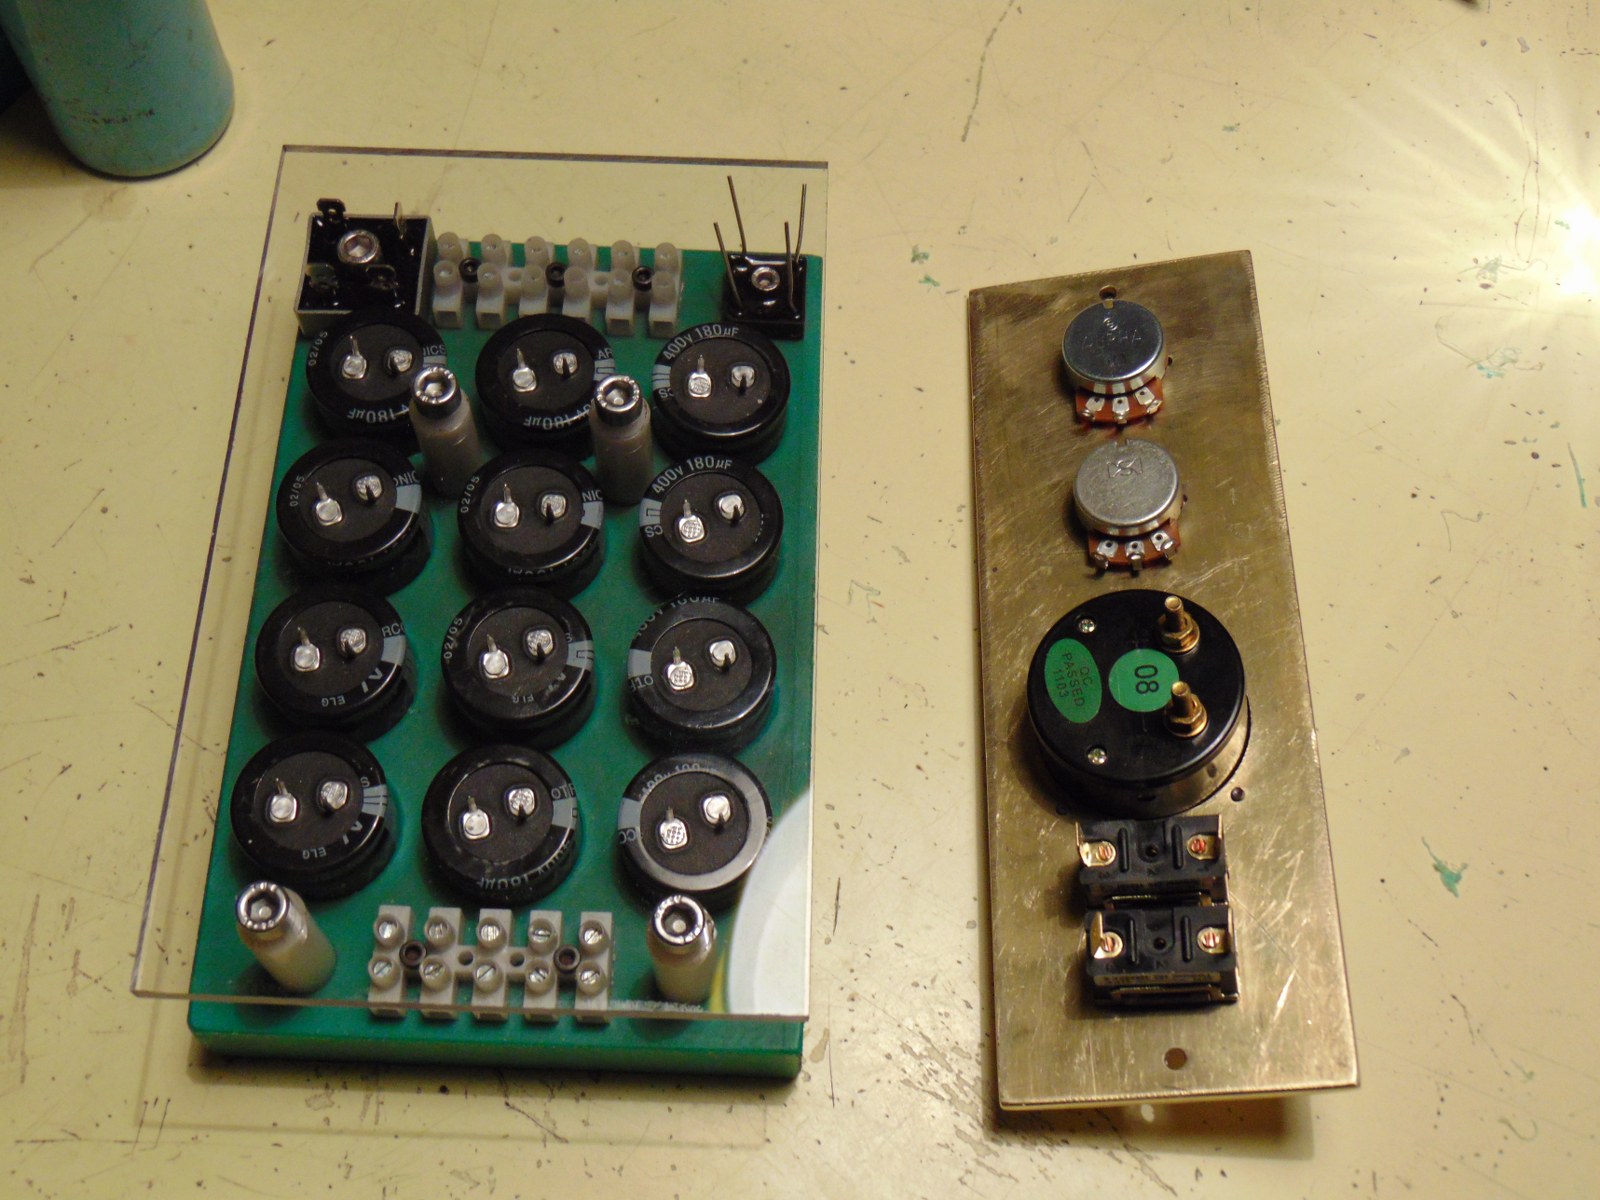
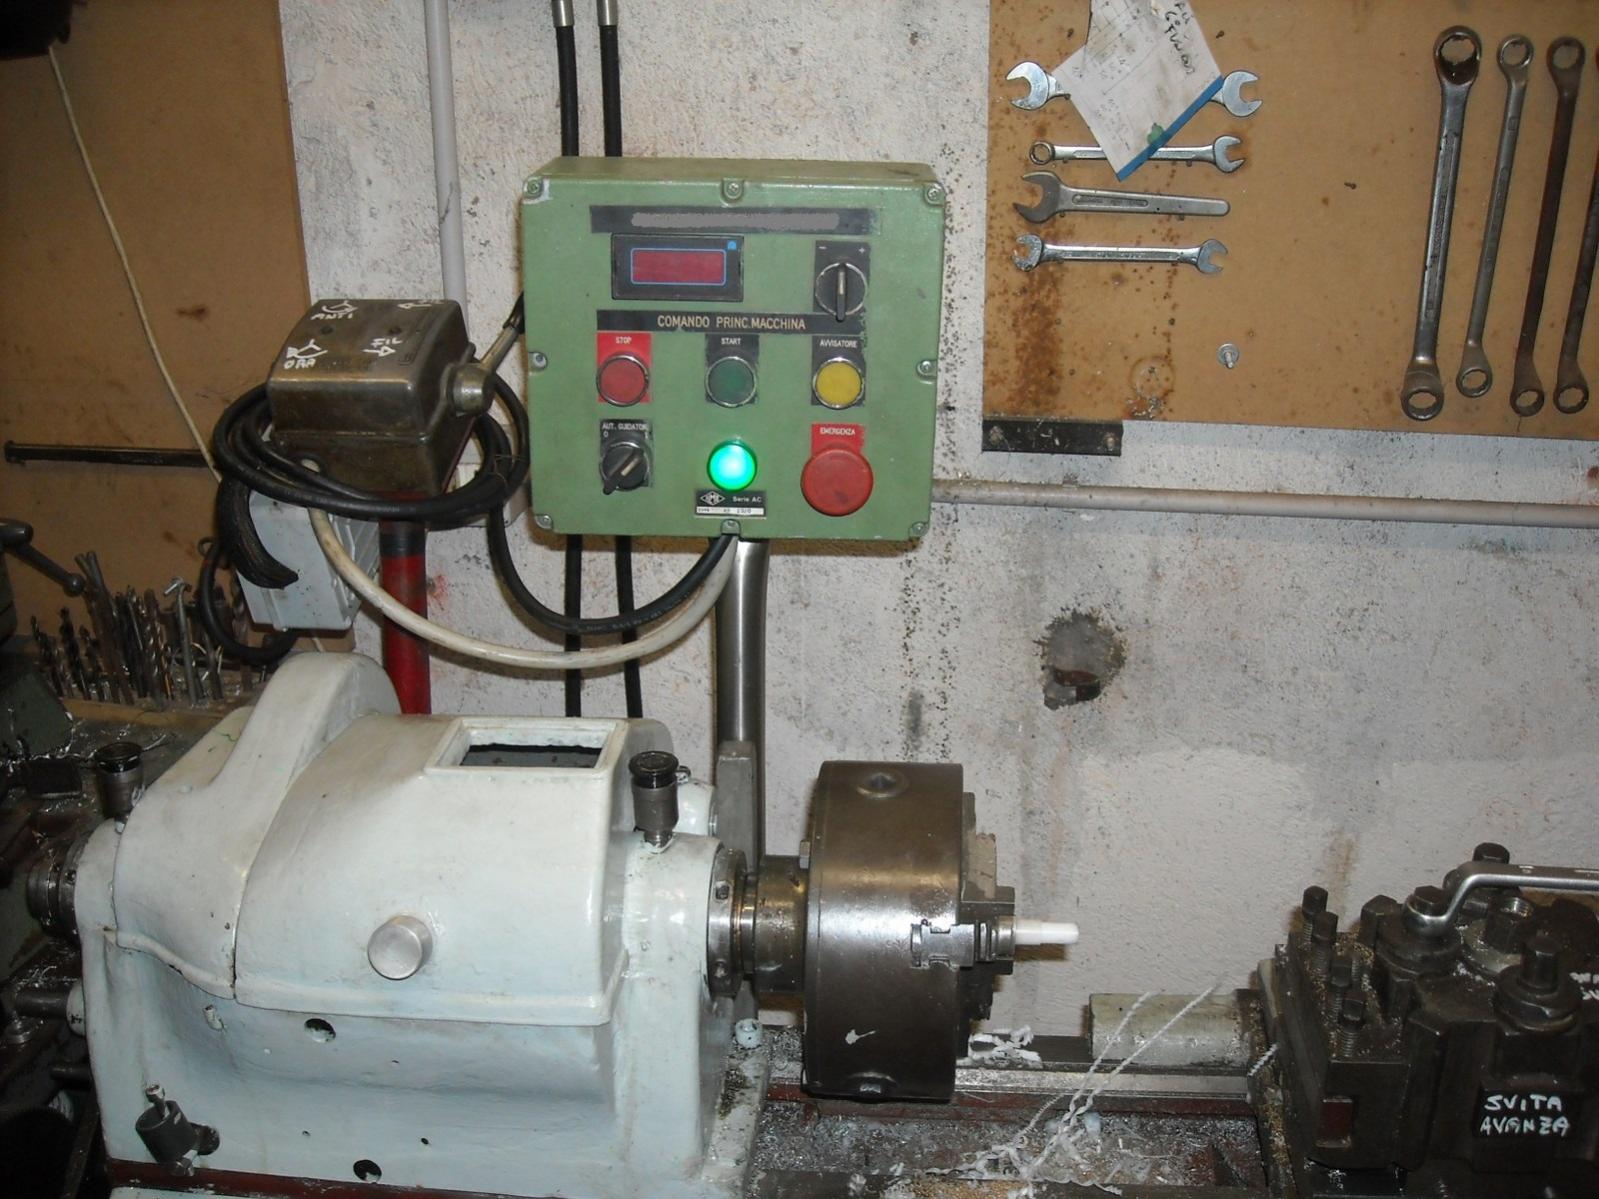
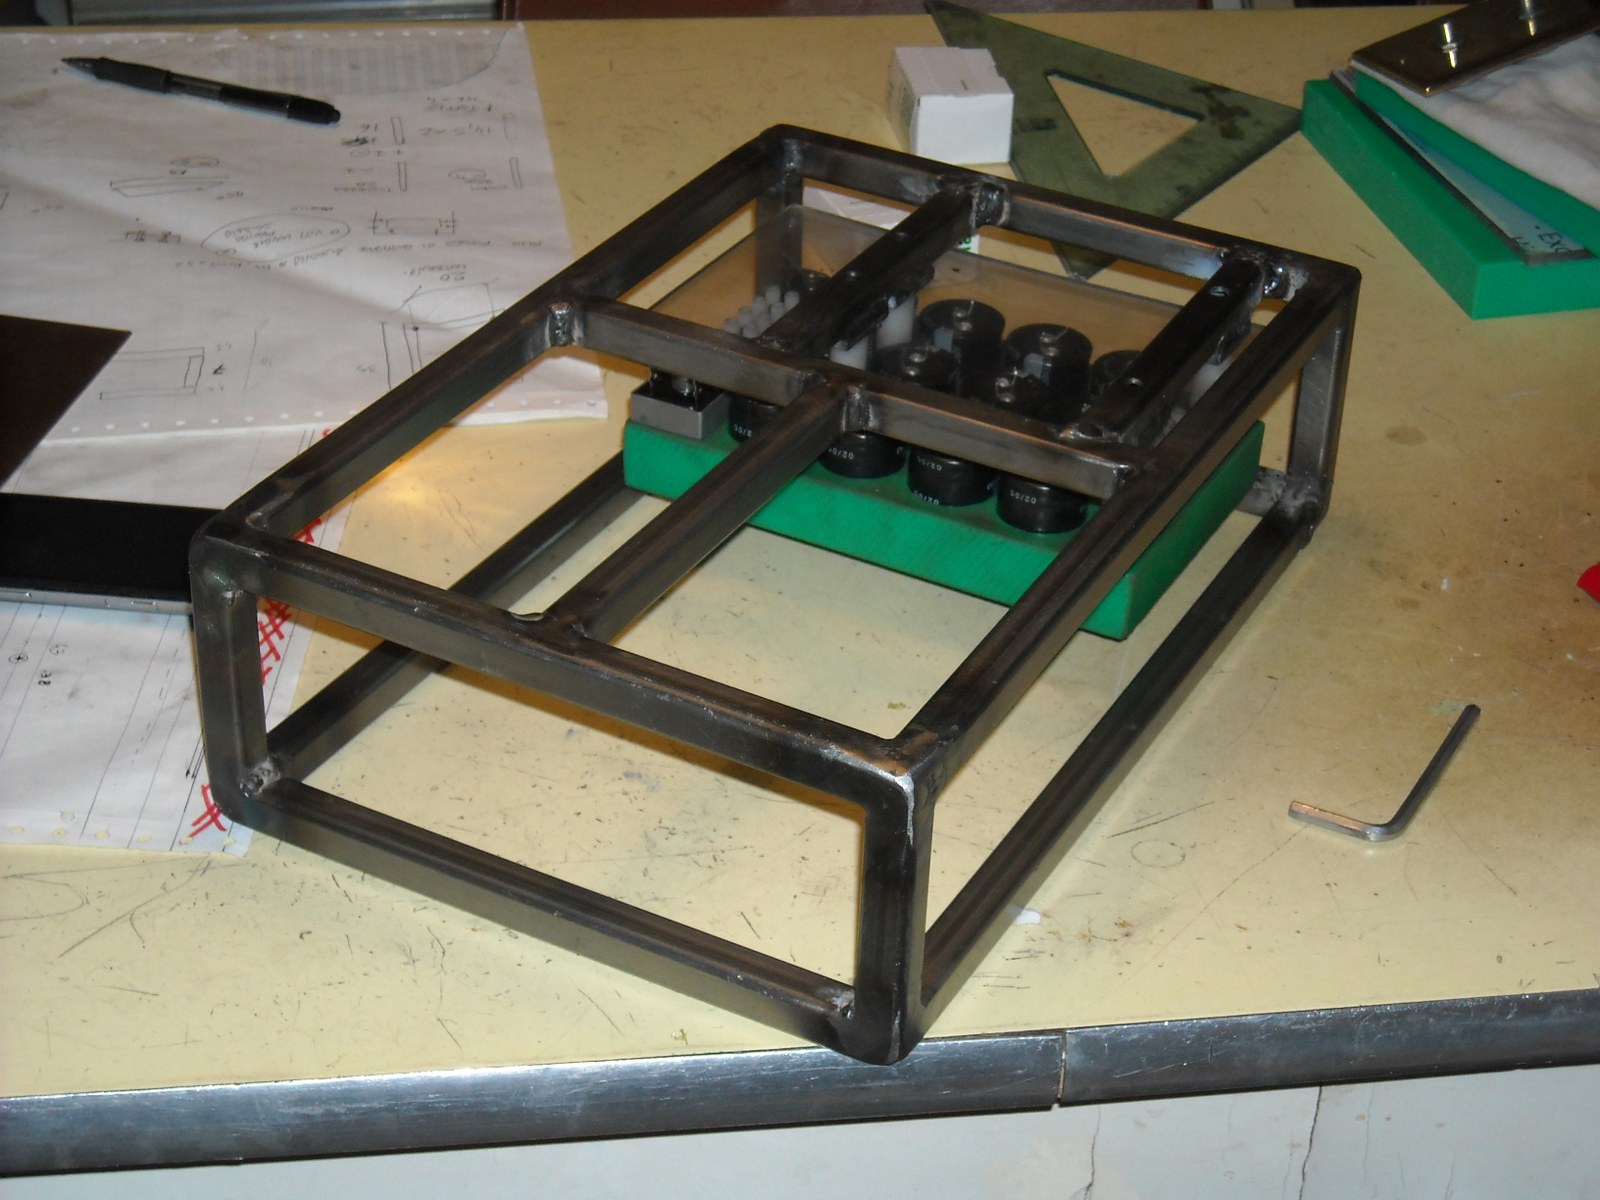
") the problem is that for using this i had to drill 18mm with a mill ... i'm asking, how many tools I need for making holes from 20 to 50mm? I see some "large" modern boring head, but I think i need more than one right? I found some project of this, maybe i will try building one for test ... ( yes for now i finished money for tools )
the problem is that for using this i had to drill 18mm with a mill ... i'm asking, how many tools I need for making holes from 20 to 50mm? I see some "large" modern boring head, but I think i need more than one right? I found some project of this, maybe i will try building one for test ... ( yes for now i finished money for tools ) 


 by Lee Fox - Ciao Stefano ! See this eBay listing for lots of information and a video. "Pin It")

Bookmarks