
Originally Posted by
scorch

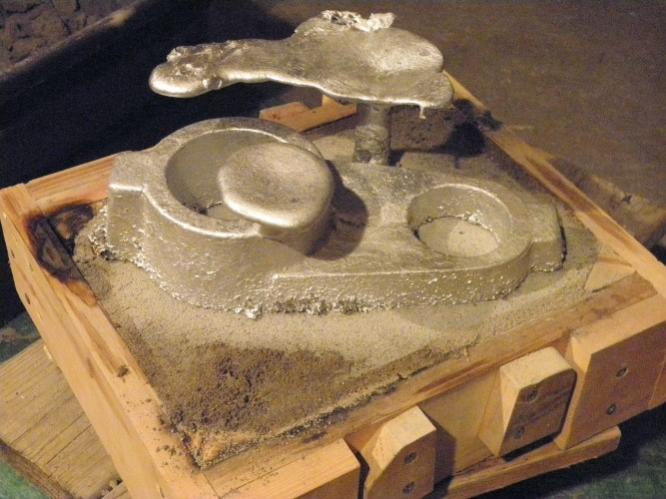
@DIYer, You have an interesting take on casting the part first. I don't consider it "taking time". I think it might actually save time in the end since there is a lot less machining to do after the part is cast. Making the wood pattern also allows me to work out what the part will look like as I build the wood pattern. When I am making the wood pattern I can just glue on more wood if I want to add a tab or make a feature thicker. If I went straight to making it out of aluminum I wouldn't have that flexibility.
Not to mention the raw material cost is dramatically lower when I cast the part from scrap aluminum. I use aluminum that would otherwise be discarded so it is essentially free. Of course I do have to pay for the fuel to melt the aluminum.

 LinkBack URL
 About LinkBacks


 Reply With Quote


Bookmarks