
 LinkBack URL
 About LinkBacks

First post here and its been a while since ive been on a forum. I have been working on this project for the last few months and I thought it was something worth sharing.
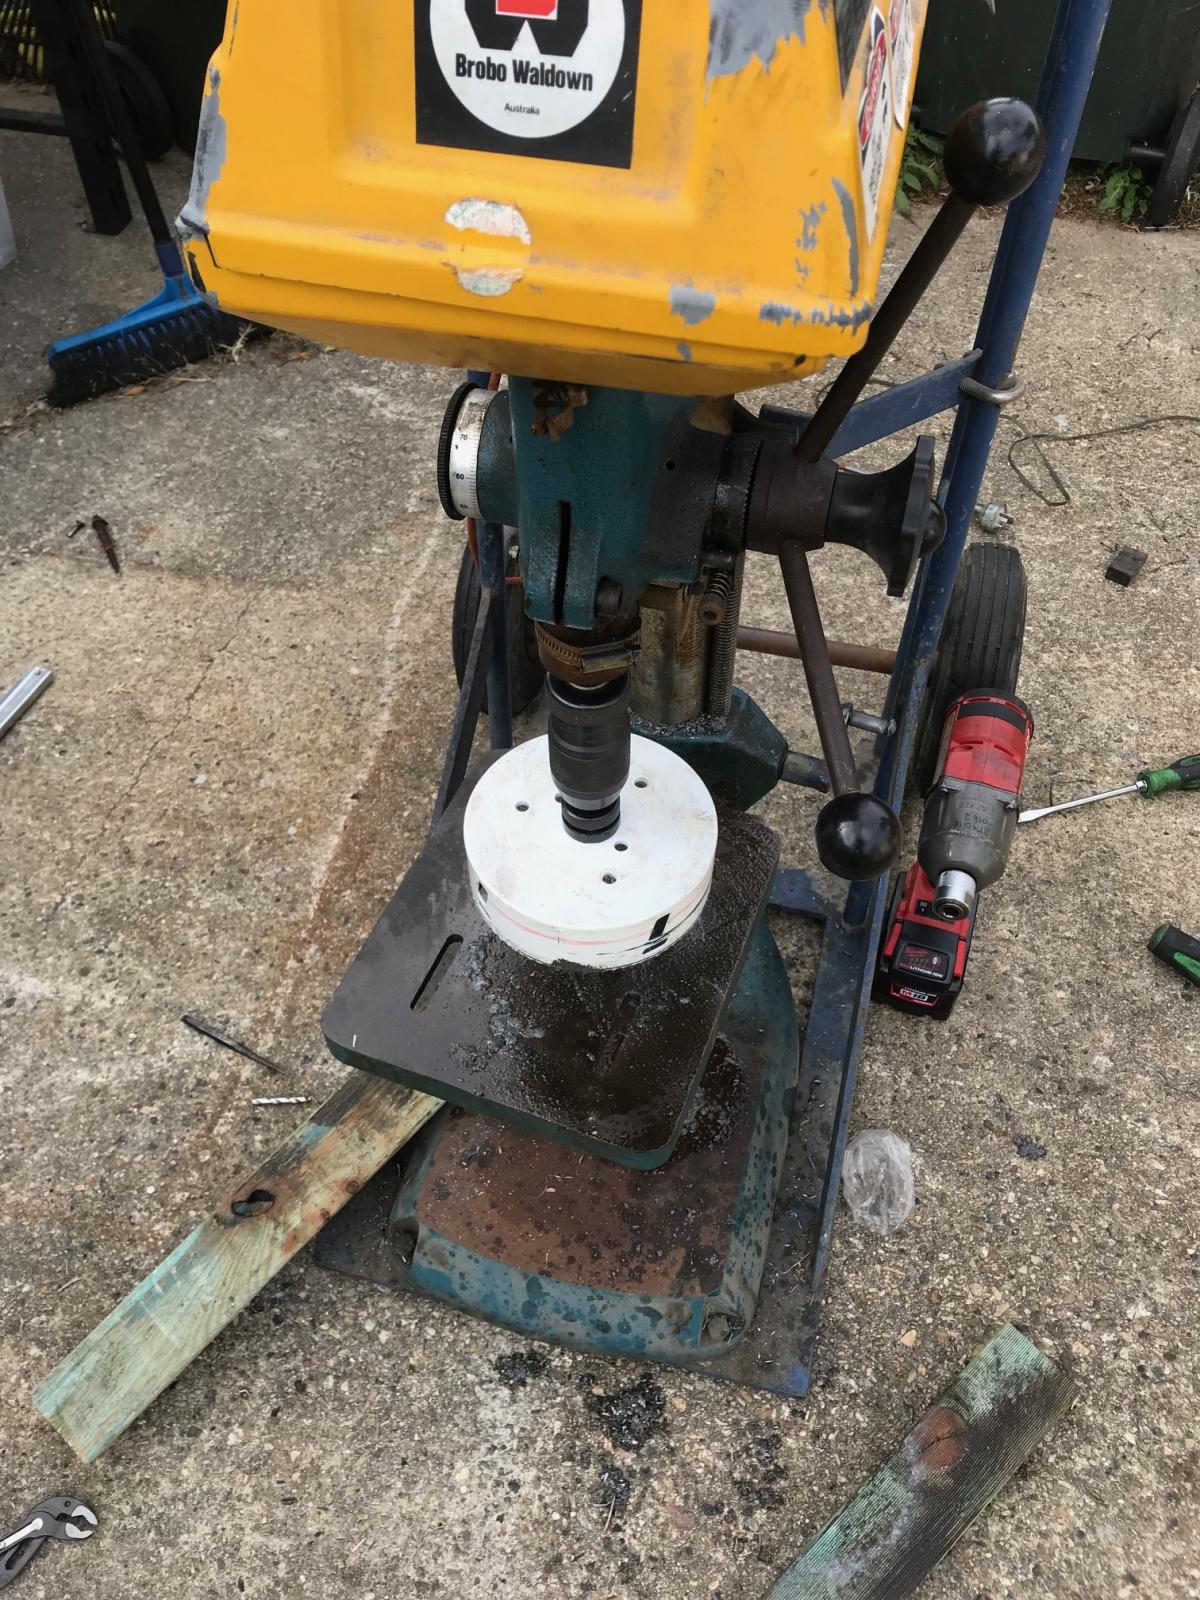
My first trade was as a diesel mechanic and because of that I have always appreciated having access to a large hydraulic press. Due to a change in occupation I no longer have the privilege. So I decided to source some components and make my own.
Most of the steel it 2nd hand and was destined for the scrap bin, as were the main hydraulic components.
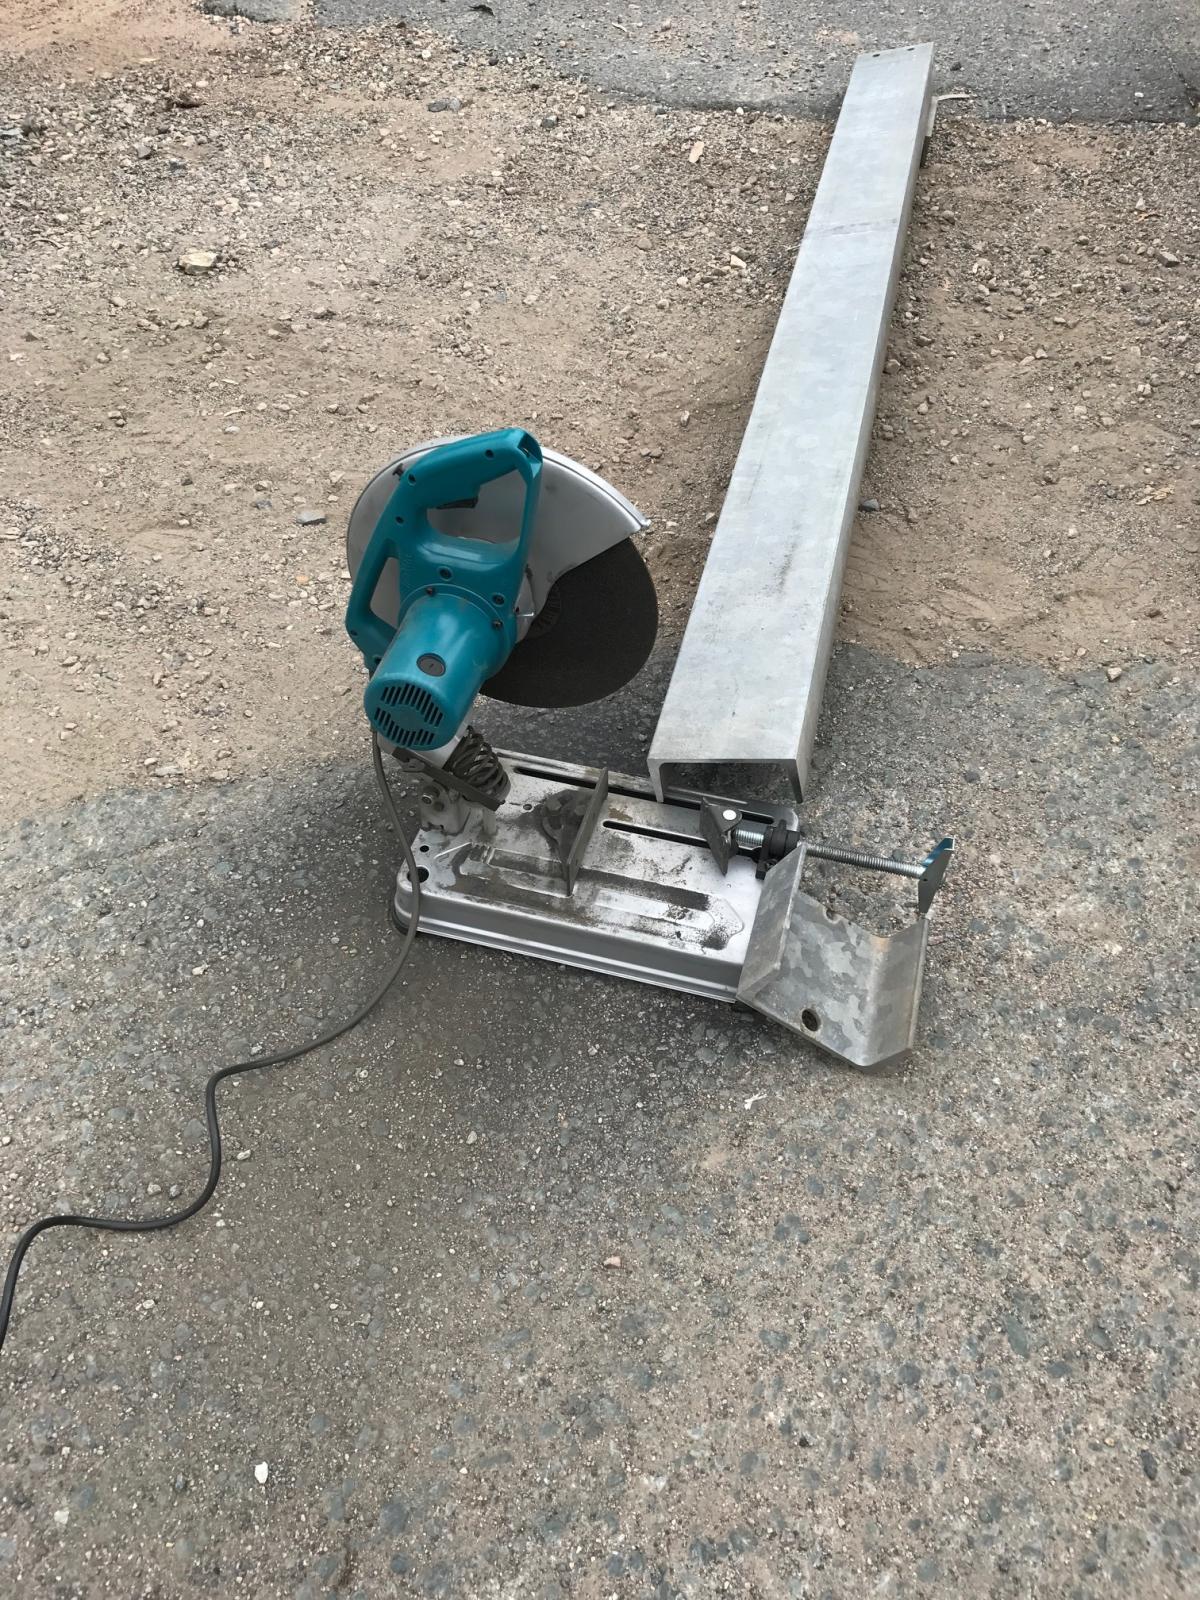
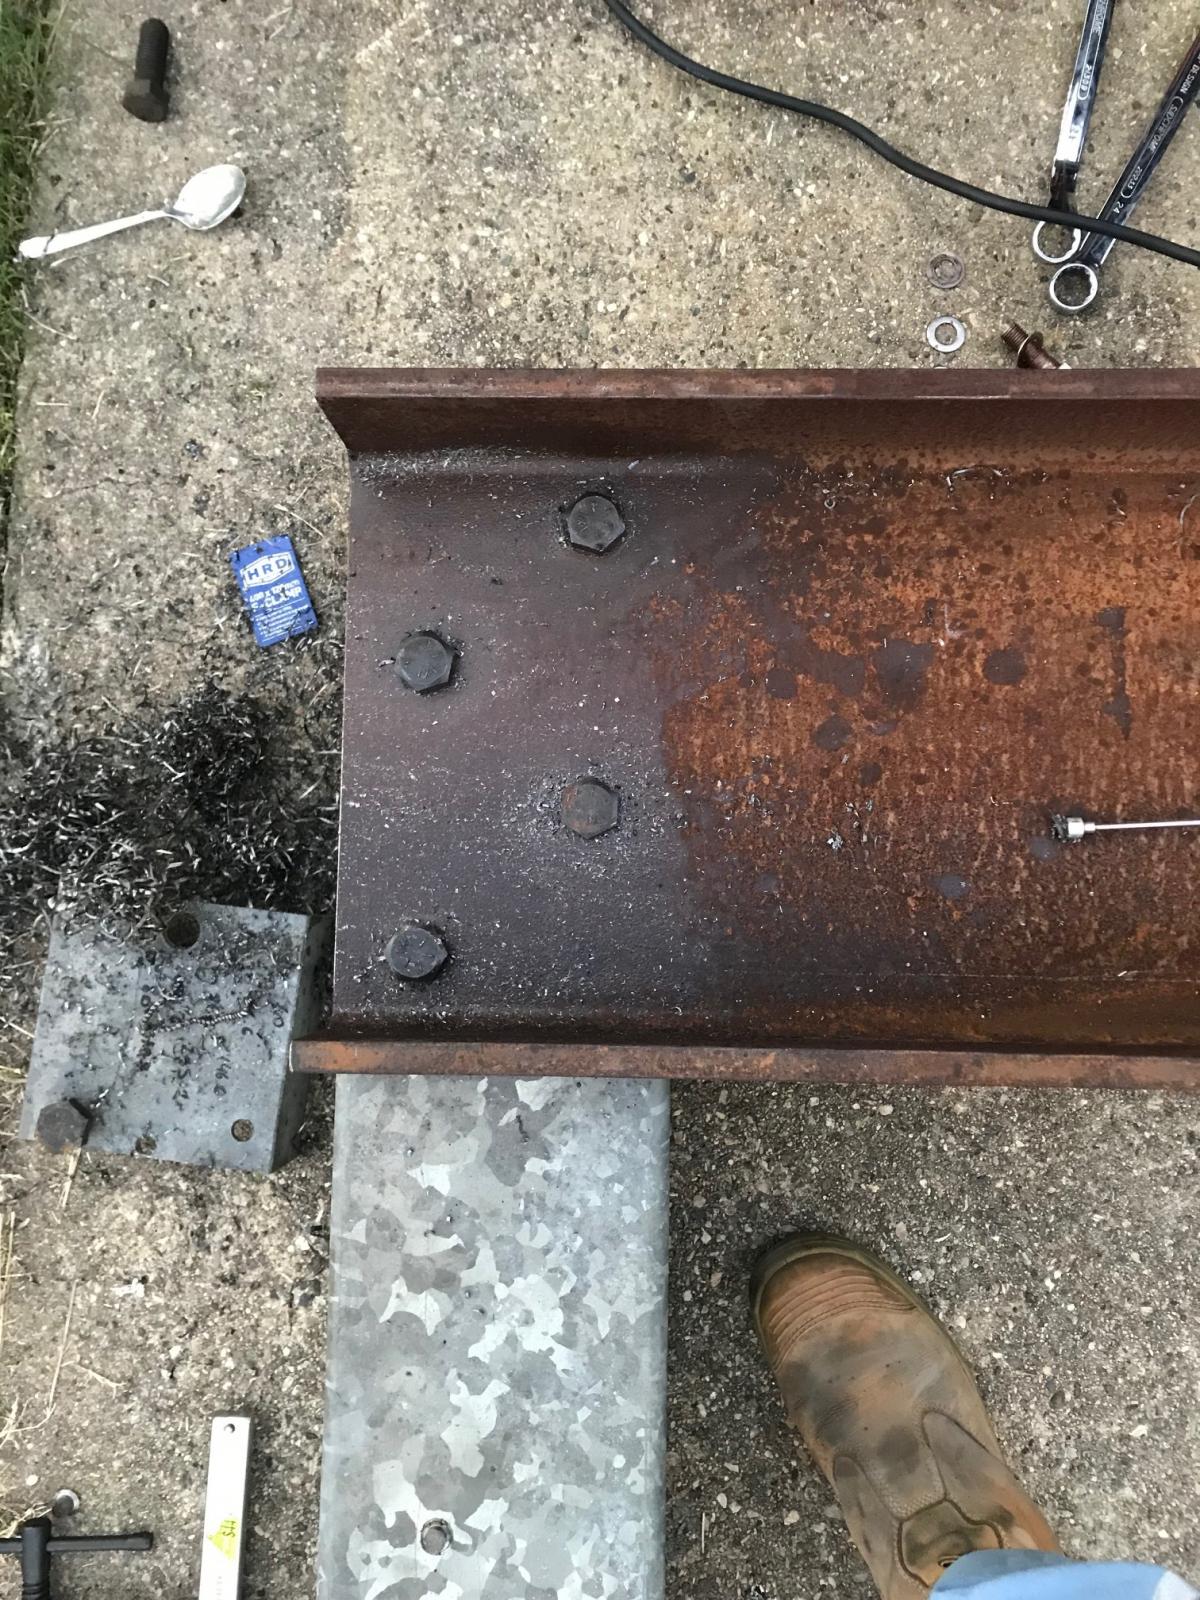
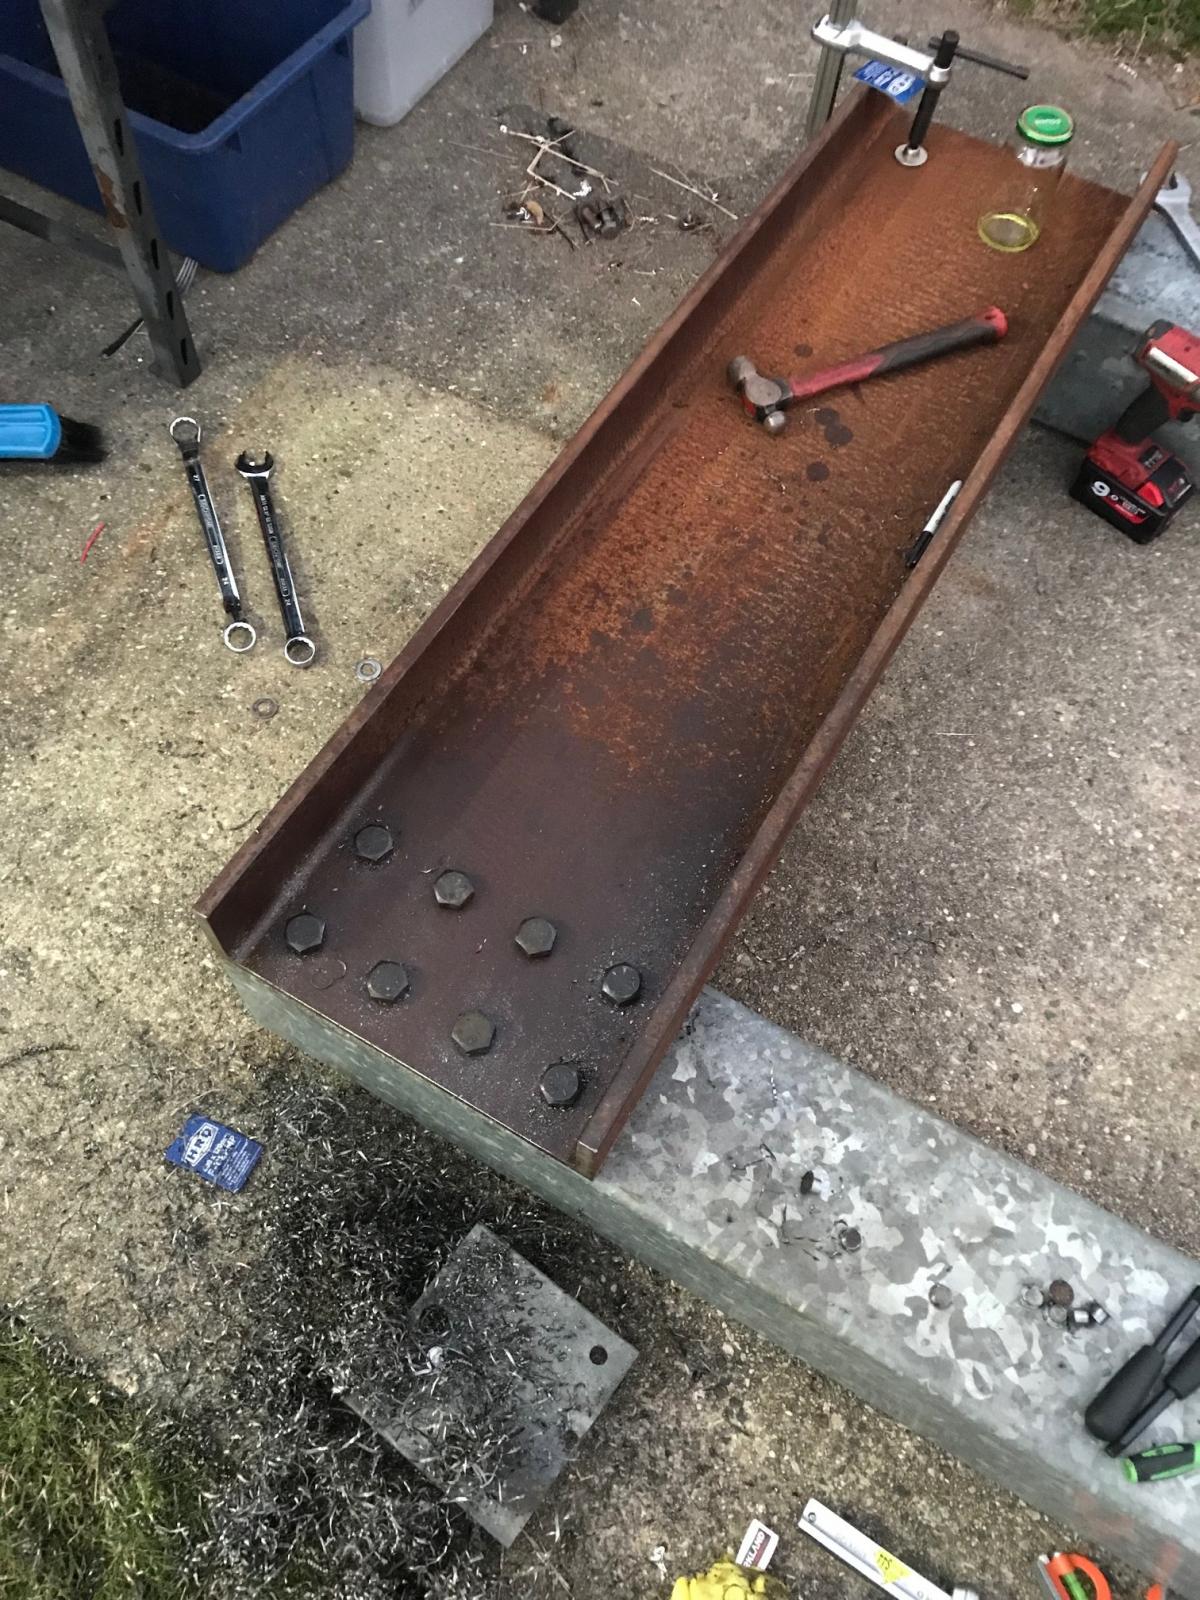
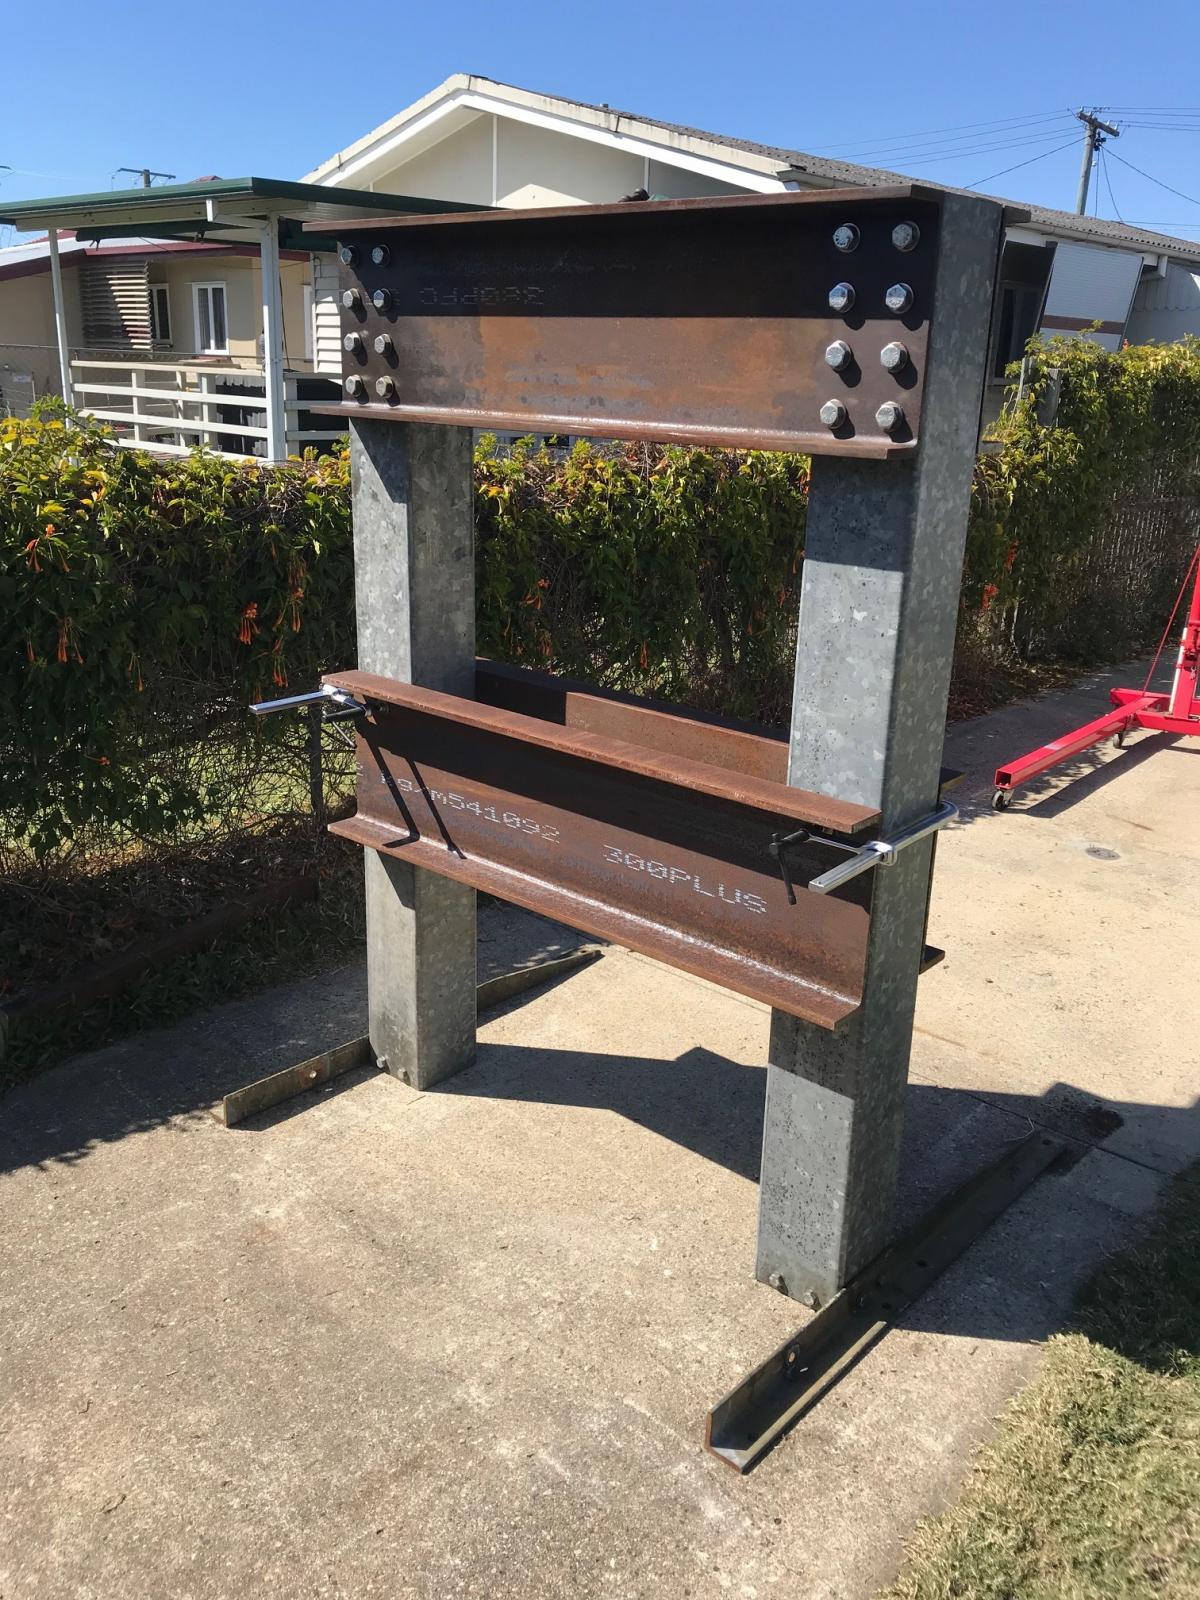
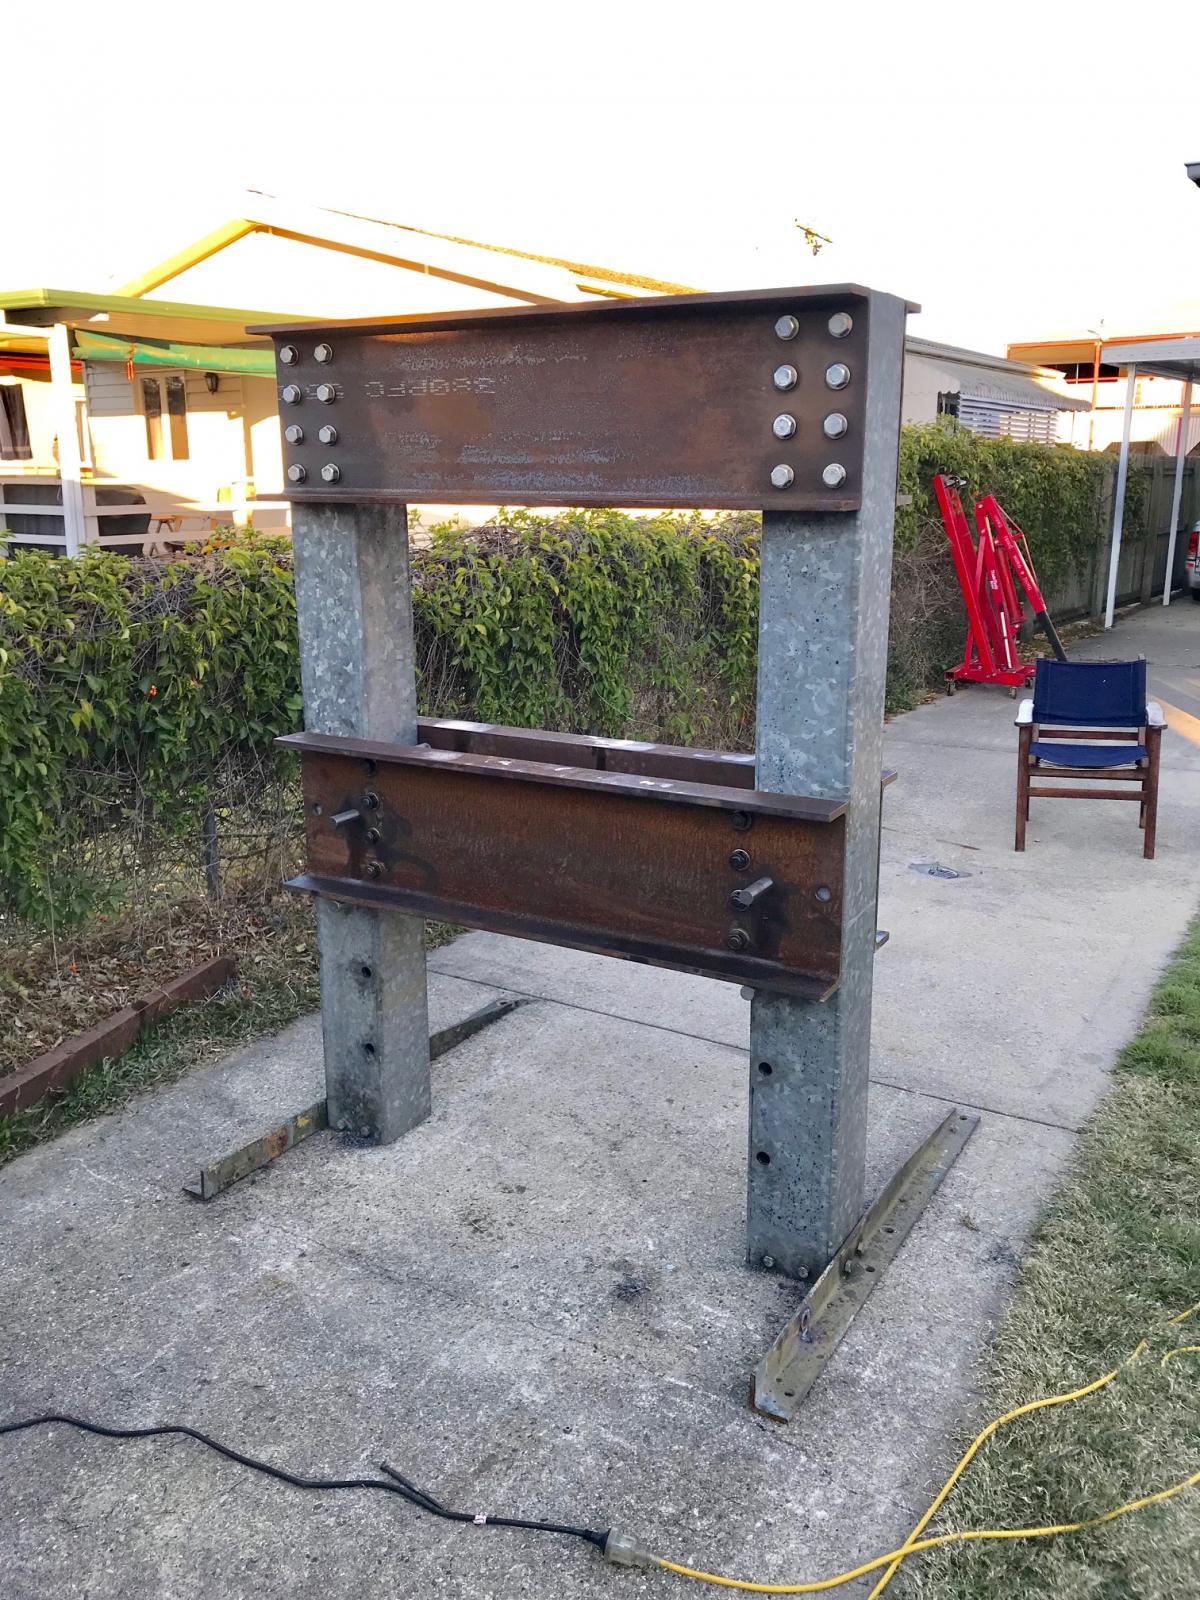
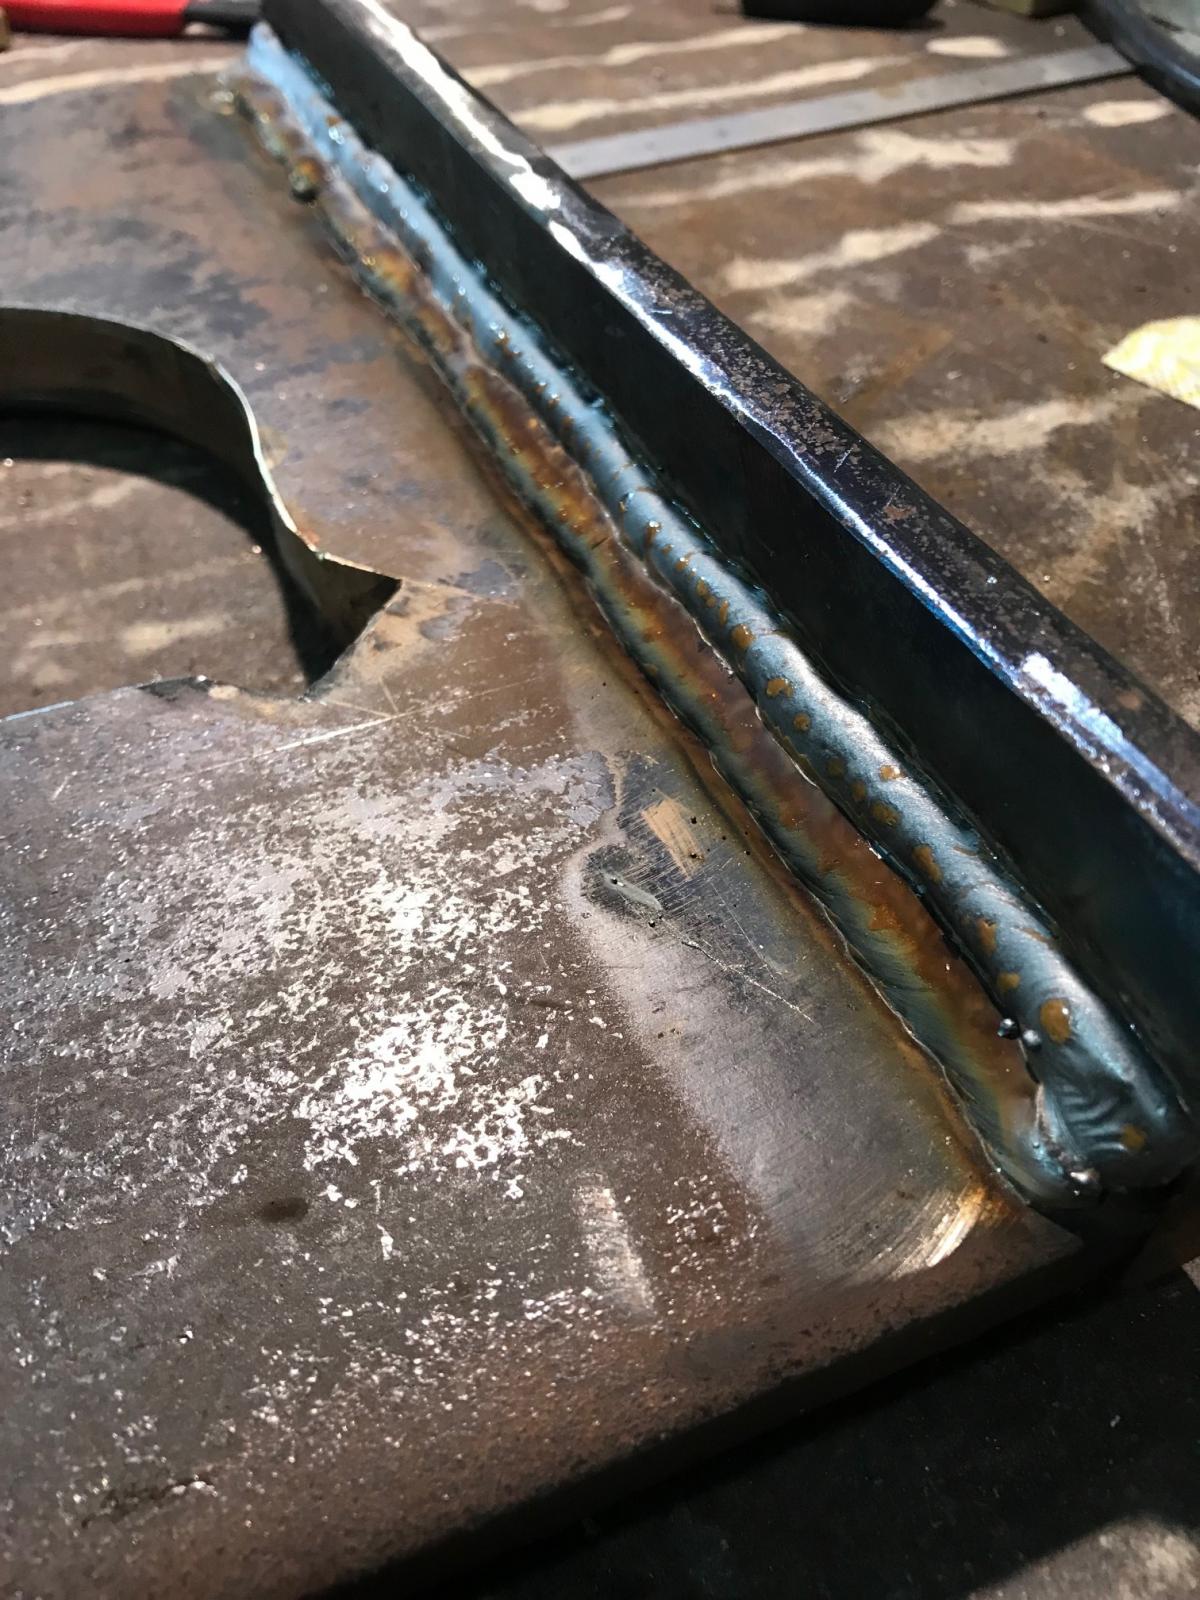
The main frame started with a 4m length of 200 x 200 x 6mm box section and a few lengths of 180 x 75mm tapered flange C channel. I decided on the dimensions, busted out the cut off saw and welder and started making a mess.
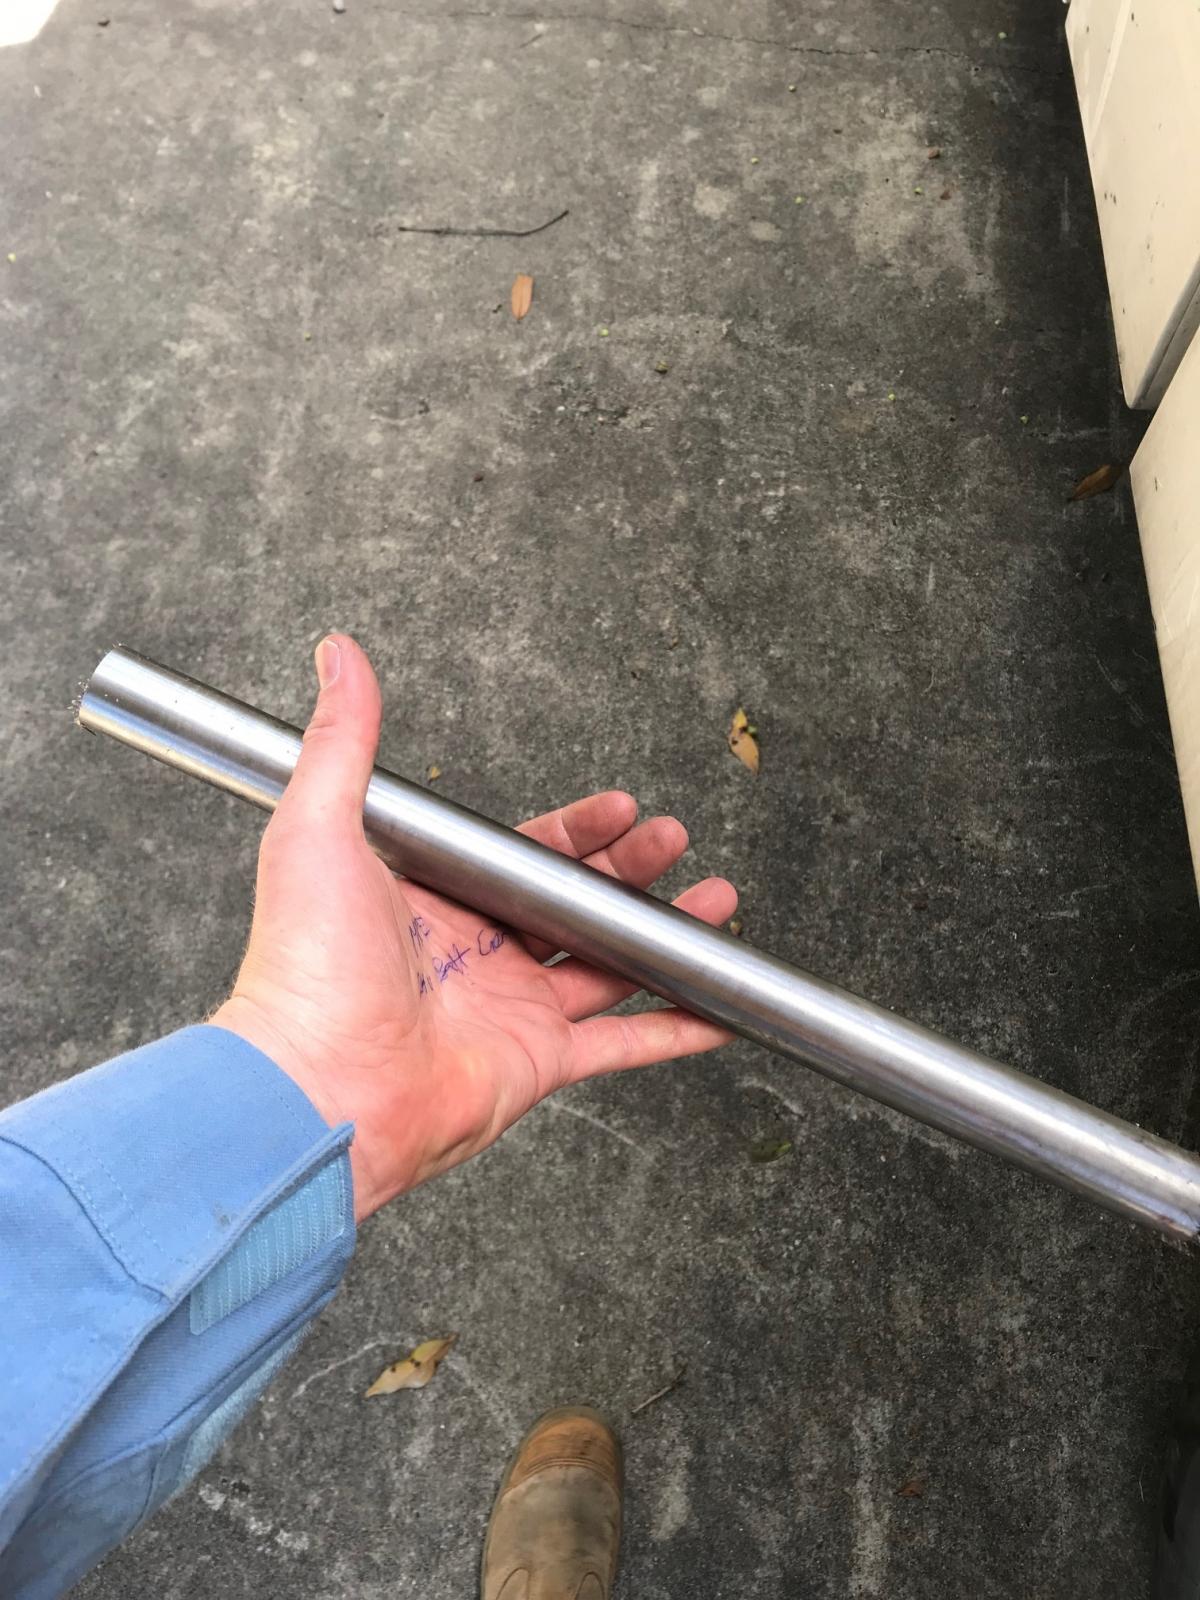
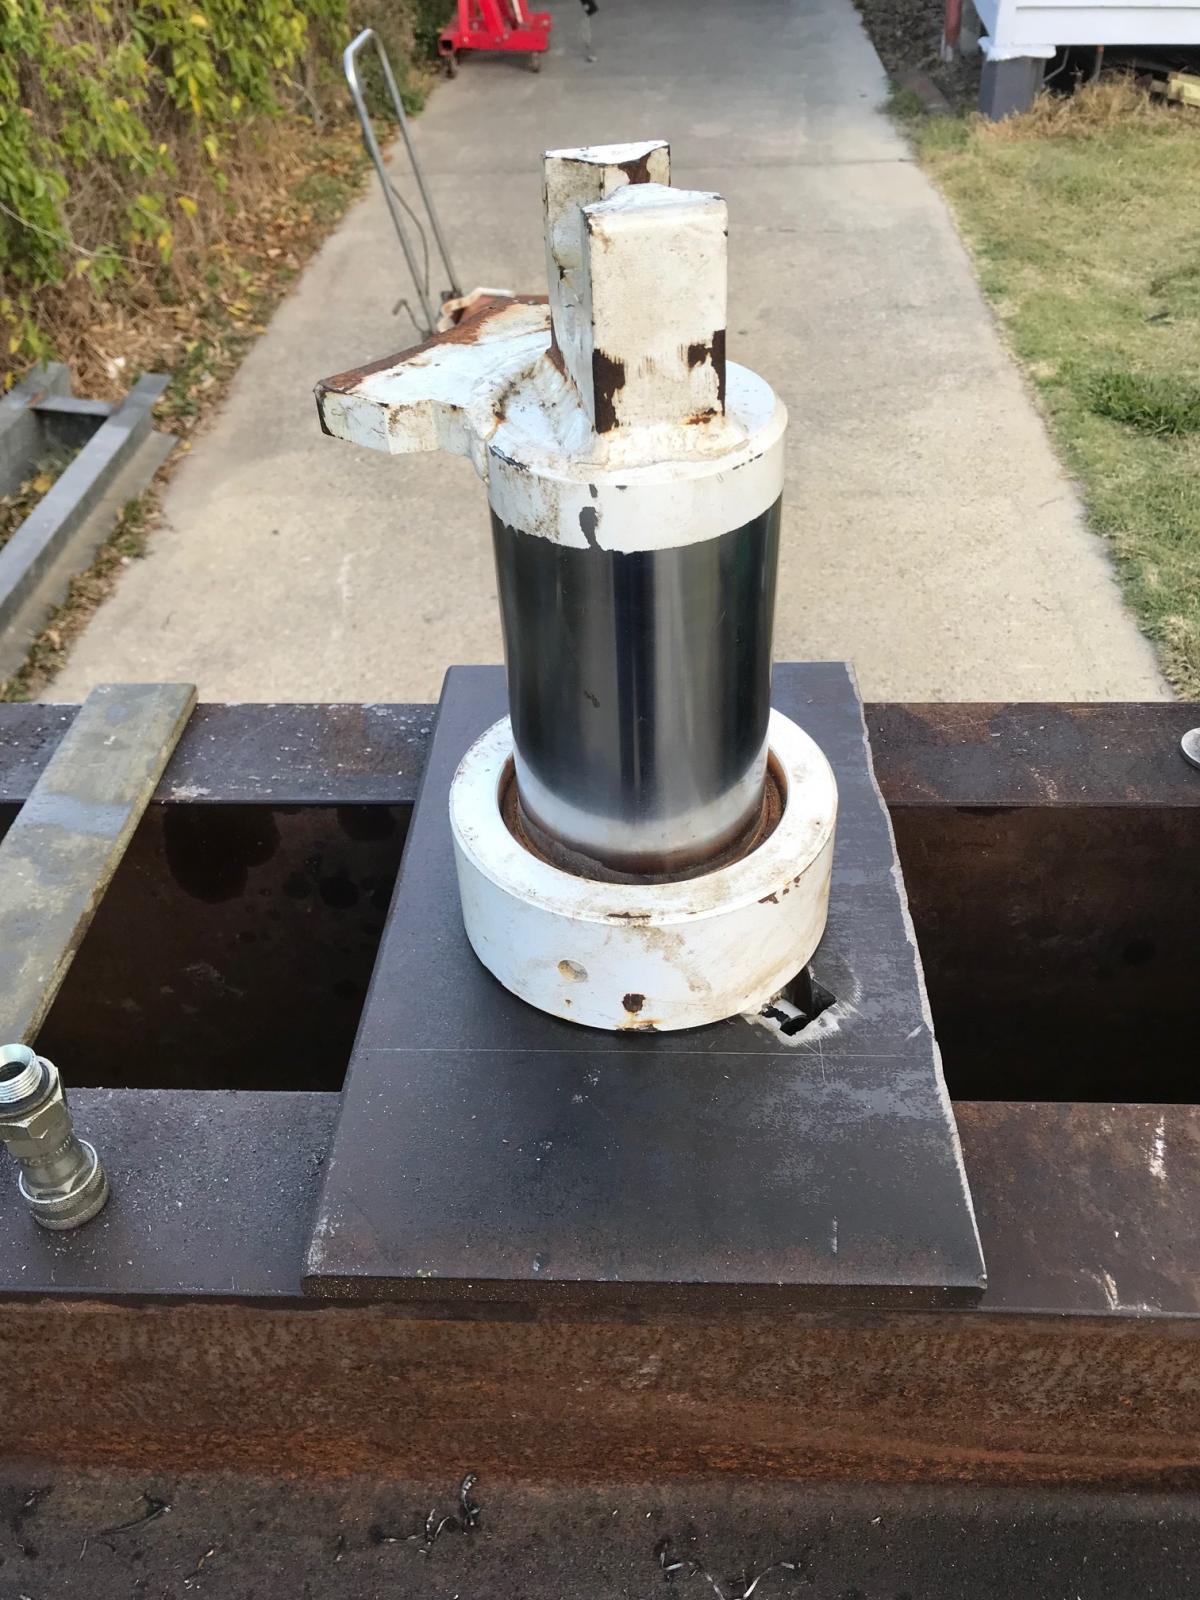
Fortunately before I had too much time invested in the steel frame I found the hydraulic cylinder and decided that the box section and channel were going to be too small for the capacity of the ram. So I put the press on hold and searched for some more steel.
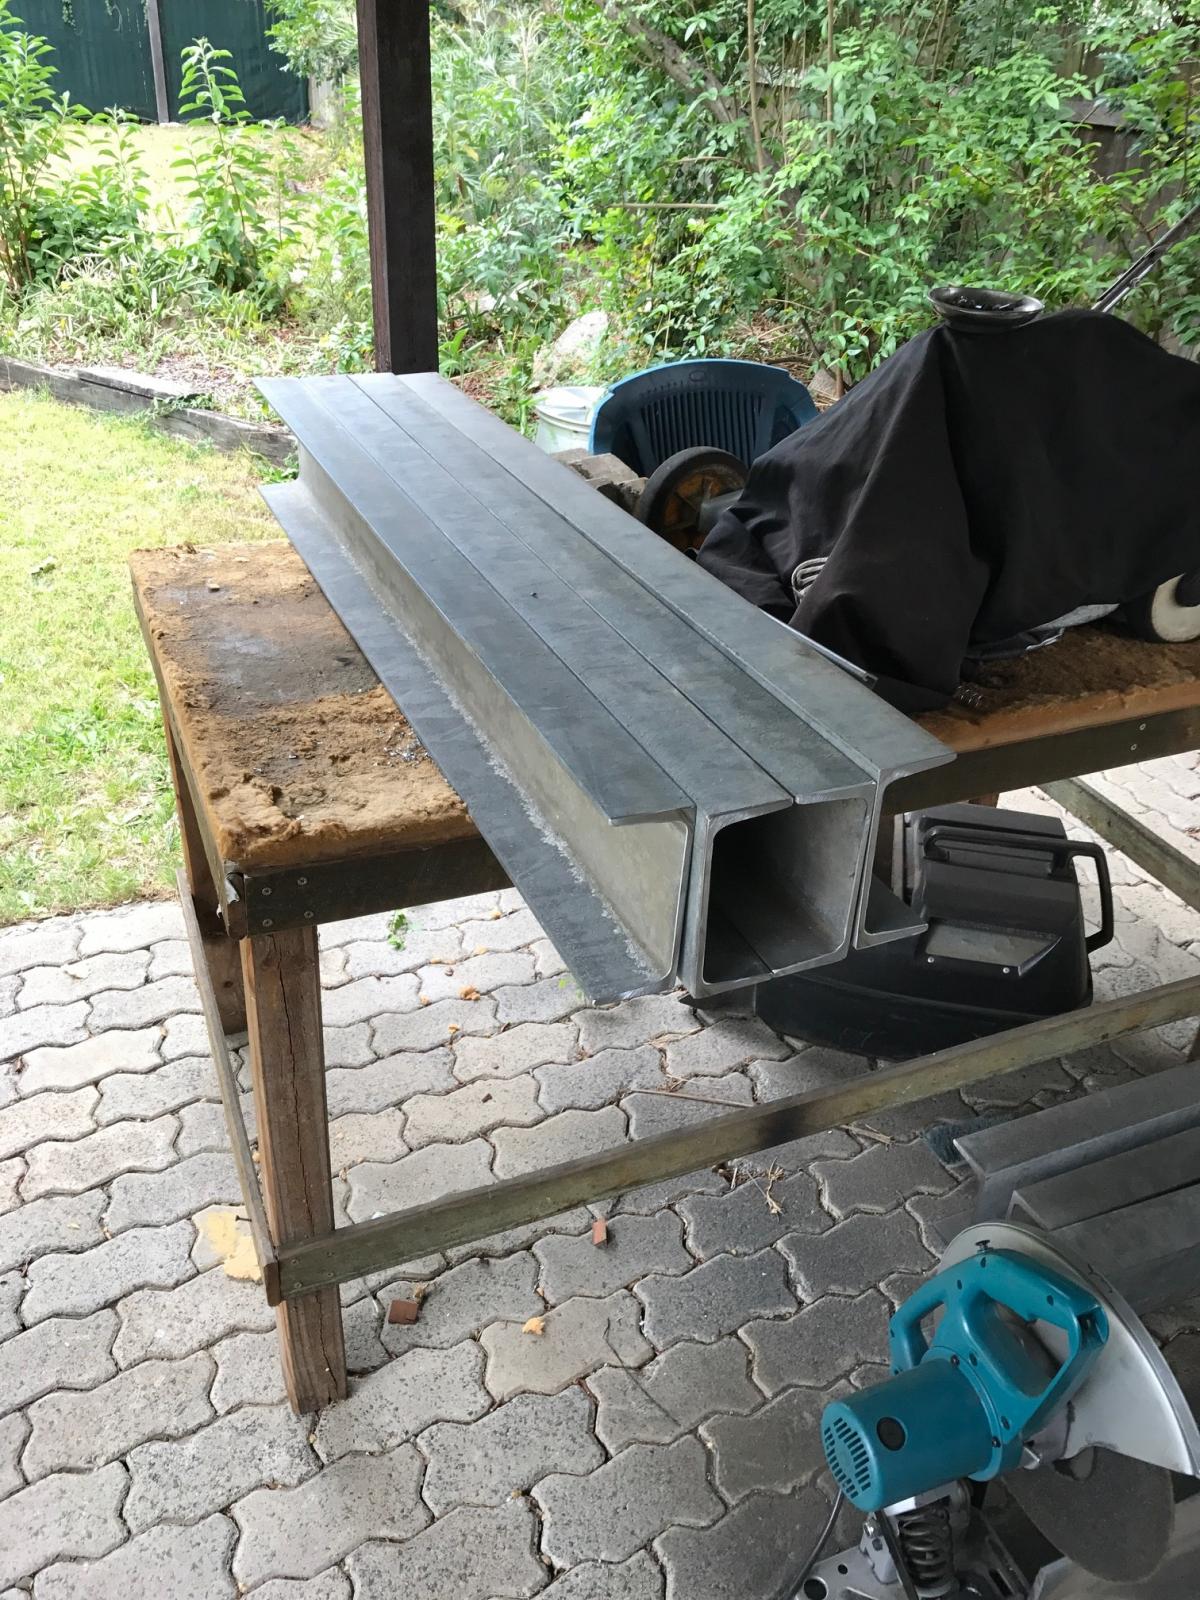
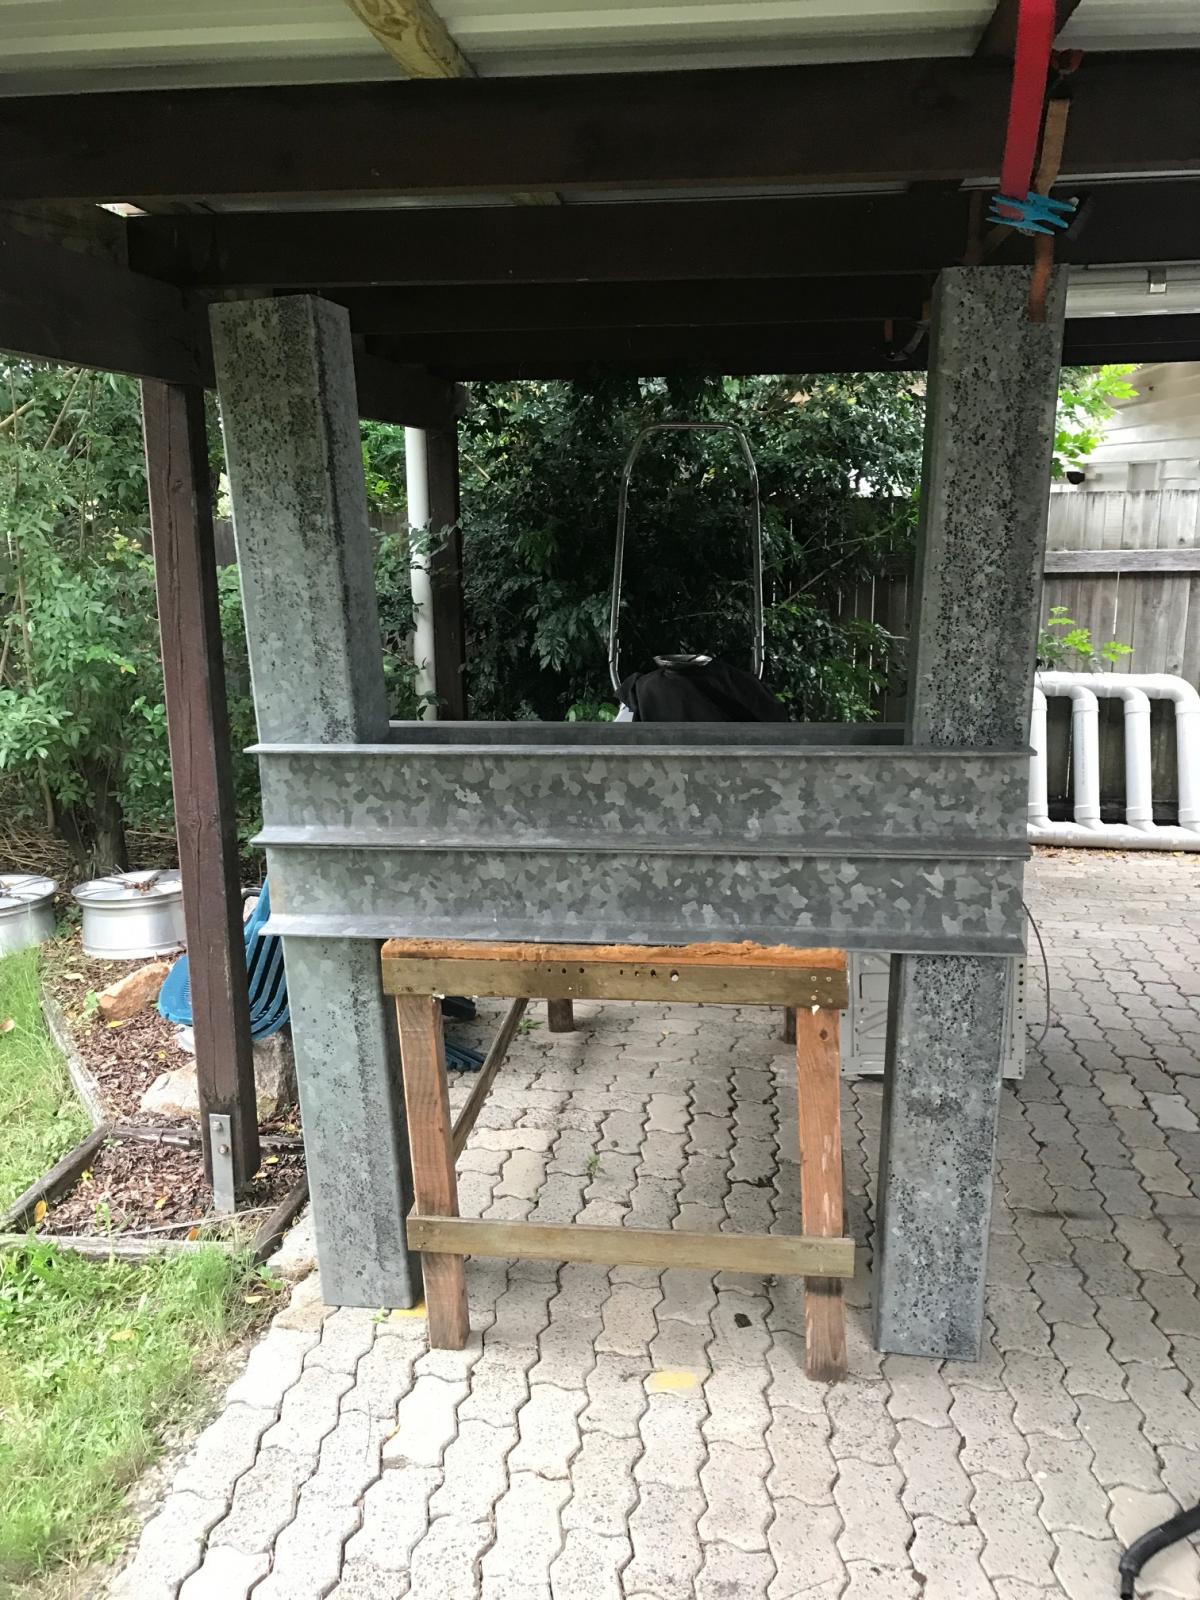
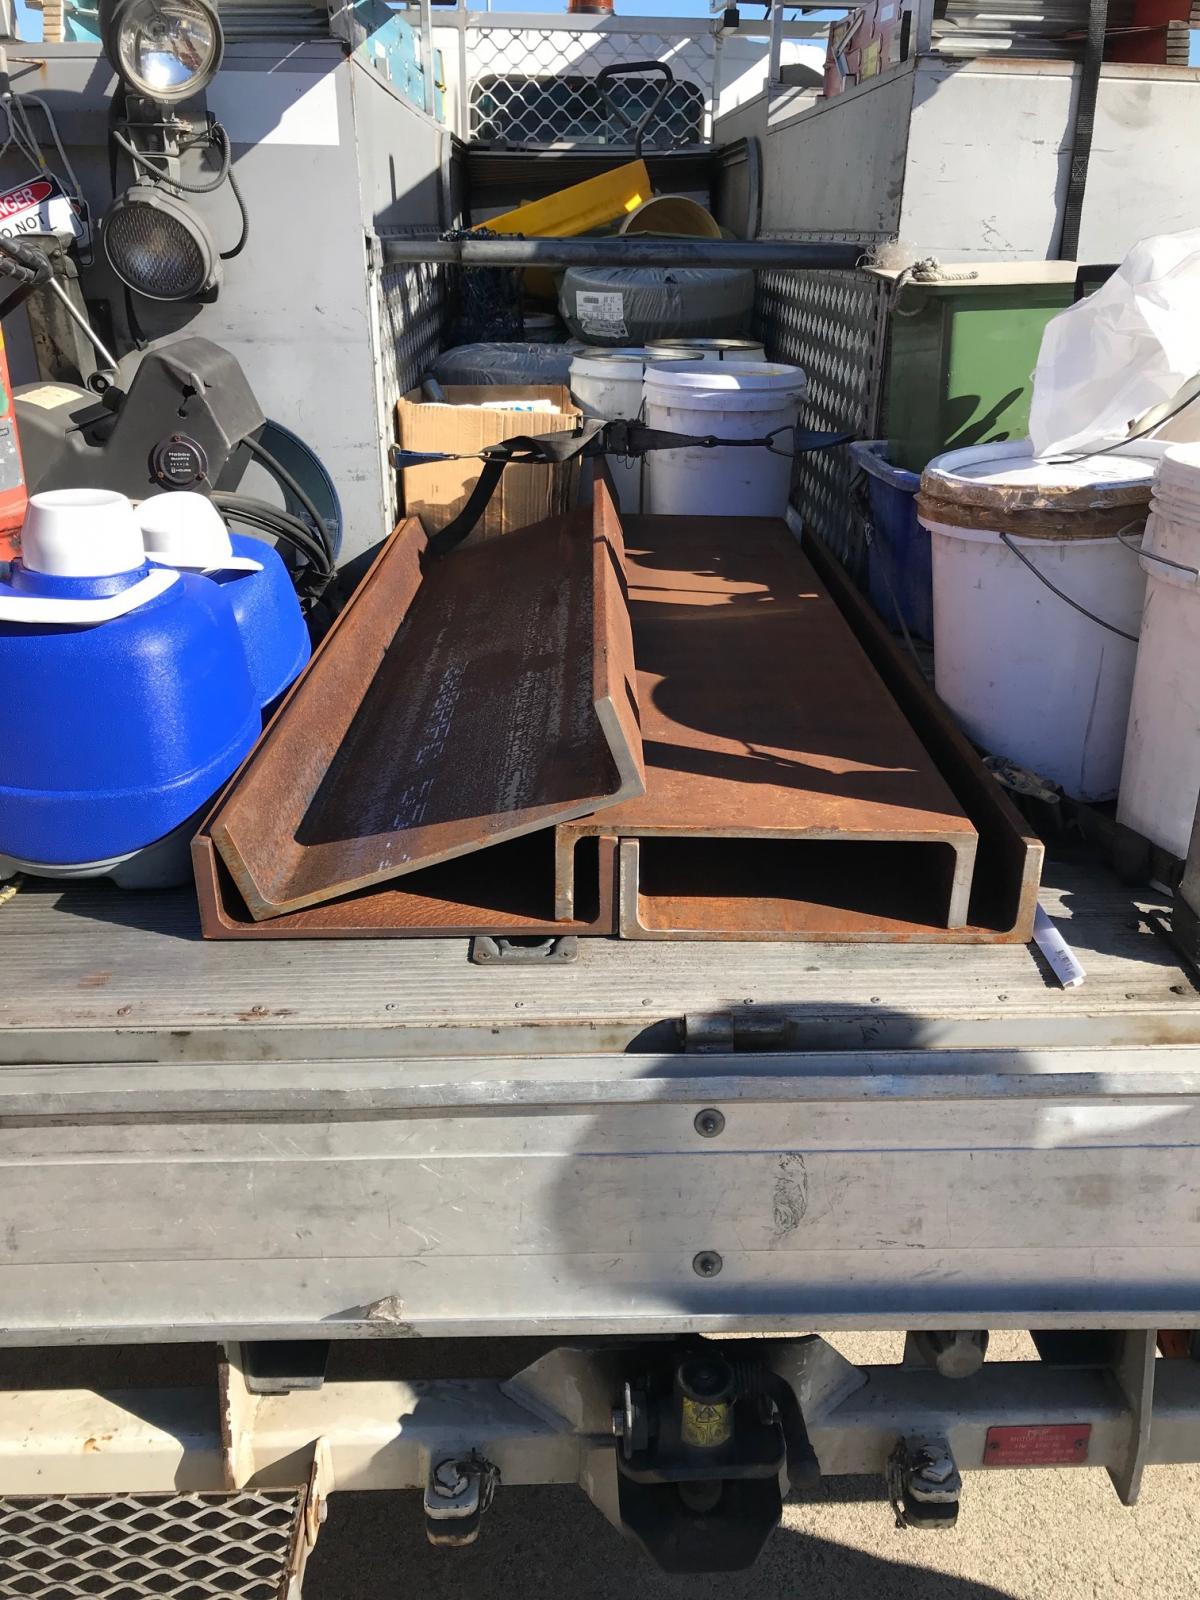
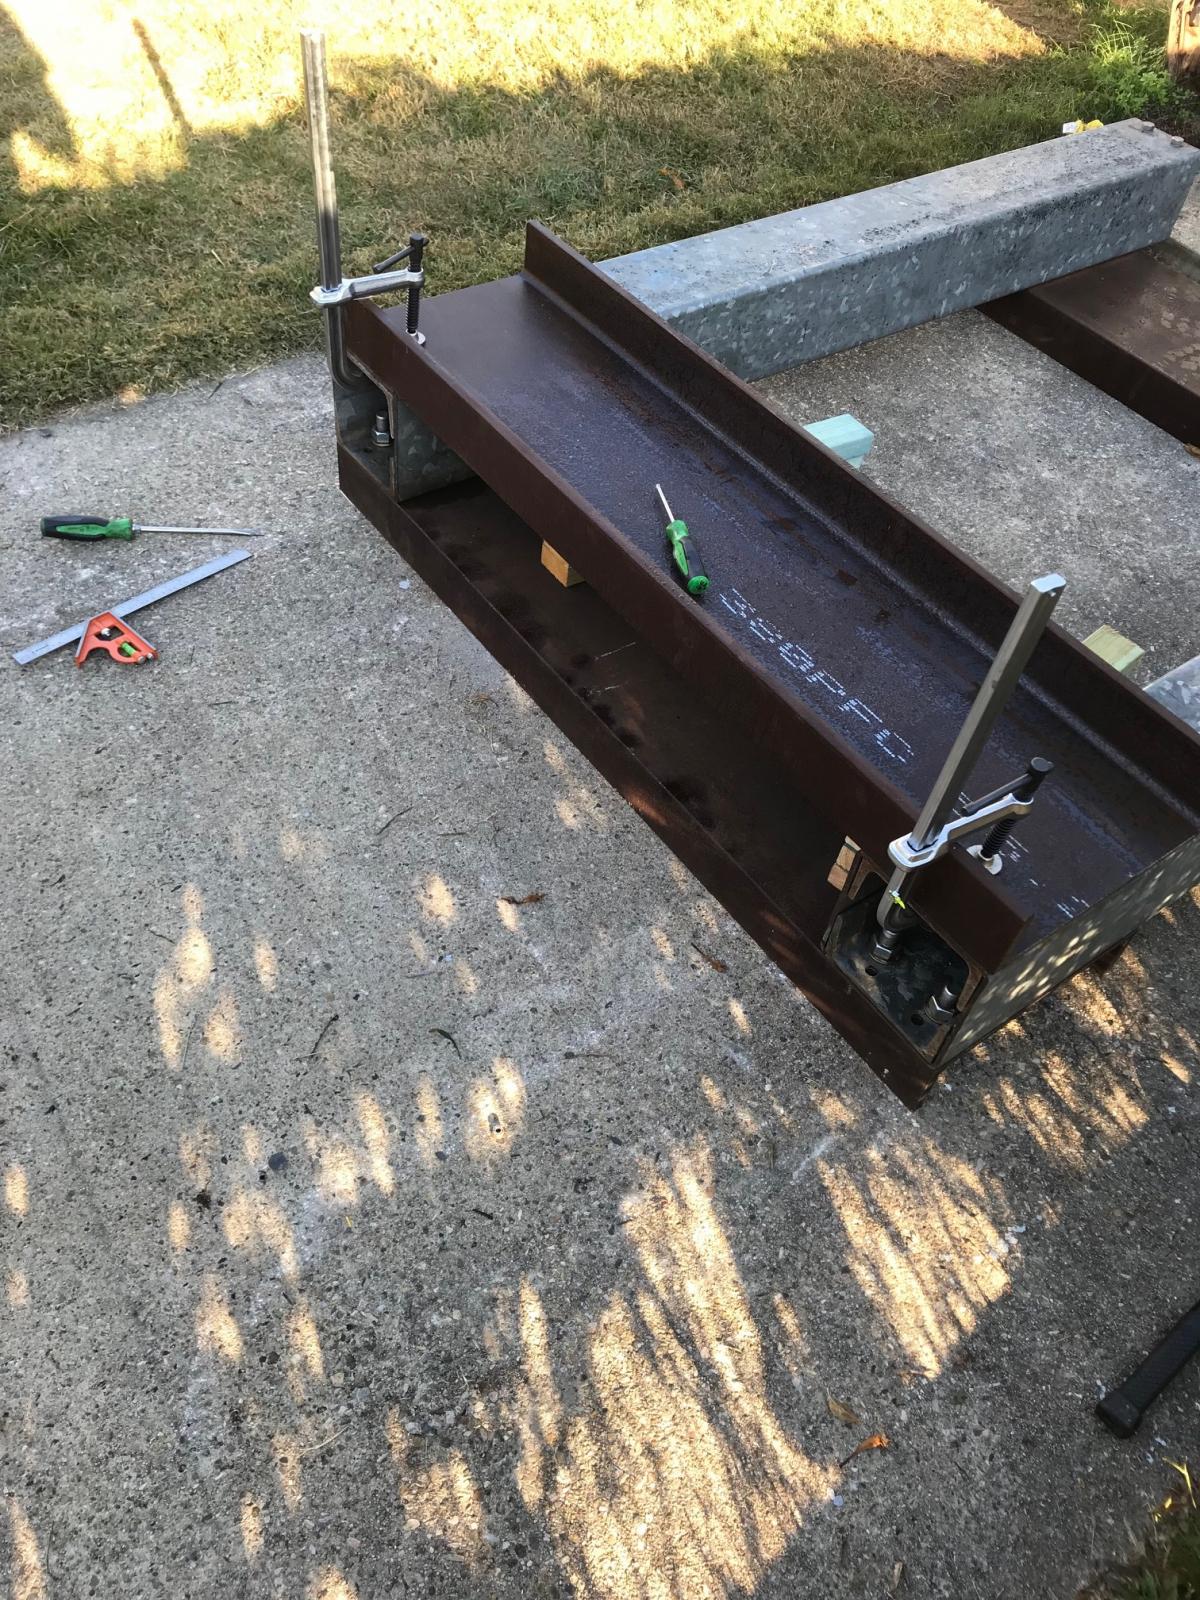
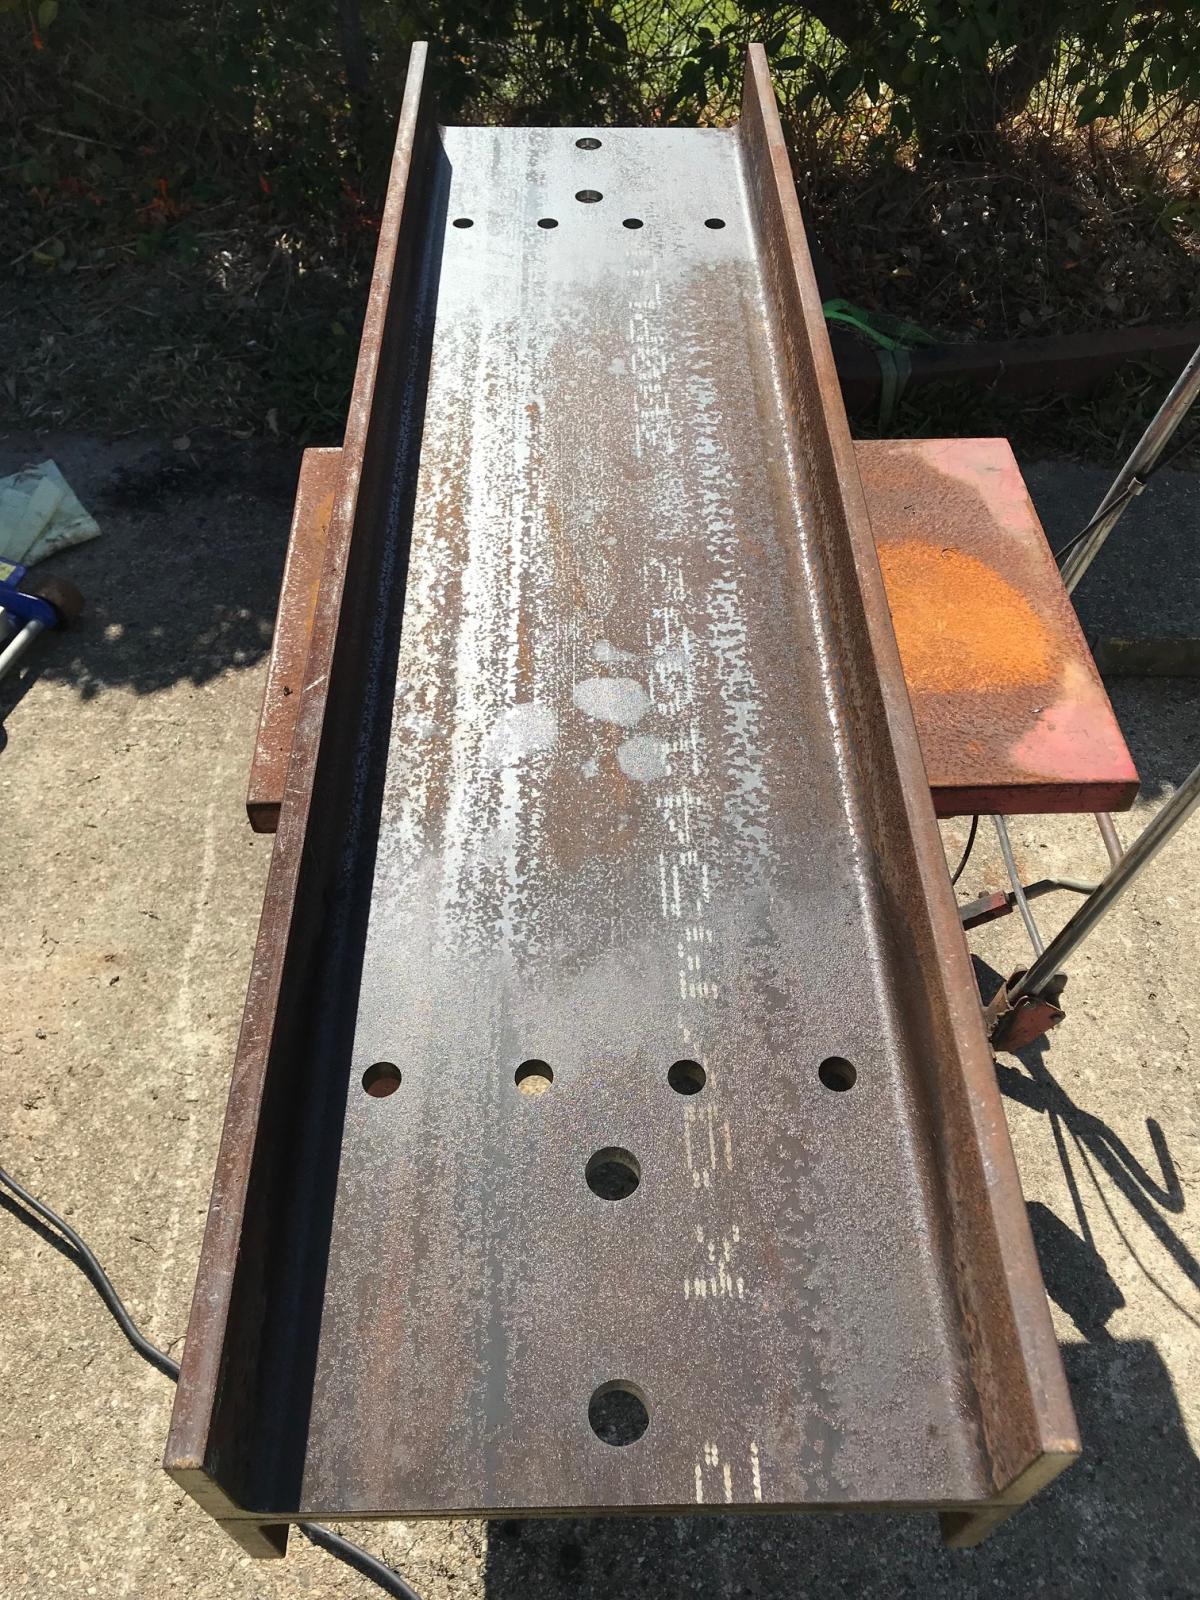
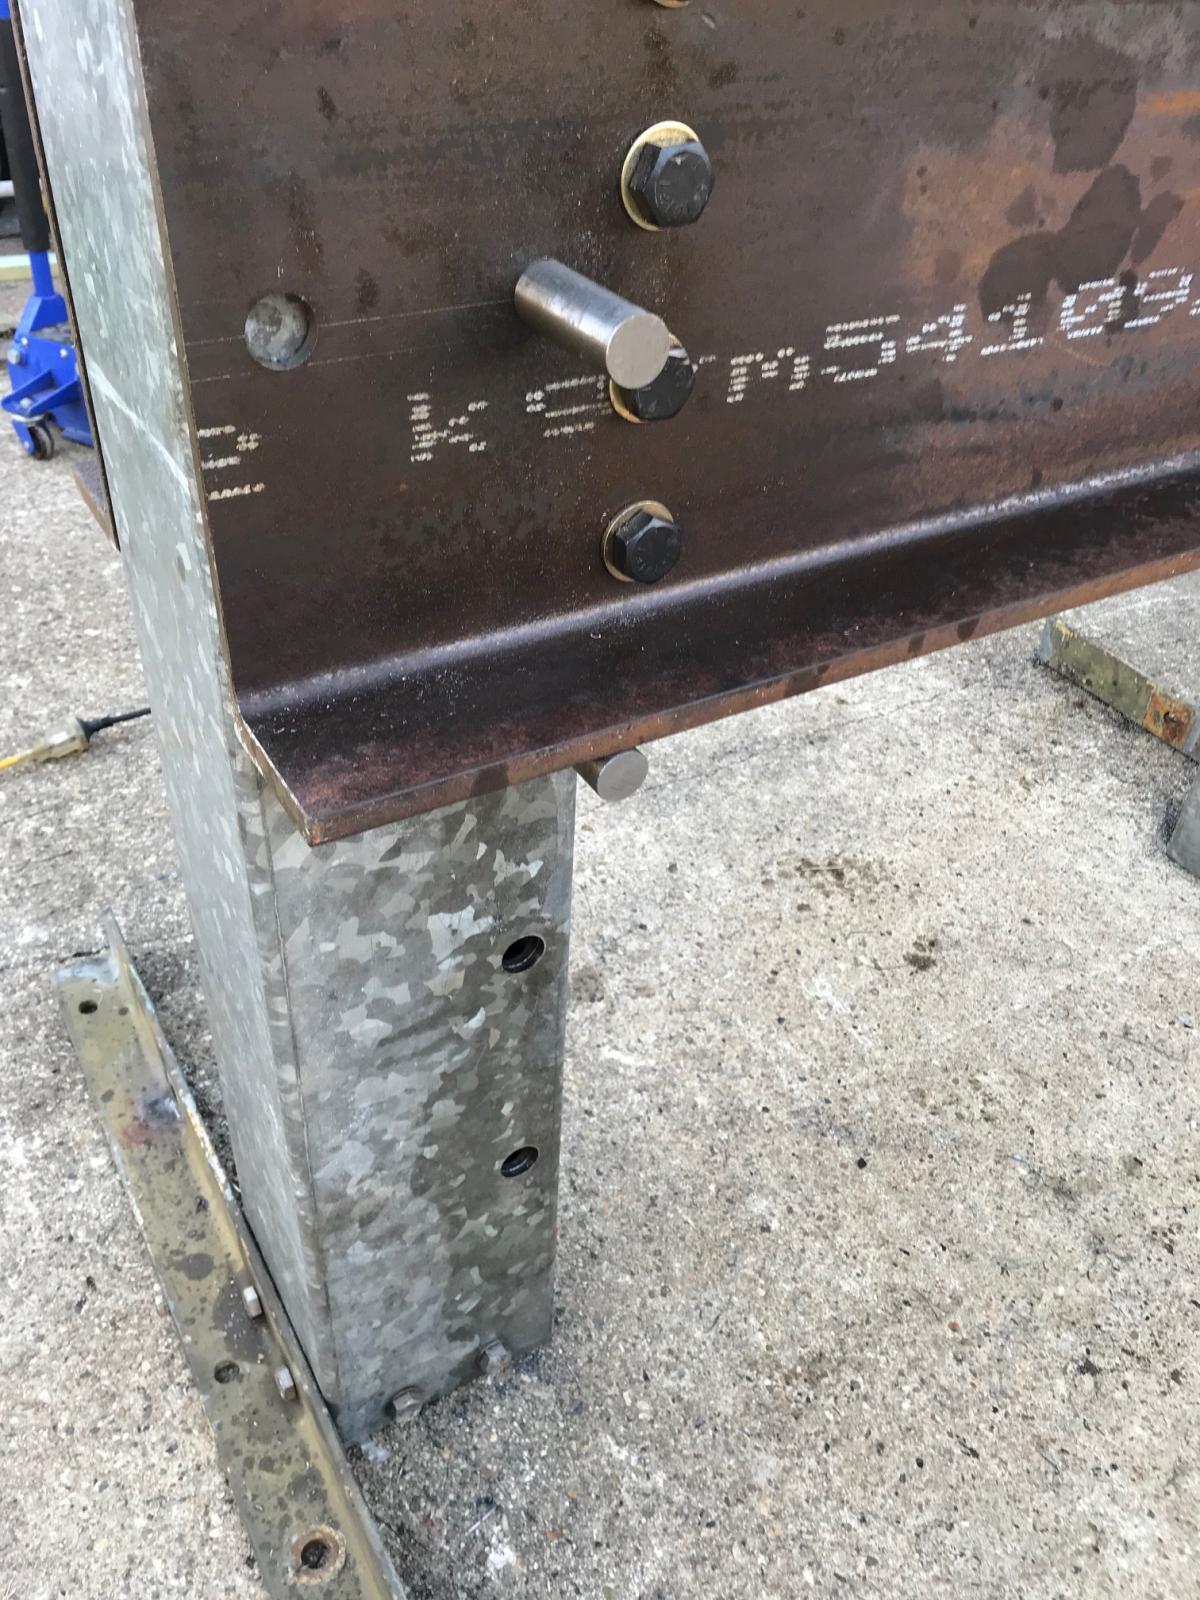
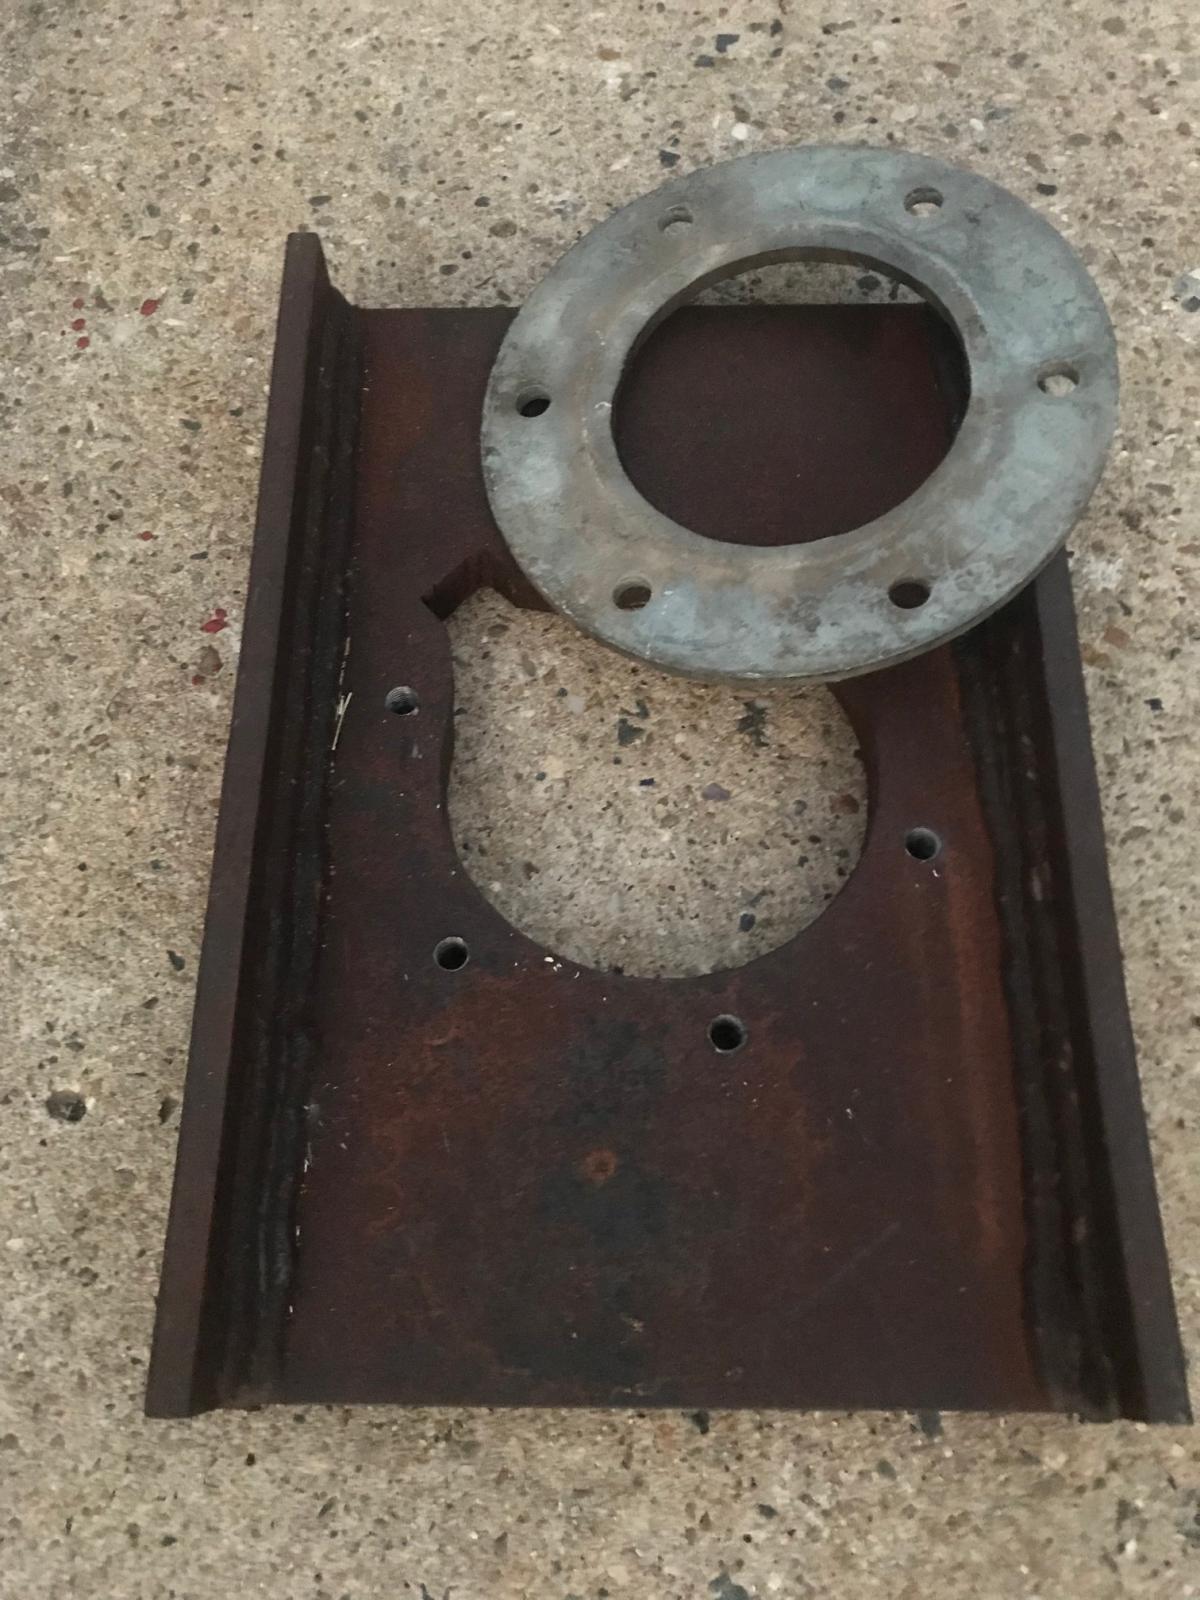
I walked into a local heavy fabrication shop that was having a clean up and asked about the 380mm x 100mm parallel flange channel they had sitting on the ground out the front. We agreed on a price and they cut me some to size.
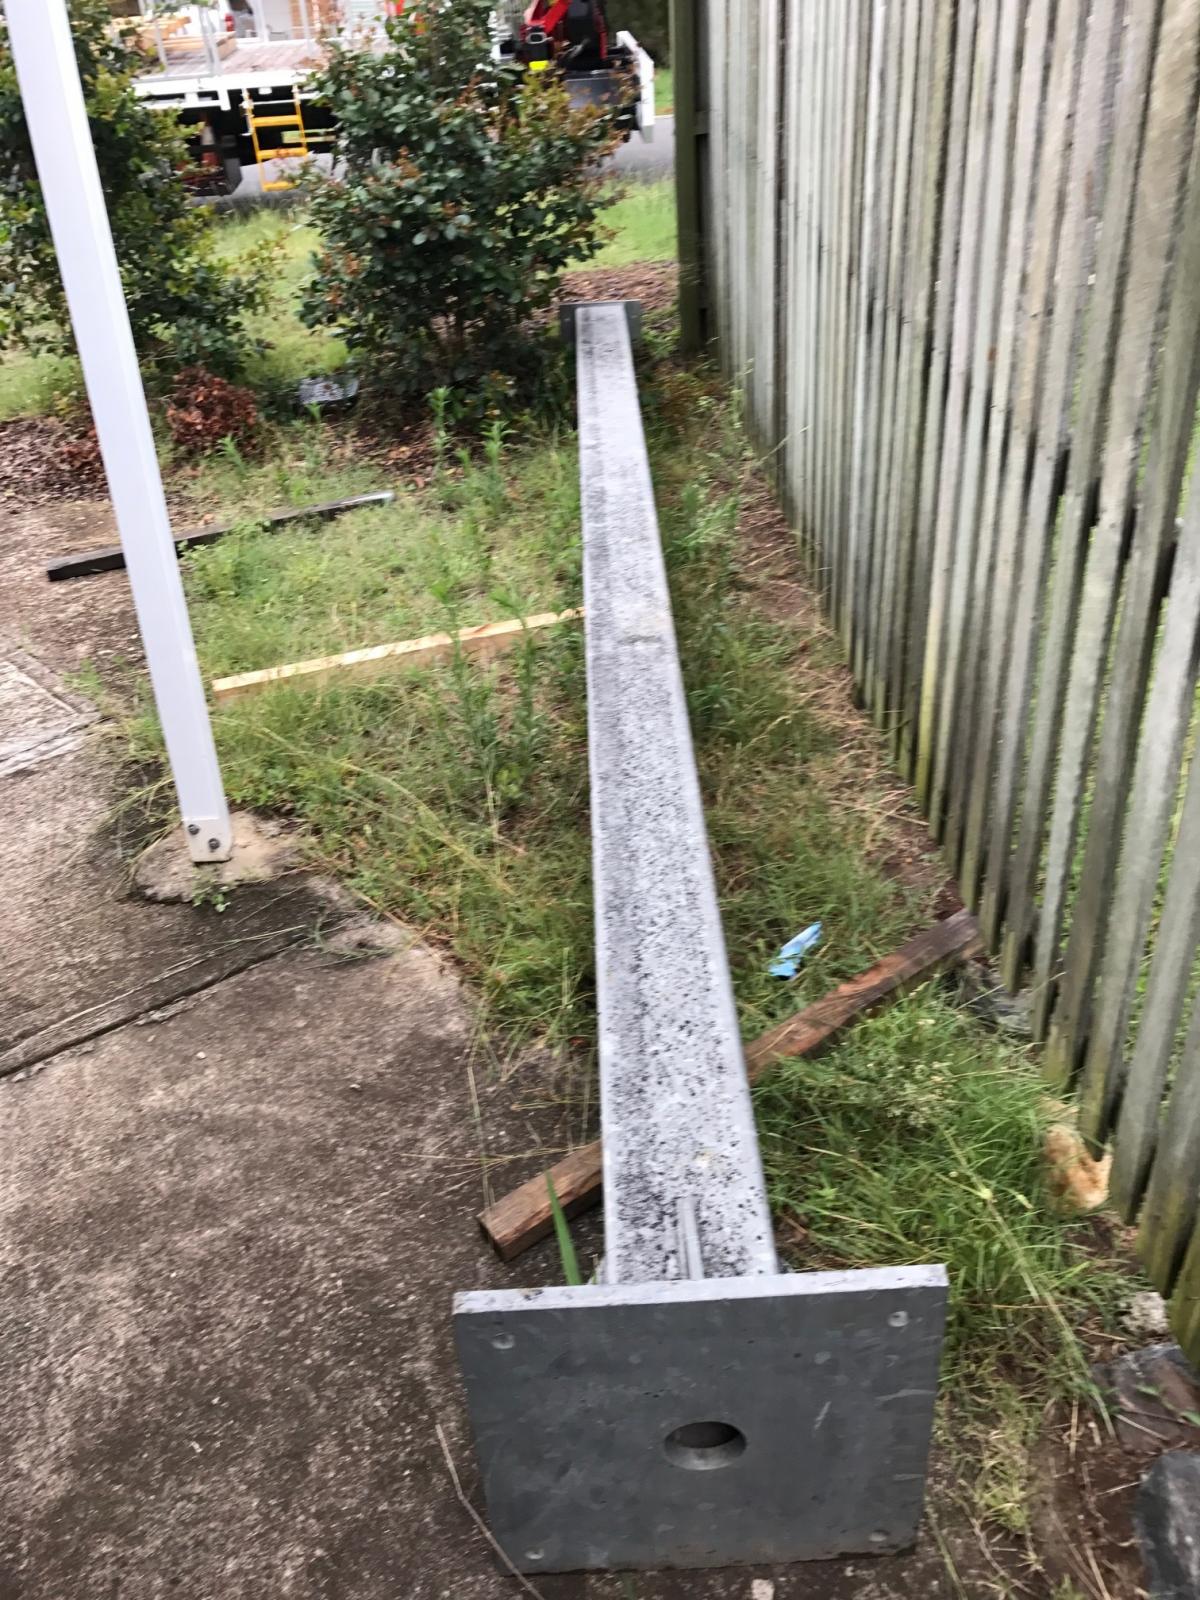
Next step was to find some stronger uprights as I wasnt comfortable with the 6mm wall thickness.


 Reply With Quote
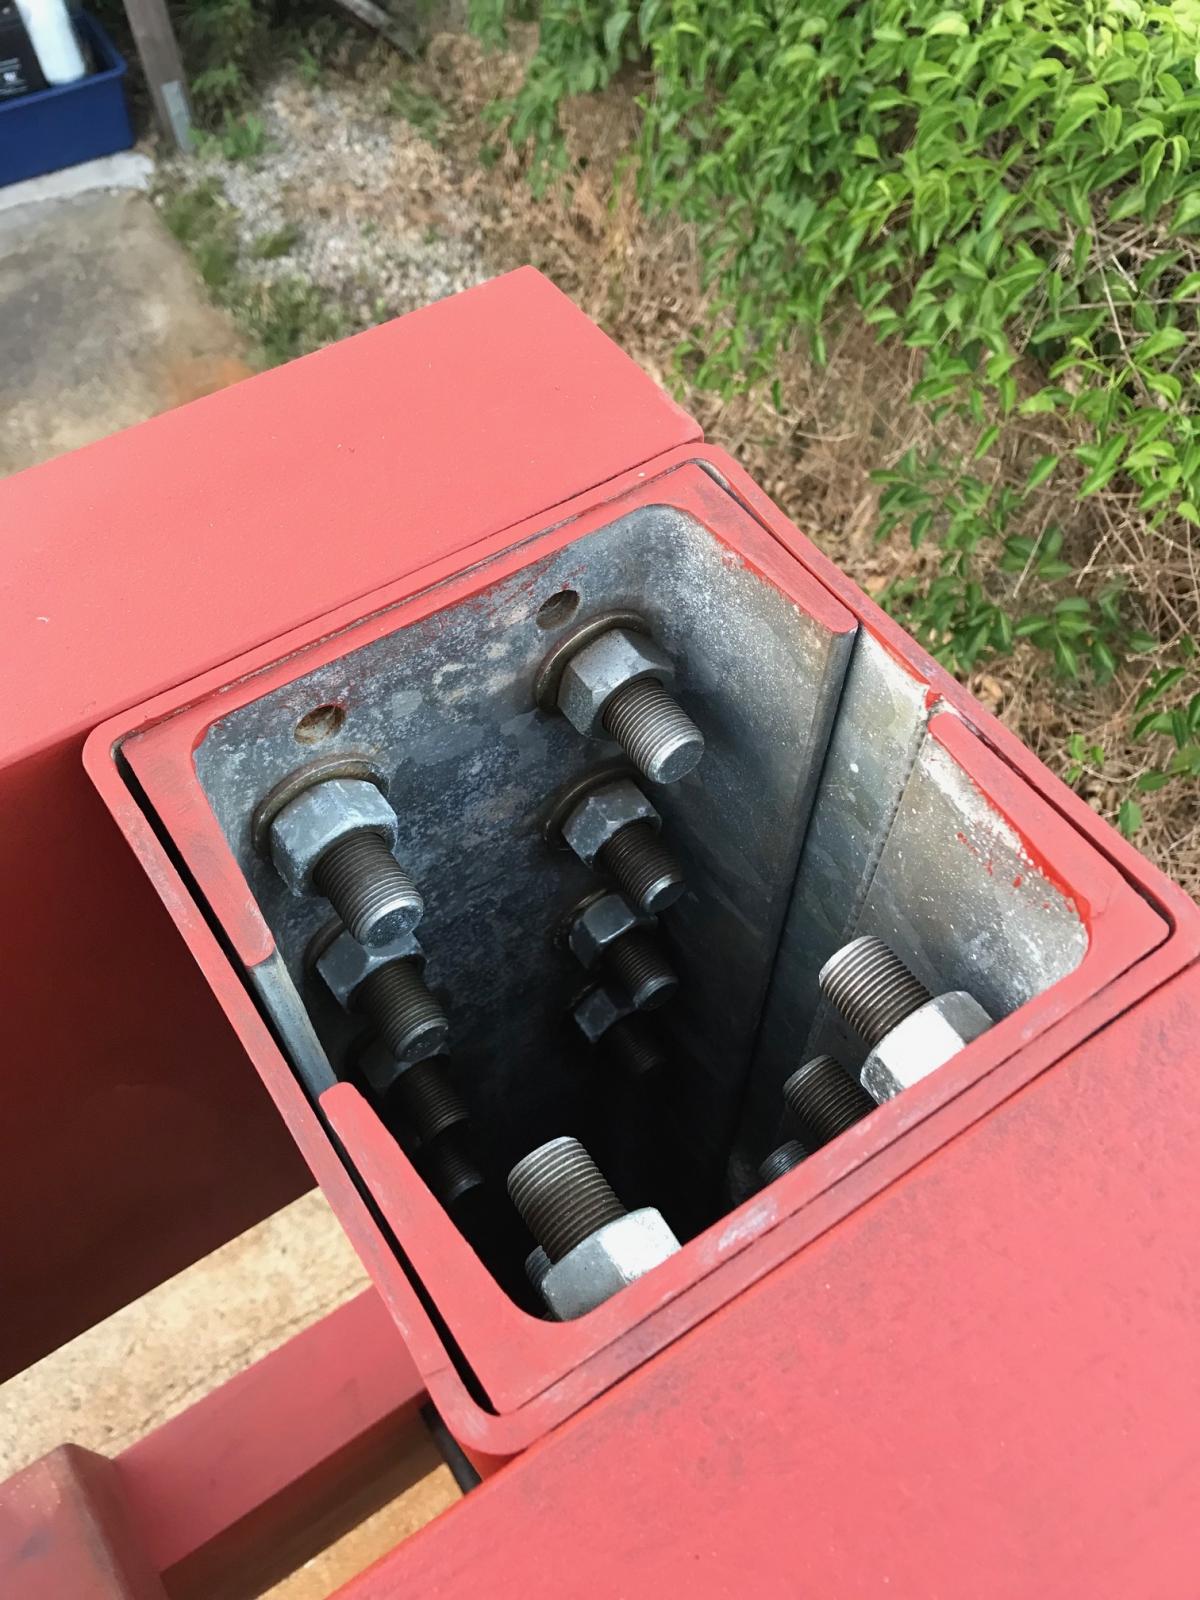


Bookmarks