
 LinkBack URL
 About LinkBacks


Hi all!
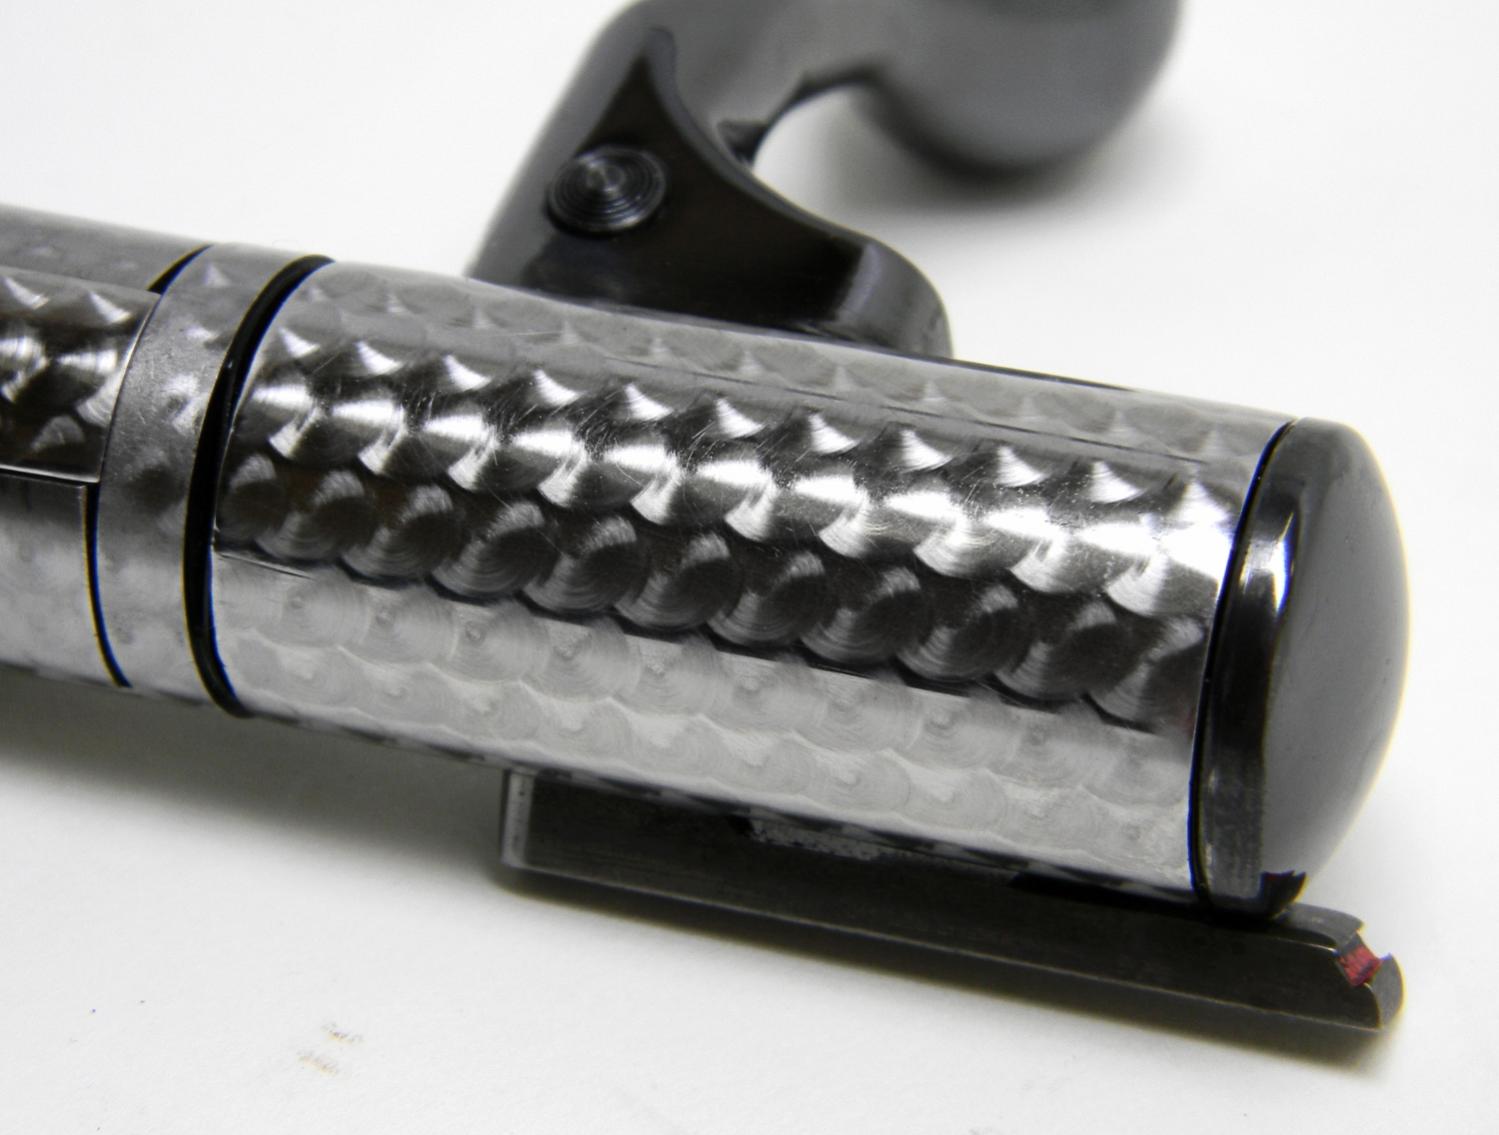
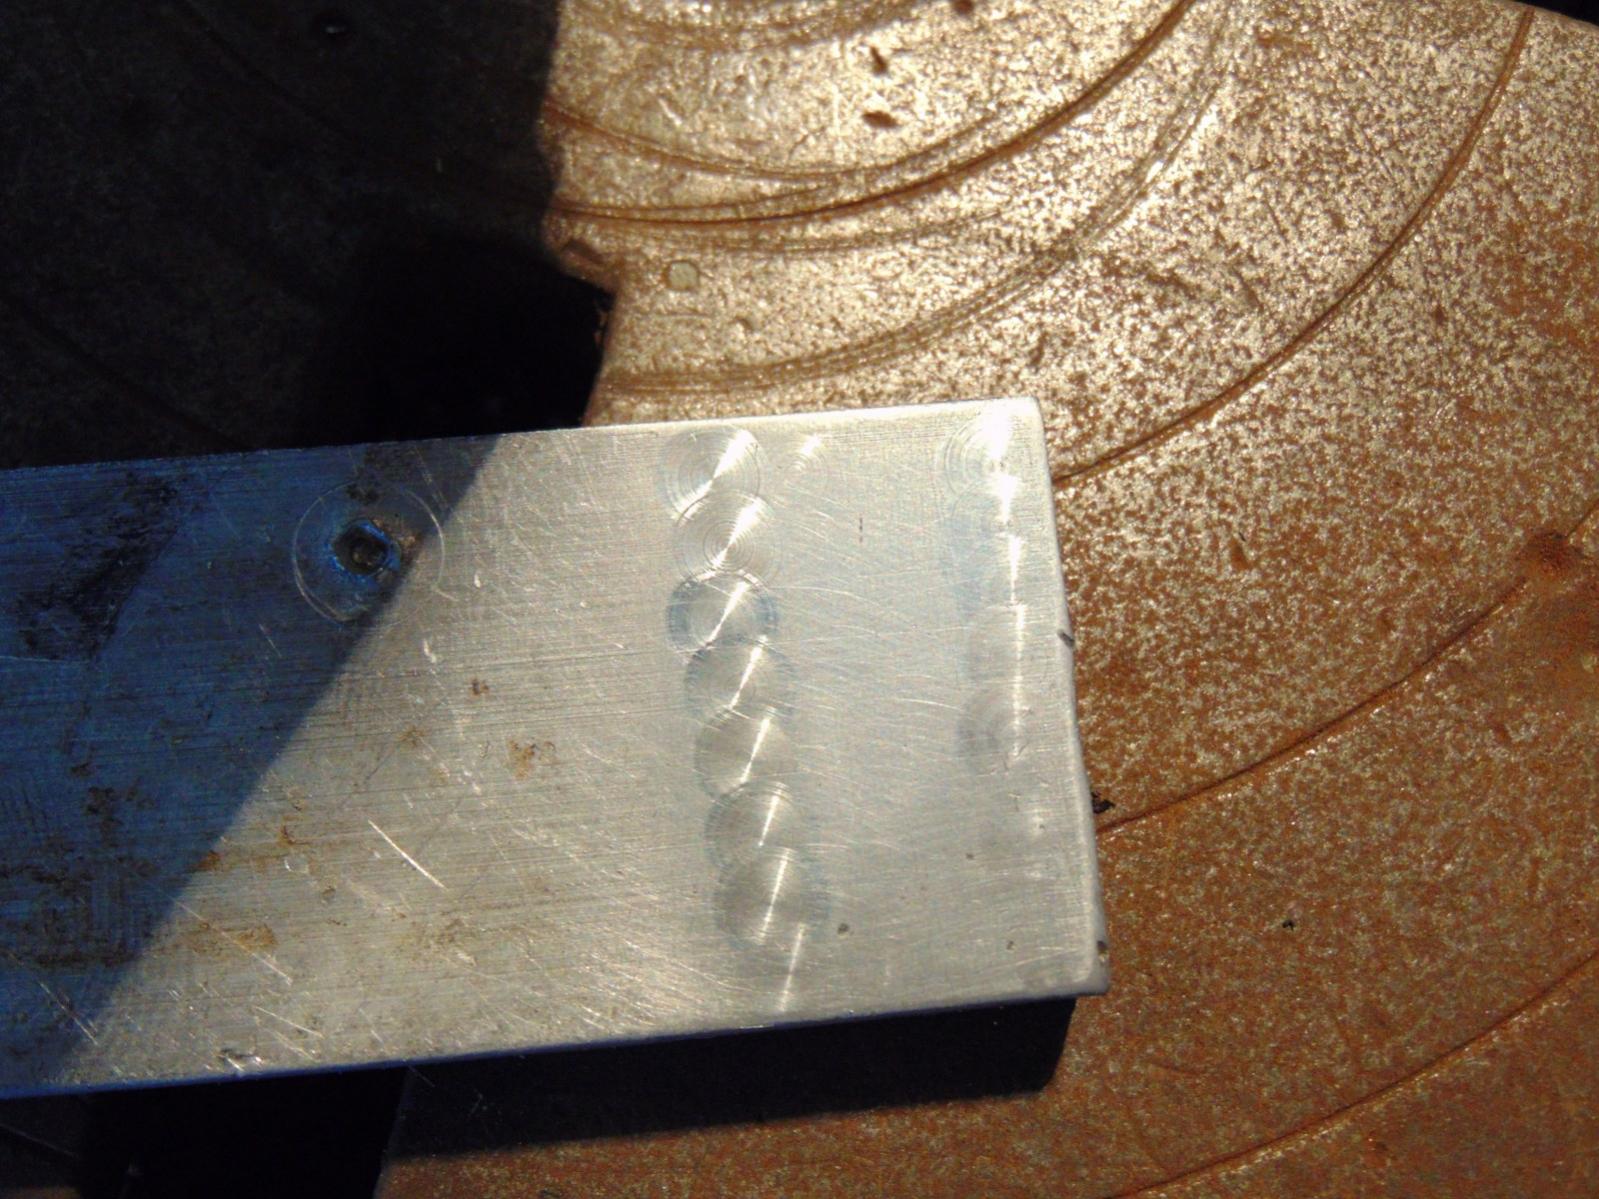
I'm searching info about this technique, I would like to use on the aluminum panel of my next amplifier
I saw some video on youtube about attempts, but there is nothing about a good work.
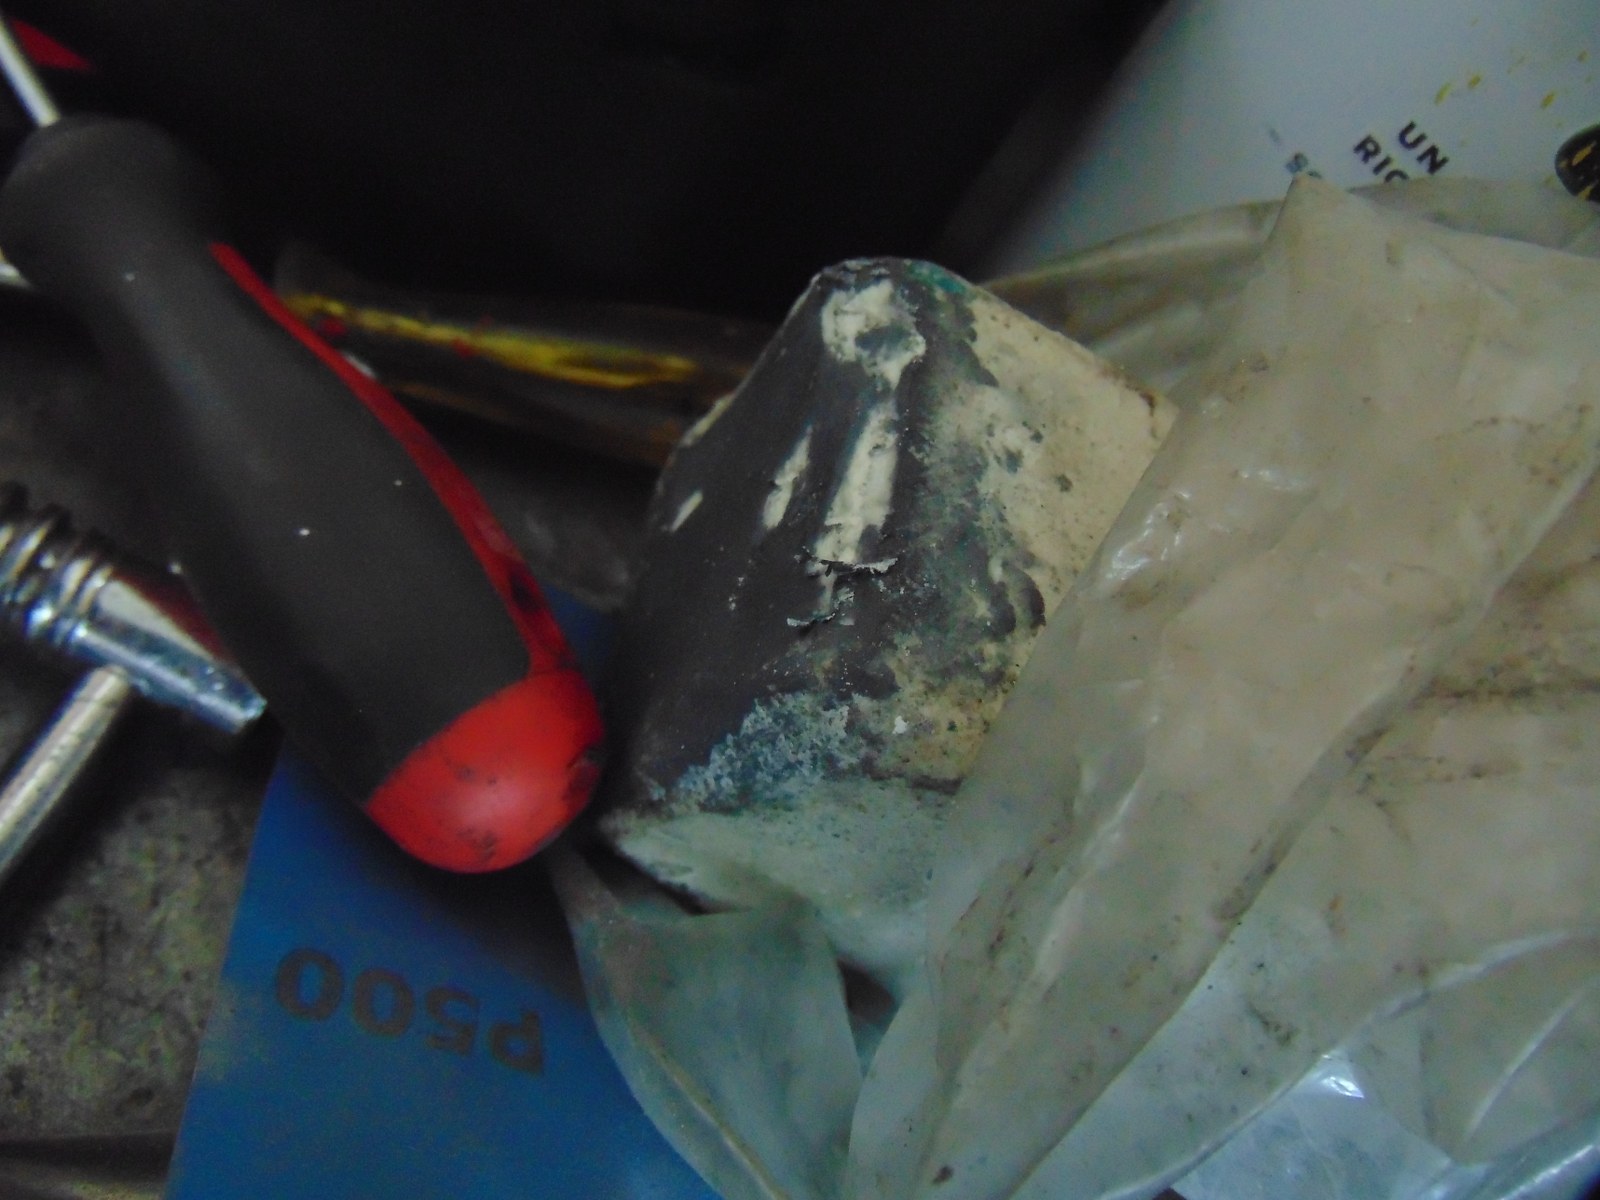
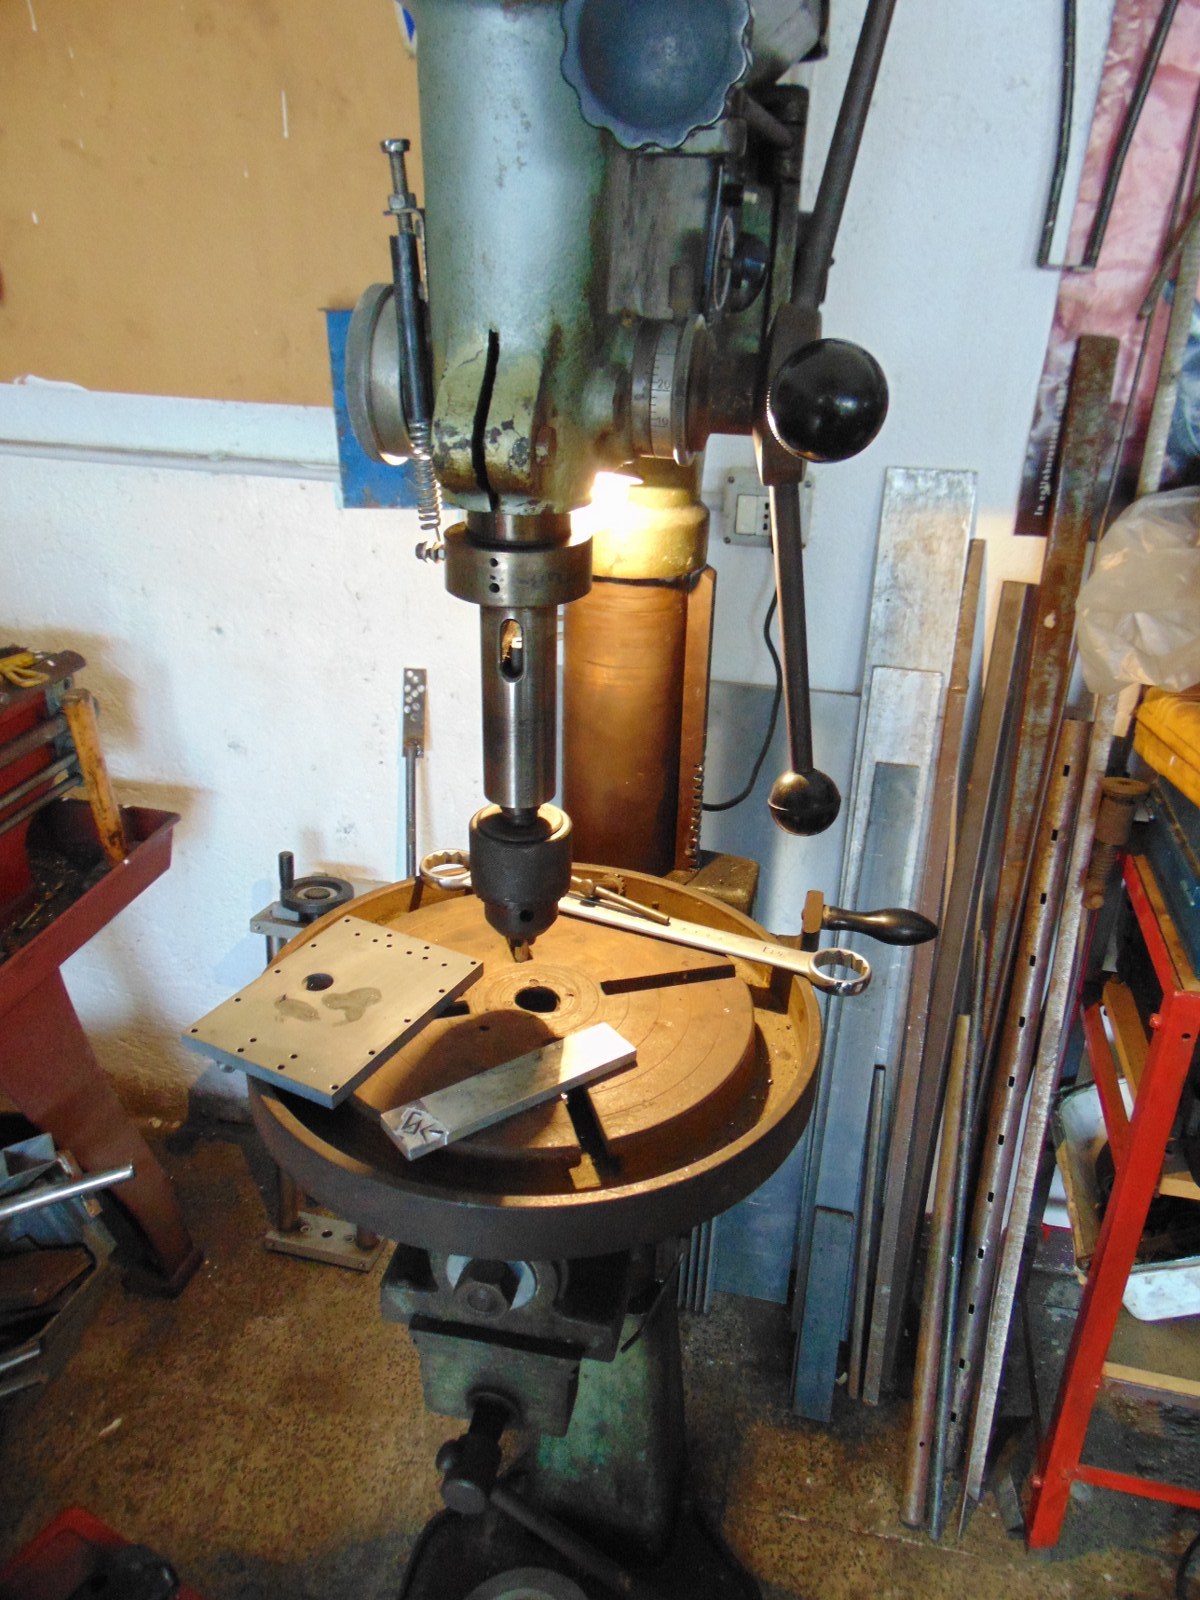
In local shop there are no tools at all, I saw that there are some rubber rod filled with abrasive, nearly impossibile to find here.
Someone used steel brush, someone rubber with polishing paste.
For a good job, in your opinion, what's should I need?
That's the effect I desire
https://www.customshopinc.com/produc...shingjeweling/


 Reply With Quote


")


Bookmarks