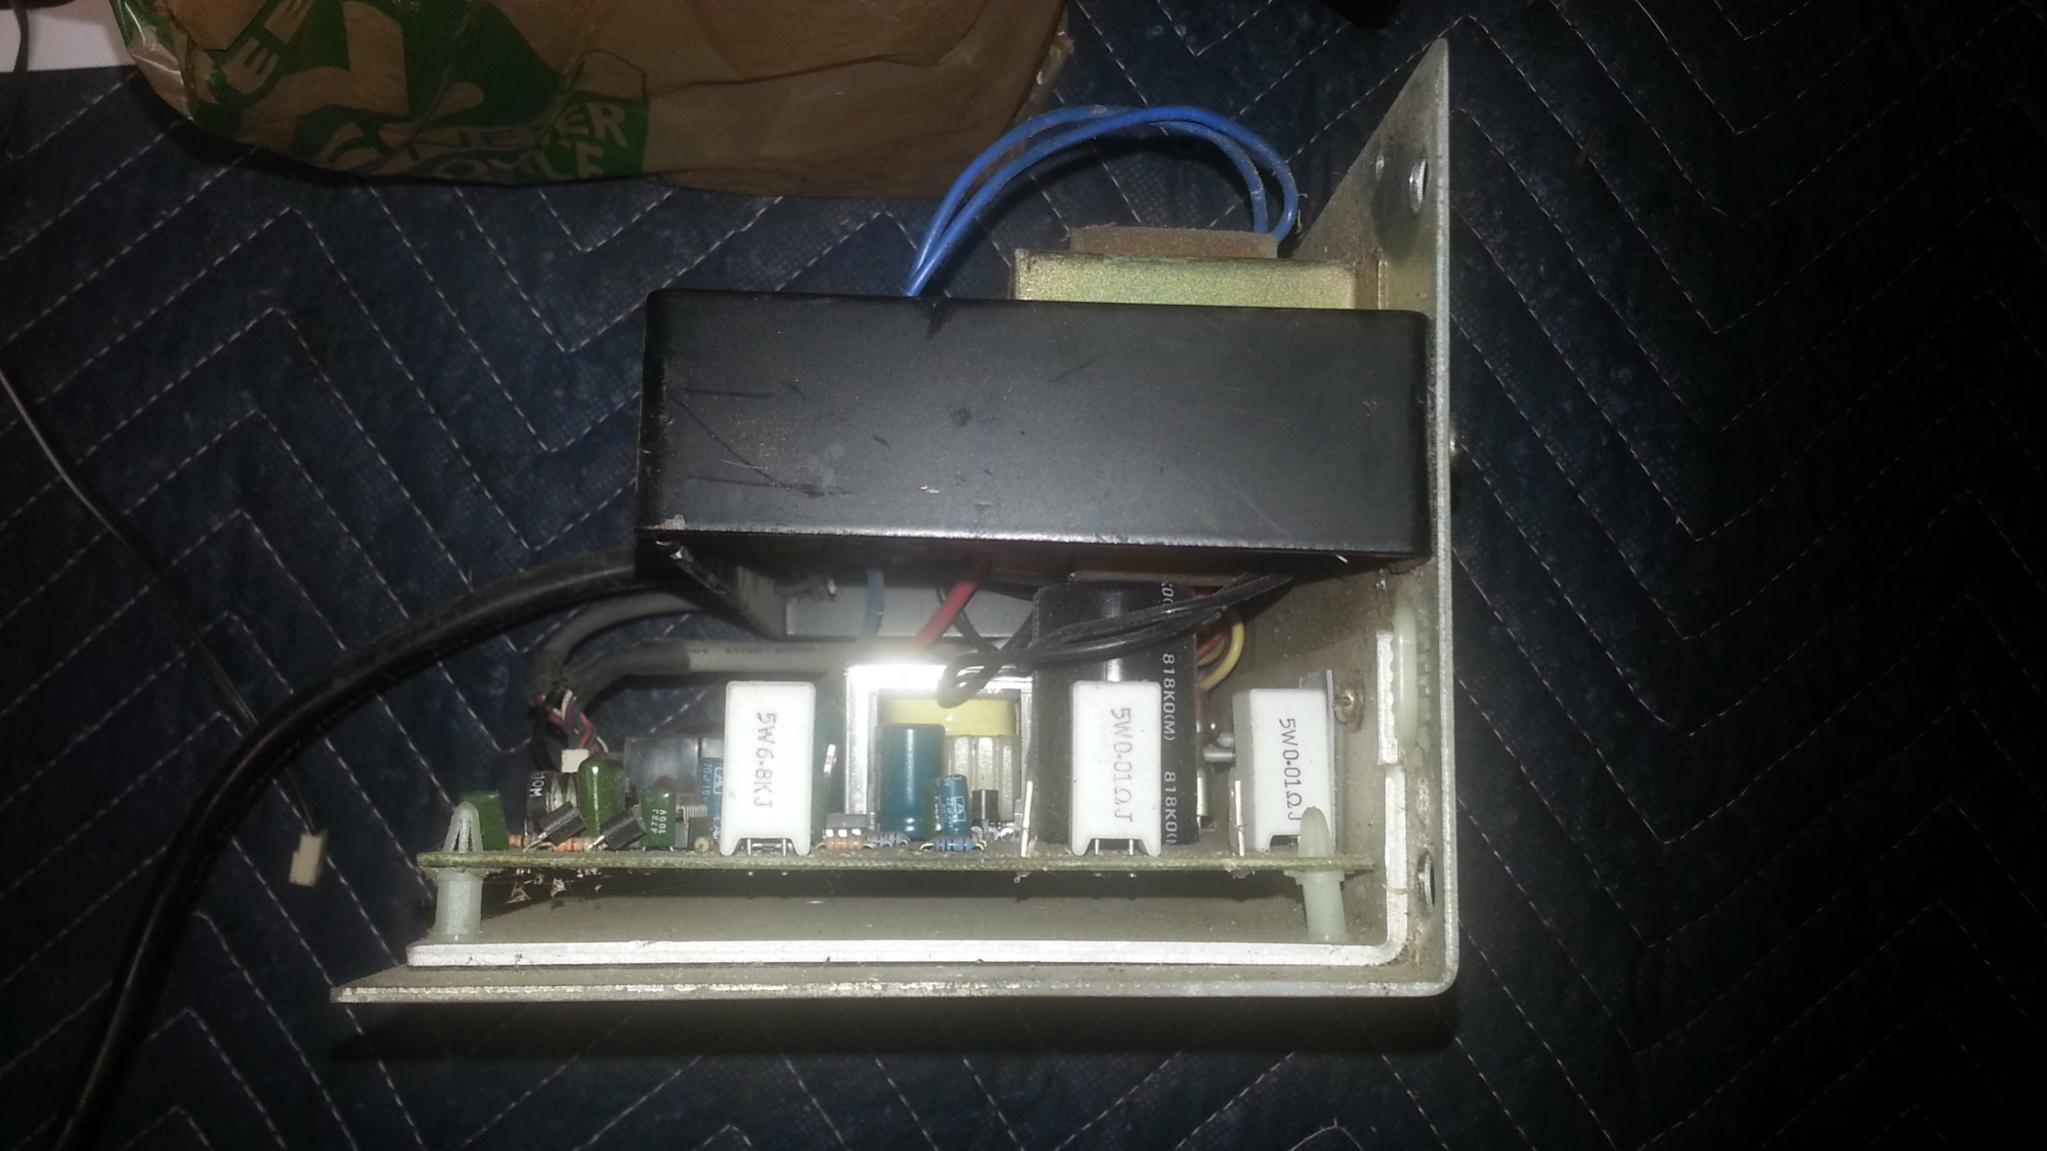
I did a quick search for the mc-60, its definitely a pwm and are in lots of different mills like you said. was the choke part a donut with some windings around it? if so it is for limiting interfering "dirty" ac current frequencies. then let "ckean" DC frequency pass thru if the. DC motor can run without it I would suspect there to still be long term problems like shorter motor life maybe speed control and or power output. maybe someone else might chime in I don't know much on the subject either unfortunately.
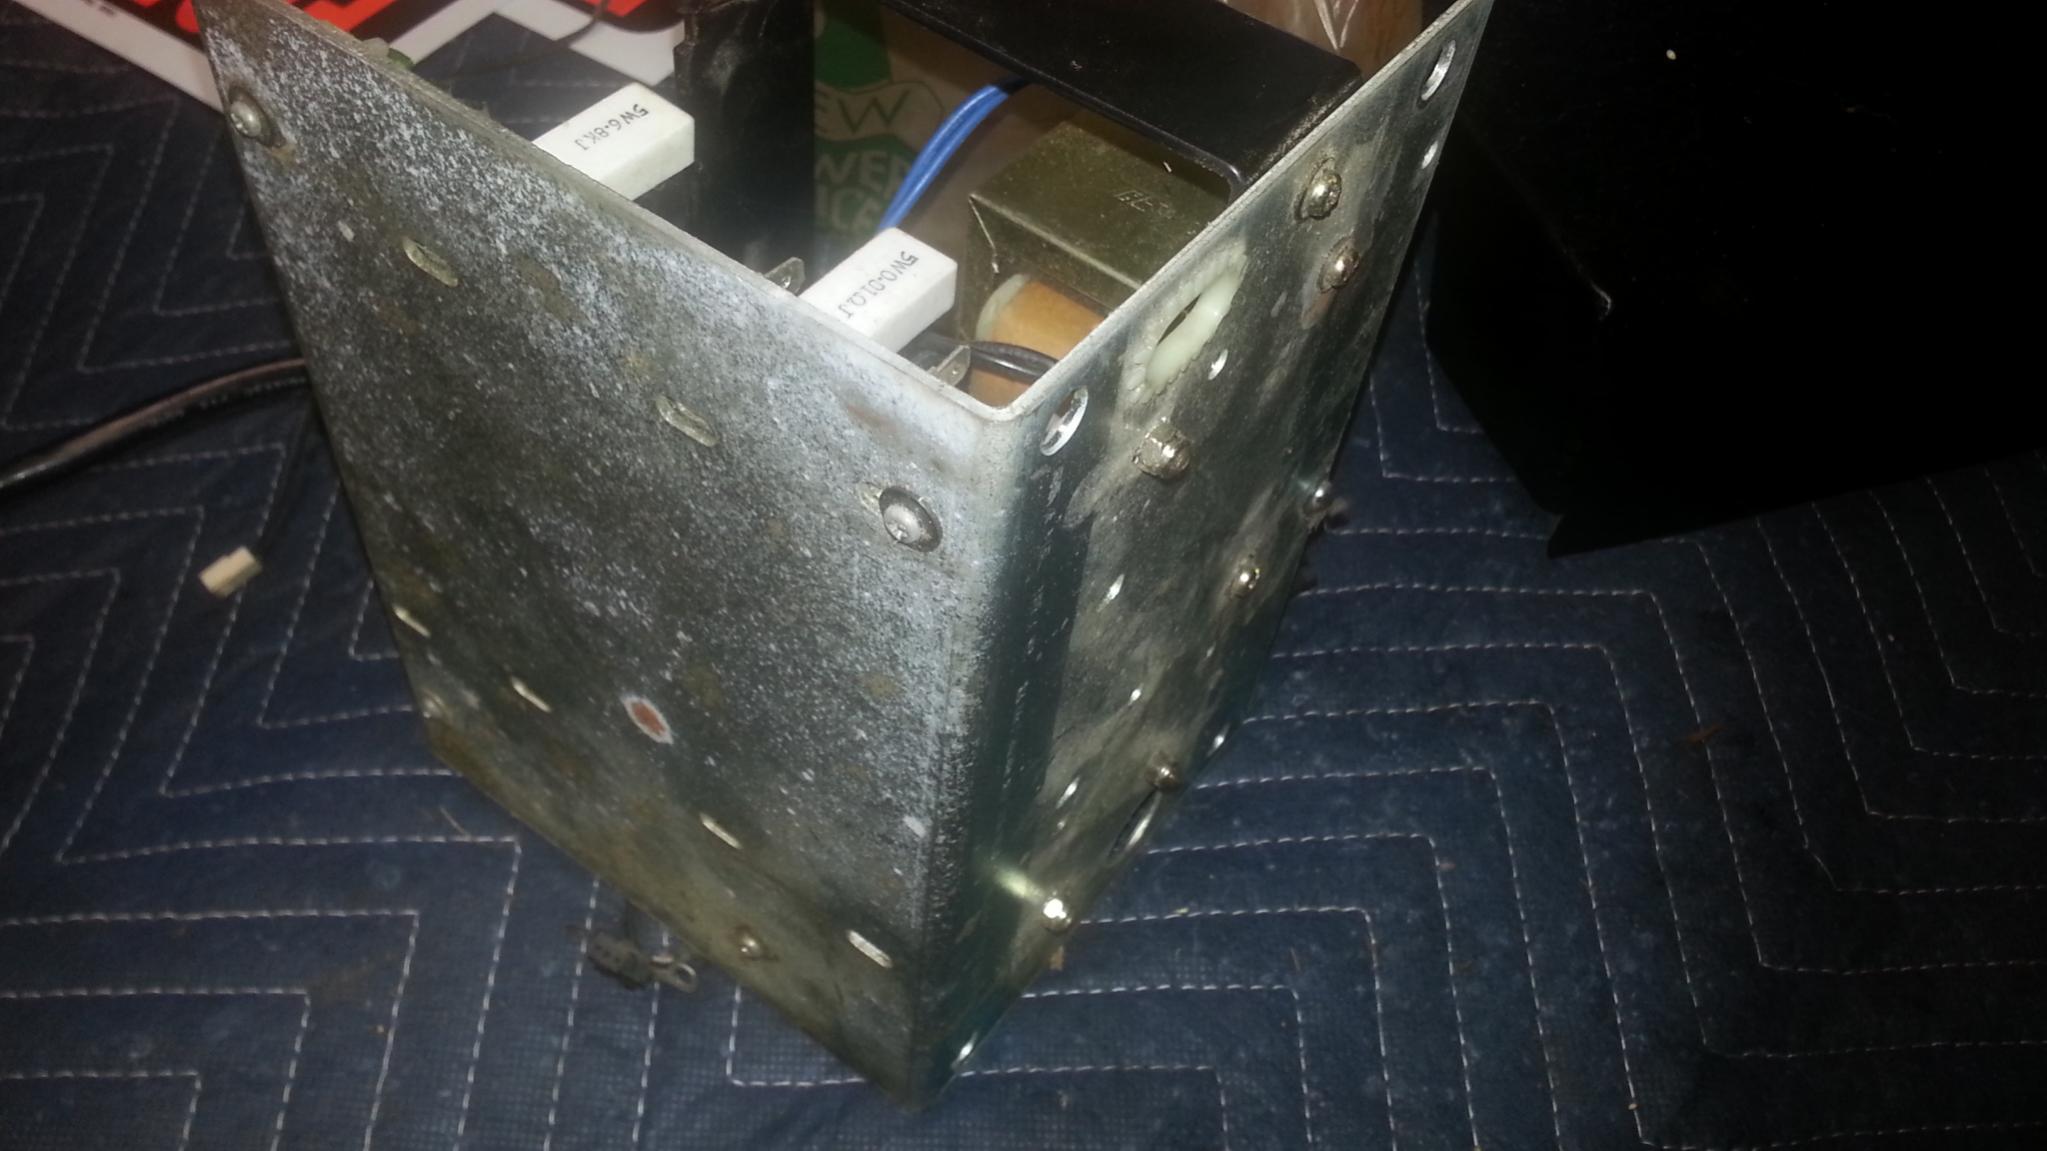
as for mounting I would just open the plastic box up if possible. then find a spot on the extruded al heat sink that is out of the way. run a bit and bolt through the plastic and metal in the same spot
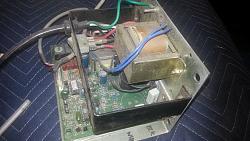
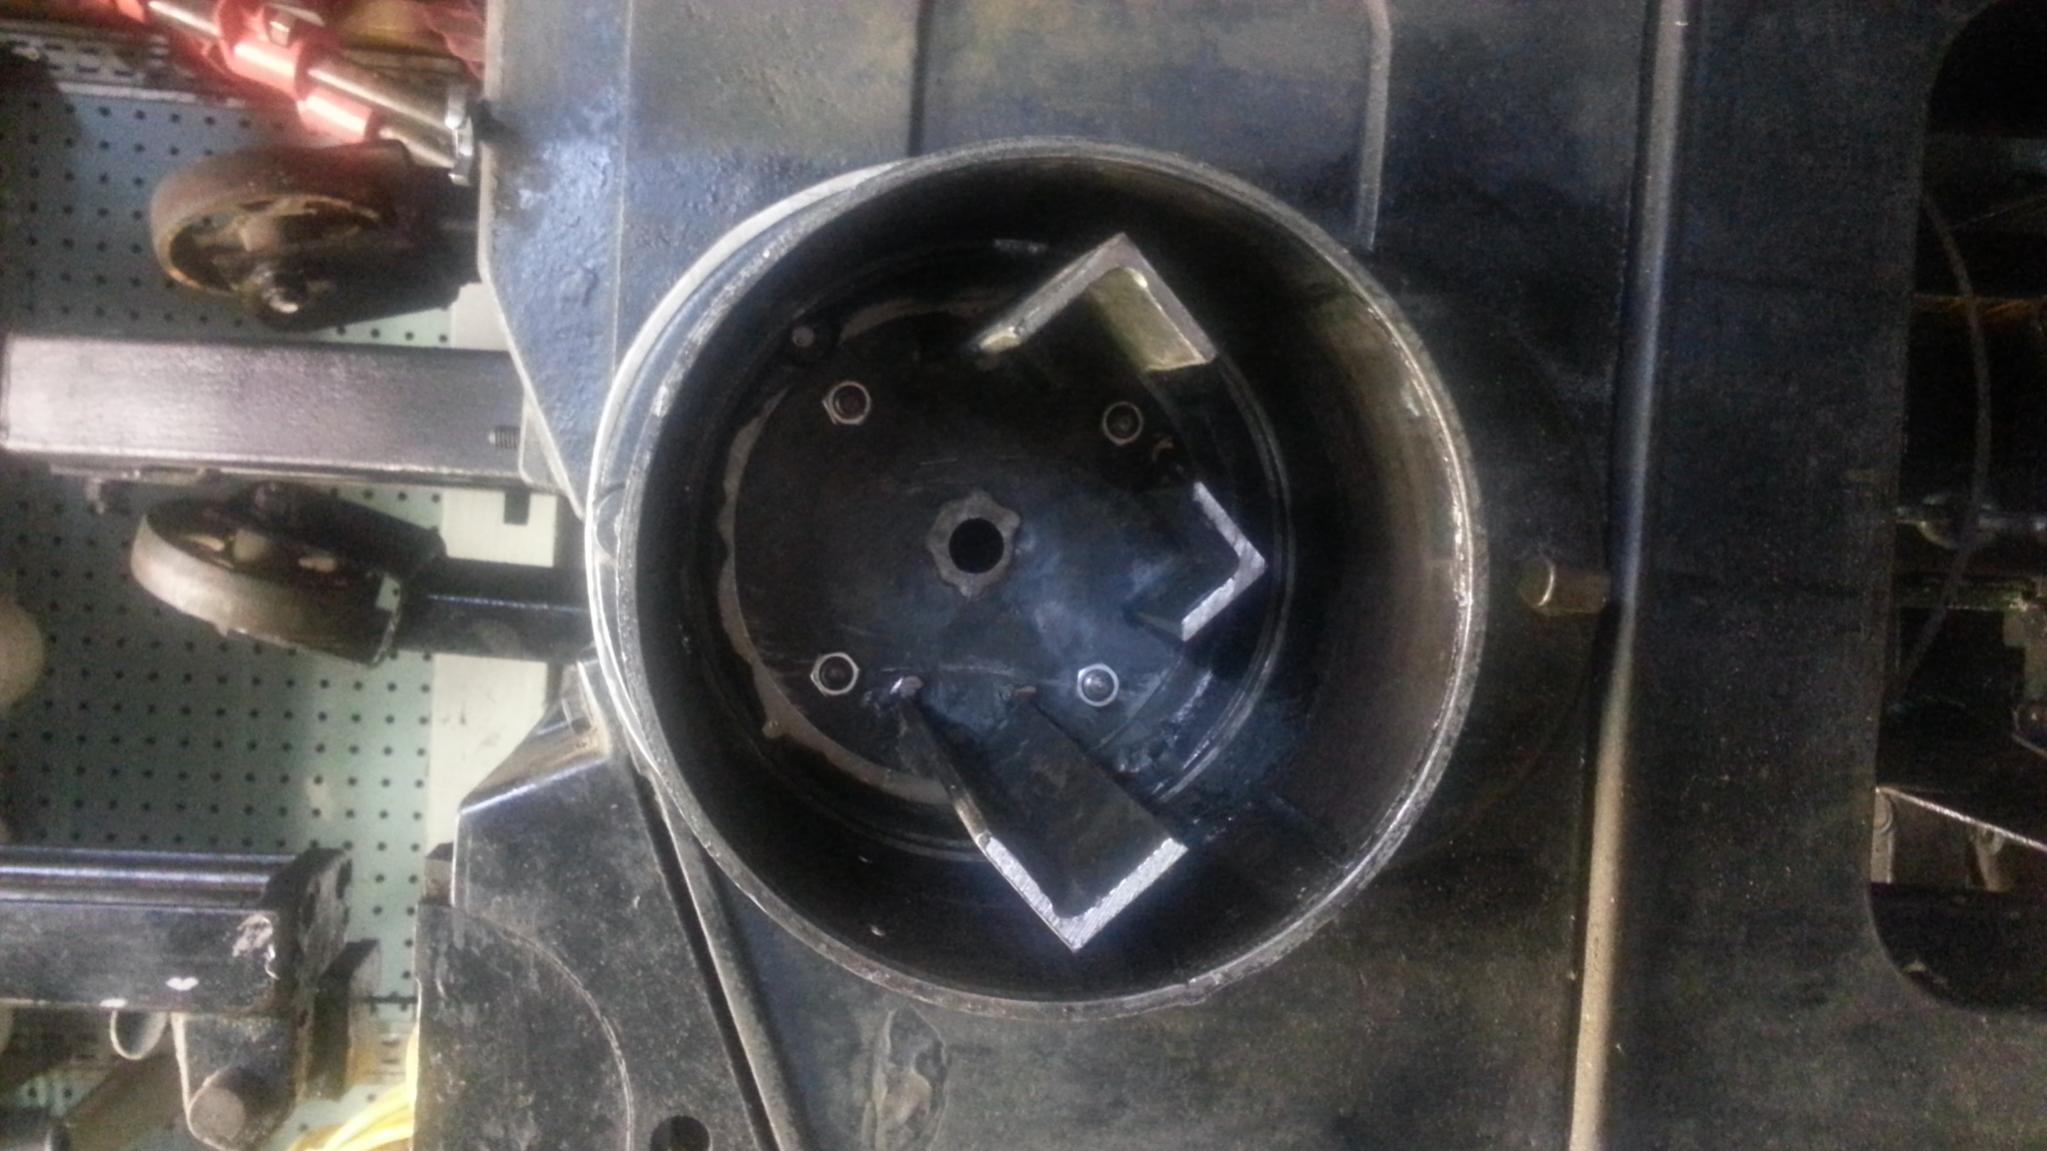
you might have some space to work with like this one


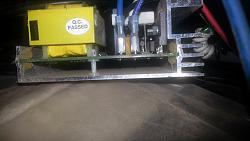
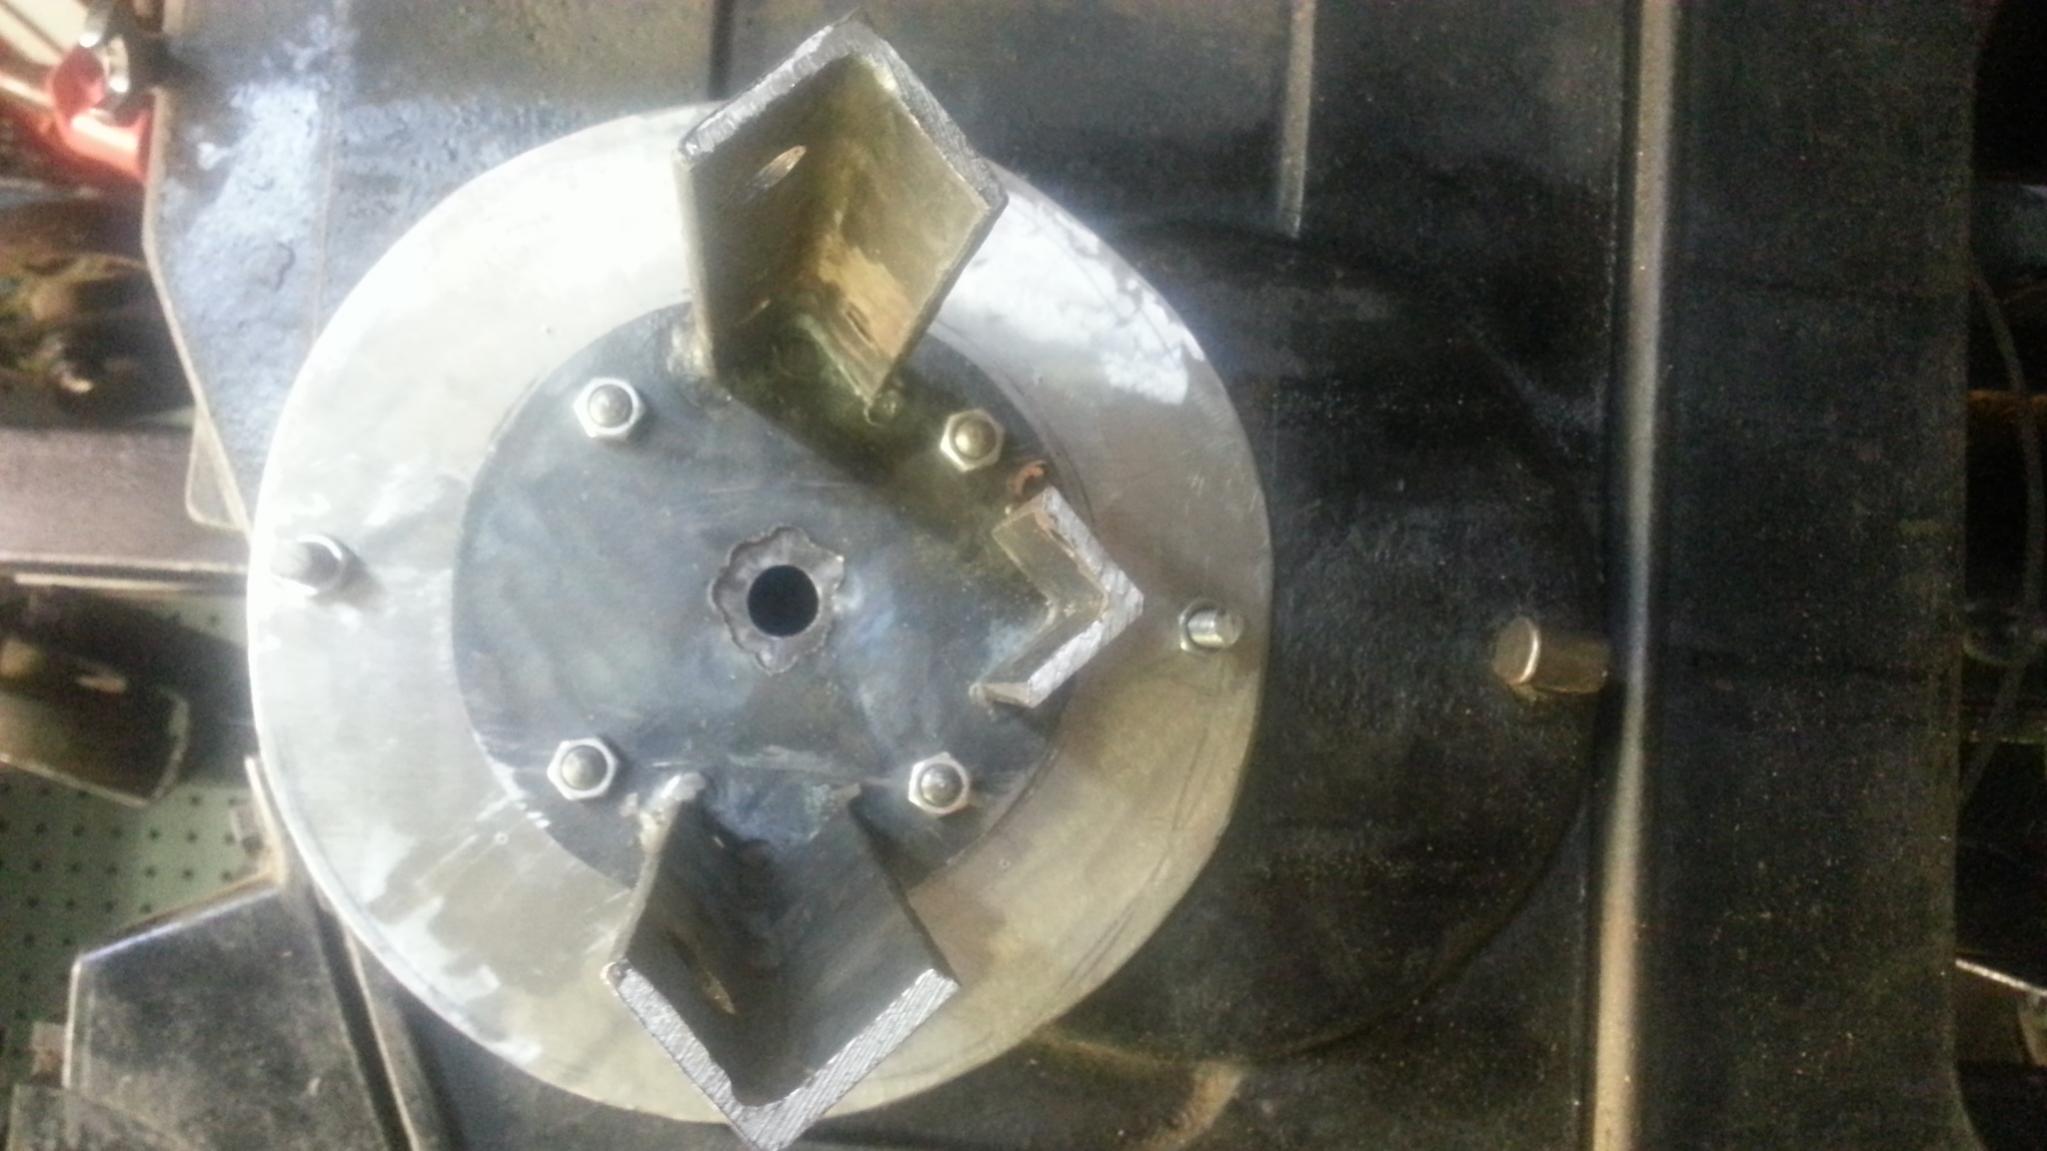
this is sort of how the other Taiwanese controller was mounted. the heat sink is bolted to half of the mounting box. I am planning to make a dust cover and bolt on a support to the galvanized steel sheet. the fan from the motor blew air over the board so I will add a small fan to replace it.

 LinkBack URL
 About LinkBacks


 Reply With Quote


 So I know just enough to get myself in trouble and don't want to get into deep yogurt. The electronics part of this whole thing is my weakest point, so this thread is exactly what I was hoping to pull some of the folks who are good at electronics and could help maybe lend a hand to drop 'er down a gear and give some pointers.


Bookmarks