
 LinkBack URL
 About LinkBacks


Hi all!
I'm finishing my belt sander, with an attachment for polishing.
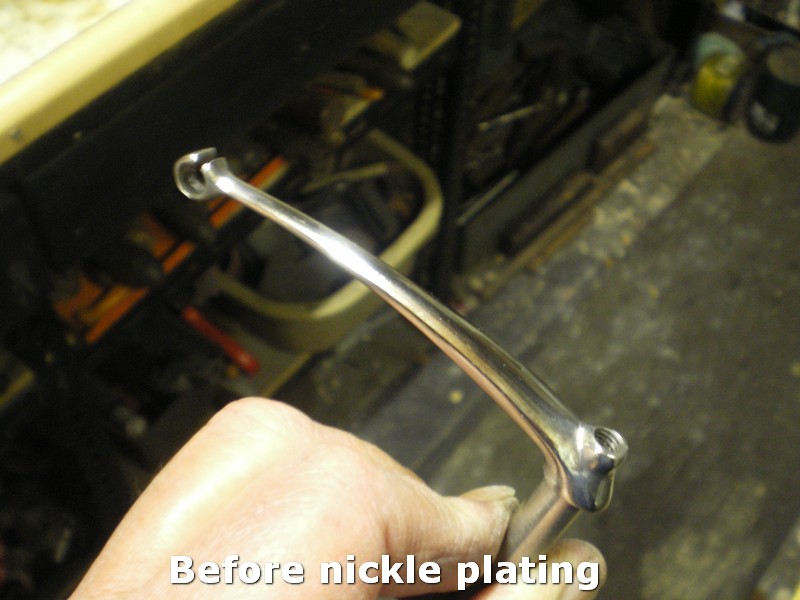
I'm wondering what I have to buy, I need to make a very shiny and good surface on aluminum, brass and steel.
I found:
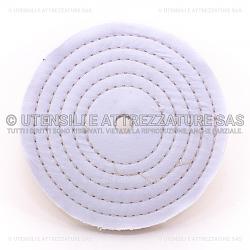
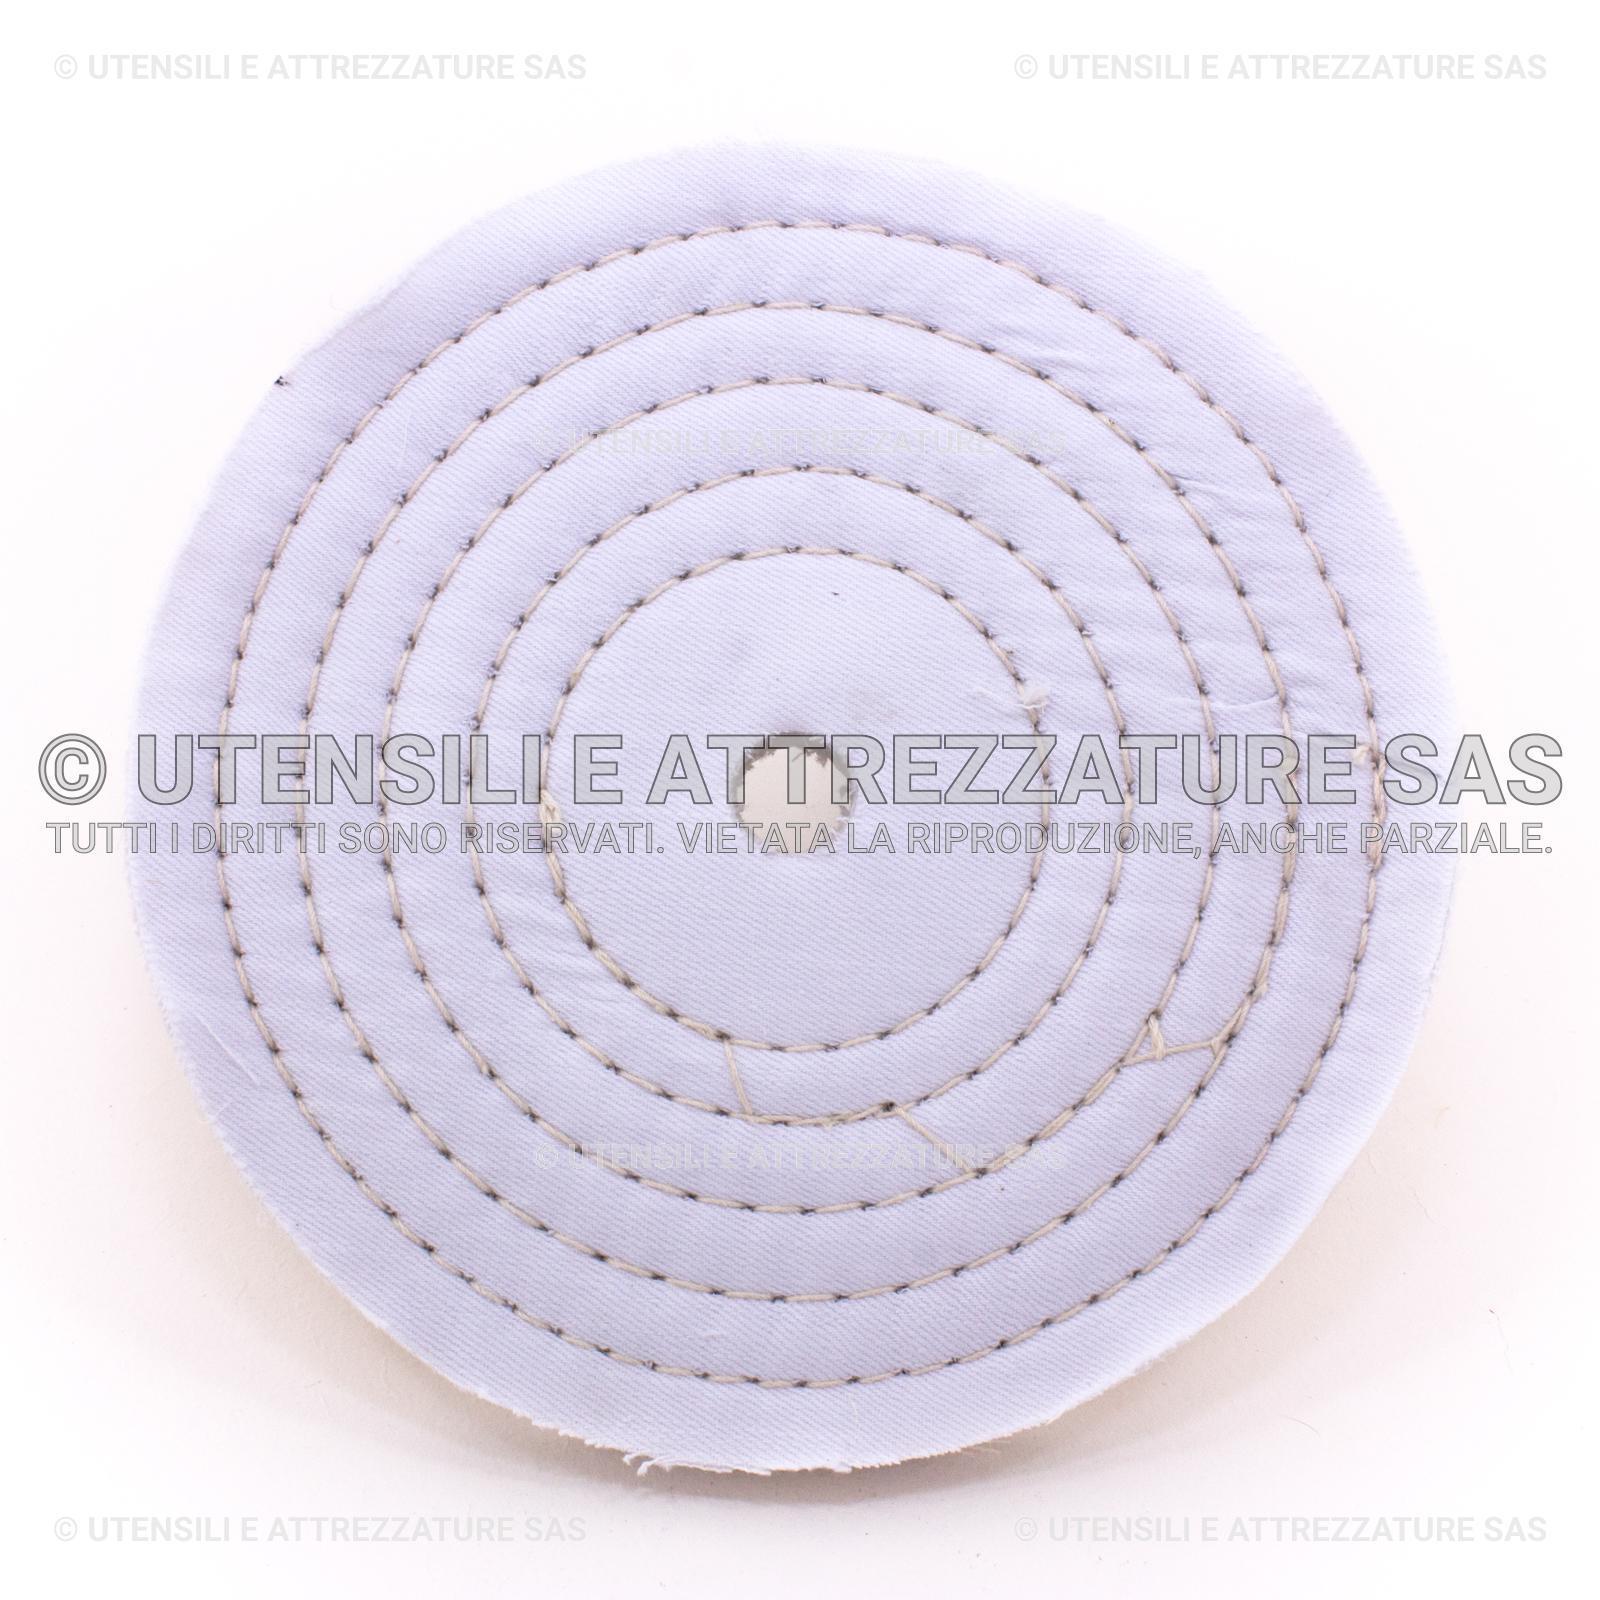
Disc:
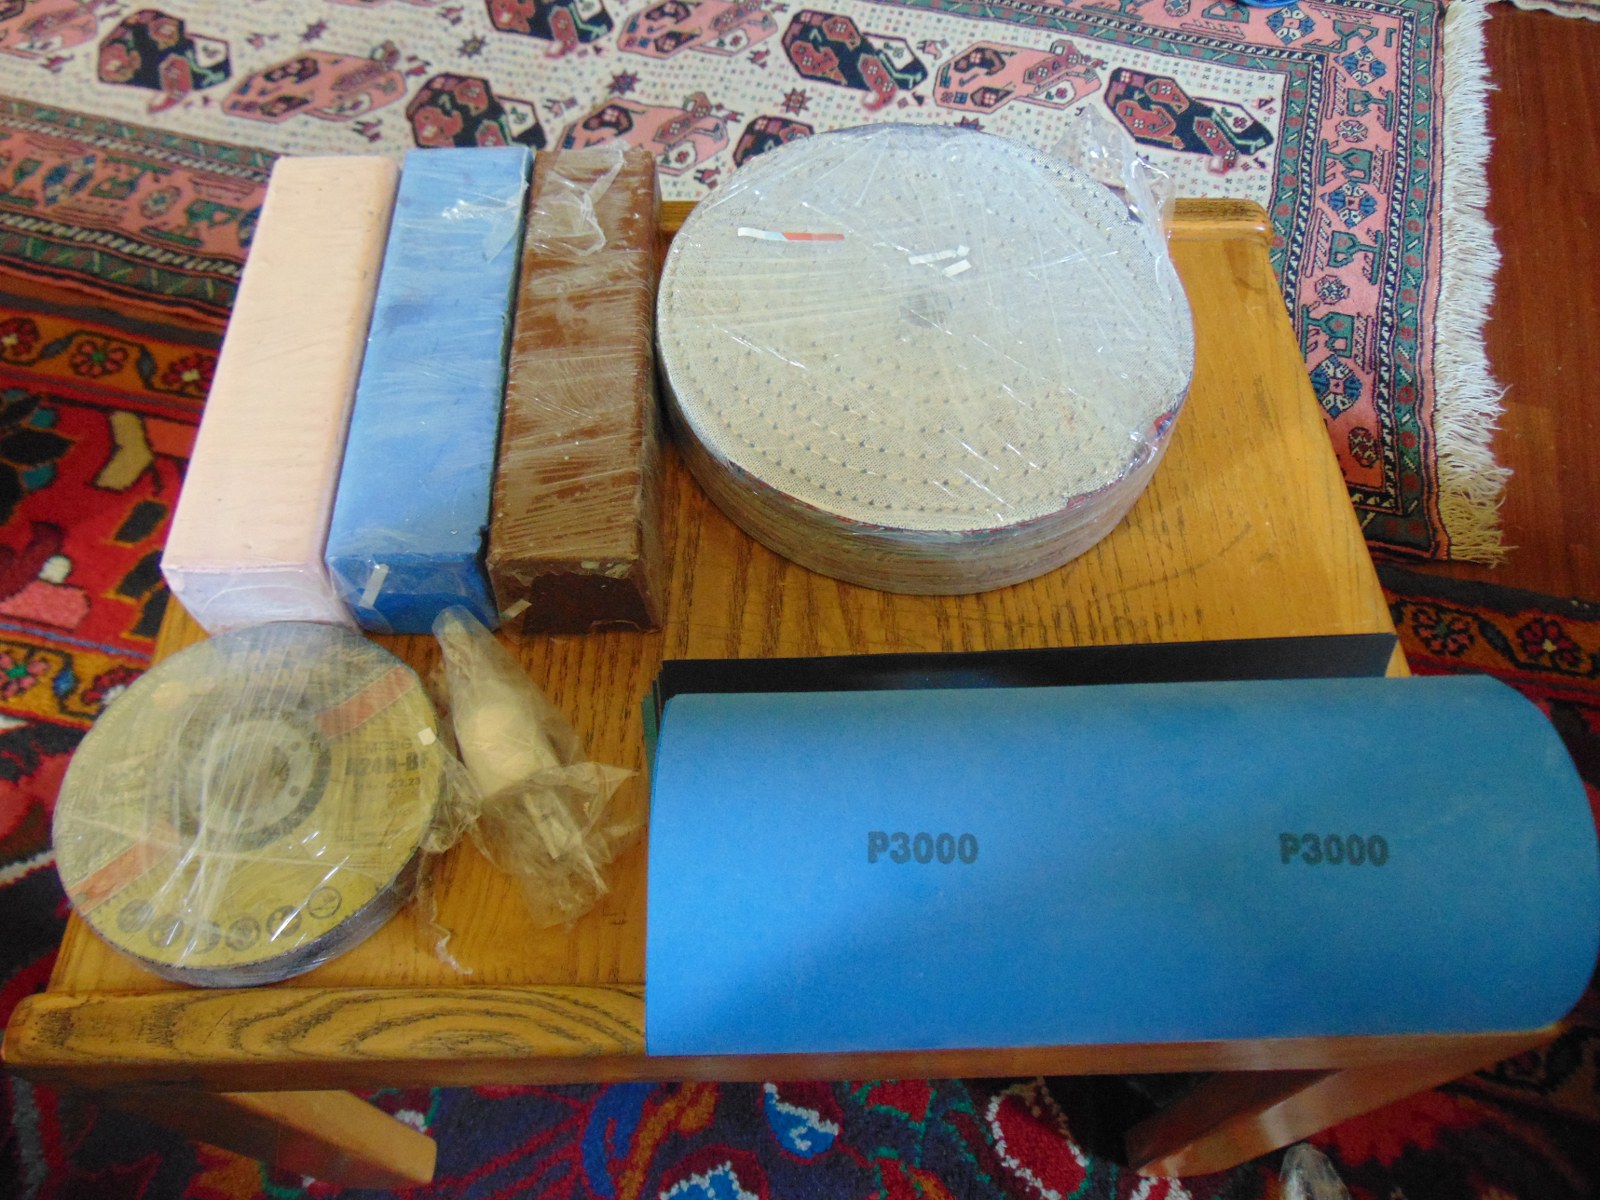
- cotton soft
- cotton lined
- cotton\sisal
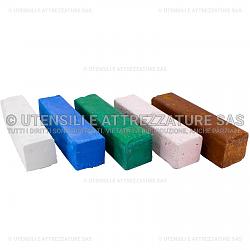
Paste:
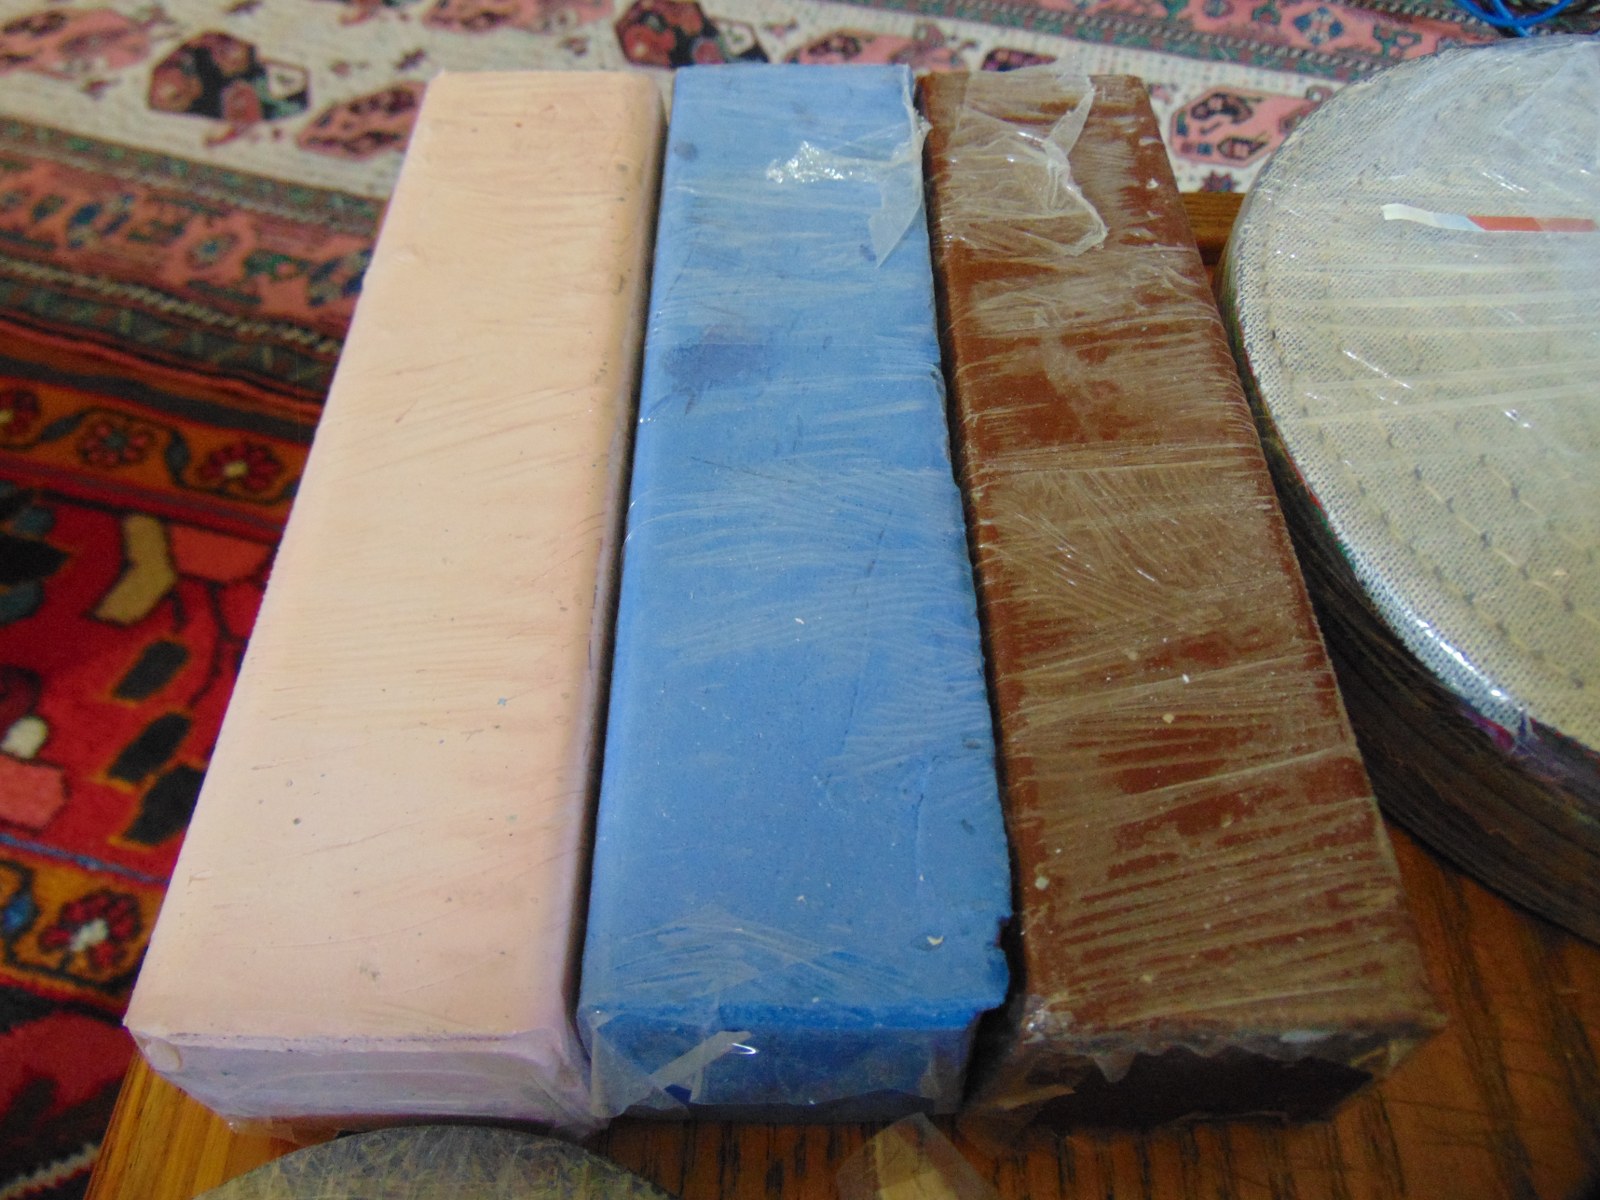
- White roughing ( i have already )
- Blue buffing , 2nd passage
- Pink polishing alu and brass
- Green (only for stainless?)
- Brown scratch removing gold silver
My question is: which paste should I buy? I think all 4, maybe the green is not useful?
Second big question, it's necessary one cotton disc for each paste or it's possible to mix the pastes on one disc?
DISCO RUOTA in COTONE CUCITO TRAPUNTATO per LUCIDATURA di ACCIAIO INOX OTTONE | eBay
PASTA ABRASIVA : LUCIDATURA A SPECCHIO METALLI ACCIAIO INOX OTTONE | eBay


 Reply With Quote


Bookmarks