-
2 Attachment(s)
Metal polishing advice
Hi all!
I'm finishing my belt sander, with an attachment for polishing.
I'm wondering what I have to buy, I need to make a very shiny and good surface on aluminum, brass and steel.
I found:
Disc:
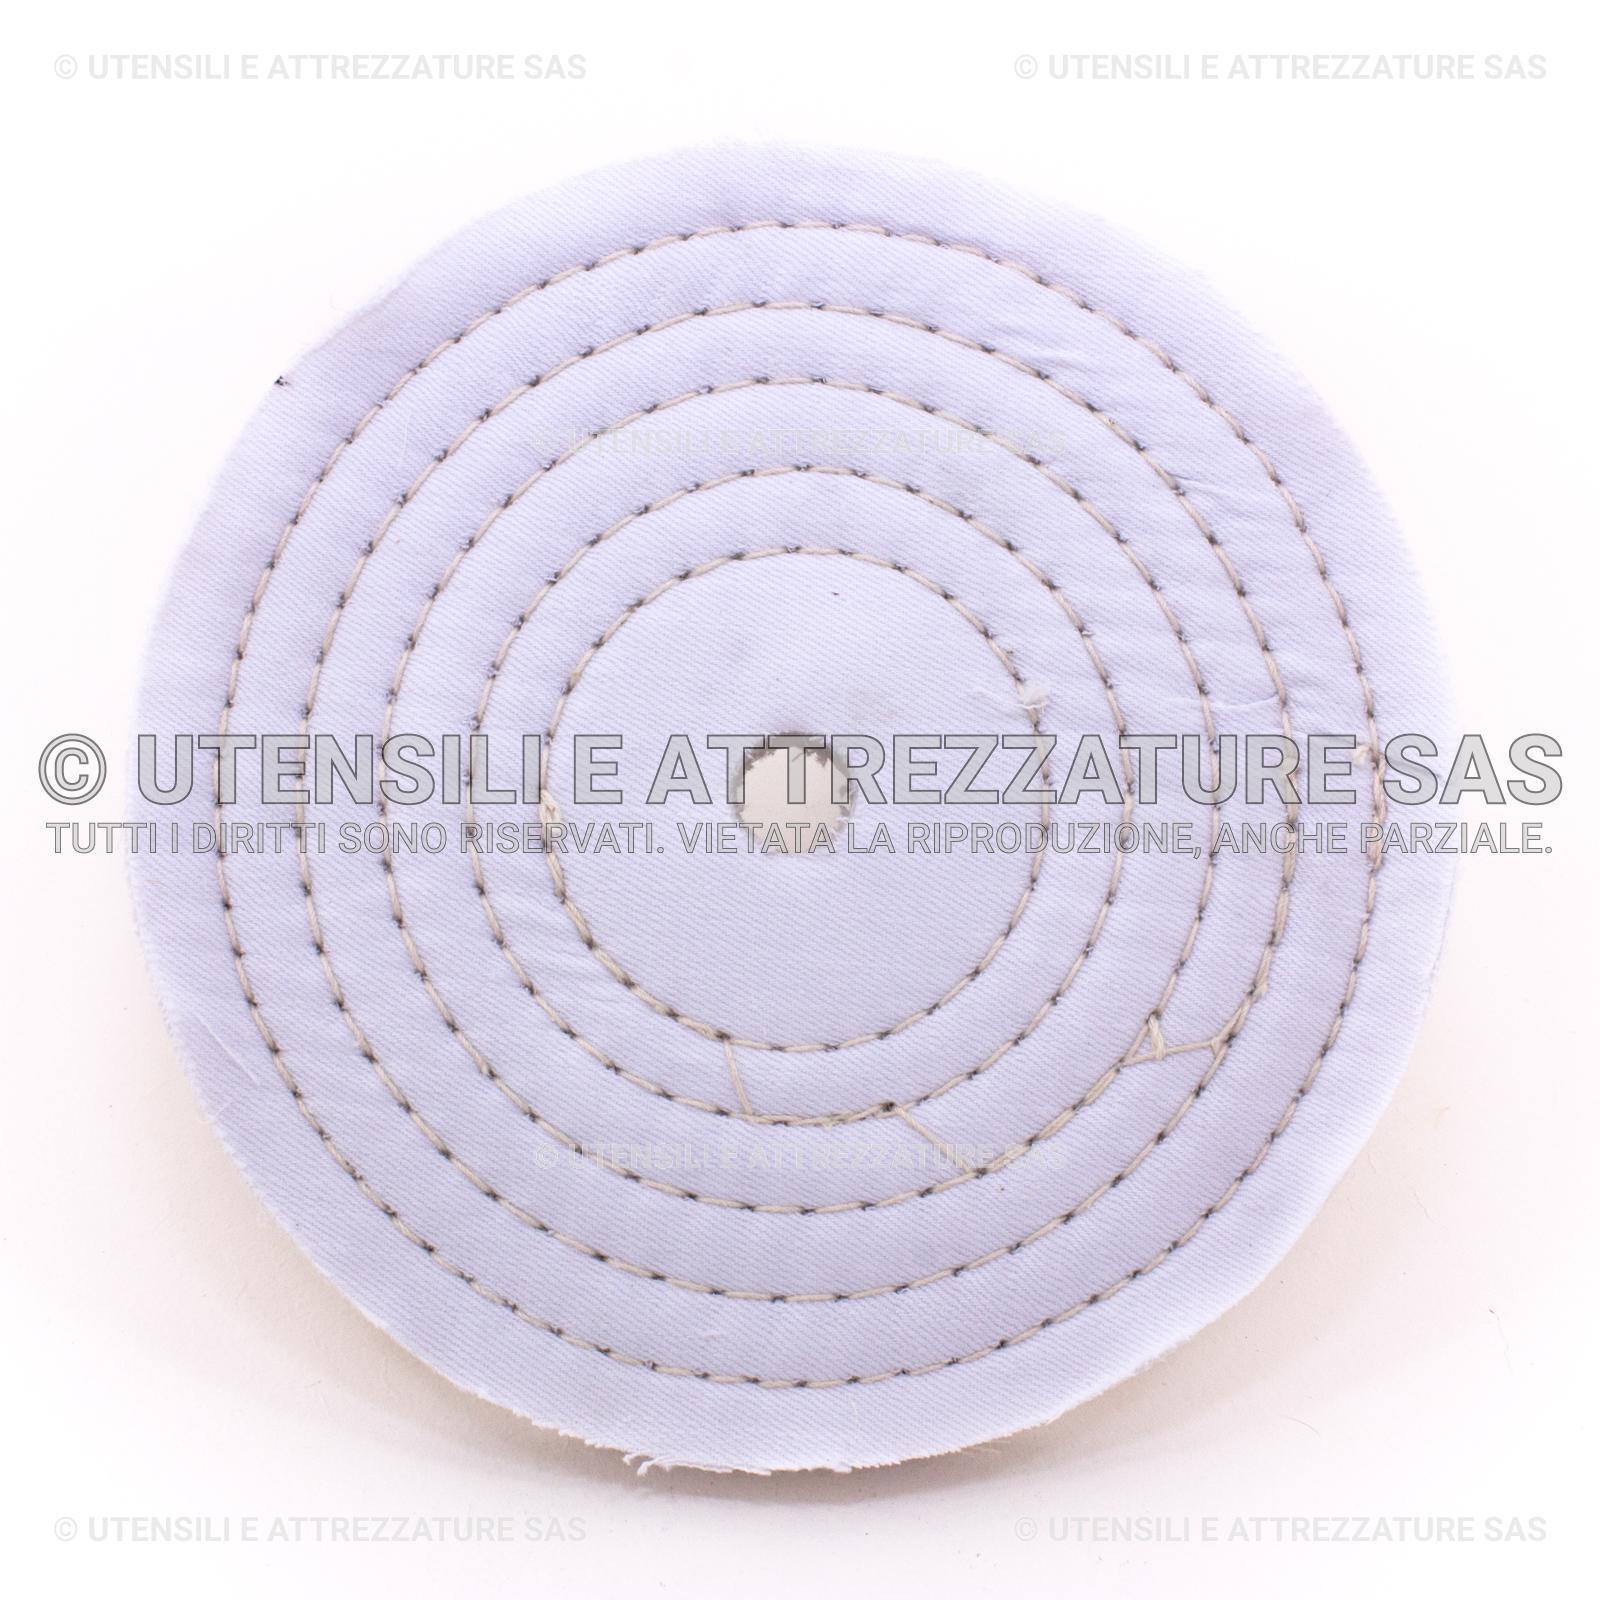
- cotton soft
- cotton lined
- cotton\sisal
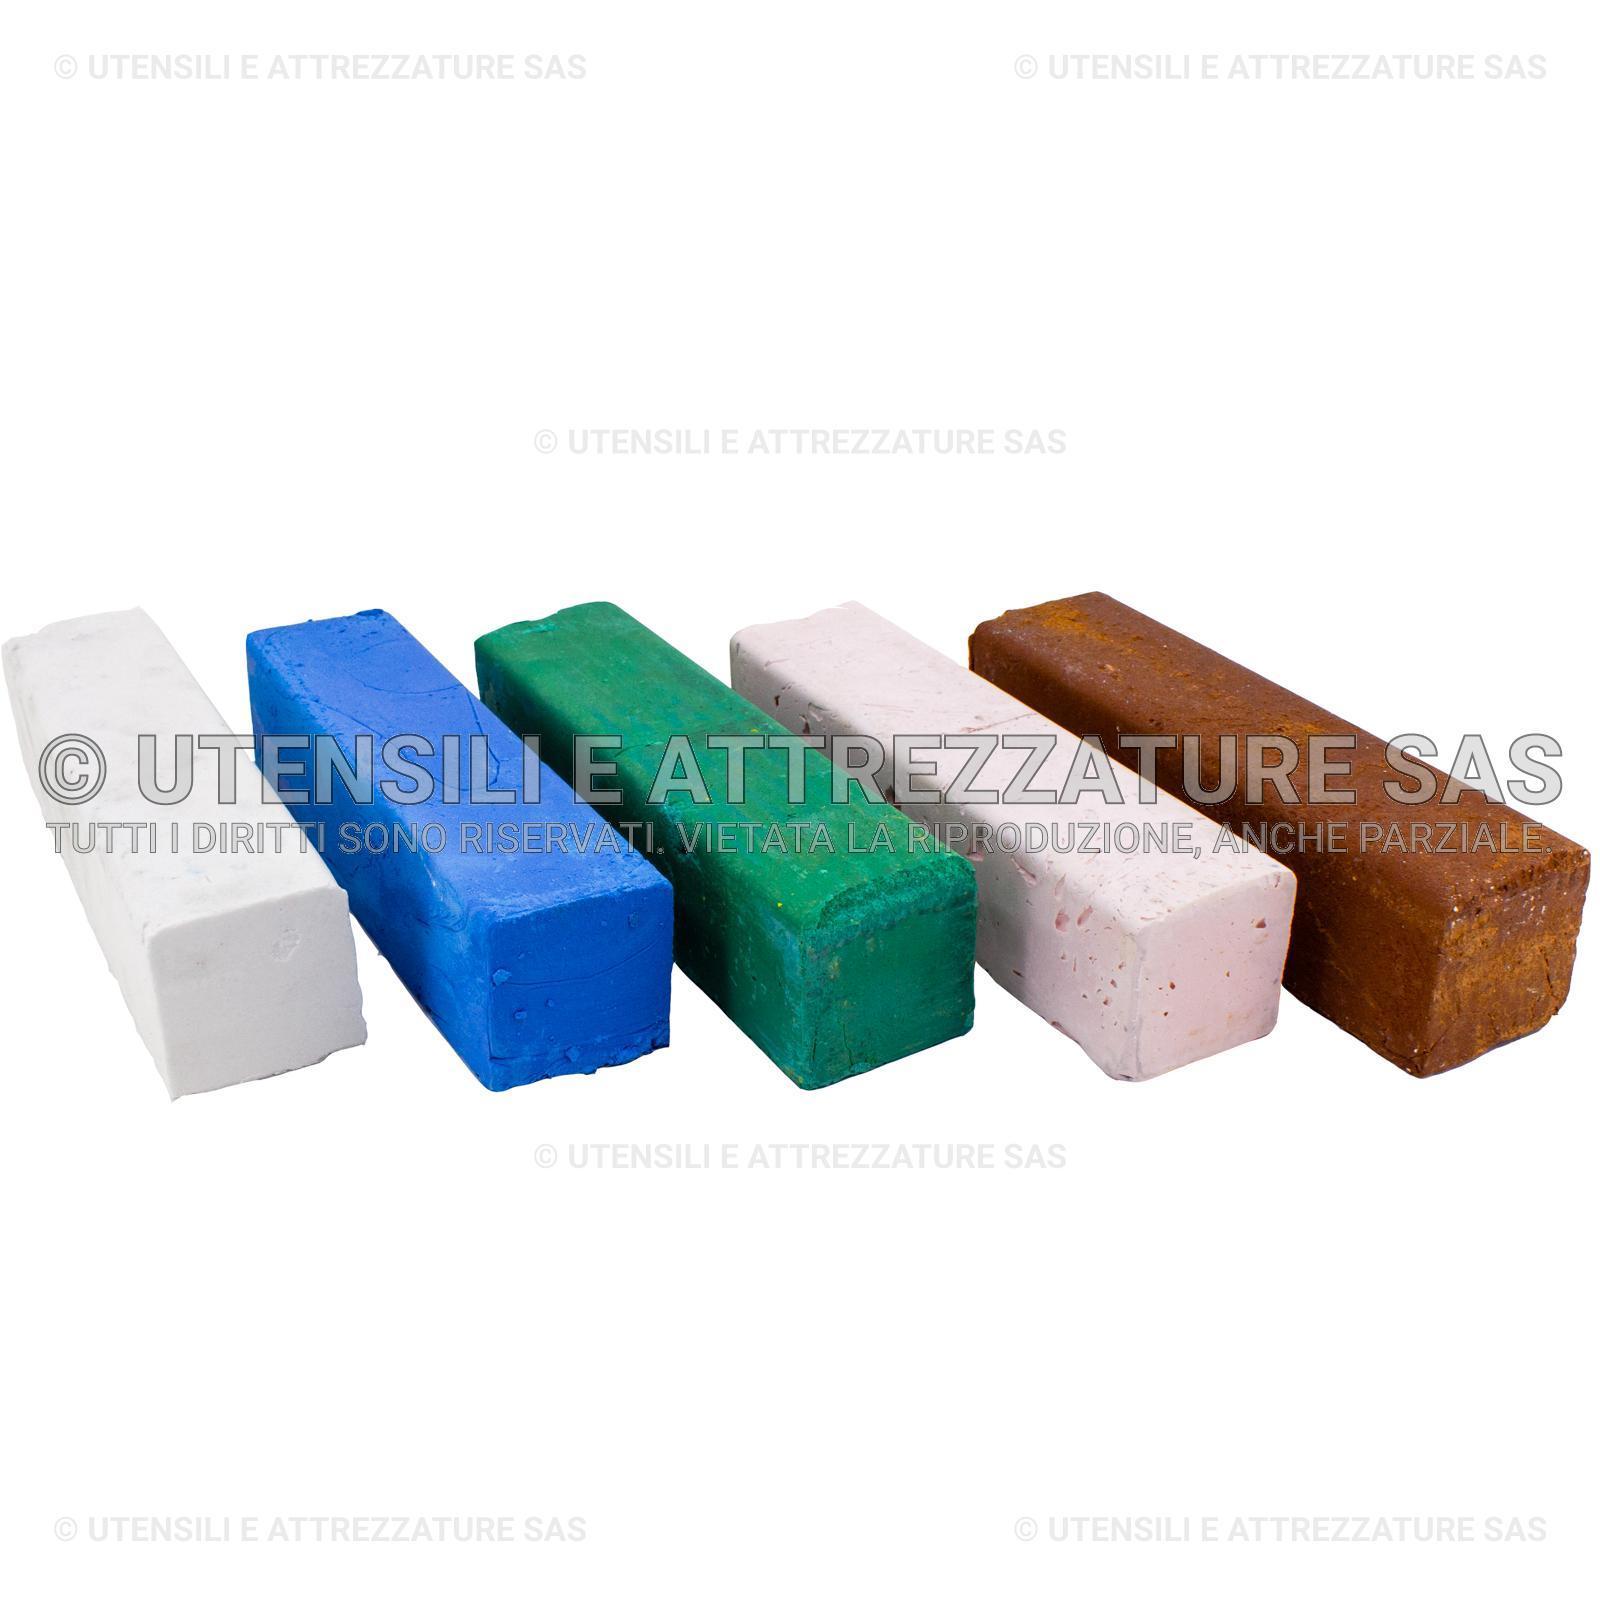
Paste:
- White roughing ( i have already )
- Blue buffing , 2nd passage
- Pink polishing alu and brass
- Green (only for stainless?)
- Brown scratch removing gold silver
My question is: which paste should I buy? I think all 4, maybe the green is not useful?
Second big question, it's necessary one cotton disc for each paste or it's possible to mix the pastes on one disc?
DISCO RUOTA in COTONE CUCITO TRAPUNTATO per LUCIDATURA di ACCIAIO INOX OTTONE | eBay
PASTA ABRASIVA : LUCIDATURA A SPECCHIO METALLI ACCIAIO INOX OTTONE | eBay
Attachment 19526 Attachment 19527
-
2 Attachment(s)
Hi rendoman
Best advice is to download from Plating Kits Electroplating Kits Aluminum Anodizing Kits Gas Tank Sealer Metal Polishing And Buffing Supplies - Caswell Inc a free PDF guide to all metal finishing.
If you are serious about it I would beware of cheap products as they have not worked well for me in the past.
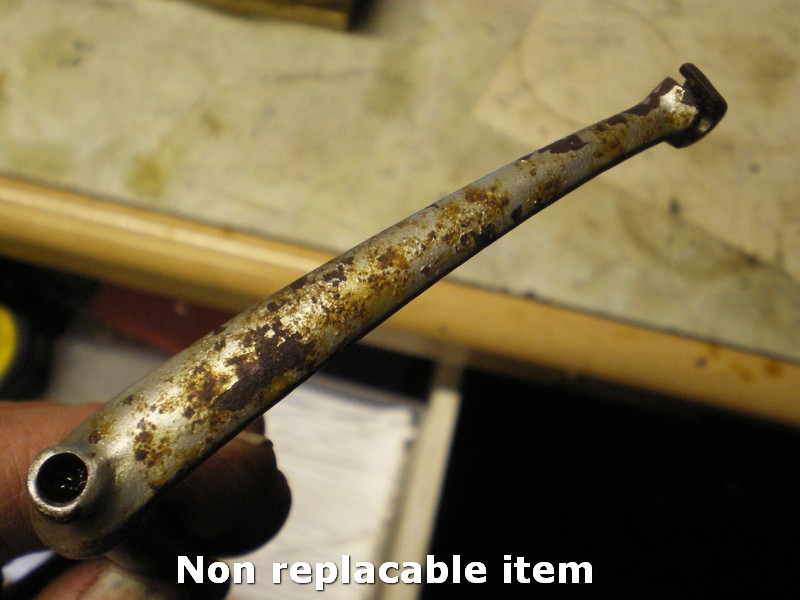
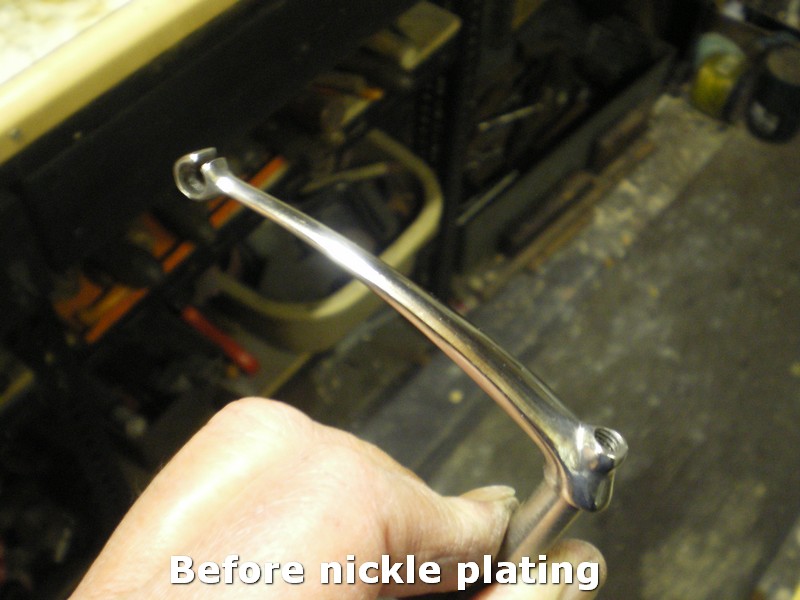
Golden rules are one wheel for one abrasive (never mix), and keep in bags when stored, I do a lot of restoration work and have learned the hard way. Good luck with it, a couple of examples of what can be done.Attachment 19531Attachment 19532
-
Thank you very much olderdan!
This site is really useful and well equipped of item. I noticed some differences between colour of paste, a black and brown before the white.
This ebay seller should be fine for products (i hope), I tend to avoid shipping from US because of costs and custom, it's 30% more or less. It's the best quality found yet (in italian sites). In hardware store, here, it's a big shot find something for polishing, they have only small brush kit for drill and 2 tiny pastes,nothing professional.
You are a maestro of polishing! The result in picture is wonderful!
I will keep in mind the advices! it's time to read the manual
-
Glad to be of help, ebay is fine if you can find branded products, the problem with some cheap ones is that fat/grease is cheap but abrasives are not so guess which you will get more of.
I use Hollison Supply in the UK (dislaimer) which is bovine free which I prefer.
-
I remember from very long ago that one should not mix metals being polished. The reason escapes me now but it definitely includes that buffs used for brass should not be used on other metals
-
In an ideal world Hans you are correct but at a hobby level we sometimes make do with what we have.
For first stage buffing I use a treated sisal wheel with black emery fast cutting, this wheel does not care which metal is being worked.
After that wheels should be separated for ferrous and non ferrous metals, wheels become loaded with particles which are not compatible, regular raking (old hacksaw blade in my case) is needed to clean before re-charging with media.
This is as far as I go with protocol but works for me.
-
Once you get it polished, you'll want to do something to protect that hard-won, lovely shine. Paste car wax works but tends to darken over time and isn't terribly resistant to handling. The professionals in museums use Renaissance wax...
https://www.amazon.com/Renaissance-W...ance+wax&psc=1
Although a bit pricey, I bought a small container and used it on the Bowie knife I constructed*...
This knife lies out on a bookcase and is picked up and handled by nearly everyone who comes into my office. Despite that the shine has lasted for years with virtually no sign of yellowing while another knife, protected with car wax, lying next to it has needed to be repolished several times.
----
* I didn't make the blade. It was made in postwar Germany by destitute Germans to sell to GIs for cigarettes, chocolate, coffee and other essentials. The story is it's made from shrapnel left over from bombings and shellings but I have no proof of that. The bolster, scales and pommel (rear bolster) were made by me.
-
3 Attachment(s)
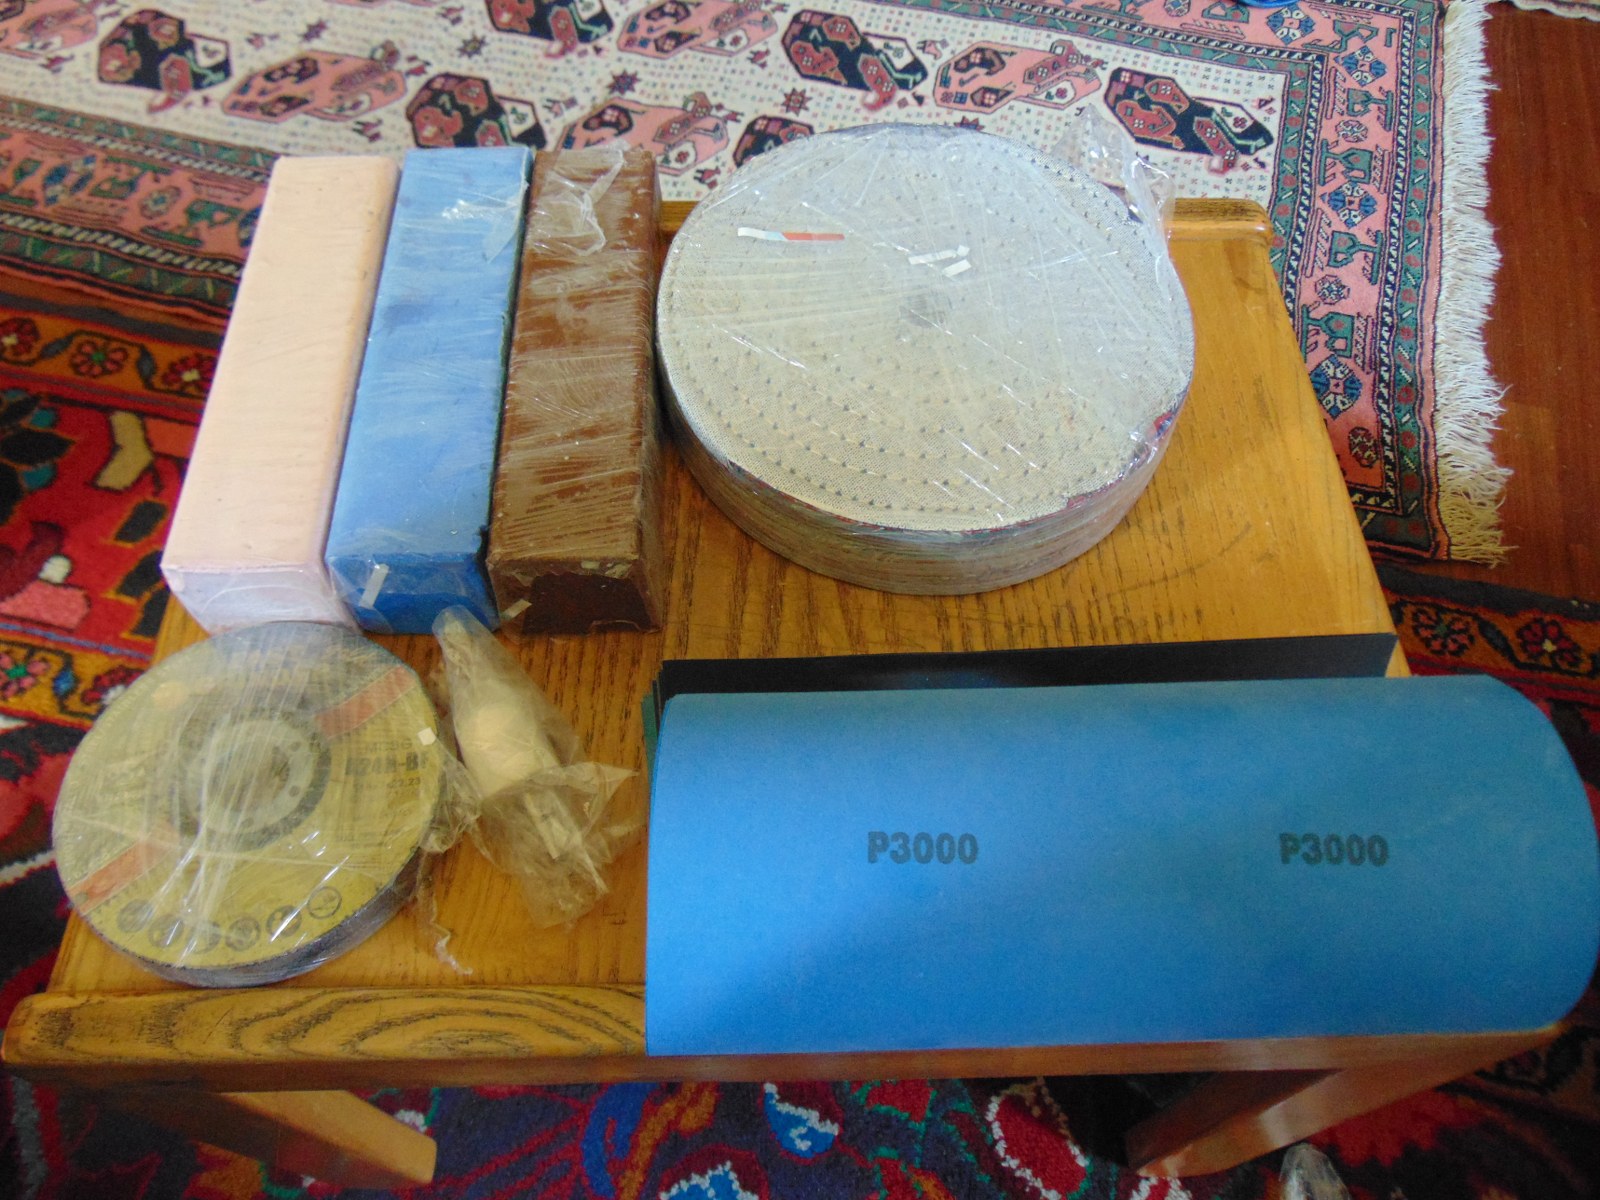
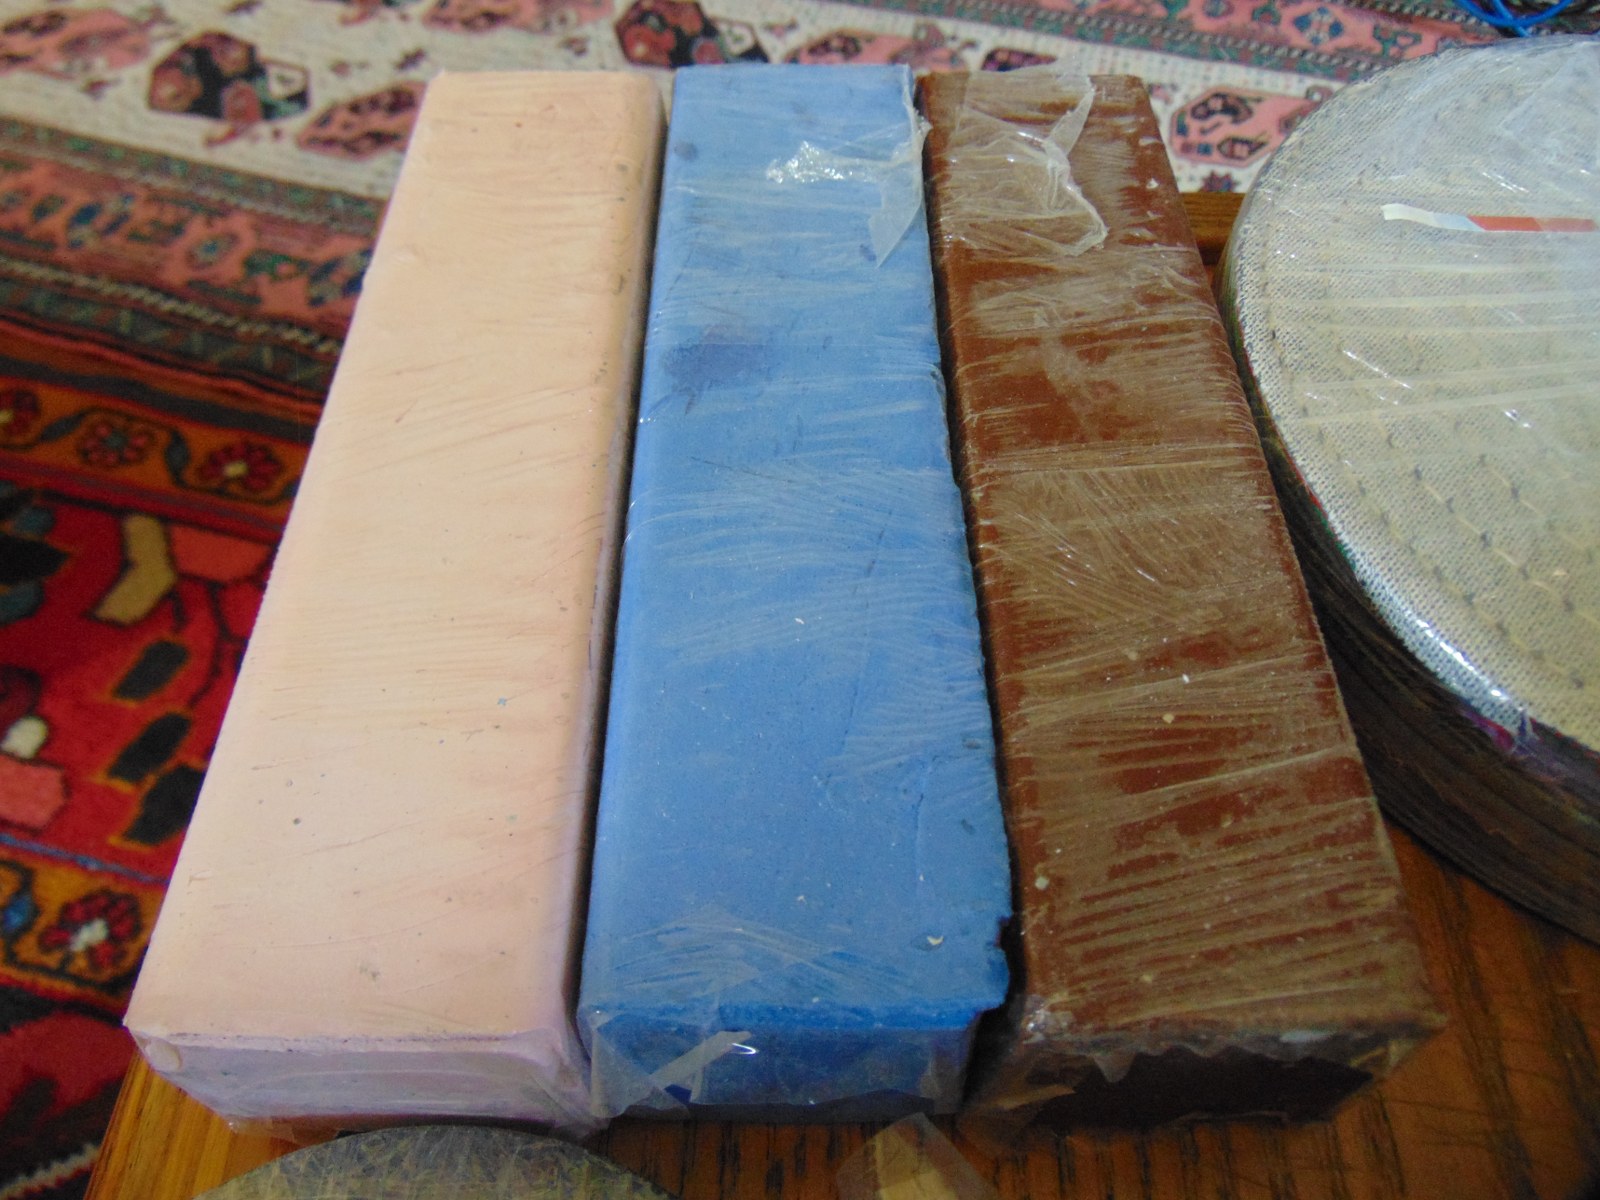
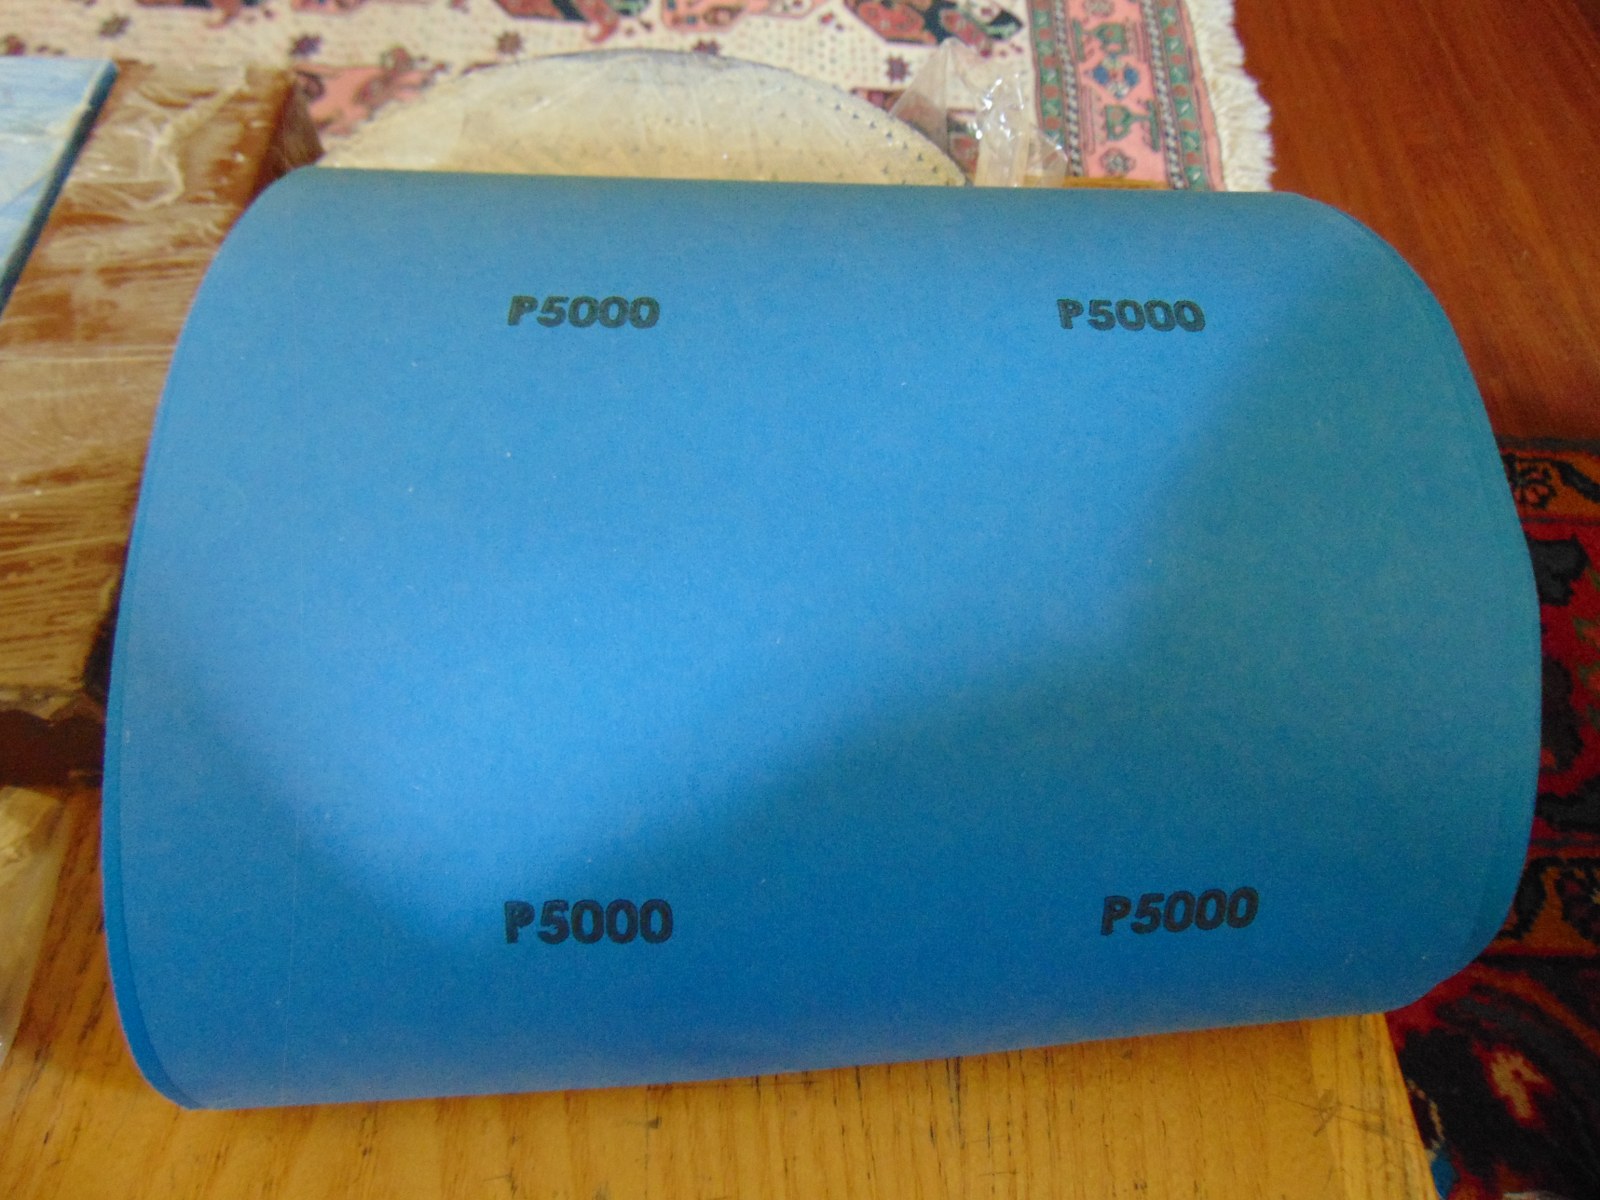
Just arrived!
Since I have the White (first passage) paste I bought the pastes for cutting and polishing, with 3 cotton wheel 200mm, complete set of sand paper from 40 to 5000 grit
I hope I will test soon!
Attachment 20297 Attachment 20298 Attachment 20299
-
What are you polishing? I do a lot of aluminum polishing and use wet/dry sandpaper from 400 to 2000 grits. Anything above 2000 and you are mostly wasting your time. Here are some wheels I polished a couple of years ago. These were brand new and looked terrible out of the box.
I posted this on another site so I am going to copy and post those posts here. This is a pretty good tutorial so look thru the posts and ask any questions you may have.
Follow along in the next couple of posts. :)
A little disappointed on the quality of the polishing job. The other three rims are okay, just this one is a sad job.
I broke out a sanding drum on a drill motor with 180 grit emery paper to start cleaning up the file cuts on the new openings.
http://im1.shutterfly.com/media/47a4...D550/ry%3D400/
after a few minutes of work this is how they turned out.
http://im1.shutterfly.com/media/47a4...D550/ry%3D400/
I ran the drum on the openings going from the 180 to 400 then 600, 1000 and finished up with 1200. Smoothed the edges good enough that some heavy polishing will bring the shine back.
http://im1.shutterfly.com/media/47a4...D550/ry%3D400/
Once I had that done I got busy taking out the scratches and gouges. I started with 400 grit on a rubber Dura-Block and started feathering them out.
http://im1.shutterfly.com/media/47a4...D550/ry%3D400/
Once I started sanding I ended up going over the whole face of the wheel. There were so many heavy cut lines and deep grooves from the half-assed factory polishing this was the only way to get a smooth surface... You can see the waves in the pic to the right of where I started sanding.
http://im1.shutterfly.com/media/47a4...D550/ry%3D400/
here is another pic after I had most of the scratches and gouge worked out. This also shows the waves better.
http://im1.shutterfly.com/media/47a4...D550/ry%3D400/
I used WD40 as a lube to "wet sand" all of the waviness out. I spent about an hour and a half doing this. Cleaning and re-sanding until all of the low spots were gone.
http://im1.shutterfly.com/media/47a4...D550/ry%3D400/
The hard part was getting the surface flat again. Once that was done it only took a couple of hours to step up through the grits. Going to 600, 1000, 1200 and then 1500. You can see the shine is already starting to develop at 1500.
http://im1.shutterfly.com/media/47a4...D550/ry%3D400/
I stopped a O'Rielly's tonight on my way home and picked up one pack each of 2000 and 3000 grit. I'll work at getting this ready for final polishing this week.
I ordered a nice polishing kit from Eastwood so I'll get all of the rims sanded out to 3000 grit before I use that.
The wheel looks a ton better with all of the openings repaired!
http://im1.shutterfly.com/media/47a4...D550/ry%3D400/
These will be beautiful once they are polished correctly.
http://im1.shutterfly.com/media/47a4...D550/ry%3D400/
http://im1.shutterfly.com/media/47a4...D550/ry%3D400/
-
I worked on the rim today. Finished the sanding process. I took the whole wheel out to 2000 grit.
http://im1.shutterfly.com/media/47a4...D550/ry%3D400/
http://im1.shutterfly.com/media/47a4...D550/ry%3D400/
Once that was done I cleaned it up with mineral spirits and fired up the electric drill with a buffing cone in it. Loaded the cone with red rouge and gave the whole wheel a once over.
This is starting to look pretty tasty...
http://im1.shutterfly.com/media/47a4...D550/ry%3D400/
I again cleaned the wheel with mineral spirits and changed over to an unsewn buffing pad with the same red rouge to get down into the space between the rim and the center. This is quite deep... I also used the unsewn buff to really clean up the wheel bead.
http://im1.shutterfly.com/media/47a4...D550/ry%3D400/
Once that was done I re-cleaned the wheel and swapped to a new unsewn buff and white rouge. After about 15 minutes this is what I have.
http://im1.shutterfly.com/media/47a4...D550/ry%3D400/
This is almost there.
http://im1.shutterfly.com/media/47a4...D550/ry%3D400/
It is still a bit swirly looking but that is where a couple of deep hand polishing's will finish it off.
http://im1.shutterfly.com/media/47a4...D550/ry%3D400/
I'll use Mother's Billet Polish first and finish up with White Diamond.