Free 186 More Best Homemade Tools eBook:  
Get 2,000+ tool plans, full site access, and more.

User Tag List

Page 1 of 2 1 2 LastLast
Results 1 to 10 of 11

Thread: Motorcycle clutch basket refurb

  1. #1
    Supporting Member olderdan's Avatar
    Join Date
    Jun 2016
    Posts
    782
    Thanks
    1,457
    Thanked 1,538 Times in 466 Posts

    olderdan's Tools

    Motorcycle clutch basket refurb

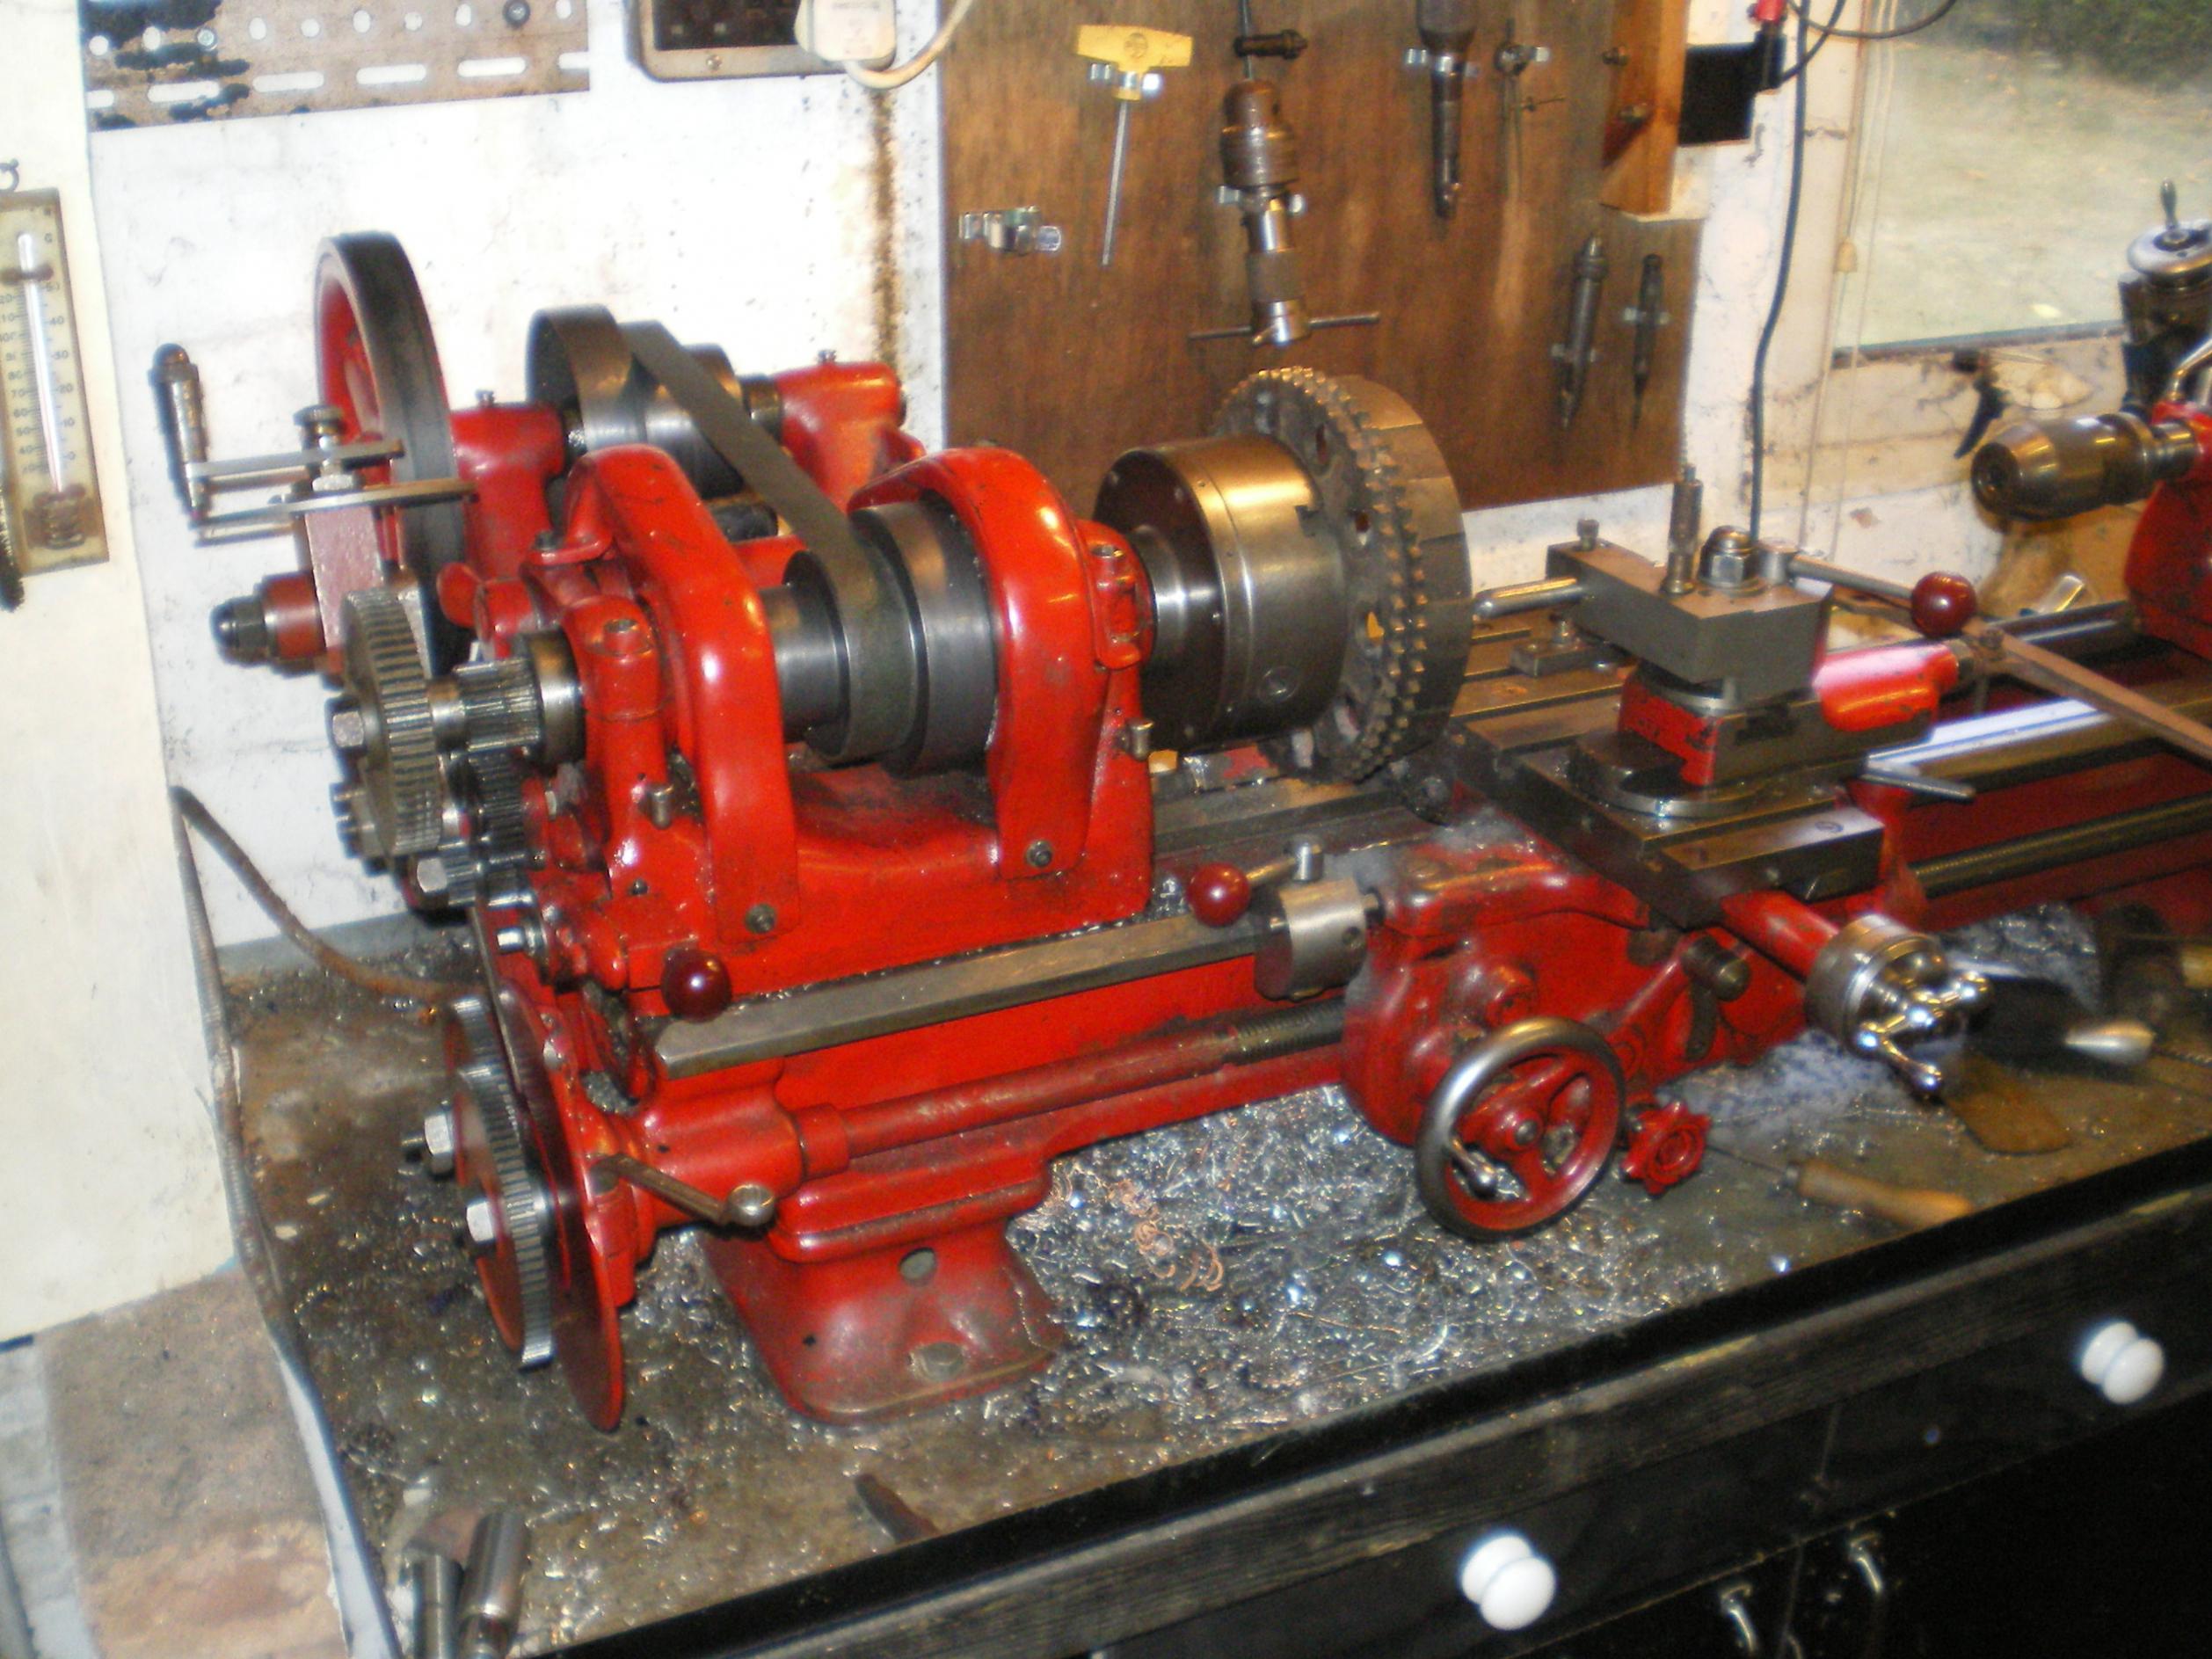
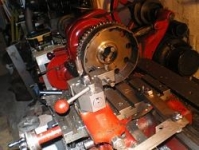
    I had a clutch basket that had become notched but was otherwise ok, tooth and bearing track wear was minimal so I decided to try and reclaim it and keep as a spare (nothing to loose).
    The width of the slots is not critical as long as they are smooth so I planed out the wear in the lathe.
    I used the topslide as a hand operated ram which has worked well in the past for keyways etc and with a suitable tool in a boring bar and indexed it turned out well.
    This was actually done on a faceplate but I forgot to take photos at the time so I mocked it up again in the chuck as an after thought.
    This is maybe not best approach for easily replaceable parts but this was done as an exercise for when there is no option, and anyway I can never throw anything away.
    I have made many things in the past but never thought to record them until joining HMT.

    Motorcycle clutch basket refurb-imgp1158.jpg

    Motorcycle clutch basket refurb-imgp1159.jpg

    Regards
    Olderdan

    186 More Best Homemade Tools eBook

  2. The Following 6 Users Say Thank You to olderdan For This Useful Post:

    bigtrev8xl (Jan 2, 2017), Paul Jones (Jan 6, 2017), PJs (Jan 6, 2017), Scotsman Hosie (Feb 17, 2020), Seedtick (Jan 6, 2017), Toolmaker51 (Jan 3, 2017)

  3. #2
    Supporting Member tonyfoale's Avatar
    Join Date
    Nov 2016
    Location
    Spain
    Posts
    1,557
    Thanks
    686
    Thanked 2,643 Times in 708 Posts

    tonyfoale's Tools
    Dan,

    Nice one, but widening the slots creates more backlash which can lead to a roughness, particularly in traffic when you are varying the throttle opening. This will also accelerate wear, but I guess that doesn't matter if the alternative is junking the basket.
    You are a man after my own heart, I never throw anything away either.
    Regarding keyways, and similar jobs like the clutch basket, you might find it useful to use a pneumatic cylinder for the tool driving instead of the hand lever. It is easy to work out how to mount the cylinder and you could use a manual valve to oscillate it back and forth or you could automate it with a set stroke with a couple of microswitches and a solenoid valve. Alternatively you could use the pneumatic equivalent of microswithes and make the whole thing air powered with no electrical bits. I use the microswitch system on my mill for slotting, usually making aluminium clutch baskets. The microswitches are mounted on a slide so it is a piece of cake to set the extremes of stroke.
    I picked up a 4" cylinder at a flea market, at 100psi that gives 1257# force which is overkill for anything that I need to do.

    2000 Tool Plans

  4. The Following 2 Users Say Thank You to tonyfoale For This Useful Post:

    bigtrev8xl (Jan 2, 2017), olderdan (Jan 6, 2017)

  5. #3
    Supporting Member Frank S's Avatar
    Join Date
    Aug 2015
    Location
    Peacock TX
    Posts
    11,210
    Thanks
    1,982
    Thanked 8,785 Times in 4,206 Posts

    Frank S's Tools
    With a cylinder that is larger than you need you can always use a pressure regulator in line to fine tune the force you want. Much better than having one too small and having to bump your compressor to a higher pressure
    Never try to tell me it can't be done
    When I have to paint I use KBS products

  6. #4
    Supporting Member tonyfoale's Avatar
    Join Date
    Nov 2016
    Location
    Spain
    Posts
    1,557
    Thanks
    686
    Thanked 2,643 Times in 708 Posts

    tonyfoale's Tools
    I found some pix of the BMW drum brake activation.

    Motorcycle clutch basket refurb-bmw-drum-02.jpg
    You can see the outer cable connected to the left side lever and the inner cable connected as usual to the inner cable

    Motorcycle clutch basket refurb-bmw-drum-03.jpg
    Here you can see the BMW solution, which I had forgotten, to the problem that I mentioned of slightly different leverage of the cam on each shoe. Basically they offset one of the cams from the usual position. to ensure that the cam contact point on each shoe was the same.
    There is some other cleverness in there also. With this cable on each lever system all the springs do is pull the shoes closer relative to each other so one shoe may be pulled away from the drum while the other is left rubbing. The solution adopted was to have one spring stronger than the other and have an adjustable shoe stop. So the stronger spring would pull one shoe onto the stop so it couldn't withdraw any more and then the other shoe would be pulled back until stopped by the cable adjustment in normal fashion. In my opinion all DLS brakes should be done that way.

    There is some free software on my web site about drum brakes which you might find of interest, it is freeware.

  7. The Following 2 Users Say Thank You to tonyfoale For This Useful Post:

    DIYer (Jan 6, 2017), olderdan (Jan 4, 2017)

  8. #5
    Content Editor
    Supporting Member
    DIYer's Avatar
    Join Date
    Aug 2013
    Posts
    3,056
    Thanks
    772
    Thanked 1,852 Times in 1,653 Posts


    Thanks olderdan! We've added your Clutch Basket Refurbishing to our Motorcycle category,
    as well as to your builder page: olderdan's Homemade Tools. Your receipt:


  9. #6
    PJs
    PJs is offline
    Supporting Member PJs's Avatar
    Join Date
    Sep 2014
    Location
    Northern CA
    Posts
    1,841
    Thanks
    8,337
    Thanked 1,118 Times in 718 Posts

    PJs's Tools
    Nice Save Olderdan! Twill work in a pinch for a restored street bike. Love that QCTP tool post you made, its a beauty and brilliant? Thanks for sharing with us! ~PJ
    ‘‘Always do right. This will gratify some people and astonish the rest.’’
    Mark Twain

  10. The Following User Says Thank You to PJs For This Useful Post:

    olderdan (Jan 6, 2017)

  11. #7
    Supporting Member olderdan's Avatar
    Join Date
    Jun 2016
    Posts
    782
    Thanks
    1,457
    Thanked 1,538 Times in 466 Posts

    olderdan's Tools
    A device similar to your suggestion was made some years ago designed by a very clever chap who joined our firm from BSA, this was made for form grinding helical gears on a standard surface grinder.
    It worked on the principle of a stationary drum with a spiral groove containing an air cylinder and the traverse was controlled by air valves the grinder bed remained stationary.
    He even worked out toe and heel compensation for a set wheel diameter to get the correct form,(tolerances were tenths), and did all this on a Hewlet Parkard calculator (no computers in the shop then).
    He was a really lovely guy to work with and was much respected, sadly so longer with us.
    For myself, I only have occasional use for something like this so I will stay with muscle power, I hope we will see a posting of your set up in the future.

  12. The Following User Says Thank You to olderdan For This Useful Post:

    PJs (Jan 6, 2017)

  13. #8
    Supporting Member tonyfoale's Avatar
    Join Date
    Nov 2016
    Location
    Spain
    Posts
    1,557
    Thanks
    686
    Thanked 2,643 Times in 708 Posts

    tonyfoale's Tools

    Simple manual slotting device.

    I just came across a couple of pix of a manual stand alone slotter. I have no other details but the pix are detailed enough for anyone who would want to build something like it.

    Motorcycle clutch basket refurb-keyway-slotter-01.jpg

    Motorcycle clutch basket refurb-keyway-slotter-02.jpg Click the pix for full size versions.

  14. The Following 4 Users Say Thank You to tonyfoale For This Useful Post:

    Gary A. Wills (Jan 13, 2018), Kevic (Jan 5, 2018), Seedtick (Jan 5, 2018), Vyacheslav.Nevolya (Jan 6, 2018)

  15. #9
    Supporting Member
    Join Date
    May 2013
    Posts
    36
    Thanks
    30
    Thanked 33 Times in 10 Posts

    steamingbill's Tools
    I have been wondering about building a slotting/line scribing gadget mounted on my lathe. Any advantages of a stand alone over a lathe mounted ?

  16. #10
    Supporting Member tonyfoale's Avatar
    Join Date
    Nov 2016
    Location
    Spain
    Posts
    1,557
    Thanks
    686
    Thanked 2,643 Times in 708 Posts

    tonyfoale's Tools
    Quote Originally Posted by steamingbill View Post
    I have been wondering about building a slotting/line scribing gadget mounted on my lathe. Any advantages of a stand alone over a lathe mounted ?
    My order of preference would be like this:

    1. Dedicated factory made machine tool for slotting.
    2. Factory made slotting head attachment for a milling machine.
    3. DIY made slotting head attachment for a milling machine. (This my method.)
    4. DIY made slotting fixture for a lathe.
    5. DIY made standalone device as in my post above.

    For single pass cutting like scribing markings on a dial it would be hard to beat a lathe with indexing. There are several versions of the technique in past posts on this forum.

  17. The Following 4 Users Say Thank You to tonyfoale For This Useful Post:

    Gary A. Wills (Jan 13, 2018), olderdan (Jan 6, 2018), Scotsman Hosie (Feb 17, 2020), steamingbill (Jan 6, 2018)

Thread Information

Users Browsing this Thread

There are currently 1 users browsing this thread. (0 members and 1 guests)

Bookmarks

Posting Permissions

  • You may not post new threads
  • You may not post replies
  • You may not post attachments
  • You may not edit your posts
  •