Those numbers, Ken, are they for a powertrain similar to yours? Getting to use that old shuttle runway would be a blast! :thumbsup:
Printable View
Those numbers, Ken, are they for a powertrain similar to yours? Getting to use that old shuttle runway would be a blast! :thumbsup:
The factory numbers were done with a 720 HP SBC. I've got a 712 HP LS7, so it's right in the ballpark. Same transaxle in both cases. Performance should be pretty close…
Ken
Wow, that's all I can say! :thumbsup:
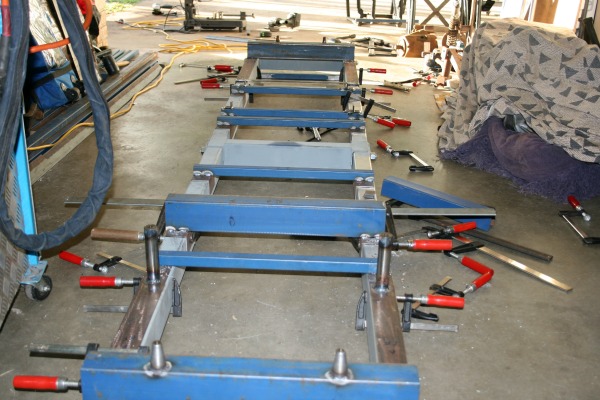
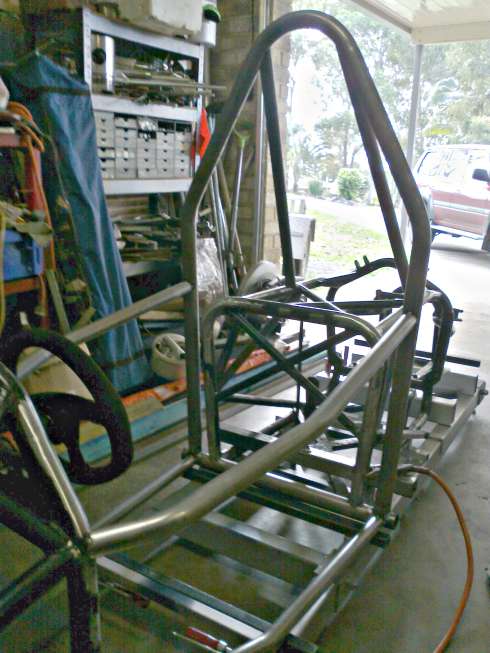
Hi All, I thought I would post some details about the jig I built.
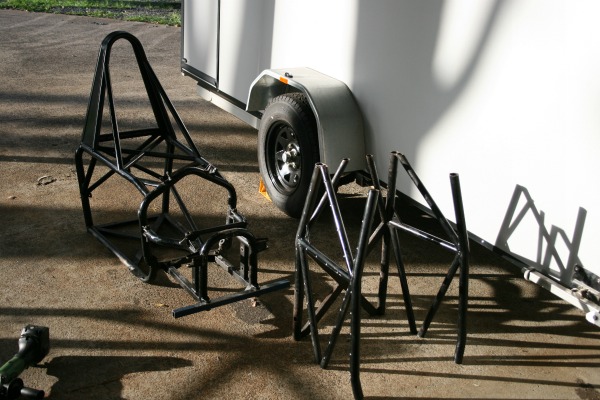
I built the jig because I had to cut my the cockpit out of my chassis to make room for my big ass.
Actually I could fit in the car, but did not have enough room for my elbows to steer the car, so to make it more comfortable, I am lengthening by 100mm and widening by about 130mm. I am building a new roll hoop to be compliant with local regulations and my new cockpit bars will attach to this.
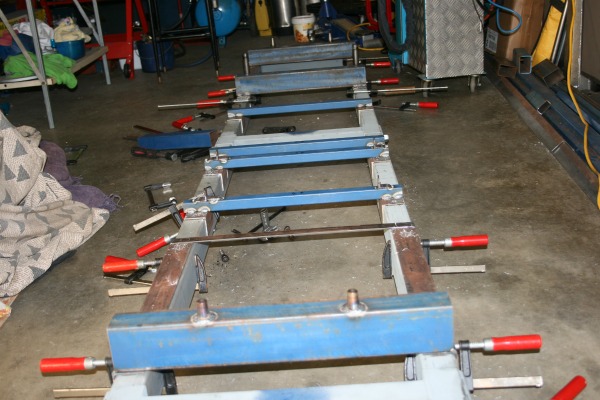
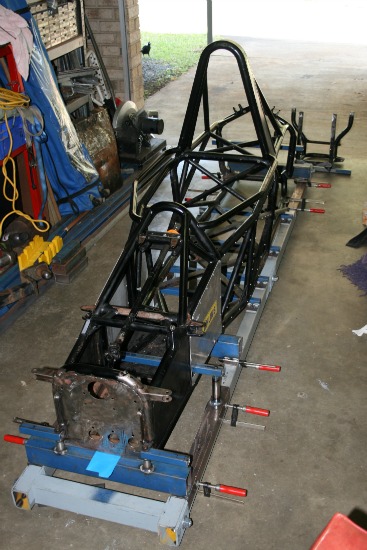
I wanted to maintain the suspension alignment after the car was cut, so I first made the jig rails from 75x50x3 RHS, or 3"x2"x1/8" for the imperialists. These ended up being about 3800mm long. For the three cross braces I used the same size RHS and I welded 50x50x3 angle to the ends of the braces so that they fitted snugly inside of the main rails. I then made intermediate bracing which could be slid along the rails, which would support the chassis. I secured these with screws once they were in final position after the chassis was cut.
Attachment 3589
Attachment 3590
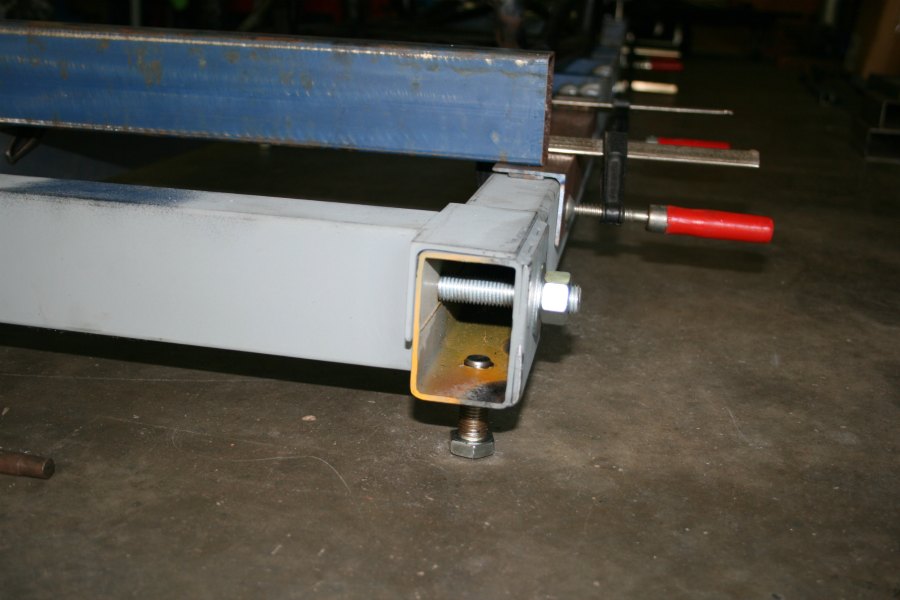
To tie the cross bracing together I drilled the main rails 16mm through the side where the bracing is located and fitted 16mm threaded rod right through both rails, securing each side with a nut.
I drilled 16mm holes in four locations along the length of the bottom of the main rails and welded 16mm nuts to them to accommodate levelling feet as my concrete slab is not very level or even.
Attachment 3588
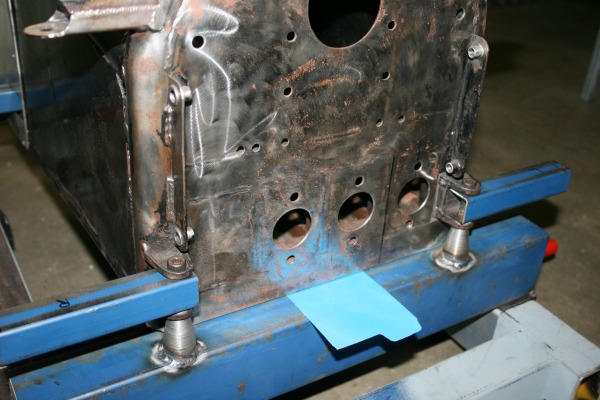
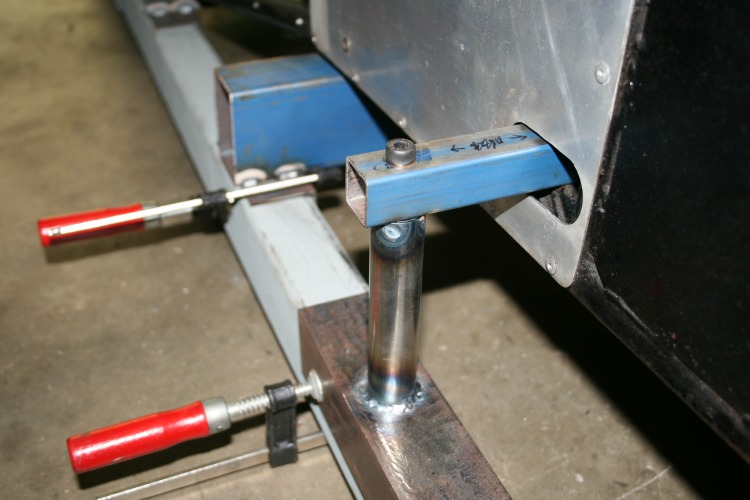
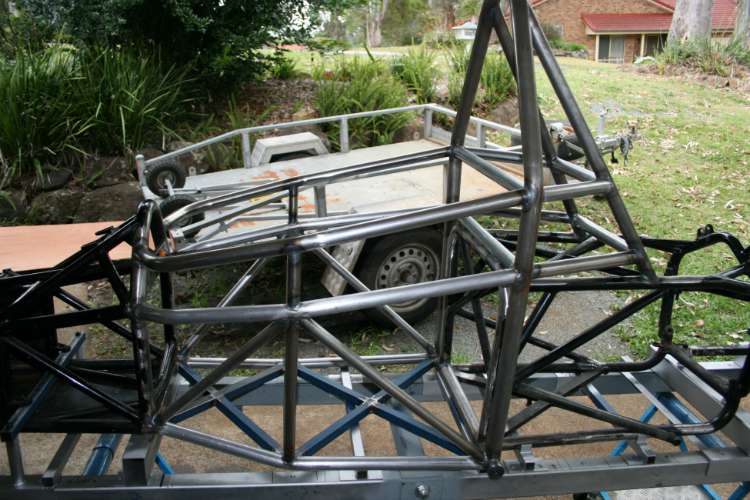
To accommodate the suspension pickup points I made bracing with the 50x50 angle on the outside of the rails and attached some threaded towers which were welded to the front and rear.
Attachment 3591
Attachment 3592
This process took a lot of measuring before I finally committed to cutting the car but I'm sure it was worth it as I can be sure that the car will be straight when it goes back together.
Attachment 3595
Attachment 3593
Attachment 3594
Thanks Astro! I've added your Chassis Jig to our Automotive and Metalworking categories, as well as to your builder page: Astro's Homemade Tools. Your receipt:
<div id="blocks"> <div class="block b1 pngfix"> <div class="bimg"> <div> <a href="http://www.homemadetools.net/chassis-jig-4"><img src="http://www.homemadetools.net/uploads/118292/chassis-jig-4.jpeg" /></a></div> </div> <div class="head pngfix"></div> <div class="left pngfix"></div> <div class="right pngfix"></div> <div class="blockover b1 pngfix"> <div class="title"> <a href="http://www.homemadetools.net/chassis-jig-4">Chassis Jig</a> <span> by <a href="/builder/Astro">Astro</a></span> </div> <div class="tags">tags: <a href="http://www.homemadetools.net/tag/jig">jig</a>, <a href="http://www.homemadetools.net/tag/chassis">chassis</a></div> </div> </div> </div>
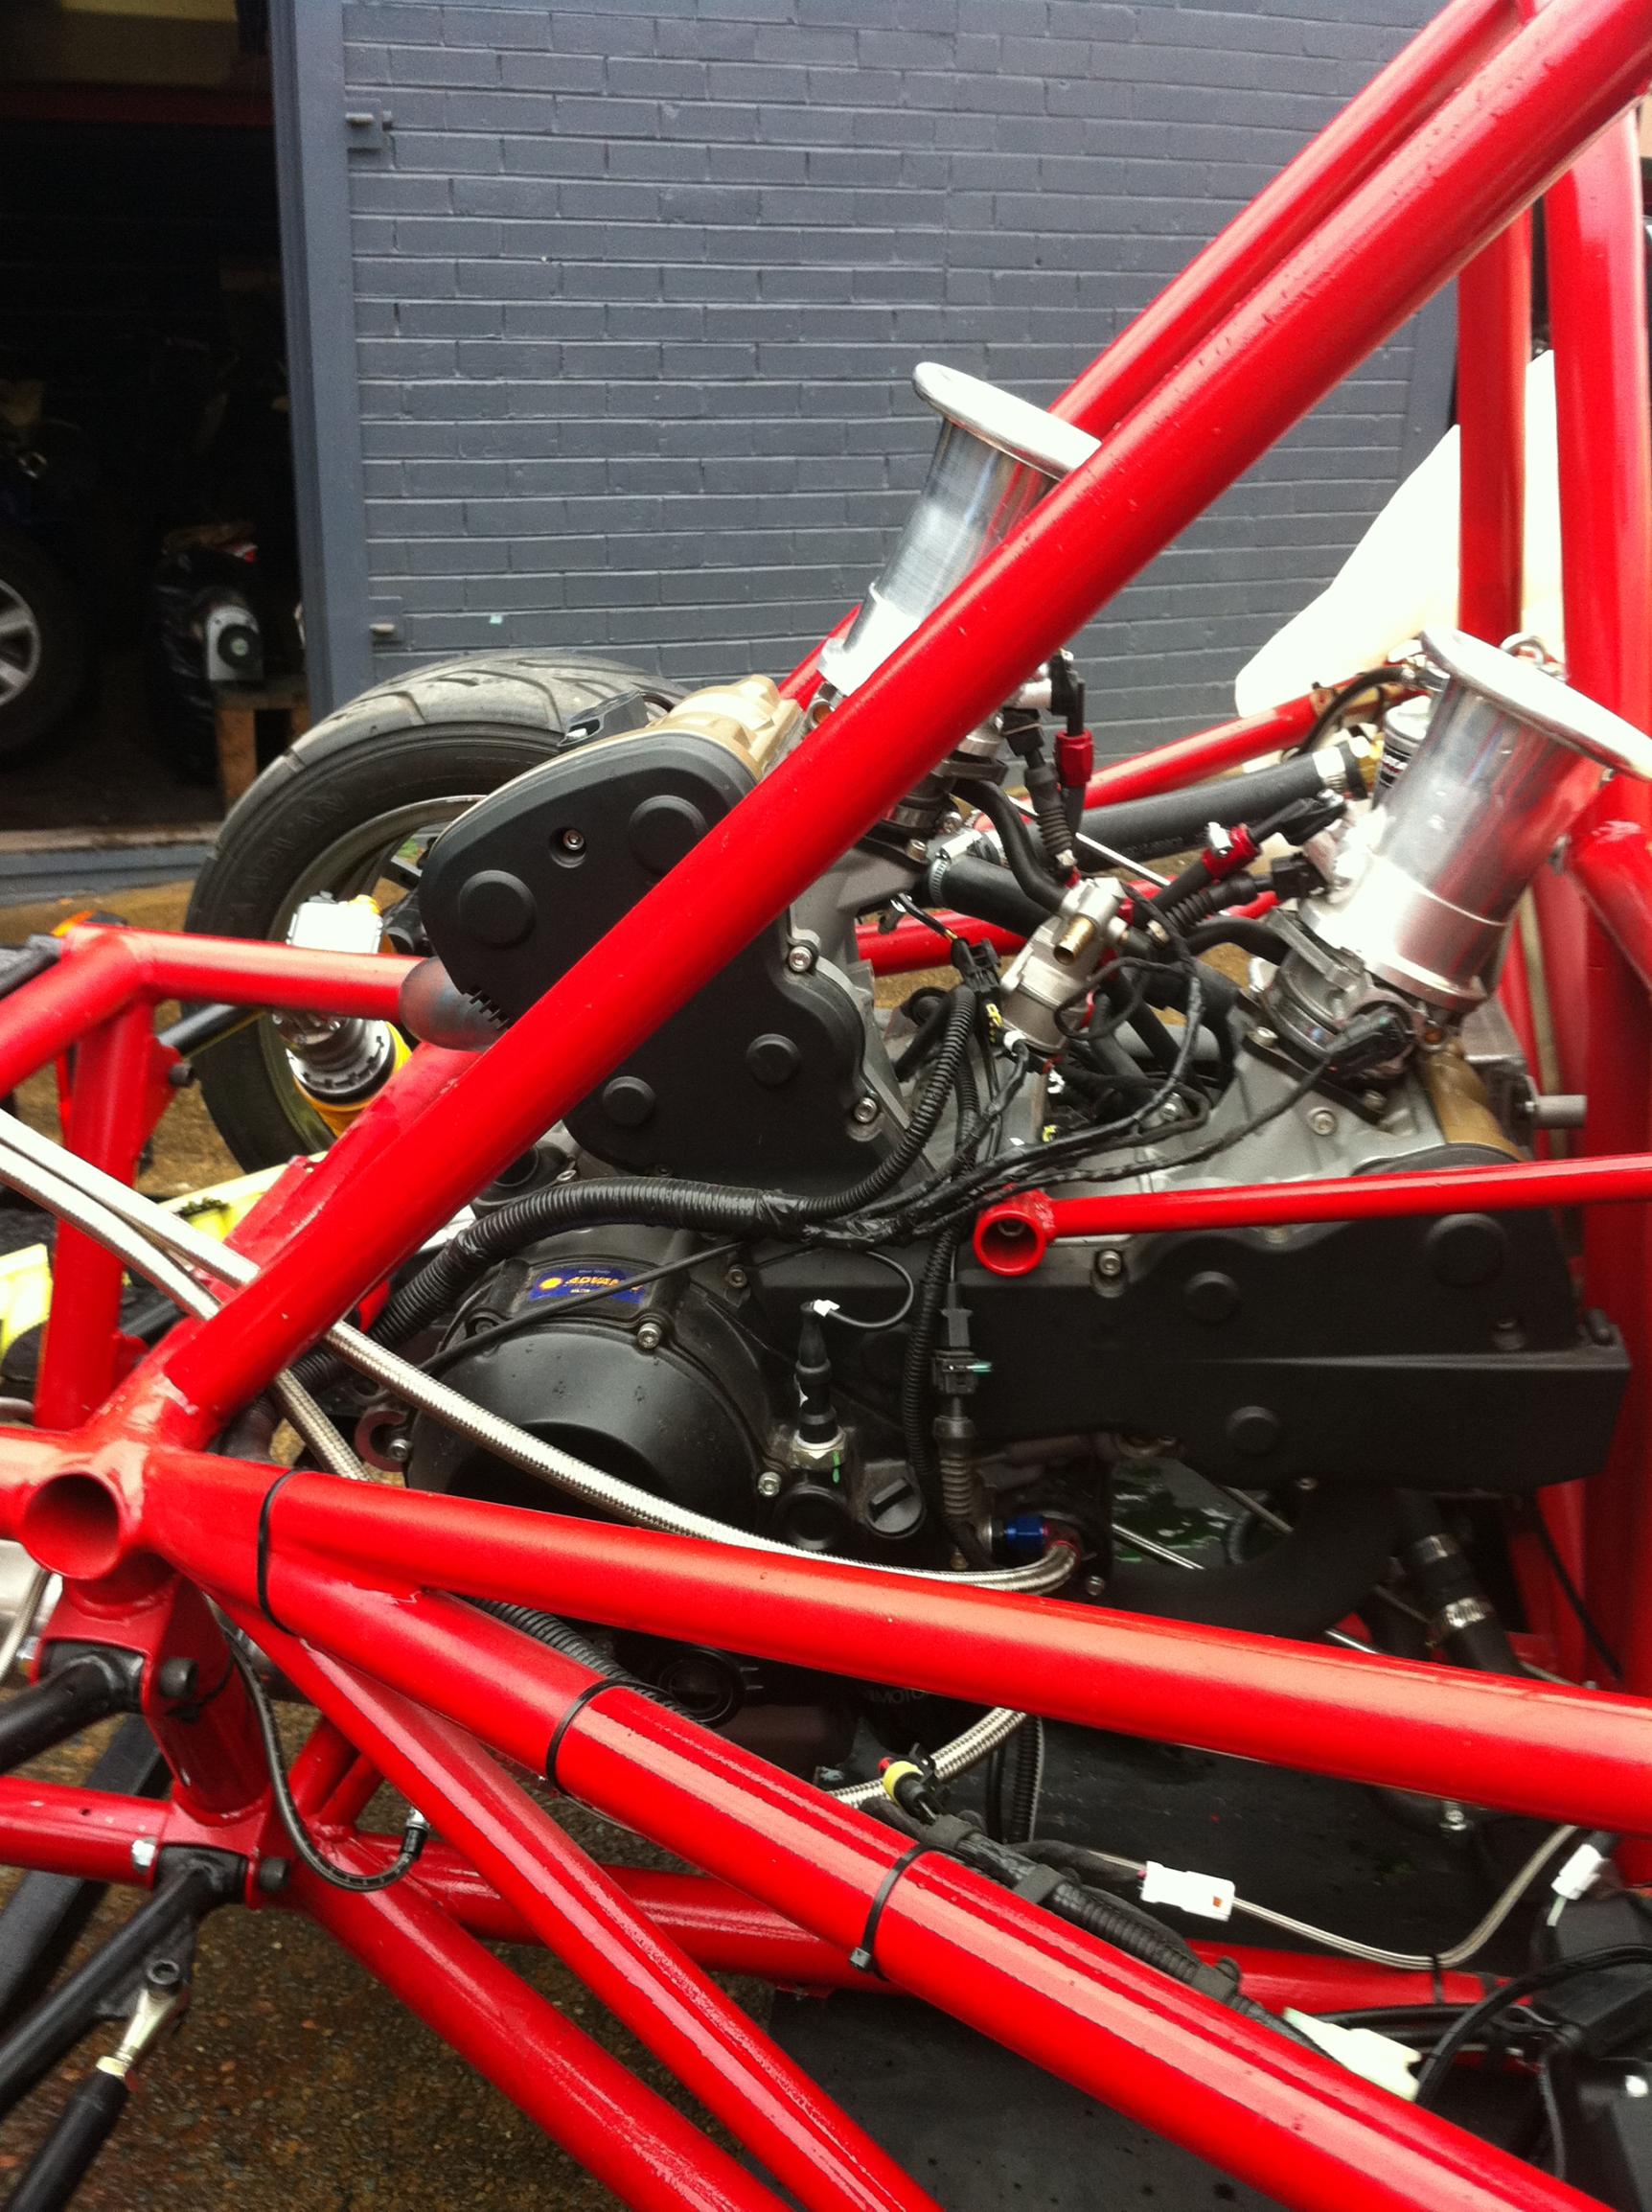
kblach you would like this then the Spartan.
I know all about this nice toy and have a few photo's when I figure out how to post them on this forum most need resizing as they are too big a file size as we did the dyno work setting this Ducati 1198 Engined track car up.
Attachment 3972
https://www.youtube.com/watch?v=wNMlU5ee-Sg
Yep, that Spartan should be a lot of fun with the Ducati 1198 engine providing fantastic performance and soundtrack. Of all my motorcycles over the years, I'll always have a soft spot for the 1200 Multistrada - superbike performance with comfortable, upright seating - what a bike!
Ken
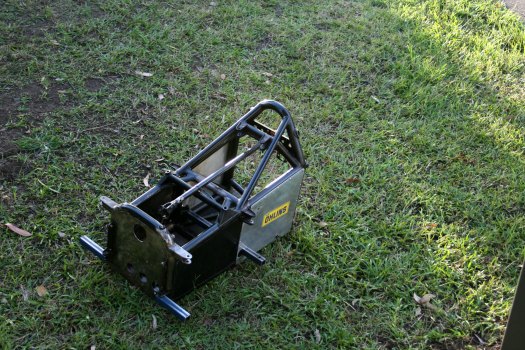
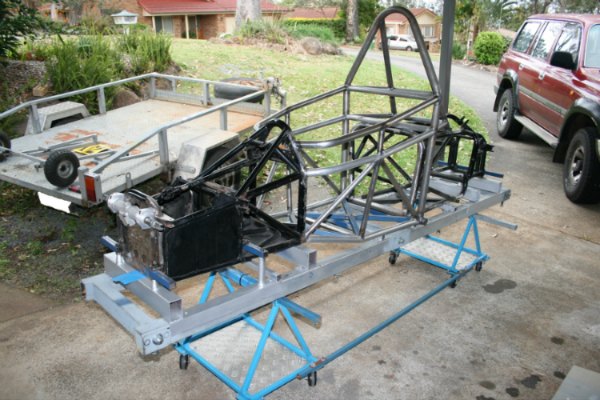
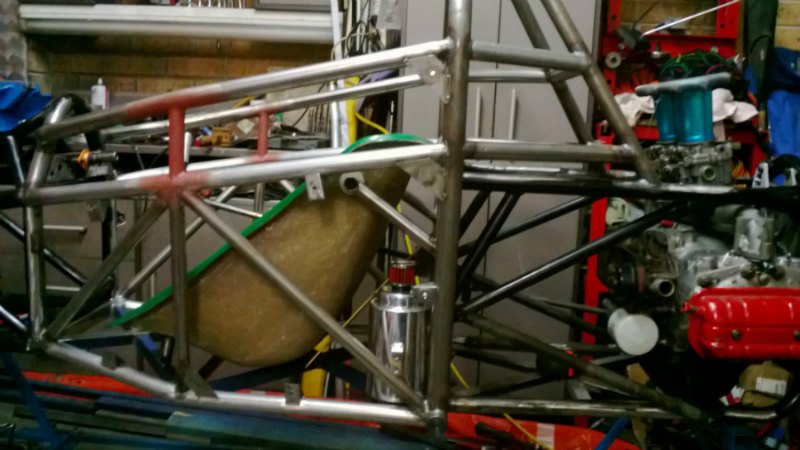
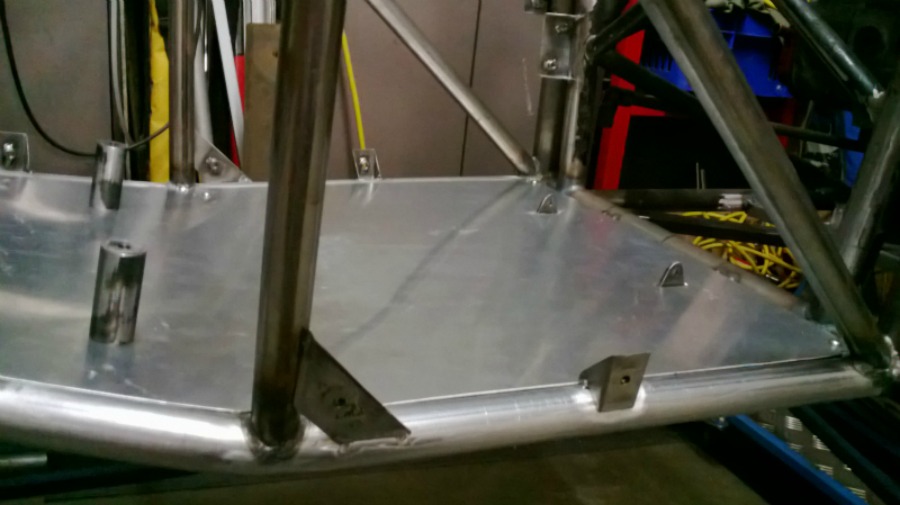
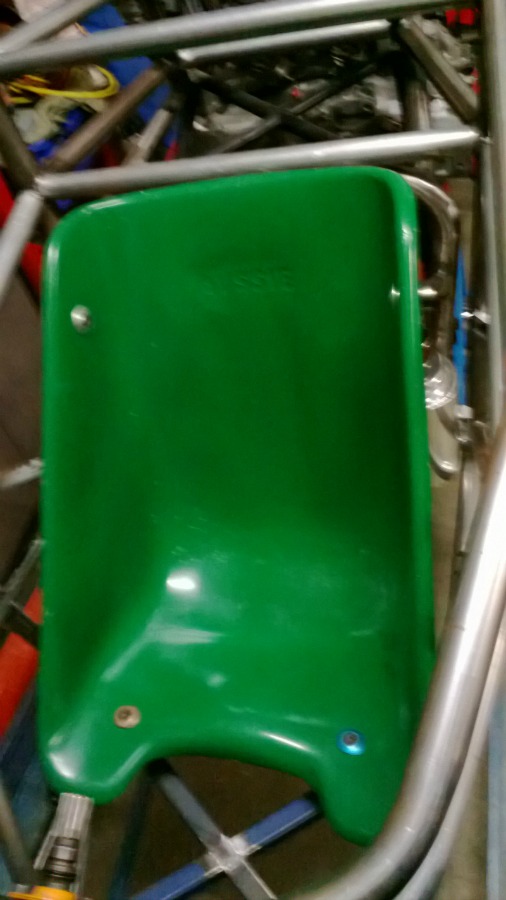
Hi All, it's been along time since I last posted but I thought I might give a bit of an update on the chassis build.
The frame is back in one piece (finally) and appears to be square and straight, although the major pieces have been welded, there is a multitude of brackets and additional mounts to be made. Items I have mounted include, the fiberglass seat, alloy sheet cockpit side panels and floor, battery, fuel tank , fuel pump, gear shift. I have the chassis off the jig currently to fit the engine and gearbox to allow me to fab the exhausts (and anything else I can think of) before I return it to the jig for final welding of all those ancilliary brackets and fixtures.
Attachment 5909Attachment 5910Attachment 5911Attachment 5912Attachment 5913Attachment 5914
Looks great! :thumbsup: Coming along very nicely.
Ken
Looking good, Astro! Appreciate your keeping us updated. :)