Free 186 More Best Homemade Tools eBook:  
Get 2,000+ tool plans, full site access, and more.

User Tag List

Page 1 of 2 1 2 LastLast
Results 1 to 10 of 11

Thread: Right angle clamping jigs

  1. #1
    Supporting Member morsa's Avatar
    Join Date
    Aug 2015
    Posts
    244
    Thanks
    87
    Thanked 377 Times in 140 Posts

    morsa's Tools

    Right angle clamping jigs

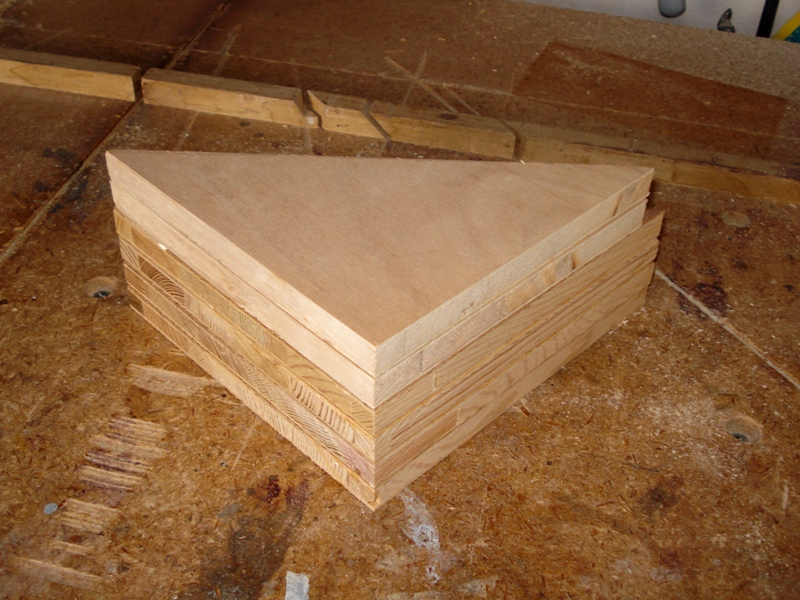
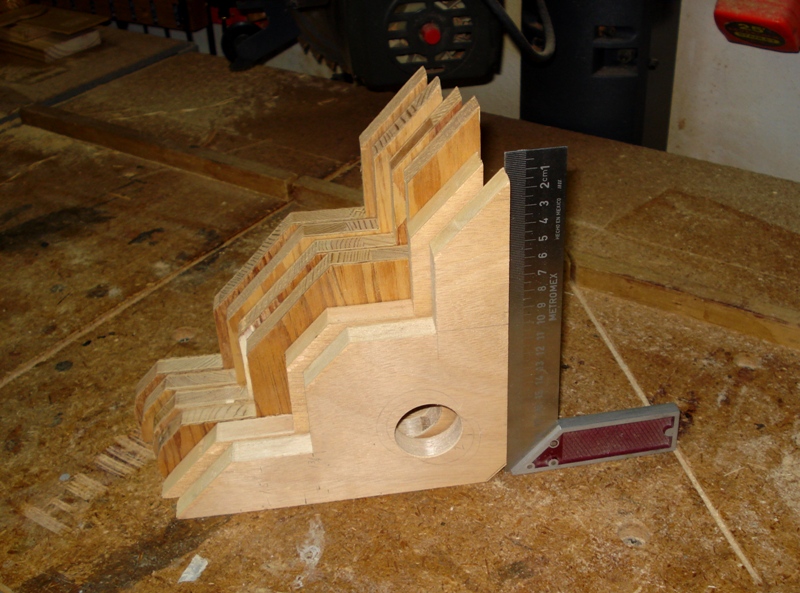
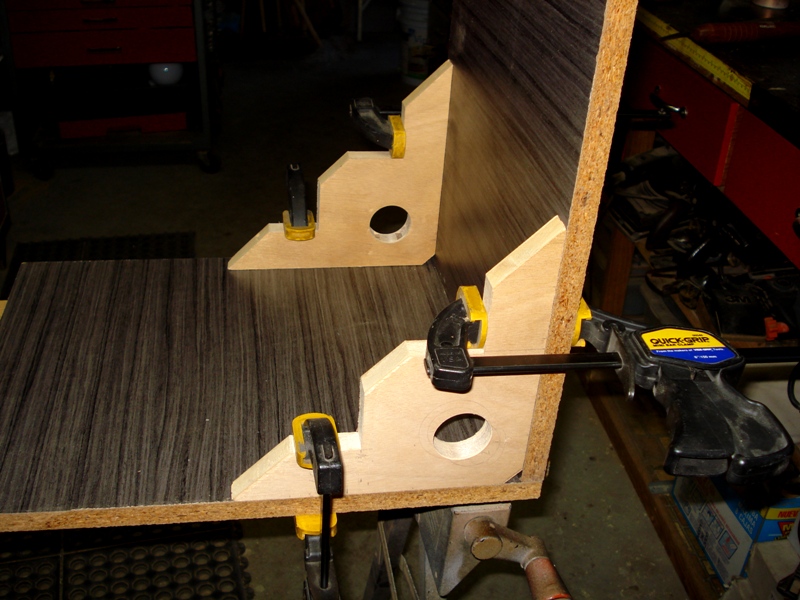
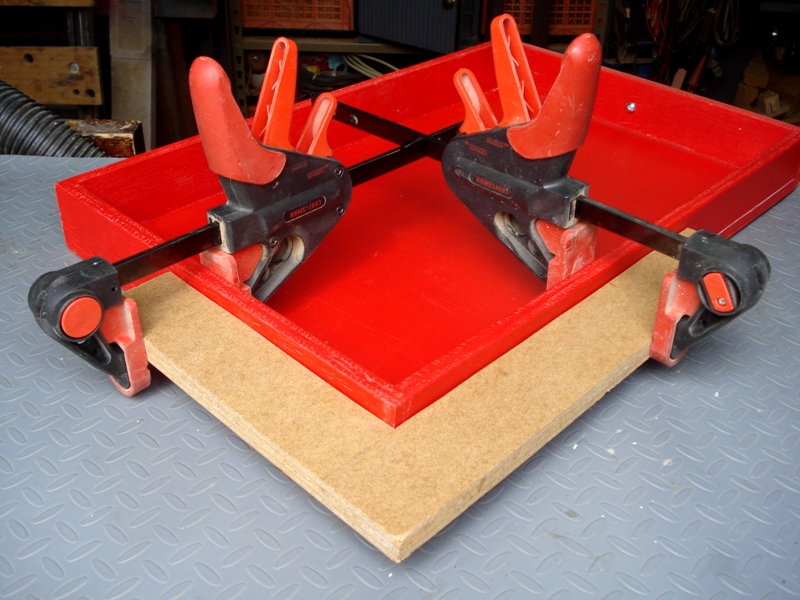
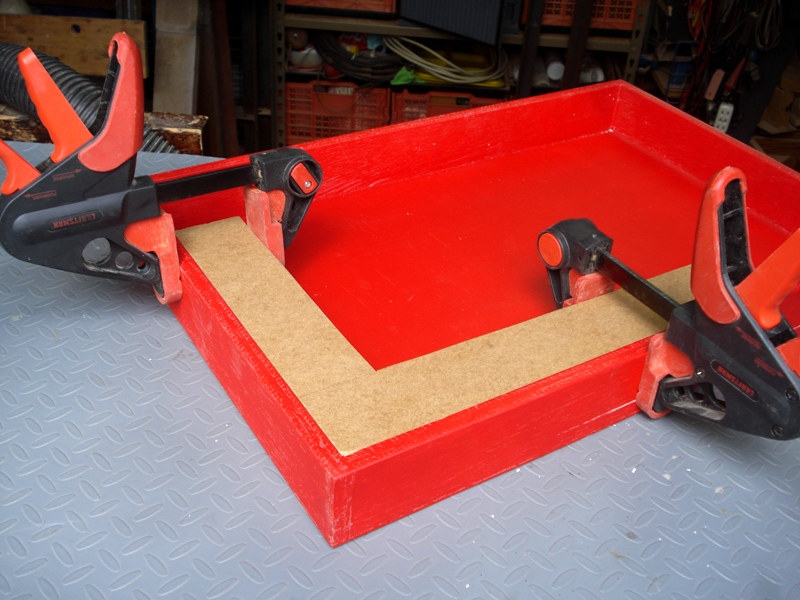
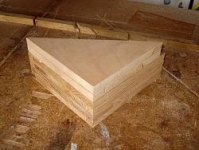
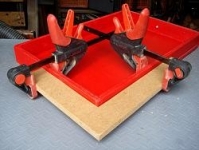
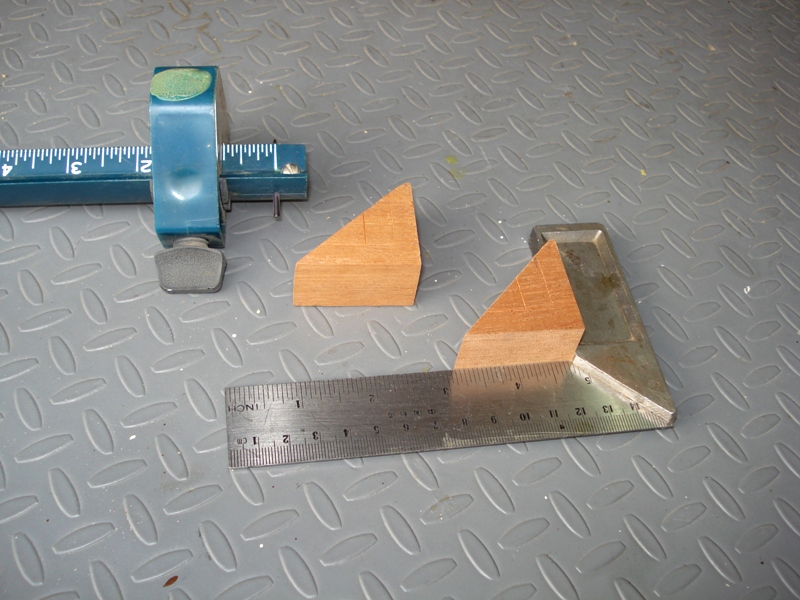
    Here are three jigs:

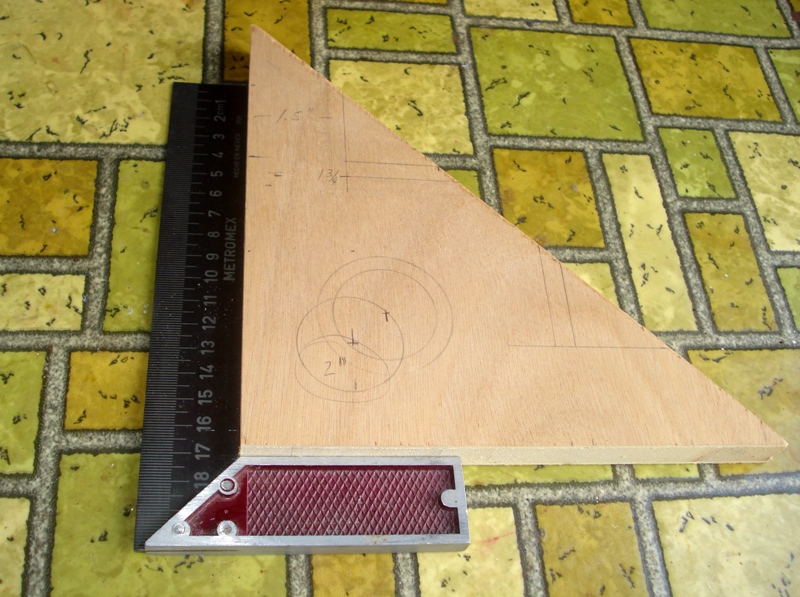
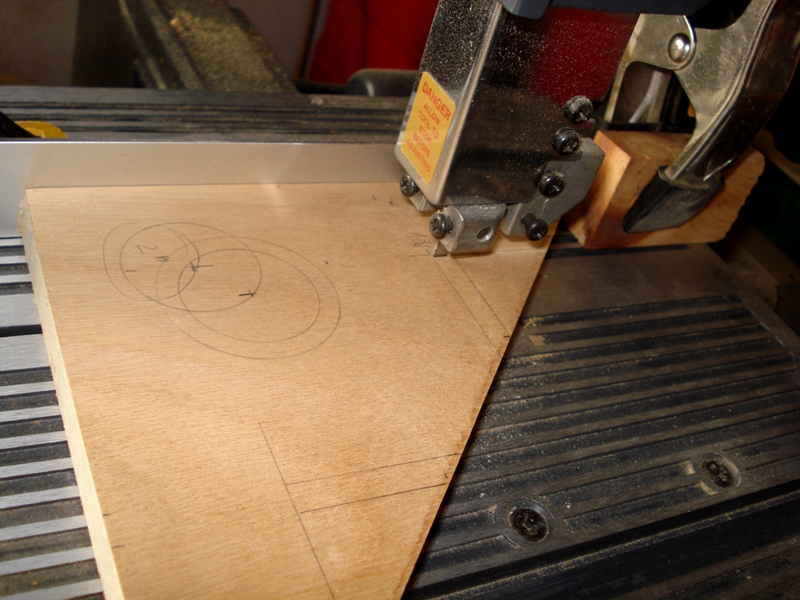
    1- These jigs, as designed by WOOD Magazine (Wood Magazine – Shop Tip of the Day ), are useful to clamp pieces at right angles for gluing or fastening; they are made with scrap wood.

    Right angle clamping jigs-dsc07977.jpg

    Right angle clamping jigs-dsc07992.jpg

    Right angle clamping jigs-dsc07995.jpg

    Right angle clamping jigs-dsc07997.jpg

    Right angle clamping jigs-dsc07998.jpg

    Right angle clamping jigs-dsc08000.jpg


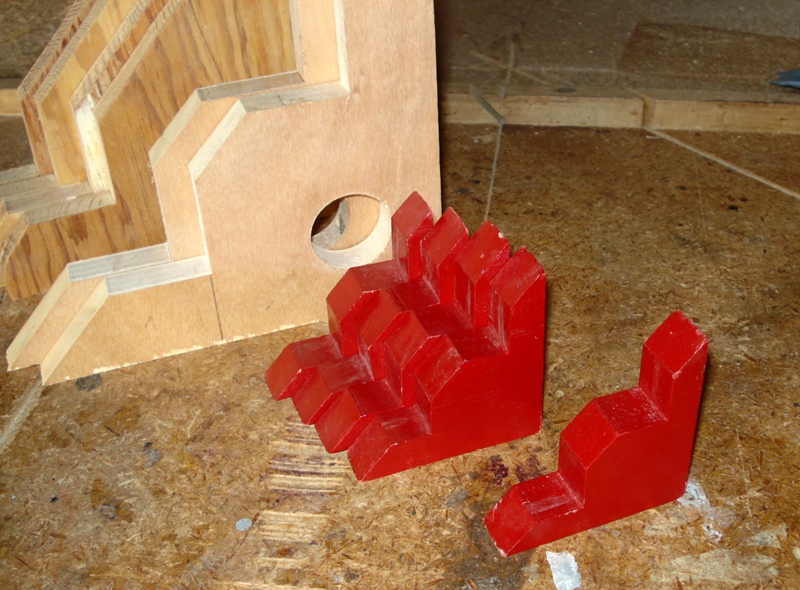
    2- The small jigs, painted in red, are also made from scrap wood, and are useful to clamp small pieces.

    Right angle clamping jigs-dsc08003.jpg

    Right angle clamping jigs-dsc08001.jpg


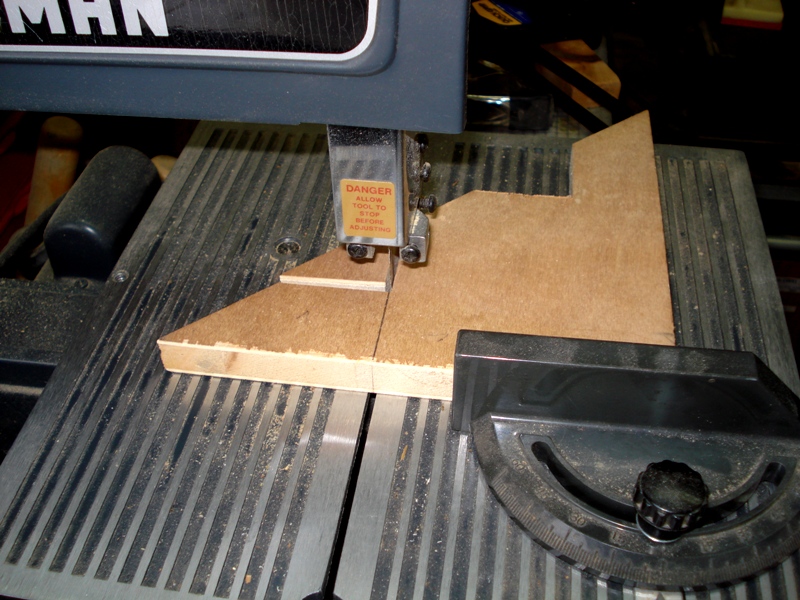
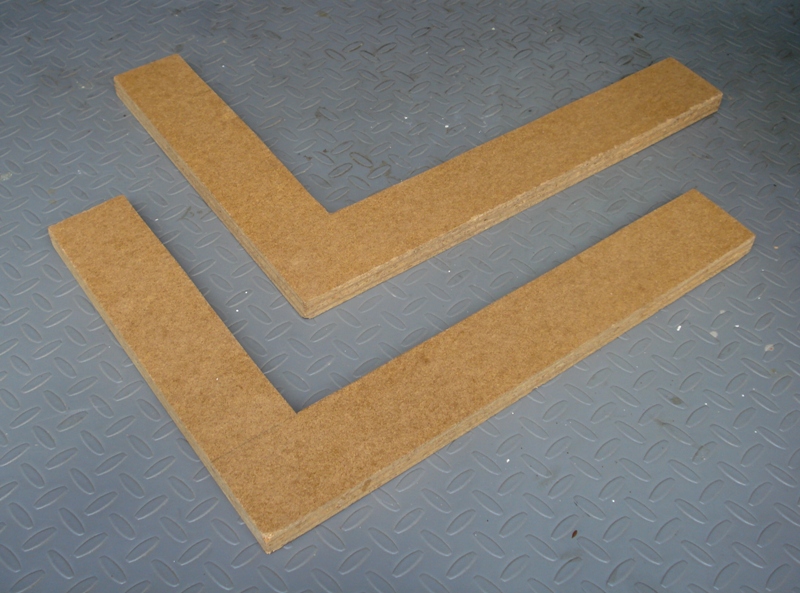
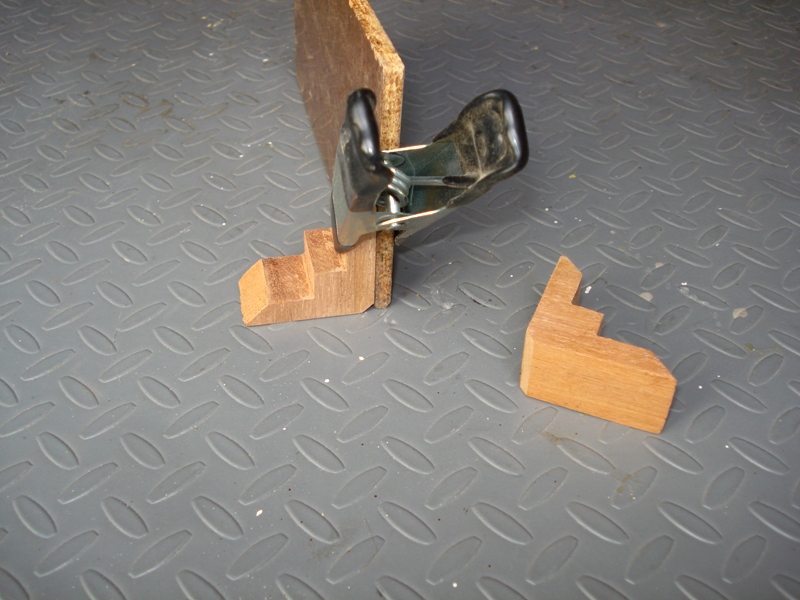
    3- The L-shaped jigs, made from leftover 1/2" MDF, are useful to align both interior as exterior corners.

    Right angle clamping jigs-dsc09624.jpg

    Right angle clamping jigs-dsc09620.jpg

    Right angle clamping jigs-dsc09621.jpg

    Regards, morsa.

    186 More Best Homemade Tools eBook

  2. The Following 2 Users Say Thank You to morsa For This Useful Post:

    Paul Jones (Nov 1, 2016), PJs (Nov 8, 2016)

  3. #2
    Supporting Member mklotz's Avatar
    Join Date
    Aug 2015
    Location
    LA, CA, USA
    Posts
    3,436
    Thanks
    357
    Thanked 6,391 Times in 2,118 Posts

    mklotz's Tools
    I have several similar sets, though much smaller and done in aluminum, that I use when gluing models. Builders who copy your design are reminded to pay close attention to the relief on the 90 degree corner, there so irregularities won't affect the orthogonality and so glue squeeze-out at the joint won't glue the jig to the structure.

    A liberal coat of floor wax on the jig will prevent any glue squeeze-out from sticking to the jig.

    2000 Tool Plans
    ---
    Regards, Marv

    Home Shop Freeware
    https://www.myvirtualnetwork.com/mklotz

  4. The Following User Says Thank You to mklotz For This Useful Post:

    PJs (Nov 1, 2016)

  5. #3
    Supporting Member morsa's Avatar
    Join Date
    Aug 2015
    Posts
    244
    Thanks
    87
    Thanked 377 Times in 140 Posts

    morsa's Tools
    Thanks, mklotz. Excellent tips; by the way, I’ll have to make that relief in the L-shaped jig, both in the inside, as in the outside corners. Although obvious, another recommendation when making jigs like these is to take care that the angle is exactly 90º.
    Of course, there are commercial jigs (Rockler,
    woodpeck,
    Mini Square,
    jevonstoolco), but here we love to make our own tools.

    Nowadays, it would be possible to make the small jigs in aluminum with CNC router, or with 3D printing.

    Regards, morsa.

  6. The Following User Says Thank You to morsa For This Useful Post:

    PJs (Nov 1, 2016)

  7. #4
    Content Editor
    Supporting Member
    DIYer's Avatar
    Join Date
    Aug 2013
    Posts
    3,056
    Thanks
    772
    Thanked 1,852 Times in 1,653 Posts


    Thanks morsa! We've added your Right Angle Jigs to our Woodworking category,
    as well as to your builder page: morsa's Homemade Tools. Your receipt:


  8. #5
    Content Editor
    Supporting Member
    DIYer's Avatar
    Join Date
    Aug 2013
    Posts
    3,056
    Thanks
    772
    Thanked 1,852 Times in 1,653 Posts


    Thanks morsa! We've added your Clamping Jigs to our Woodworking category,
    as well as to your builder page: morsa's Homemade Tools. Your receipt:


  9. #6
    Content Editor
    Supporting Member
    DIYer's Avatar
    Join Date
    Aug 2013
    Posts
    3,056
    Thanks
    772
    Thanked 1,852 Times in 1,653 Posts


    Thanks morsa! We've added your L Jigs to our Woodworking category,
    as well as to your builder page: morsa's Homemade Tools. Your receipt:

    tags: jig


  10. #7
    Supporting Member morsa's Avatar
    Join Date
    Aug 2015
    Posts
    244
    Thanks
    87
    Thanked 377 Times in 140 Posts

    morsa's Tools
    Yesterday I found these triangular cut-offs, and decided to make a pair of clamping jigs for small projects. The sides of the right angle are 1-3/4” (1.75”) long.

    Right angle clamping jigs-dsc09641.jpg

    Right angle clamping jigs-dsc09642.jpg

  11. The Following User Says Thank You to morsa For This Useful Post:

    PJs (Nov 8, 2016)

  12. #8
    Supporting Member mklotz's Avatar
    Join Date
    Aug 2015
    Location
    LA, CA, USA
    Posts
    3,436
    Thanks
    357
    Thanked 6,391 Times in 2,118 Posts

    mklotz's Tools
    Your clamping arrangement dictates that the angle jigs be at the end of the board. A jig in the middle of the board is impossible unless you have a clamp with enough depth of throat to reach down from the top of the board.

    One way to solve that problem would be to make one angle jig with two neodymium magnets embedded in its vertical face. Then a small ferrous plate stuck to the outside of the board would act as a clamp. The size of the jigs suggests that this device would be used for rather thin boards so the board thickness wouldn't diminish the magnetic force too much.

    Something to keep in mind if you ever run into the situation described.
    ---
    Regards, Marv

    Home Shop Freeware
    https://www.myvirtualnetwork.com/mklotz

  13. The Following User Says Thank You to mklotz For This Useful Post:

    PJs (Nov 8, 2016)

  14. #9
    Supporting Member morsa's Avatar
    Join Date
    Aug 2015
    Posts
    244
    Thanks
    87
    Thanked 377 Times in 140 Posts

    morsa's Tools
    Good point.
    This is like a brainstorming, where every idea is followed by several others, and each one improves the whole concept.
    I wonder if a magnetic welding square could work instead of a wooden square with neodymium magnets, or if sticking the ferrous plate by the inside, with double-sided tape, could make that function. Anyway, most of this clamping jigs use is at the edge of boards.

  15. The Following User Says Thank You to morsa For This Useful Post:

    PJs (Nov 8, 2016)

  16. #10
    Supporting Member mklotz's Avatar
    Join Date
    Aug 2015
    Location
    LA, CA, USA
    Posts
    3,436
    Thanks
    357
    Thanked 6,391 Times in 2,118 Posts

    mklotz's Tools
    Welding squares would not only work; in the middle of the board they have the advantage of being able to magnetically clamp both to the horizontal board and the vertical one. This eliminates the need for deep-throat conventional clamps in both locations.

    Drawing on a history of building ship models, I can say that thin boards are very prone to warpage during gluing. They'll warp if you look at them the wrong way. Anything that improves the ability to clamp is golden.

    Yes, it's a lot like brainstorming. A key element of that process is to never criticize ideas that are offered during the brainstorming session. After the ideas are recorded they can be culled but not during the idea-creation stage. I was part of an impromptu lunchtime brainstorming group once. Our emphasis was on coming up with ideas for new toys for kids. As secretary for the group, I kept records of all the ideas suggested. Many years later I reviewed my notes and was pleased to see how many of our ideas were now in the marketplace.

    Successful brainstorming requires careful selection of the participants. They must be able to abide by the no-early-criticism rule without resentment. Folks who are upset when a discussion drifts off-topic should be excluded as well.
    ---
    Regards, Marv

    Home Shop Freeware
    https://www.myvirtualnetwork.com/mklotz

  17. The Following User Says Thank You to mklotz For This Useful Post:

    PJs (Nov 8, 2016)

Thread Information

Users Browsing this Thread

There are currently 1 users browsing this thread. (0 members and 1 guests)

Tags for this Thread

Bookmarks

Posting Permissions

  • You may not post new threads
  • You may not post replies
  • You may not post attachments
  • You may not edit your posts
  •