-
11 Attachment(s)
RR Anvil
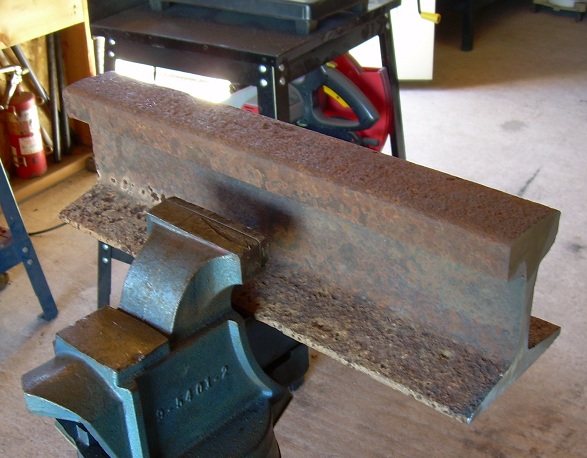
As mentioned in another RR anvil thread, a few years ago while filling in a old homestead basement dugout I found a 7 1/2' piece of rail, I had thought of making an RR anvil so this was perfect. After collecting more rust for a couple years I finally utilized a 1.5' to build a double horn anvil for light work. The first picture is were I started.
Attachment 18516
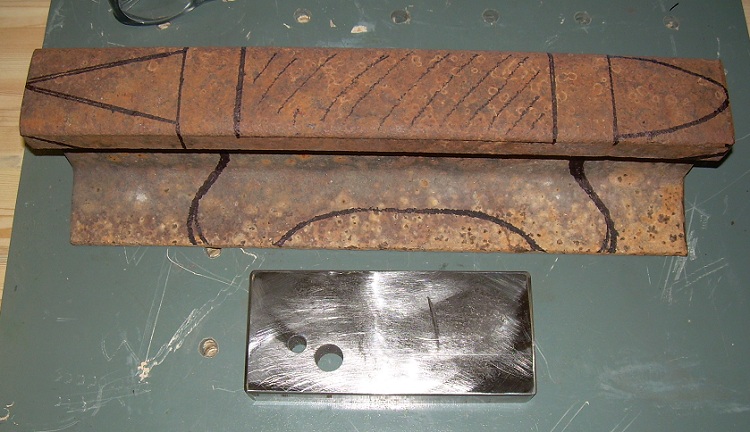
In this picture I have done a rough mark-up for a guide and I made up a face of 1" thick tool steel to add weight and size to the working face.
Attachment 18517
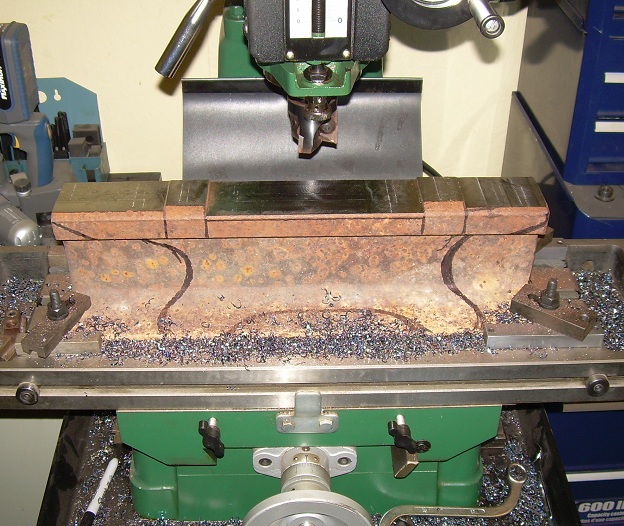
Here I faced off the top surfaces on my mill/drill.
Attachment 18518
The anvil roughed out.
Attachment 18519
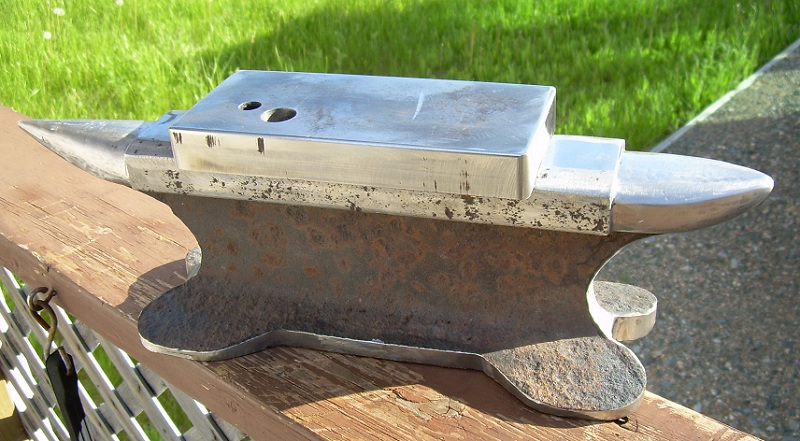
Here the horns have been refined, ready to heat treat the face and weld it up.
Attachment 18520
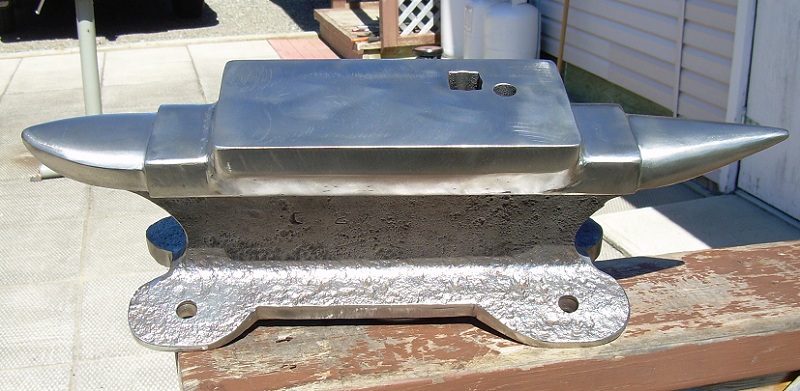
All welded up, the welds cleaned up, finished refining the shape and wire brushed the rust, ready for paint
Attachment 18521
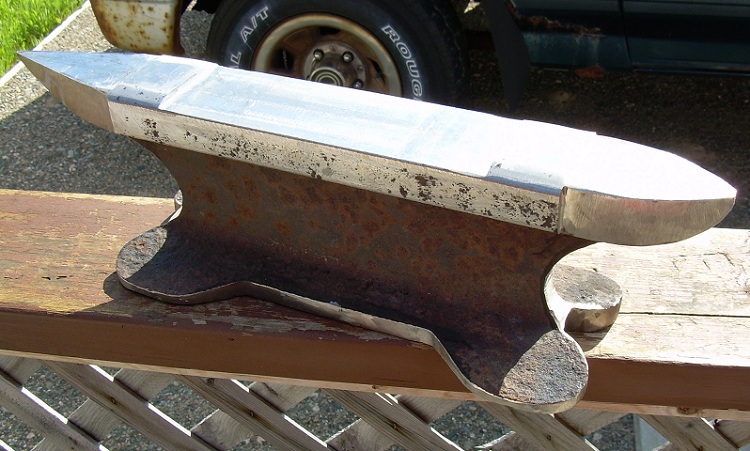
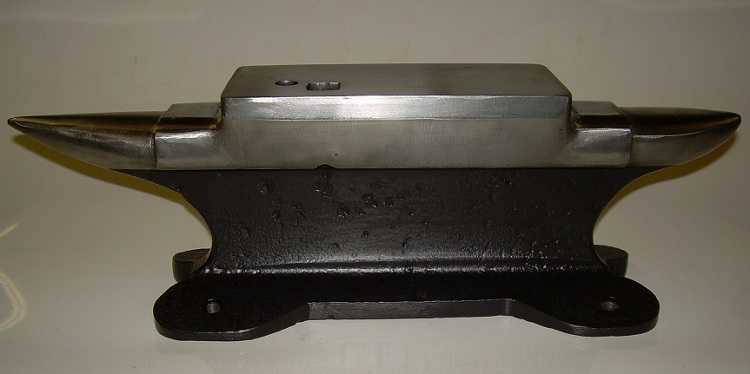
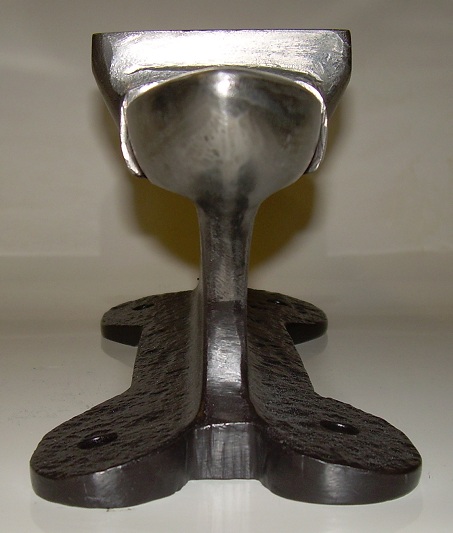
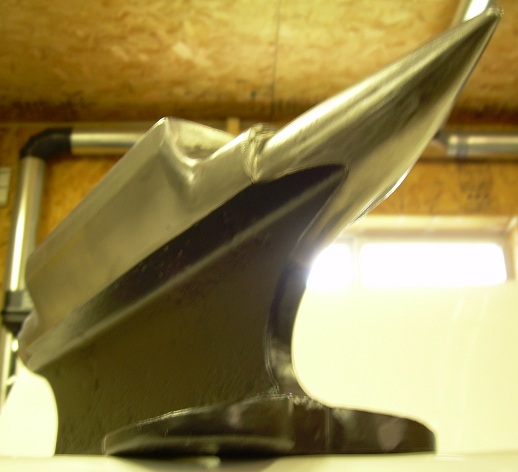
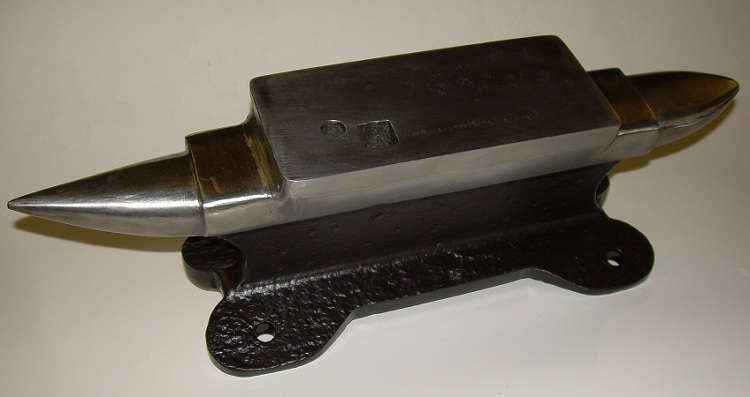
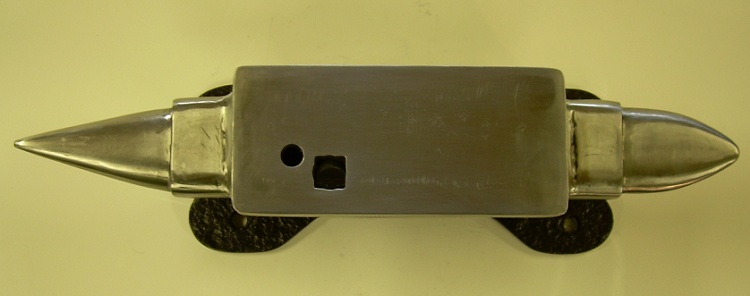
All finished, the paint is two coats of high heat Tremclad flat enamel. Here are the finished pictures.
Attachment 18522
Attachment 18523
Attachment 18524
Attachment 18525
Attachment 18526
The anvil has a nice clear ring to it. Should do me well for the light work I intend to do on it. There are more pictures and full build documentation on my site at the address in my signature.
-
I was at my local metal supplier the other day and they had several 2' sections of railroad rail for $.30 per pound
-
<!-- BEGIN /var/www/html/homemadetools/protected/modules/zeus/views/tool/postUpdate.php -->
Thanks Carlos B! We've added your Anvil to our Anvils category,
as well as to your builder page: Carlos B's Homemade Tools. Your receipt:
<div id="blocks">
<div class="block b1 pngfix">
<div class="bimg">
<div>
<a href="http://www.homemadetools.net/homemade-anvil-39">
<img src="/uploads/193742/homemade-anvil-39.jpeg"/>
</a>
</div>
</div>
<div class="head pngfix"></div>
<div class="left pngfix"></div>
<div class="right pngfix"></div>
<div class="blockover b1 pngfix">
<div class="title">
<a href="http://www.homemadetools.net/homemade-anvil-39">Anvil</a>
<span> by <a href="http://www.homemadetools.net/builder/Carlos+B">Carlos B</a></span>
</div>
<div class="tags">tags:
<a href='http://www.homemadetools.net/tag/anvil'>anvil</a> </div>
</div>
</div>
</div>
<!-- END /var/www/html/homemadetools/protected/modules/zeus/views/tool/postUpdate.php -->
-
Throughout the history of anvil making there have been numerous makes with double horns this may be the first one Ihave seen with dissimilar horn and bick shapes. Really a nice feature when I think about it however not many smiths actually ever take full advantage of the bick or damage them due to their not knowing the somewhat delicate nature with respect of the rest of the anvil.
Having a short reasonably fat horn on one end with a blunt bick gives you a slight advantage over other 2 horned anvils since you can rough form on the shortened one and finish forming if need be on the more elongated slender horn with the sharper bick.
Having a hardened steel face welded to the anvil body is a practice that got started in the US by several anvil makers the face was heated to white hot and placed in the bottom of the mold then molten iron was poured in causing the face to be bonded with the body by some manufactures others dir this in the inverse by first casting the body then re heating it and the face then causing the bond by the use of a very large steam hammer Both practices had given way to cast steel by the early 1900's
Having the wider face on your anvil will give you more flat area to work with however the thin body or in the case of RR track the web with the wide face can not transfer energy from hammer blows as well as the narrower faces of RR track anvils when striking near the edge This only poses a problem for the smith if he has to use his anvil for long periods or time resulting in fatigue to his arm But most smiths will never experience this since they do not normally swing their hammers for hours at a time as a blacksmith would when beating out plow shears and the like.
The wider face does give you the ability to use it as a replacement for not having a heal since you have 2 horns and many was the time when I was working as a blacksmith apprentice I had wished for a deeper step but my mentor always told me, son you just can not have everything unless you make it yourself.
All in all in my opinion you have created a next gen RR track anvil which you should be very satisfied with for years to come
-
Thank you for the likes Frank S. That was my thinking too with the double horns the shorter horn will handle a little heavier, small curve work while the cone horn will handle more delicate tighter curve work. The small face of the rail bothered me, the 1" thick tool steel plate adds a nice work surface and almost 15 lbs. of weight to the anvil. I poured almost half a box of welding rod into building up the sides, its a solid attachment and has a nice clear ring to it. I had a light sheet metal working anvil that I built out of heavy wall steel shapes on a I beam, I beefed it up in a similar manner so it will handle heavier work but unlike the rail anvil it's ring is more muffled because of the hollow body.
-
A second observation which may be useful to others the RR track used in the making of this anvil appears to have been the cut off section of un-used track which would not have received the years of work hardening from trains rolling on it, adding the hard steel face is a good way to compensate for that
-
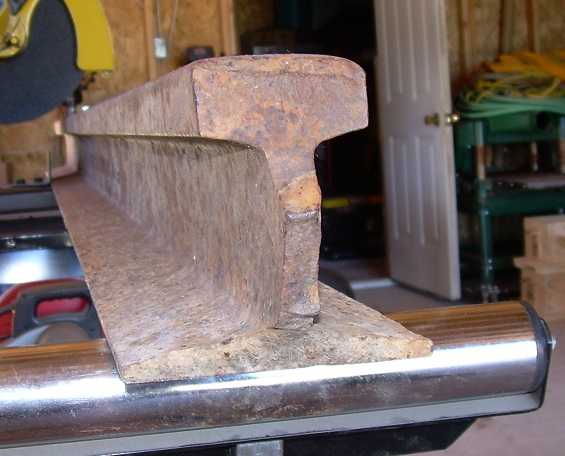
1 Attachment(s)
Actually this was a very well used piece of rail before it succumbed to these northern temps. The picture below shows where it broke off and probably resulted in a derailment. There was a good wear lip on the inside edge, and the work hardening went deep. I faced it off with a carbide insert face mill, I don't think HSS tooling could have done it. Its was tough.
Attachment 18546
-
OK from the pics it looked like just a cut off that had been out in the weather for a long time thanks for the update
-
Not a problem, the wear lip was facing away from the camera ,totally understandable.
-
Seeing this has reminded me that I have a nearly finished one somewhere. Loverly work you have done.