
 LinkBack URL
 About LinkBacks


For lack of a better way to describe it.
I really hate having to make more than1 trip to town in a month let alone having to do it twice in 2 days. but aside that
Today I was trying to think of how I wanted to go about setting up the 2 1" thick plates to bore them out on the mill with the boring bar I made the other day.
I needed them to be about 4 to 5 inches above the mill table to allow room for the bottom stabilizer bearing at first I thought I might make 3 more heavy duty machinist jacks then place a plate on top of the mill table and mount everything to that. However in order to have a solid setup I would need to bolt the plate down then either weld or bolt a means to hold the work pieces in place I don't like welding around my machines when I can get around it. I can cover them and protect them from weld splatter but this means a lot of extra things to have to deal with.
But even if I had opted to bolt a large thick steel plate to cover the mill table I would still have to do the set up which meant like I said more machinist jacks which I really need just didn't want to make them today, or I needed something large enough and stable enough to use as the stand off.
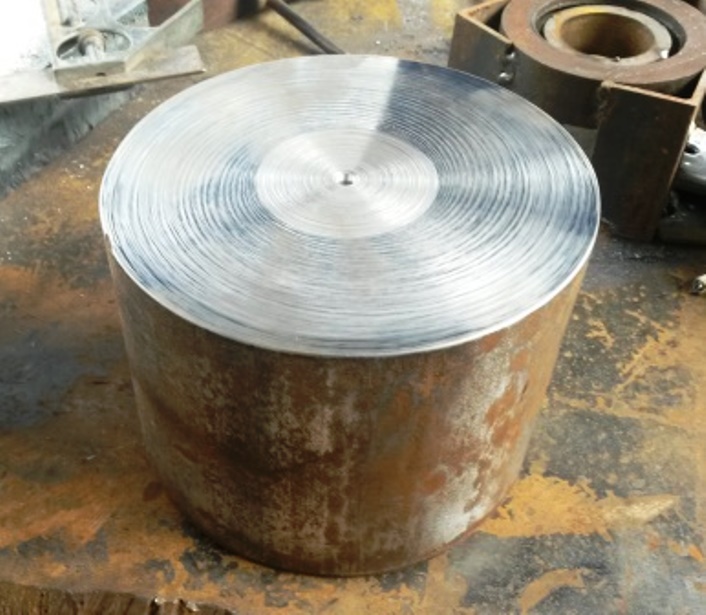
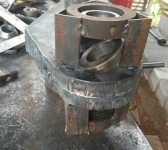
MY first thought was a section of 6 to 8" thick wall pipe. I have both but no short pieces then I spied a 6" diameter solid cylinder about 5 " long. Perfect just chuck it up in the lathe and face it off on both ends
leaving a very slight concavity to both faces It is plenty heavy enough to be a stable stand off and I can use the 1 heavy machinist jack to support the opposite end of where I will be boring.
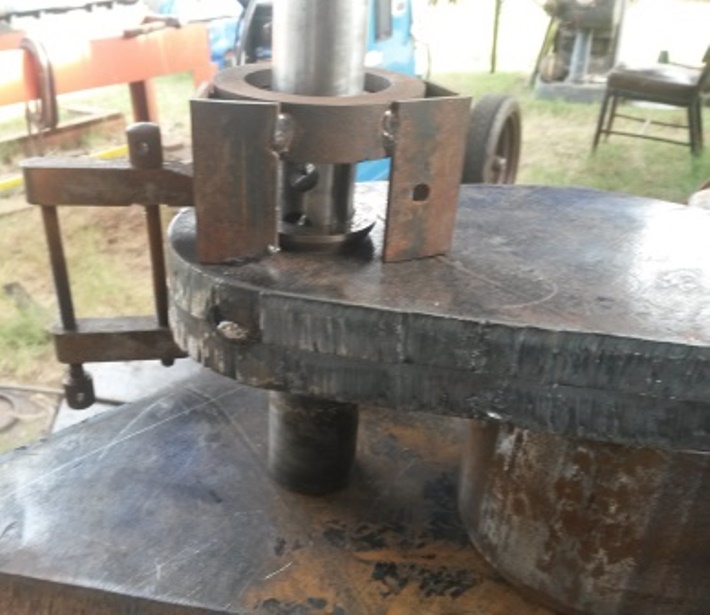
After machining the faces I laid the plates on top to check my clearances. In doing so I decided to just square up and tack the stabilizer bearings in place now that I have the boring bar and bearings perpendicular to the work piece surface all I have to do is transfer everything from the 1" thick steel table to the mill clamp things down do a little fine truing then bore out the holes like I started doing with the boring head several days ago
I know I could have been finished by now using just the boring head especially after I had managed to add a bolt in the center of the head to assist in securing it or I could have used my long boring bar and don this in the lathe like I did the excavator thumb part. What would be the fun in that ?
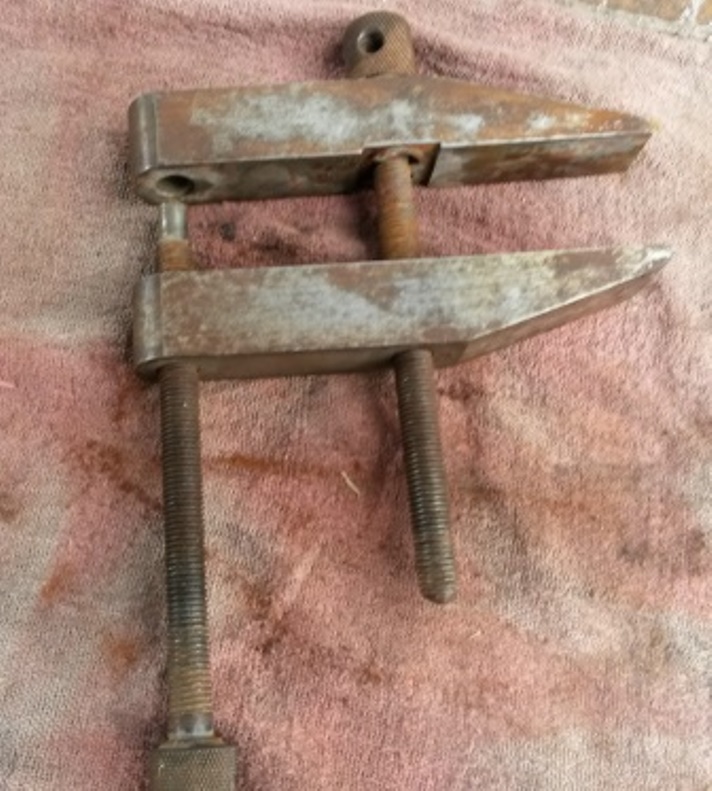
You may note my machinist clamp holding the cones in place
I made that in High school while more or less teaching the shop class for the coach my younger sister had kept them all through the years
There is just barely enough room to remove the alignment cone
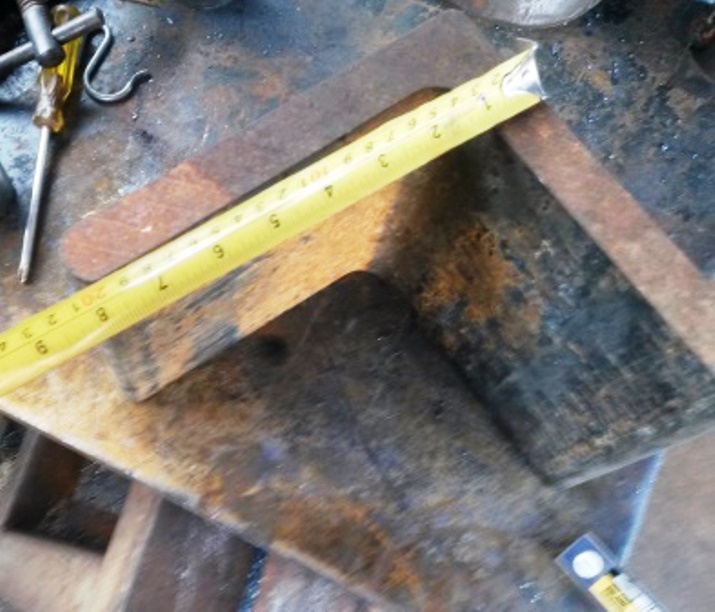
A future project, the making of a square angle block
the question is, do I want to make square on square on square by adding another right angle piece for the handle OR do I want to make square on square on 45° by adding a 2 or 3" wide 1" thick piece so I will have an angle block? Either way I plan on drilling and cross drilling holes on 1" centers on all faces then taping them to 1/2-13


 Reply With Quote


Bookmarks