-
19 Attachment(s)
V Step Angle Plate
Seems as though most machinists (myself) are always looking for an easy way to hold something that has to be machined, ground, drilled, layout Etc. with out a lot of setup work, most of the time it takes longer to setup your work piece than it does to do the actual machining process, this is why we have so many different tools, 90% of what we do can be held in conventional tooling such as a vise a v-block or just clamped down on a machined surface, now on the other hand that remaining 10% can be quiet tricky sometimes due to a parts irregularity in shape size or whatever.
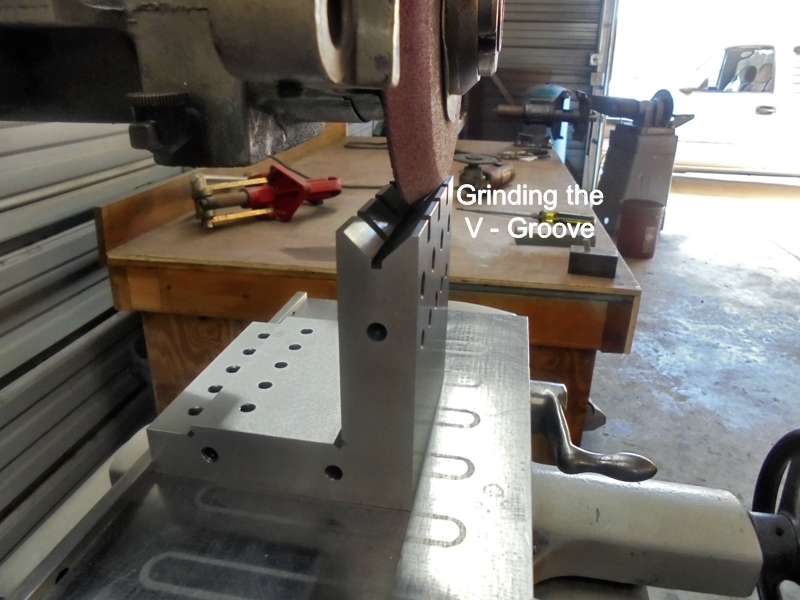
This V-Step Angle Plate I made has more to it than just a 90°right angle references with a bunch of tapped holes, I wanted it to have tapped holes of course but it also has a step and a vee and three custom made work holding clamps, the step in the Plate is for clamping something square or rectangular and held at right angles so you can work on two opposite sides at once, creating an exact 90° on your work piece, the Vee in the Plate is for holding something round up to 1” in diameter either vertical or horizontal and at 90°, the remaining tapped holes are for attaching your work to the face of the Angle Plate as one normally would.
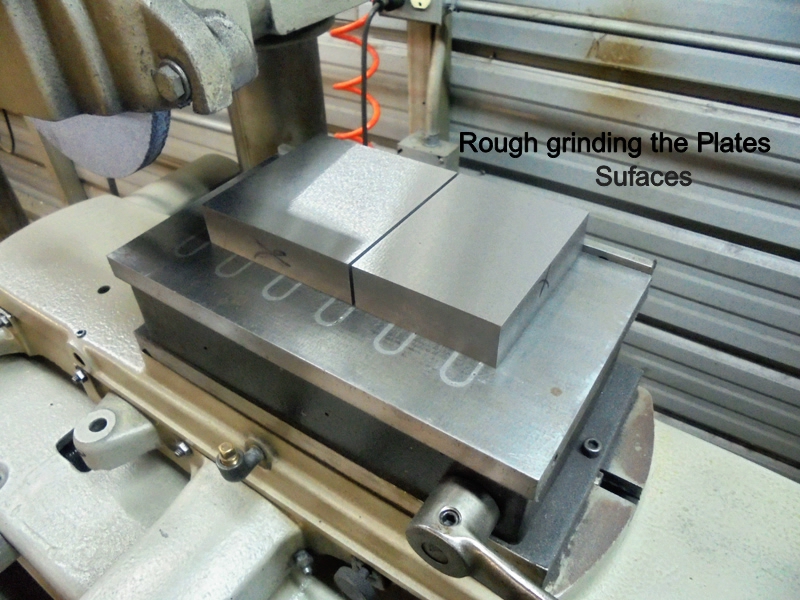
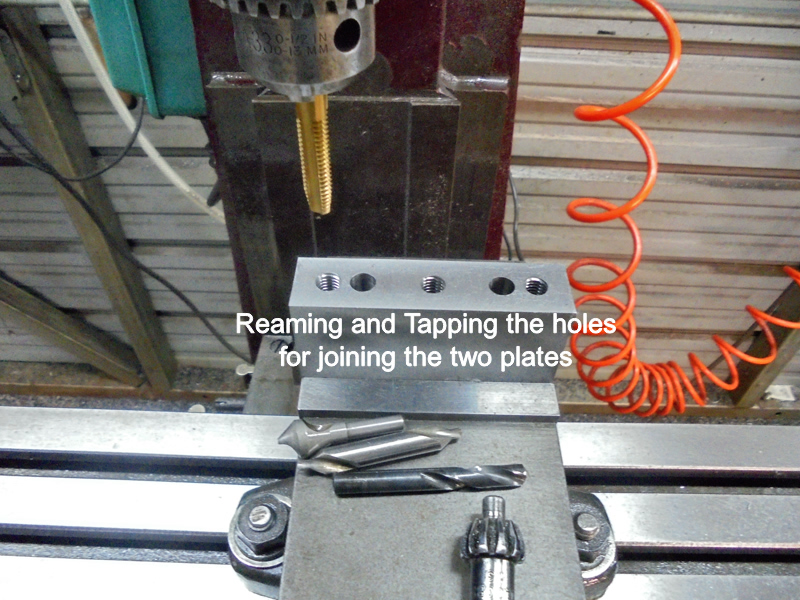
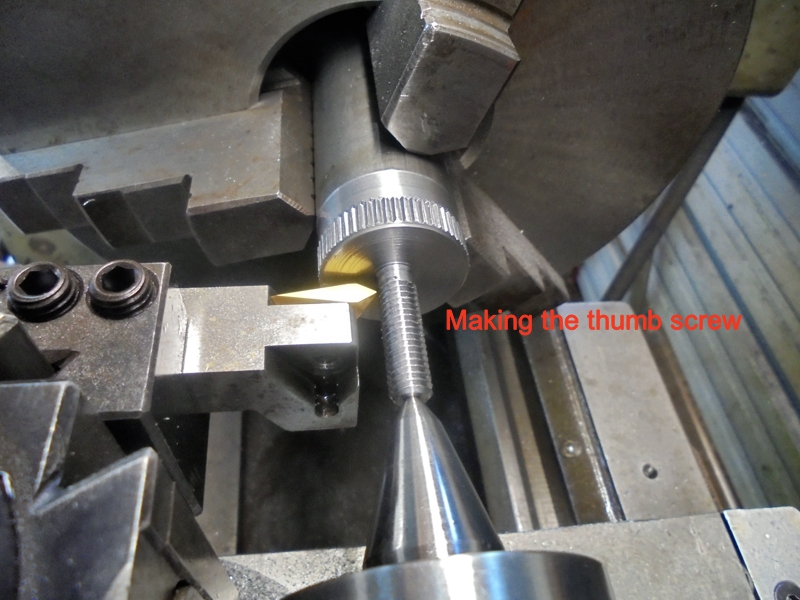
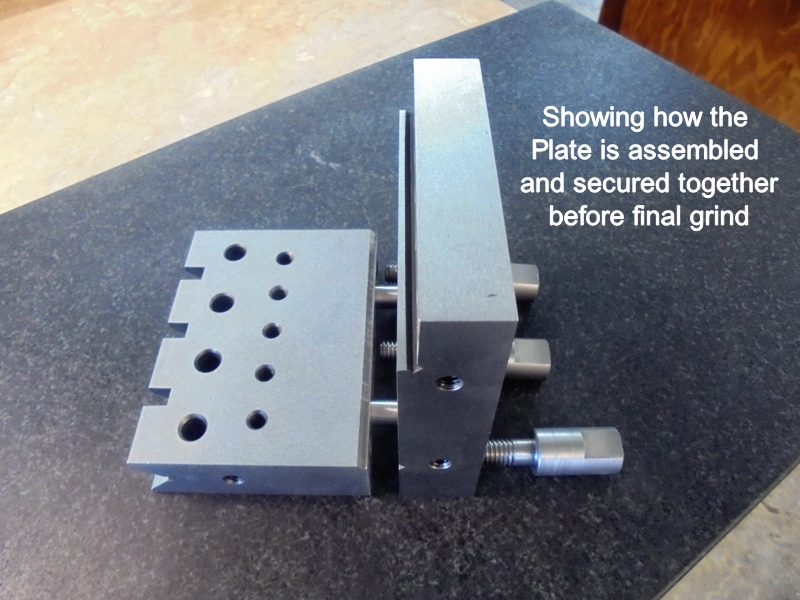
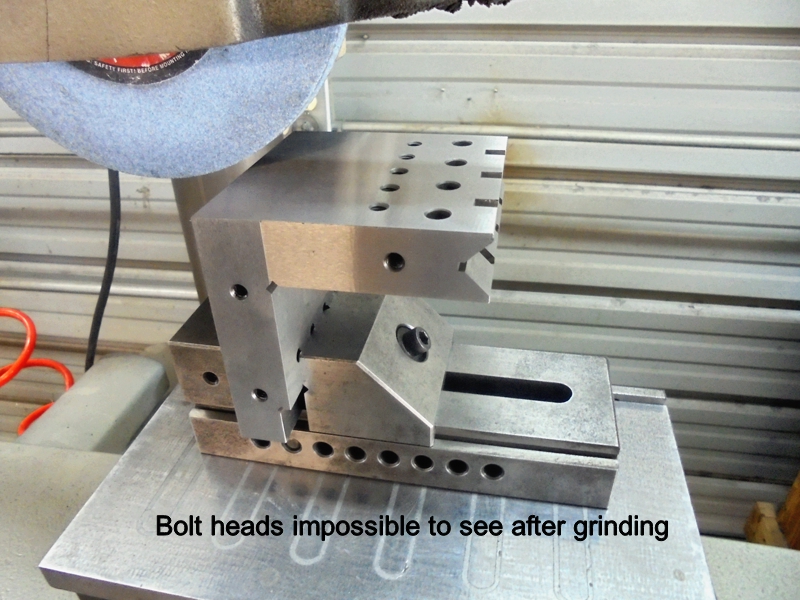
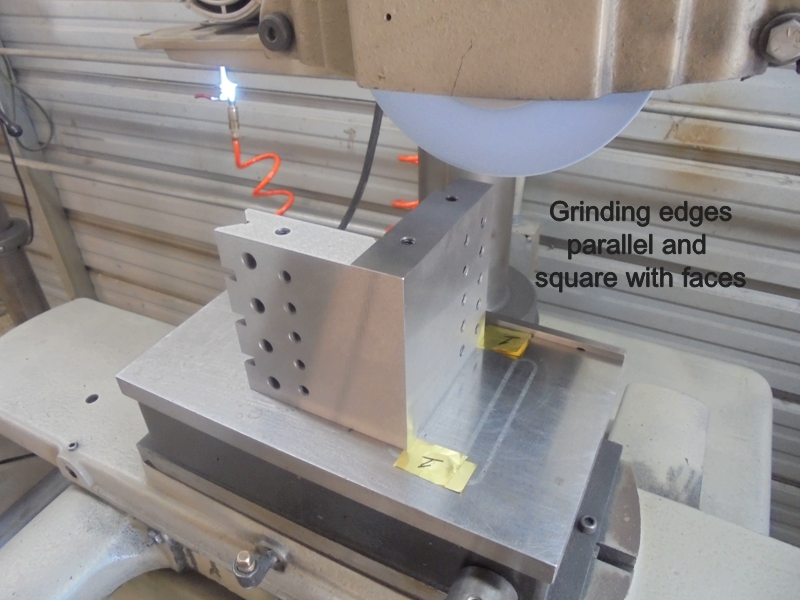
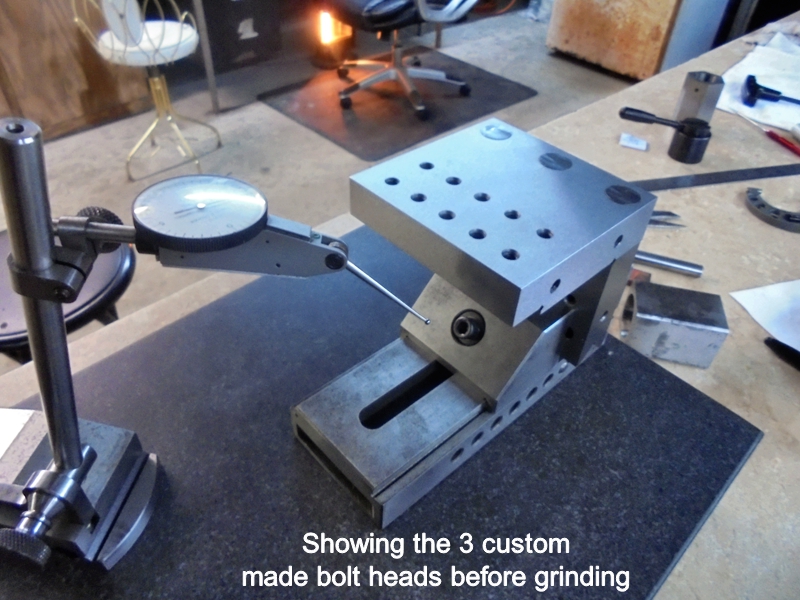
This V-Step Angle Plate was constructed from two pieces of 1” thick 4140 steel instead of one solid piece, the plate measures 1”X 4” X 4” X 4”, there are two 3/8” X 1 ½” dowel pins that locate the two Plates together at 90° and keeps the two Plates from shifting and three custom made ½” Diameter 4140 hardened steel screws which further draws the two Plates together creating an invisible solid joint after there ground, both Plates were fully machined then hardened, tempered and ground, they were then reassembled with the dowel pins and screws then reground all over again to insure 90° accuracy in any set position, also to conceal the screw heads and the joinery of the two plates, this plate will be used to hold work for precision grinding.
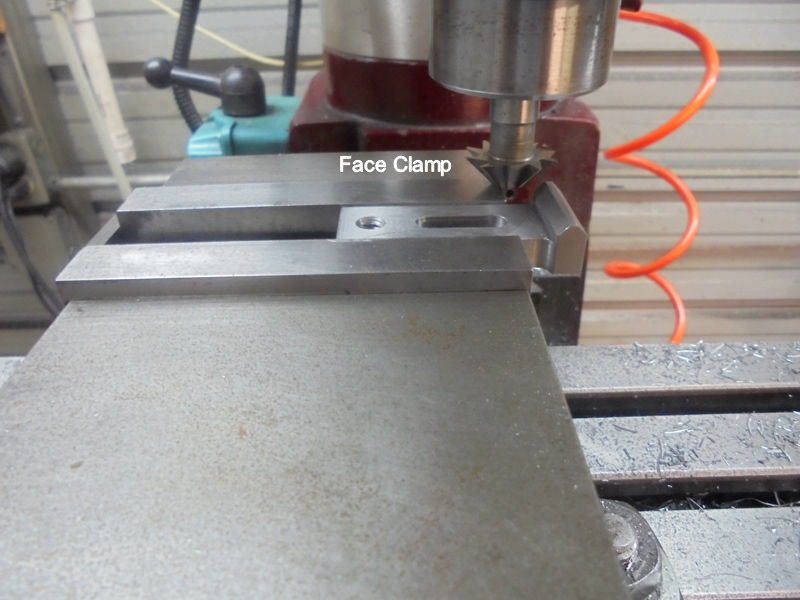
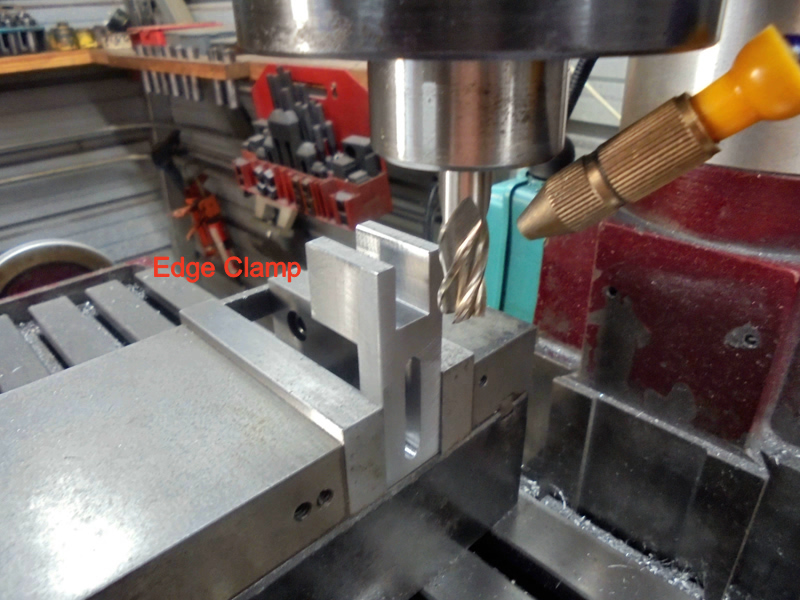
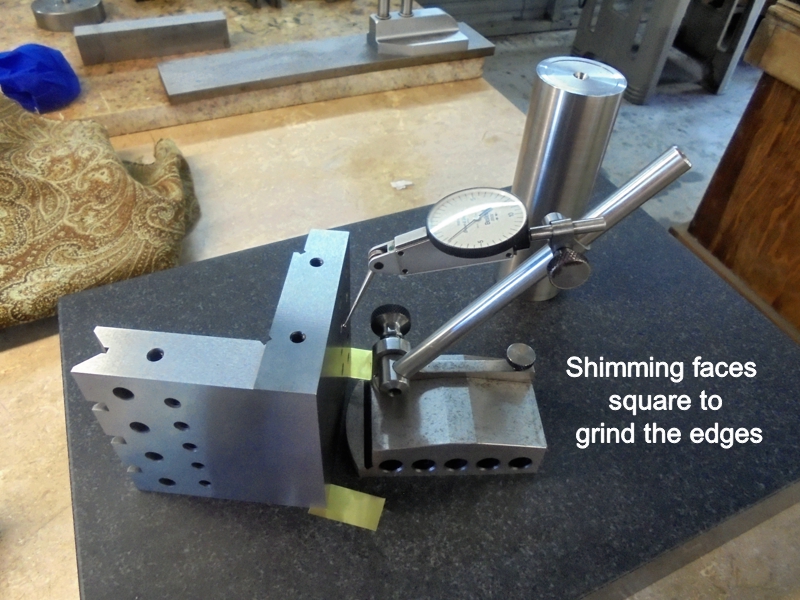
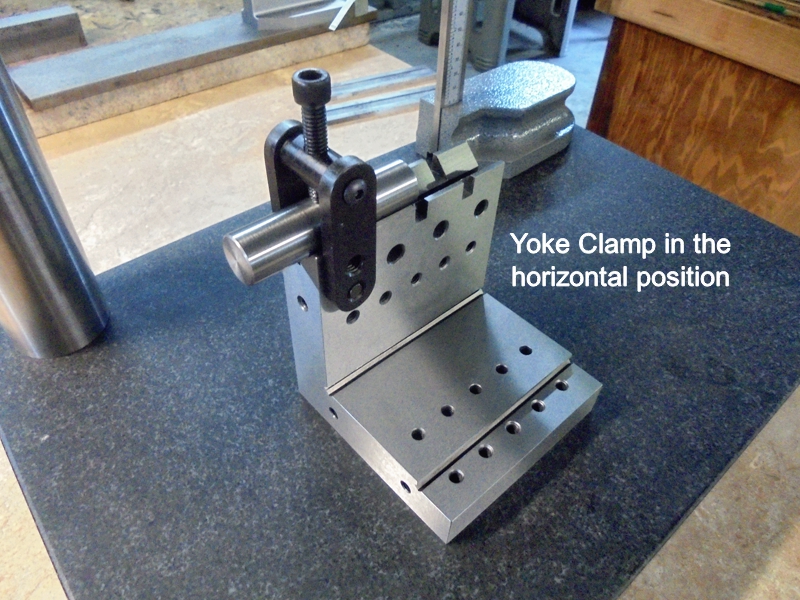
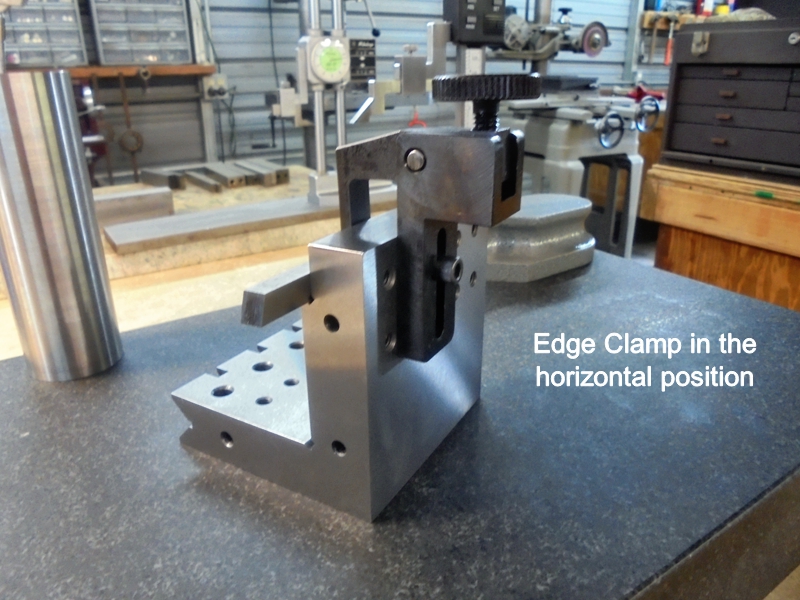
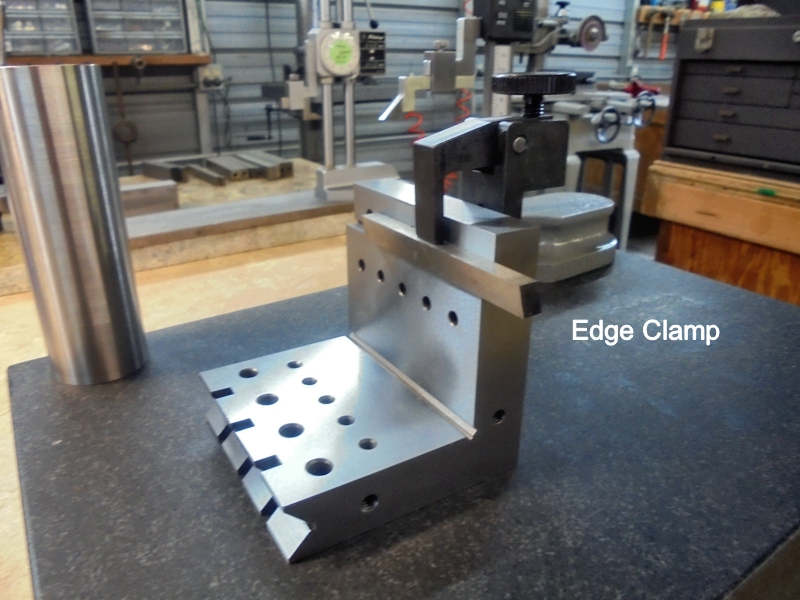
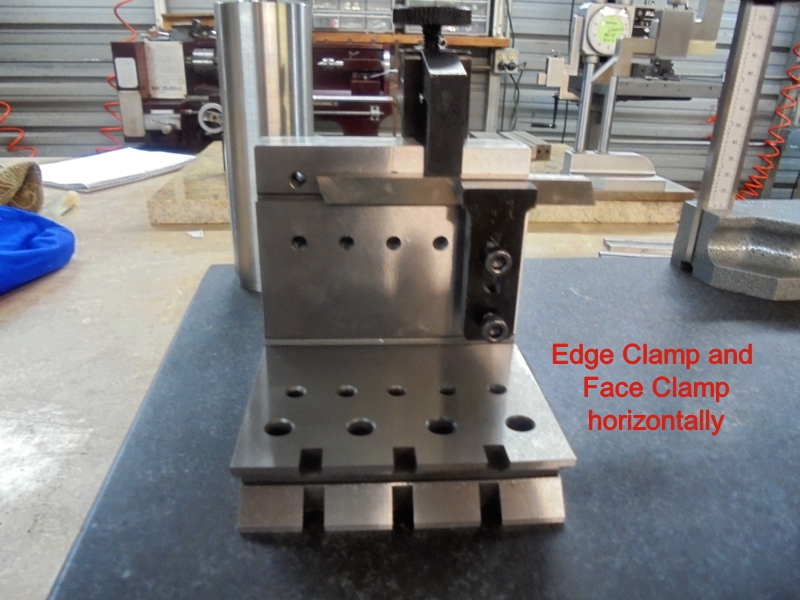
There are three custom made steel clamps that will hold work in any position on the Angle Plate, those three clamps are known as an Edge Clamp, a Face Clamp and a Yoke Clamp, the Edge Clamp and Face clamp can be used in conjunction with one another, the edge clamp will hold your work down on the step of the Angle Plate and the Face Clamp will push your work up against the face of the step on the Angle Plate holding your work at 90°, the Yoke Clamp was made to hold round work in the v-part of the Angle Plate, there are a series of tapped holes in the face of the Angle Plate to position the three clamps wherever they may have to be to secure your work, there are tapped holes in the edges of the plate to attach a stop on either side, this Angle Plate is precision ground all over, it can be turned or flipped in any position and be at 90°, the angle Plate has been checked on a surface plate with a tenth indicator and a cylinder square and is within .0003” of being perfectly flat, square and parallel in 4” of height.
This tool sells for $797.00 without the clamps at a USA Tool Mfg. Co. that I want mention the name of; I built it for $275.00 and allot of hours
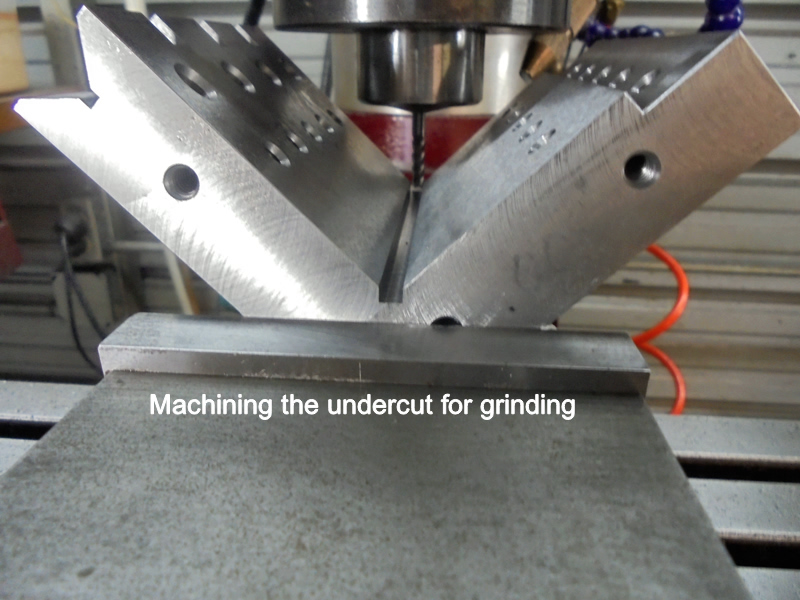
I have included multiple photos of the machining, assembly and grinding processes it took to manufacture this tool,
As always, thanks for looking and happy machining
Doug
Attachment 22757
Attachment 22758
Attachment 22759
Attachment 22760
Attachment 22761
Attachment 22762
Attachment 22763
Attachment 22764
Attachment 22765
Attachment 22766
Attachment 22767
Attachment 22768
Attachment 22769
Attachment 22770
Attachment 22771
Attachment 22773
Attachment 22775
Attachment 22776
Attachment 22777
-
Great job as always and I don't see it only as next tool of the week or tool of the month, but as next tool of the century.
Best regards
LMMasterMariner
-
Really excellent write up and beauuuutiful build Doug. Quite a brilliant design. Always amazed with your build and design, especially for $500 less plus $5k in time I bet. Headless screws, Wow! Thanks for your time in making it and sharing it!
:hattip: PJ
-
Very impressive work, I always look forward to your new creations!
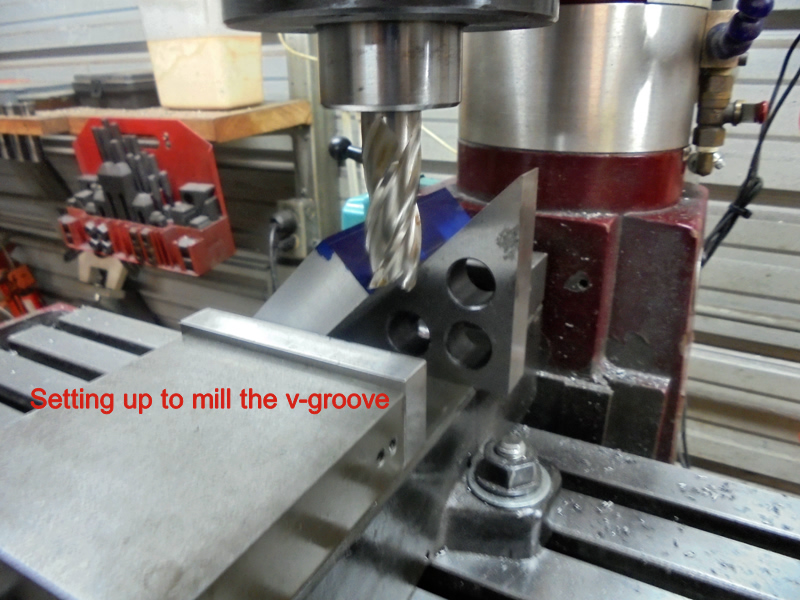
- How did you mill an accurate V-slot in the edge of the block? (prior to picture #3). It looks relatively deep.
- about how much material comes off in the grinding stage?
- When you permanently dowel pin parts together like this, are the pins interference fit on both holes, or just one, or maybe none? I guess I'm wondering if the heat treating process might alter dimensions a bit from the machining stage.
-
Quote:
Originally Posted by
rossbotics

Beautiful job, especially use of 2 plates to eliminate a great deal of sawing or milling, without any real benefit. While sawing is preferential to milling; usable material is preserved, but since tool steel is sold by weight...A slab of 1'' is far easier to process than a 4'' cube.
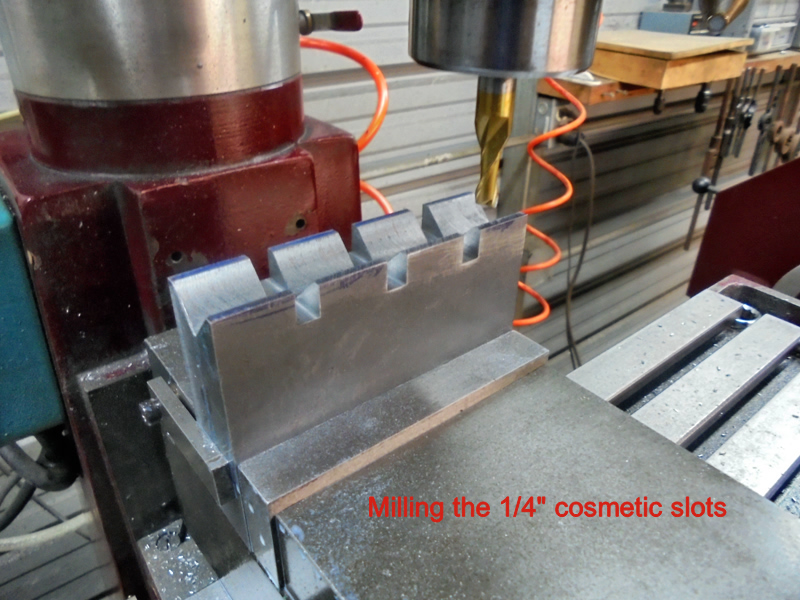
I'll point out a tip on the "Cosmetic Slots", those are clearance for heads of commercial pin punches during shape or sharpening work. The spacing accommodates different lengths to minimize unsupported material against chatter.
-
Beautiful tool there....Did you peen those bolt heads when they were suitably proud, prior to final grinding ?
-
1 Attachment(s)
Thanks petertha
I couldn't post as many pictures as it took to build the block, so here is a picture of the V-Slot, believe it or not but the most I had to grind on one side was about .005", everywhere else was about .003 - .004".
The dowel pin holes did distort a little bit, I set the block back up and went in with a new 3/8" carbide end mill and trued them back up, after that the plates would go together with about a 3/8" gap between them, I then further pressed them together in the mill vise.
Attachment 22802
-
2 Attachment(s)
Thank You aphilipmarcou
The special made hardened bolts were not peened over, the diameter of the bolts were made to the exact same size as there counter bored mate plus about a .0005", they were then screwed in until they bottomed out then cut off about a 1/16" about the plate then ground.
Attachment 22805Attachment 22806
-
<!-- BEGIN /var/www/html/homemadetools/protected/modules/zeus/views/tool/postUpdate.php -->
Thanks rossbotics! We've added your V Step Angle Plate to our Machining category,
as well as to your builder page: rossbotics's Homemade Tools. Your receipt:
<div id="blocks">
<div class="block b1 pngfix">
<div class="bimg">
<div>
<a href="http://www.homemadetools.net/homemade-v-step-angle-plate">
<img src="/uploads/211814/homemade-v-step-angle-plate.jpeg"/>
</a>
</div>
</div>
<div class="head pngfix"></div>
<div class="left pngfix"></div>
<div class="right pngfix"></div>
<div class="blockover b1 pngfix">
<div class="title">
<a href="http://www.homemadetools.net/homemade-v-step-angle-plate">V Step Angle Plate</a>
<span> by <a href="http://www.homemadetools.net/builder/rossbotics">rossbotics</a></span>
</div>
<div class="tags">tags:
<a href='http://www.homemadetools.net/tag/clamp'>clamp</a>, <a href='http://www.homemadetools.net/tag/plate'>plate</a> </div>
</div>
</div>
</div>
<!-- END /var/www/html/homemadetools/protected/modules/zeus/views/tool/postUpdate.php -->
-
Nicely done!! And a lot cheaper than the Suburban version!
Jack
Fort Loramie, Ohio