Part 2 of the router lathe build is now ready to watch and deals with determining the locations for the gear mounting holes on the gear carrier.
https://www.youtube.com/watch?v=LYALo7OAss4
Col.
Printable View
Part 2 of the router lathe build is now ready to watch and deals with determining the locations for the gear mounting holes on the gear carrier.
https://www.youtube.com/watch?v=LYALo7OAss4
Col.
A short demo of the feed mechanism.
https://www.youtube.com/watch?v=Y1PlkP_NnKI&t=2s
Col.
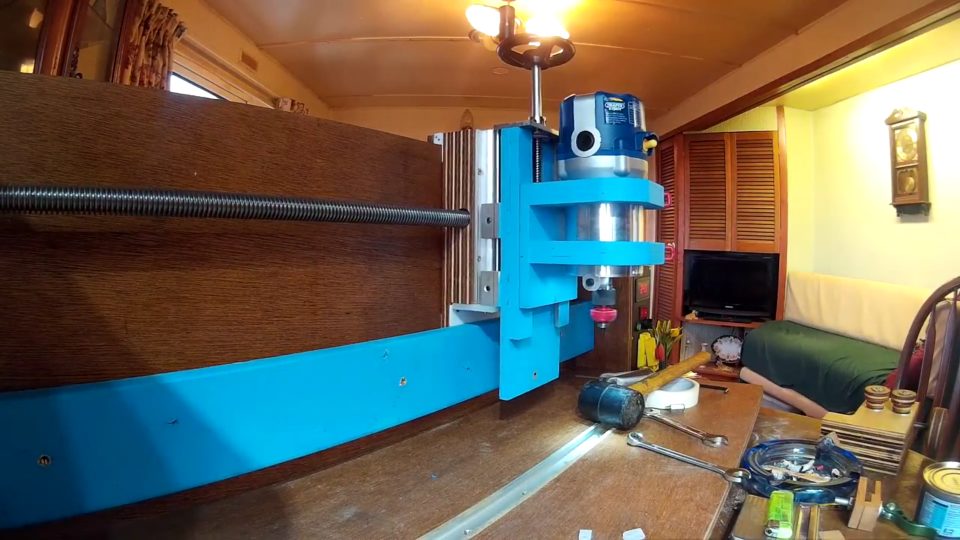
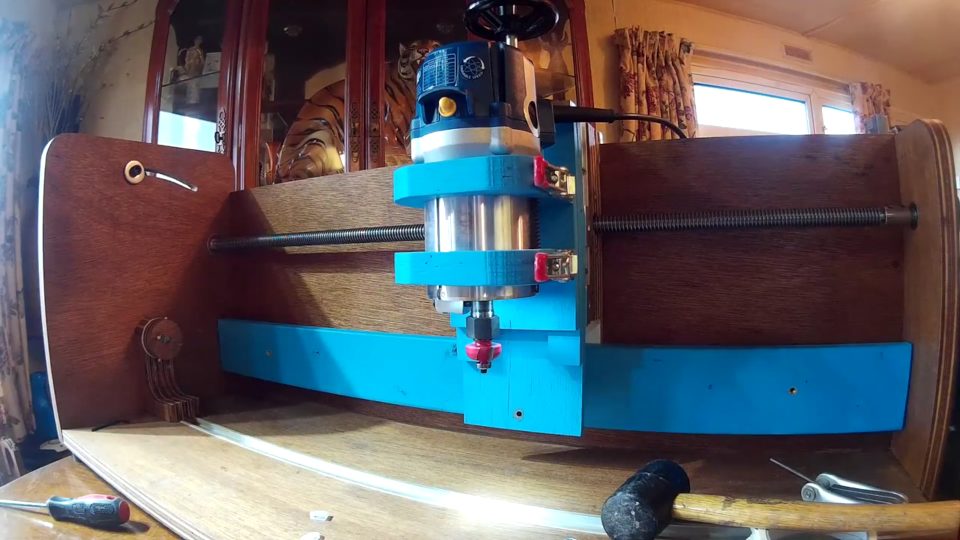
The latest video in the router lathe build is now on youtube and documents installing the carriage assembly. A couple of minor jobs still remain to be done but basically it's now ready for use and I hope to upload a video showing it's fist cuts within a few days.
Attachment 15922
Attachment 15923
https://www.youtube.com/watch?v=eunwHvSPiDg
Col.
My new router lathe got it's first taste of sawdust today. :-)
Lots of lessons to be learned from it, not least of which is if you're going to make something round out of rectangular stock for heaven's sake save yourself a whole load of time and knock the corners off on the bansaw before you start. Another lesson I learned as I began to turn the feed rate up a bit is I really (REALLY) need to make some sort of guard in an attempt to keep at least some of the chips off me. ;-)
Having said that it went pretty well. It was only 4 degrees above freezing in the shed today so I didn't fancy staying out for long but in a little over 20 minutes I'd set the machine up for planing and made 4 progressively faster 3mm deep cuts with a 1" flat bottomed cutter with the photo showing it approaching the end of the last one. Tomorrow (all things being equal) I hope to finish rounding it and make a start on some sort of spiral cuts. I only have a limited number of cove cutters (1/2 inch and 1 inch) and the 1" cutter only has a 1/4" shank so I'm not sure how it'll cope but I plan on giving it a go.
https://www.youtube.com/watch?v=Ezz7pvrlI3k
Col.
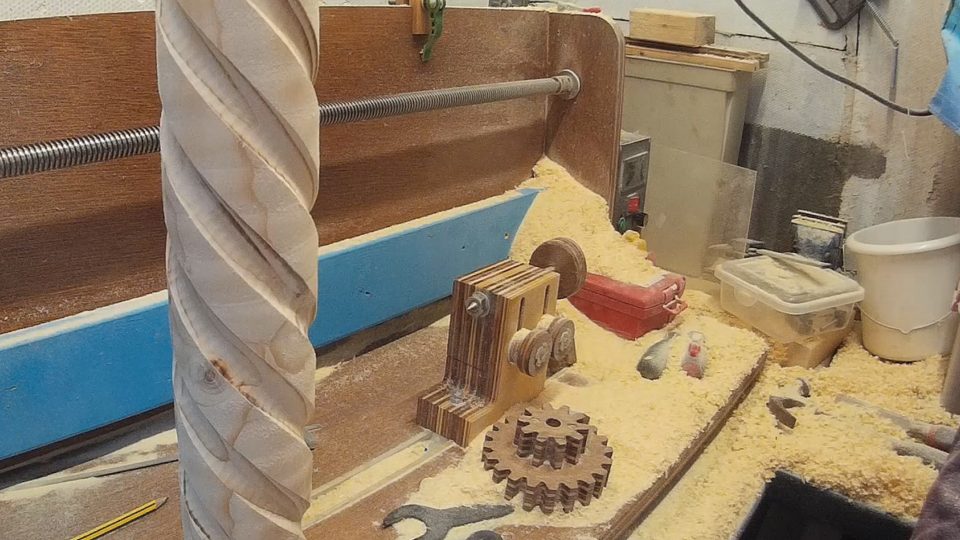
First spiral cuts...
Attachment 16313
It all went off quite well. No big surprises and the machine worked exactly as expected withe the minor exception of having a bit more play in the vertical carriage than I'd have liked. It has a carriage lock which prevents it's crew from turning (so that vibration can't gradually increase it's depth of cut) but with hindsight I should have come up with a lock for the slide rather than the screw because the small amout of play that exists in the slide gets amplified the longer the router bit you use and as you can see in the photo it's leaving telltale chatter markes in the spirals. Not a big deal to fix, thankfully, and the video should be uploaded by tomorrow morning.
Col.
Congratulations Col! First articles that are that good always make ones day! Look forward to the video and what you end up doing with the z axis lock. Thanks for sharing this great build with us! ~PJ
Thanks PJs, much appreciated.
This is a video of the first spiral cuts I did.
https://www.youtube.com/watch?v=y5DOQWiexOQ
Col.
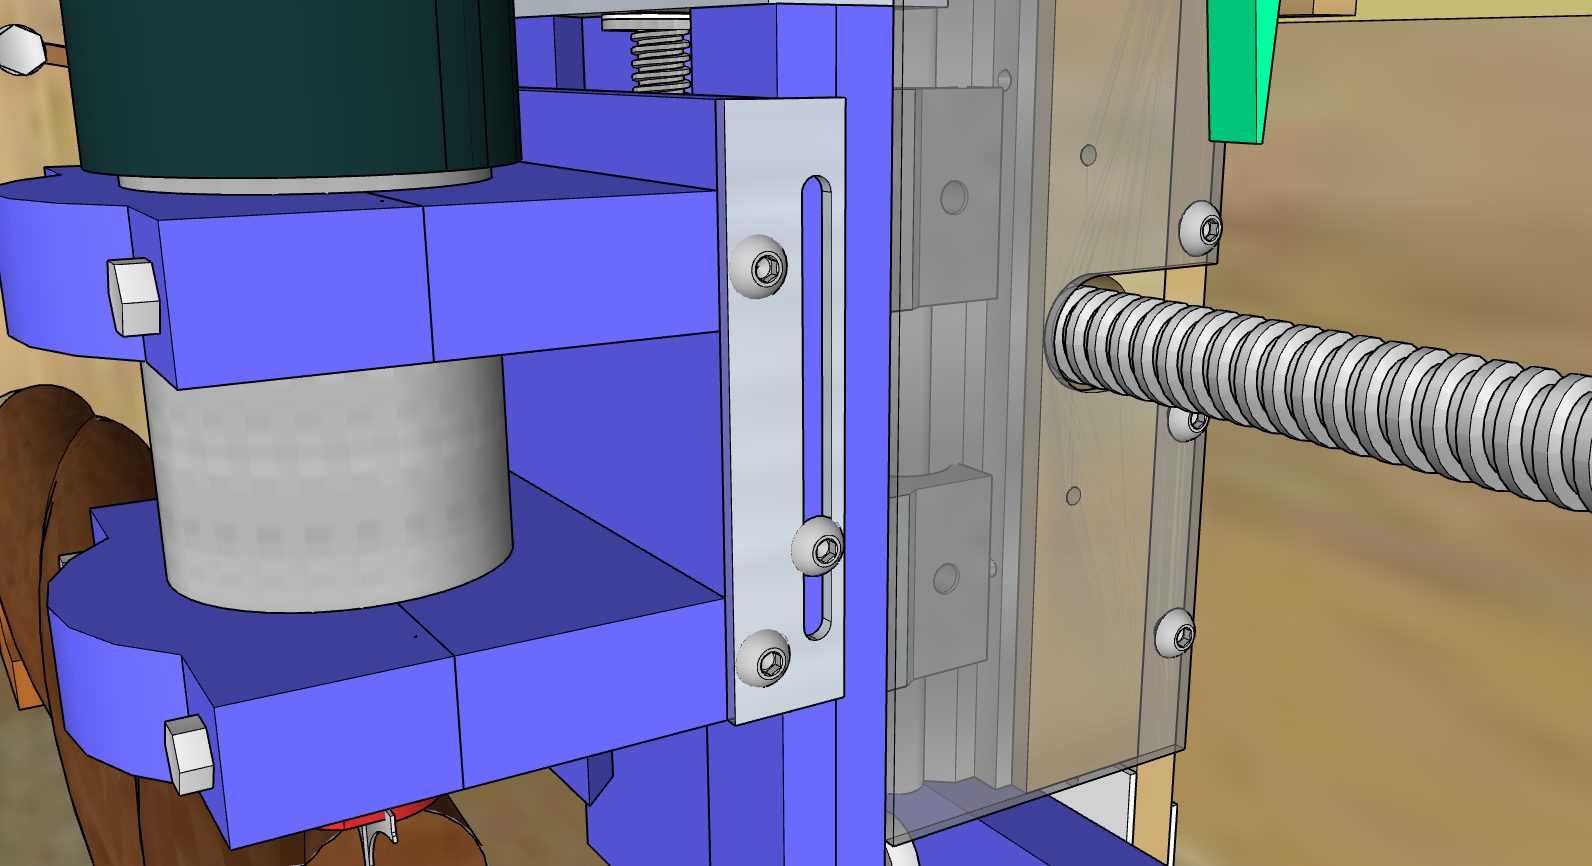
The replacment z-axis lock will work along the same lines as the exiting copying-slide lock:-
Attachment 16345
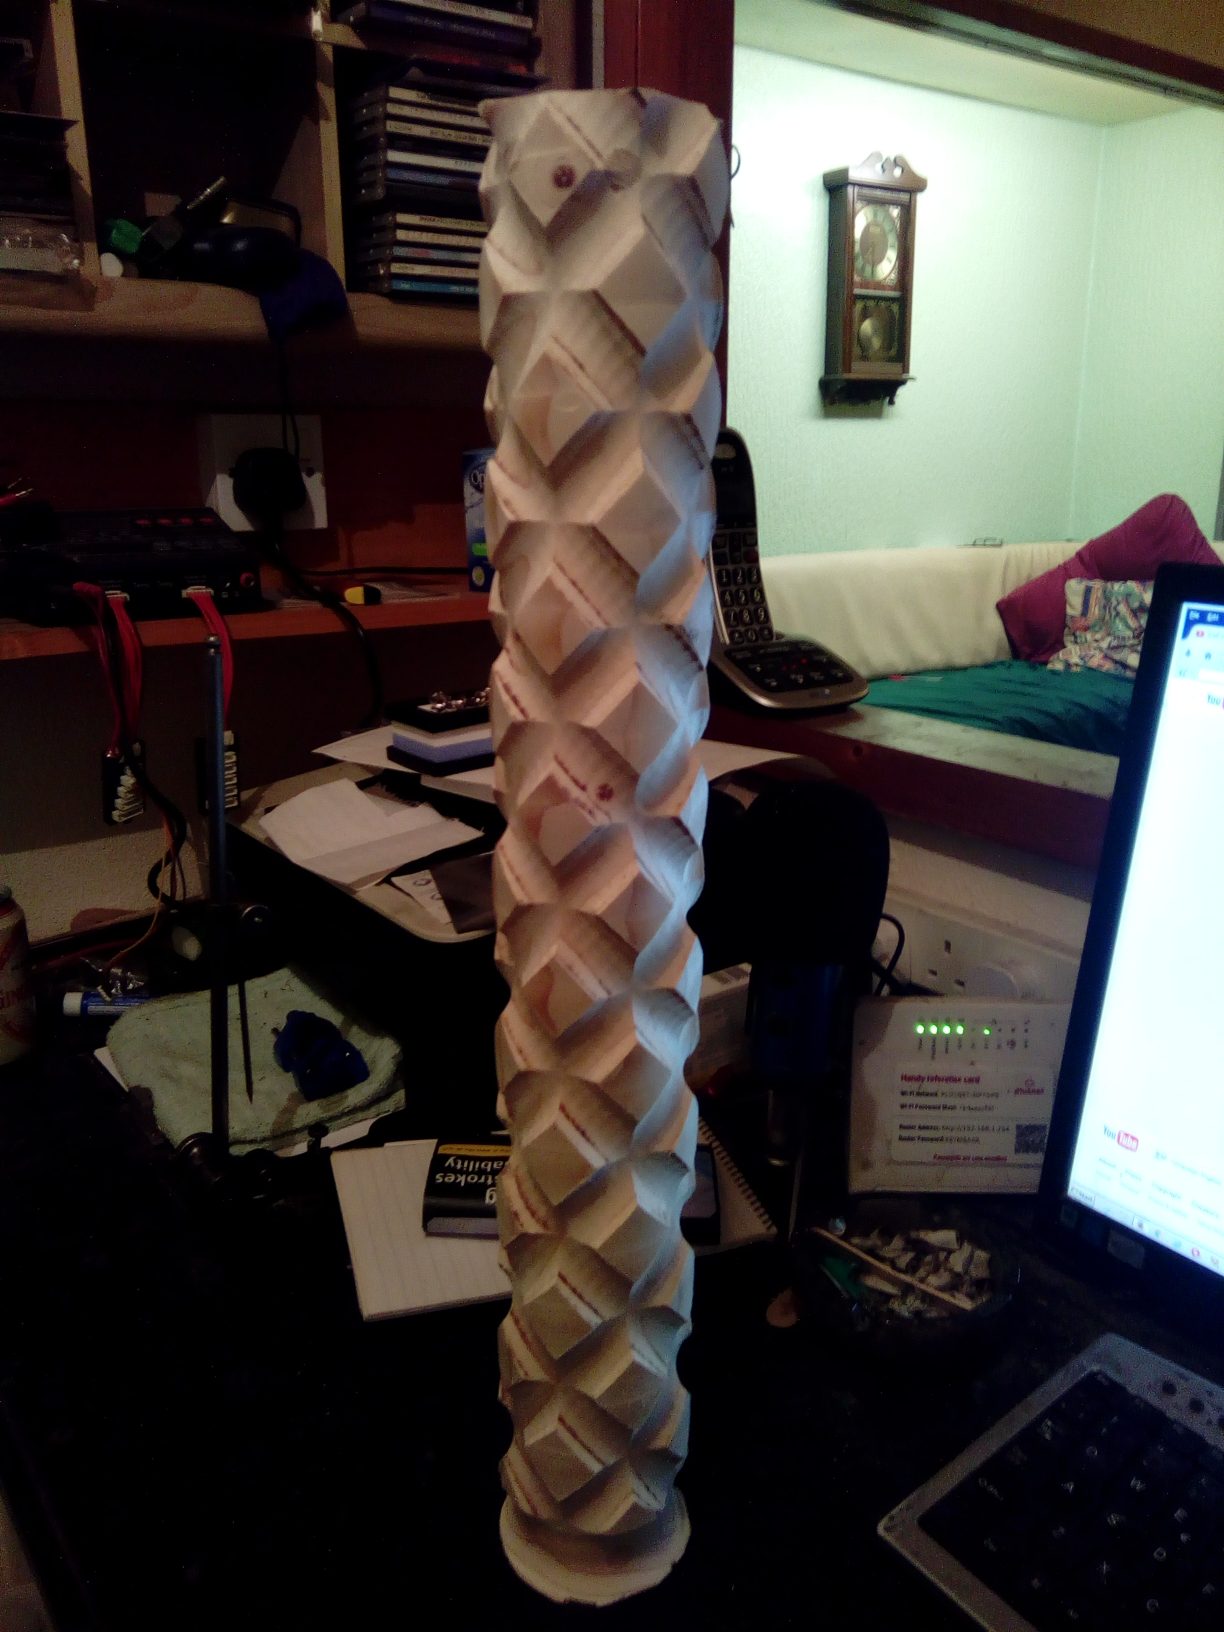
I cut 4 opposing spirals in my test piece today. I used mole grips to clamp the vertical carriage and I'm happy to say it got rid of most of the chatter so that's going to be an easy fix.
Attachment 16346
The missus like it so much she wants me to use it for something and I suggested as the central leg of a small table so there might well be a video of that in the not too distant future.
https://www.youtube.com/watch?v=tAm4AygzWpY
Col.