-
5 Attachment(s)
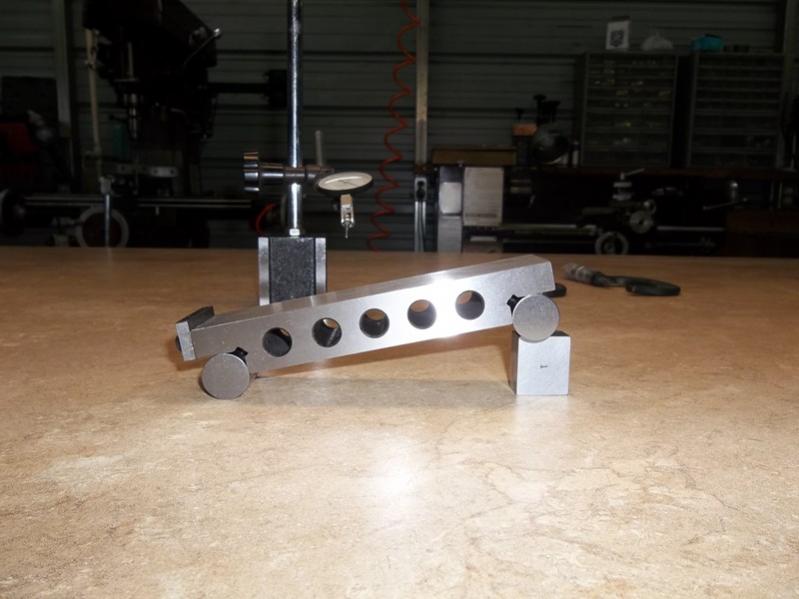
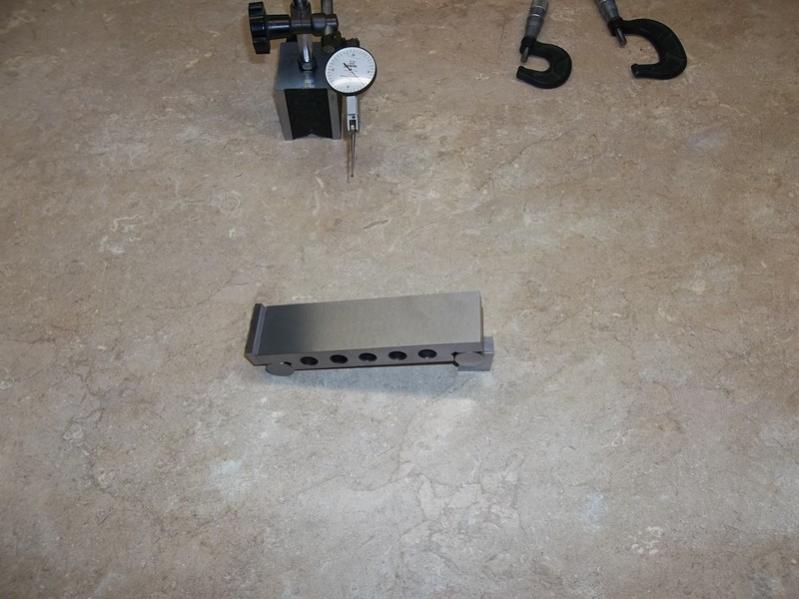
5" Sine Bar
I was going to buy one of these off e-bay, there really cheap, around $30.00 or so, the real good ones are any where from $80.00 -$300.00.
The cheaper ones aren't that accurate, a friend of mine got one and checked it and it was within .002-.004 all over, not very accurate if you ask me, but I guess for some people that might be just fine, But for me that wasn't good enough, And I wasn't going to pay big bucks for one either so I decided to make my own.
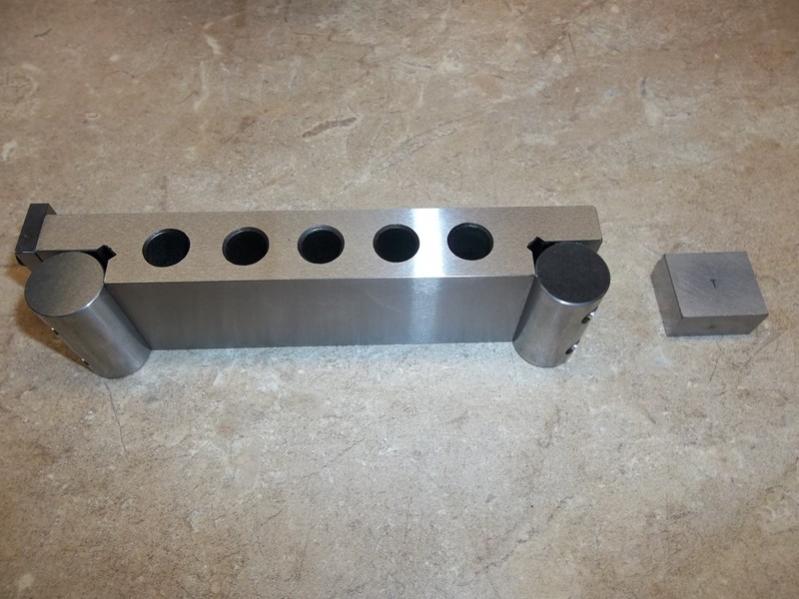
I started with a piece of 1.00" X 1.50" X 5.81" O1 tool steel, Milled it all over to it's basic geometry to within about .015" of the finished size, Then I took a piece of .750" O1 drill rod and made the two cylinders, I sawed a thin piece of the 1 x 1.5 flat stock 1/4" long for the stop, Milled it to within about .015 of it's finished size as well.
Then came the heat treating process, I hardened everything to maximum hardness then tempered them, I would say there around 55 RC, A file just glides over the parts.
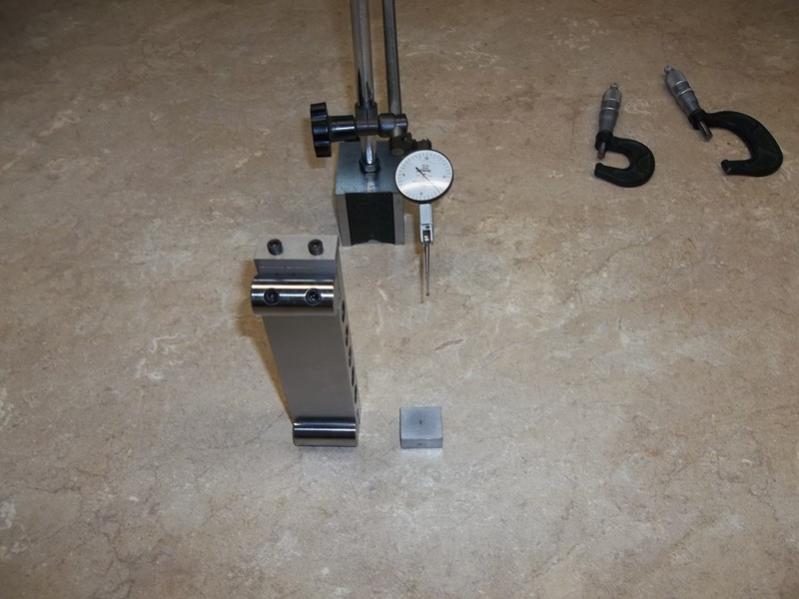
Meanwhile the bearings in the surface grinder are warming up, I ground the sine bar and the stop all over flat parallel and square except for the two shoulders the cylinders seat on, I sat the bar vertical in my Brown and Sharpe 3" tool makers vise and ground one shoulder and end, I stacked up my gage blocks to 4.2540" then set the one tenth indicator up in the surface gage, put it on top of the blocks and zeroed it in. I very carefully ground and checked, ground and checked until I was +.0001 TIR. I then ground the end of the bar and it was finished !
I ground carefully the two cylinders to .7460" - .7459" I installed the two cylinders on the bar with four 8-32 SHCS
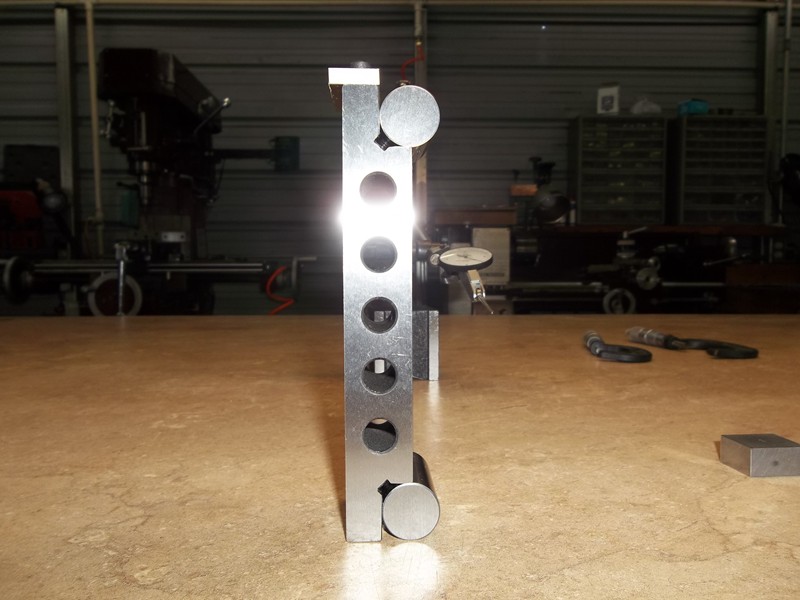
Then I sat the bar on it's cylinders onto the magnetic chuck and ground the top of the bar one more time, Installed the stop and it was finished.
Below are some photos
Thanks for looking and happy machining
Doug
Attachment 1896
Attachment 1897
Attachment 1898
Attachment 1899
Attachment 1900
-
Thanks rossbotics! I've added your Sine Bar to our Milling and Measuring and Marking categories, as well as to your builder page: rossbotics' Homemade Tools. Your receipt:
<div id="blocks">
<div class="block b1 pngfix">
<div class="bimg">
<div>
<a href="/sine-bar-3"><img src="/uploads/94036/sine-bar-3.jpeg" alt="Sine Bar" /></a> </div>
</div>
<div class="head pngfix"></div>
<div class="left pngfix"></div>
<div class="right pngfix"></div>
<div class="blockover b1 pngfix">
<div class="title">
<a href="/sine-bar-3">Sine Bar</a> <span> by <a href="/builder/rossbotics">rossbotics</a></span> </div>
<div class="tags">
tags:
<a href="/tag/milling">milling</a>, <a href="/tag/machining">machining</a>, <a href="/tag/grinding">grinding</a>, <a href="/tag/sine-bar">sine bar</a> </div>
</div>
</div>
</div>
-
Very nice - and great writeup. Looks simple, but reading through your post shows how it should be done!
-
Very precision work and good looking sine bar. I especially like your explanations and sharp photos. Thank you for sharing.
-
Excellent precision work and writeup Doug. Thanks for sharing.
-
Very nice and precise work on the sine bar. It is something to keep forever and feel good whenever you use it. Thanks for the details on how it was ground.
Paul
-
Very nice work thanks for sharing.