Free 186 More Best Homemade Tools eBook:  
New: 300+ fresh build posts/day from 275 forums → BuildThreads.com

User Tag List

Results 1 to 9 of 9

Thread: 500 Amp Welding machine rebuild

Threaded View

  1. #1
    Supporting Member Frank S's Avatar
    Join Date
    Aug 2015
    Location
    Peacock TX
    Posts
    12,615
    Thanks
    2,677
    Thanked 11,106 Times in 5,389 Posts

    Frank S's Tools

    500 Amp Welding machine rebuild

    It's been a while since I did this on ebut I thought I would share.
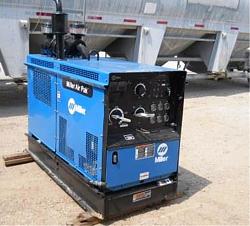
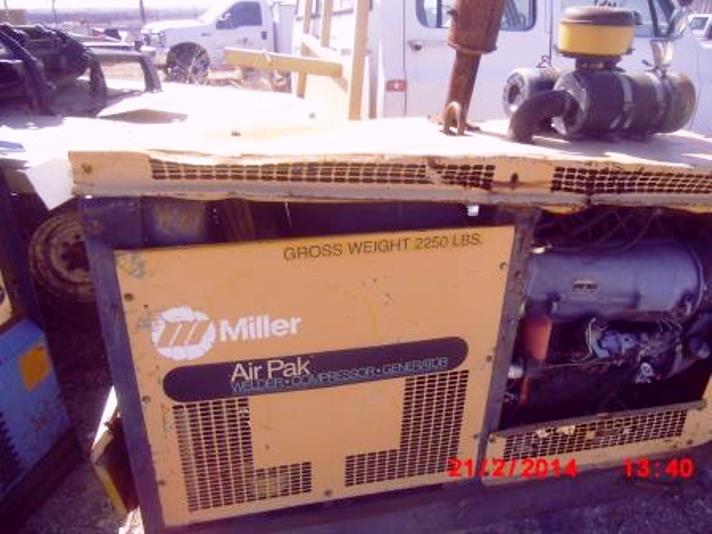
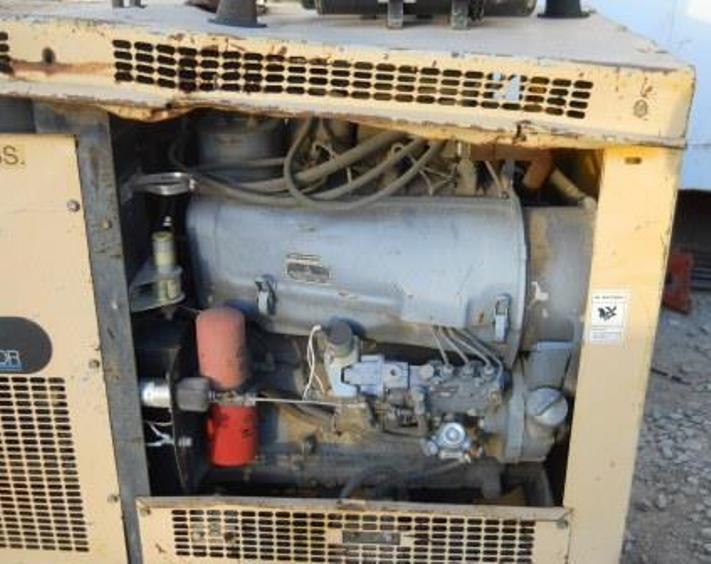
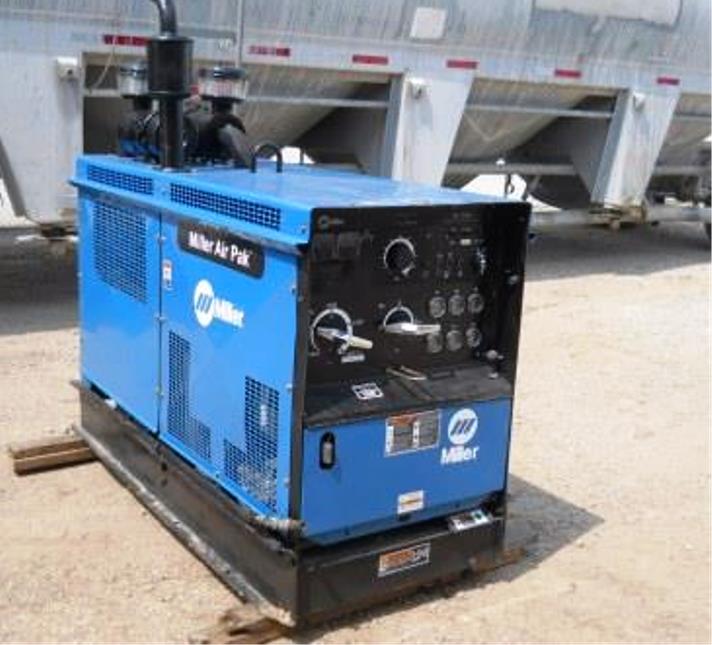
    This is a 500 Amp Miller Air pac with a 12 KW 3 ph option it was in pretty sad shape after being used by the railroad for many years, but it still ran and all systems functioned as they should so that made it worth rebuilding
    Click image for larger version. 

Name:	Miller1.jpg 
Views:	541 
Size:	64.2 KB 
ID:	20016
    Click image for larger version. 

Name:	Miller 2.jpg 
Views:	561 
Size:	123.1 KB 
ID:	20017
    Click image for larger version. 

Name:	Miller 3.jpg 
Views:	547 
Size:	129.5 KB 
ID:	20018
    Click image for larger version. 

Name:	Miller 4.jpg 
Views:	551 
Size:	135.8 KB 
ID:	20019
    Click image for larger version. 

Name:	Miller 5.jpg 
Views:	518 
Size:	141.5 KB 
ID:	20020
    Click image for larger version. 

Name:	Miller 6.jpg 
Views:	511 
Size:	123.2 KB 
ID:	20021
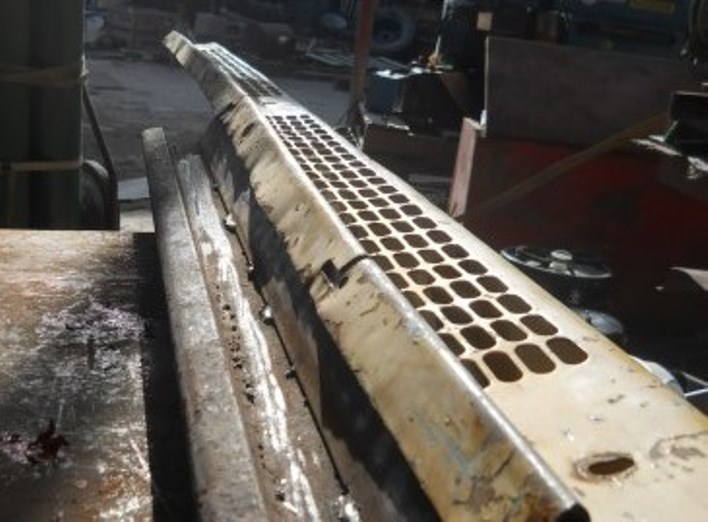
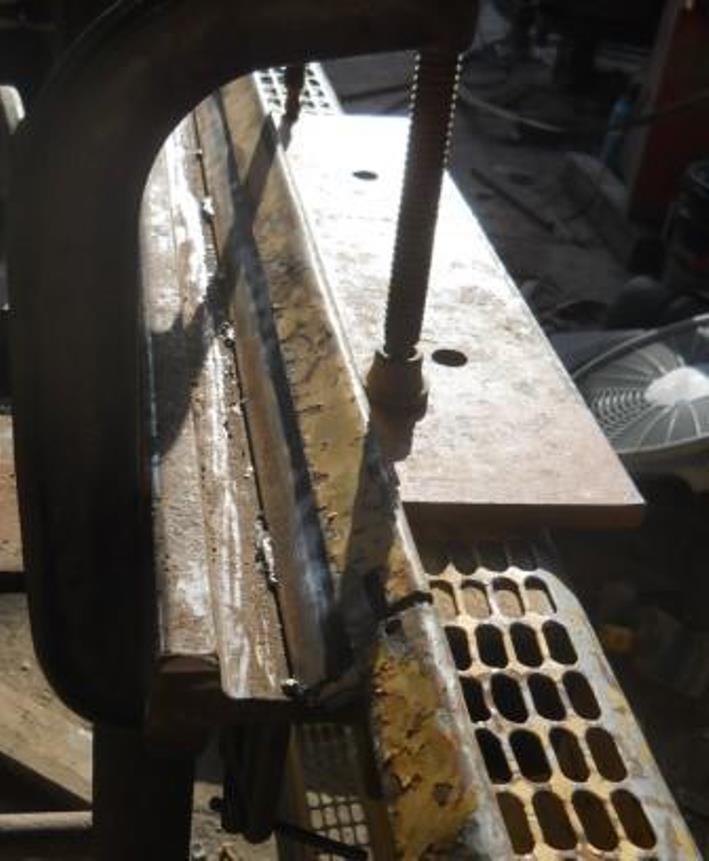
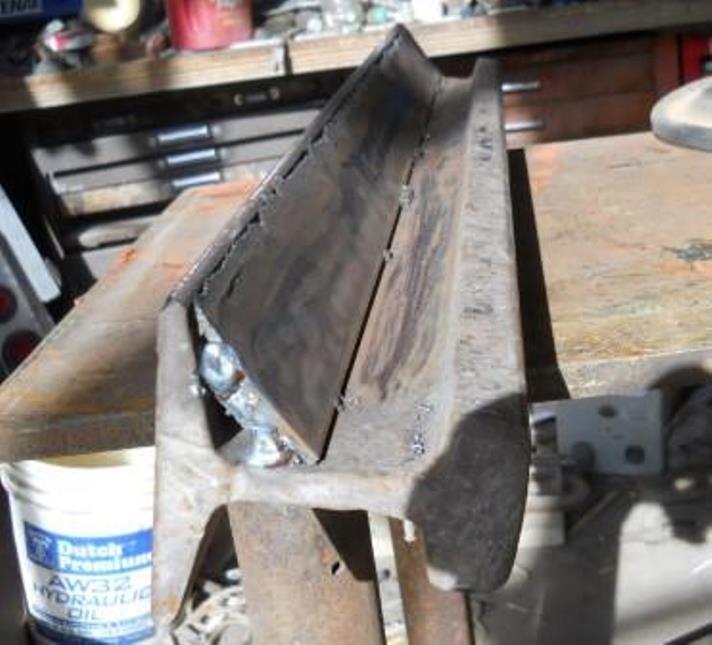
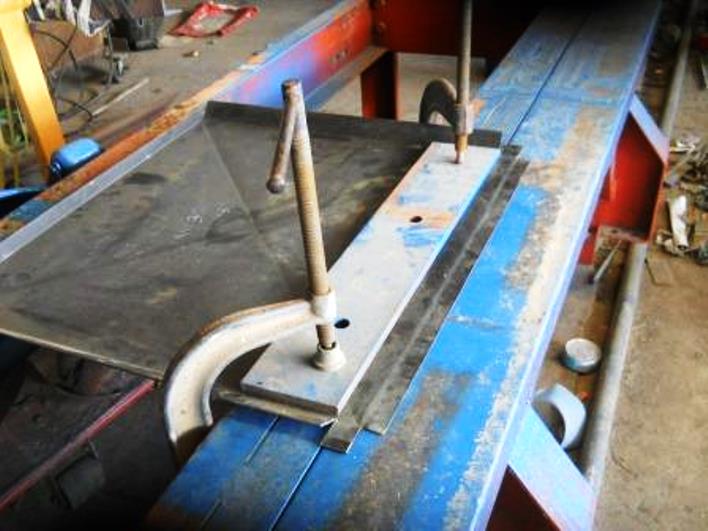
    Railroad track Forming anvil die I welded a strip of flat bar to one side of the rr track so I could have a different forming anvil shape for straightening the top and side covers
    Click image for larger version. 

Name:	Railroad track forming die.jpg 
Views:	528 
Size:	116.0 KB 
ID:	20022
    Click image for larger version. 

Name:	Miller 7.jpg 
Views:	503 
Size:	158.5 KB 
ID:	20023
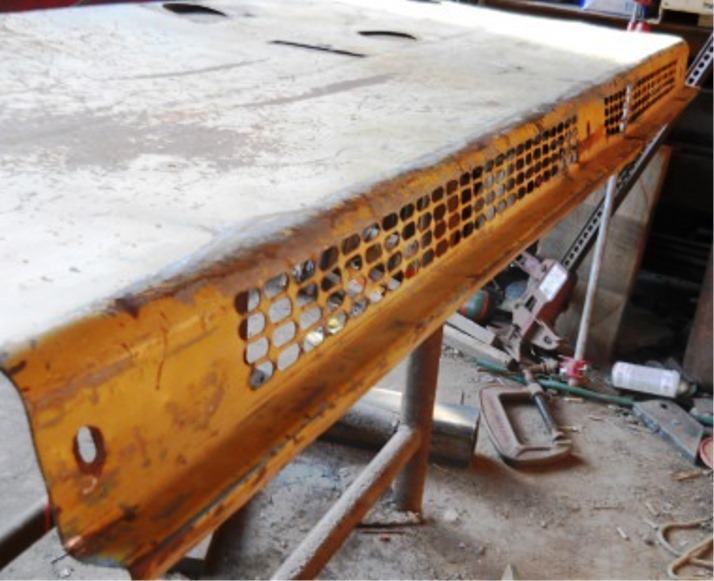
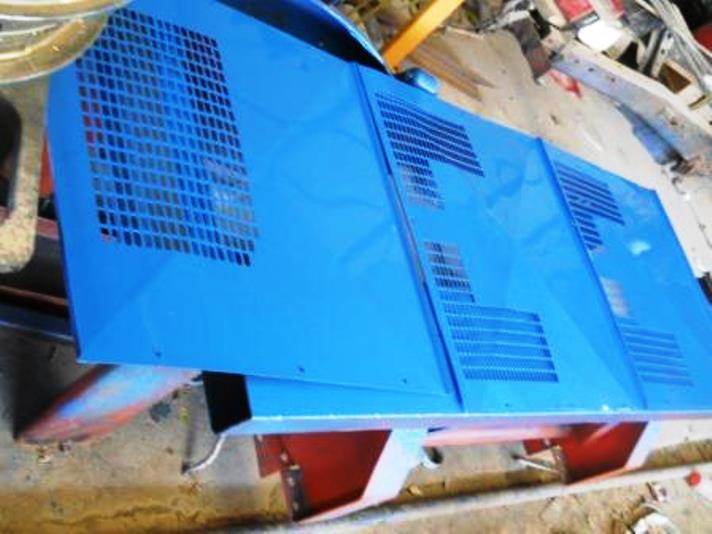
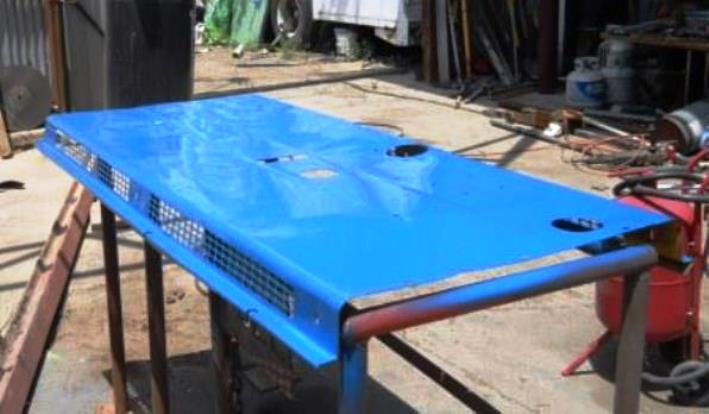
    Some covers were missing so I had to hand make them
    Click image for larger version. 

Name:	Miller 8.jpg 
Views:	517 
Size:	110.6 KB 
ID:	20024
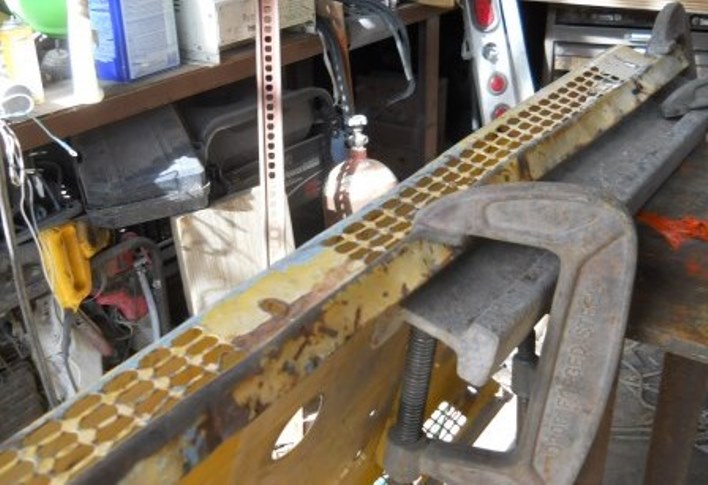
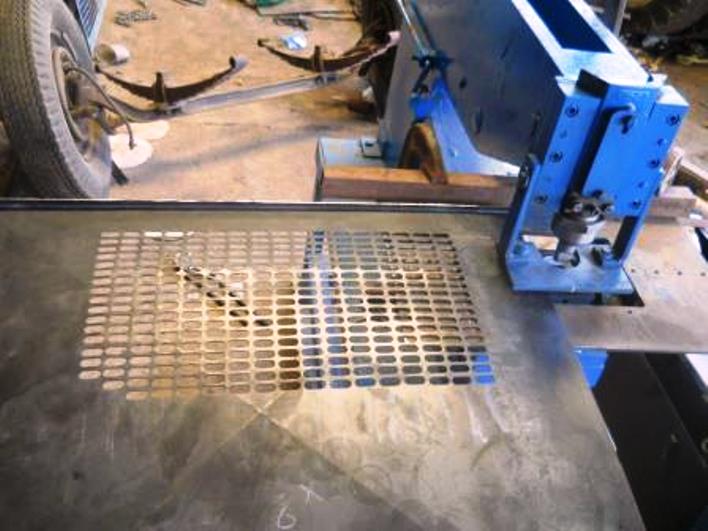
    Laying out for perforation punching
    Click image for larger version. 

Name:	Miller 9.jpg 
Views:	512 
Size:	115.1 KB 
ID:	20025
    Using my Roper Whitney 8 ton manual punch with a special ground die to make the oval perforations the Die and punch were bought from Cincinnati punch works
    Click image for larger version. 

Name:	Miller 10.jpg 
Views:	516 
Size:	118.0 KB 
ID:	20026
    Click image for larger version. 

Name:	Miller 11.jpg 
Views:	509 
Size:	116.8 KB 
ID:	20027
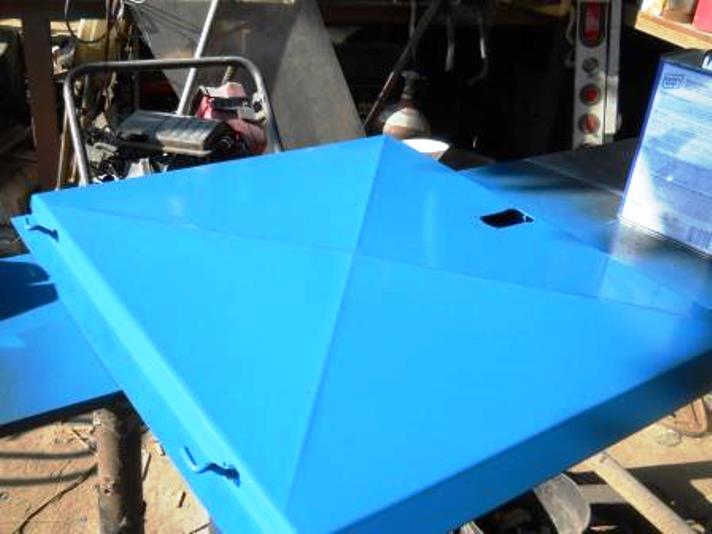
    Splash on a little paint and good as new. Almost impossible to tel which panels were straightened and which were hand made
    Click image for larger version. 

Name:	Miller 12.jpg 
Views:	506 
Size:	111.9 KB 
ID:	20028
    Click image for larger version. 

Name:	Miller 13.jpg 
Views:	495 
Size:	103.3 KB 
ID:	20029
    Click image for larger version. 

Name:	Miller 14.jpg 
Views:	495 
Size:	103.7 KB 
ID:	20030
    add a few decals and that is how you take a $800.00 salvaged machine to being sold for $15,000.00
    Click image for larger version. 

Name:	Miller 15.jpg 
Views:	560 
Size:	121.9 KB 
ID:	20031
    Last edited by Frank S; Oct 12, 2017 at 12:27 PM.
    Never try to tell me it can't be done
    When I have to paint I use KBS products

  2. The Following 7 Users Say Thank You to Frank S For This Useful Post:

    DIYer (Oct 14, 2017), Jon (Oct 12, 2017), PJs (Jul 22, 2018), Rancher (Oct 31, 2017), rlm98253 (Jul 20, 2018), Seedtick (Oct 12, 2017), thevillageinn (Oct 22, 2017)

Thread Information

Users Browsing this Thread

There are currently 1 users browsing this thread. (0 members and 1 guests)

Bookmarks

Posting Permissions

  • You may not post new threads
  • You may not post replies
  • You may not post attachments
  • You may not edit your posts
  •