-
11 Attachment(s)
camera Tripod repairs
not so much a tool (yet) but rather a method which may be of use to someone in the future.
So - rescued from the bin a cheap camera tripod which was a bit beat up, but generally functional. The three ball mounted foot pads were missing - this article outlines how I replaced them.
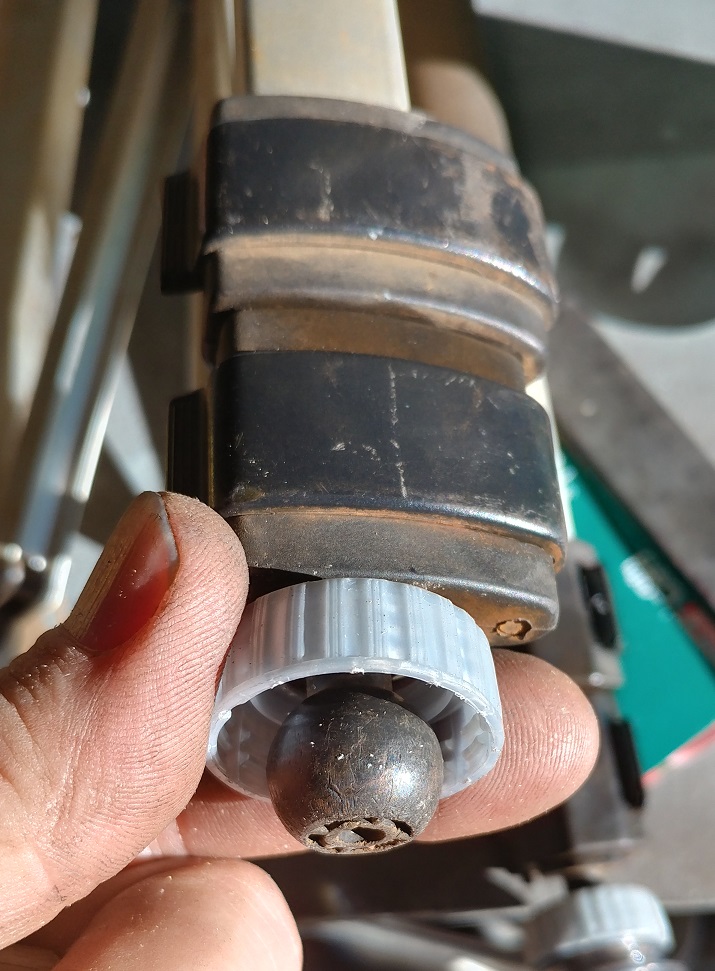
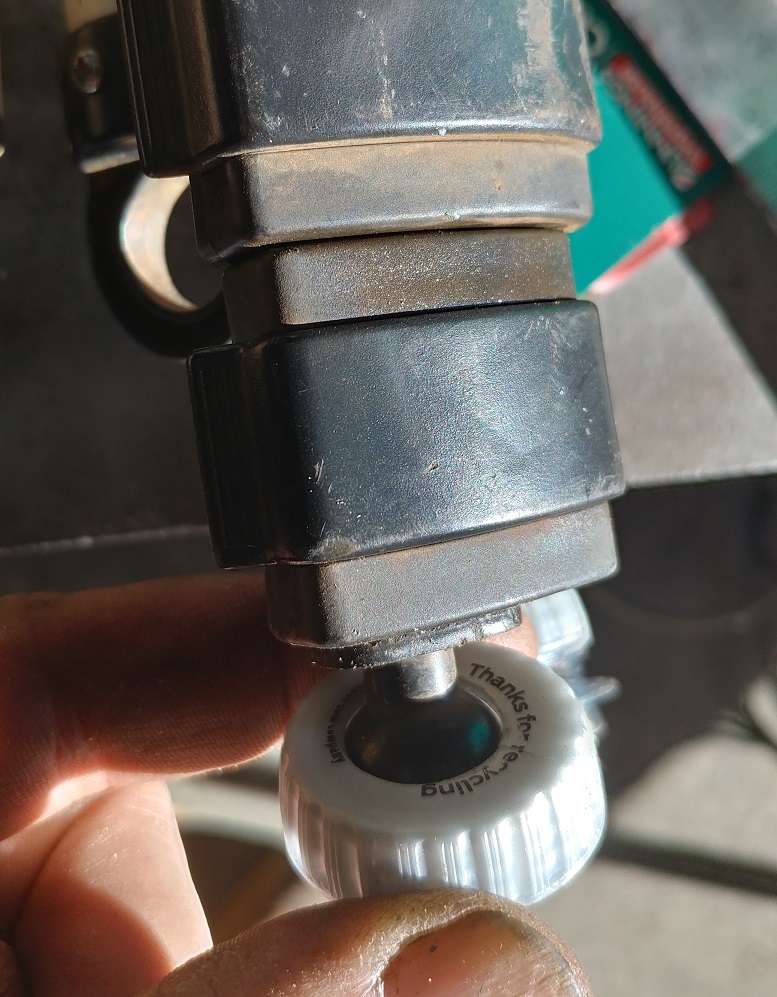
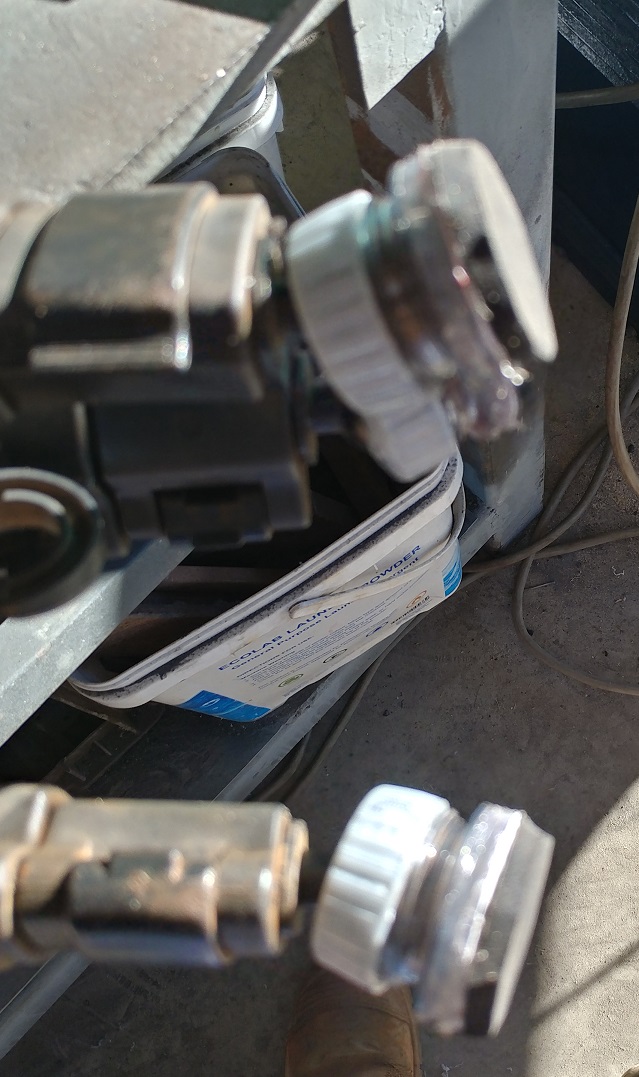
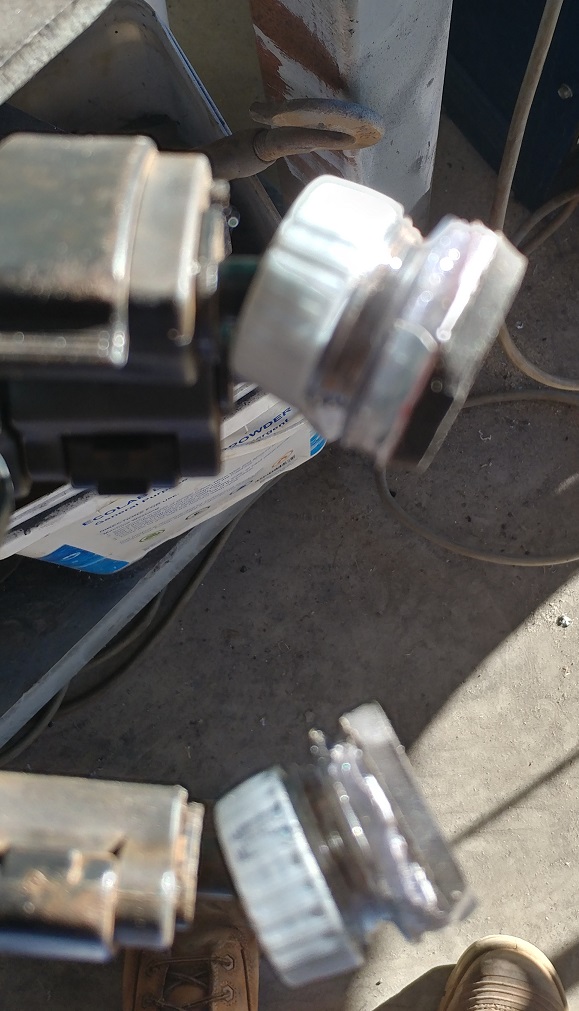
1 - the balls were measured at 18mm in diameter, a 14mm hole was drilled in the top of a PET soft drink bottle lid (diet coke if it makes any difference)
2 - a small slit was then cut between the edge of that hole, and the sealing taper seat on the inside (it's the raised sharp ring which is designed for an interference fit against the inside of the bottle neck). The cap was then sat on the work bench, and the ball was forced through the 14mm hole. The cap is now "captive" on the ball.
Attachment 35051 Attachment 35052
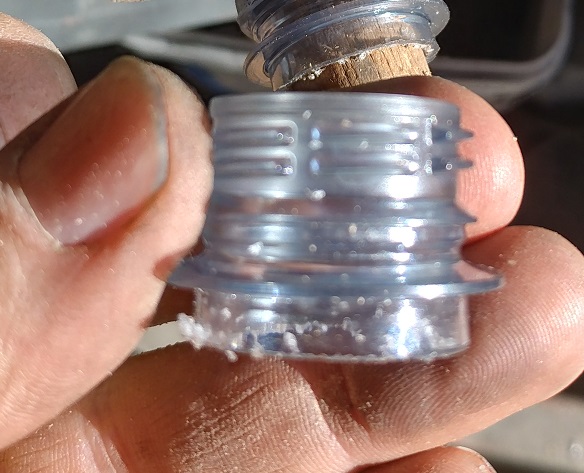
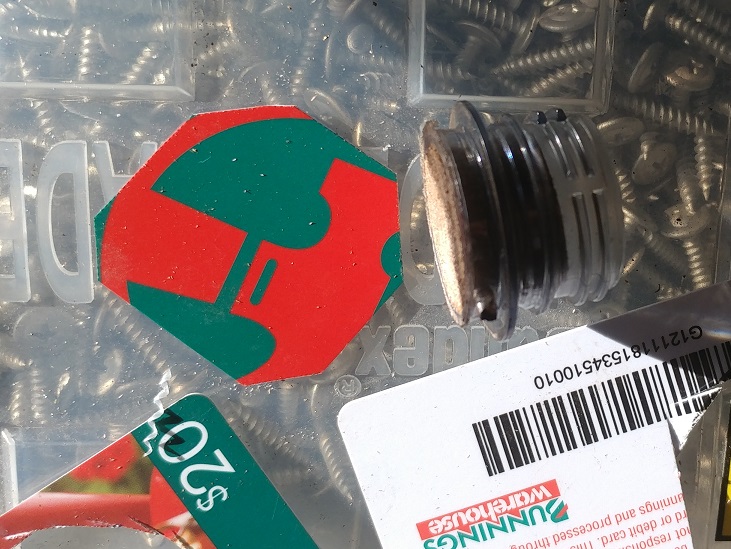
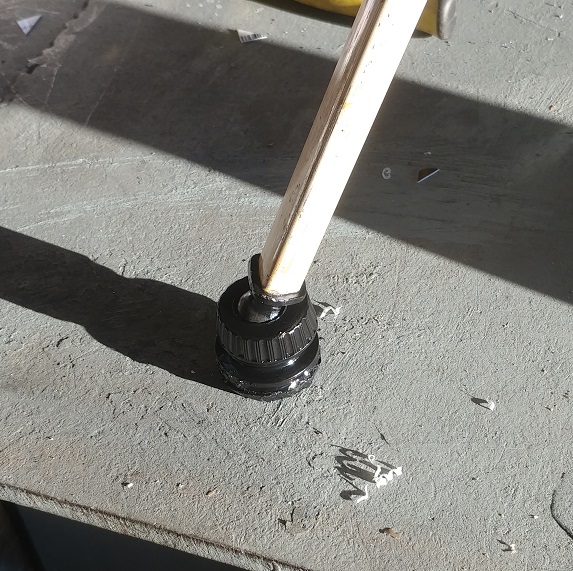
3 - the threaded necks of 3 PET soft drink bottles was cut away from the rest of the bottle
Attachment 35053
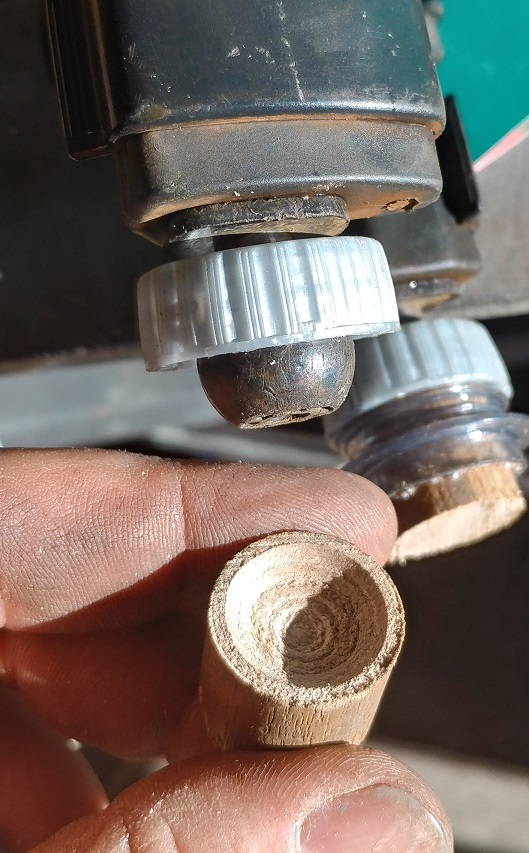
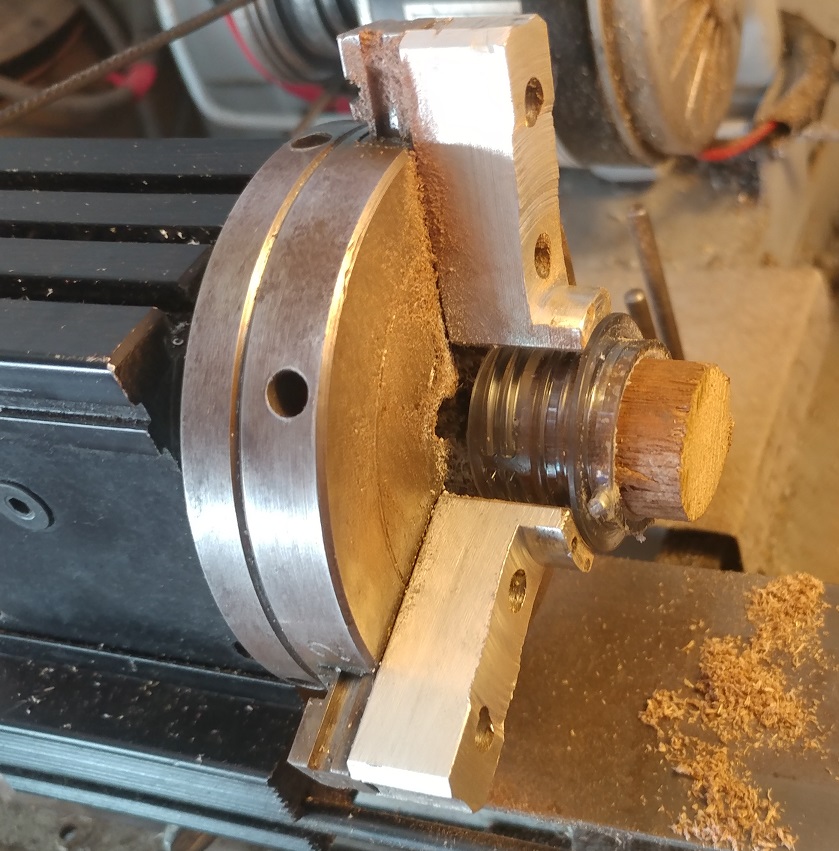
4 - some short pieces of broomstick were cut (broomstick wood is a tight fit inside the neck of a PET soft drink bottle). The pieces of wood were put in the lathe and had a hemispherical cup cut in them (freehand - no form tool)
Attachment 35054
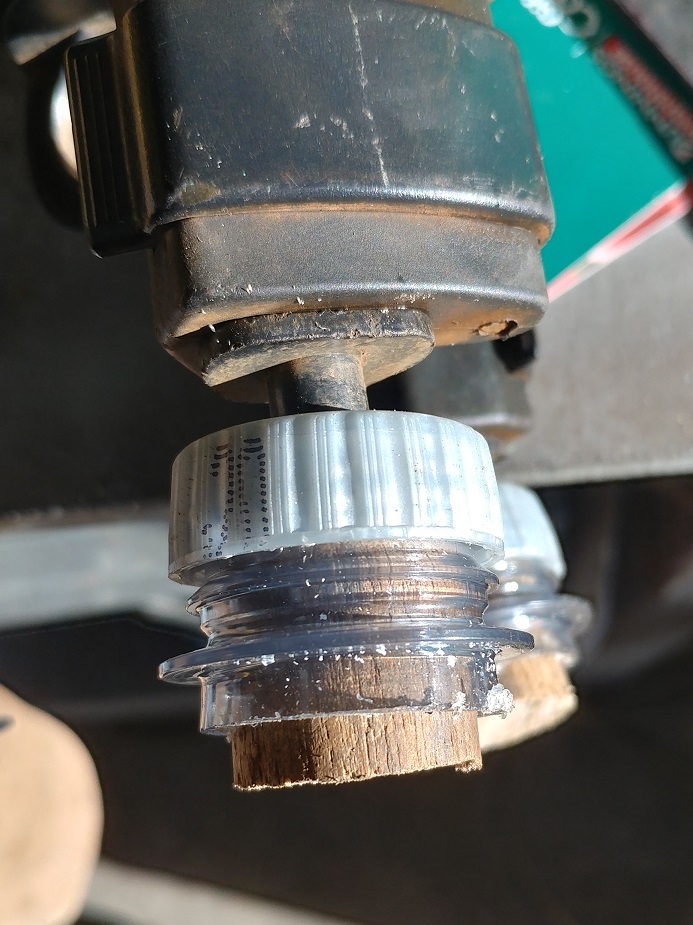
5 - the PET necks were screwed to the captive lids, and the wooden plug pushed in to determine the correct depth
Attachment 35055
6 - once the depth was set (enough friction that the assembly didn't "flop around") a 2.5mm hole was cross drilled under the neck flange through the wood, and short length of wire was inserted as a cross pin.
7 - the pinned neck/wood assembly was unscrewed and taken to the lathe and faced off so it was flat across the bottom.
Attachment 35056
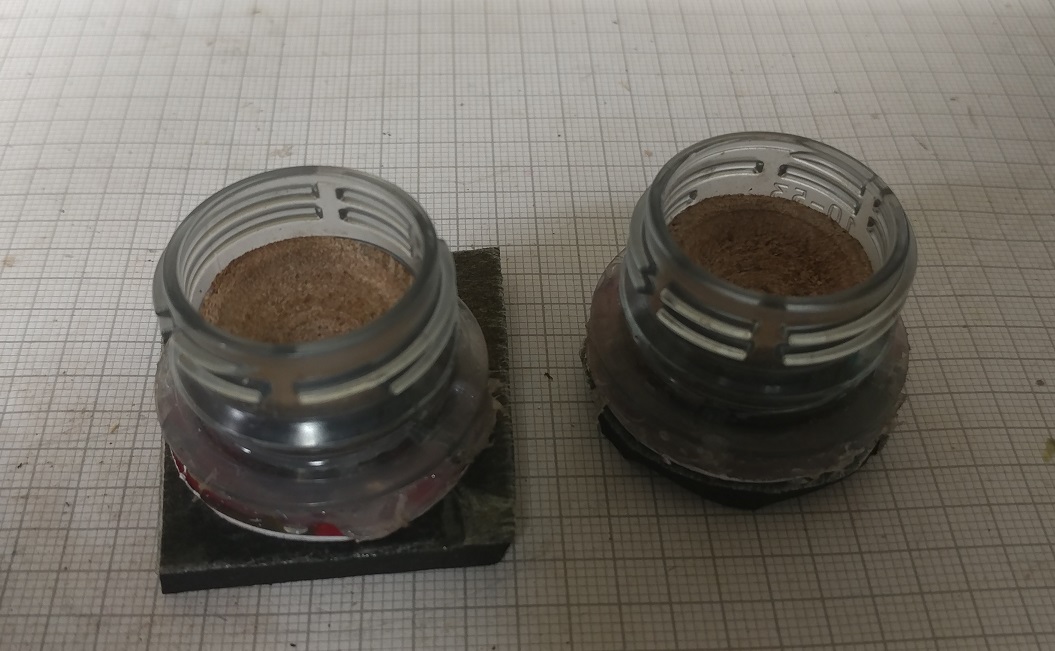
8 - the trimmed foot was then glued to a piece of plastic (old store cards) to create a flat smooth surface - once the glue was set, the plastic was trimmed in the lathe.
Attachment 35057
9 - since the store cards were quite shiny, a piece of self adhesive foam rubber was then stuck to the bottom, and trimmed to fit with scissors.
Attachment 35058
10 - the feet were then refitted to the tripod, and the range of motion tested - about 25 degrees either side of vertical
Attachment 35059 Attachment 35060
11 - whilst not necessary, a quick lick of spray paint, and the new feet blend right in
Attachment 35061
hopefully useful to others in the future.
Des in Oz
-
<!-- BEGIN /var/www/html/homemadetools/protected/modules/zeus/views/tool/postUpdate.php -->
Thanks desbromilow! We've added your Tripod Foot Pad to our Photography and Videography category,
as well as to your builder page: desbromilow's Homemade Tools. Your receipt:
<div id="blocks">
<div class="block b1 pngfix">
<div class="bimg">
<div>
<a href="https://www.homemadetools.net/homemade-tripod-foot-pad">
<img src="/uploads/233435/homemade-tripod-foot-pad.jpeg"/>
</a>
</div>
</div>
<div class="head pngfix"></div>
<div class="left pngfix"></div>
<div class="right pngfix"></div>
<div class="blockover b1 pngfix">
<div class="title">
<a href="https://www.homemadetools.net/homemade-tripod-foot-pad">Tripod Foot Pad</a>
<span> by <a href="https://www.homemadetools.net/builder/desbromilow">desbromilow</a></span>
</div>
<div class="tags">tags:
<a href='https://www.homemadetools.net/tag/tripod'>tripod</a> </div>
</div>
</div>
</div>
<!-- END /var/www/html/homemadetools/protected/modules/zeus/views/tool/postUpdate.php -->