
 LinkBack URL
 About LinkBacks


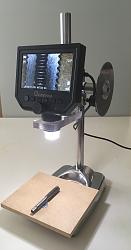
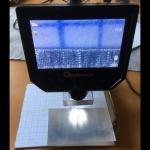
I bought one of these cheap BG microscopes* a few years back, for checking tool grind finish etcetera,
but have always found the screen lacking any sort of scales a big drawback:
Winging some sort of DIY shadowgraph from one of these has for long been a thought of mine,
actually doing some measurements with it another. Still lacking some darned scale.
Up until now I've been searching for some kind of reference scale to put in for comparison,
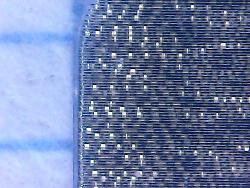
I've tried umbrella nylon fabric and other found objects with disappointing results.
When putting a problem aside, I usually (unconsciously?) come up with something after a while.
Like today - finding an old Dell monitor in the electronics dumpster at work,
I remember tearing one of those apart (because reasons...) a few years back,
and between the LCD and the backlighter there was some odd looking opaque and weird foils.
One of these might be worth taking for a spin?
A 5 min monitor instant teardown revealed the needed foil with its rainbow sheen,
and a few scratches with a nail revealed it was ribbed in one direction, and finely so too...
Its purpose is to diffuse the top and bottom cold-cathode tube's light into an even screen light.
In the cine business there's a gel filter called "Brushed silk",
which turns the round output of a luminaire into a wide oval - same stuff but VERY much finer grade in this foil.
I cut off a piece, put it in my wallet and just tried it out when getting back home to my "Closet Workshop":
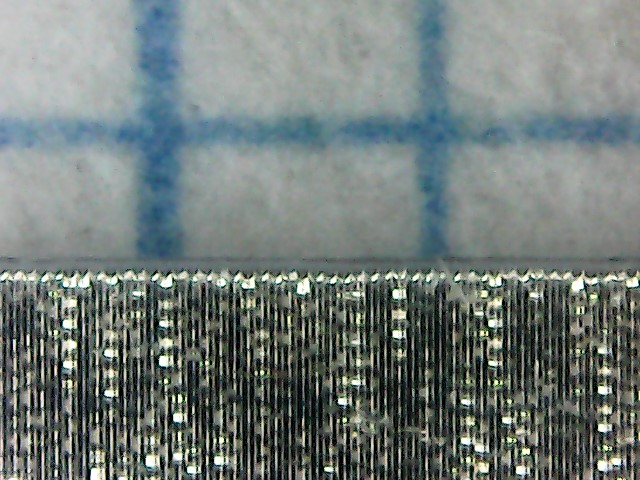
Minor triumph I'd say: It consists of linear ridges spaced 1 thou apart, as shown:
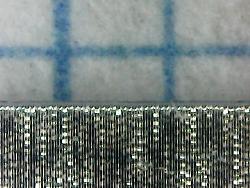
1 sq mm paper for background, and 40 lines/ mm... equals 0,025 mm c-c, which is about as good a resolution I'll need.
Field of view (@ highest mag) of my particular camera* is 94 thou wide and 71 thou high,
so now I'll get working to score some OH foil for the office laserjet,
wing together some bottom scale grids, overlay circles, rulers and protractors to lay on the screen.
Followup will come when time permits. But MY scales won't be "Inferial" but "glamorous Metric" ones!
Perhaps a DIYed X-Y table beneath with fine adjust differential screws: M4 x 0.7 & M6 x 0.75 (equals 0,05mm pitch)?
*MUSTOOL G 600, 4,3 " LCD @ 3.6MP and 20 bucks.
Yes, the "microscope stand" IS a friggin discarded orange press with a hard drive disk as an adjusting wheel!
Told you I was cheap-to-the-bone!
Just my 2 cents, and YMMV.
Cheers, Johan
PS: Any Uncheap HMT:ers can easily shell out 230 bucks +postage at Edmunds Optics
for a "real" 70 lines/mm, 1" sq diffraction grating if you so choose, it works just the same -
but then you'll at least have a Branded product, instead of my free piece of salvaged plastic!
https://www.edmundoptics.eu/p/70-gro...splitter/6555/


 Reply With Quote


Bookmarks