
 LinkBack URL
 About LinkBacks


Christophe,
Thank you and an excellent question about the use of a set screw. I originally wanted to use a cap head screw and offset the 8 mm hole closer to one edge of the 1/2" square shaft so there would be room to tap threads. In all the modifications to the Unimat, I have standardize on 8-32 cap head screws and M6X1 cap head screws for tightening parts to allow for only two sizes Allen wrenches. The size differences allow picking up the correct wrench the first time.
The real reason I used the collet chuck is because it will be used in some of my future projects and I just wanted to see how to make one. There is one step in the chuck fabrication I thought might be a problem but I found a work-around. The 1/2" shaft is pre-drill to 8 mm x 2" deep (sorry about the mix of measurement systems but I am use to working in both systems) but there is some inward compression after slotting for the compression fingers (chuck jaws).
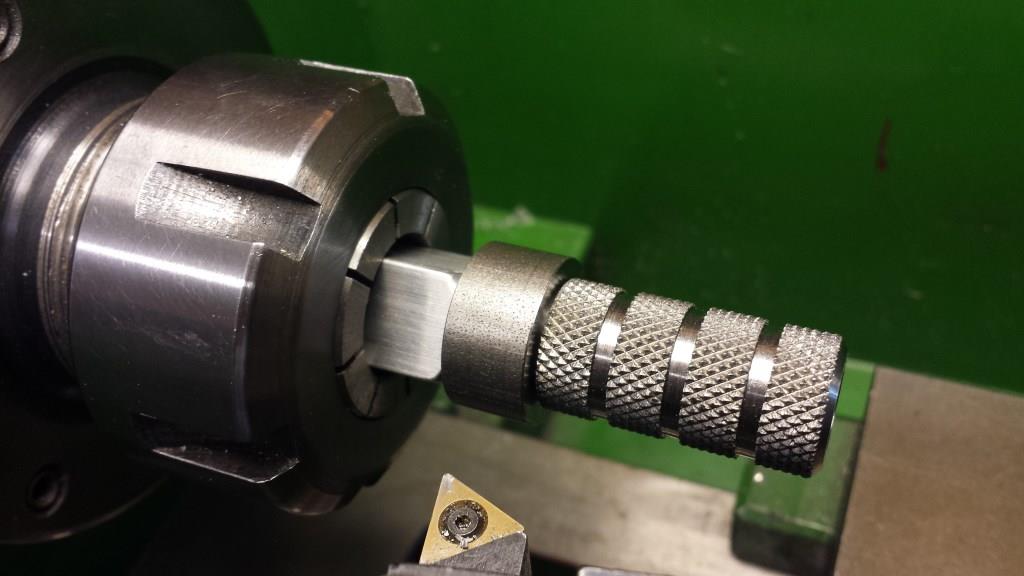
However, after partially threading on the knurled steel collar there is slight (a few thousands) of inward compression on the four jaws before reaching the internal taper-end used locking the 8 mm shaft. At this point the 8 mm shaft of the Noga DI holder won't slide in. I made a 0.375" thick washer as a spacer that temporarily prevents the knurled collar from threading all the way and reaching its point of compressing the four jaws. I then re-drill the 8 mm hole (or use a spiral fluted reamer), removed the spacer, threaded the knurled collar back on but not fully tightened. The 8 mm shaft slides in freely until the knurled collar is tightened to full compression and locks the shaft.
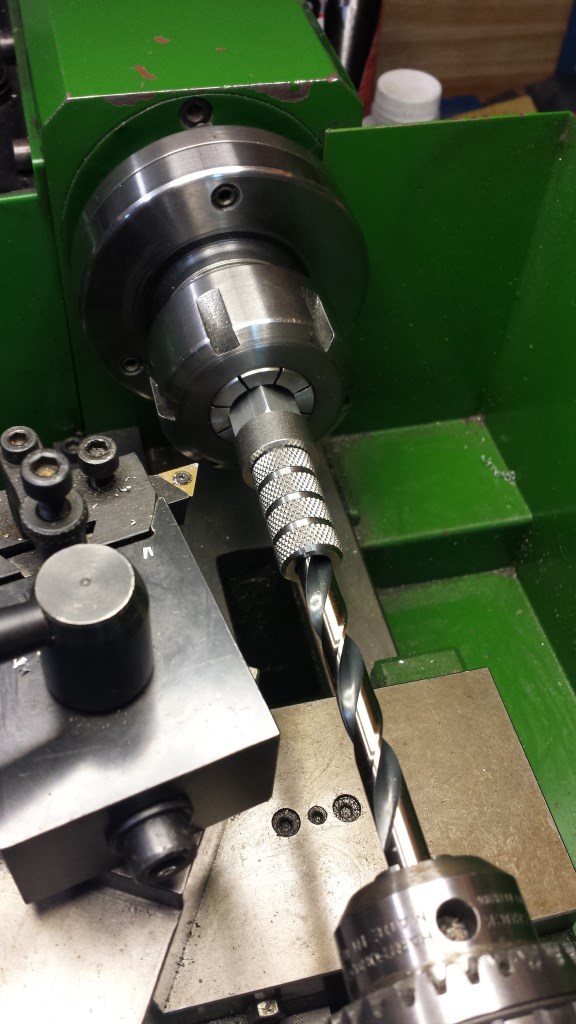
I hope this makes sense. Shown below are photos of this final operation using the temporary spacer to prevent the knurled collar from closing down completely on the chuck jaws.
Cleaning up the chuck with an 8 mm drill to ensure a sliding fit to the Noga 8 mm shaft
Thank you for the question.
Paul

 Reply With Quote

Bookmarks