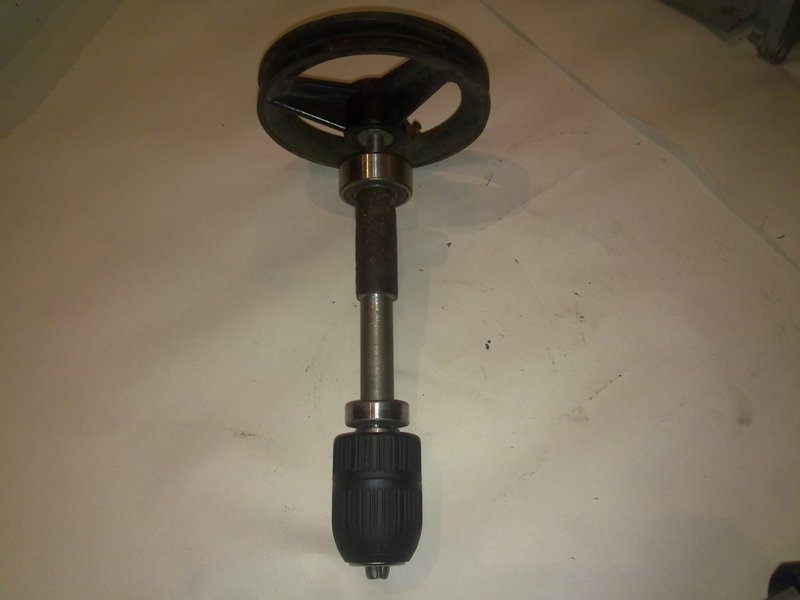
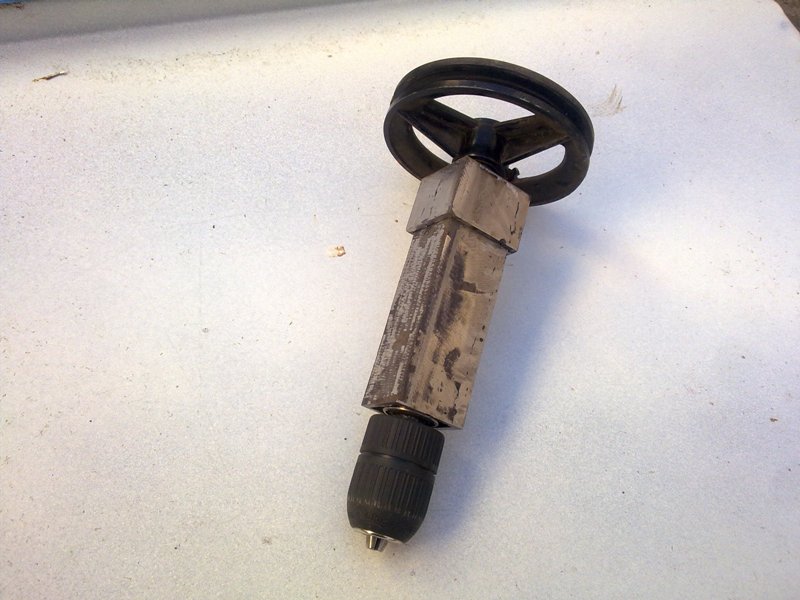
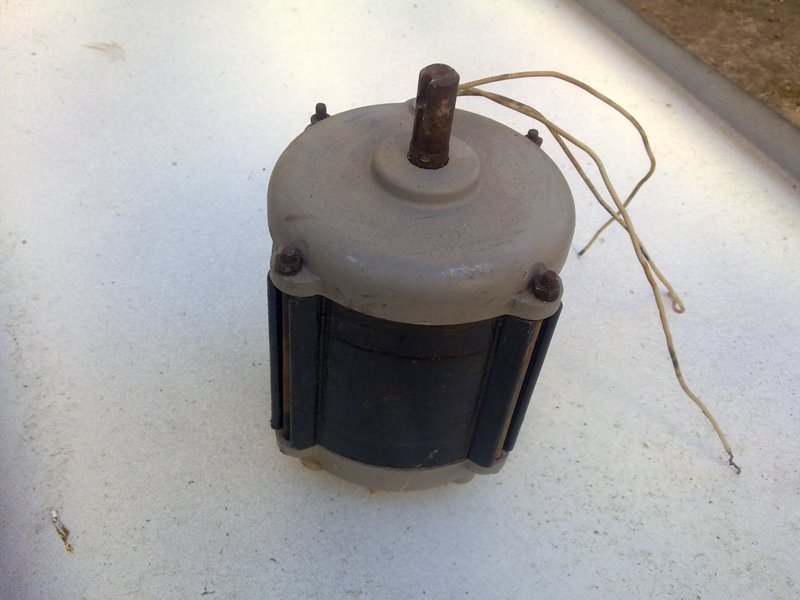
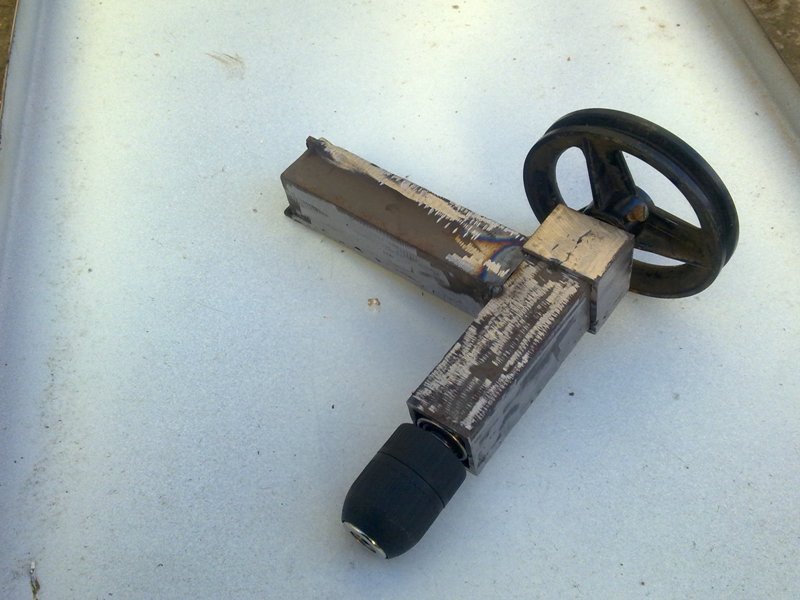
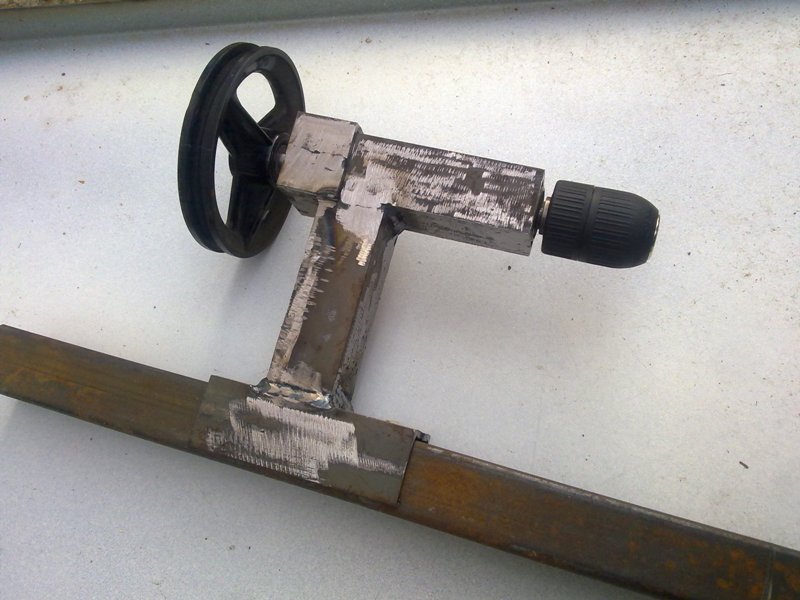
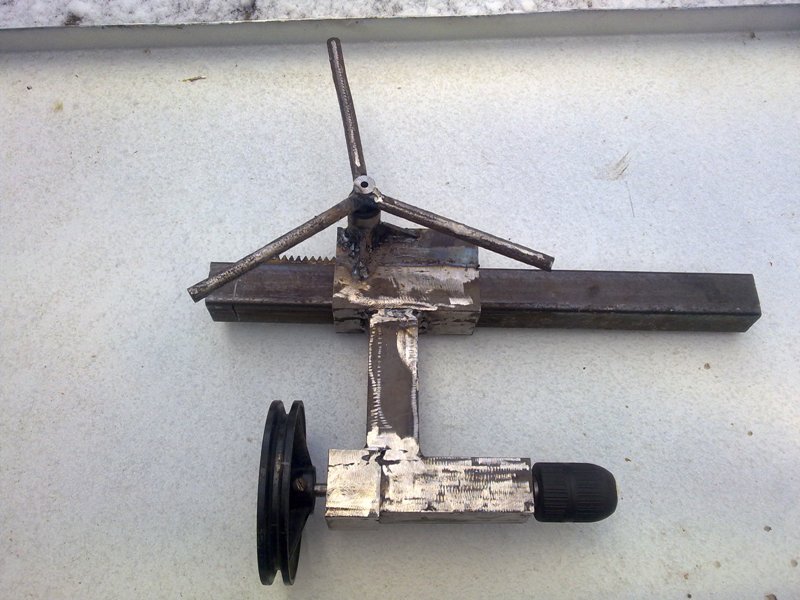
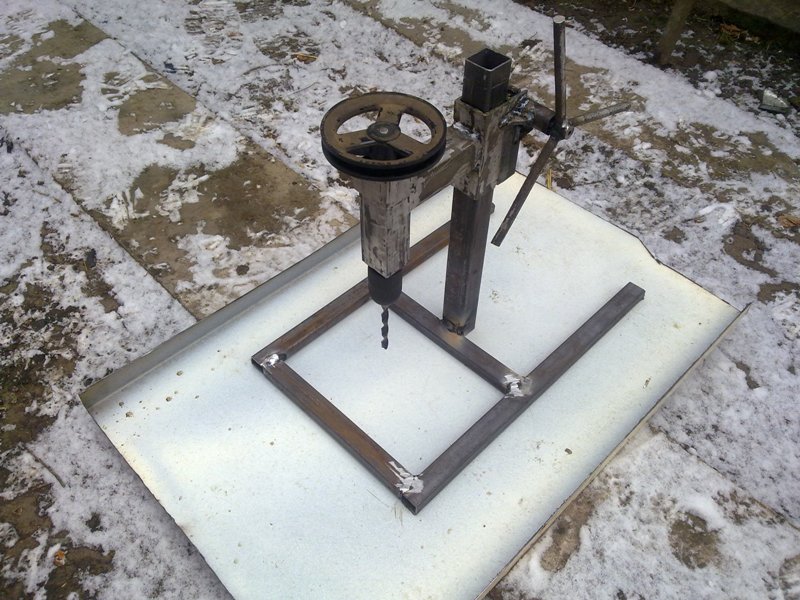
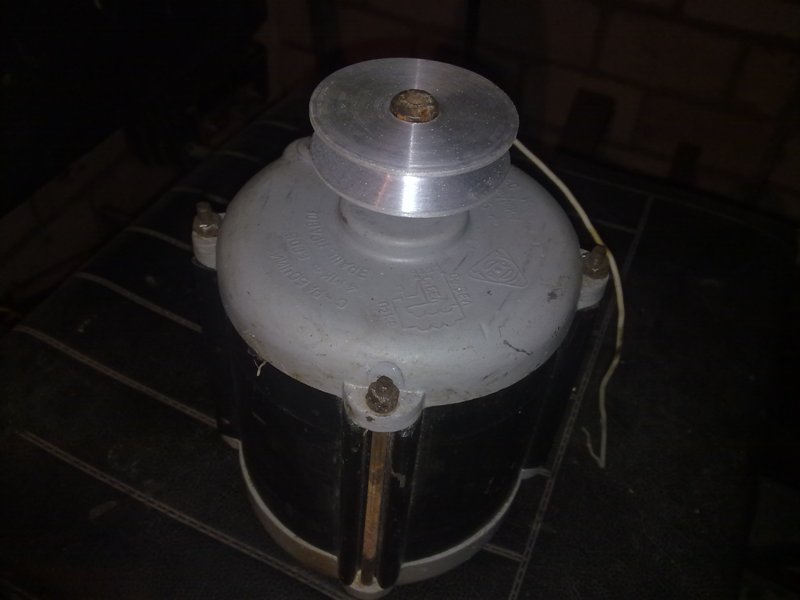
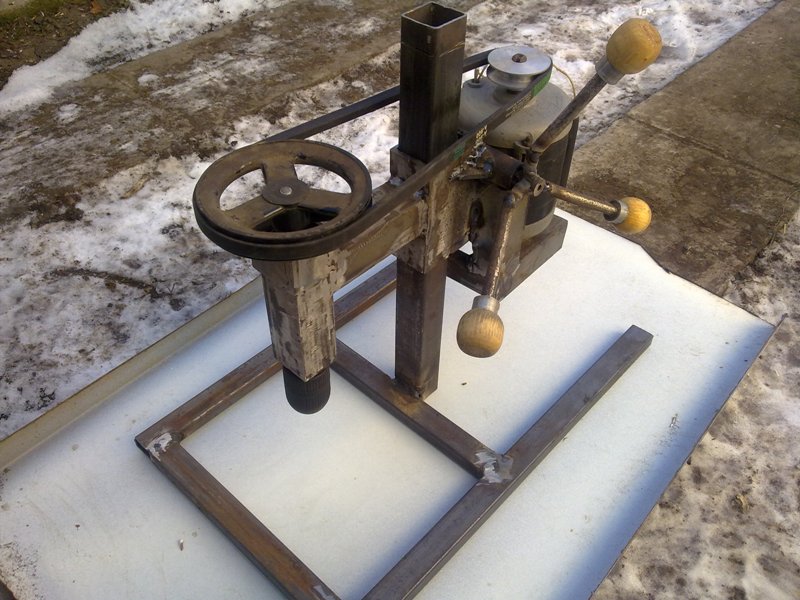
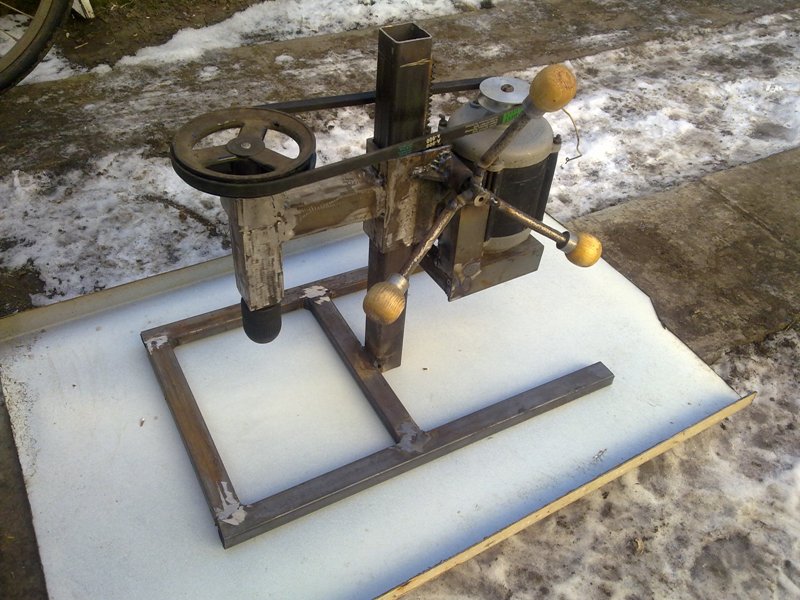
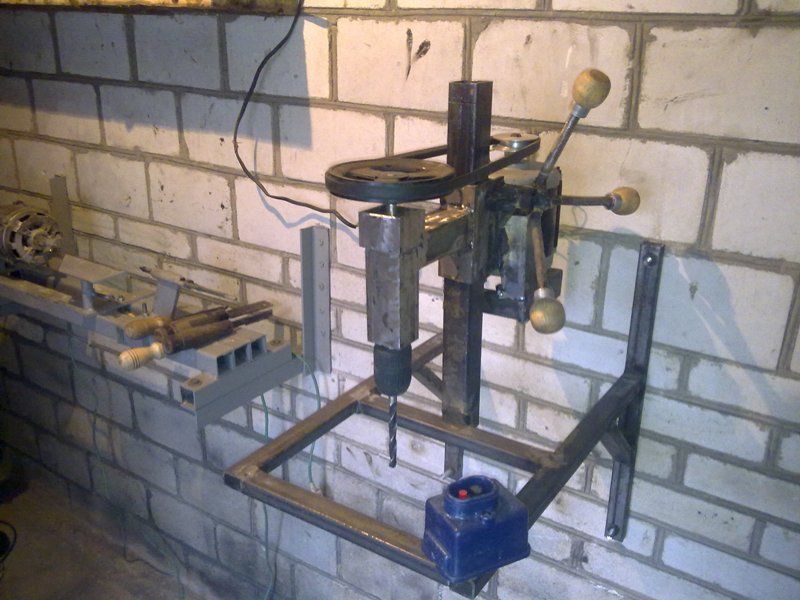
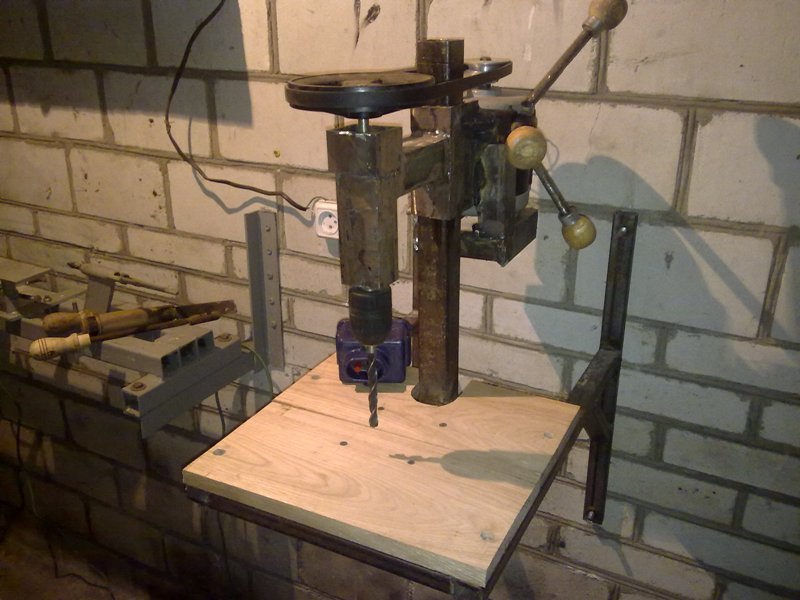
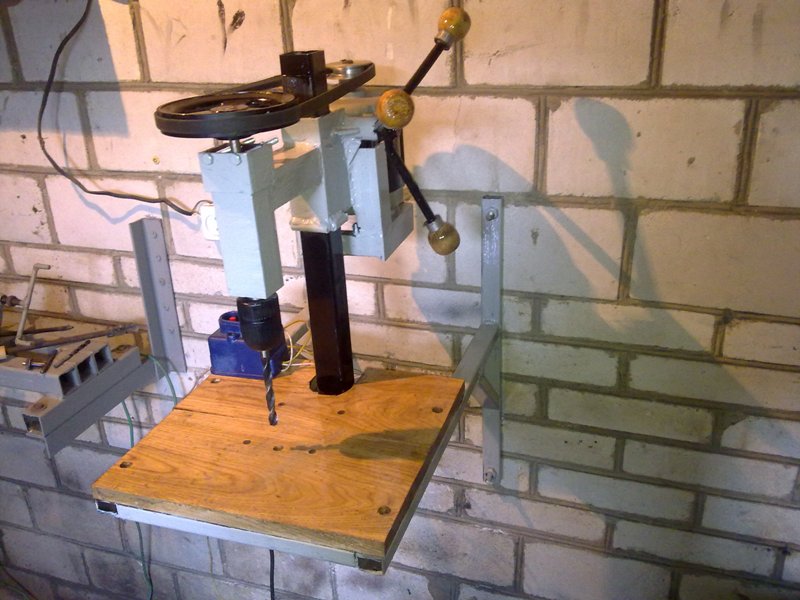
Hi. My homemade drilling machine. The motor of the washing machine 180 watts.
Attachment 9422 Attachment 9423 Attachment 9424 Attachment 9425 Attachment 9426
Printable View
Hi. My homemade drilling machine. The motor of the washing machine 180 watts.
Attachment 9422 Attachment 9423 Attachment 9424 Attachment 9425 Attachment 9426
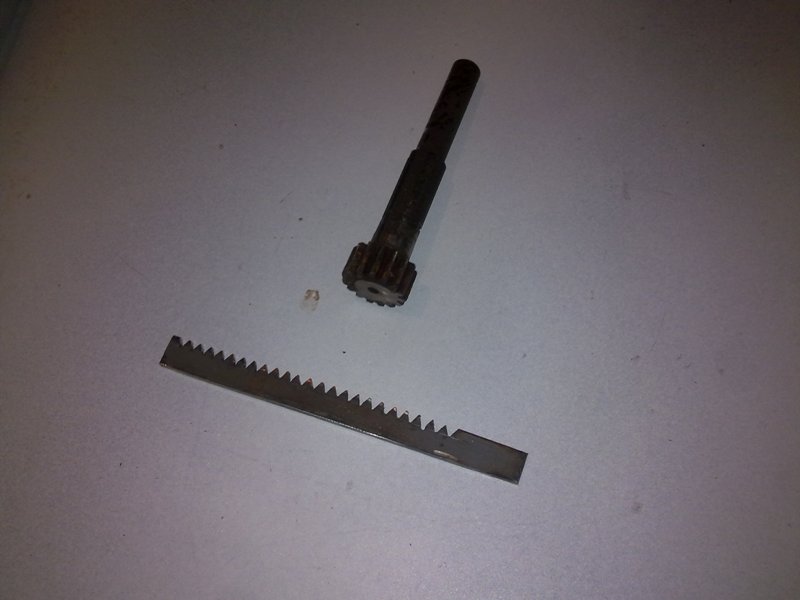
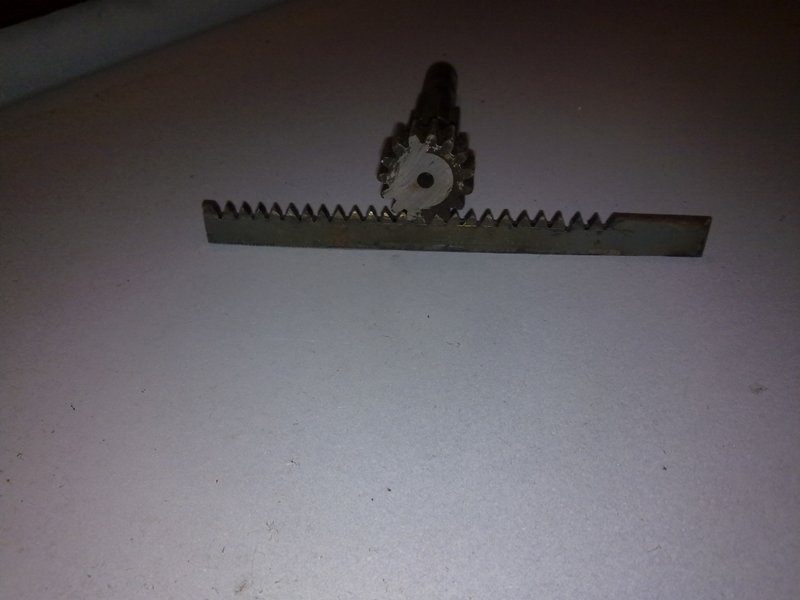
Rails with teeth produced by this tool
Attachment 9427 Attachment 9428 Attachment 9429
Thanks Vyacheslav.Nevolya! We've added your Drill Press to our Drilling and Drill Presses category, as well as to your builder page: Vyacheslav.Nevolya's Homemade Tools. Your receipt:
<div id="blocks"> <div class="block b1 pngfix"> <div class="bimg"> <div> <a href="http://www.homemadetools.net/drill-press-20"><img src="http://www.homemadetools.net/uploads/145399/drill-press-20.jpeg" /></a></div> </div> <div class="head pngfix"></div> <div class="left pngfix"></div> <div class="right pngfix"></div> <div class="blockover b1 pngfix"> <div class="title"> <a href="http://www.homemadetools.net/drill-press-20">Drill Press</a> <span> by <a href="/builder/Vyacheslav.Nevolya">Vyacheslav.Nevolya</a></span> </div> <div class="tags">tags: <a href="http://www.homemadetools.net/tag/pulley">pulley</a>, <a href="http://www.homemadetools.net/tag/drill-press">drill press</a>, <a href="http://www.homemadetools.net/tag/motor">motor</a>, <a href="http://www.homemadetools.net/tag/pinion">pinion</a></div> </div> </div> </div>
How well does your gear rail work? Did you make the spur gear as well? That is pretty good work with a grinder!
Greetings from Canada
That is super work. I like the design, simple but elegant.
Bob
Gracias Vyacheslav, muy posible haga una copia, espero concretar el proyecto.
Great idea, and doing away with the need for a quill too.
Only thing I would do different is to add a second cross brace behind the upright but I may be over engineering again. I just don't like relying on things welded at only one side, but that comes from being a retired class one welder, people were always trying to break welds to show us up. ;)
Love the build though. Hmm no quill. I might have to build one with a really massive chuck and motor just for the sake of it now. Just got to find that old Jacobs 1" chuck now, can't be far, I saw it in my shed about 20 years ago!! lol
Regards, Al
Great build! Thanks for sharing. This is exactly what I am looking for.
Love ingenuity, great work
Doug
Vyacheslav,
I love how you make nice things from near nothing. I did the same in my youth.
I would echo the same comment that Al made about a brace on the main column. It would be easy to have a bolt on one which went back to the wall, then you could still remove the head if necessary.
Elegant. 3 tools needed to fabricate. Angle grinder, welder and piece of carbide to shape angle grinder disk for gear teeth. Two questions-- 1. How to hold spindle ball bearings inside square tube? 2. What is size or part number of ball bearings?
You sir, are a true innovator.
Could be a quick tack weld on the corner. Would not do much damage if any to the bearing and hold it in place.Quote:
Originally Posted by Ed Weldon
I would not recommend any attempt to weld on or near a functional part of an expensive ball bearing. There are other ways to accomplish the locating and confining rotation of an outer ball bearing race that do not risk physical distortion of its geometry. In a shop with scarce resources 4 small carefully carved wood wedges (with locking tapers in the inside corner openings of the square tube) anchored with some tree sap would work. Personally I'd prefer making those more or less triangular spacers from steel with a close slip fit and retaining them with a minimum of epoxy adhesive. When bearing replacement is required application of heat at about 200C will cause the epoxy to break down and be easily cleaned off the spacers and the inside of the tube.
Add my vote to that.Quote:
Originally Posted by Ed Weldon
While I have numerous times tack welded bearing races to or in parts this is only done on when things I term single use throw away get it done and move on. I would never consider tack welding to a bearing race that was needed to last for any period of time. Its not good to even allow stray current to pass through a bearing