
 LinkBack URL
 About LinkBacks


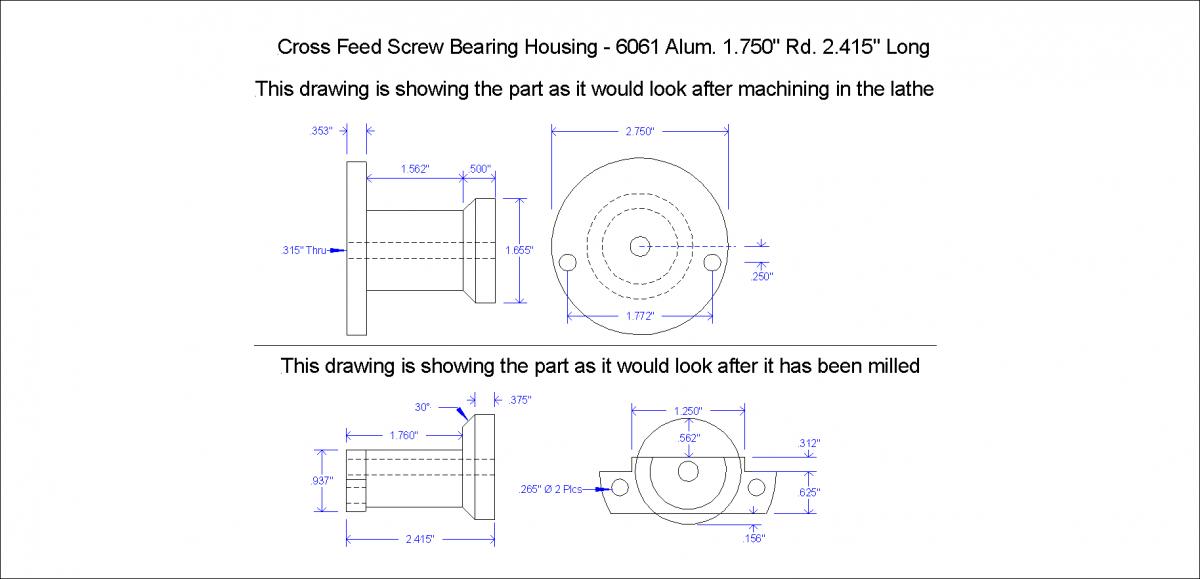
Cross Feed Screw Bearing Housing
About 8 years ago I bought this Harbor Freight bench lathe, It’s a 9” X 20” Model BV-920. This is not my main lathe it was just another lathe to do small parts on or to make parts for my milling machine or my other lathe in case of a break down.
These lathes are not of the highest quality nor do I think they were intended to be, There just a cheap chineez machine tool, I have had to make a worm gear for the feed mechanism inside the apron one time, It was made from a die cast pot metal material, the carriage feeds were way too fast even in the slowest ones, I had to rearrange the outboard gearing to slow it down so I could achieve a descent finish on my work, I can’t cut threads now because of that but I never cut threads with it anyway, The belt that you change speeds with is so little it’s incredibly small, It broke once and I ordered one from harbor freight but it only lasted about a year, so I found an equivalent belt made by Gates # 5M730, It’s been on there for 5 years now, All the outboard gears had bushings in them, so I bored them all and installed ball bearings, I have had to do a lot of things to this little machine to make it up to what it is now.
The other day I was using it and discovered a crack in the cross feed screw bearing housing, it was pot metal as well, so I had to make one of those, I made it from a piece of 2.750” round 6061 aluminum.
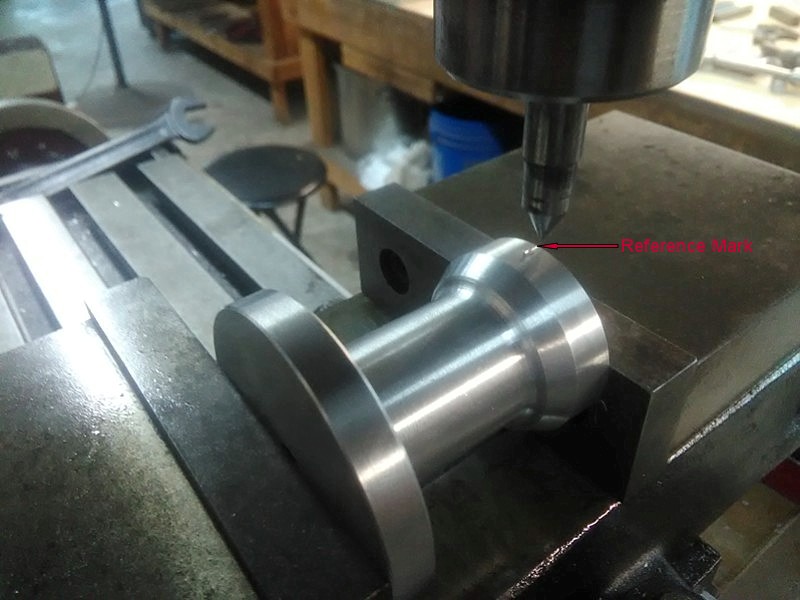
One tip on making this part, when you get ready to drill the two 17/64” mounting holes use a piece of 5/16” C.R.S. round about 5” long to locate the centers of the housings, clamp one side of the housings together and drill the opposite hole then visa versa. The reference mark on the housing was scratched on using a piece of 3/8” round HSS tool bit ground to a very sharp point held in a 3/8” collet in the milling machine, locate the center of your work piece with the tool bit, touch off and go down into the surface of the metal about .007” deep then cross feed ¼” long.
Below you’ll see some photos of the machining process and a cad drawing of the part, I hope anyone with one of these little machines will find this information useful.
As always thanks for looking and happy machining
Doug
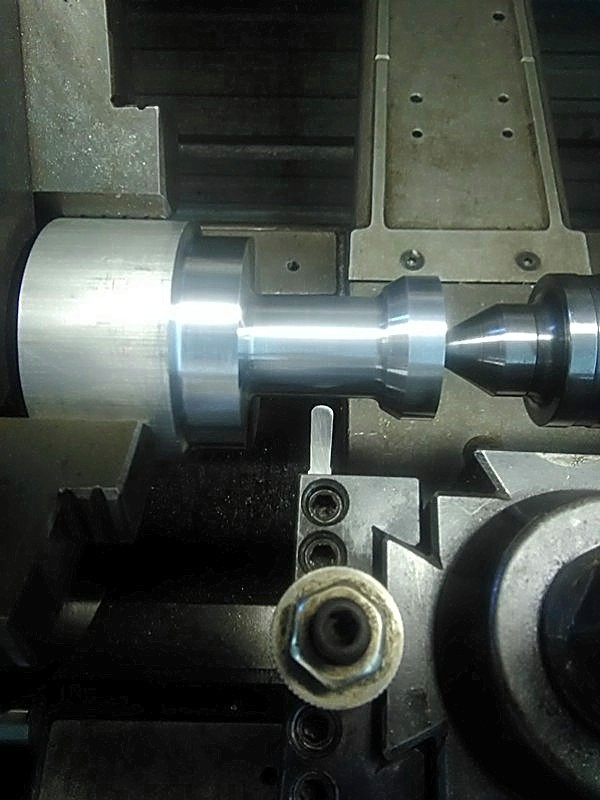
Turned and ready for parting off
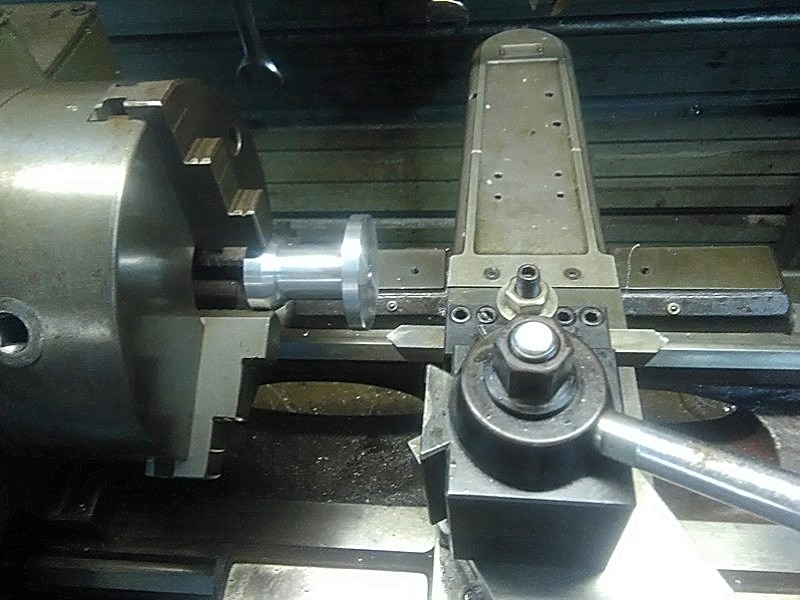
Facing off to required length
Scratching the reference mark
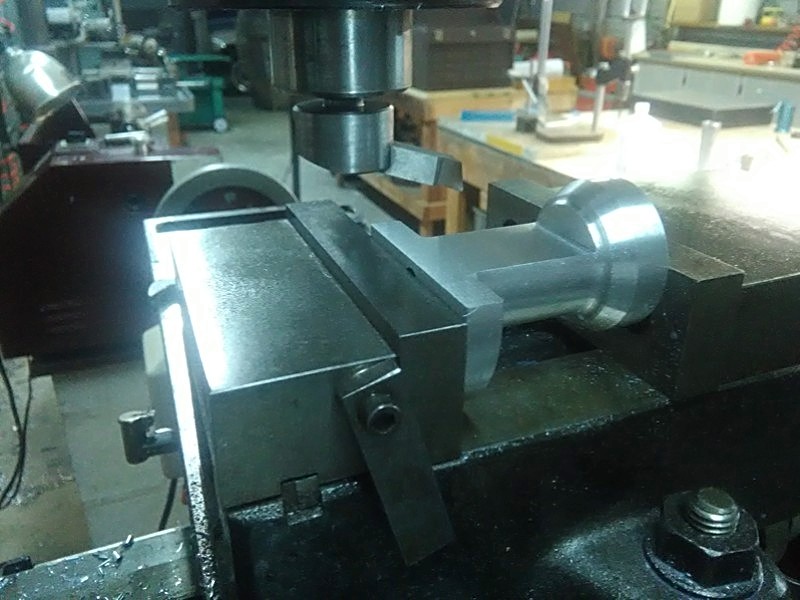
Milling the flat surfaces
The lathe this part will fit to
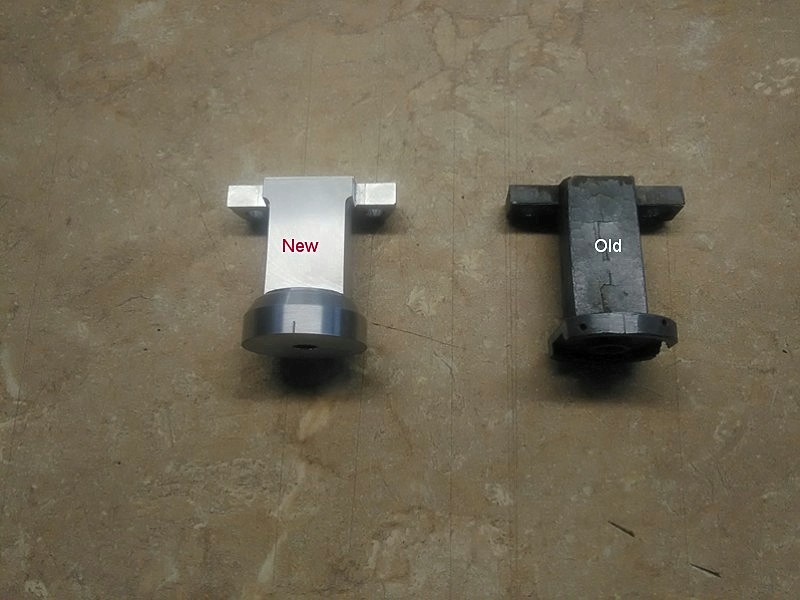
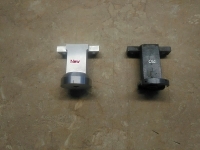
Showing the new part against the old part
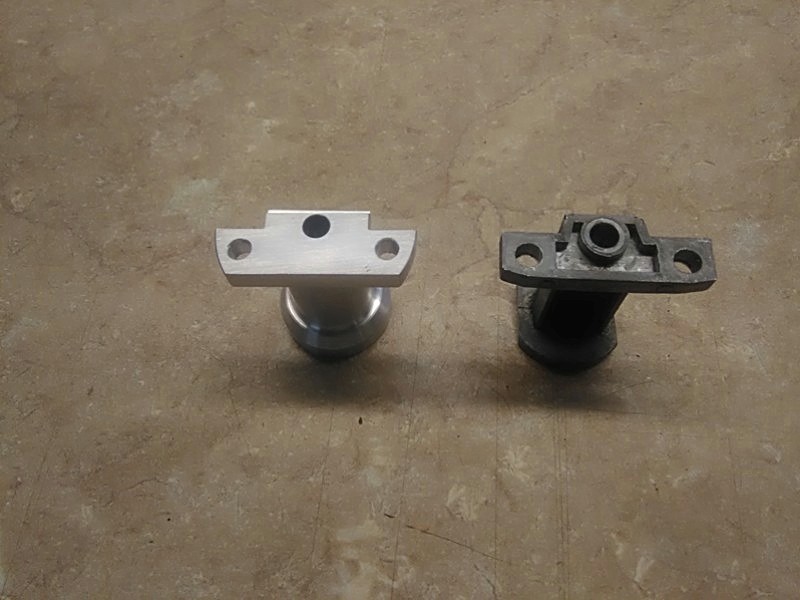
Rear view of part
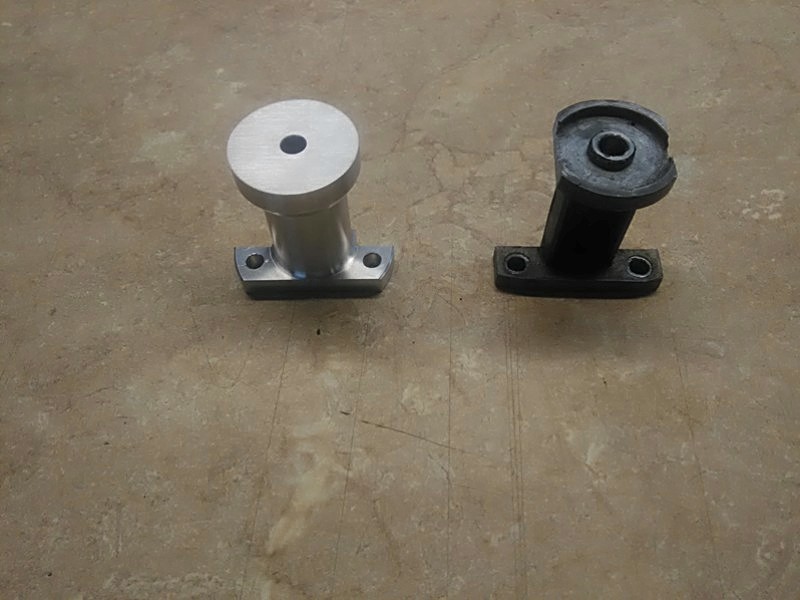
Front view of part
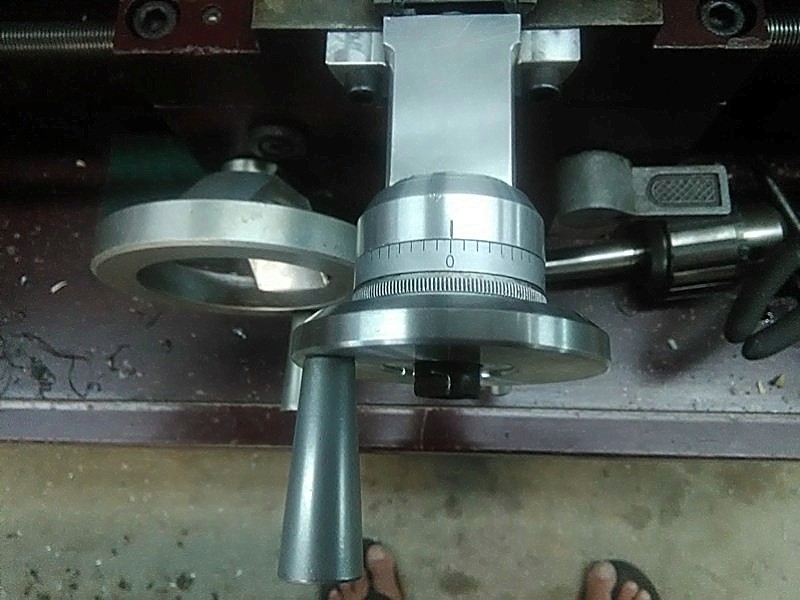
Installed and ready for work
Cad Drawing
Basic Instructions


 Reply With Quote


Bookmarks