
 LinkBack URL
 About LinkBacks

. That's an odd thread size that I decided to use for a small leadscrew I made for another project (which I will also post about when it's done). This was the perfect excuse for trying my hand at making a tap.
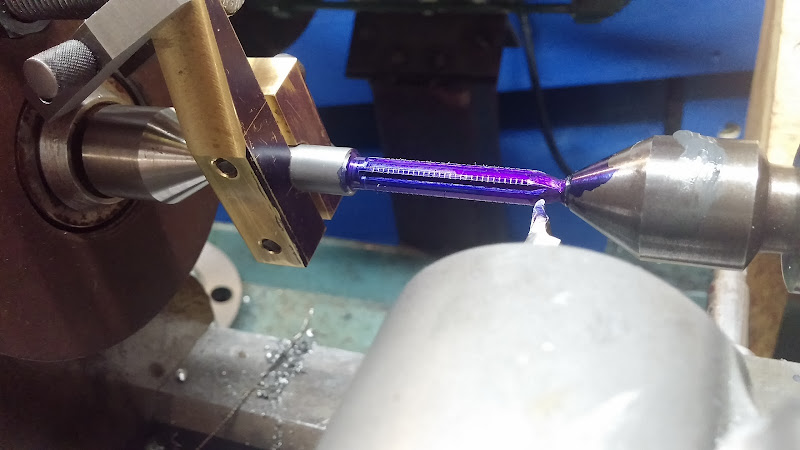
I started with a length of O1 steel, center drilled one end and turned a male 60 degree center on the other end. I turned the business en "Pin It")
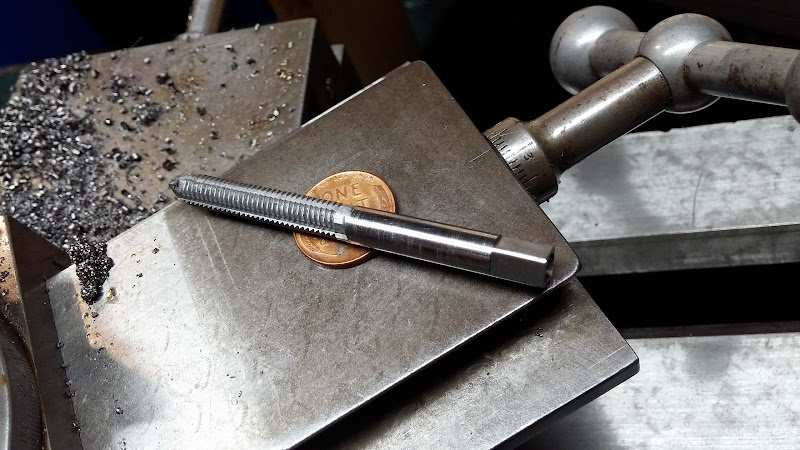
This is my most recent shop made tool, a tap for cutting 1/4 x 25tpi threads (that's not a typo, it's 25tpi). That's an odd thread size that I decided to use for a small leadscrew I made for another project (which I will also post about when it's done). This was the perfect excuse for trying my hand at making a tap.
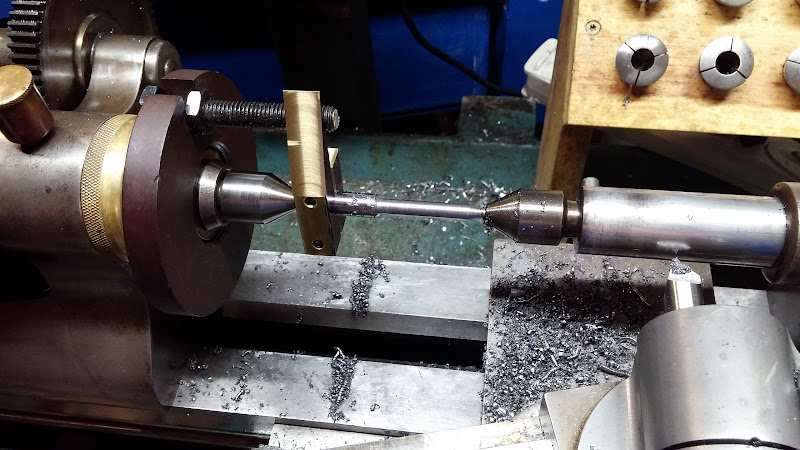
I started with a length of O1 steel, center drilled one end and turned a male 60 degree center on the other end. I turned the business end to it's final diameter between centers:
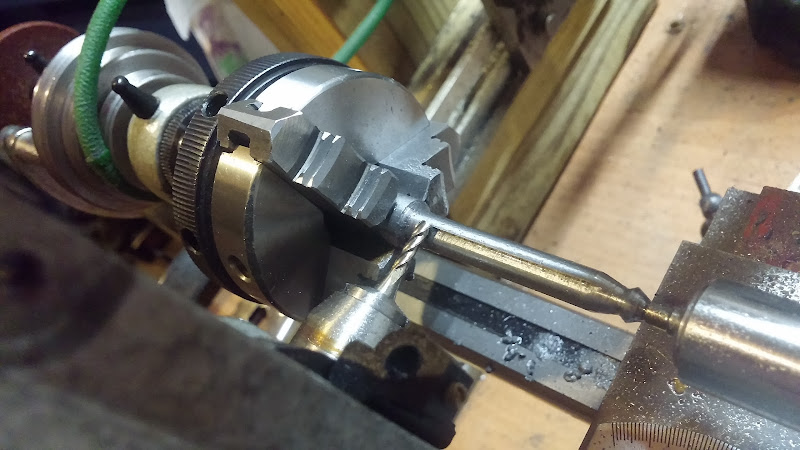
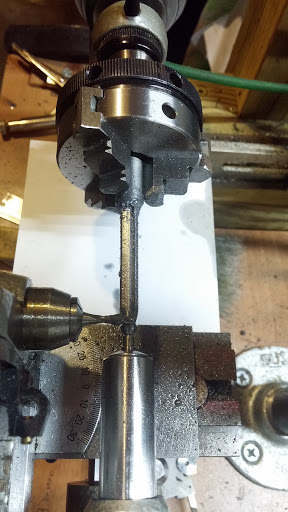
I then transferred it to my watchmakers lathe to mill the flutes using the milling attachment. The headstock of the lathe conveniently indexes, so getting the flutes perfectly spaced was no problem.
This is the same setup for milling on the watchmakers lathe, but here a 6 degree relief angle is being milled behind the cutting edges of the flutes:
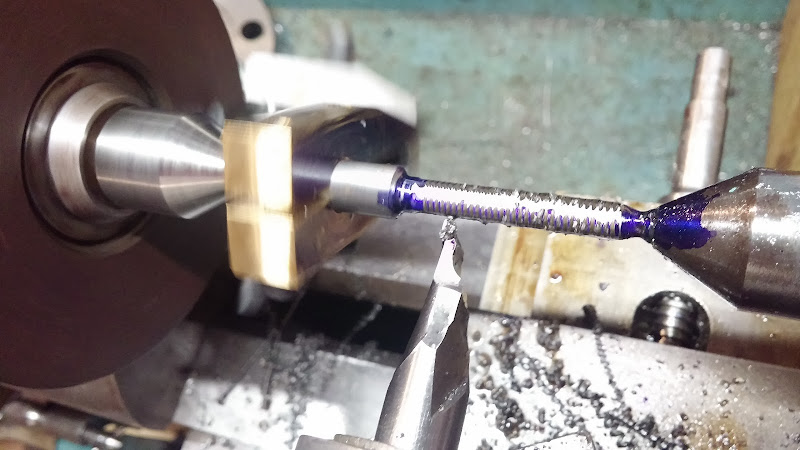
I returned the work to the bench lathe, blued it up, and cut the threads:
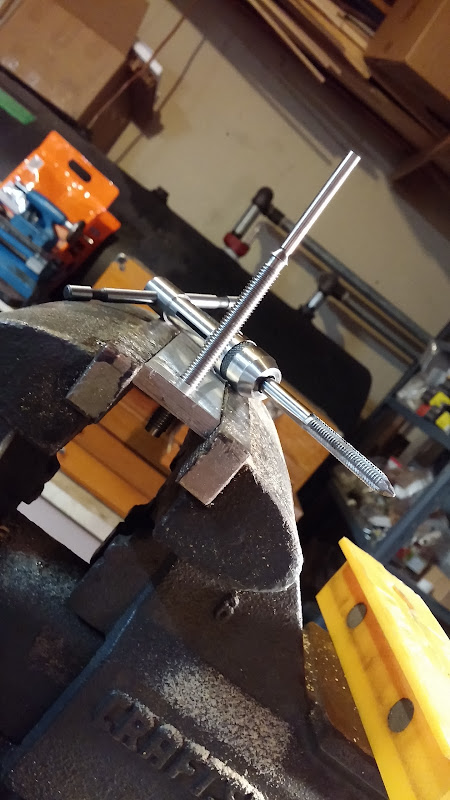
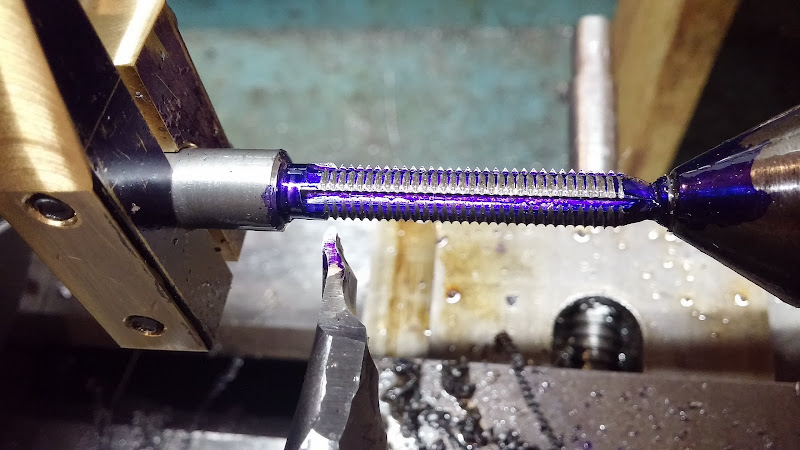
After the threads were cut, the shank was turned down to the final diameter (the flats at the end had already been milled), and finally the very end of the tap given its final point, removing the male center I had turned to work between centers. It was then polished and lightly deburred with a couple of stone slips. For polishing threads, I usually put some abrasive paste on a slip of wood and let it run along/in between the threads as the work is spun... the wood quickly conforms to the thread profile. In this case, I did the same but with the work spinning in reverse so that the cutting edges didn't immediately ruin the polishing stick.
Here is how it looked before heat treatment:
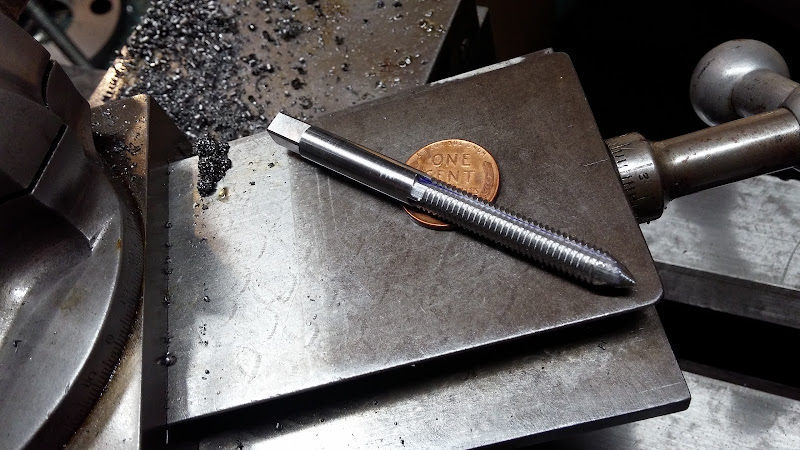
Being O1, heat treatment was straightforward. Lately I've been using a paste of boric acid (roach powder) and alcohol packed onto my parts while hardening. Especially when hardening in oil, it makes that nasty black scale chip of very easily. It leaves an attractive bright gray finish that polishes up quickly. After hardening (and testing with a file to make sure it was glass hard), I polished the shank and decided to try it out in a piece of aluminum before tempering it. It requires frequent chip clearing, as there's very little room for chips in the shallow flutes I milled, but it cut through just fine. Here is a pic of the heat treated tap, and another of the leadscrew threaded into the test hole:


 Reply With Quote

Bookmarks