
 LinkBack URL
 About LinkBacks


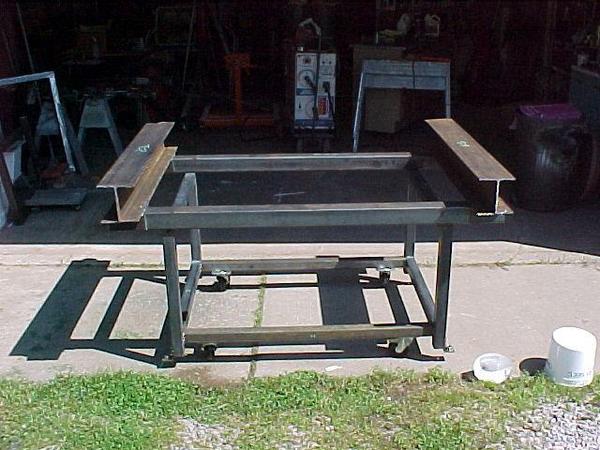
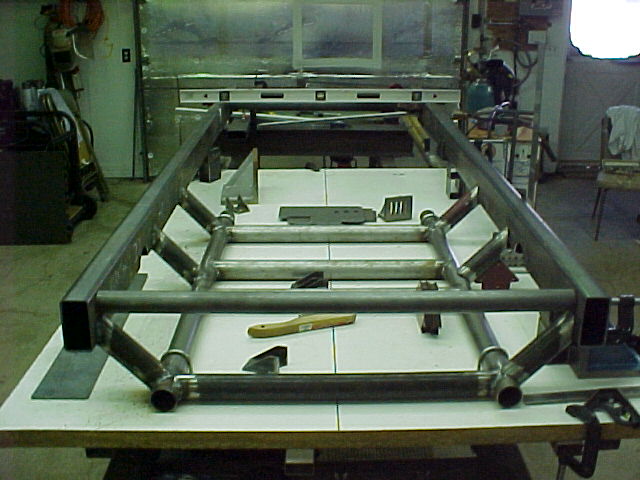
I built these tables in 2004/2005 to use as fixtures for all of my chassis fabrication work. The top "H" beams slide back and forth on the upper rails to accomodate just about any track width I could need. Fully mobile with four casters under each table I also added jacking lugs on each corner for leveling. These tables have been very versatile and I use them every day. I have added holes to the beams for bolting down shears, benders, shrinker/stretchers, etc.
The "H" beams slid into the middle.
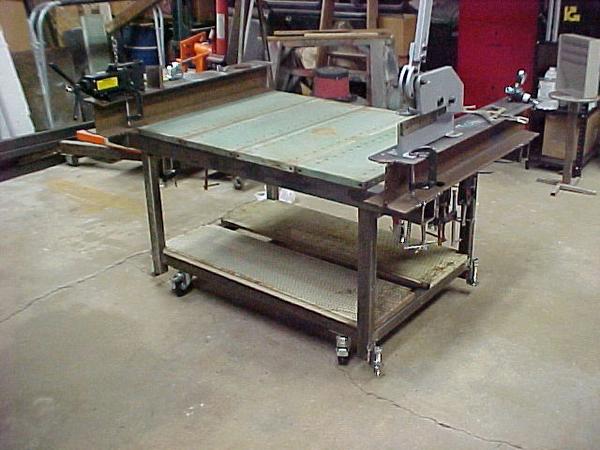
Here is one set up with my 4" bender on one end and my plate shear on the other.
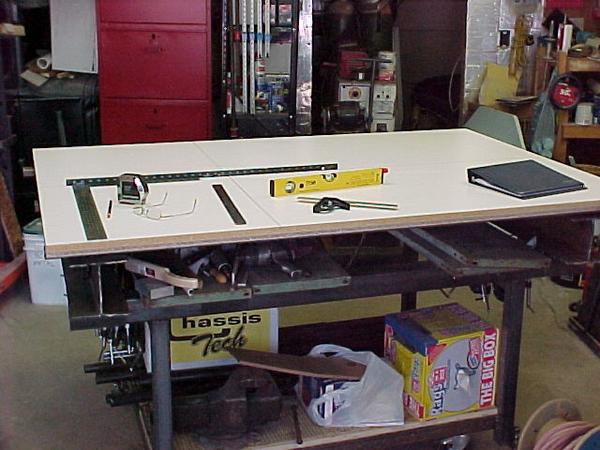
I also made a top for one of them. I used a sheet of melamine covered particle board laminated to a regular sheet of particle board (for stability). I run lengths of 1 x 2 tubing underneath to support the outer ends.
I squared the sheet up with the skill saw and then cut two grooves perpendicular to each other. One down the center of the top and one at the virtual "wheel centerline" of a proposed chassis build.


 Reply With Quote
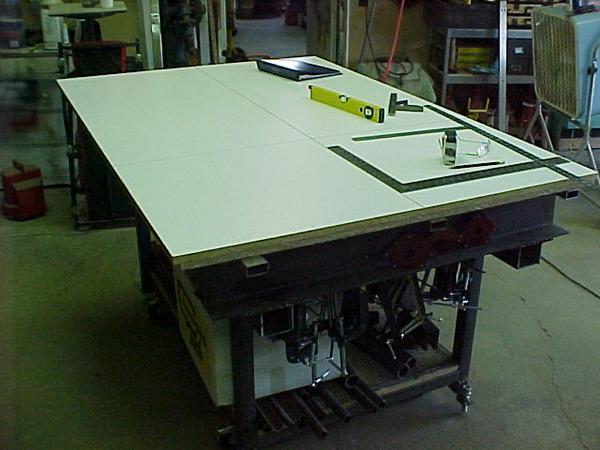
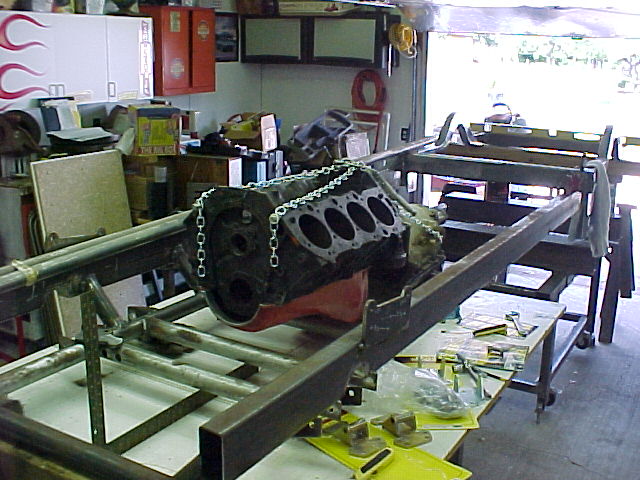
Here is the main table being used to bu "Pin It")


Bookmarks