
 LinkBack URL
 About LinkBacks


The blades arrived today which let me finish off a few things.
I adjusted the blade tension and tracking of the blade. It runs very true with no sign of blade drift. When I was happy with that I fitted and aligned the guides.

Click thumbnails for full size.
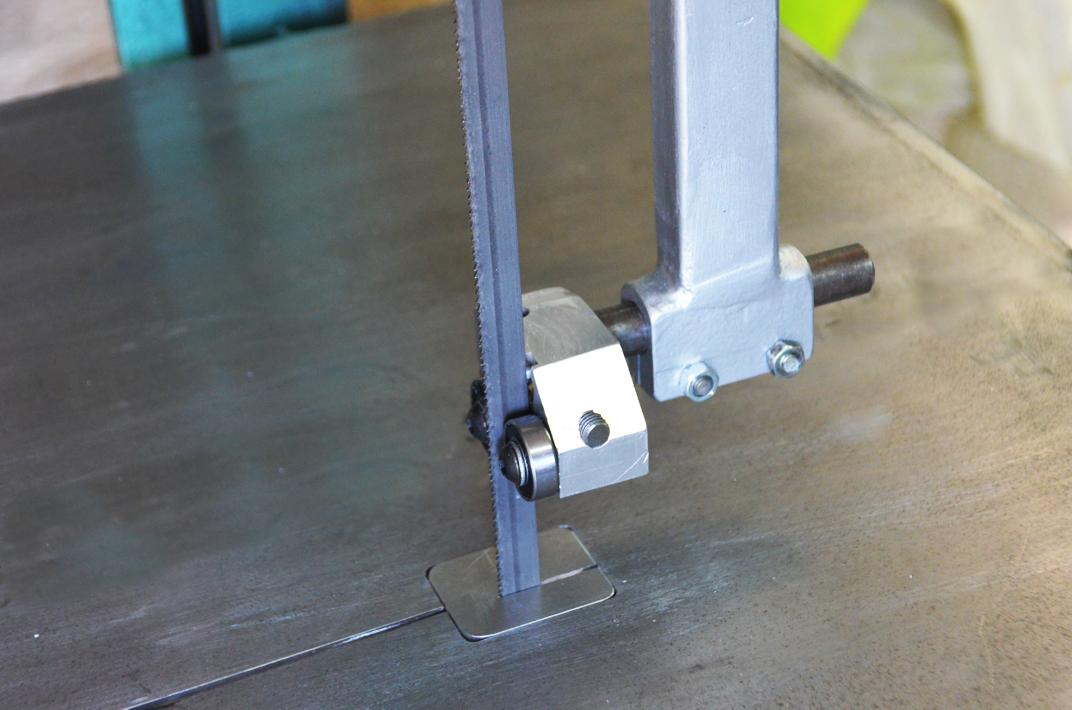
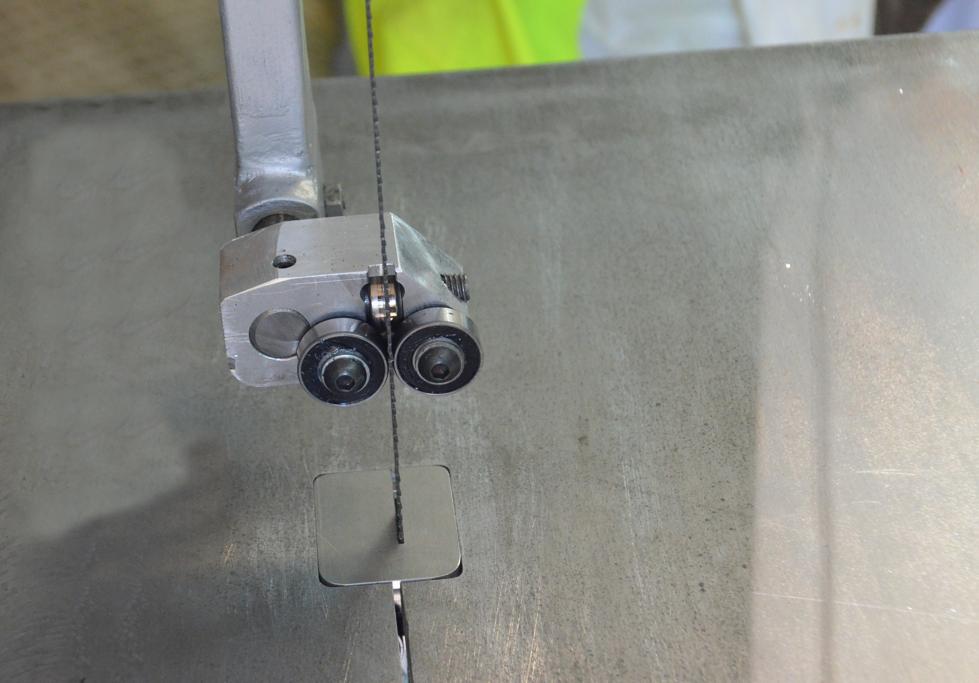
Top guides fitted and aligned.
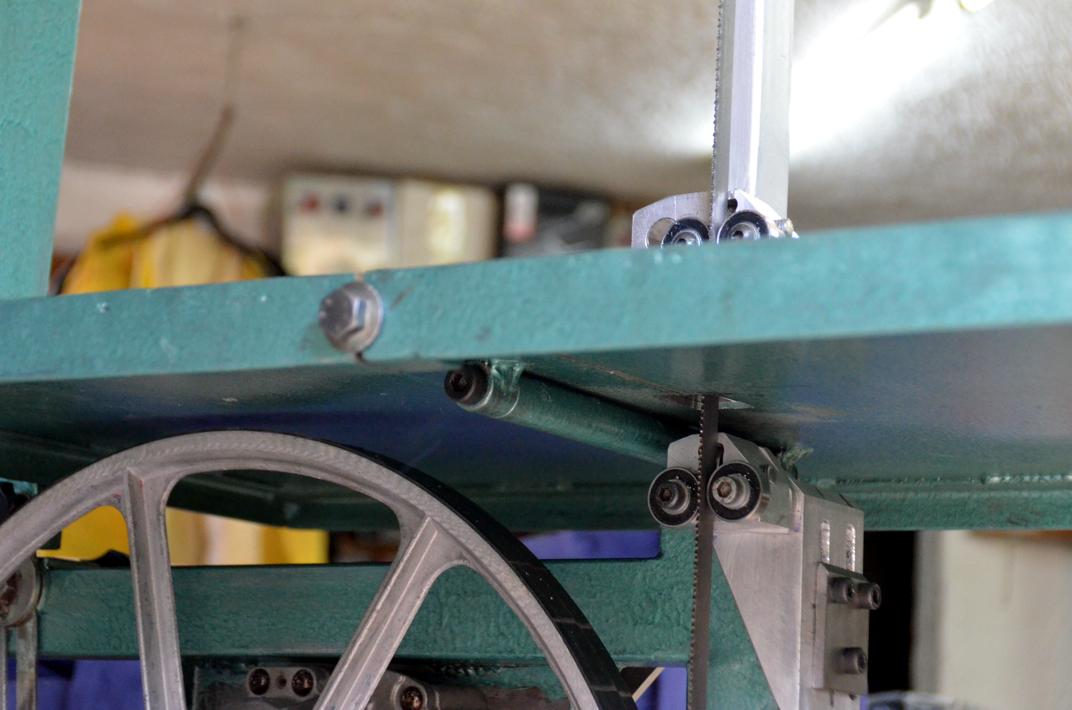
Under table view showing table pivot and lower guides.
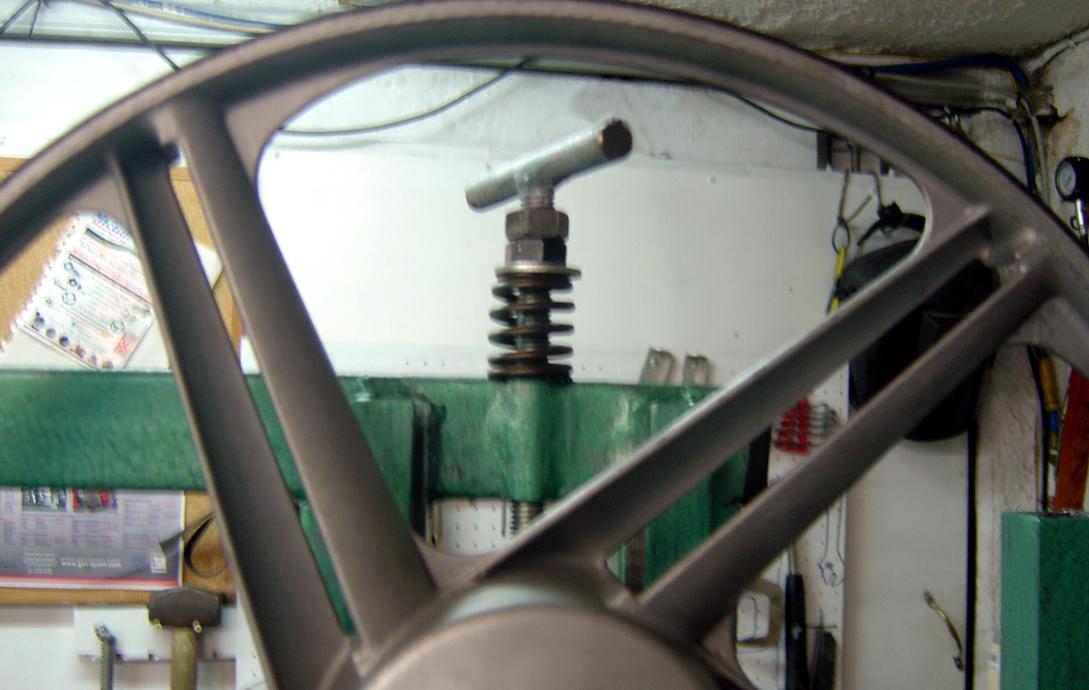
The blade tension is applied through a spring (nothing unusual in that). This is done for two reasons, firstly it allows some compliance to reduce machine loading in the event that a cutting remnant gets caught between the blade and wheel, secondly it allows an easy way to determine the blade tension by measuring its length.
Showing the compression spring used for tensioning and cushioning.
The springs on many bandsaws sag over time and the tension reading becomes in accurate, in many cases it even starts off inaccurate off the showroom floor.
I am using a high quality racing valve spring and is unlikely to sag significantly in bandsaw duty. I used my valve spring measuring device to calibrate the spring accurately, so now I only have to measure the length of the spring installed on the saw to determine the blade tension. In fact I'll make a simple length gauge with 3 or 4 different tension values on it.
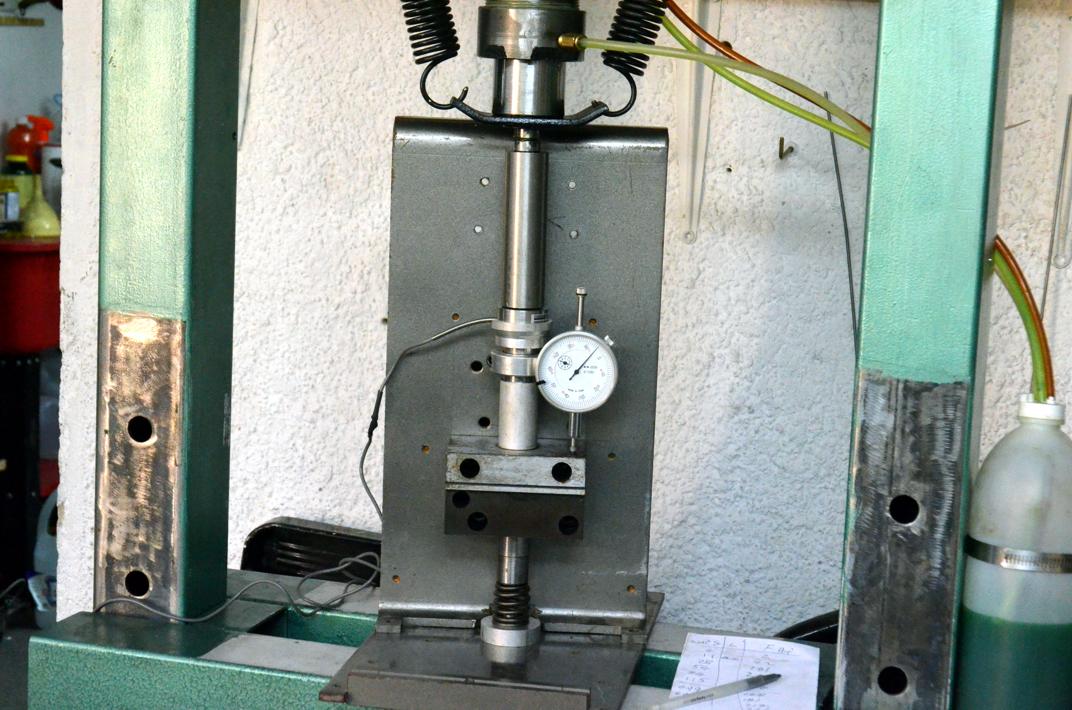
Spring calibration. To the left and near the top of the dial gauge is a load cell which is connected to a force readout (not in pic), the dial gauge shows the spring compression. The assembly is mounted in my press to apply increasing load in stages.
Now that it is up and running I am pleased to report that test cuts of various samples indicate that the saw works as per my expectations. BTW I have fitted a bimetal M42 10/14 tpi staggered blade at the moment which is a good general purpose blade. It will cut steel, aluminium and also works on wood if required but that is not a prime need.

 Reply With Quote

Bookmarks