
 LinkBack URL
 About LinkBacks


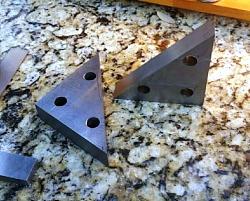
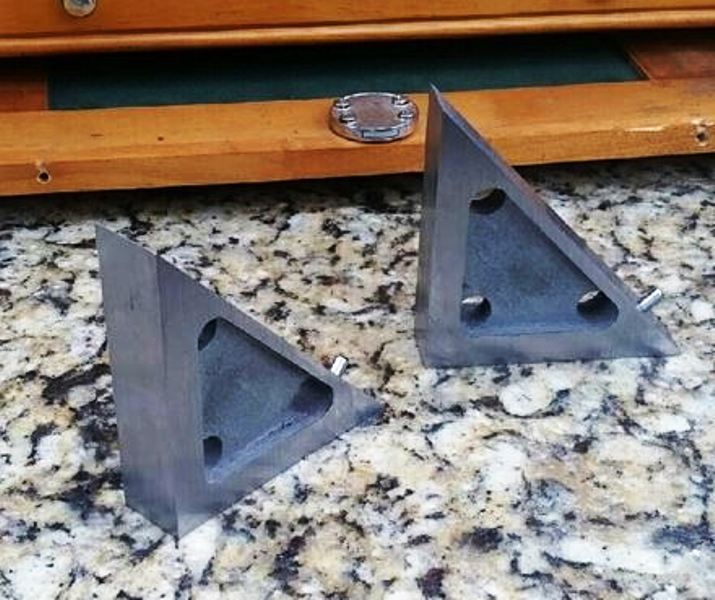
So I made a pair.
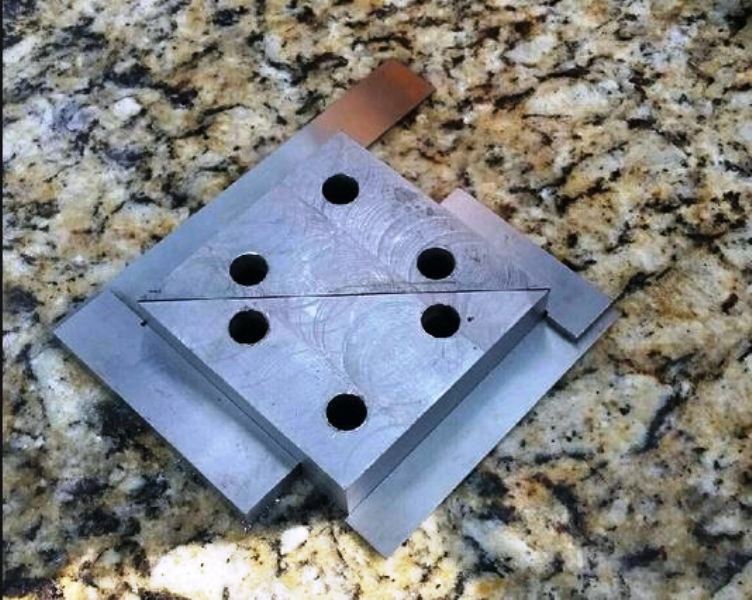
First I cut out a chunk from a 1" plate and then squared it on the mill.
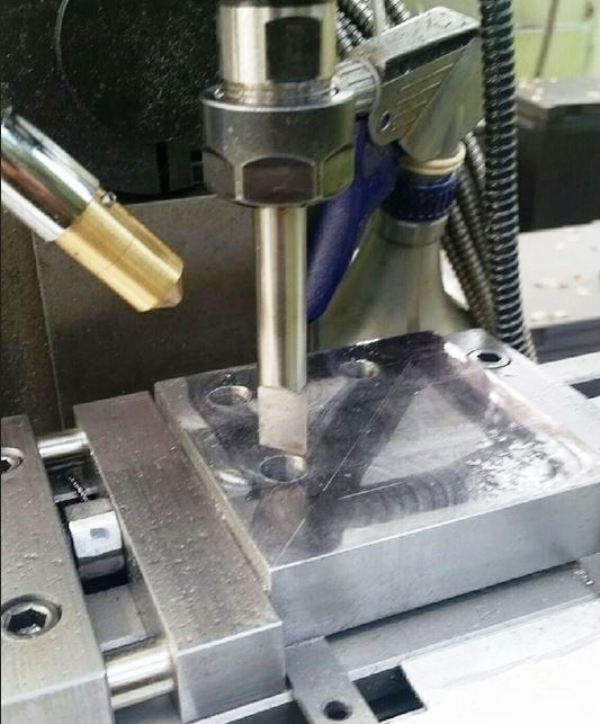
Then using trig (easy on a 45º right triangle) I laid out, drilled and reamed three holes in each triangle. These holes are later used to locate cross pins which set the angle for milling each face, so your very best effort is required making them where they should be and sized correctly. Here I'm halfway through with hole making and the stock is still square for now because it's much easier to clamp while it's still square. I'm using my homemade low profile vise for the first time on a real project.
(Don't have a DRO or a coolant mister? Why not? You need them.)
I checked my spindle squareness repeatedly during this phase because it's one of several factors crucial for success.
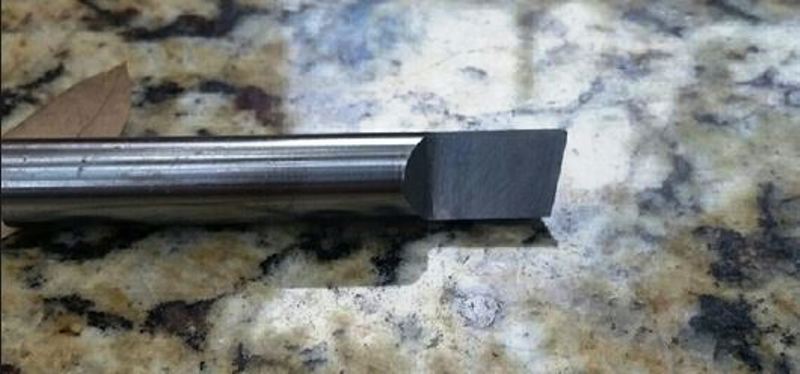
Don't have a reamer for the shaft you have? Make a D reamer from the same shaft to produce round holes that are exactly right for that shaft. They're easy and relatively quick to make. How to videos on Youtube.
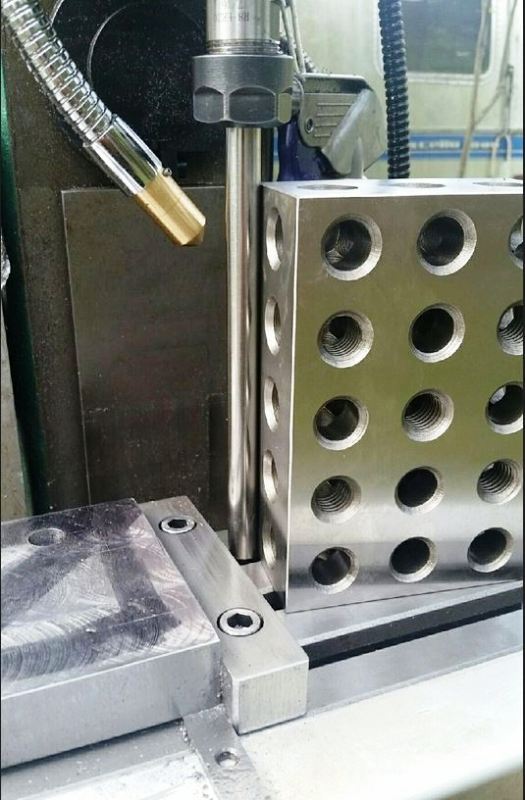
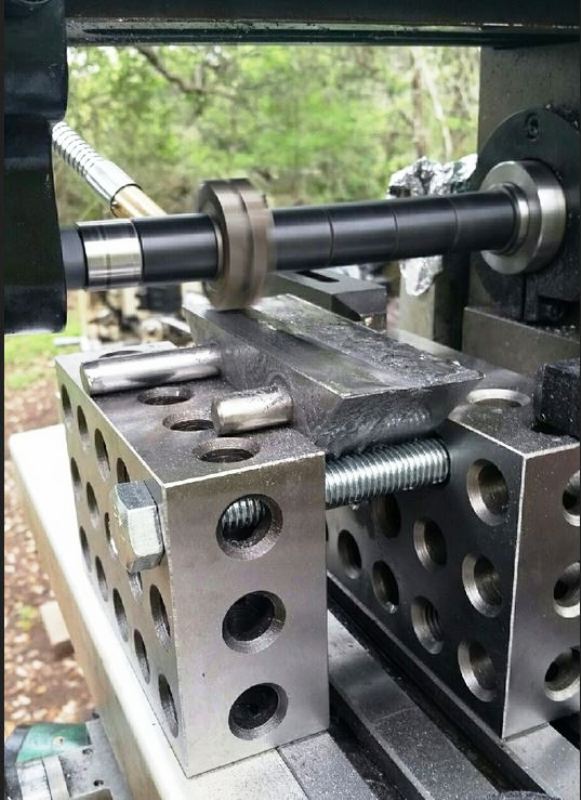
Next I cut apart the two triangles and then mounted them ganged together with the cross pins onto my mill for simultaneously planing the external surfaces. I used two pins in appropriate holes to position each face but if I do it again I'll put pins in all three holes which are just as long as the stack is wide and then drift out somewhat two pins to align each face so that the stack stays pinned together until all faces are planed. I used a couple of 2-4-6 blocks and bolts as a vise to clamp and support the stack for milling. Then I made a lot of chips milling until I got as nice of a surface as possible on my little mill. I roughed out using two cutters ganged together on the spindle and finished each face with only one cutter because the two cutters varied in diameter by a few tenths and this single cutter technique produced nice flat surfaces.
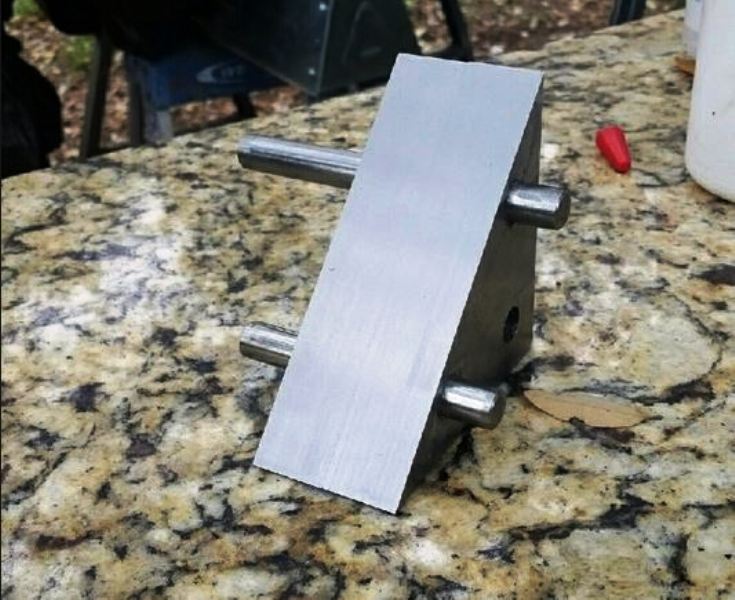
All faces planed.
And finally took apart the triangles.
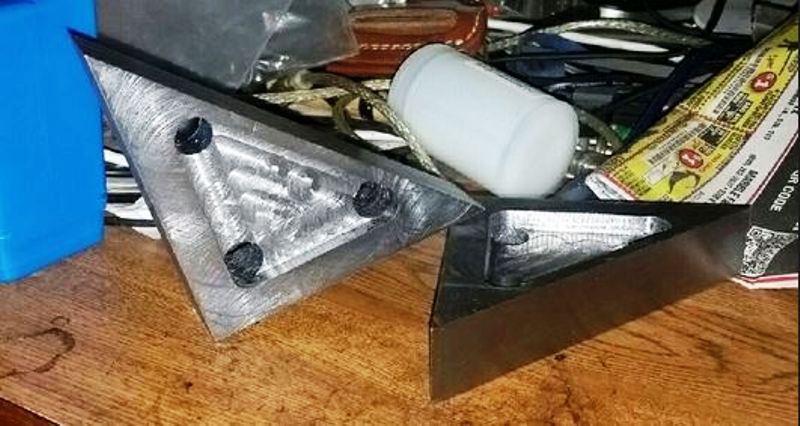
Next I hollowed out the interiors some to provide ledges for clamping but the holes also can be used for cross pins again to clamp the blocks down.
Deburred, sanded, faces honed on a diamond stone and the interiors painted. Holes drilled and reamed in each 45º face for removable dowel pins used as work piece stops.
Bob's yer uncle (and we suspect he's been secretly doin' yer sister).
Close enough for gubmint work and closer than I can measure.
Thanks to Joe Pieczynski for this very useful technique.


 Reply With Quote

Bookmarks