Free 186 More Best Homemade Tools eBook:  
Get 2,000+ tool plans, full site access, and more.

User Tag List

Results 1 to 4 of 4

Thread: Just a single centering tool for vertical drill boring.

  1. #1
    Supporting Member Okapi's Avatar
    Join Date
    Mar 2013
    Location
    Switzerland
    Posts
    222
    Thanks
    346
    Thanked 132 Times in 76 Posts

    Okapi's Tools

    Just a single centering tool for vertical drill boring.

    I think it's not really a new technique, but if you've not equipped to center and fix large pieces of metal for precise hole centering, the tool itself is just a 8mm. hard steel rod, on more than half of the length, it's reduced at about 6mm. then 4mm. with a +/- 60° well finished end, not made with the file but precisely with a tool.

    The technique is based on the capacity of your eye to appreciate a 1/10mm. difference on small distances, and the capacity of our eye to appreciate the centering in the same value when you can't let the table at the same height with the difference between drill lengths after first centering.

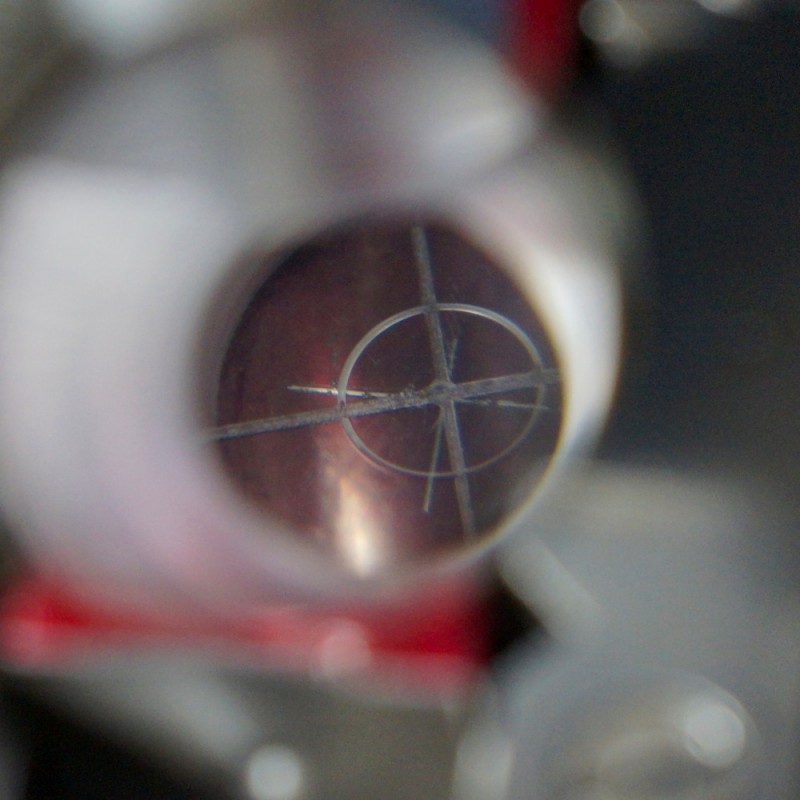
    Here, my problem is very simple, as I need to make precise holes in M8 on a 250X180mm. flat steel plate (for mounting a motor), which I can't fix on my drill without clamps, then there is no real reference lines usable, first I make "centering holes" with a 3mm carbide drill, using my diy optical accessory(don't forget to put protections for the drill table).

    Just a single centering tool for vertical drill boring.-_dsc0427.jpg

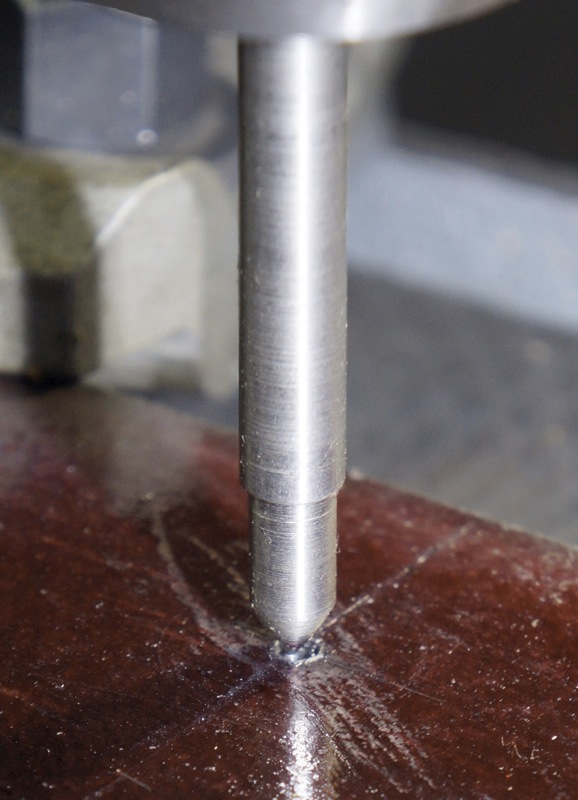
    Now when the centering holes are made, using my little rod, just going slowly on the centering hole, and as you can see on the next picture, since at 2-3mm. over the plate you can since appreciate the out-of-center value.


    When approaching the plate, you can clearly see the out-of-center, too much…


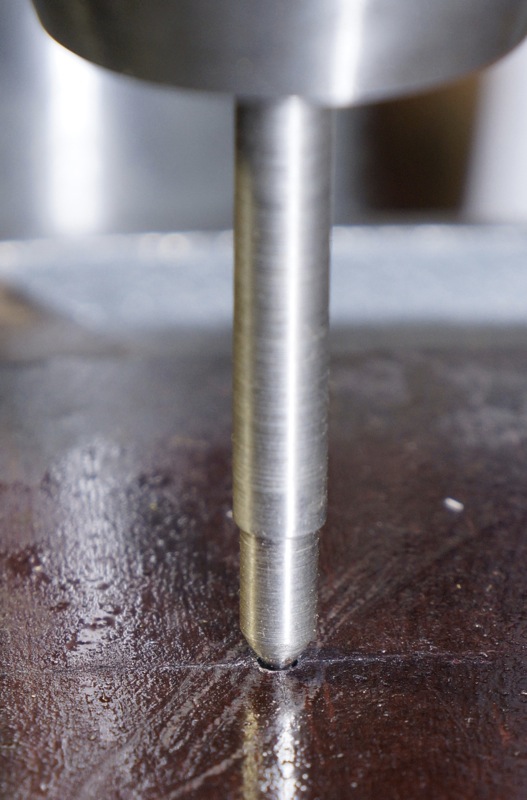
    Touching the surface, the error value you can estimate here is about 2/10mm., the diameter of the hole giving the scale.


    Now after the final adjustment using a small plastic hammer, you can definitely fix your plate with your three or four clamps,this is very important first for your security, and after for the precision, then the best way for me is to make the final operation, threading before going to another hole using progressive in diameter drills, when I make a crossed measure for holes on a 100X140mm. rectangle is less than 3/10mm with that technique.

    I hope my english is enough understandable, this is a help technique if you can't use your vise or another normal fixture system and made more for newbies than for pro users.

    186 More Best Homemade Tools eBook

  2. The Following 3 Users Say Thank You to Okapi For This Useful Post:

    DIYer (Nov 17, 2013), Paul Jones (Aug 15, 2014), Workshopshed (Jul 1, 2013)

  3. #2

    Join Date
    Aug 2013
    Posts
    16
    Thanks
    0
    Thanked 3 Times in 2 Posts
    Thank you for the idea! I had no trouble at all with your English. I do have a question, if you don't mind? While the centering tool makes perfect sense to me (and your pictures helped), what I need is a guide to ensure that first hole you drilled is precisely on the mark. If I understand the purpose of your tool its to align the machine so that the drill is perfectly centered over the first "hole". But how do you ensure the first hole is perfectly at the intersection of the two crosshairs...or whatever mark that has been established. Slight errors in that original positioning add up and are my issue. After all these years, I've never heard or seen a good explanation. Perhaps you can give it a try. Thanks!!

    2000 Tool Plans

  4. #3
    Supporting Member Okapi's Avatar
    Join Date
    Mar 2013
    Location
    Switzerland
    Posts
    222
    Thanks
    346
    Thanked 132 Times in 76 Posts

    Okapi's Tools
    For the first hole, I'm using an optical centering system, well known construction and that you can make for less than 10$,


    or a good quality magnifying glass mounted on a flexible and a magnetic foot for a better look at the centering of the first hole.
    Never use a punch, it can give you 2-3tenths of a millimeter false centering, the drill doesn't go in the right place but turn in the punch mark.
    For a maximal precision, use those HSS-NC Anbohrer 90° - Brütsch/Rüegger Tools drills, they make less vibrations than the current models, and you have a better view whith the magnifier.
    I hope you understand my explanations. ;-)

  5. The Following 2 Users Say Thank You to Okapi For This Useful Post:

    DIYer (Jan 5, 2014), Paul Jones (Aug 15, 2014)

  6. #4

    Join Date
    Aug 2013
    Posts
    16
    Thanks
    0
    Thanked 3 Times in 2 Posts
    Great explanation and thanks for the pictures. Very helpful!


    186 More Best Homemade Tools eBook

Thread Information

Users Browsing this Thread

There are currently 1 users browsing this thread. (0 members and 1 guests)

Bookmarks

Posting Permissions

  • You may not post new threads
  • You may not post replies
  • You may not post attachments
  • You may not edit your posts
  •