
 LinkBack URL
 About LinkBacks


I am a young guy but I have severe arthritis and carpel tunnel in my hands,wrists,elbows,shoulders, & back. I love making knives but it kills my hands anymore so sanding the bevel of the blade has become more like work then fun. I have seen a few variations of a bevel jig and combined a few designs and this is what I came up with.......
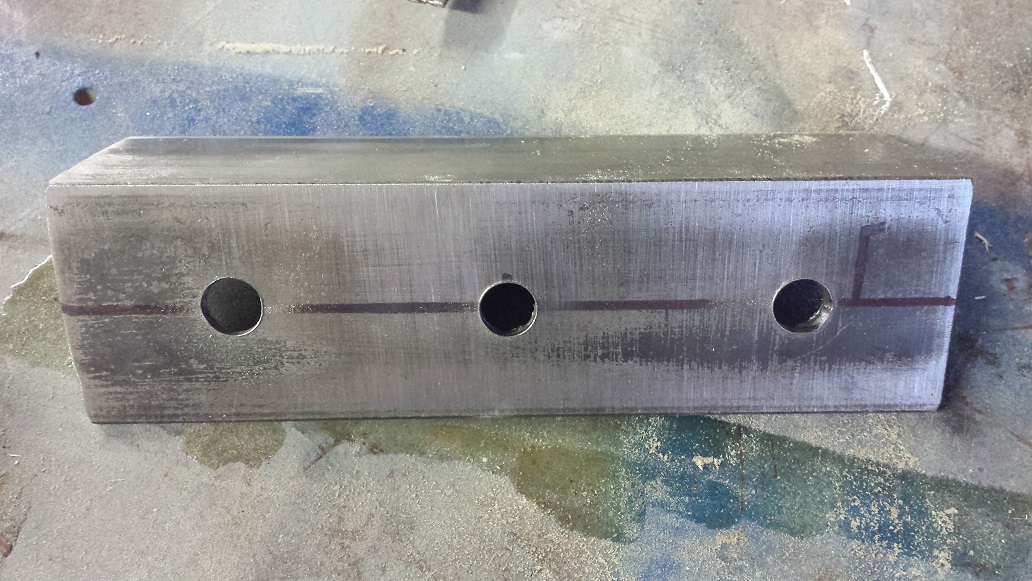
First I got a 7" piece of 2" angle Iron and on the back of one side I measured down 1" and made my mark evenly across the back. Then I eye balled & marked out to drill 3- 3/8" holes along that line ( My holes landed at 1-1/4, 3-1/2" and 5-5/8") as long as they are even it will be fine. On the opposite side of the angle I drilled a 3/8" hole in the center of the 7" span and 1" from the edge. Then used a angle grinder to cut up to the hole leaving me with a 1" deep X 3/8" wide slot.
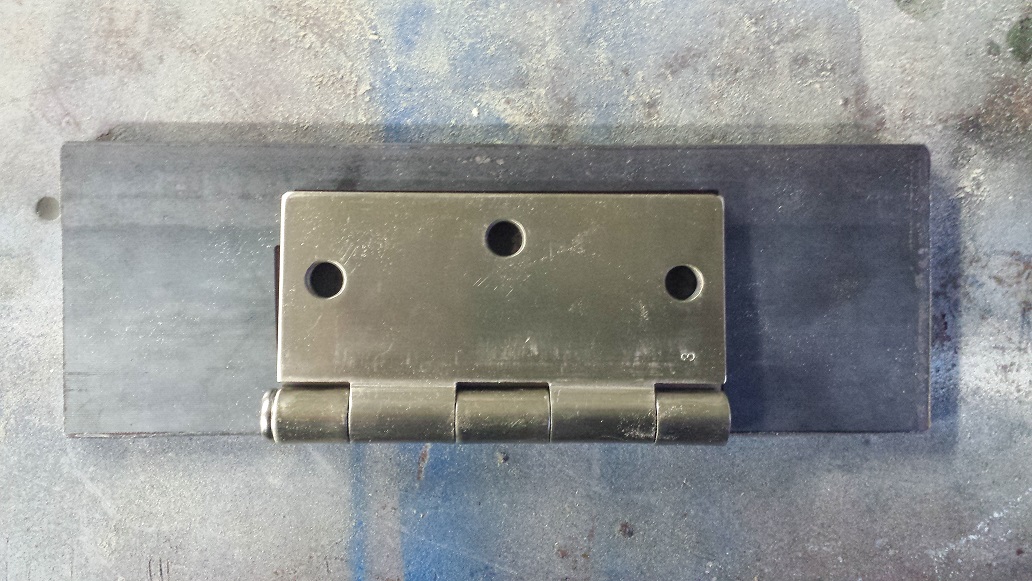
Next I took a piece of 3" flat stock and cut it to 7" long. I then centered a door hinge on the plate with a 1-1/2" reveal on each side. I positioned it so the hinge was not over hanging the side of the flat stock and wouldn't interfere when grinding. I then welded the hinge to the flat stock.
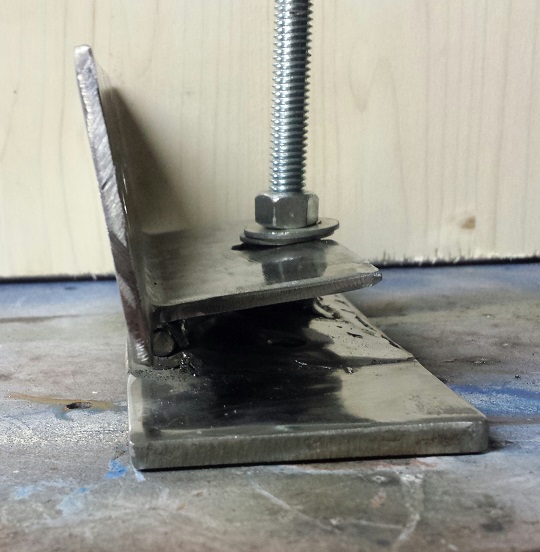
Next Weld angle iron to the other side of the hinge and also welded a bolt on the flat so that my notch would straddle the bolt. This bolt is used to adjust the bevel you want to grind into your blade. I stack washers and secure it all down with a nut. I also installed 3-1" bolts along the back side of the angle with the bolt head facing out. This is what is used as the rest for the blade so make sure you position the hex head with a flat side facing up.
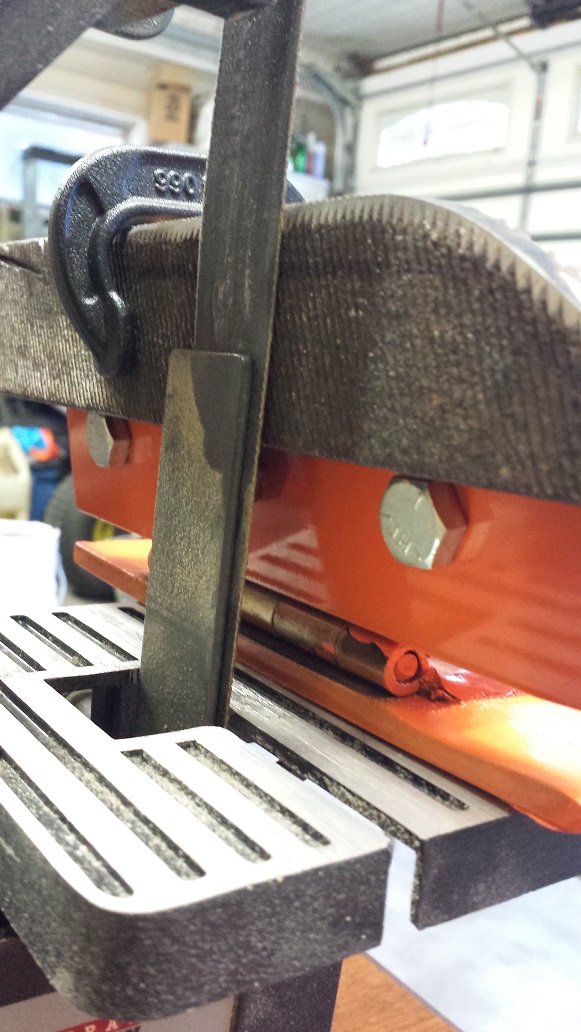
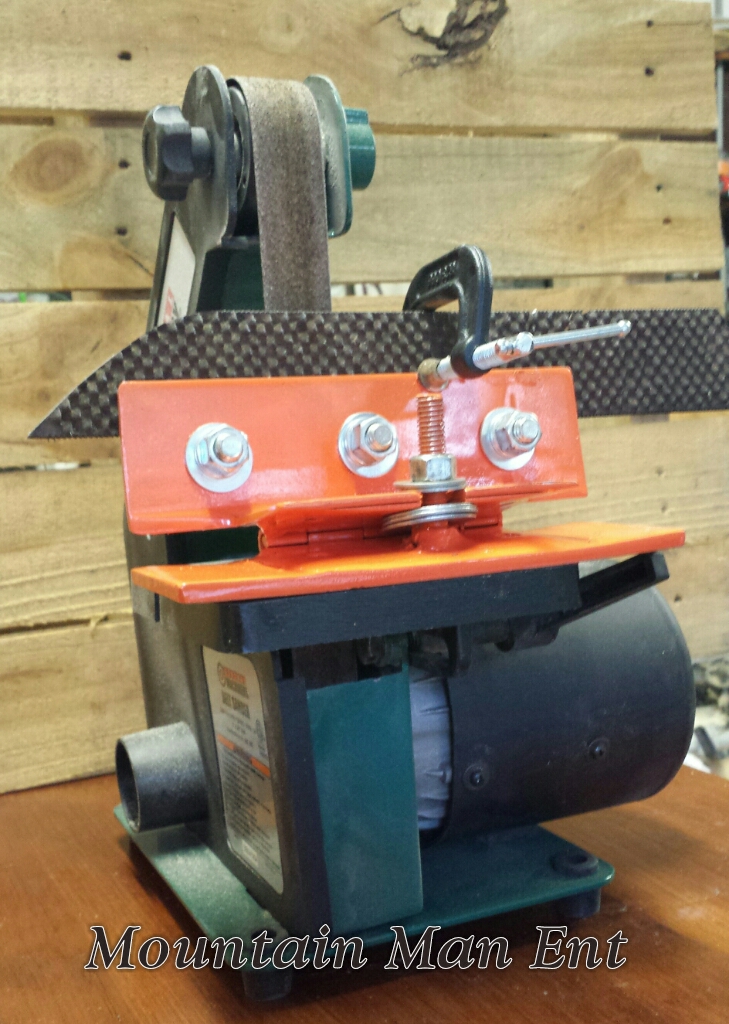
Finally I added a coat spray paint. And this is the finished jig......
Back side-
Front side view with a rasp knife I started working on.....
I hope this inspires some younger guys to save there hands or some older guys to keep on knife making


 Reply With Quote

Bookmarks