8 Attachment(s)
Lead inserts for hammer, replacing cowhide insert
Attachment 36170
Dissatisfied with the damage to the rawhide insert, I pulled it out.
Attachment 36171
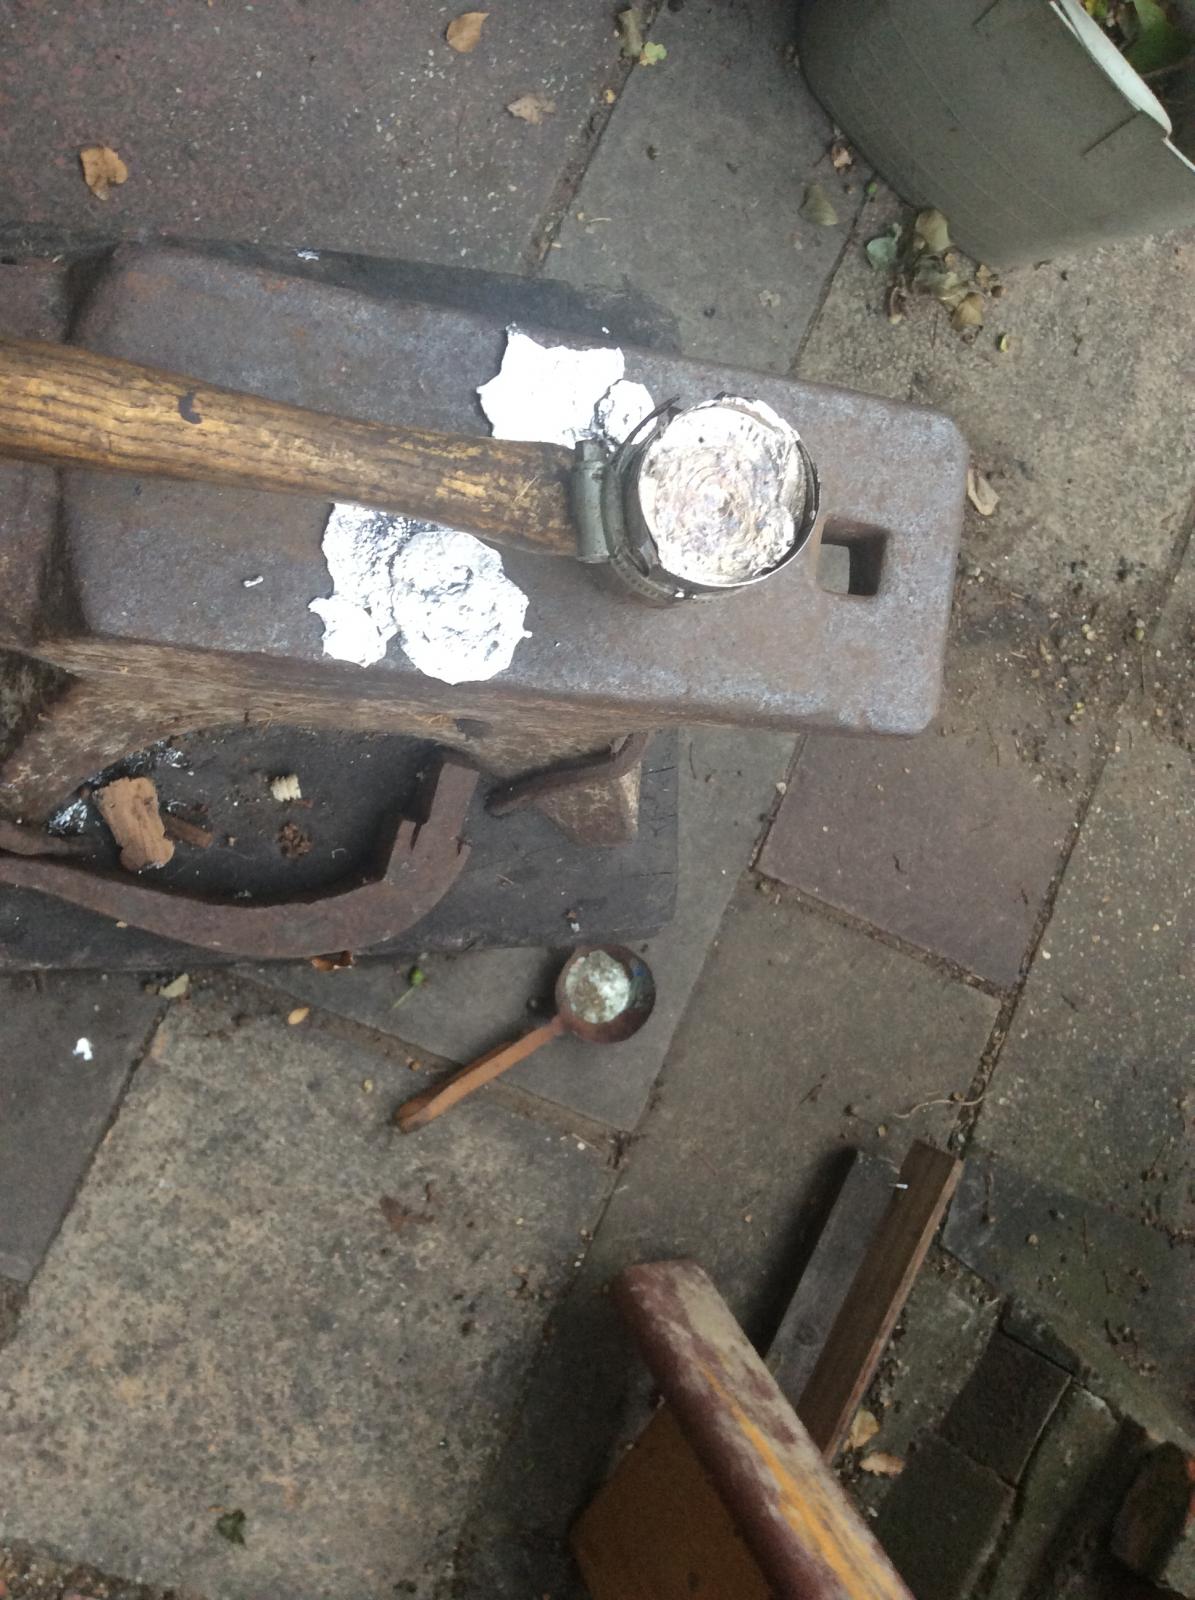
I wrapped a length of steel shim around the hammerhead, securing it with a hoselock
Attachment 36172
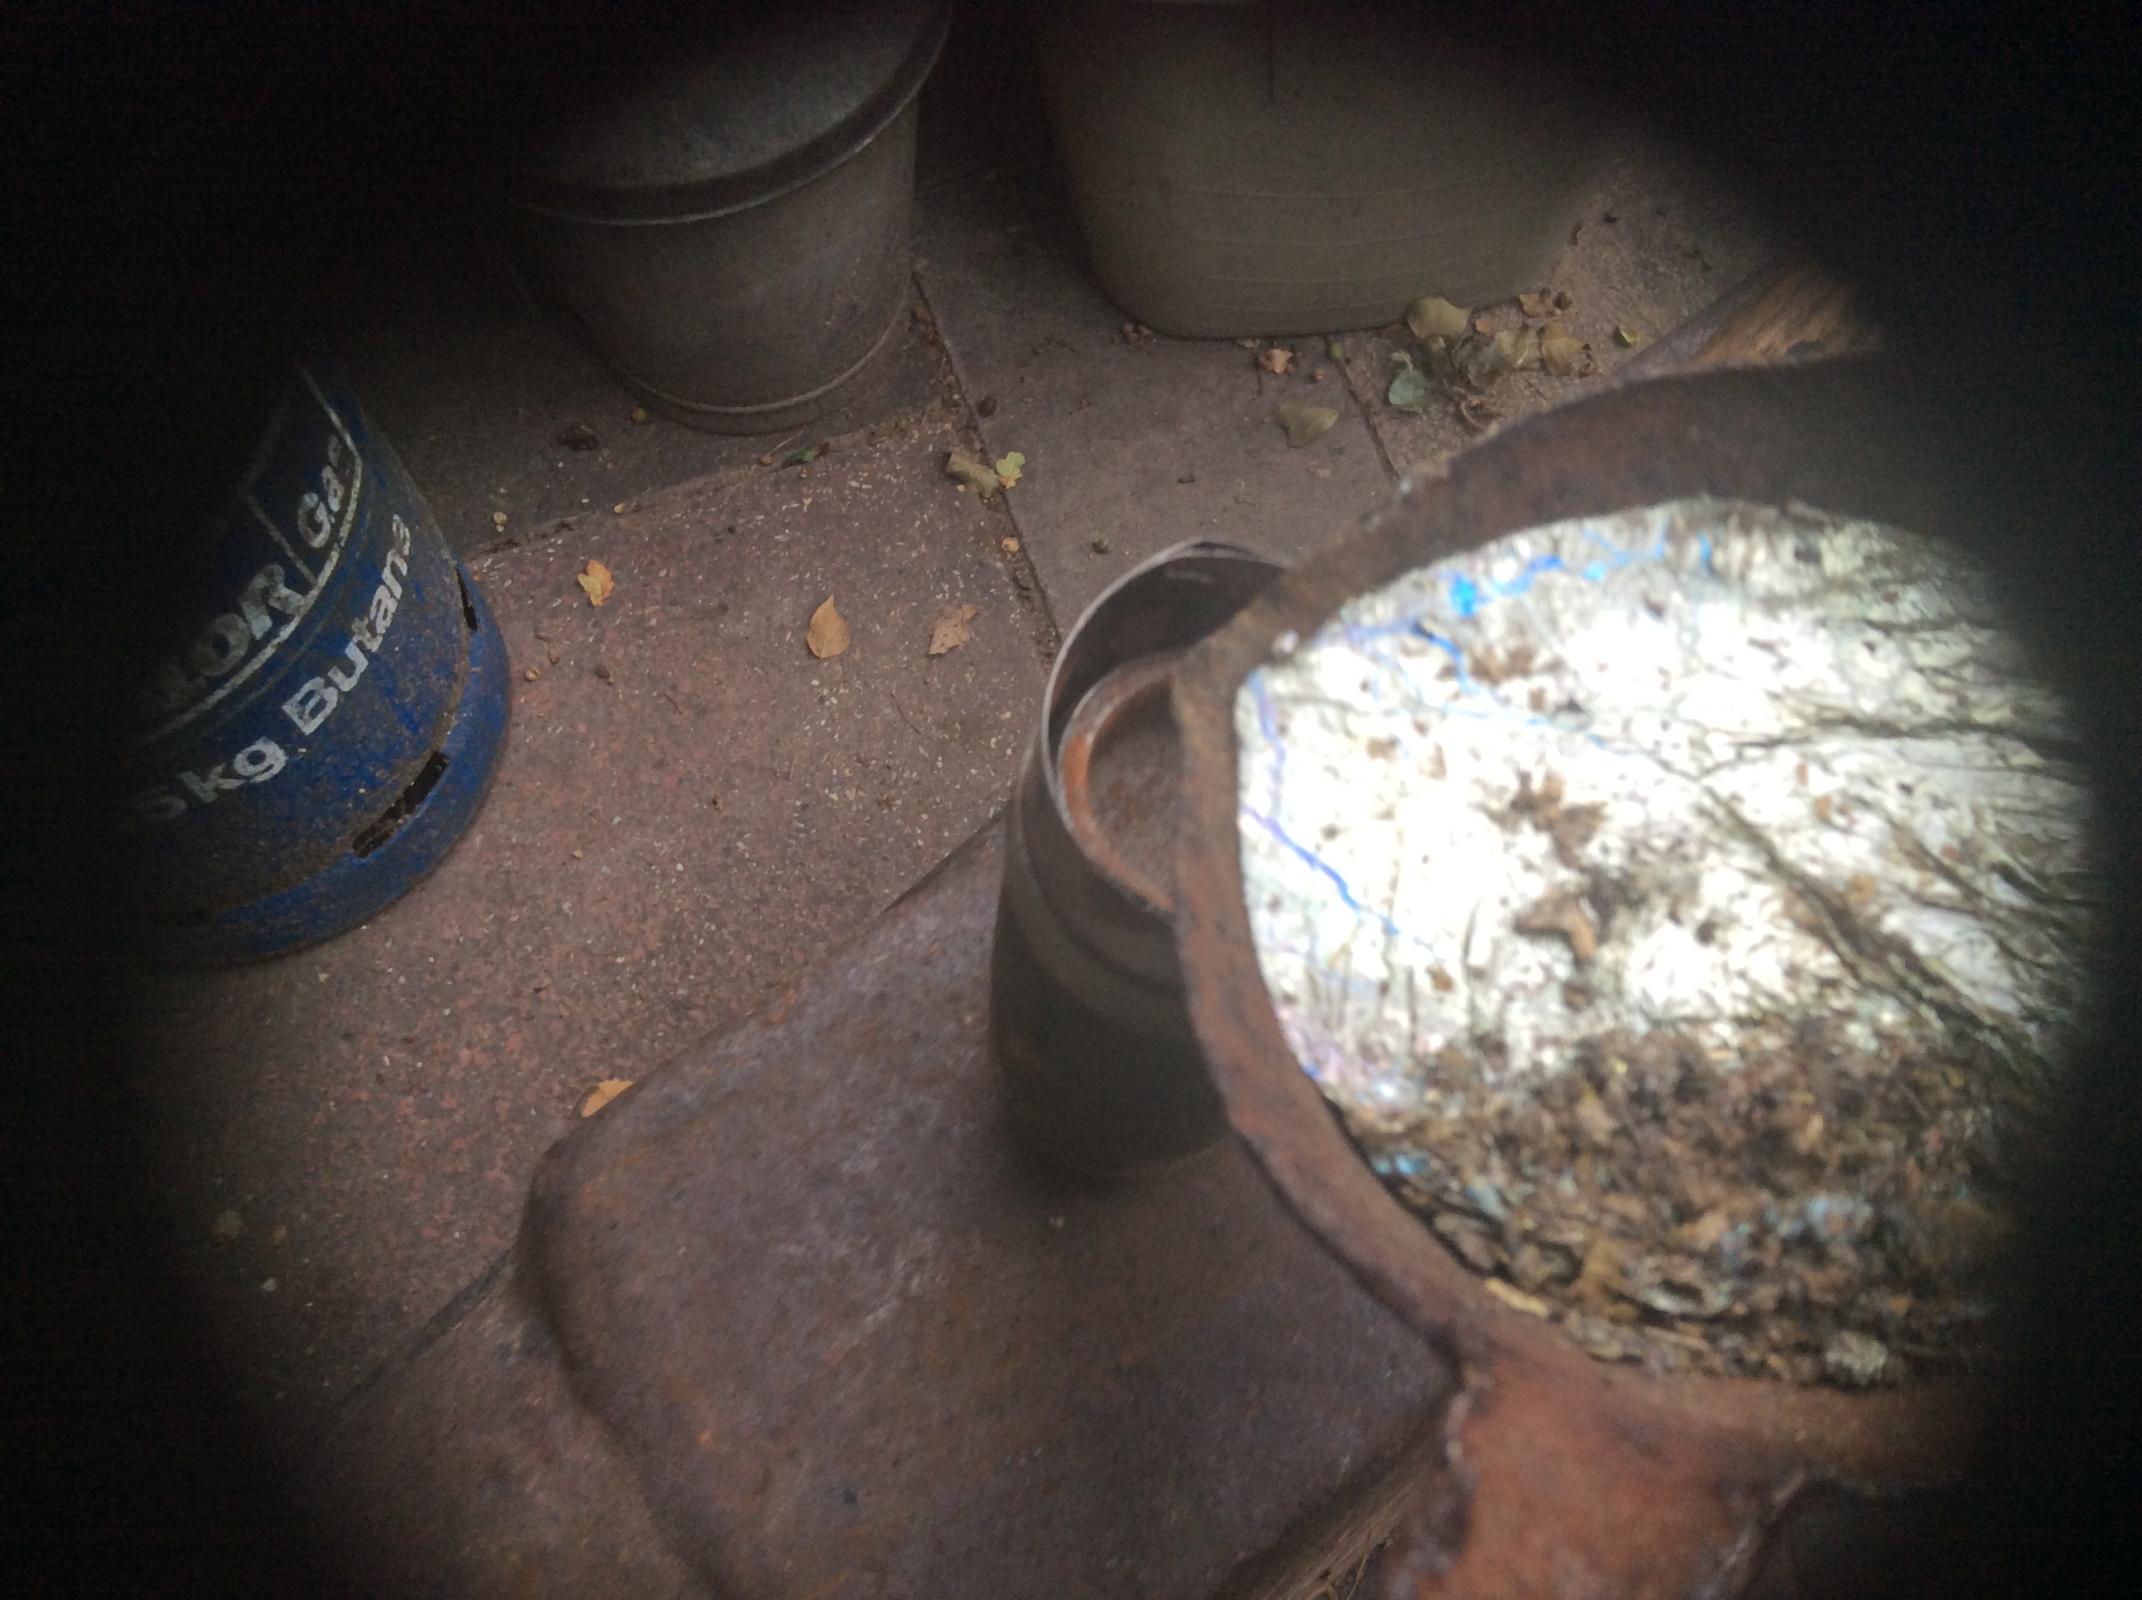
I melted some lead scraps in a ladle.
Attachment 36173
The molten lead was carefully poured into the cup formed by the shim, and levelled before it set. Observing safety precautions, I did this outside.
Attachment 36177
This shows why PPE is necessary.
Attachment 36174
I now have 3 such hammers, of different weights.
It is an advantage to have a lead hammer to make delicate adjustments to forged products. Although it soon mushrooms, it is easily shaped, much more so than the copper insert. It does not leave marks and is more forceful than a wooden mallet.
Attachment 36175
Yesterday I forged a large woodcarving gouge. You can see here how I have prepared my anvil with an oak swage, which is very easy to profile.
Attachment 36176
This was literally a 5 minute forge, from lighting the fire, just 25 blows with the lead hammer, to it resting on my benchtop swage block.
( It had another heat, but I did not use the steel swage, so as not to gall the sides.) I then formed the tang and set it to anneal.