
 LinkBack URL
 About LinkBacks


This machinist jack was a quick gift for my brother. Not as pretty or versatile as others, like Pauls beautiful set but more about seeing if and how well I could turn 4140 on the peanut (mini). I've had a piece of 1" I got for another project which was kind of burning a hole in my pocket to give it a try, so off I went. I was also inspired by Brians ring gauge and the discussion of chatter and turning tools.
Years ago I had a Starrett "Little Giant" jack set and liked the versatility of it so I wanted to model the bases for it similarly for my brother. I haven't made the other parts for it but they can come later and the screw is a bit rudimentary, mainly because I didn't have any hex stock the right size to make one.
The first thing I had to do was cut off a piece of the bar so it would fit in the mini and would like to give a shout out for the Diablo Steel Demon blade I picked up a while back for the saws all!! Excellent finish results and felt like cutting aluminum!
Most of this I did on the fly and the pictures are mainly of the finished pieces but it's pretty self explanatory. I did mic it all at the end and put it in my sketch book to make a drawing from it and the future attachments.
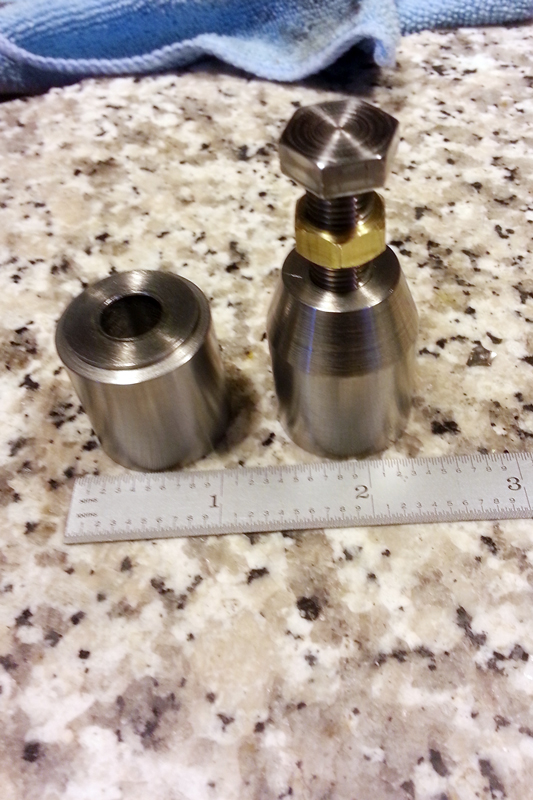
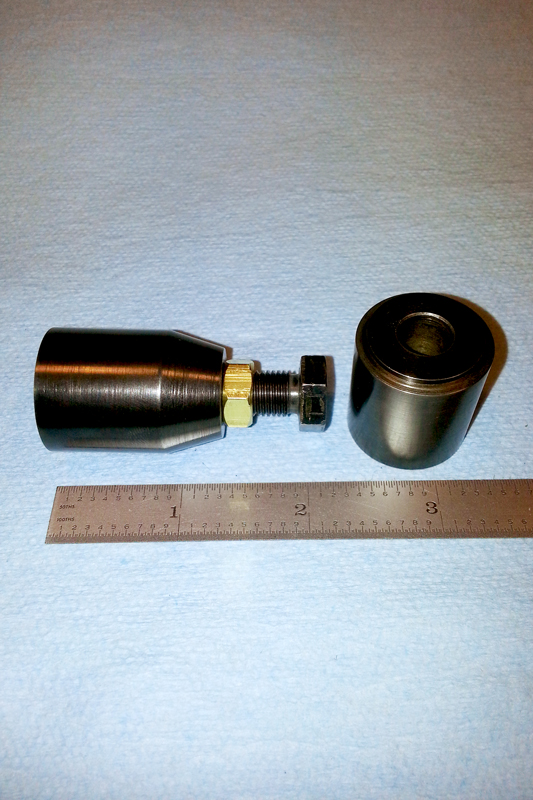
Starting with a piece about 3.5" long, I used my bump roller to get it as true as I could then faced it off both ends and took a couple of clean up passes on the OD with a HSS bit. The top piece is tapered at 36º inclusive...not sure why, just was aesthetically pleasing. I used carbide TCMT inserts for hogging off most of it then switched to HSS for the final couple of passes. As you can see I got a bit of chatter in the middle section but think it was due to slop in the compound. All that was necessary was to use a 240 grit sponge and about 30 seconds with some crocus cloth to get what you see here.
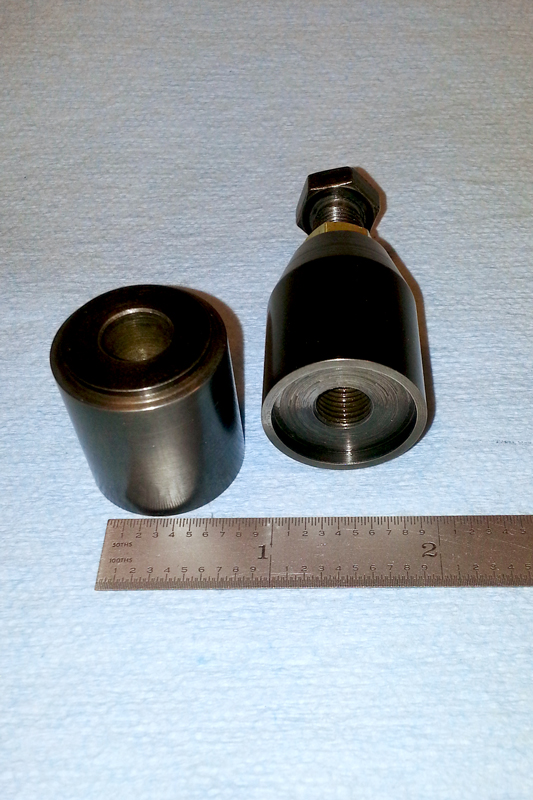
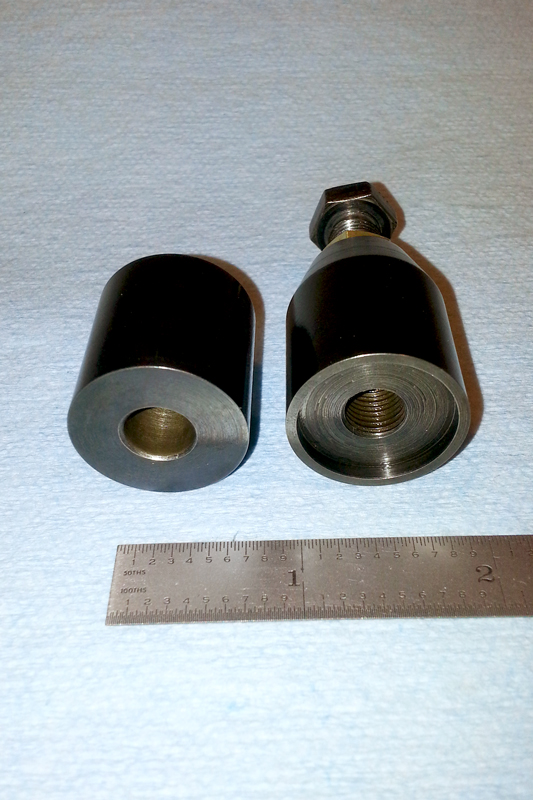
Next was to drill (Q bit) and tap the hole for 3/8-24. Started with a center drill, went to a 1/4" and drilled as deep as I could, then to a 5/16" bit and finally the Q bit. Started the tap in the lathe maybe 6 threads. The mic'd the length of top and base plus enough for the counter bore and shoulder. Held it with a live center in the tail stock and proceeded to part it off by creating a groove where the shoulder would be on the bottom piece (shoulder diameter). Then moved the carrage over about a 1/16" (width of parting tool) and finished parting it off.
Once parted I reversed the top and faced it off to begin the counter bore. The mistake was using a carbide tipped boring tool. I should have taken the time to grind a HSS one because as I was getting into the last pass or two, it Hogged in on me. Ended up having to take it out a little further than I wanted to match the diameter of the bottom shoulder. It ended up with .015 radial clearance instead of .002-3 I wanted. Still works but not my best from being in a hurry. You can also see more chatter internally from the carbide.
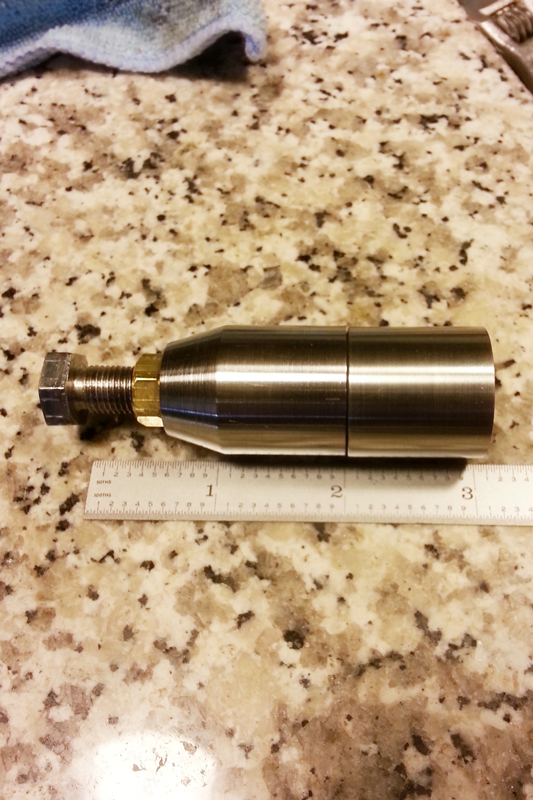
Finished tapping the hole on the bench, then re-bored the bottom piece to a "W" bit for close tolerance through hole on the 3/8 screw. The screw was the only hex I had (3/8-24 x 1.5) so I faced the head and underside with an undercut at the top of the threads so I could be flush with the top with or without the nut. The nut was from 1/2" hex brass and made it .236 thick.
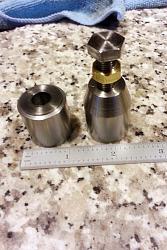
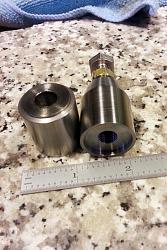
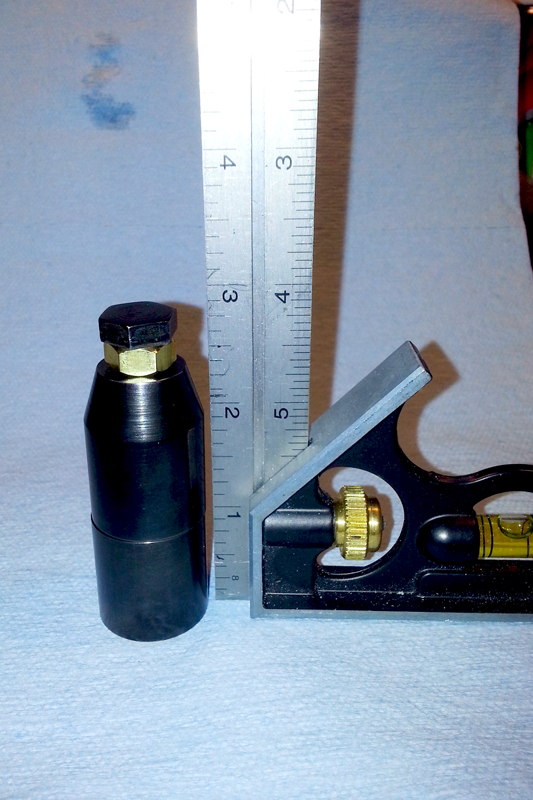
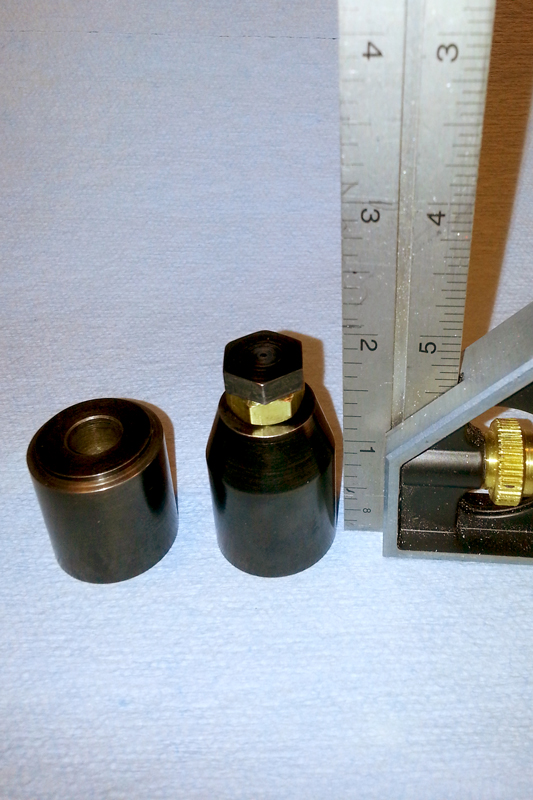
All Done I decided to blue it with some Birchwood Casey blue. A bit blotchy on the bottom piece but shouldn't rust. These are the finished shots.
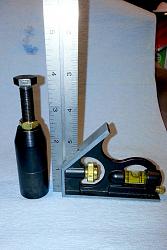
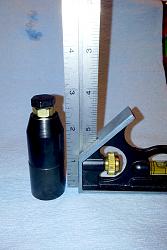
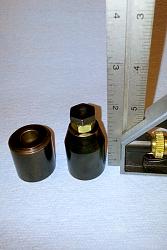

Basically it can range from just over 1.6" up to about 3.8" safely.


 Reply With Quote

Bookmarks