
 LinkBack URL
 About LinkBacks

My son and I are restoring a '64 GMC step-side long bed and doing everything ourselves. At first, we media blasted in a 10x10 tent with sides and a plastic floor, two input fans and one output fan, but it was hot work covered up and with a respirator along with having to periodically stop to collect the alum oxide from the floor and replace into the feed bucket. We use a Campbell Hausfeld AT1226, which remarkably works well when the feed hose is shortened. Honestly, only my compressor limits my work with it.
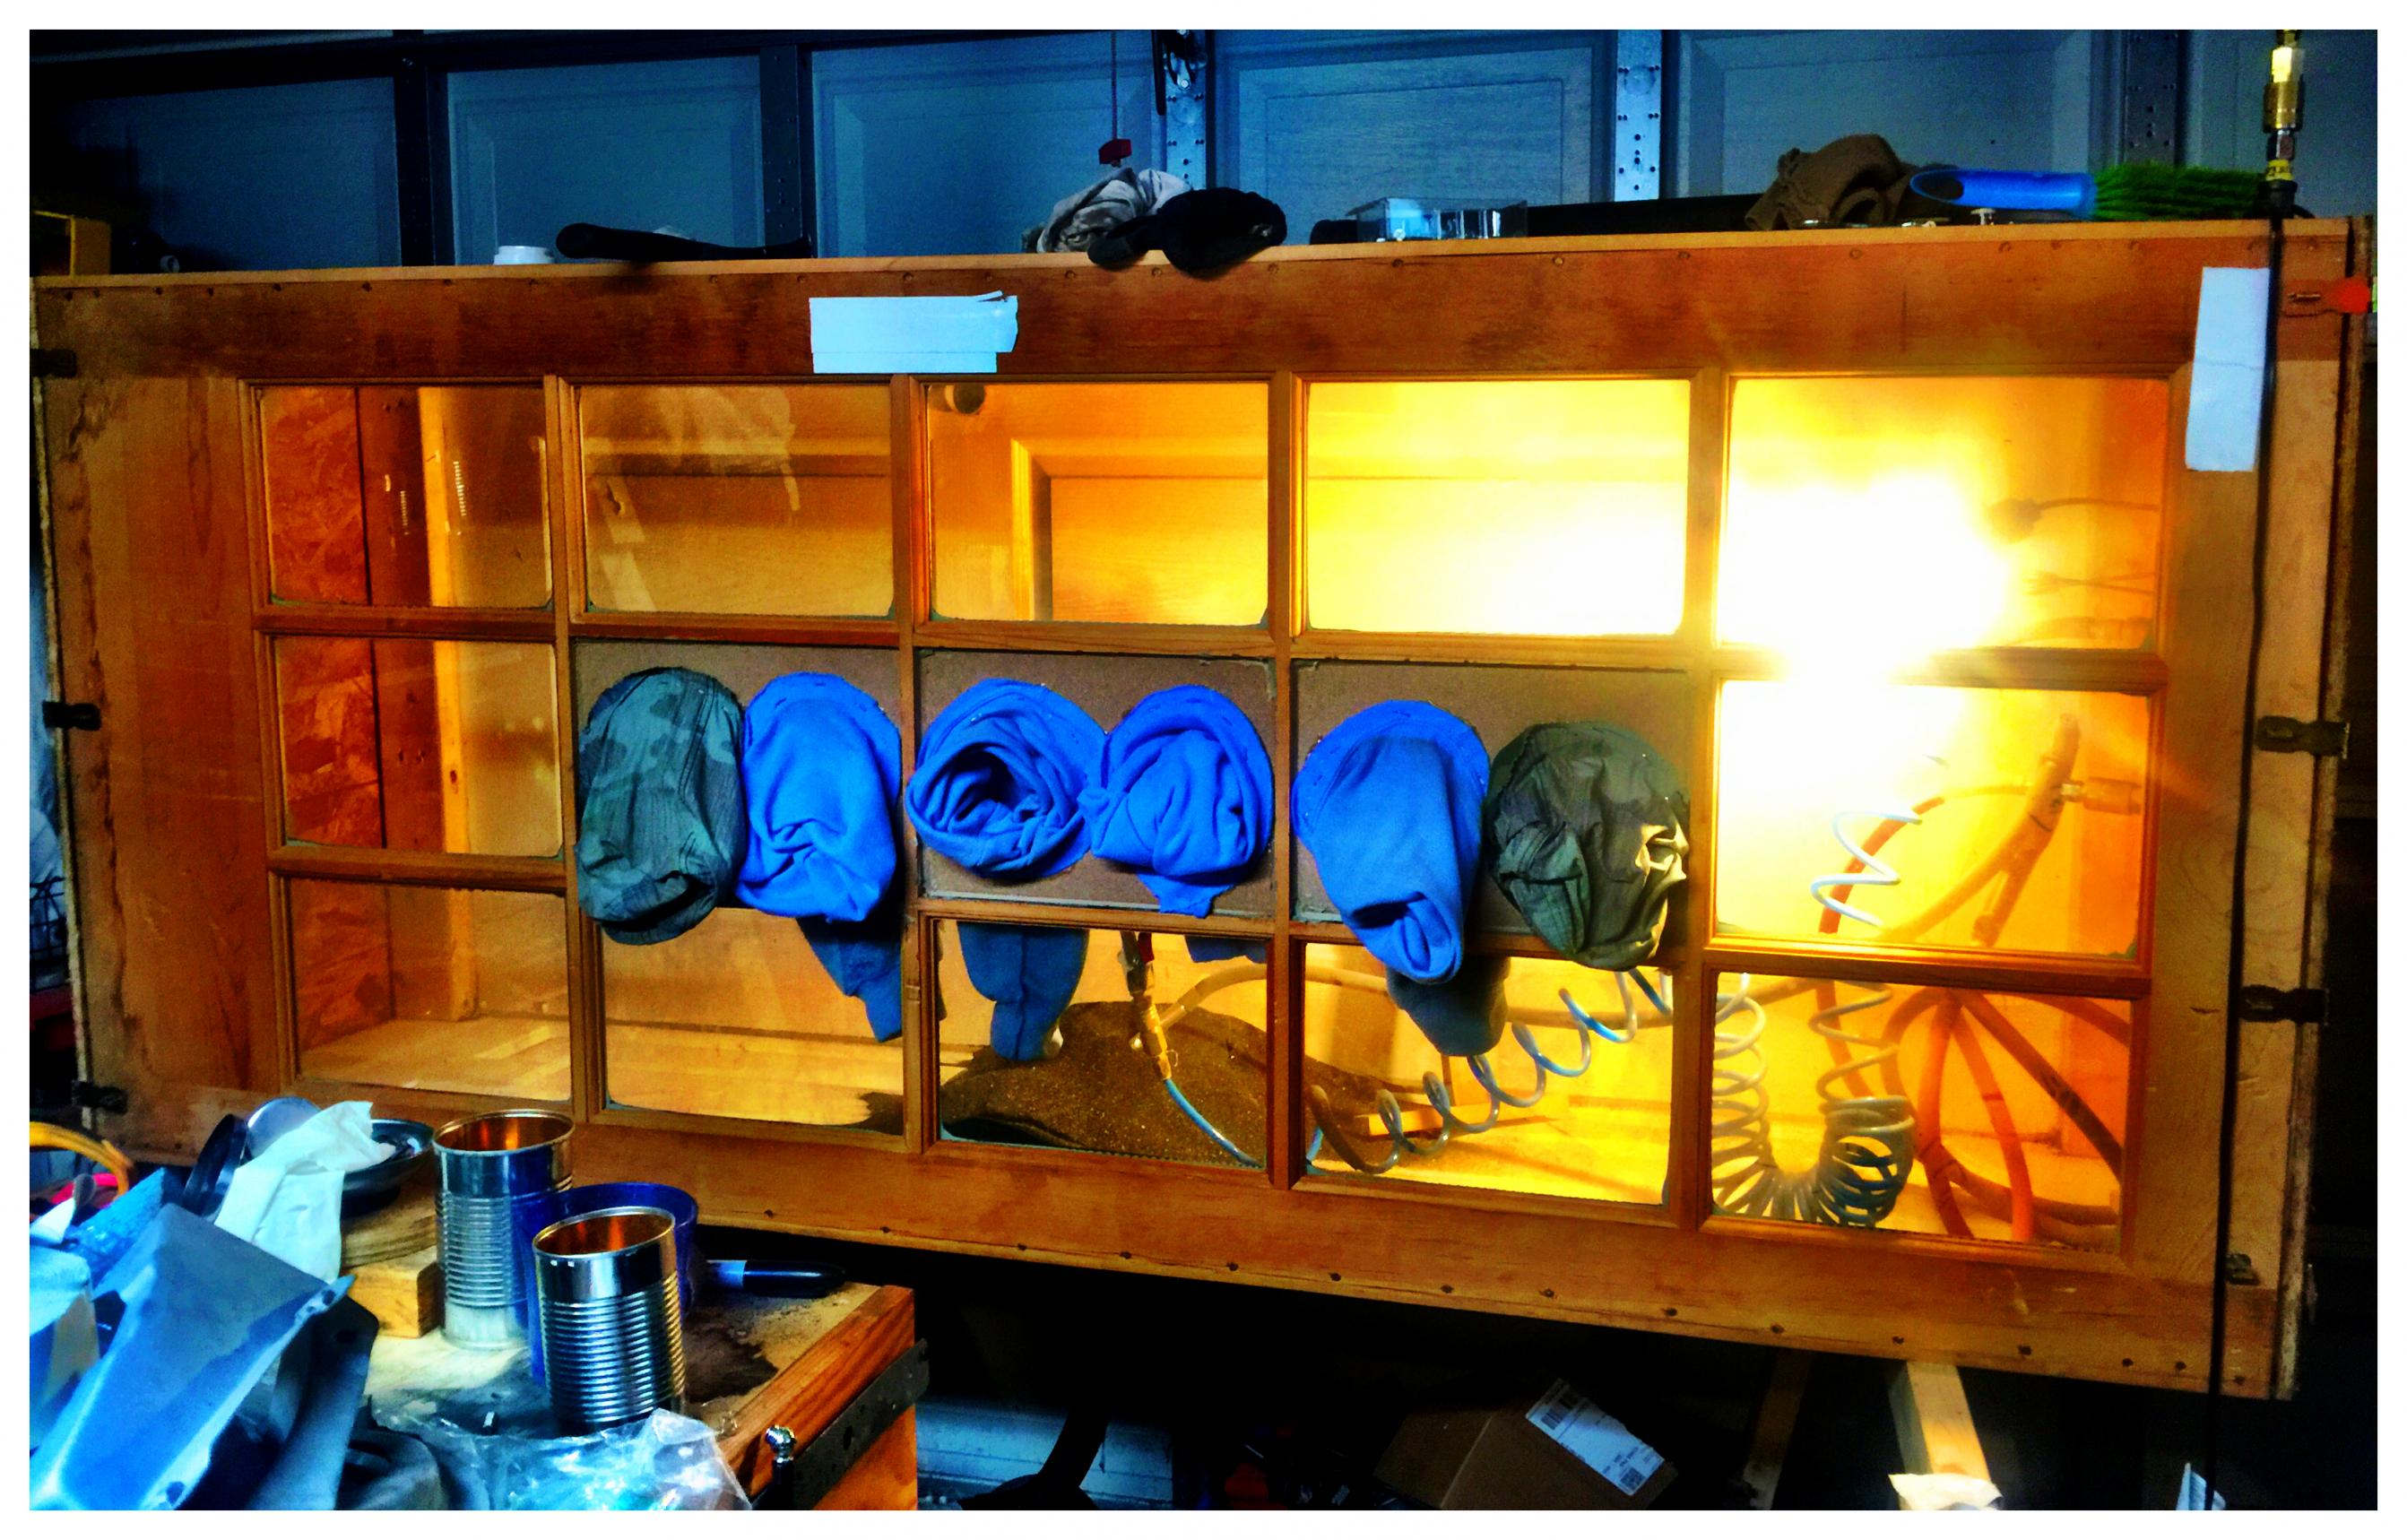
In order to make media blasting many parts on our own at our own pace, I built a blasting box with the following:
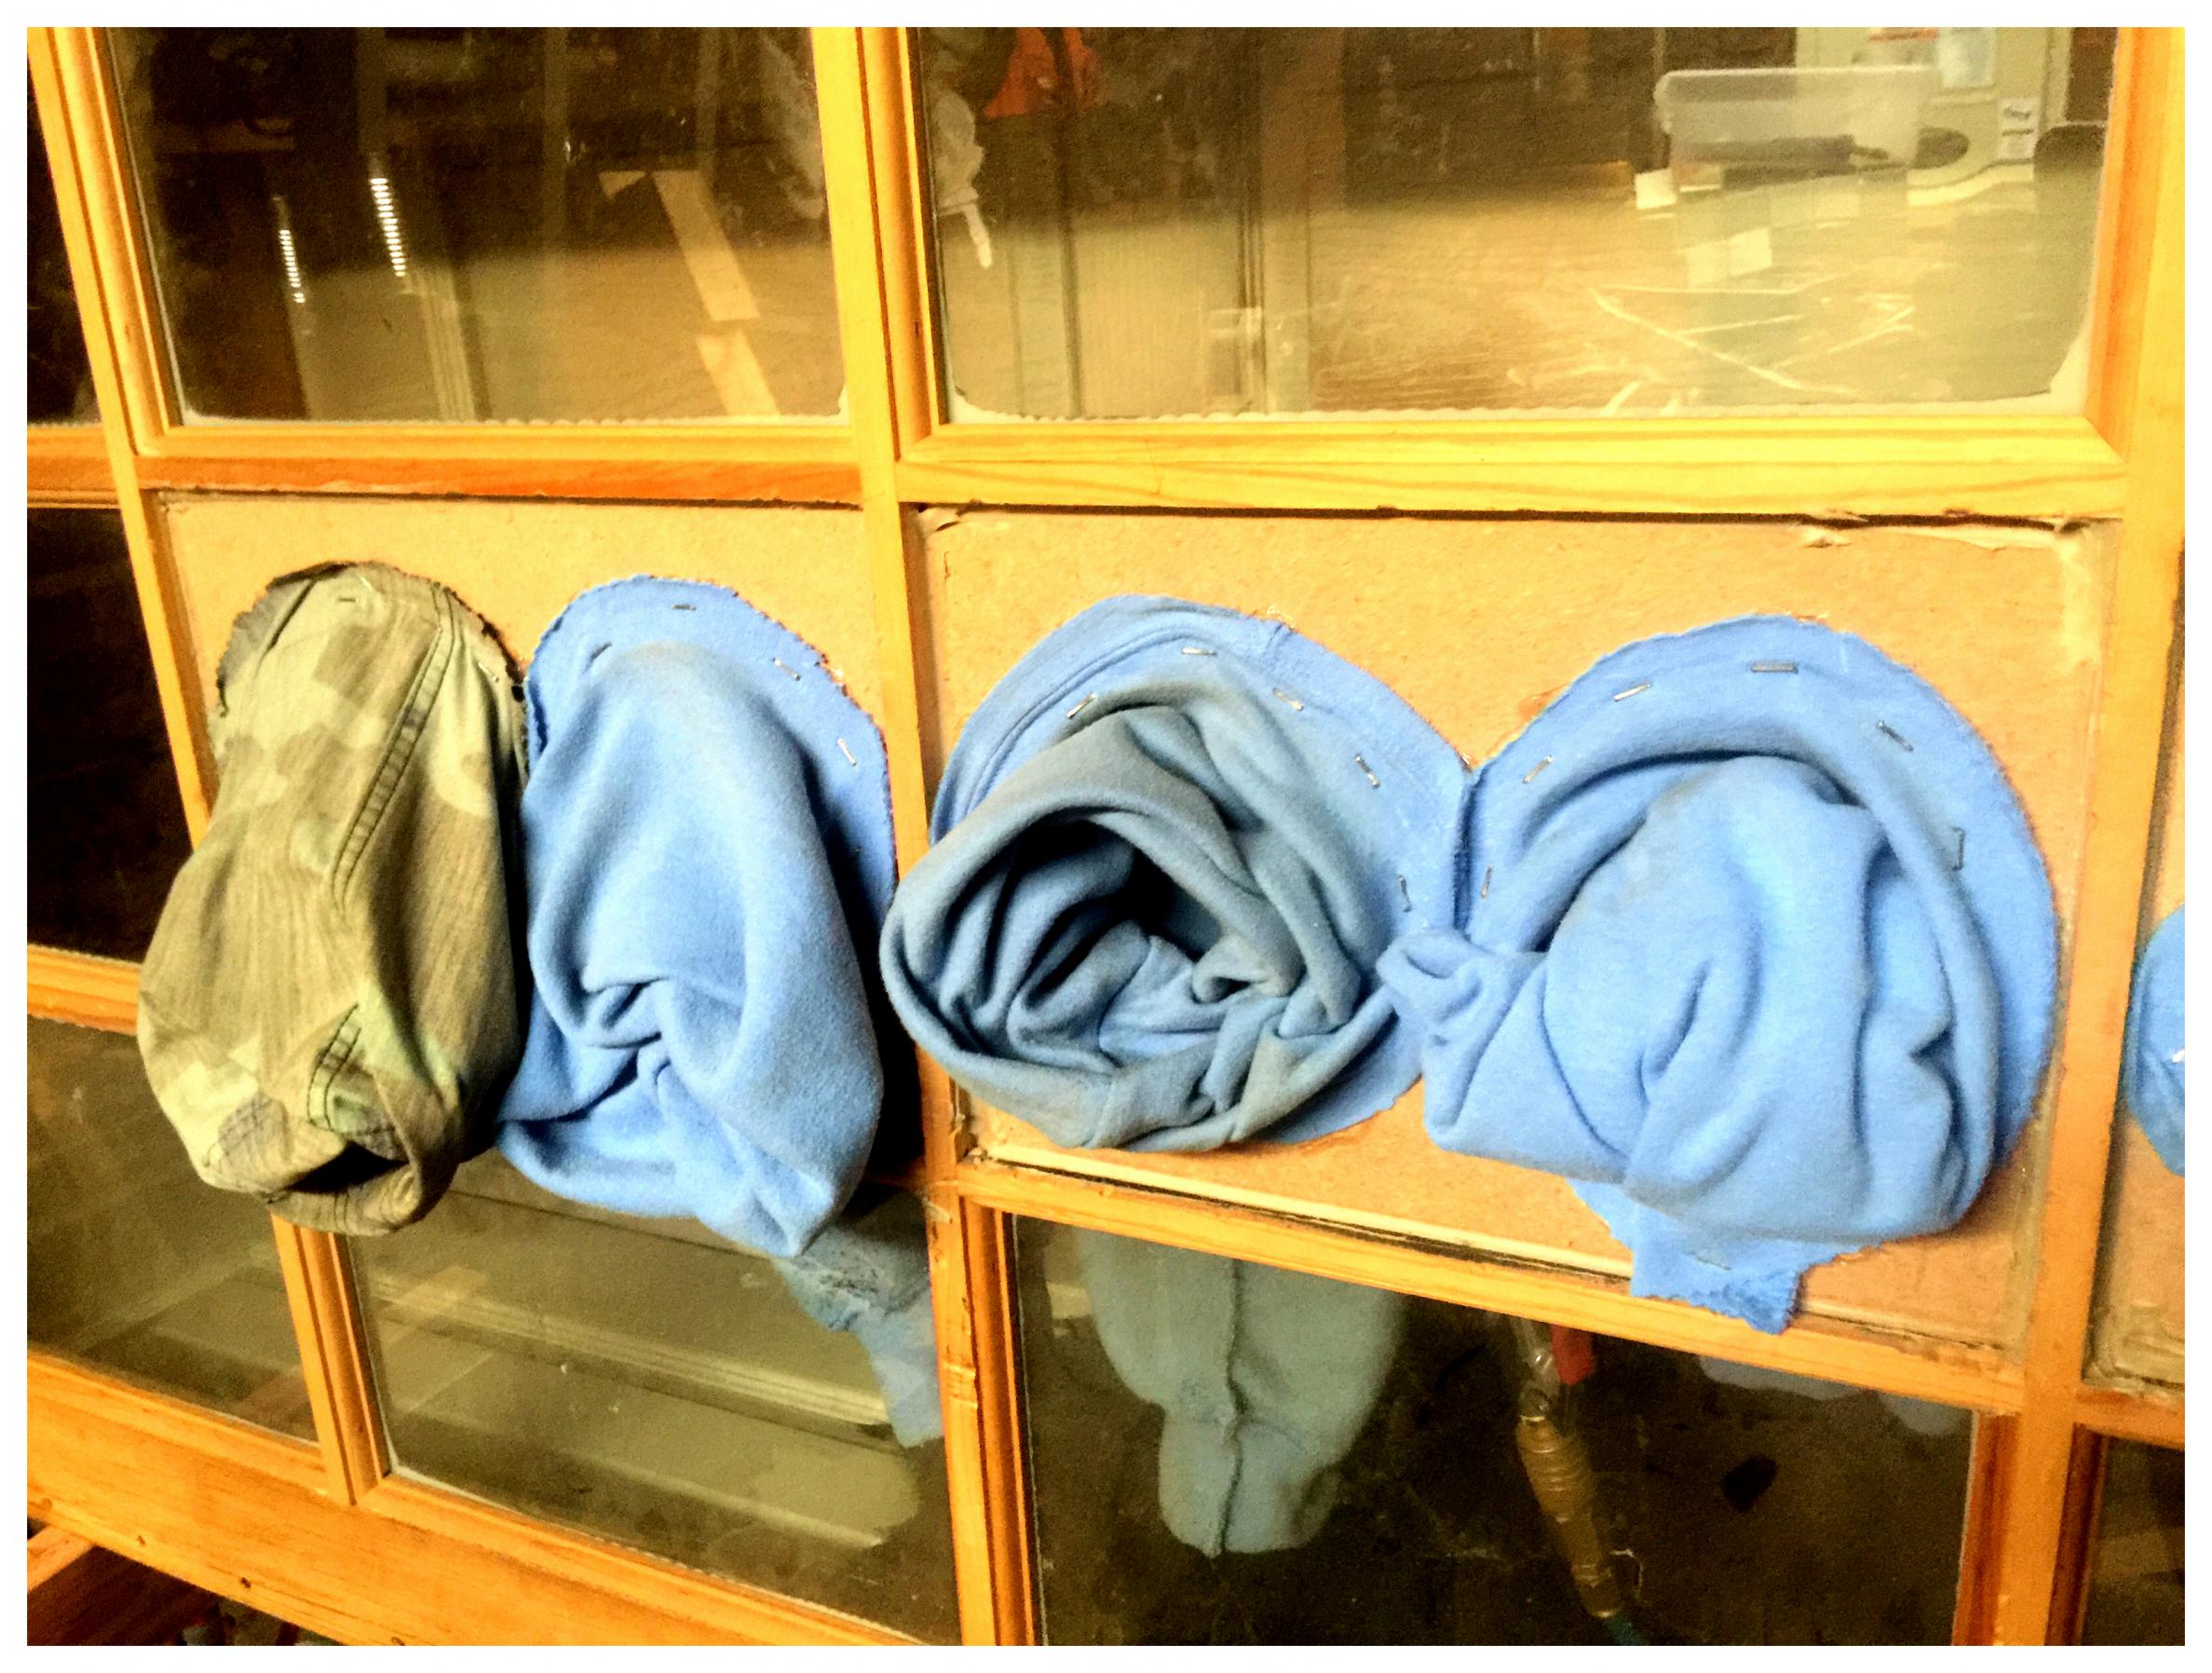
1. Box made of old doors bought at local recycle store. Used a front door with glass panes of which middle three removed for MDF inserts with holes for work. Old sweatshirts used as sleeves through holes and attached via staples with edges hot glued down for seal.
2. Cut a rectangle in floor and made box in which blast media settles. Box has pvc drain to completely empty box if needed.
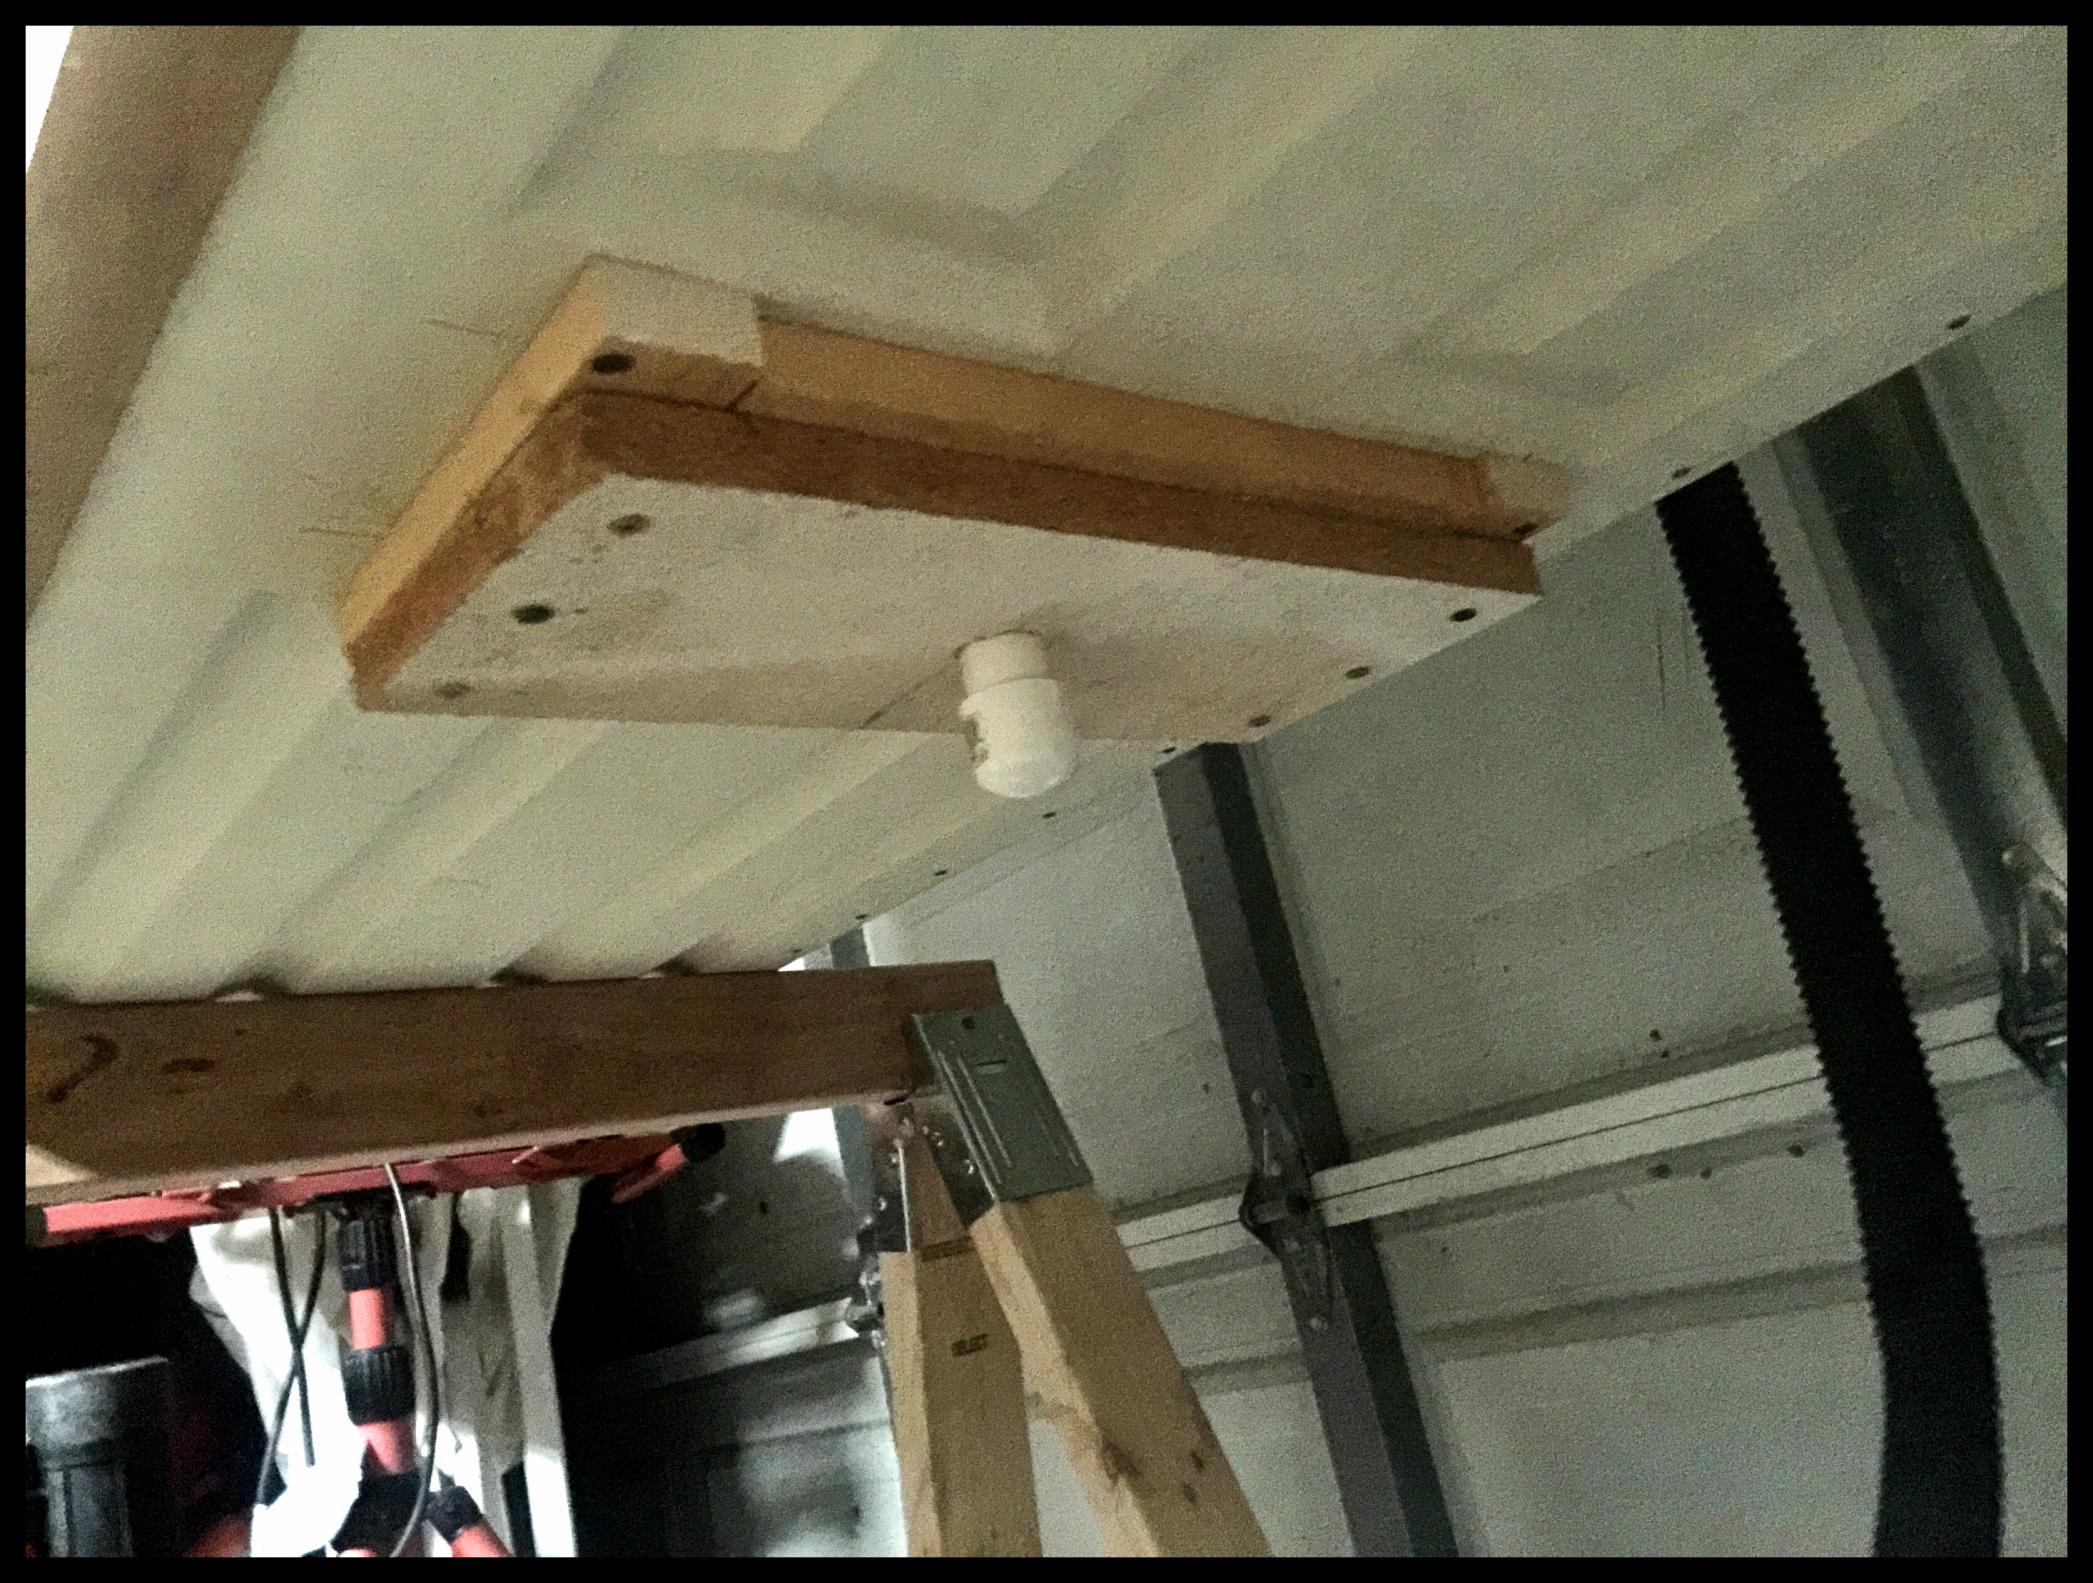
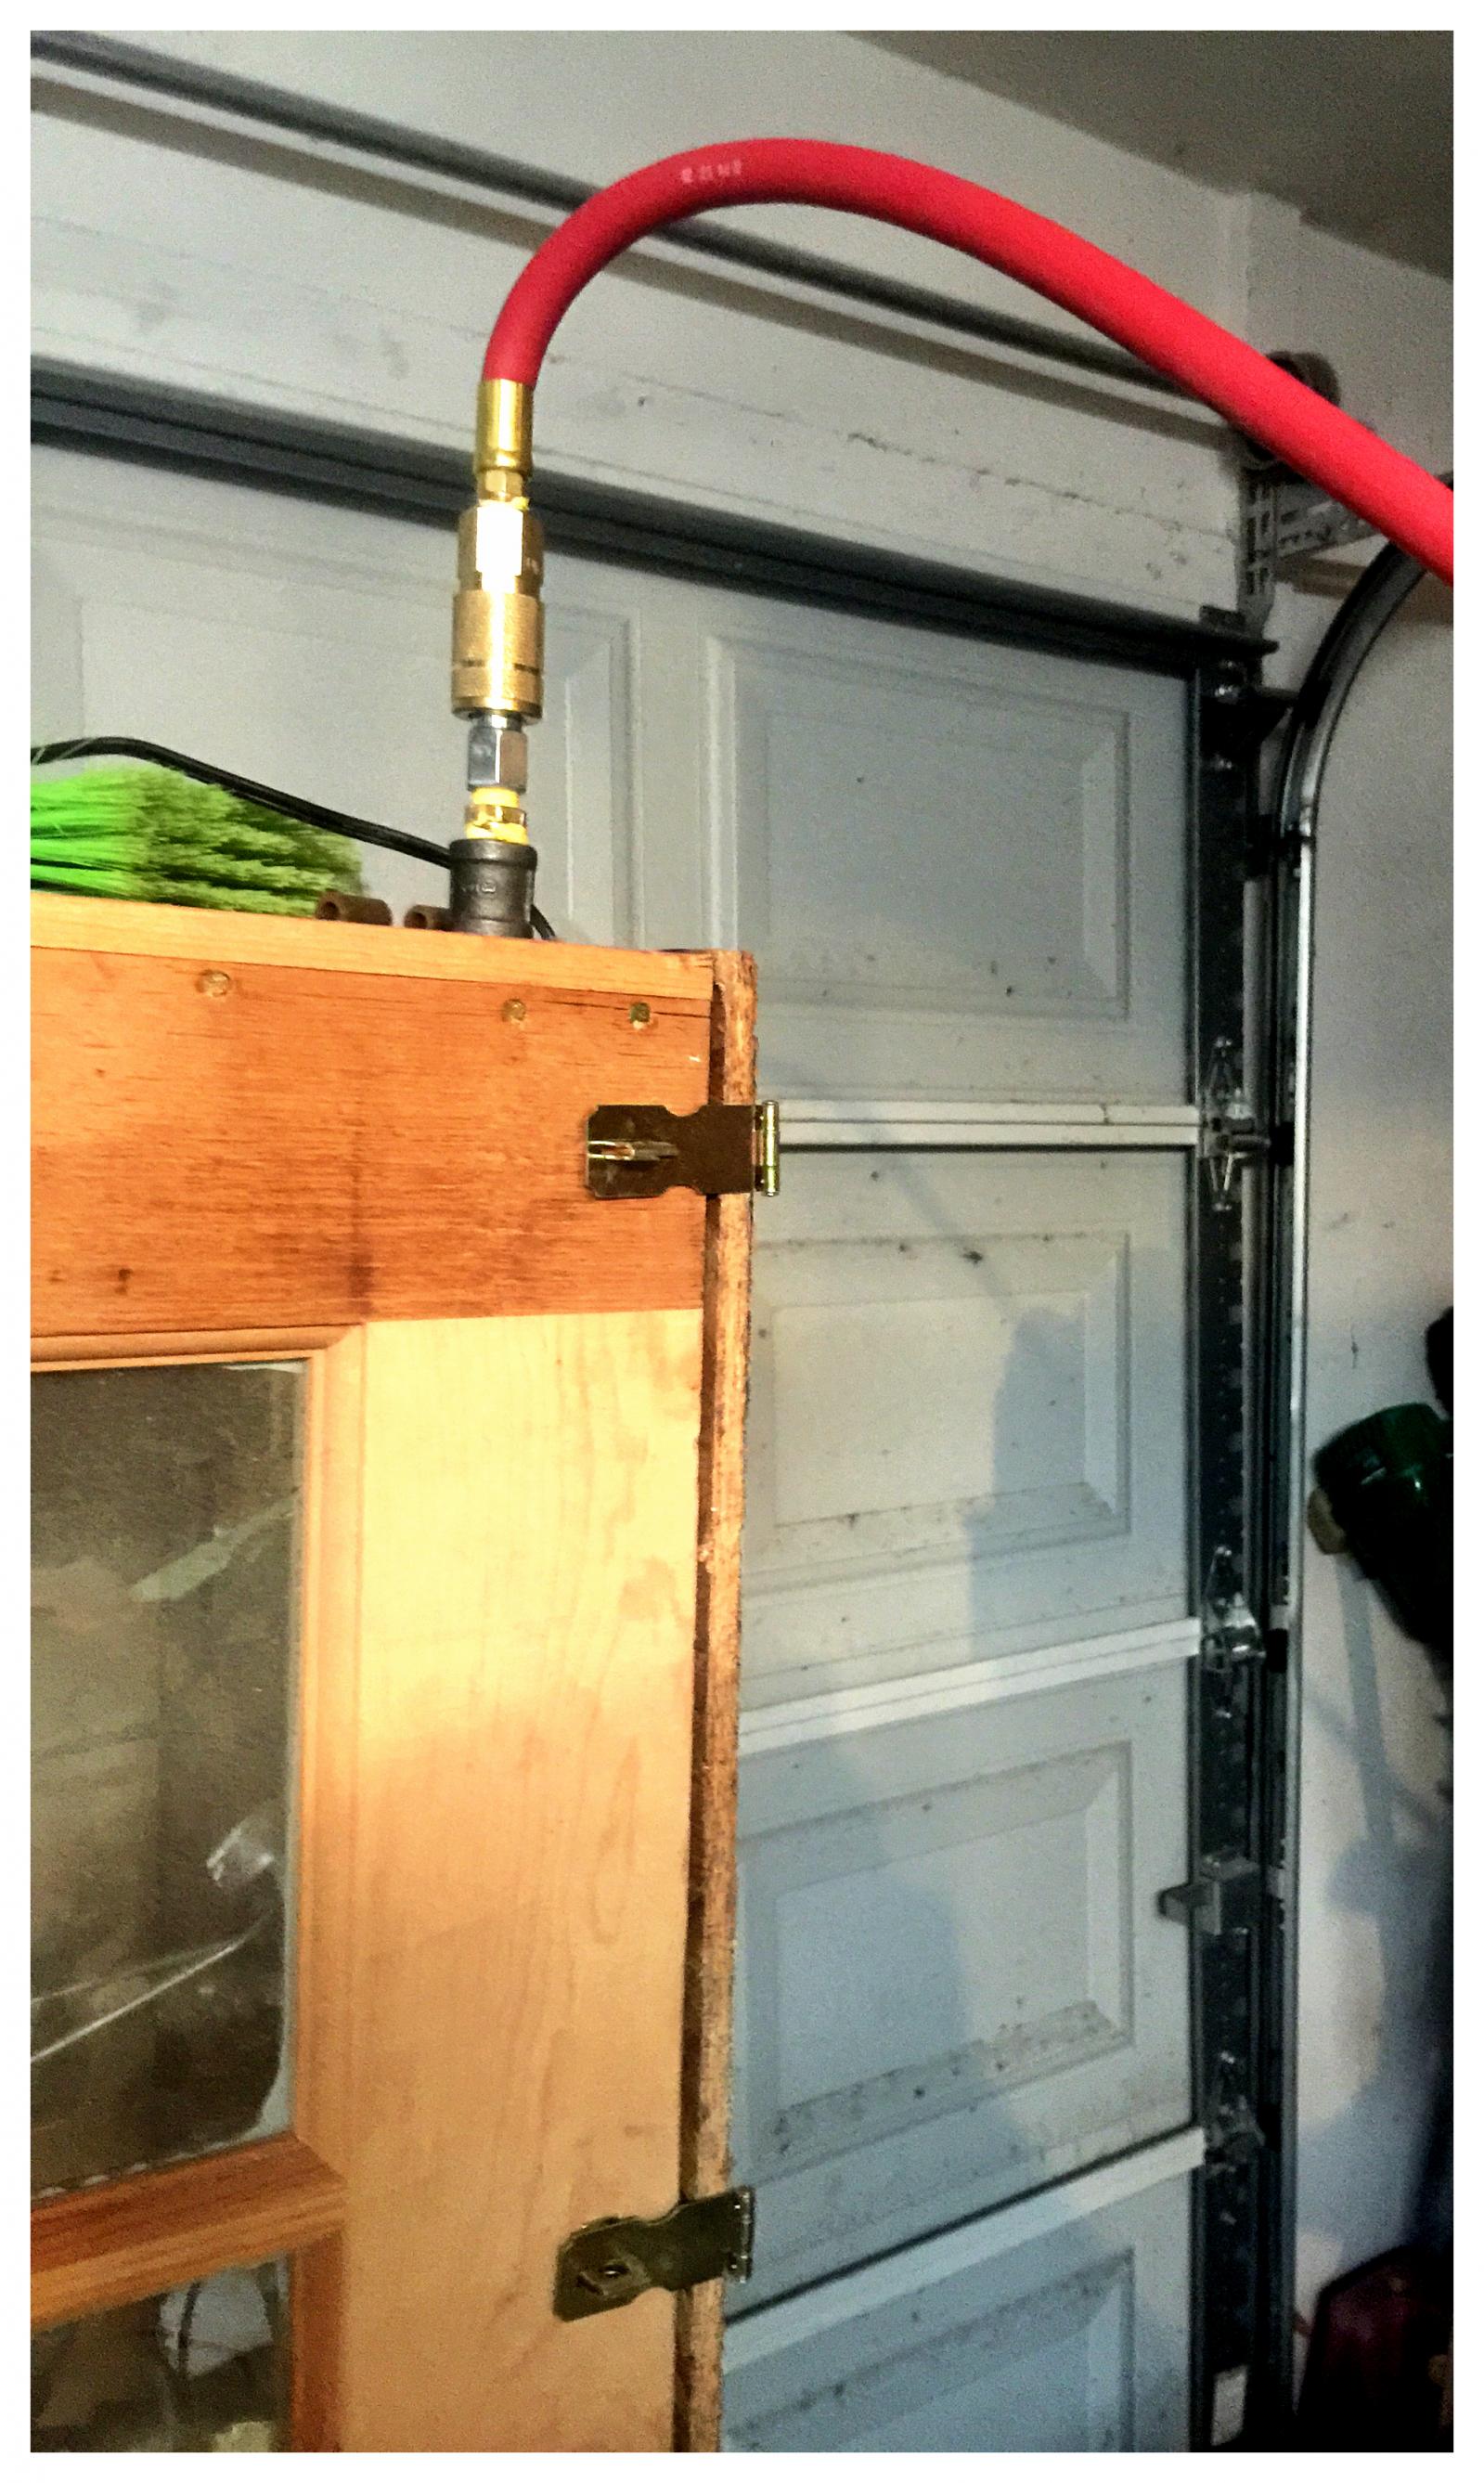
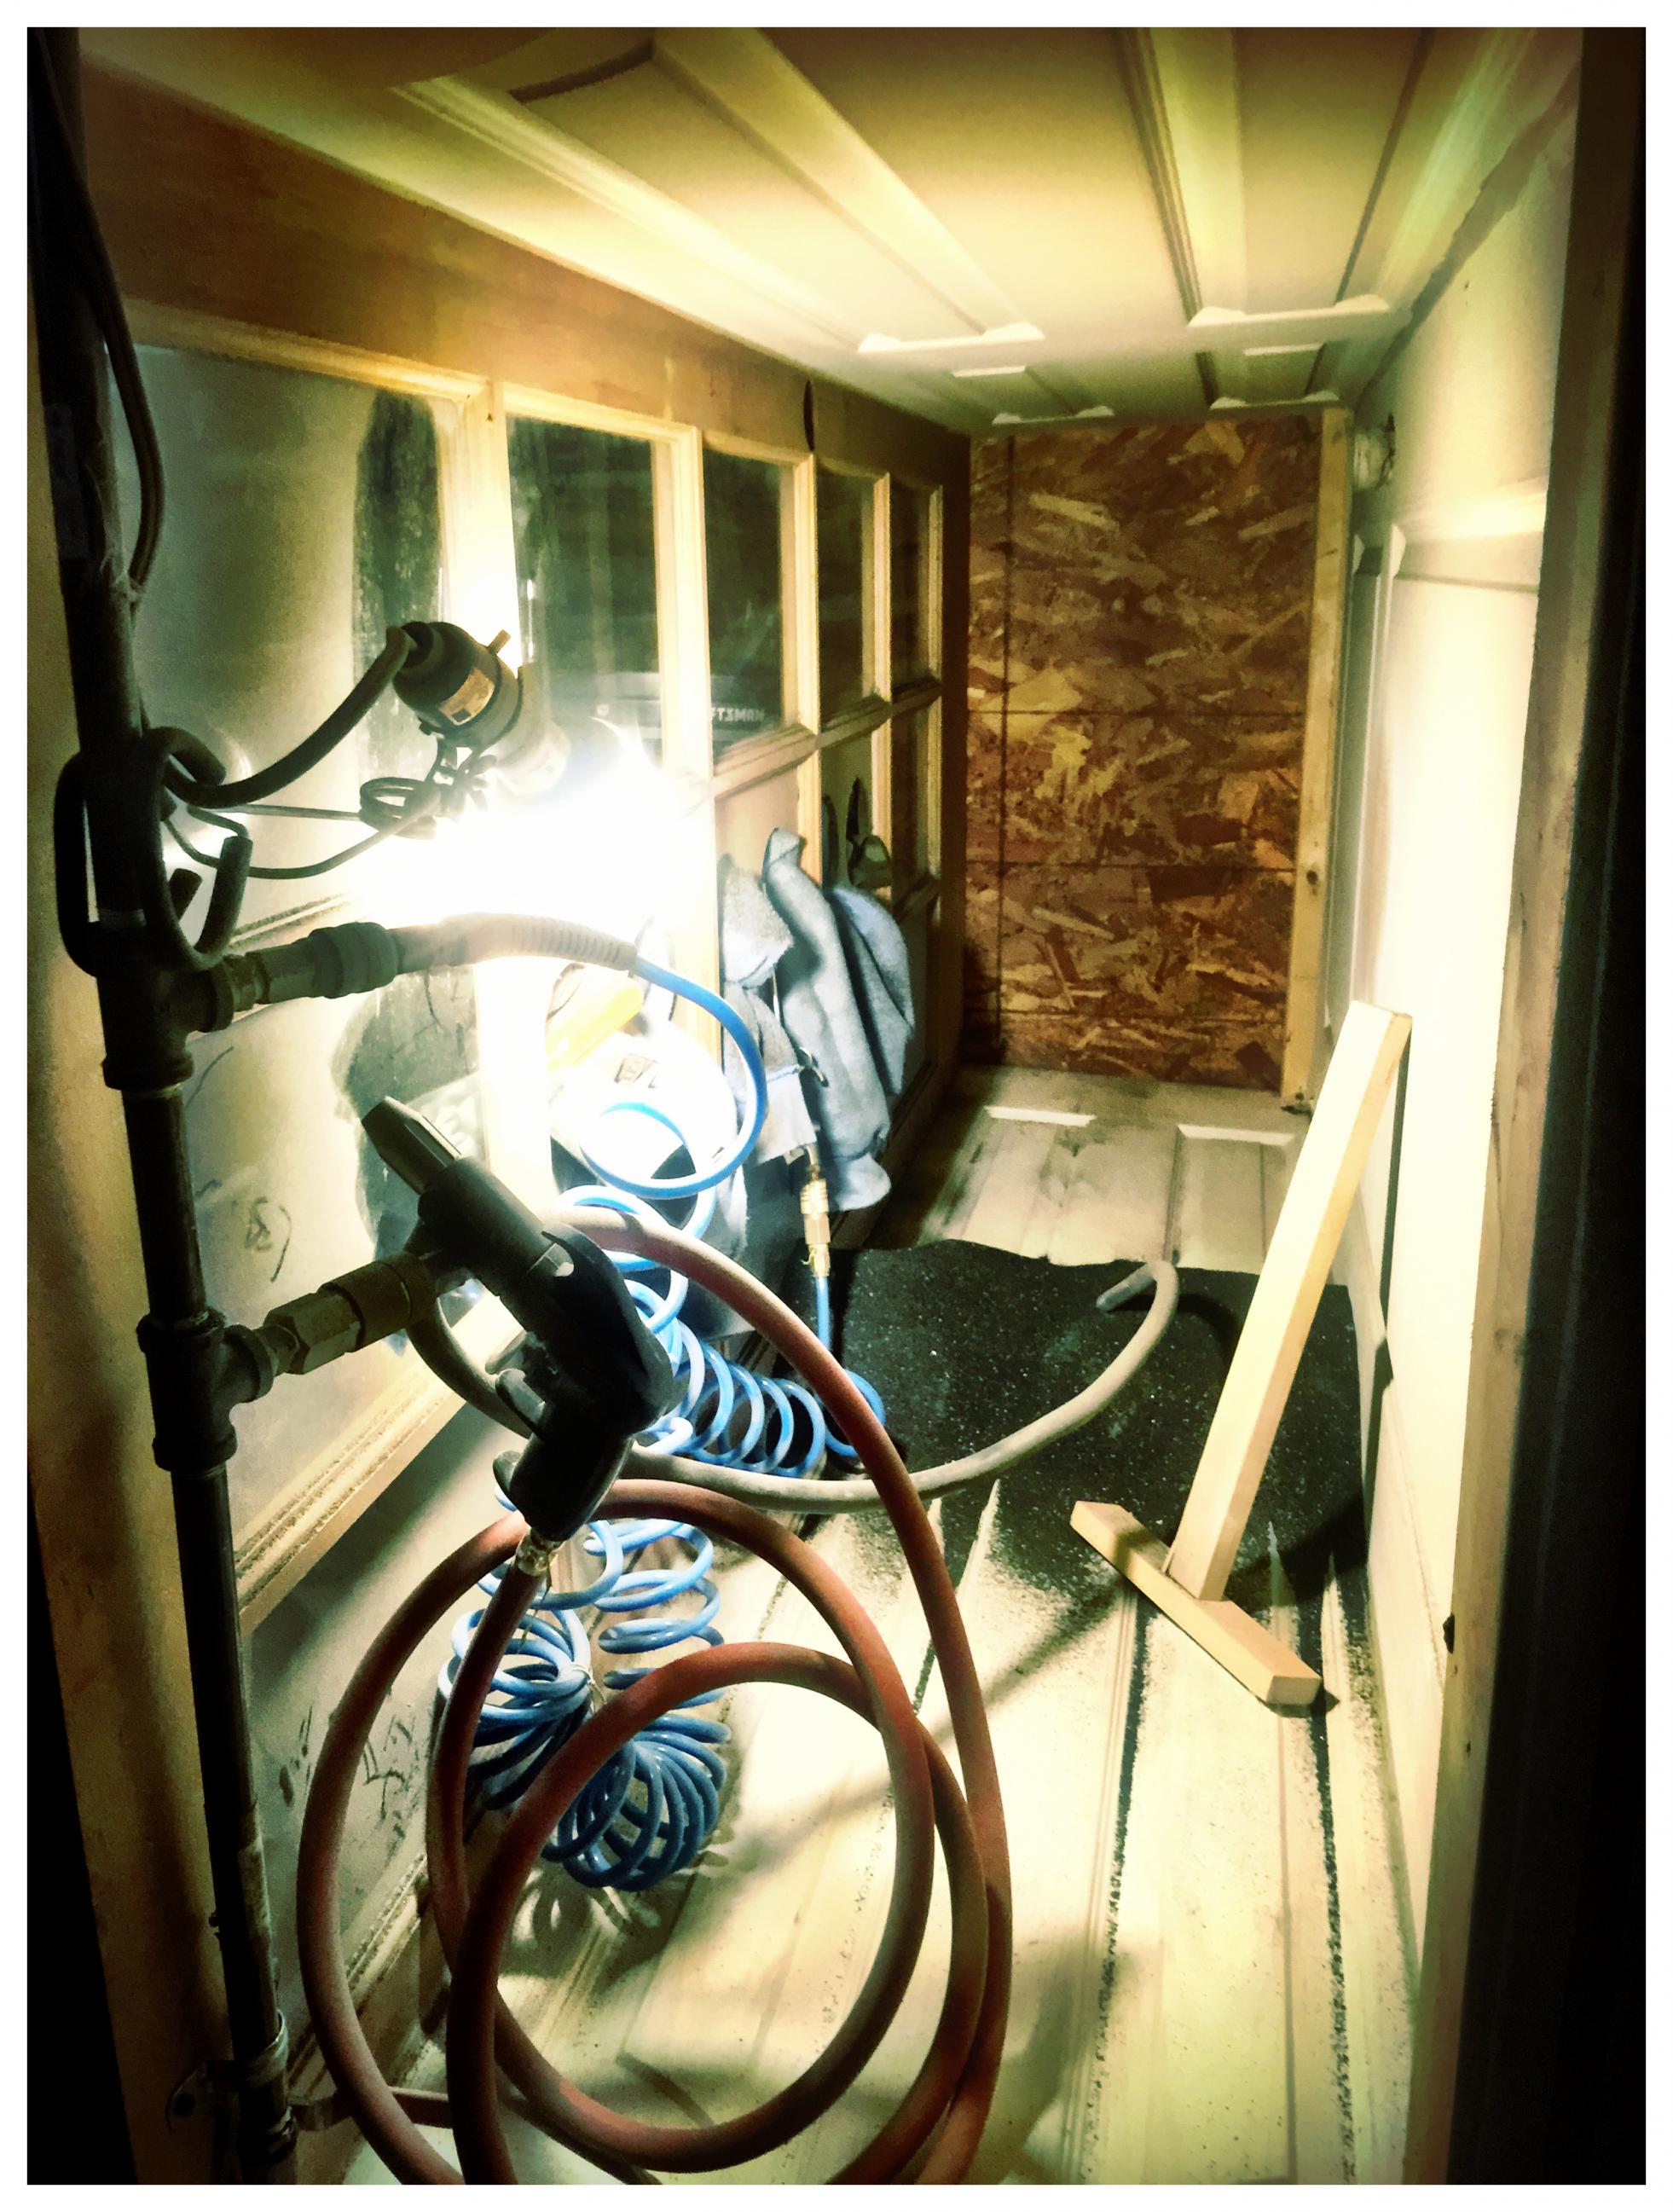
3. Black Iron pipe used for air with top quick attach.
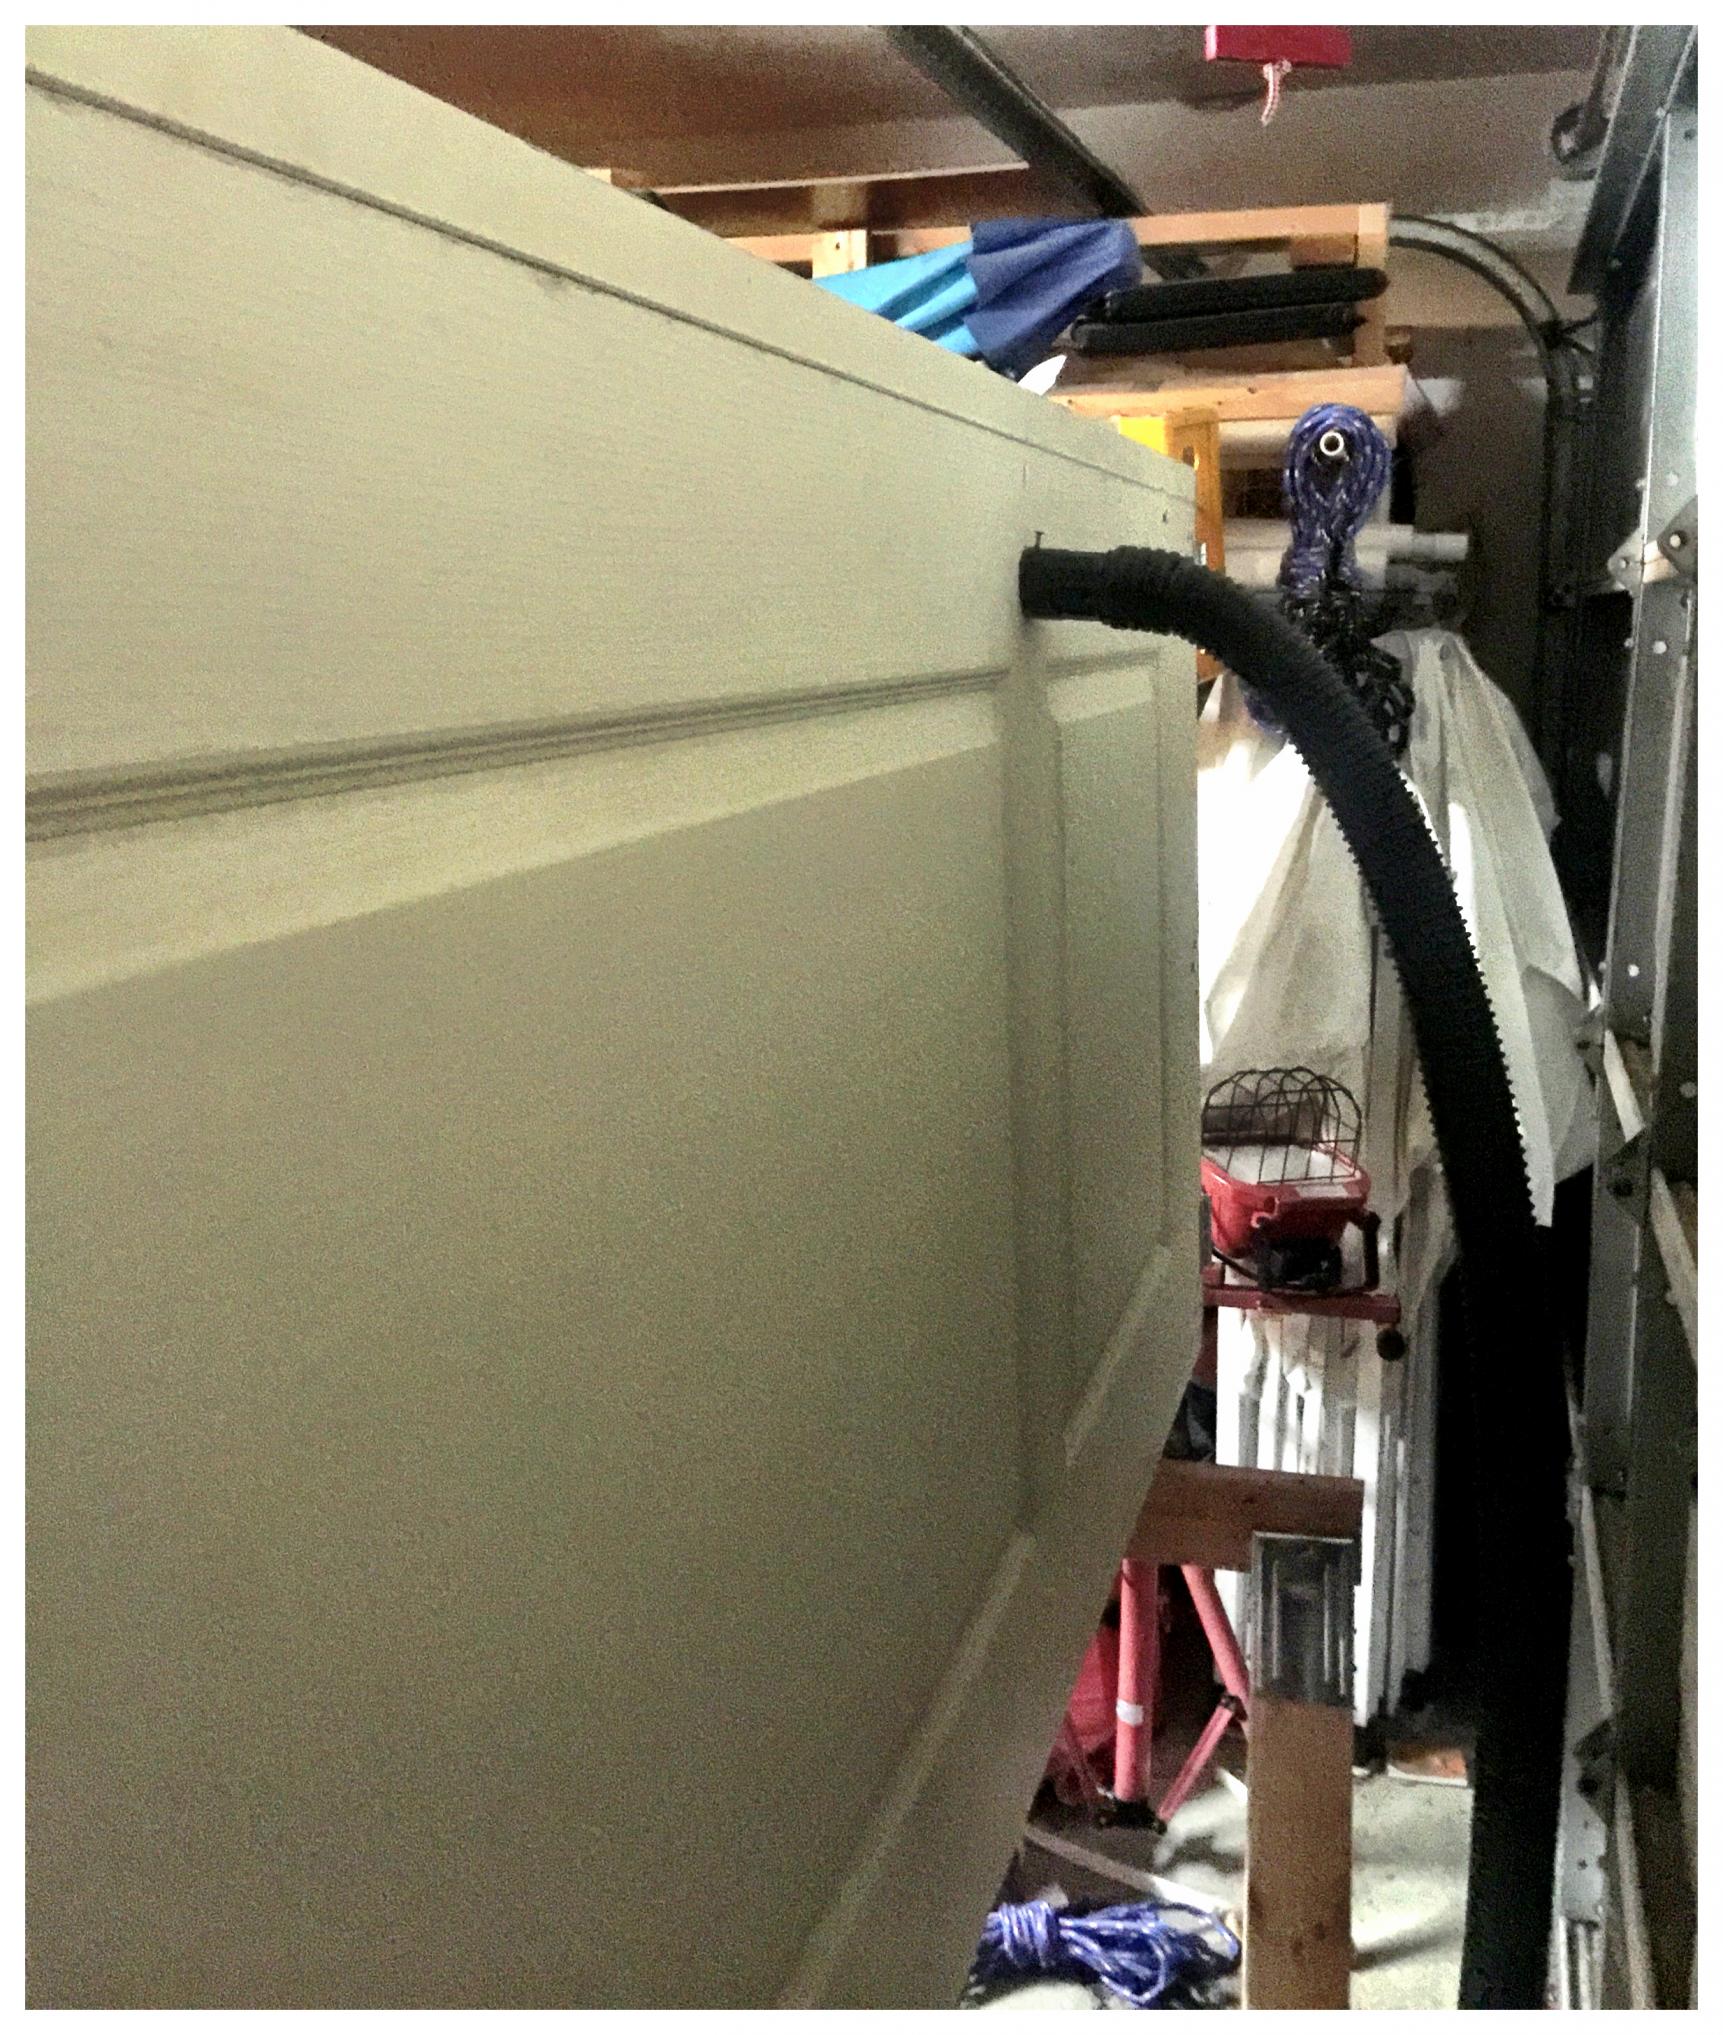
4. Cut hole in rear for plastic conduit to connect shop vac.
5. Side doors made from wood composite I had around with heavy hinges on backside and latches frontside to close tight over edge lines with weather striping tape to seal.
6. Inside seams caulked with Liquid Nails, just cause I had it handy rather than silicone. Light is 6 dollar clip on from Lowes with plastic bulb. I'll probably put one or two more in different places. Clip is pretty strong and makes it easy to move around for different pieces rather than a built in light.
A few learning points from the project.
1. Originally had 4" PVC pipe through arm holes and old sweatshirt arms attached to them, but they limited my arm movement too much due to the 4 or so inch length of the pipe, so I removed them and attached the sweater shirt arms directly to the MDF window overlay which worked much better. And thicker old sweatshirt inside out is key. Smooth side in allows easier arm entry and exit. Thinner sweater material allows dust in.
2. I had a circle of air filter over the shop vac pipe thinking it would stop anything but dust getting through. This proved problematic as it limited the vac flow too much and clogged with dust. So, I removed it which greatly improved the draw without loss of media. I found the media was too heavy anyway and unless it hits the mouth of the vac portal exactly it isn't lost.
3. Made a wooden 'T' to push and pull media back into center box from sides when it gets depleted, which you can see in the last picture.
4. After blasting about ten pieces, most from the front end assembly, there is little wear of the back wall. In any case, depending on the door used for the back wall, one might want to line it with something, i.e. a spare piece of metal or flashing or something. It's the only wall that gets directly hit.
In all, including doors and materials, the blasting box cost me about 180 dollars to make and about a day, but I work slow. With the filter from the vac conduit removed, my small shop vac has enough pull that there is no dust leakage when the blaster is on or off.


 Reply With Quote

Bookmarks