-
35 Attachment(s)
Milling machine base
Hello everyone,
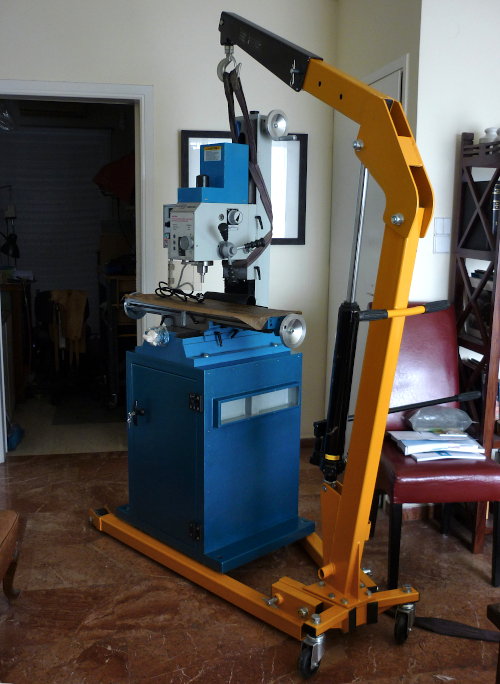
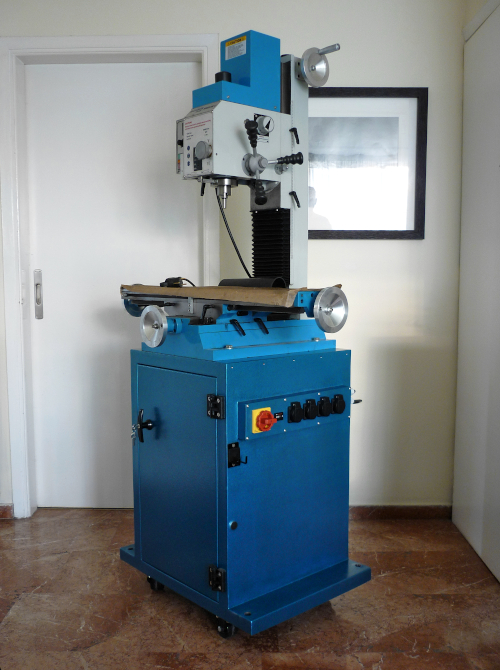
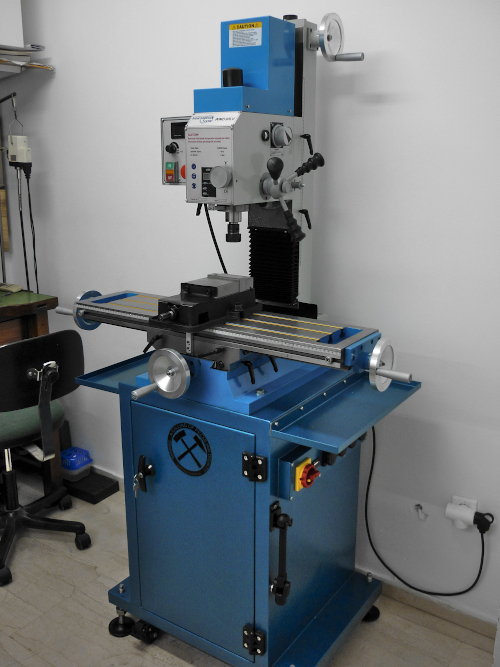
Recently I bought a milling machine which is an upgrade for my small shop; the mill is big enough for the shop (6.2 square meters) so it raised the problem of where could I put it without being an obstacle when I want to work on my jeweler's bench or on my lathe. The solution was the use of casters on the machine's base, but finding a base for the machine was a problem since the company where I bought the mill hadn't any. After searching I found a base for a similar size milling machine, but due to the cost plus the conversions that had to be done I decided it would be better to build one.
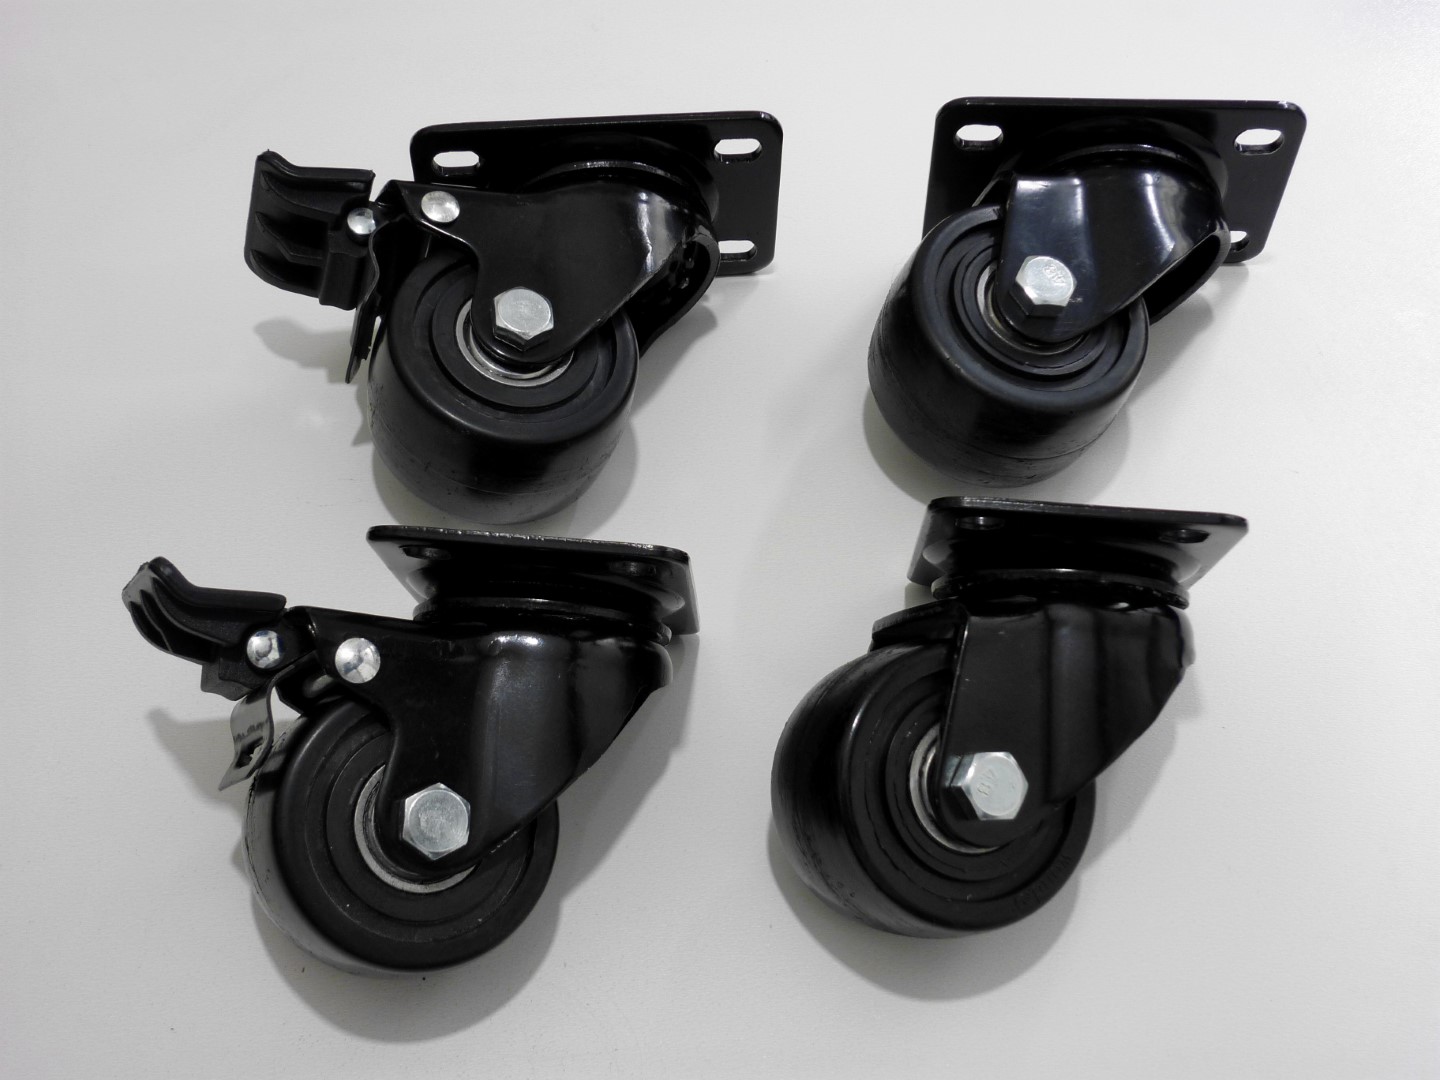
I took all the necessary measurements based on the dimensions of the mill and then I bought a set of heavy-duty castors (max. load 200kg/wheel).
Attachment 39556
The total height of the castors is 9.5cm
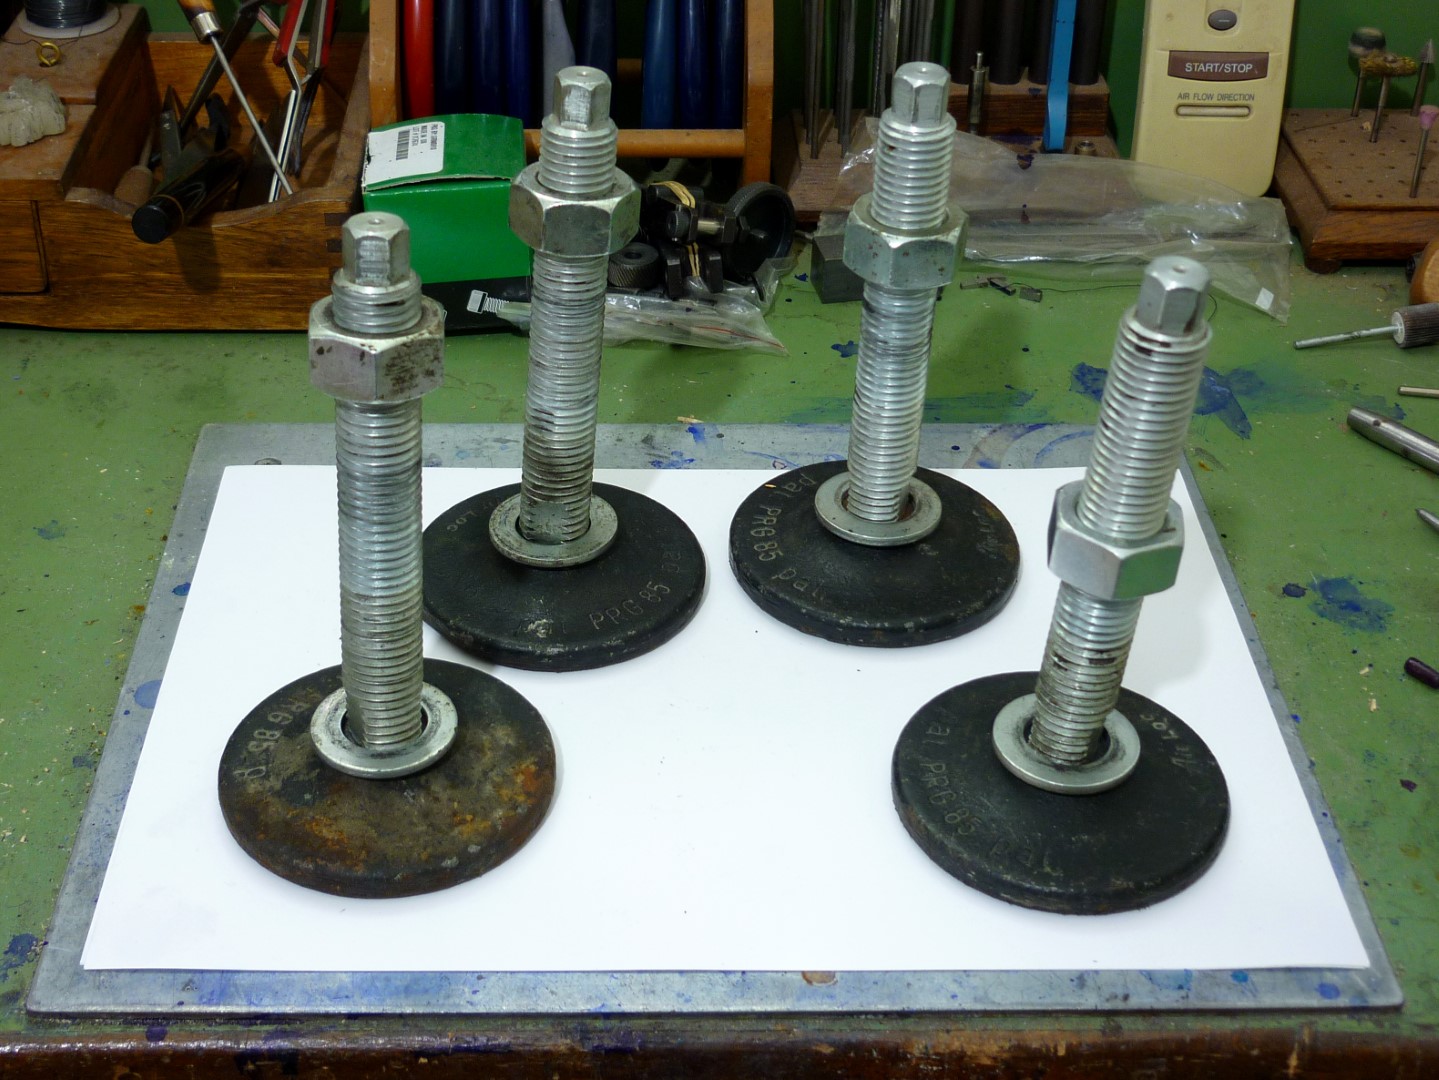
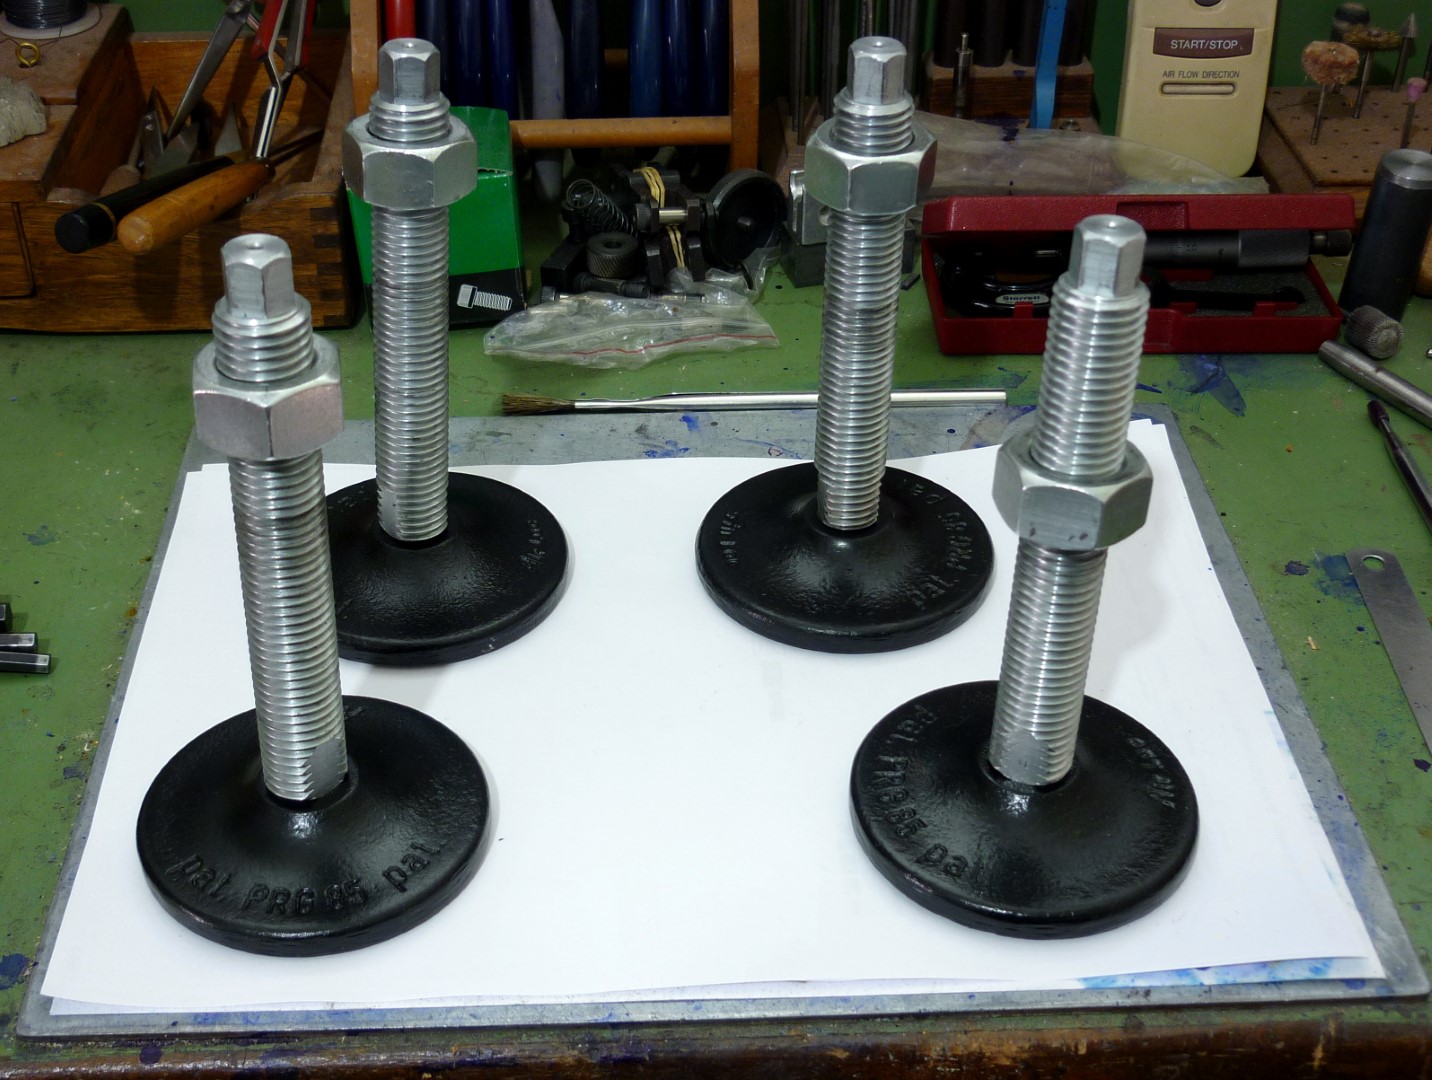
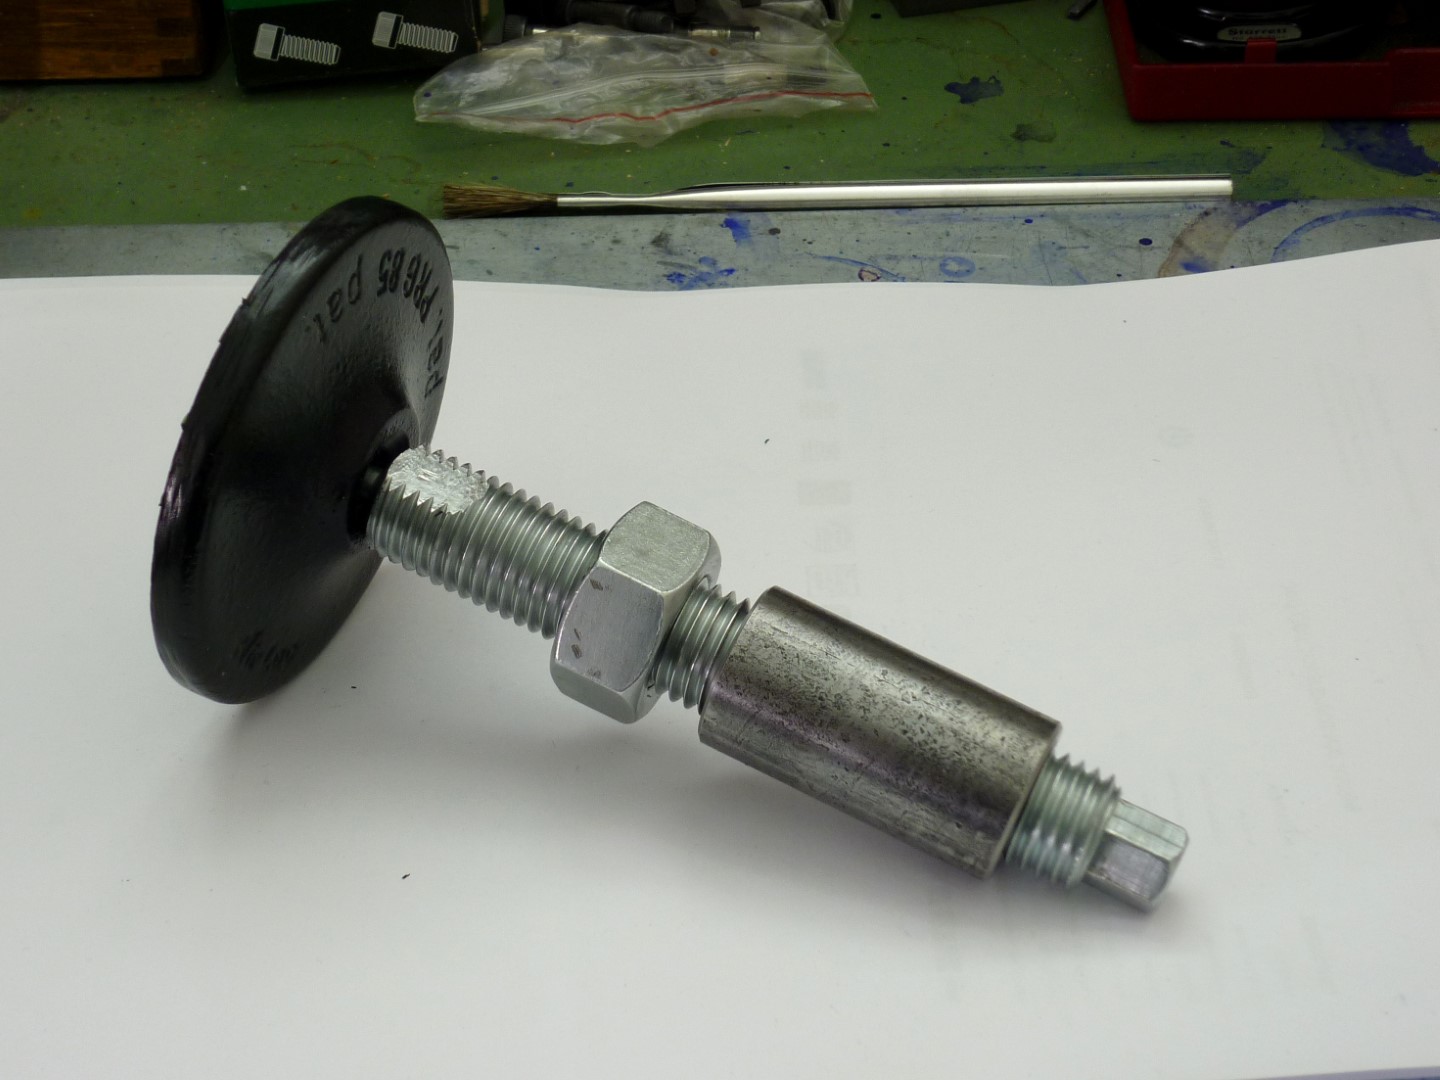
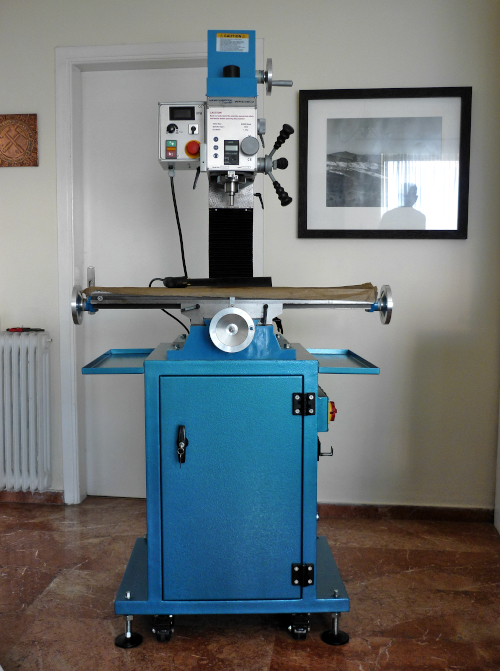
While I was sketching the base, I received a gift from a friend - a nice set of leveling feet.
Attachment 39557 Attachment 39558 With a good cleaning and some paint they look like new
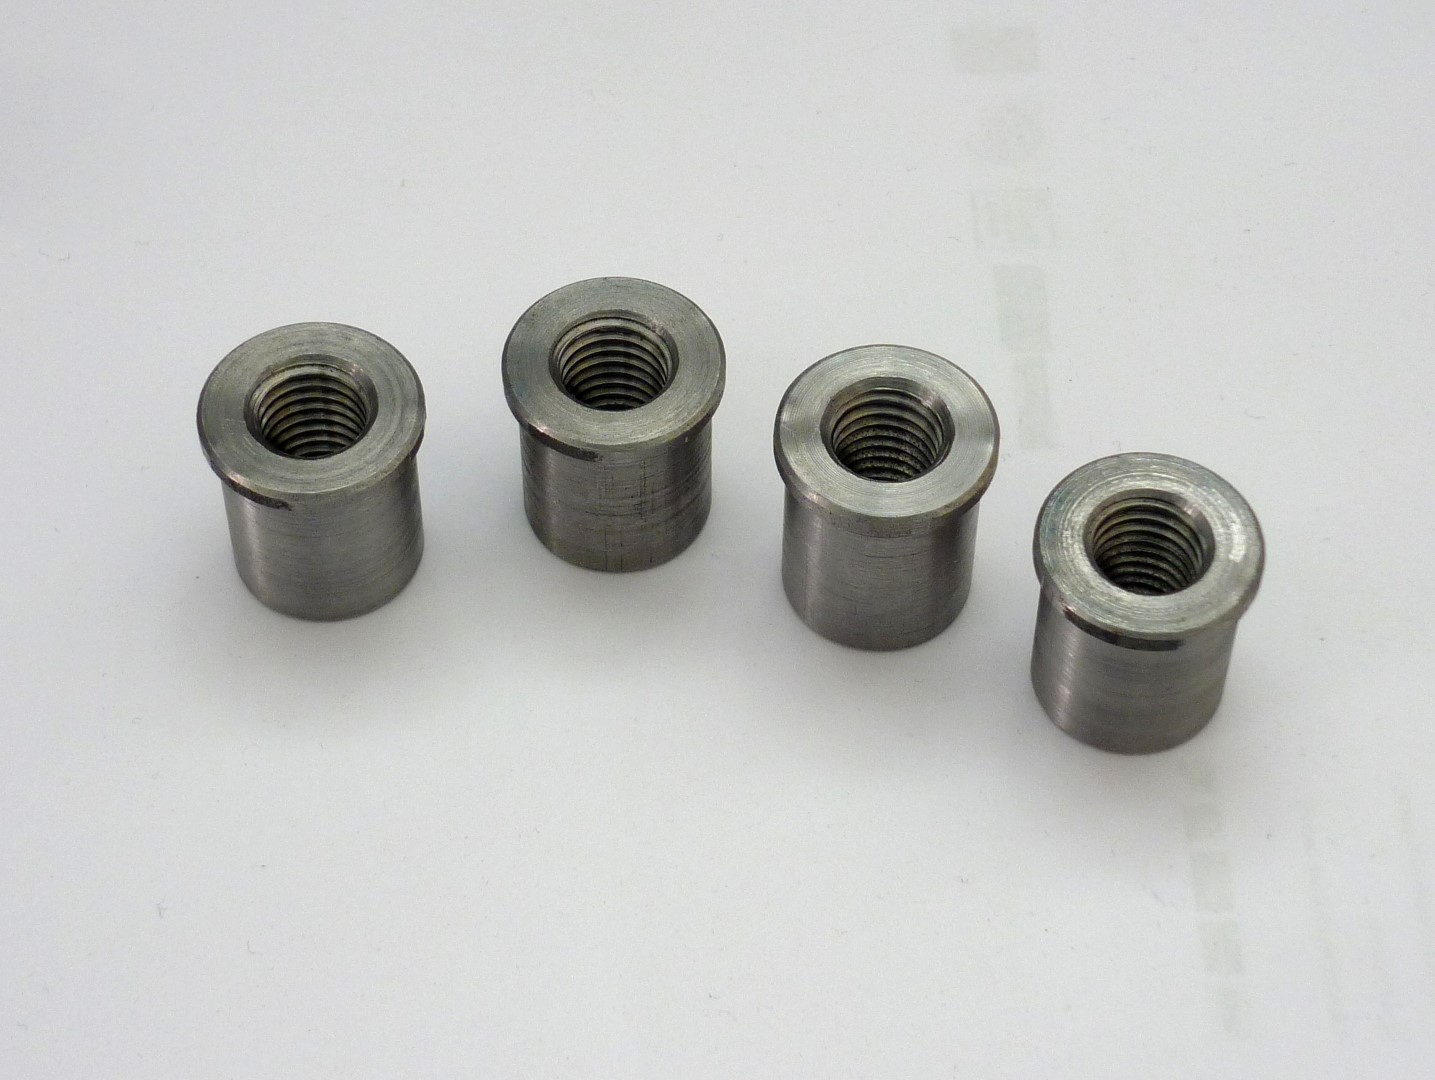
In order to adapt the castors for the base I made in total 16 sleeves of these (threaded M8)
Attachment 39559
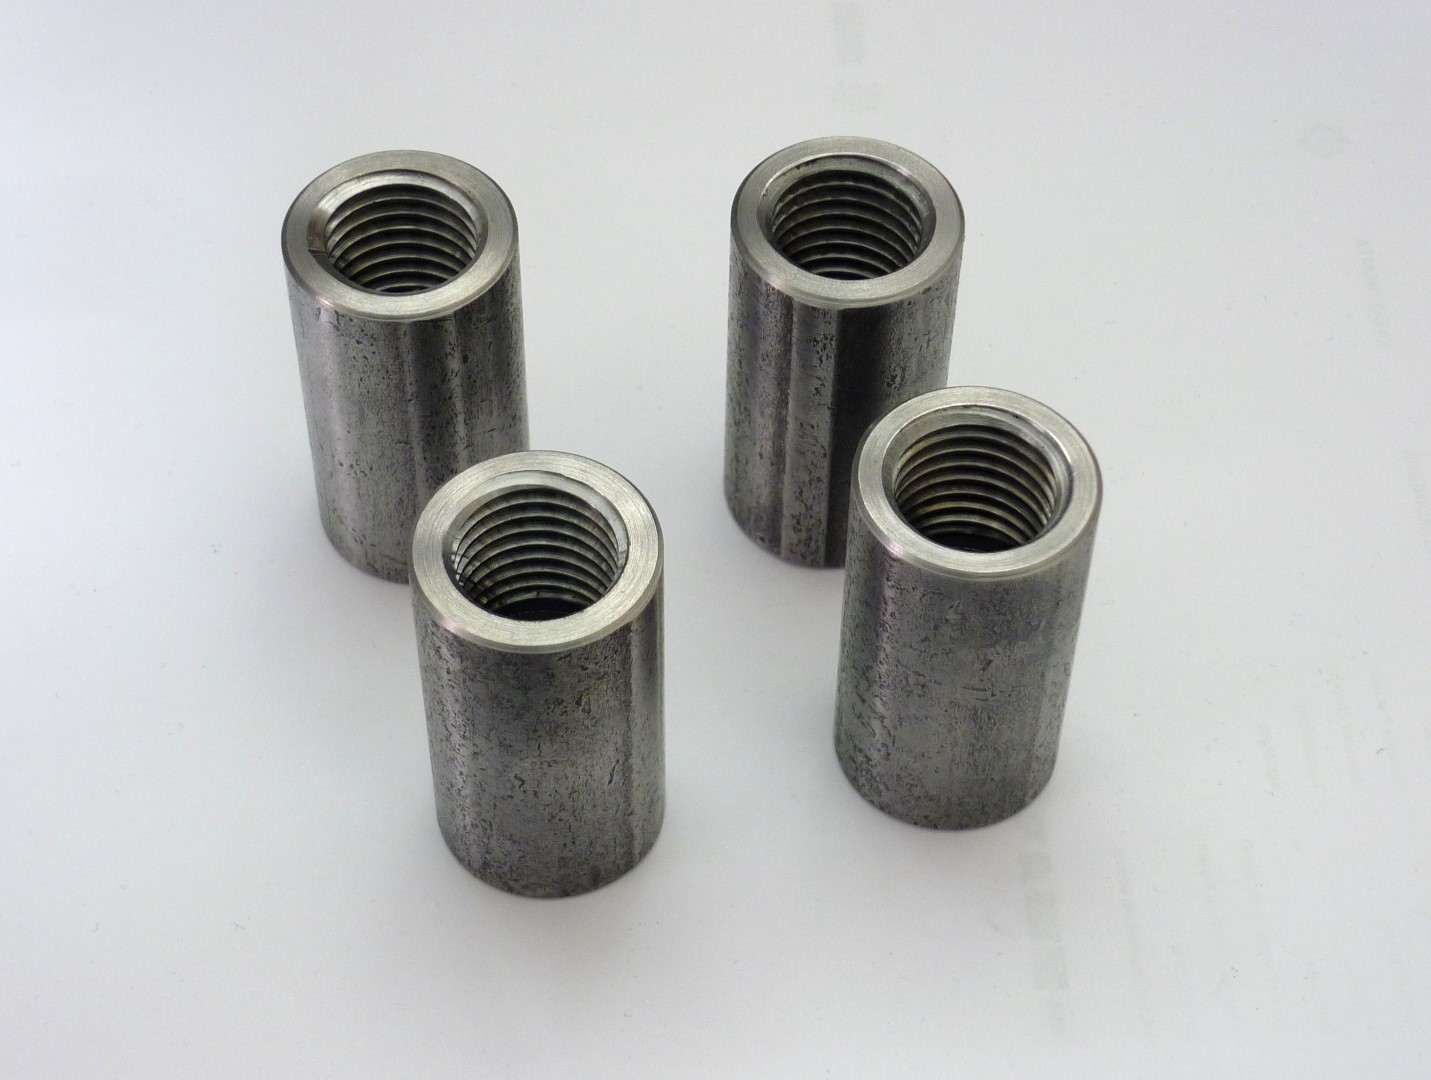
And 4 sleeves threaded M20 for the leveling feet
Attachment 39560 Attachment 39561
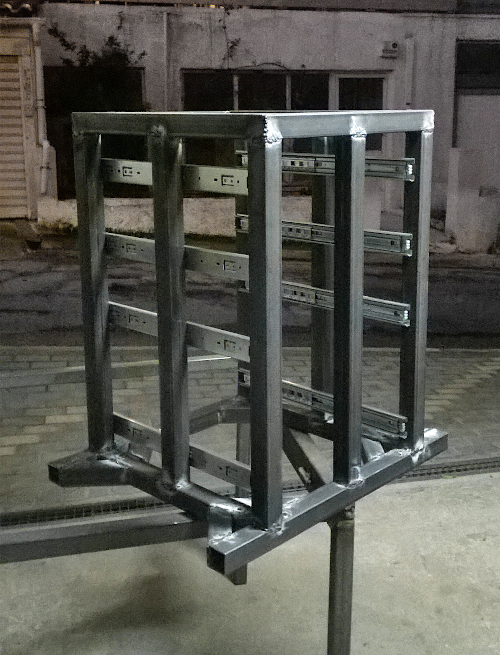
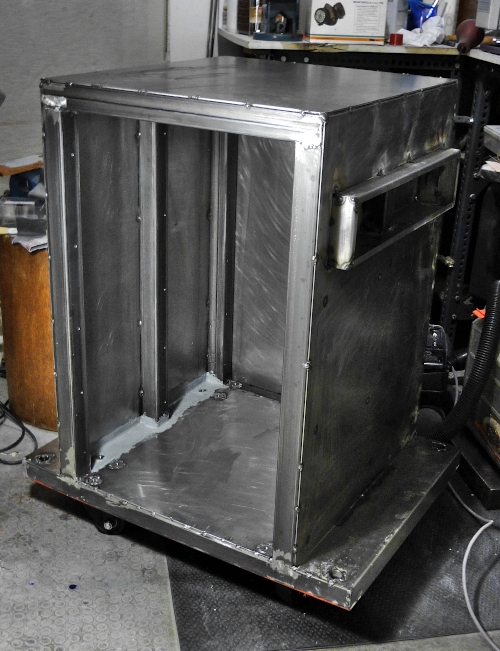
For the construction of the base, I used square steel tube 40x40x3mm. Now because I do not have a welding machine neither the necessary space for such constructions, I asked a friend to help me build the base.
The base consists of 2 horizontal frames (top and bottom) and 7 columns. The dimensions are:
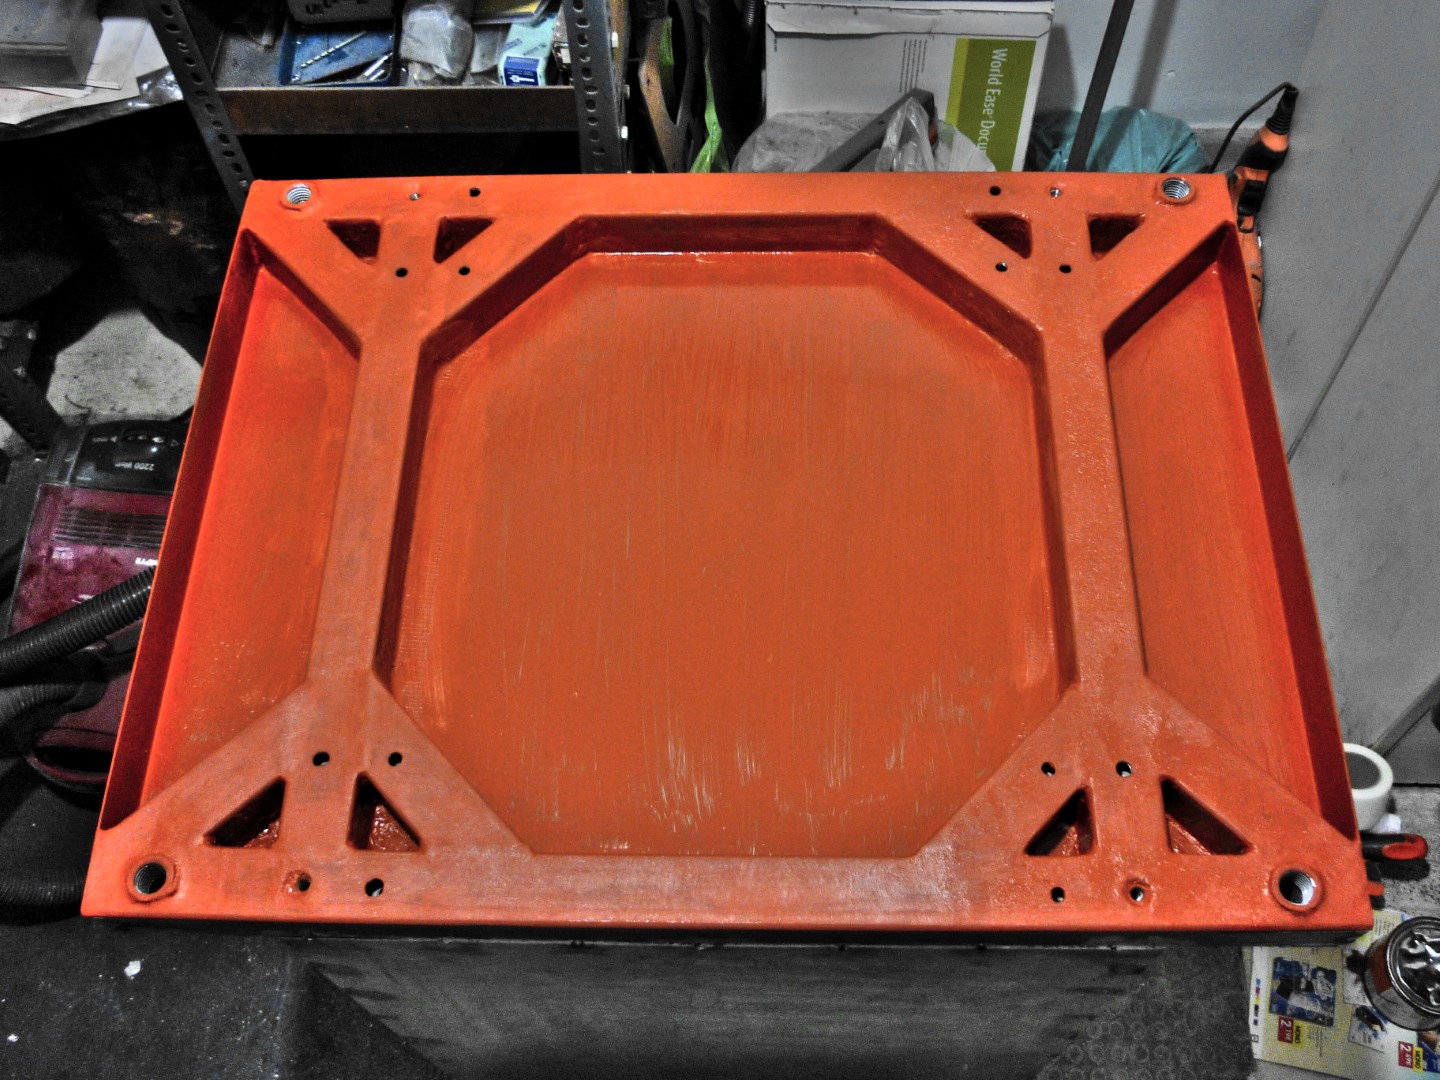
Upper frame 50x54cm length/width, reinforced with 2 cross beams
Bottom frame 70x54cm length/width, reinforced in the inner corners with beams placed at a 45 degree angle
The columns are 68cm in height.
Attachment 39527 Attachment 39528
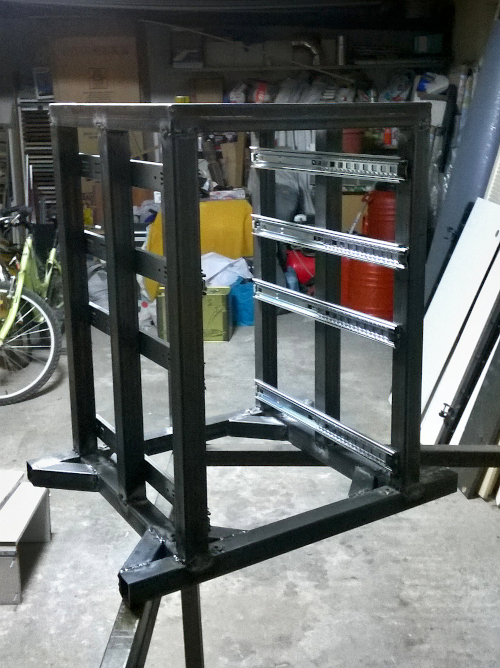
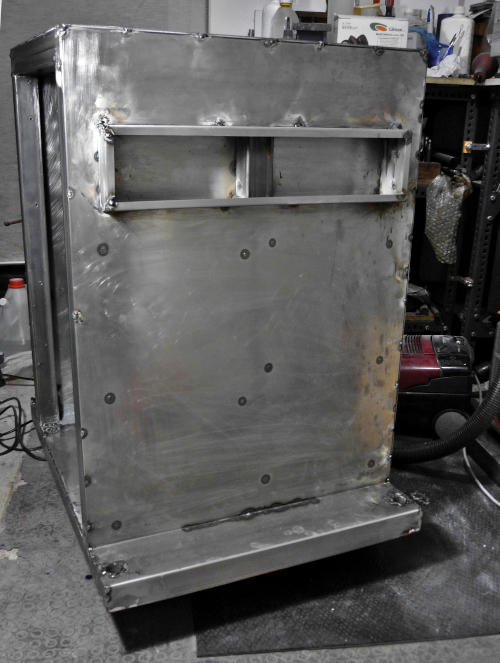
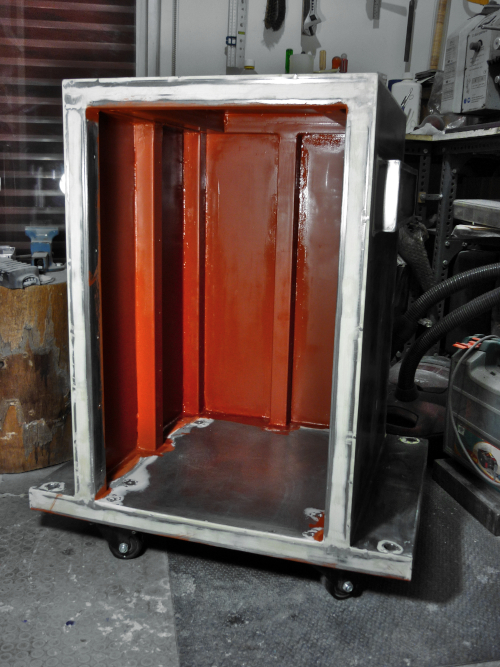
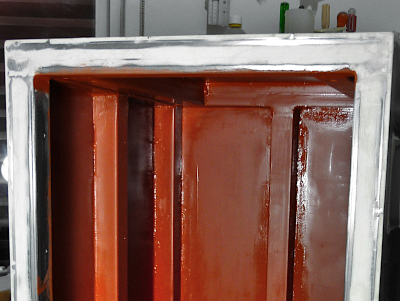
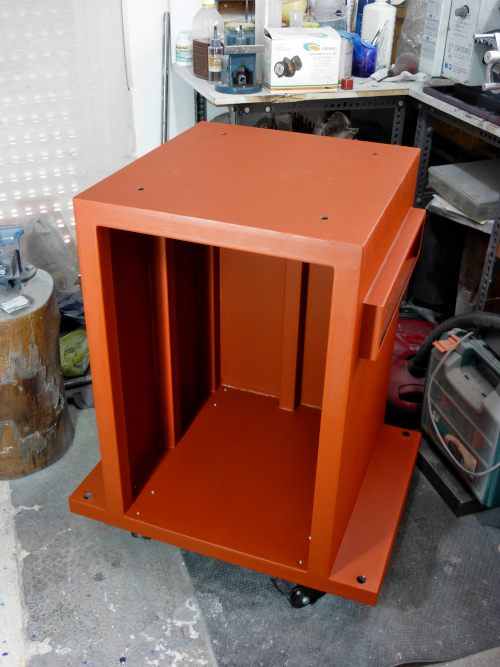
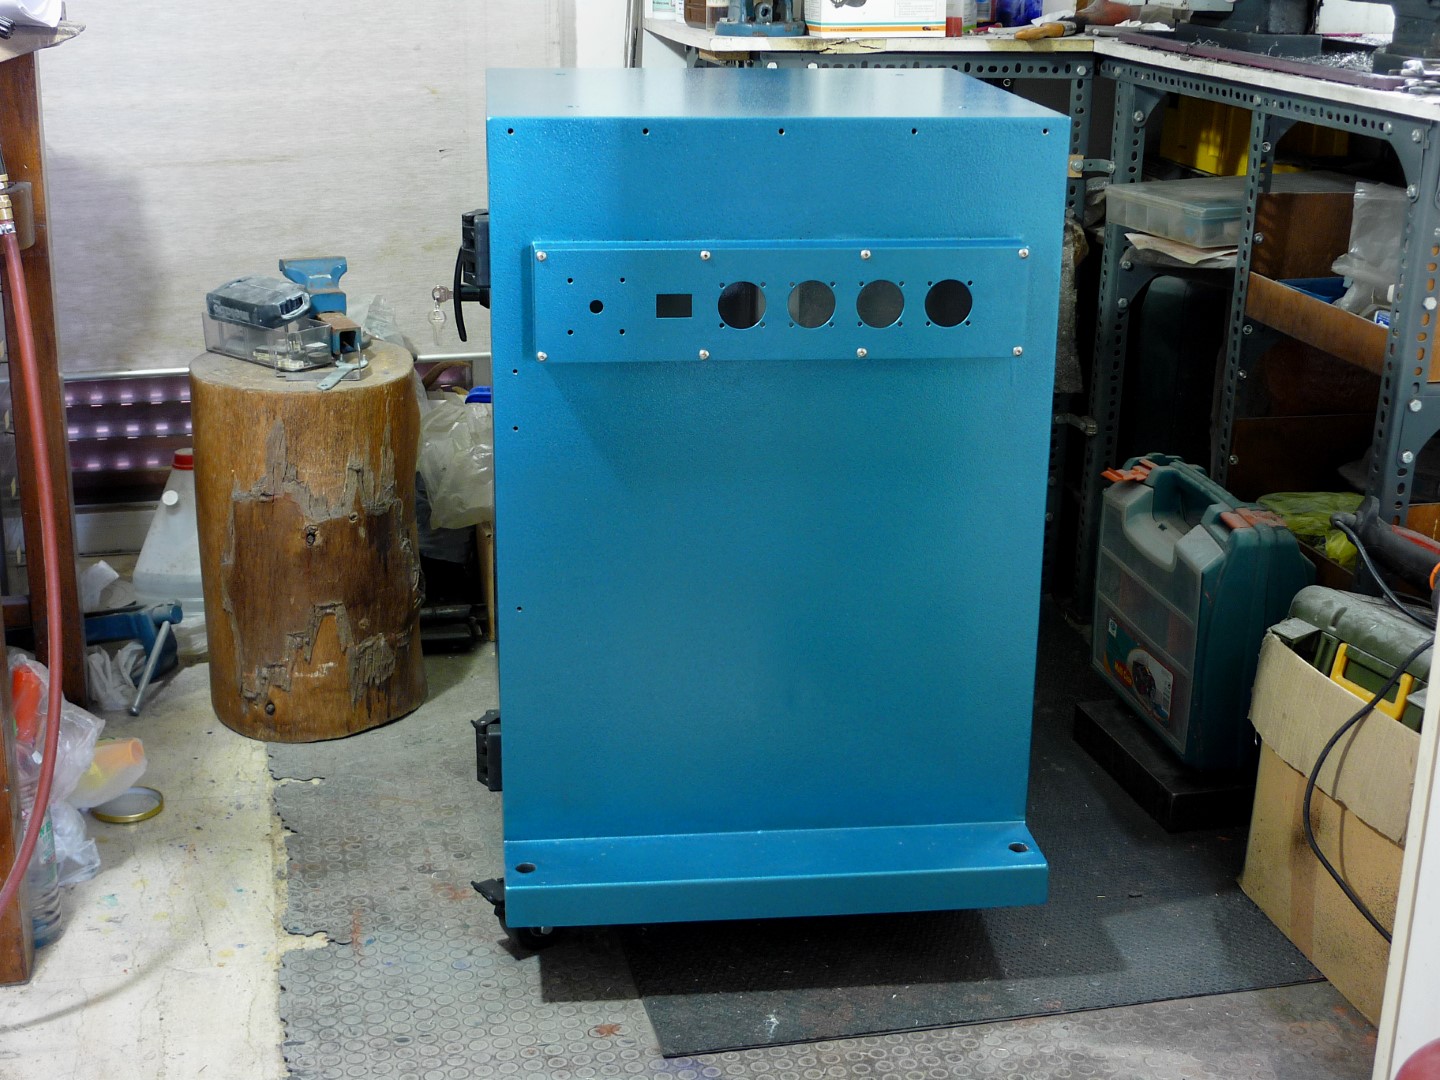
The perimeter and the bottom inside of base were covered with sheet metal 1.5mm thick, for the top I used a 5mm thick steel sheet.
Attachment 39529 Attachment 39530The base includes an electrical box.
Attachment 39531
The sleeves for mounting the castors are welded from the inside of the frame; the sleeves for the leveling feet are welded at both ends.
Attachment 39532 Attachment 39533This picture shows the cross beams of the upper frame.
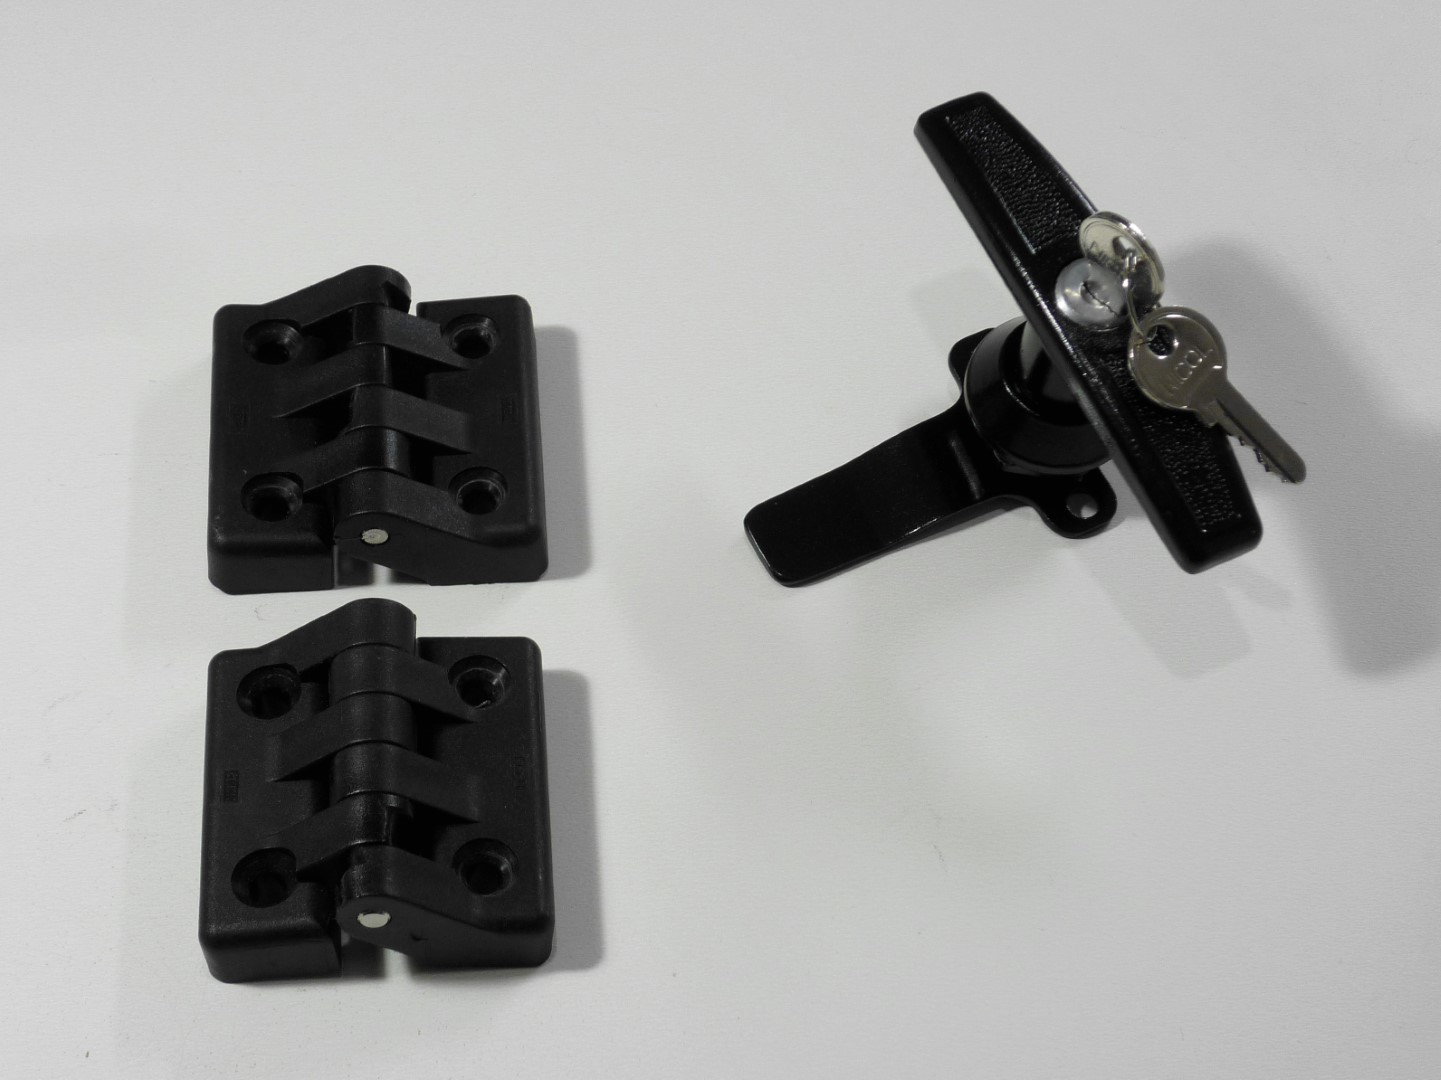
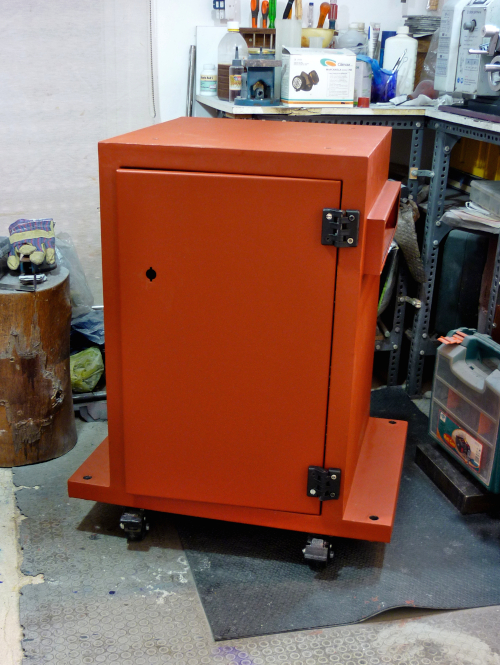
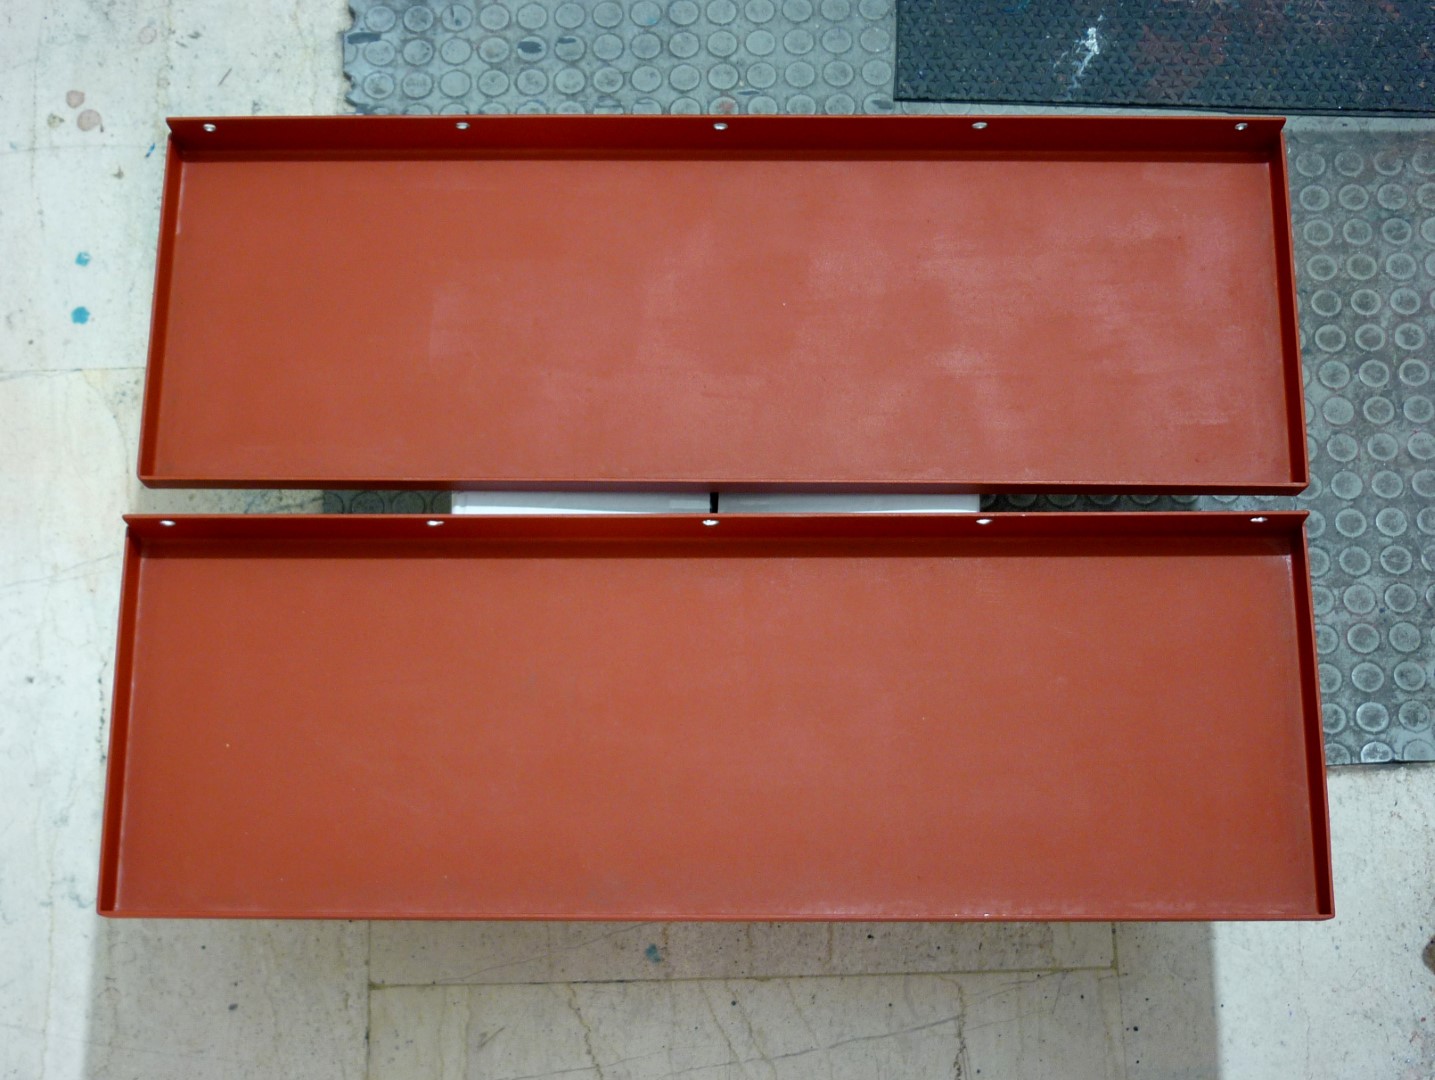
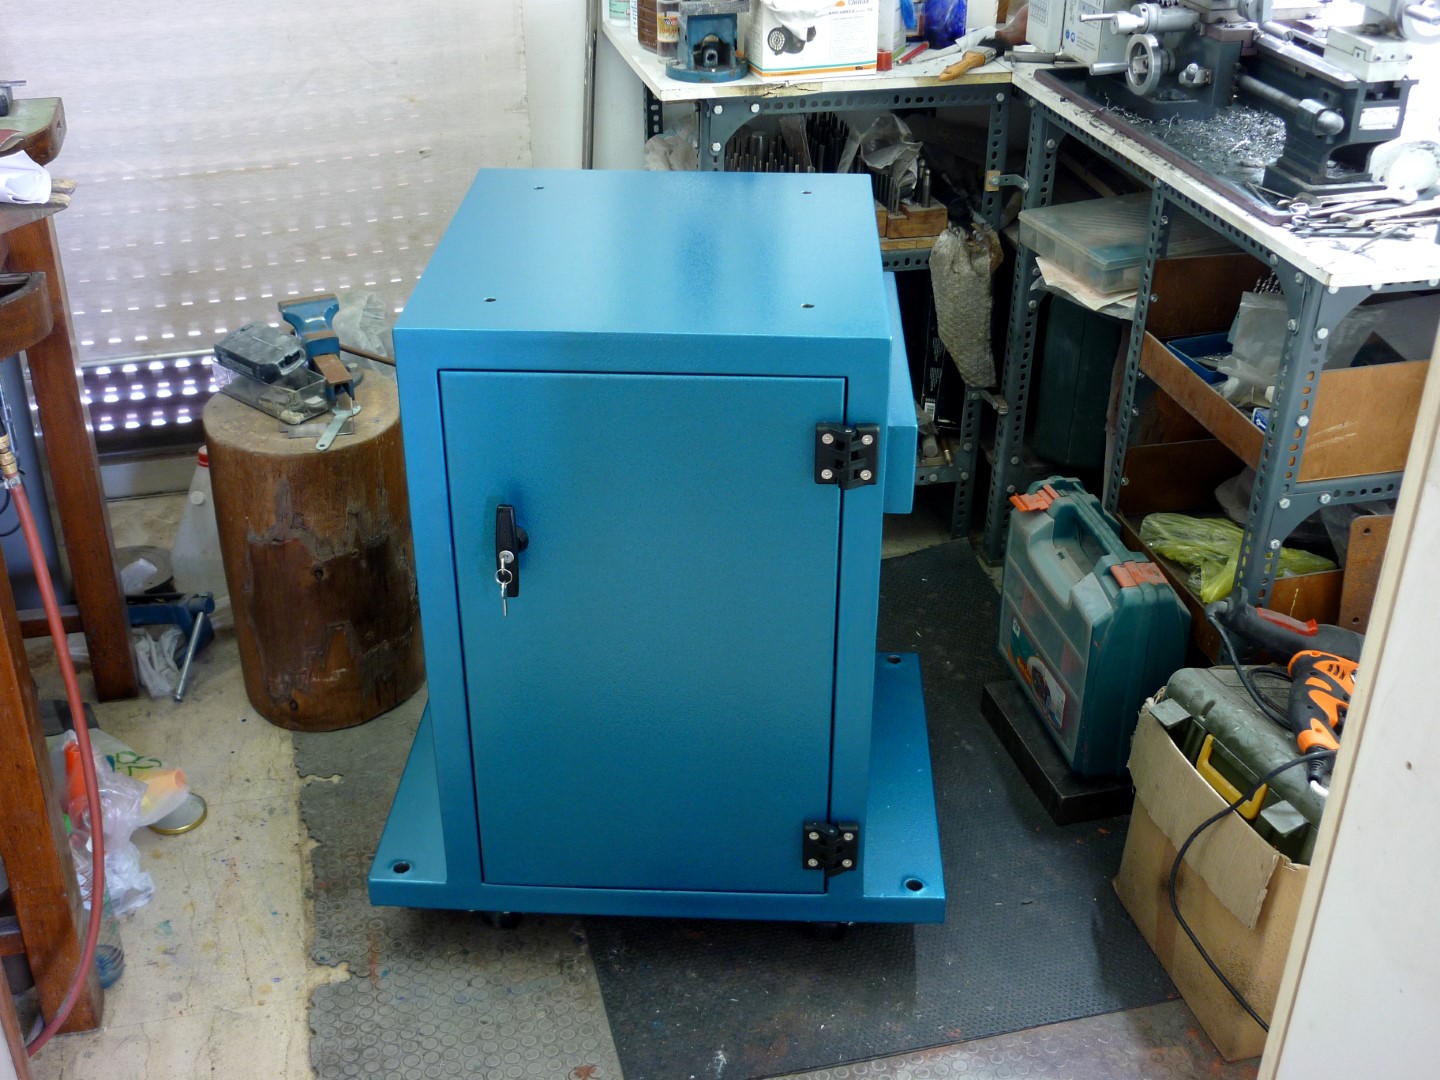
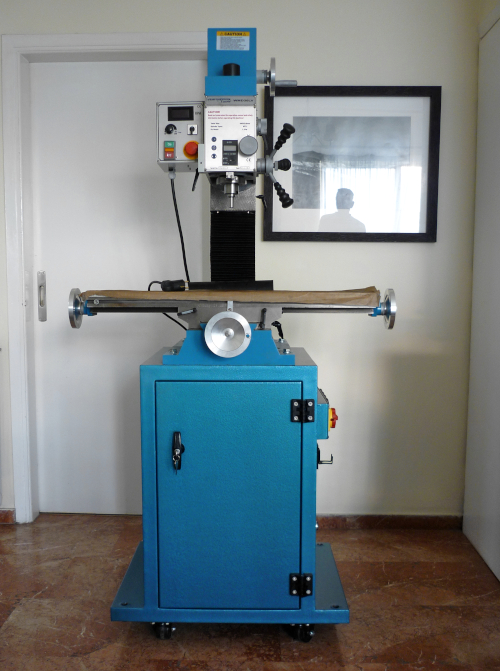
Glass reinforced plastic hinges and aluminum handle for the door of the base cabinet. A 2mm thick steel sheet was used for the door as well for the removable chip trays. The base measures in total H86xW70xD54cm.
Attachment 39534 Attachment 39535 Attachment 39536 Attachment 39537 Attachment 39540 Attachment 39541 Attachment 39542
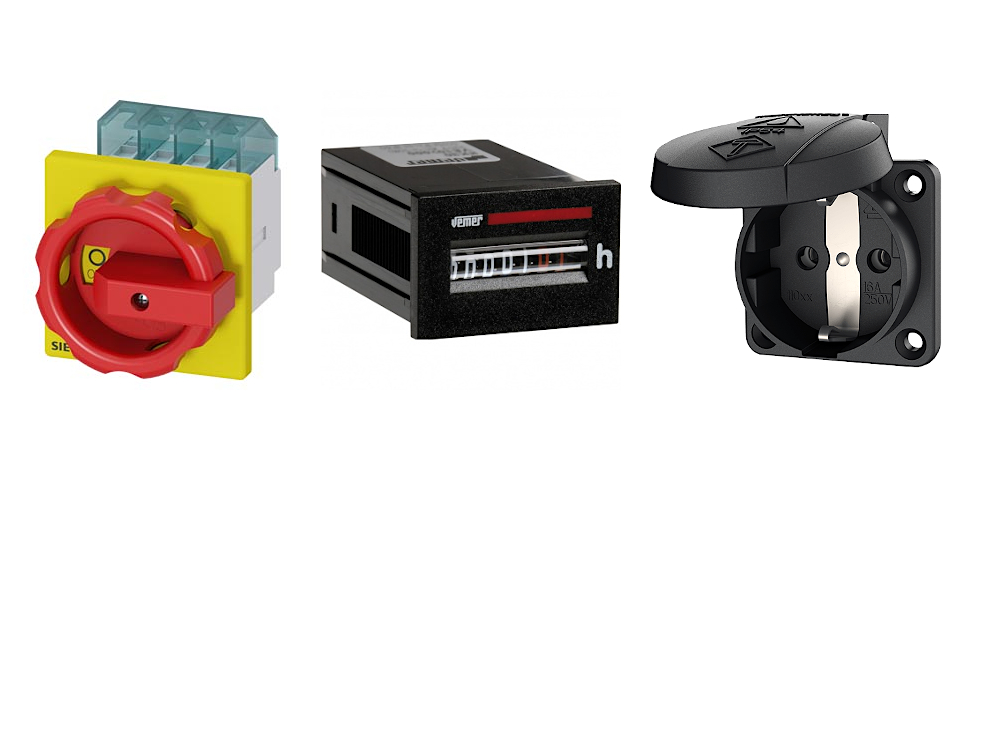
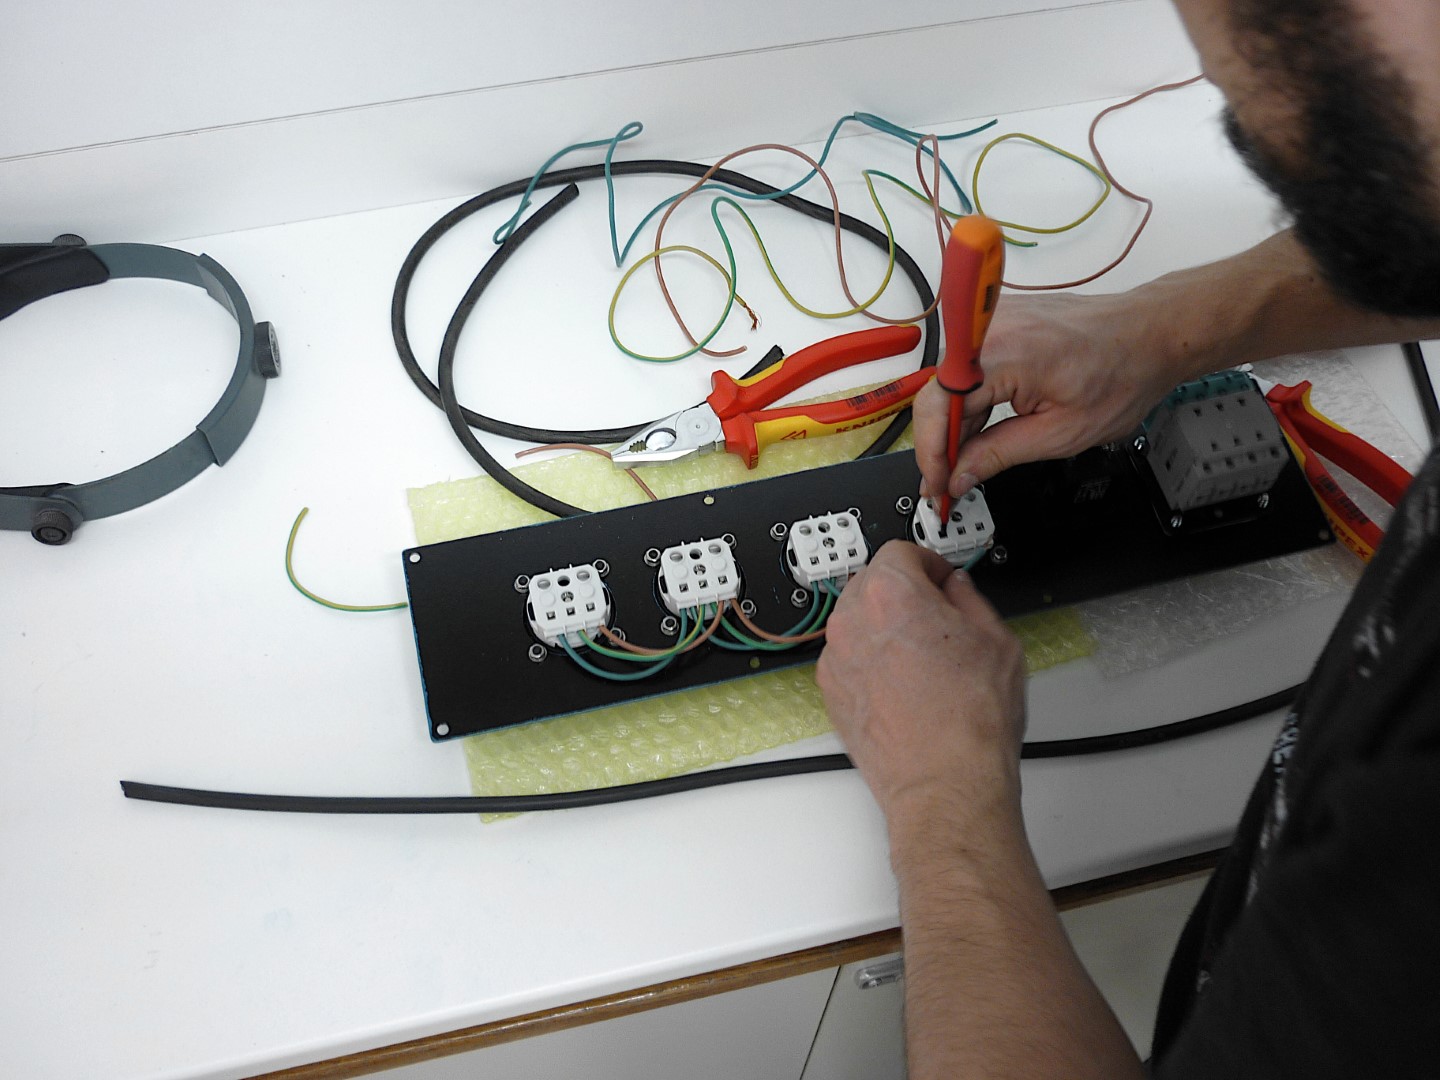
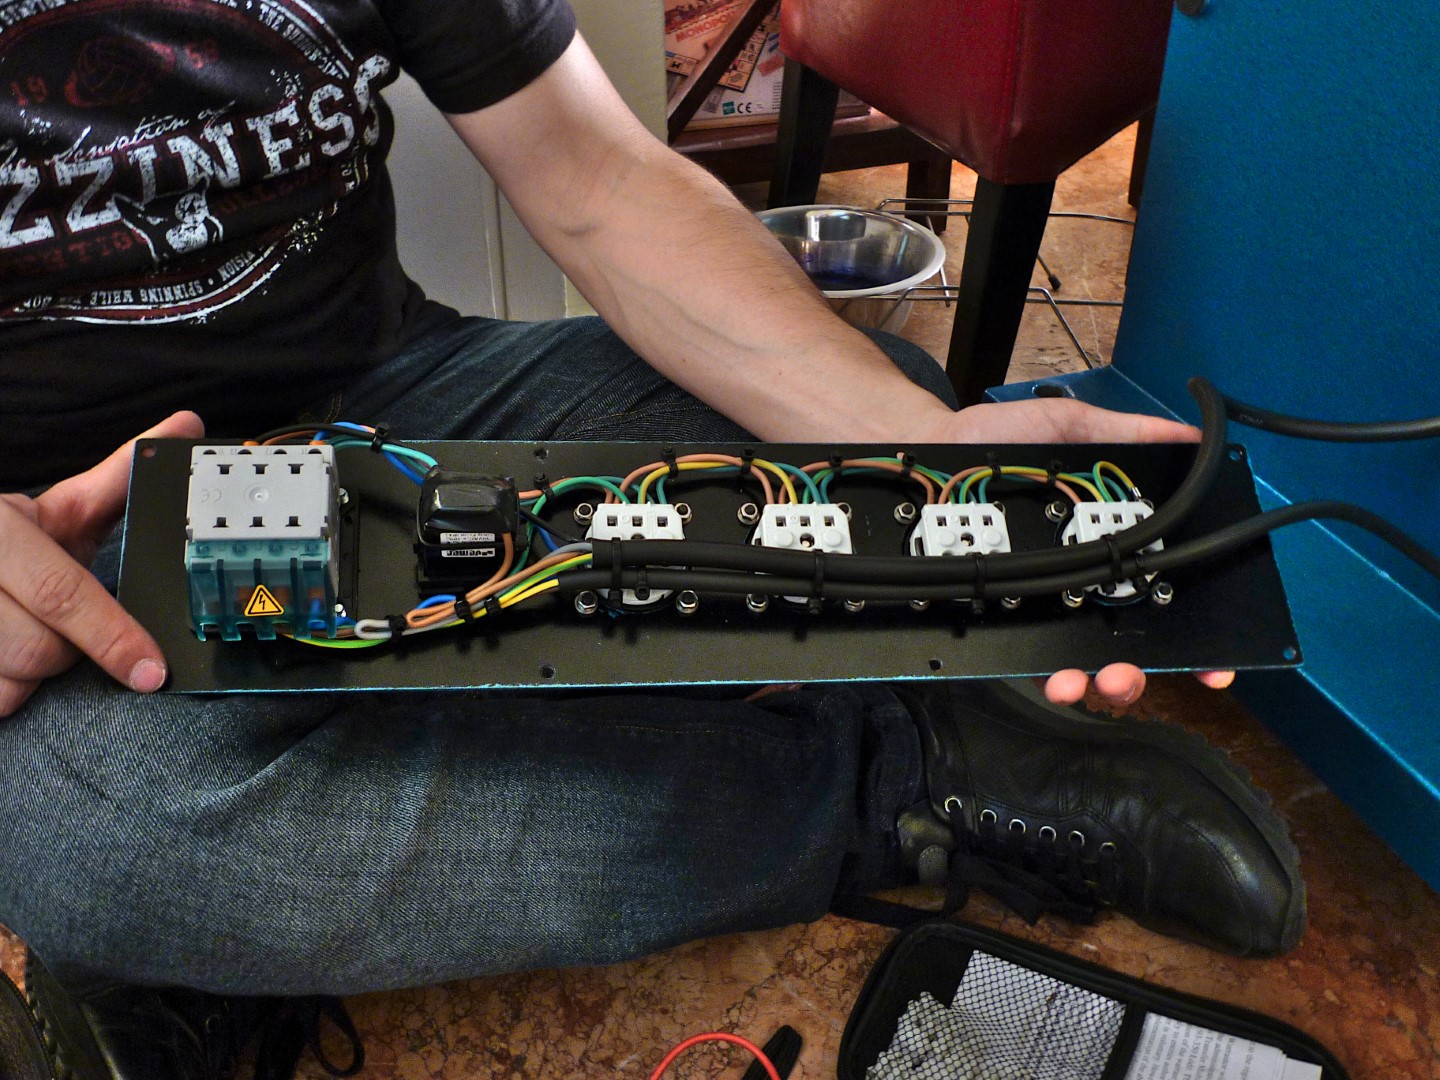
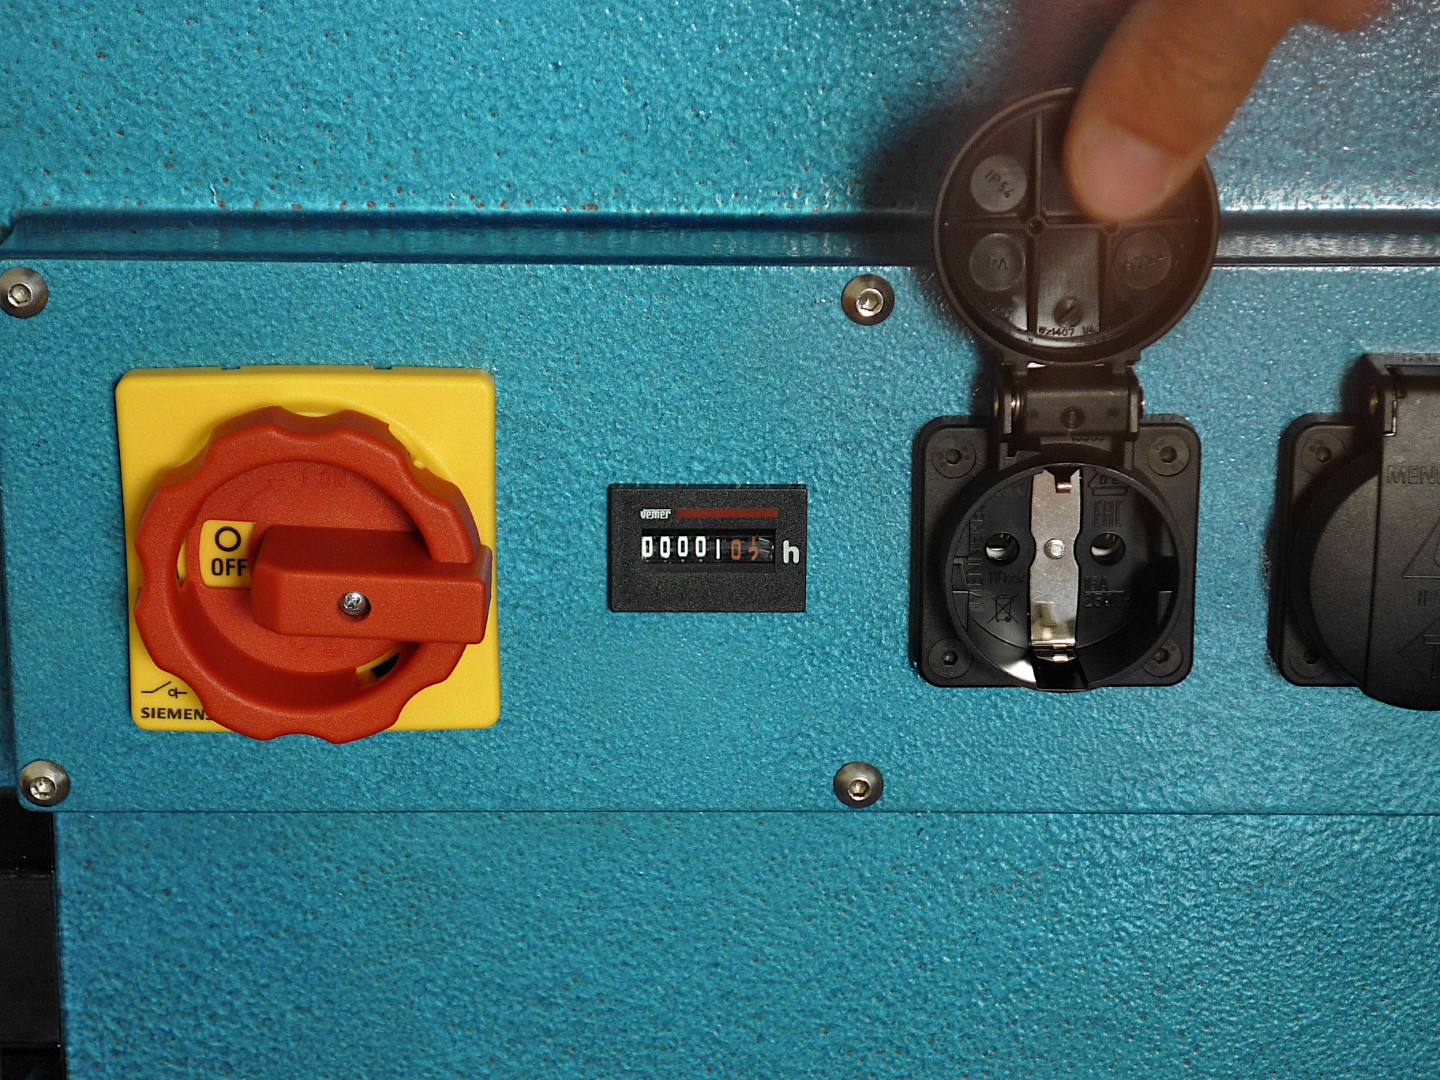
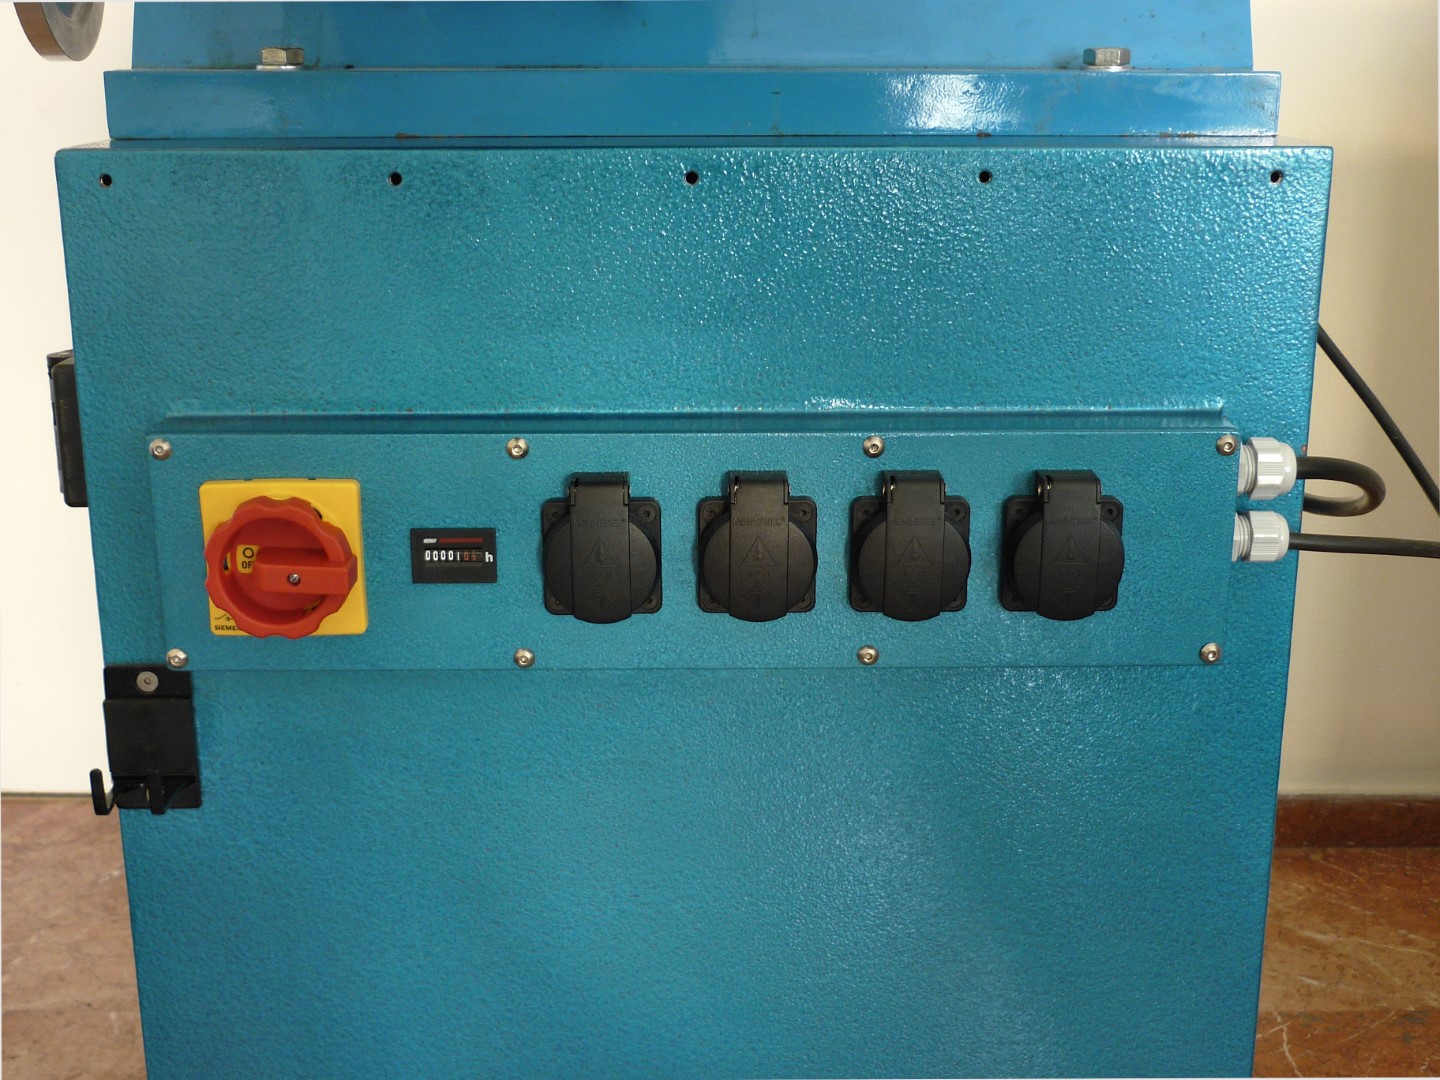
As for the electrical hardware is a main switch, an hour meter and four schuko sockets
Attachment 39538 Attachment 39539 Attachment 39543 Attachment 39544
As for the connections, my friend Kostas came to help
Attachment 39545 Attachment 39546
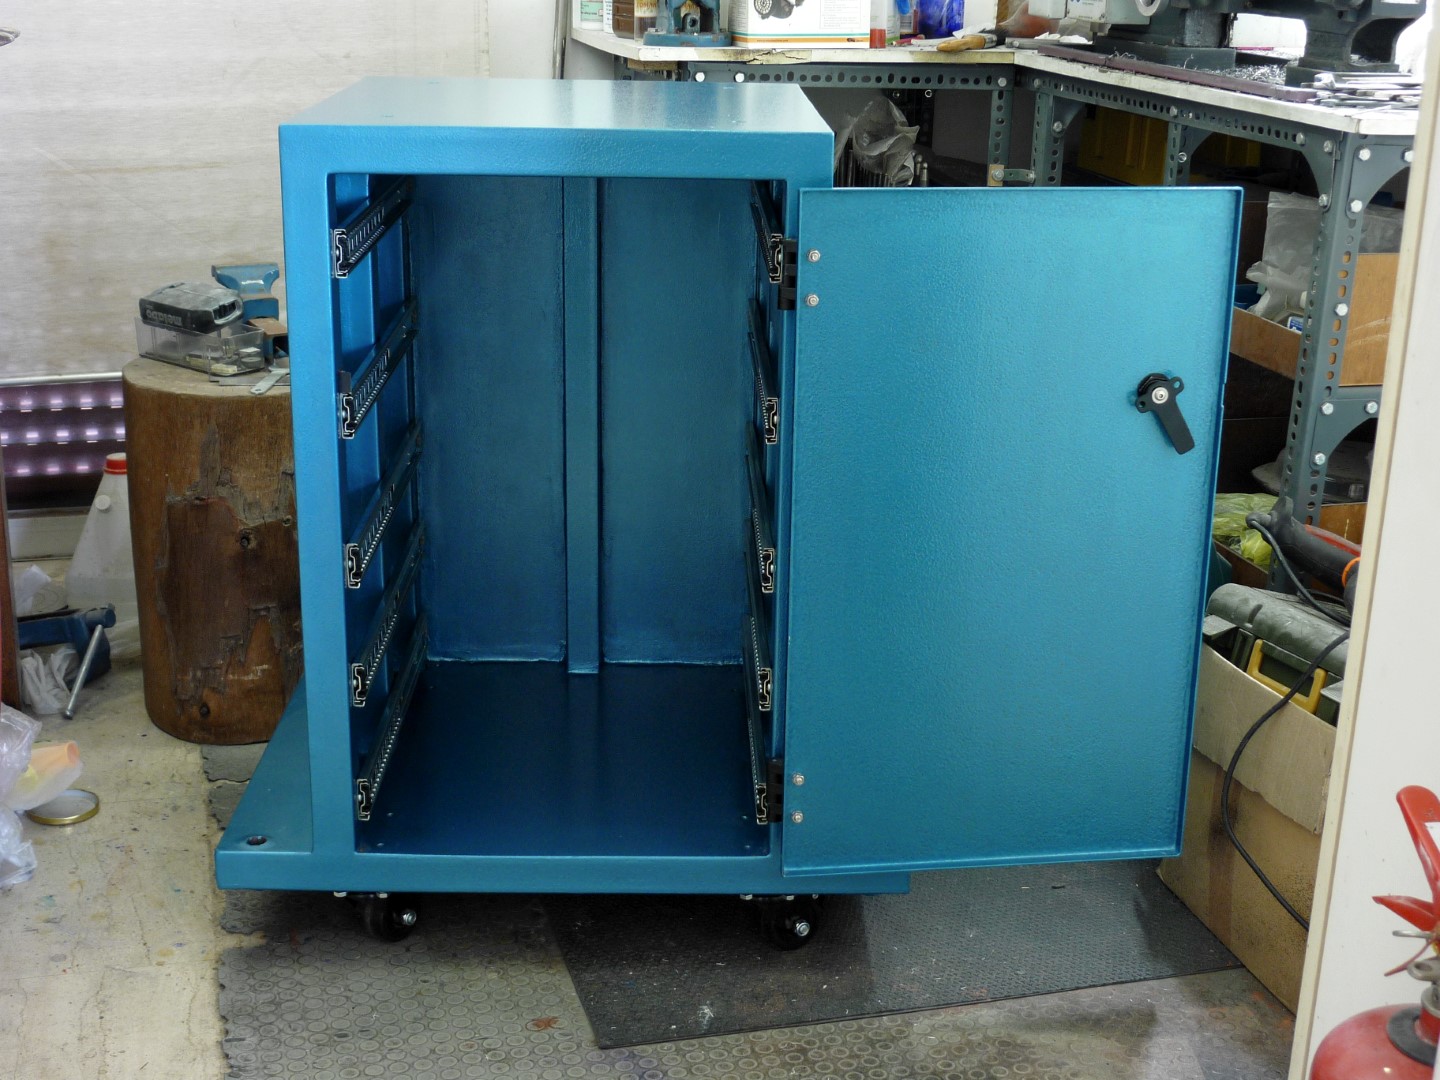
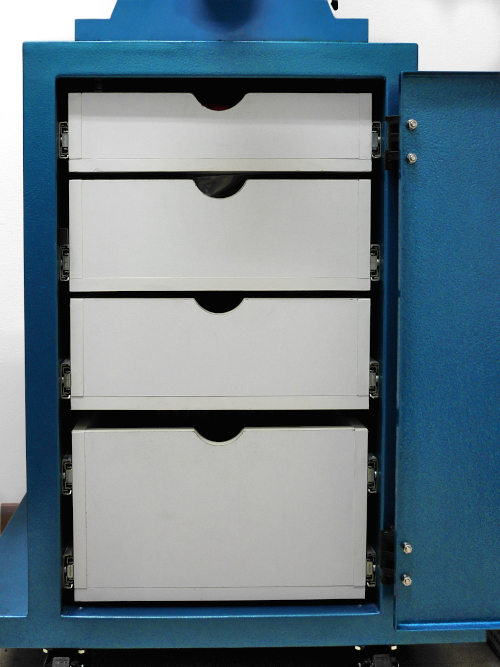
For the cabinet I made four drawers. These are on ball bearing rails. The bottom drawer has two sets of rails as extra support for the heavier tools of the mill such as a rotary table, vises, clamps etc.
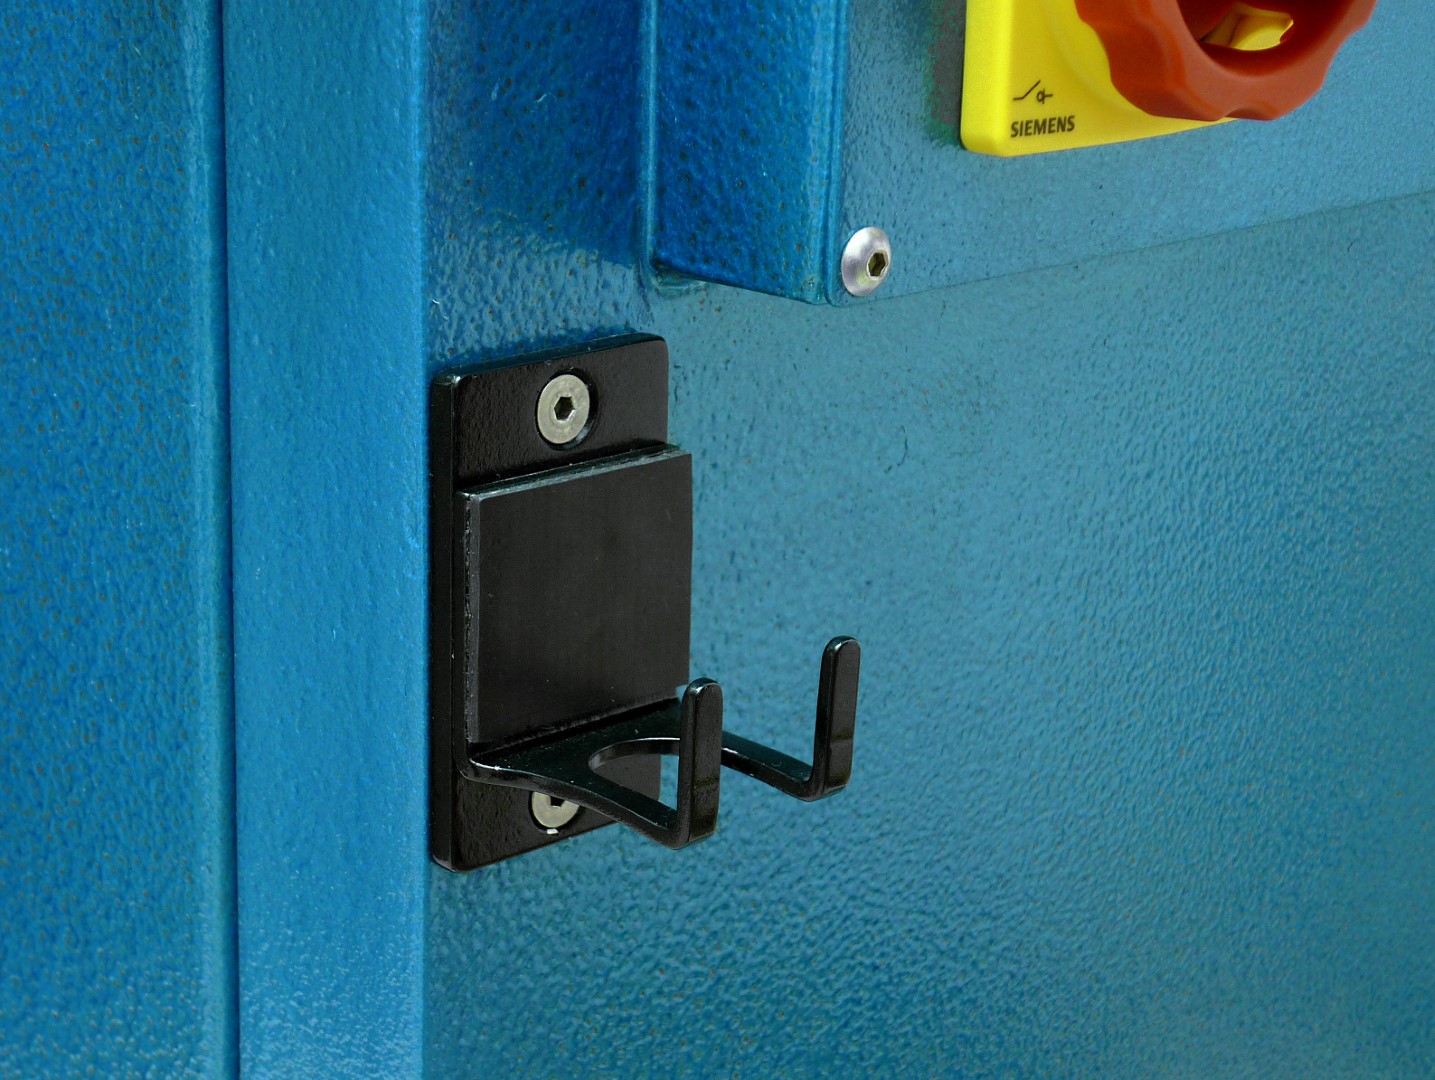
Attachment 39548 Attachment 39547I made a hanger for the vise handle as well.
Attachment 39549 Attachment 39550 Attachment 39551The approximate weight of the base is 110Kg
Attachment 39552 Attachment 39553 Attachment 39554 Attachment 39555
Regards from Greece
Dimitris
-
Very nice looking bench/ cabinet, well thought out and even better construction.
The electrical panel with extra outlets is a real good feature however the hour meter gets the golden crown in my book
All new machines should arrive from the manufacture with hour meters built right in
-
I agree with you, all machines from manufacture should have an hour meter built in. Thank you very much for your comment!
All the best
Dimitris
-
As usual, an beautifully crafted piece of work. Congratulations.
-
I'd hook the hour meter to the motor as that's what really matters. I could see lunch breaks, power on for setup lights, etc. giving false hour readings.
-
Glad to hear that you like it. Thank you for the comment!
All the best
-
Thank you for the comment! The hour meter is connected it to the motor, so it counts only when it starts running.
Regard
Dimitris
-
<!-- BEGIN /var/www/html/homemadetools/protected/modules/zeus/views/tool/postUpdate.php -->
Thanks Dimitris Polychronis! We've added your Milling Machine Base to our Storage and Organization category,
as well as to your builder page: Dimitris Polychronis's Homemade Tools. Your receipt:
<div id="blocks">
<div class="block b1 pngfix">
<div class="bimg">
<div>
<a href="https://www.homemadetools.net/homemade-milling-machine-base-2">
<img src="/uploads/249032/homemade-milling-machine-base-2.jpeg"/>
</a>
</div>
</div>
<div class="head pngfix"></div>
<div class="left pngfix"></div>
<div class="right pngfix"></div>
<div class="blockover b1 pngfix">
<div class="title">
<a href="https://www.homemadetools.net/homemade-milling-machine-base-2">Milling Machine Base</a>
<span> by <a href="https://www.homemadetools.net/builder/Dimitris+Polychronis">Dimitris Polychronis</a></span>
</div>
<div class="tags">tags:
<a href='https://www.homemadetools.net/tag/milling'>milling</a>, <a href='https://www.homemadetools.net/tag/cabinet'>cabinet</a>, <a href='https://www.homemadetools.net/tag/mill'>mill</a>, <a href='https://www.homemadetools.net/tag/base'>base</a>, <a href='https://www.homemadetools.net/tag/casters'>caster(s)</a> </div>
</div>
</div>
</div>
<!-- END /var/www/html/homemadetools/protected/modules/zeus/views/tool/postUpdate.php -->
-
Very similar to one which I built for my milling machine in 2019.
https://www.homemadetools.net/forum/...938aKq5R//2Q==