
 LinkBack URL
 About LinkBacks

.
The part I was interested in most at this point, was the tiny 2" hss saw blade which had come from a mini hobby chop saw (the motor given out so I harvested the good bits). My blade has lost the writing on it from being used so here is a pic I got from tinterwebs of t= "Pin It")
Hi folks
My next tool was going to be a dovetail cutter but I came across a tub of parts for a project I had squirreled away long before I had got my machines (I plan long term).
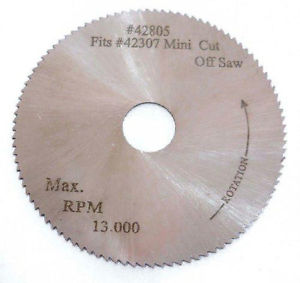
The part I was interested in most at this point, was the tiny 2" hss saw blade which had come from a mini hobby chop saw (the motor given out so I harvested the good bits). My blade has lost the writing on it from being used so here is a pic I got from tinterwebs of the same type of saw blade:
I have a lot of plans for mine but as I'm on a shop tool making spree right now, I thought I'd make a mini slitting saw arbour for it as one would be right handy for separating some T nuts I'm making.
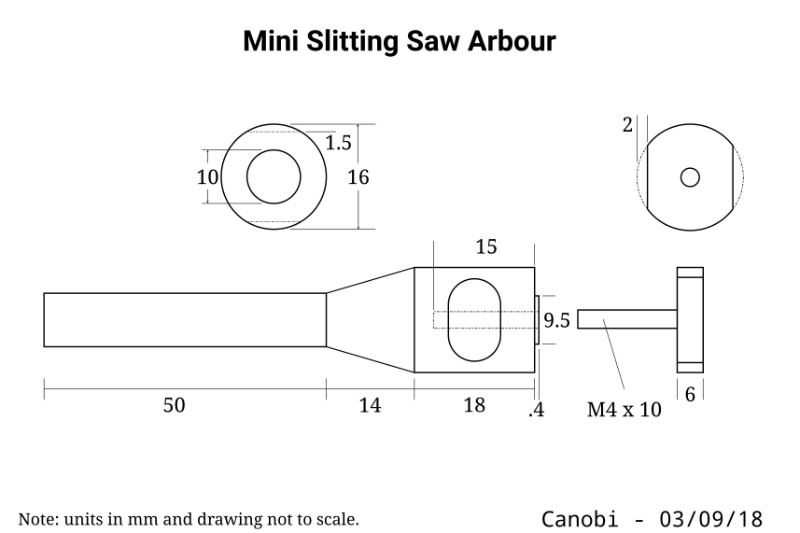
This time I decided to make a rough sketch of the arbour as a reference;
So with sketch on hand, the first task was to chop a length off of some 1" mystery metal bar stock. I chose to use this one as it turns really nicely and I can get a good shine on it after turning. I think it's a bright mild, no blue chips from it as I remember but they do turn a deep gold/straw:
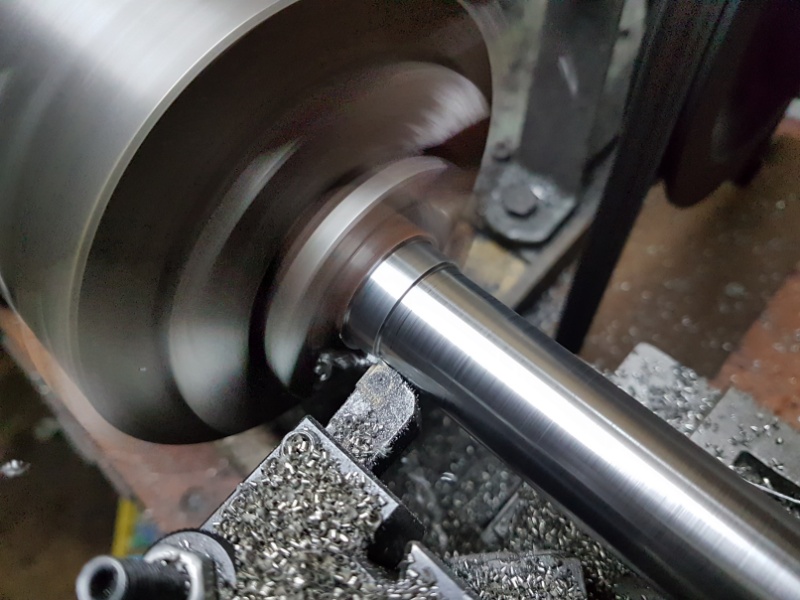
Once I'd sliced off a piece, I chucked it up, faced it and drilled a centre hole for turning with a dead centre. Once that was done, I skimmed off a layer, took measurments and had at it till it was just over my chosen major dimention of 16mm:
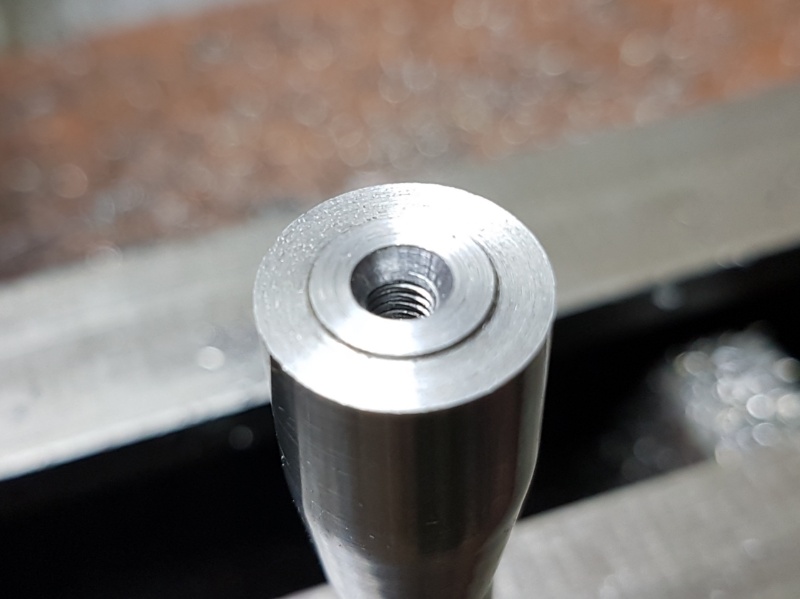
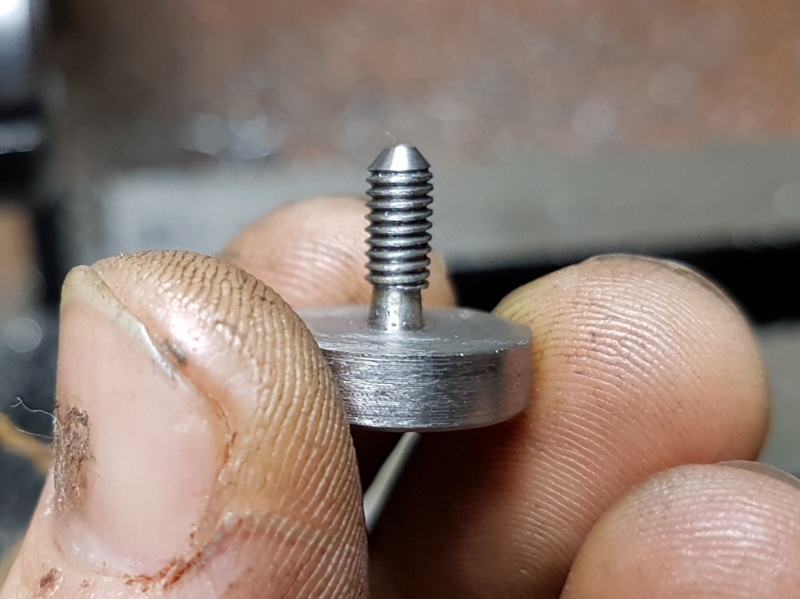
I then "blued" it for making my length marks and flipped it round to turn the other end down to size, closely followed by drilling and tapping the M4 hole:
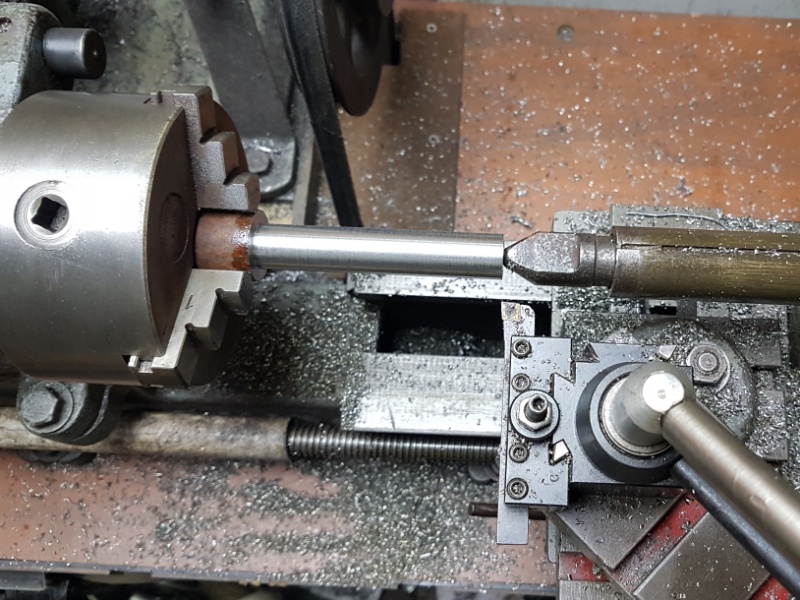
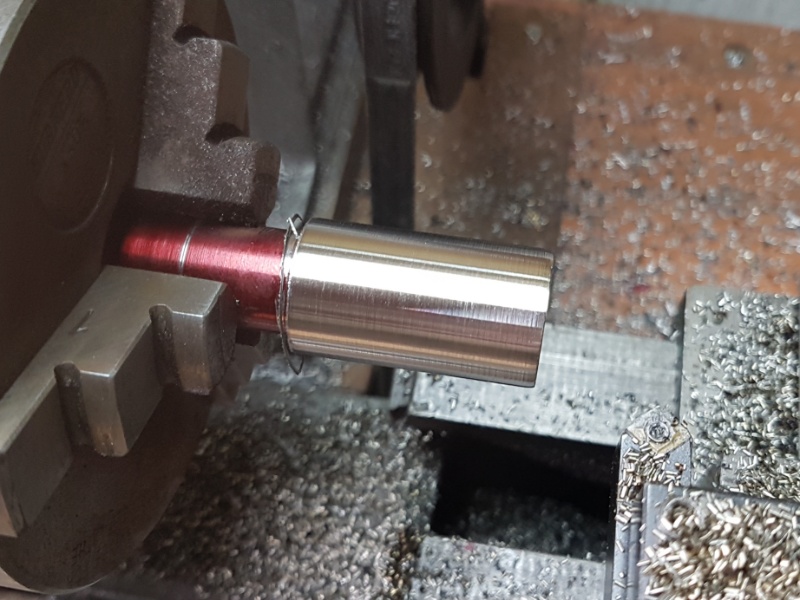
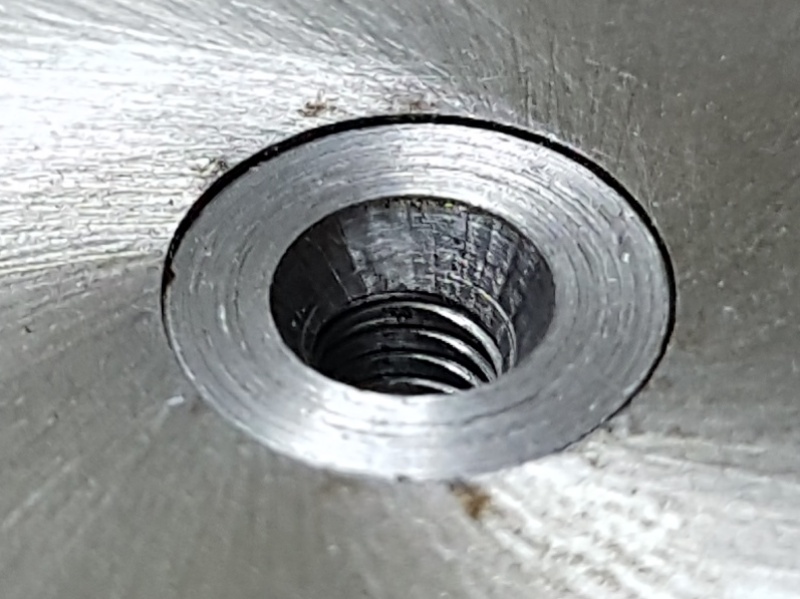
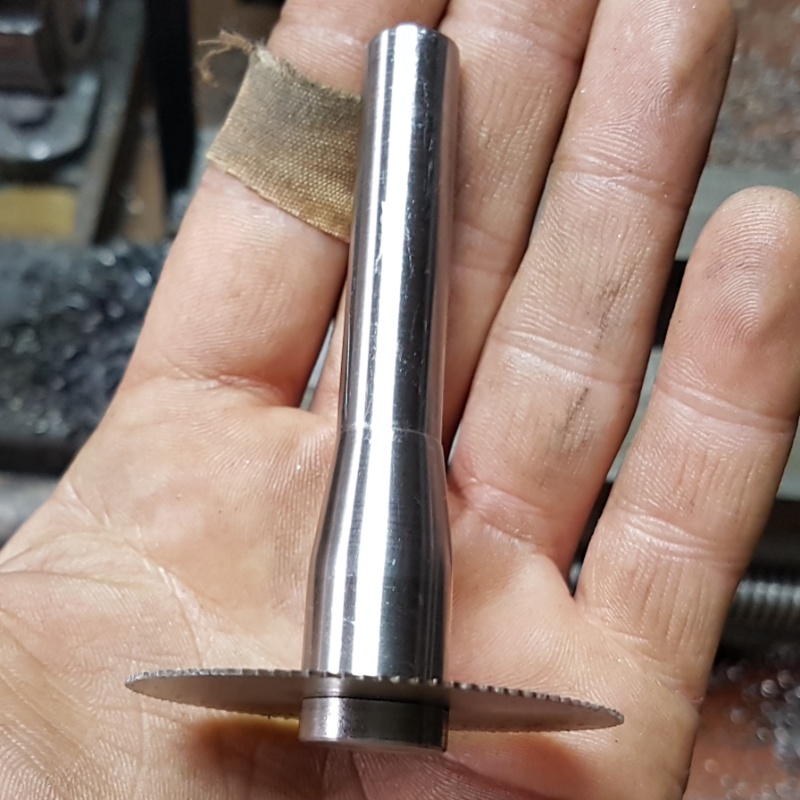
I left the head of the arbour a bit long, in case I fluffed up the critical tolerances for the 9.5 x .4mm high raised bit that fits in the blade's bore, which I did but I managed to get it dead nuts on the second time round so I chamfered the hole, flipped it round again and finished turning the main shank of the arbour. I then gave the whole thing a sanding with some 350 grit and a buffing with some schotchbright:
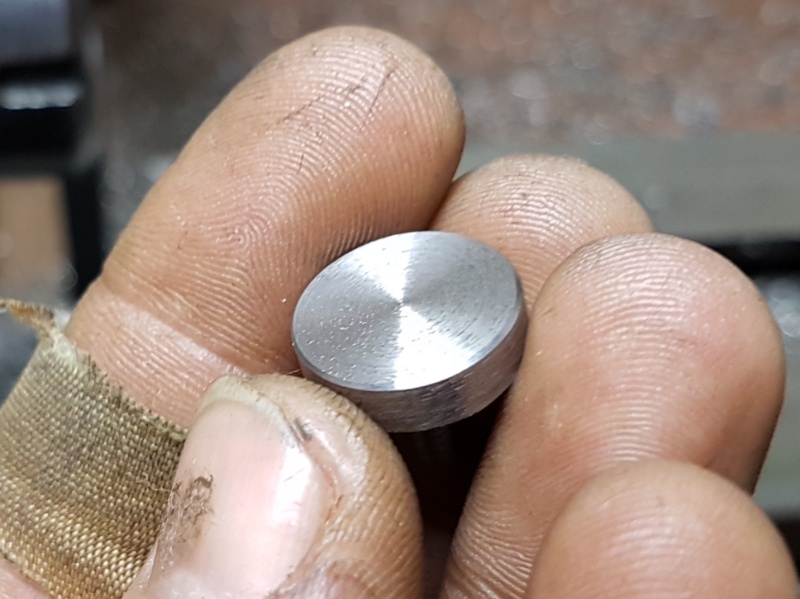
Last task was to make the arbour's little clamp nut. For that I used the portion of the bar I had parted off just prior to facing the head to length. It was a pretty straightforward job so didn't think of taking WIP pics, my humblest apologies:
Still have to mill the flats and give it a polish but it's very nearly there
Thanks to all of you for the great tips, ideas and support, keep those chips flying and stay safe


 Reply With Quote

Bookmarks