-
2 Attachment(s)
new guy?
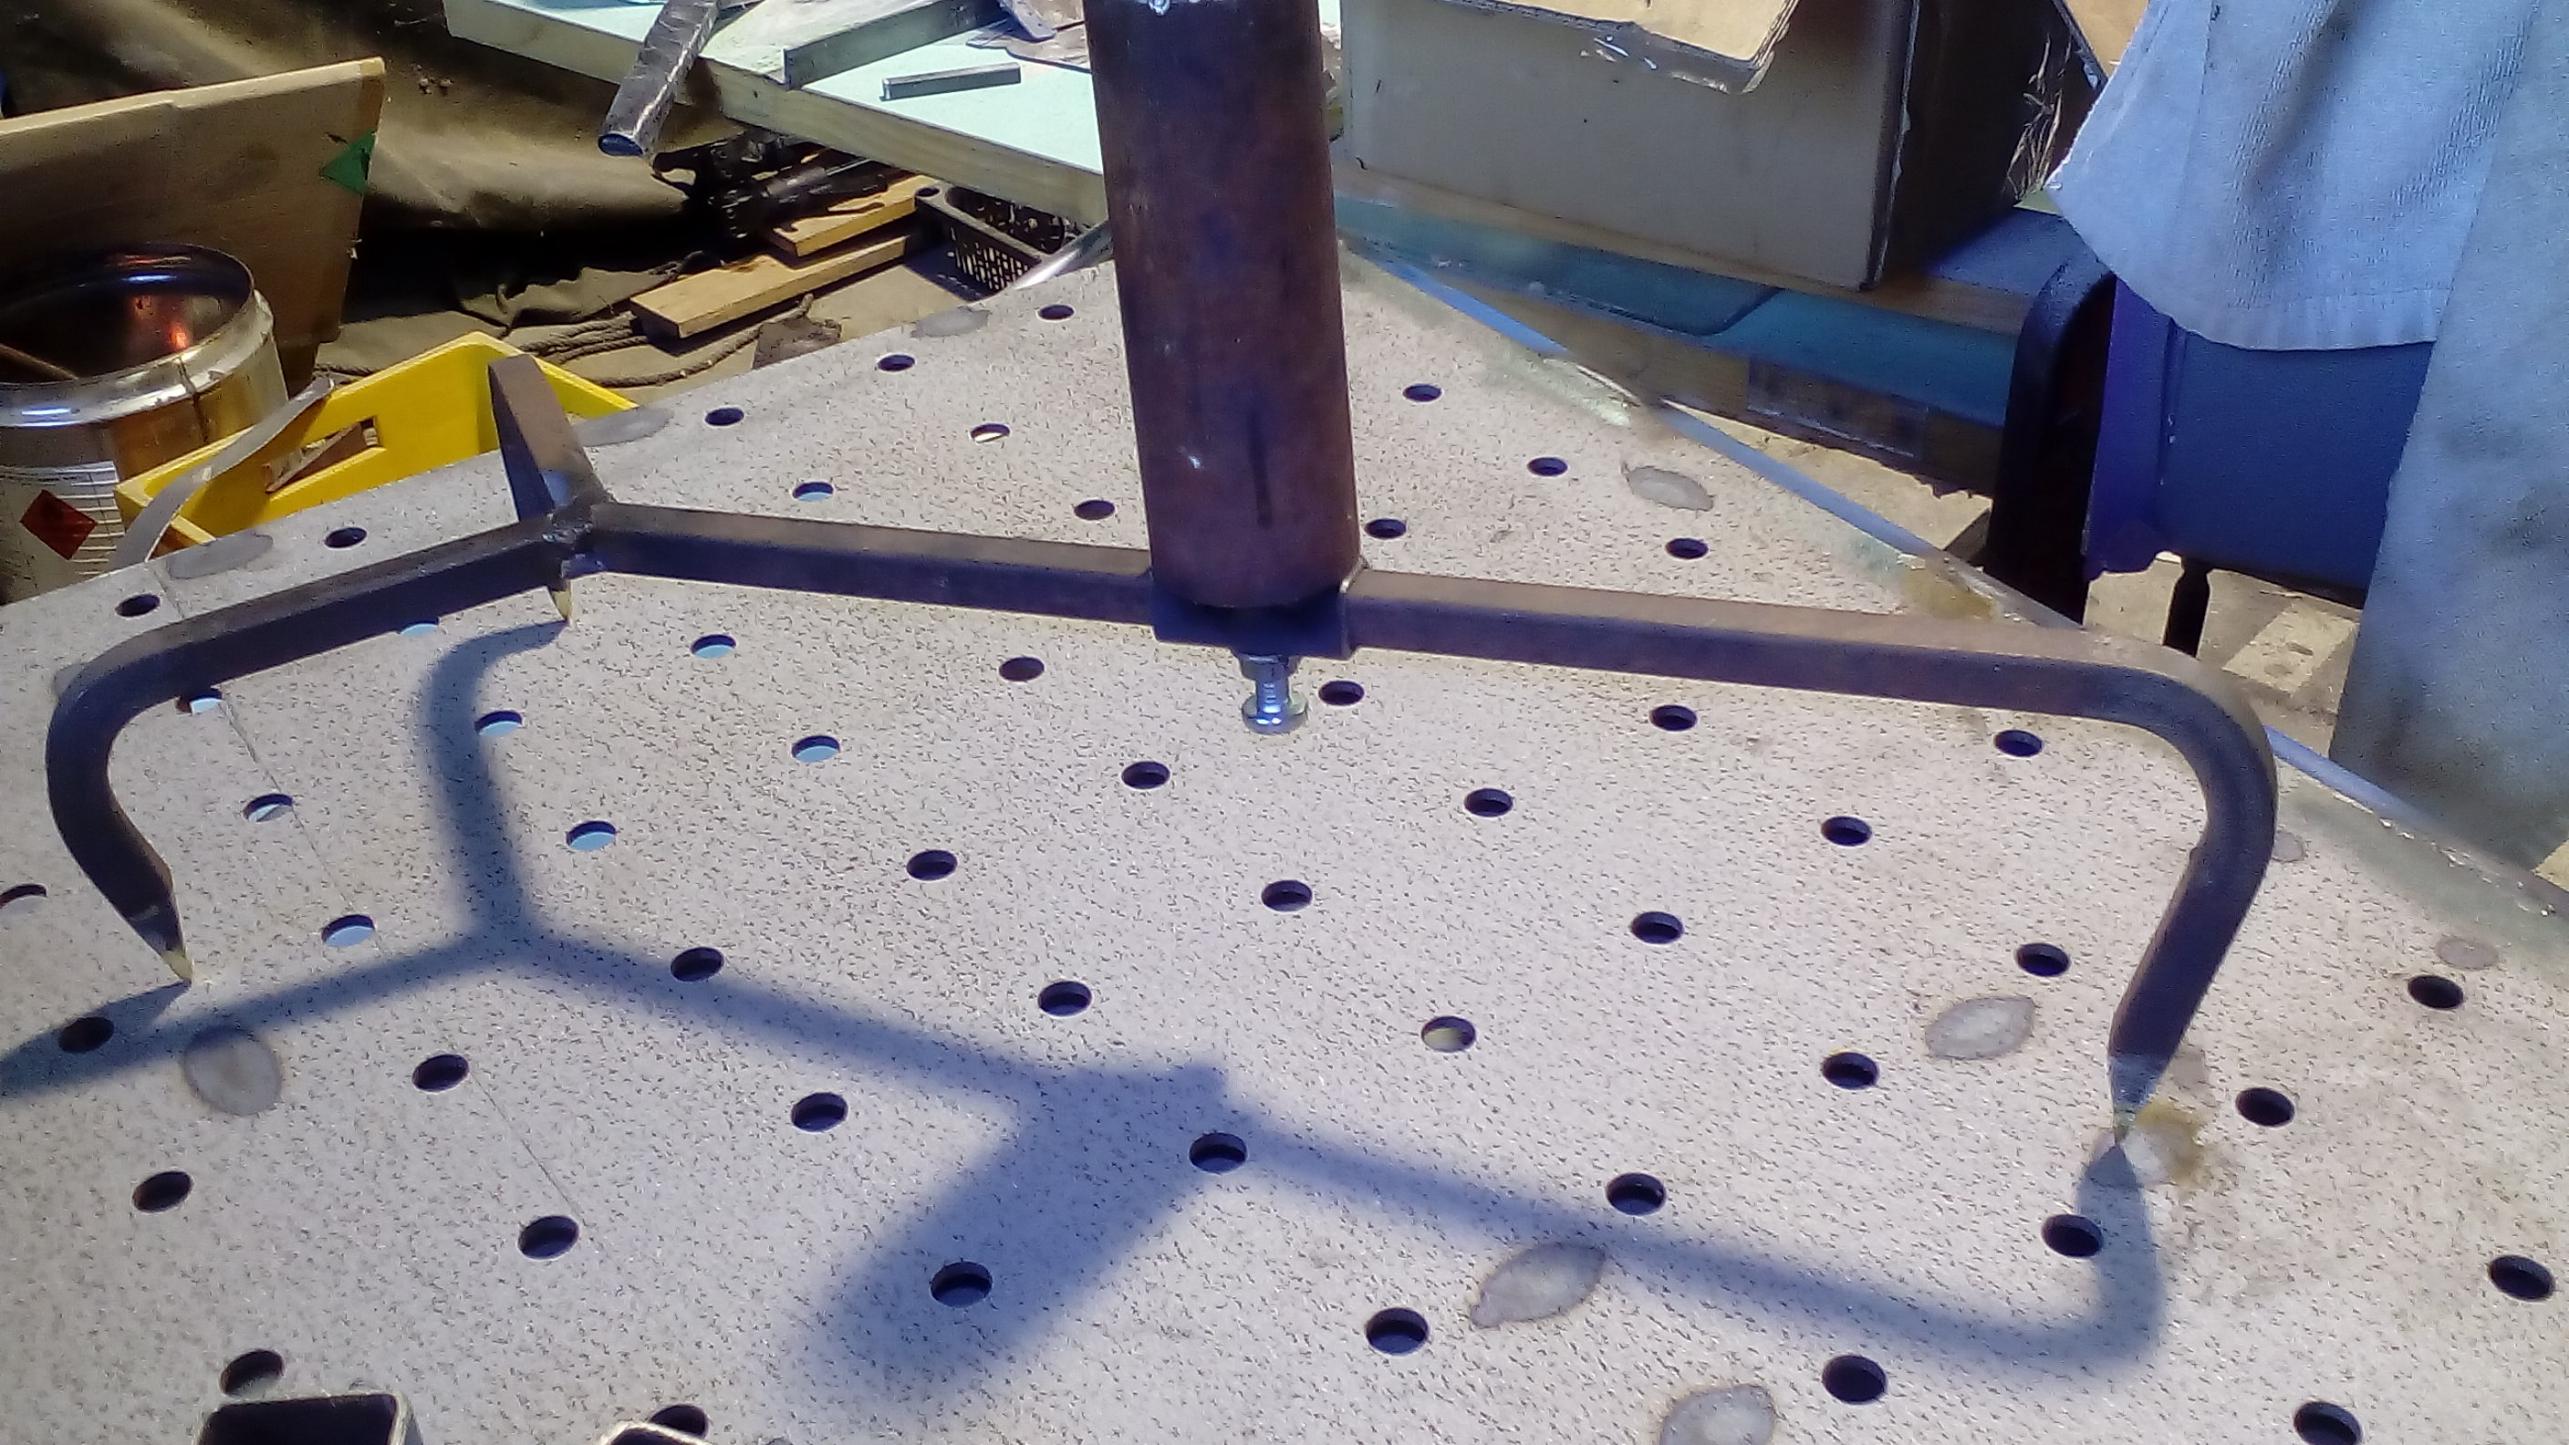
Attachment 13191Attachment 13190Hello fellow forum members, my name is carl. I am a welder/fabricator from oz, I make a lot of my own tools and am looking forward to sharing ideas with you. These are a couple of tools I made recently, welding work holder, and butt welding clamps,
-
Hi Carl - welcome to HomemadeTools.net :welcome:
Very nice. What's next up on your build list?
-
<!-- BEGIN /var/www/html/homemadetools/protected/modules/zeus/views/tool/postUpdate.php -->
Thanks carlos80! We've added your Welding Work Holder to our Welding category,
as well as to your builder page: carlos80's Homemade Tools. Your receipt:
<div id="blocks">
<div class="block b1 pngfix">
<div class="bimg">
<div>
<a href="http://www.homemadetools.net/homemade-welding-work-holder">
<img src="/uploads/155897/homemade-welding-work-holder.jpeg"/>
</a>
</div>
</div>
<div class="head pngfix"></div>
<div class="left pngfix"></div>
<div class="right pngfix"></div>
<div class="blockover b1 pngfix">
<div class="title">
<a href="http://www.homemadetools.net/homemade-welding-work-holder">Welding Work Holder</a>
<span> by <a href="http://www.homemadetools.net/builder/carlos80">carlos80</a></span>
</div>
<div class="tags">tags:
<a href='http://www.homemadetools.net/tag/welding'>welding</a> </div>
</div>
</div>
</div>
<!-- END /var/www/html/homemadetools/protected/modules/zeus/views/tool/postUpdate.php -->
-
<!-- BEGIN /var/www/html/homemadetools/protected/modules/zeus/views/tool/postUpdate.php -->
Thanks carlos80! We've added your Butt Welding Clamps to our Welding category,
as well as to your builder page: carlos80's Homemade Tools. Your receipt:
<div id="blocks">
<div class="block b1 pngfix">
<div class="bimg">
<div>
<a href="http://www.homemadetools.net/homemade-butt-welding-clamps">
<img src="/uploads/155901/homemade-butt-welding-clamps.jpeg"/>
</a>
</div>
</div>
<div class="head pngfix"></div>
<div class="left pngfix"></div>
<div class="right pngfix"></div>
<div class="blockover b1 pngfix">
<div class="title">
<a href="http://www.homemadetools.net/homemade-butt-welding-clamps">Butt Welding Clamps</a>
<span> by <a href="http://www.homemadetools.net/builder/carlos80">carlos80</a></span>
</div>
<div class="tags">tags:
<a href='http://www.homemadetools.net/tag/clamp'>clamp</a>, <a href='http://www.homemadetools.net/tag/welding'>welding</a> </div>
</div>
</div>
</div>
<!-- END /var/www/html/homemadetools/protected/modules/zeus/views/tool/postUpdate.php -->
-
Thanks for adding my tools guys, I will write some instructions up for them
-
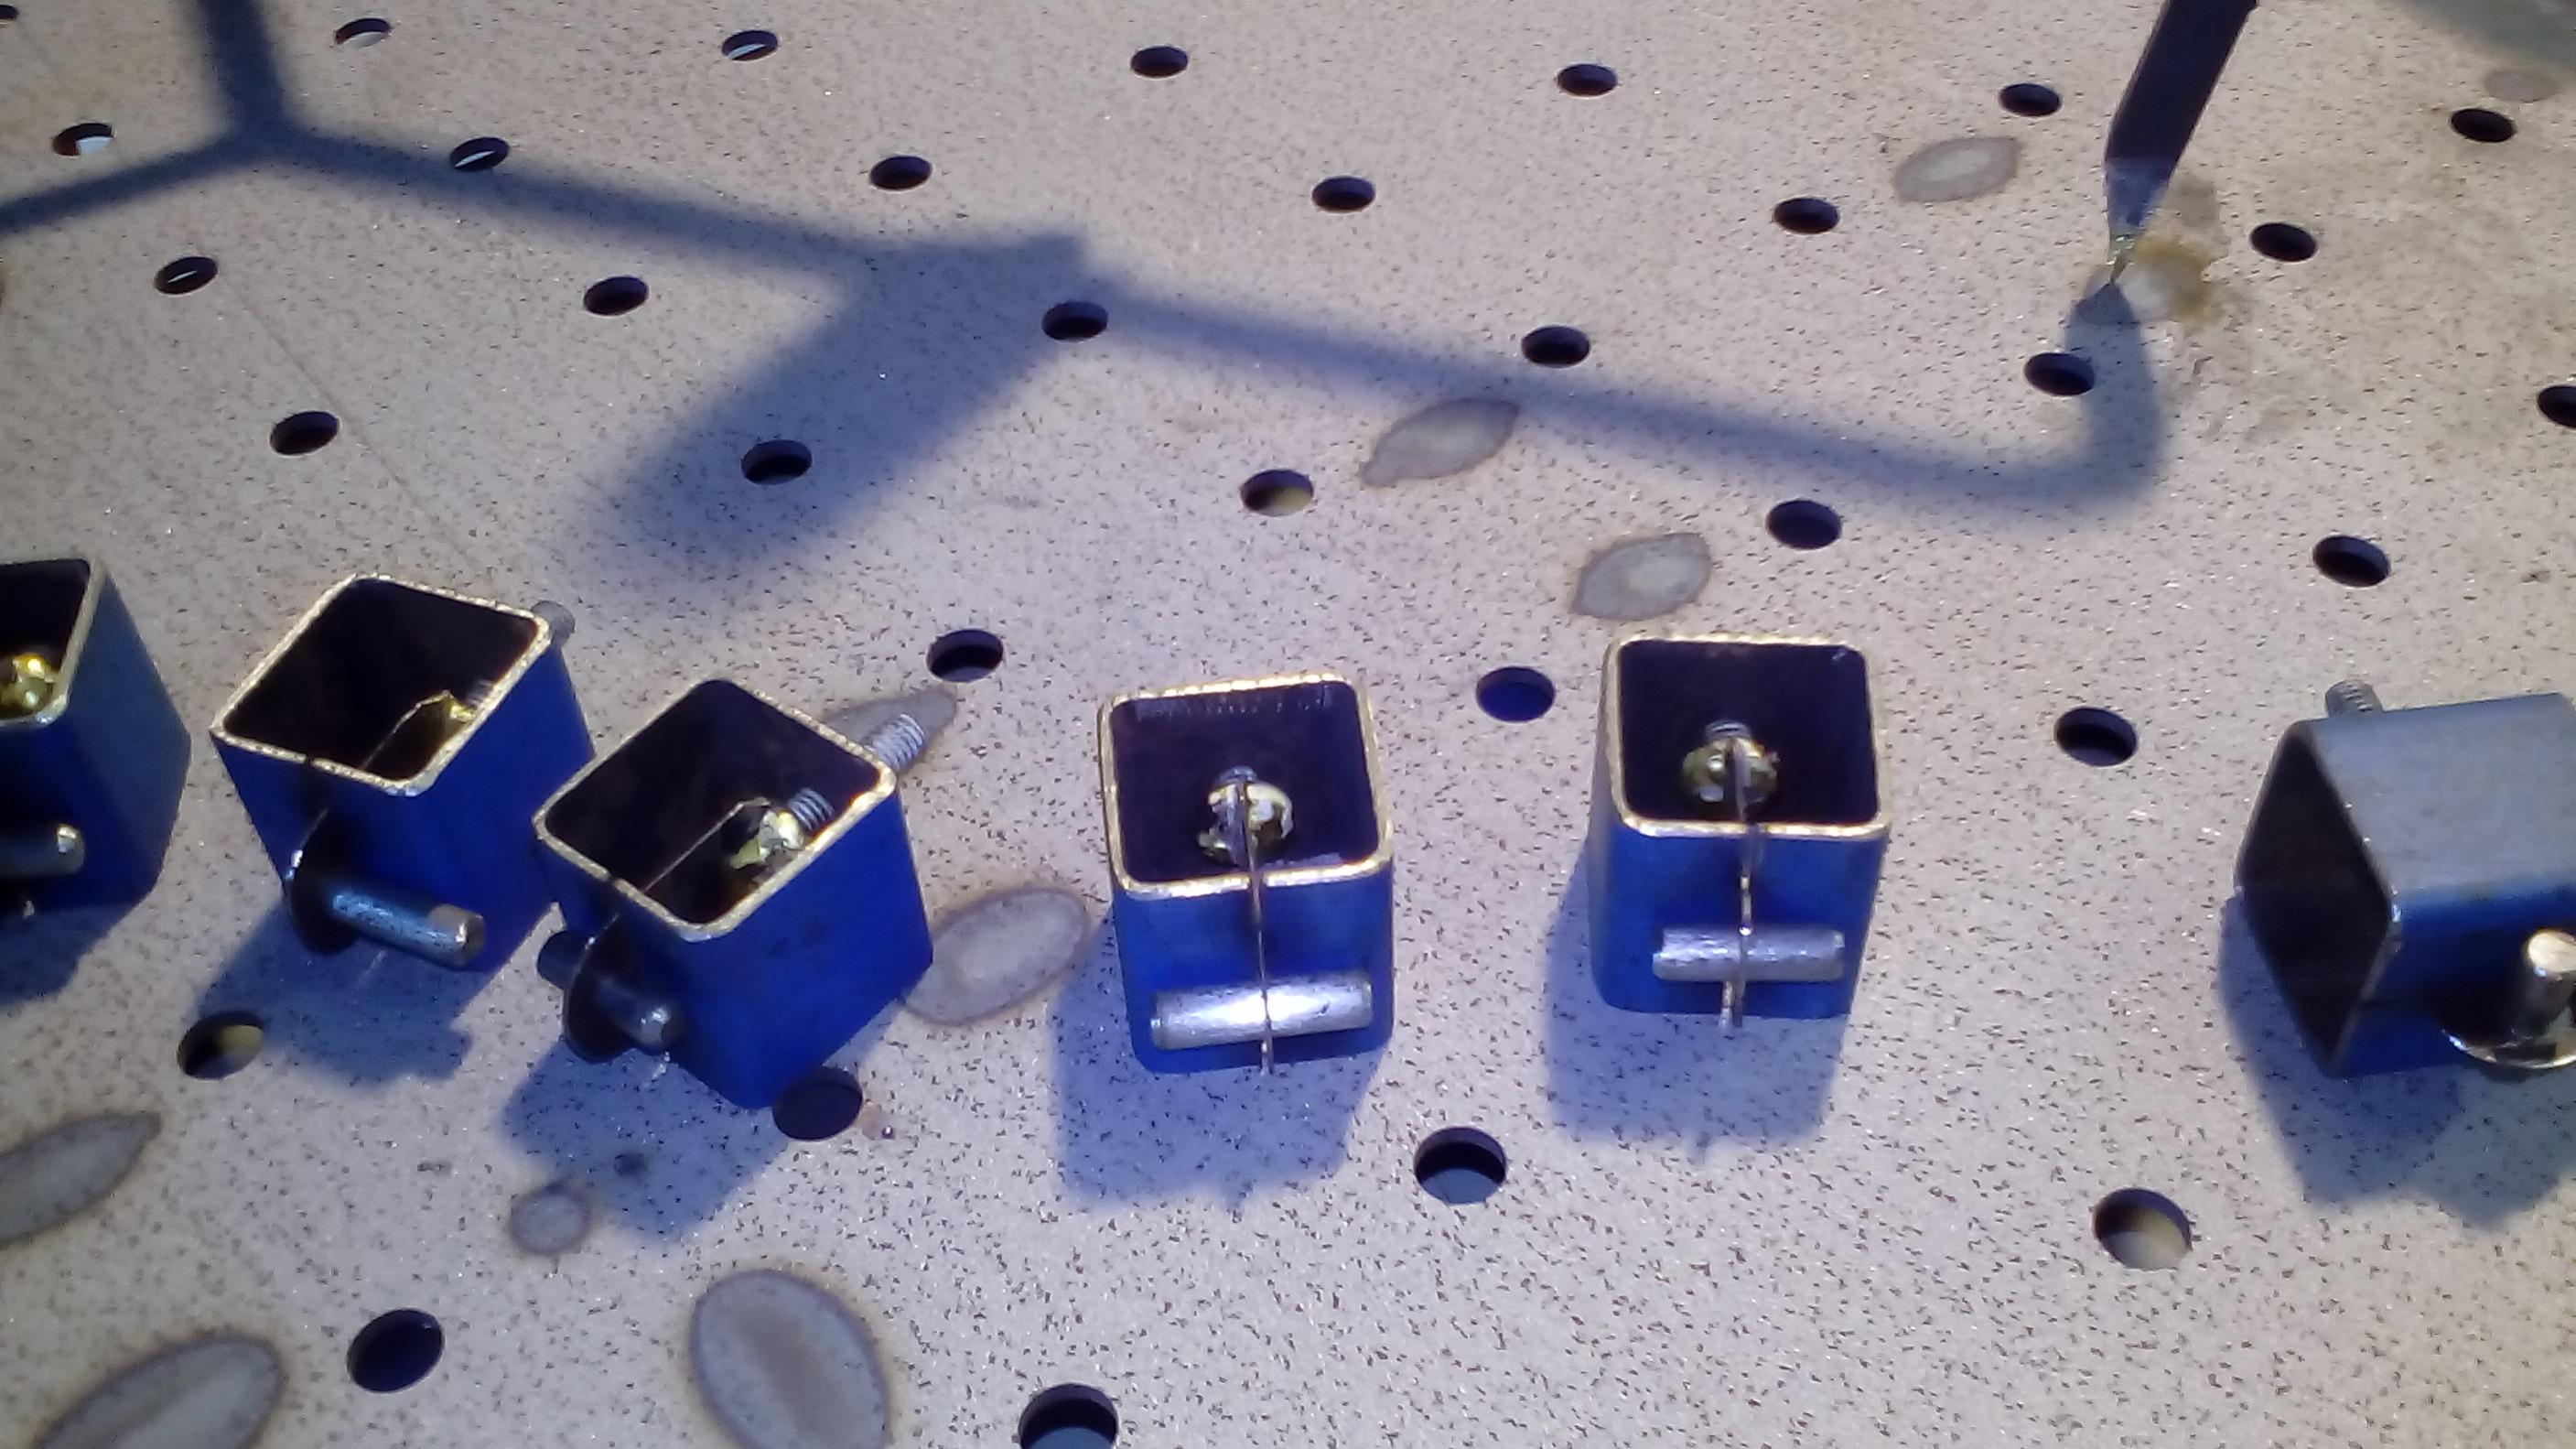
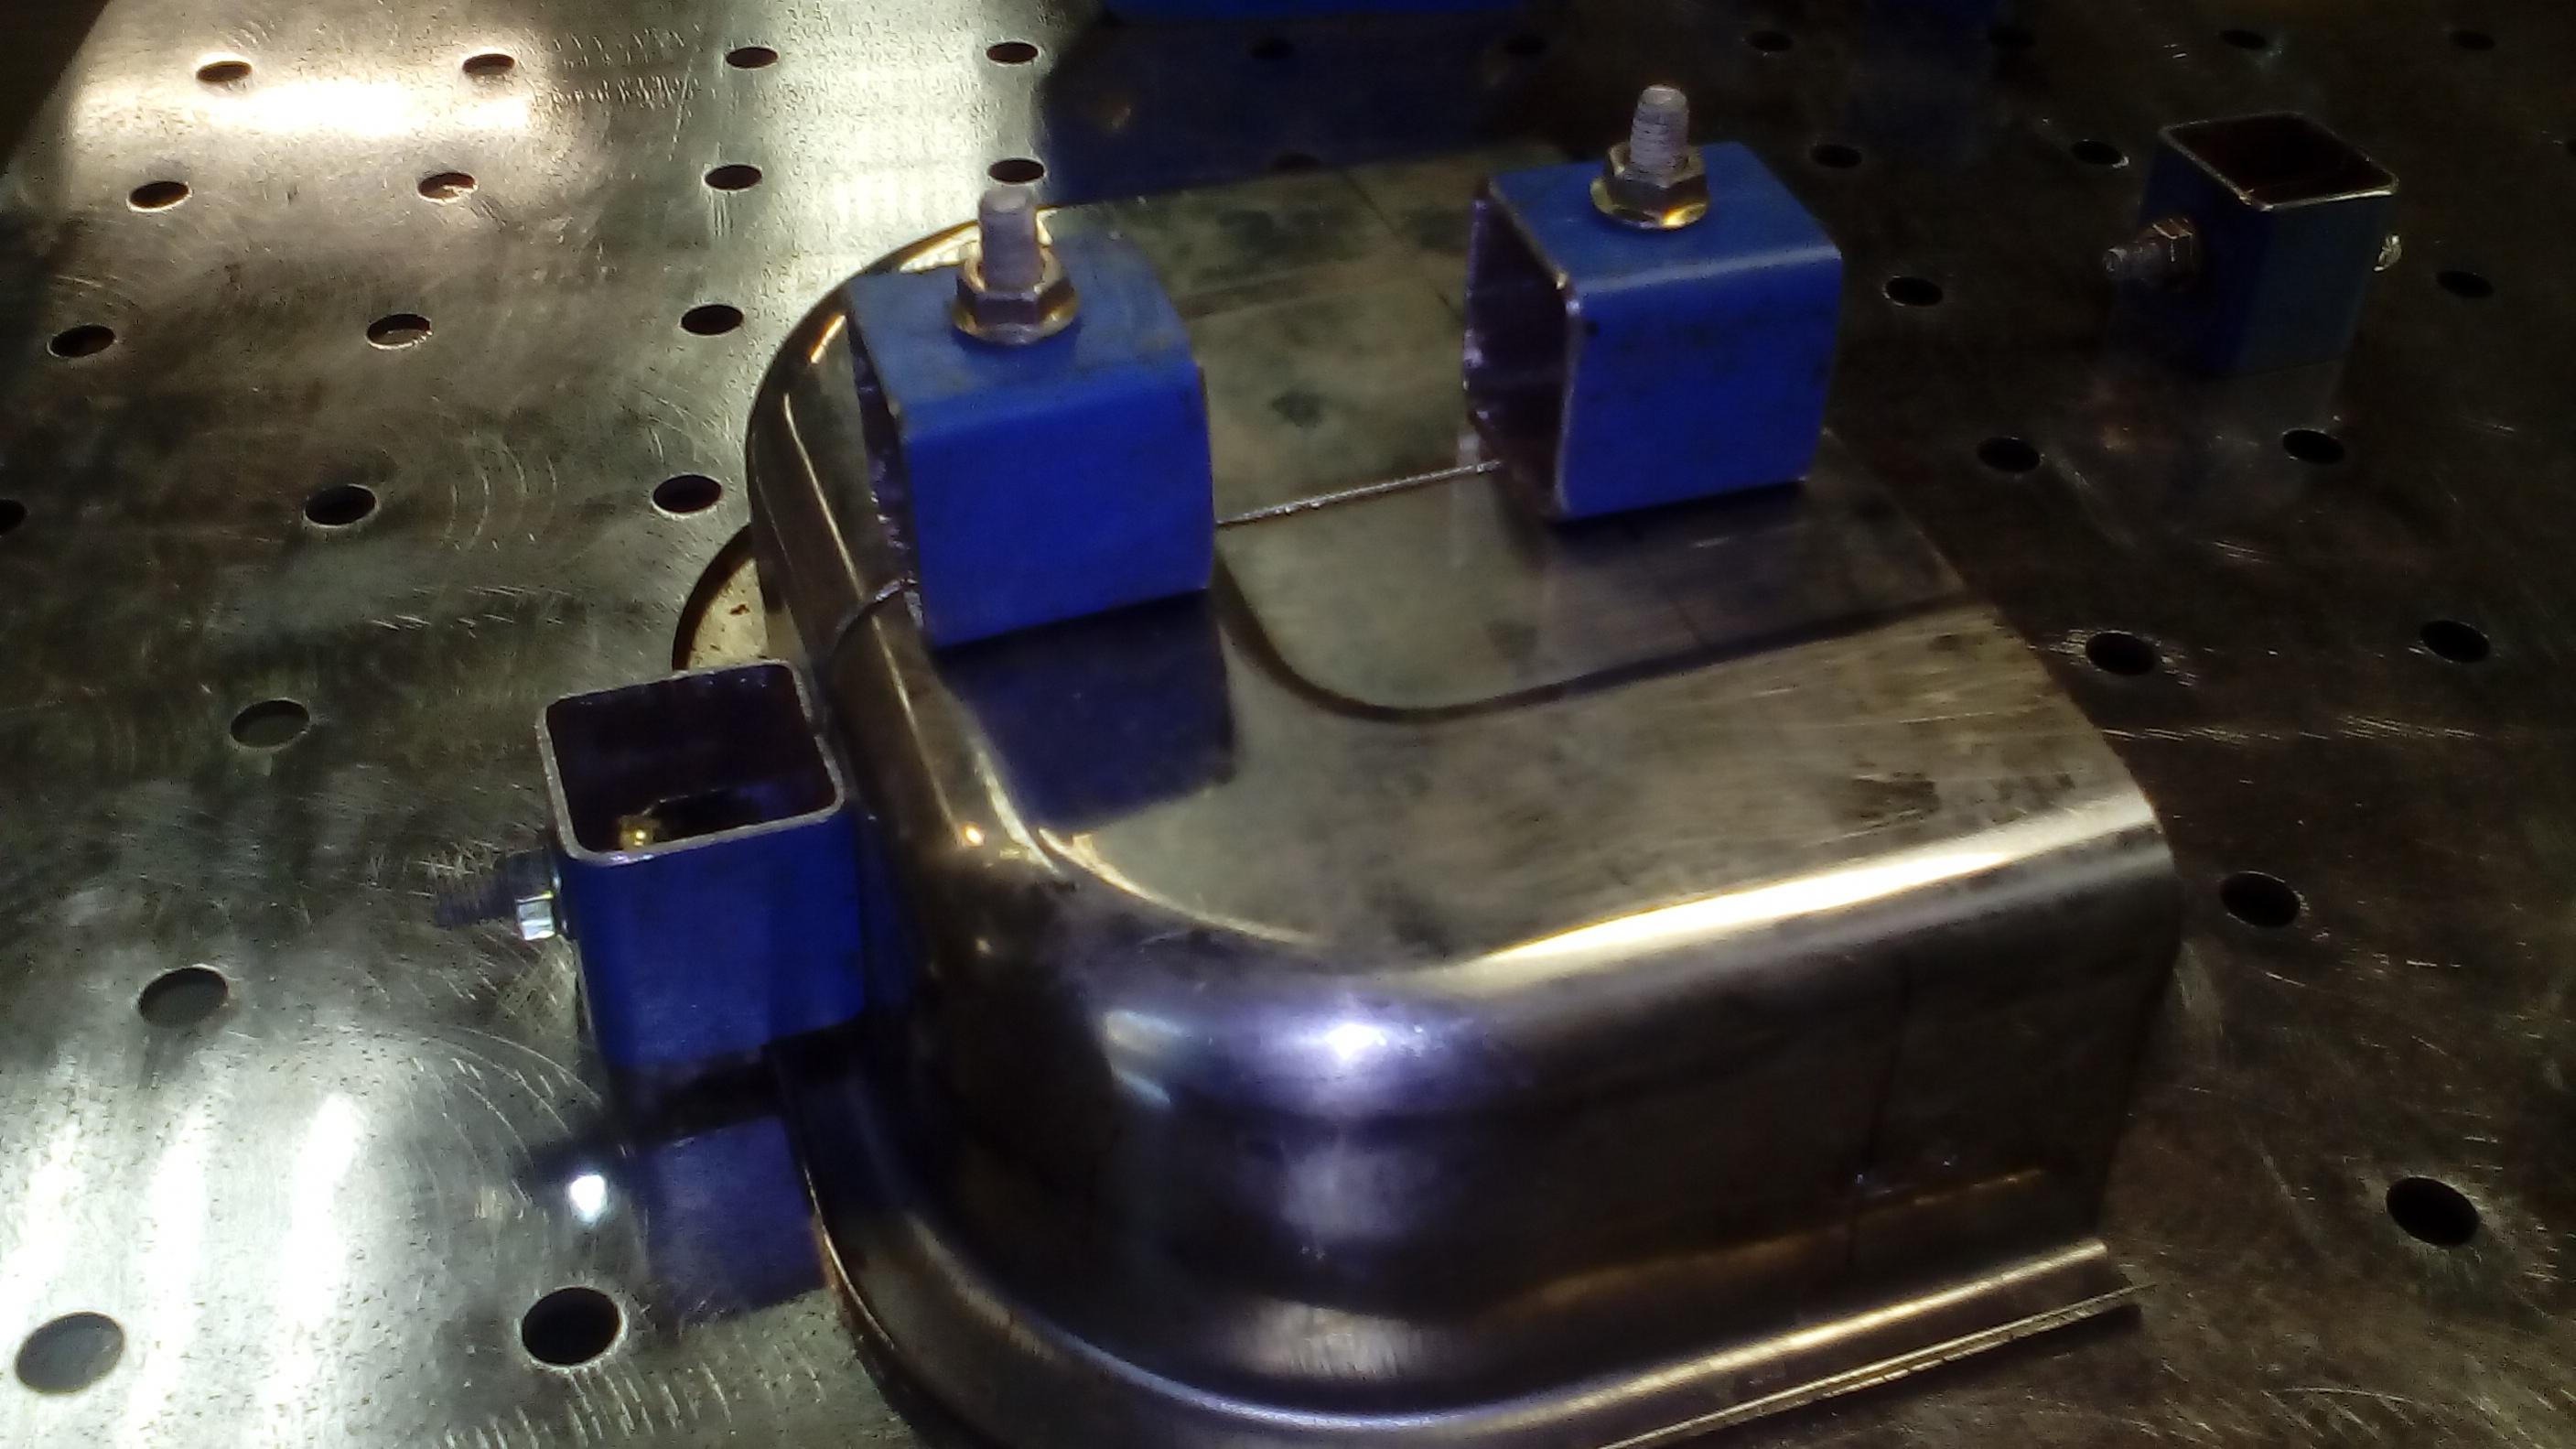
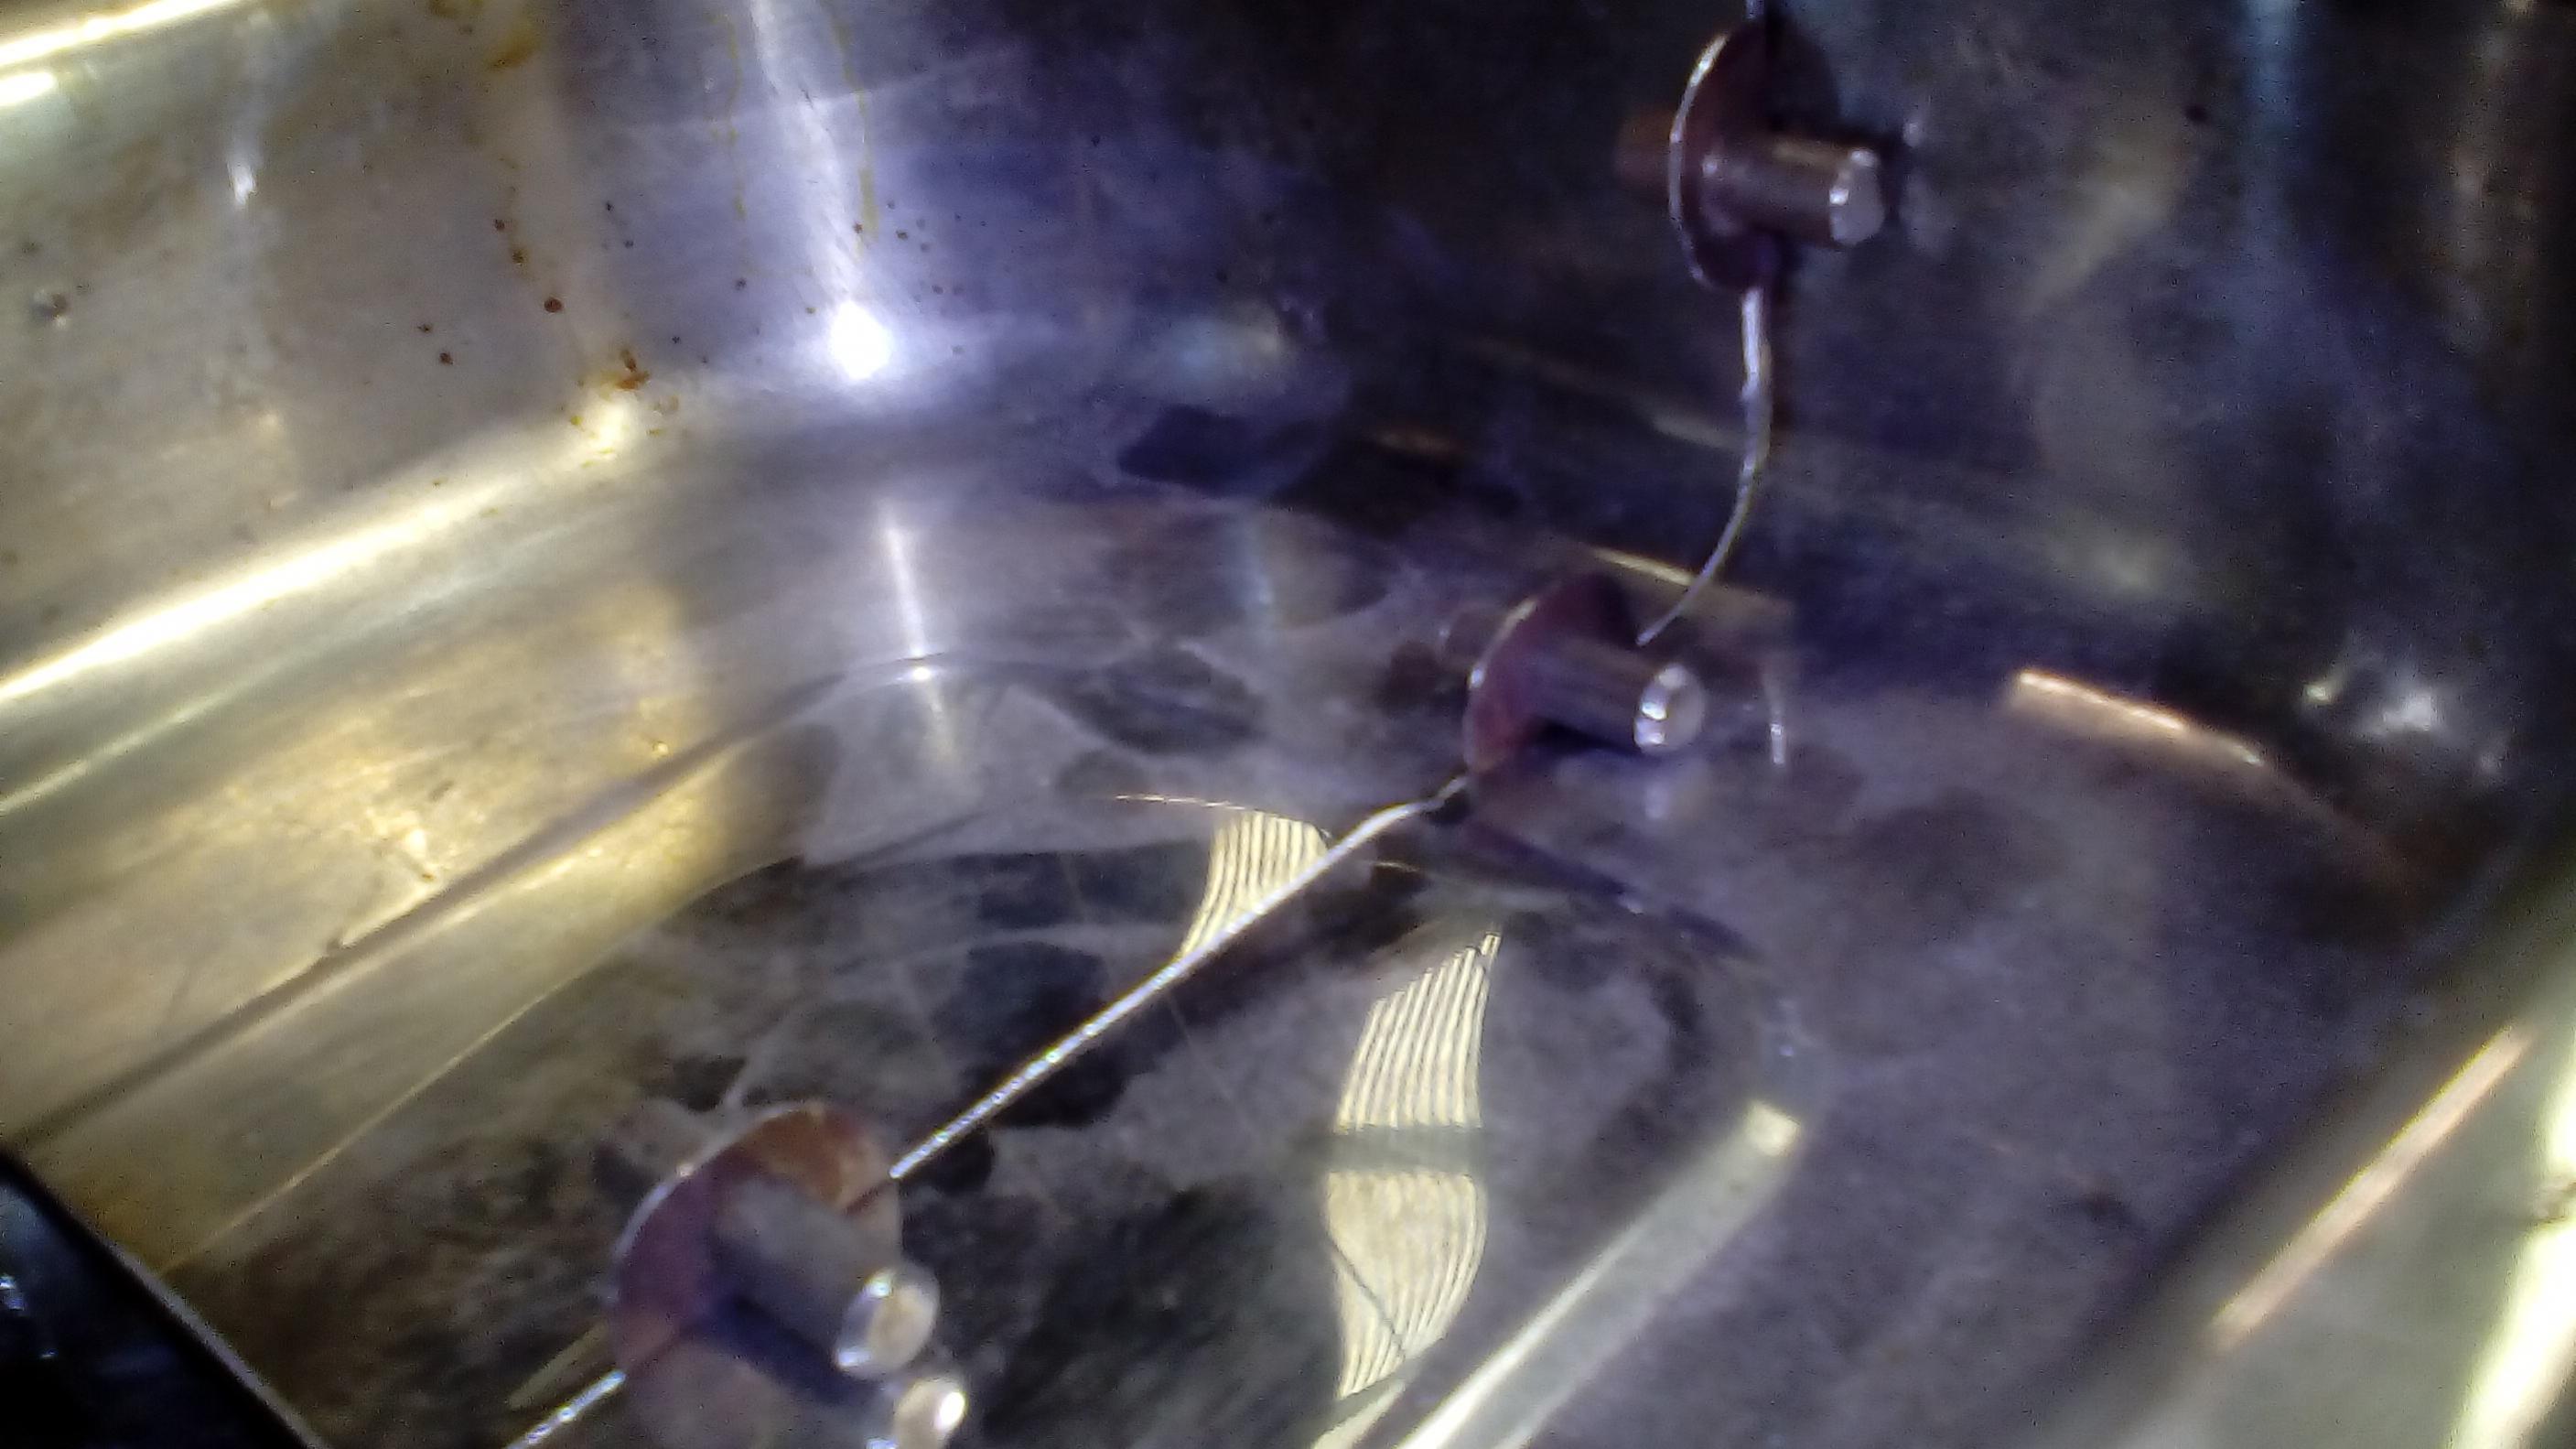
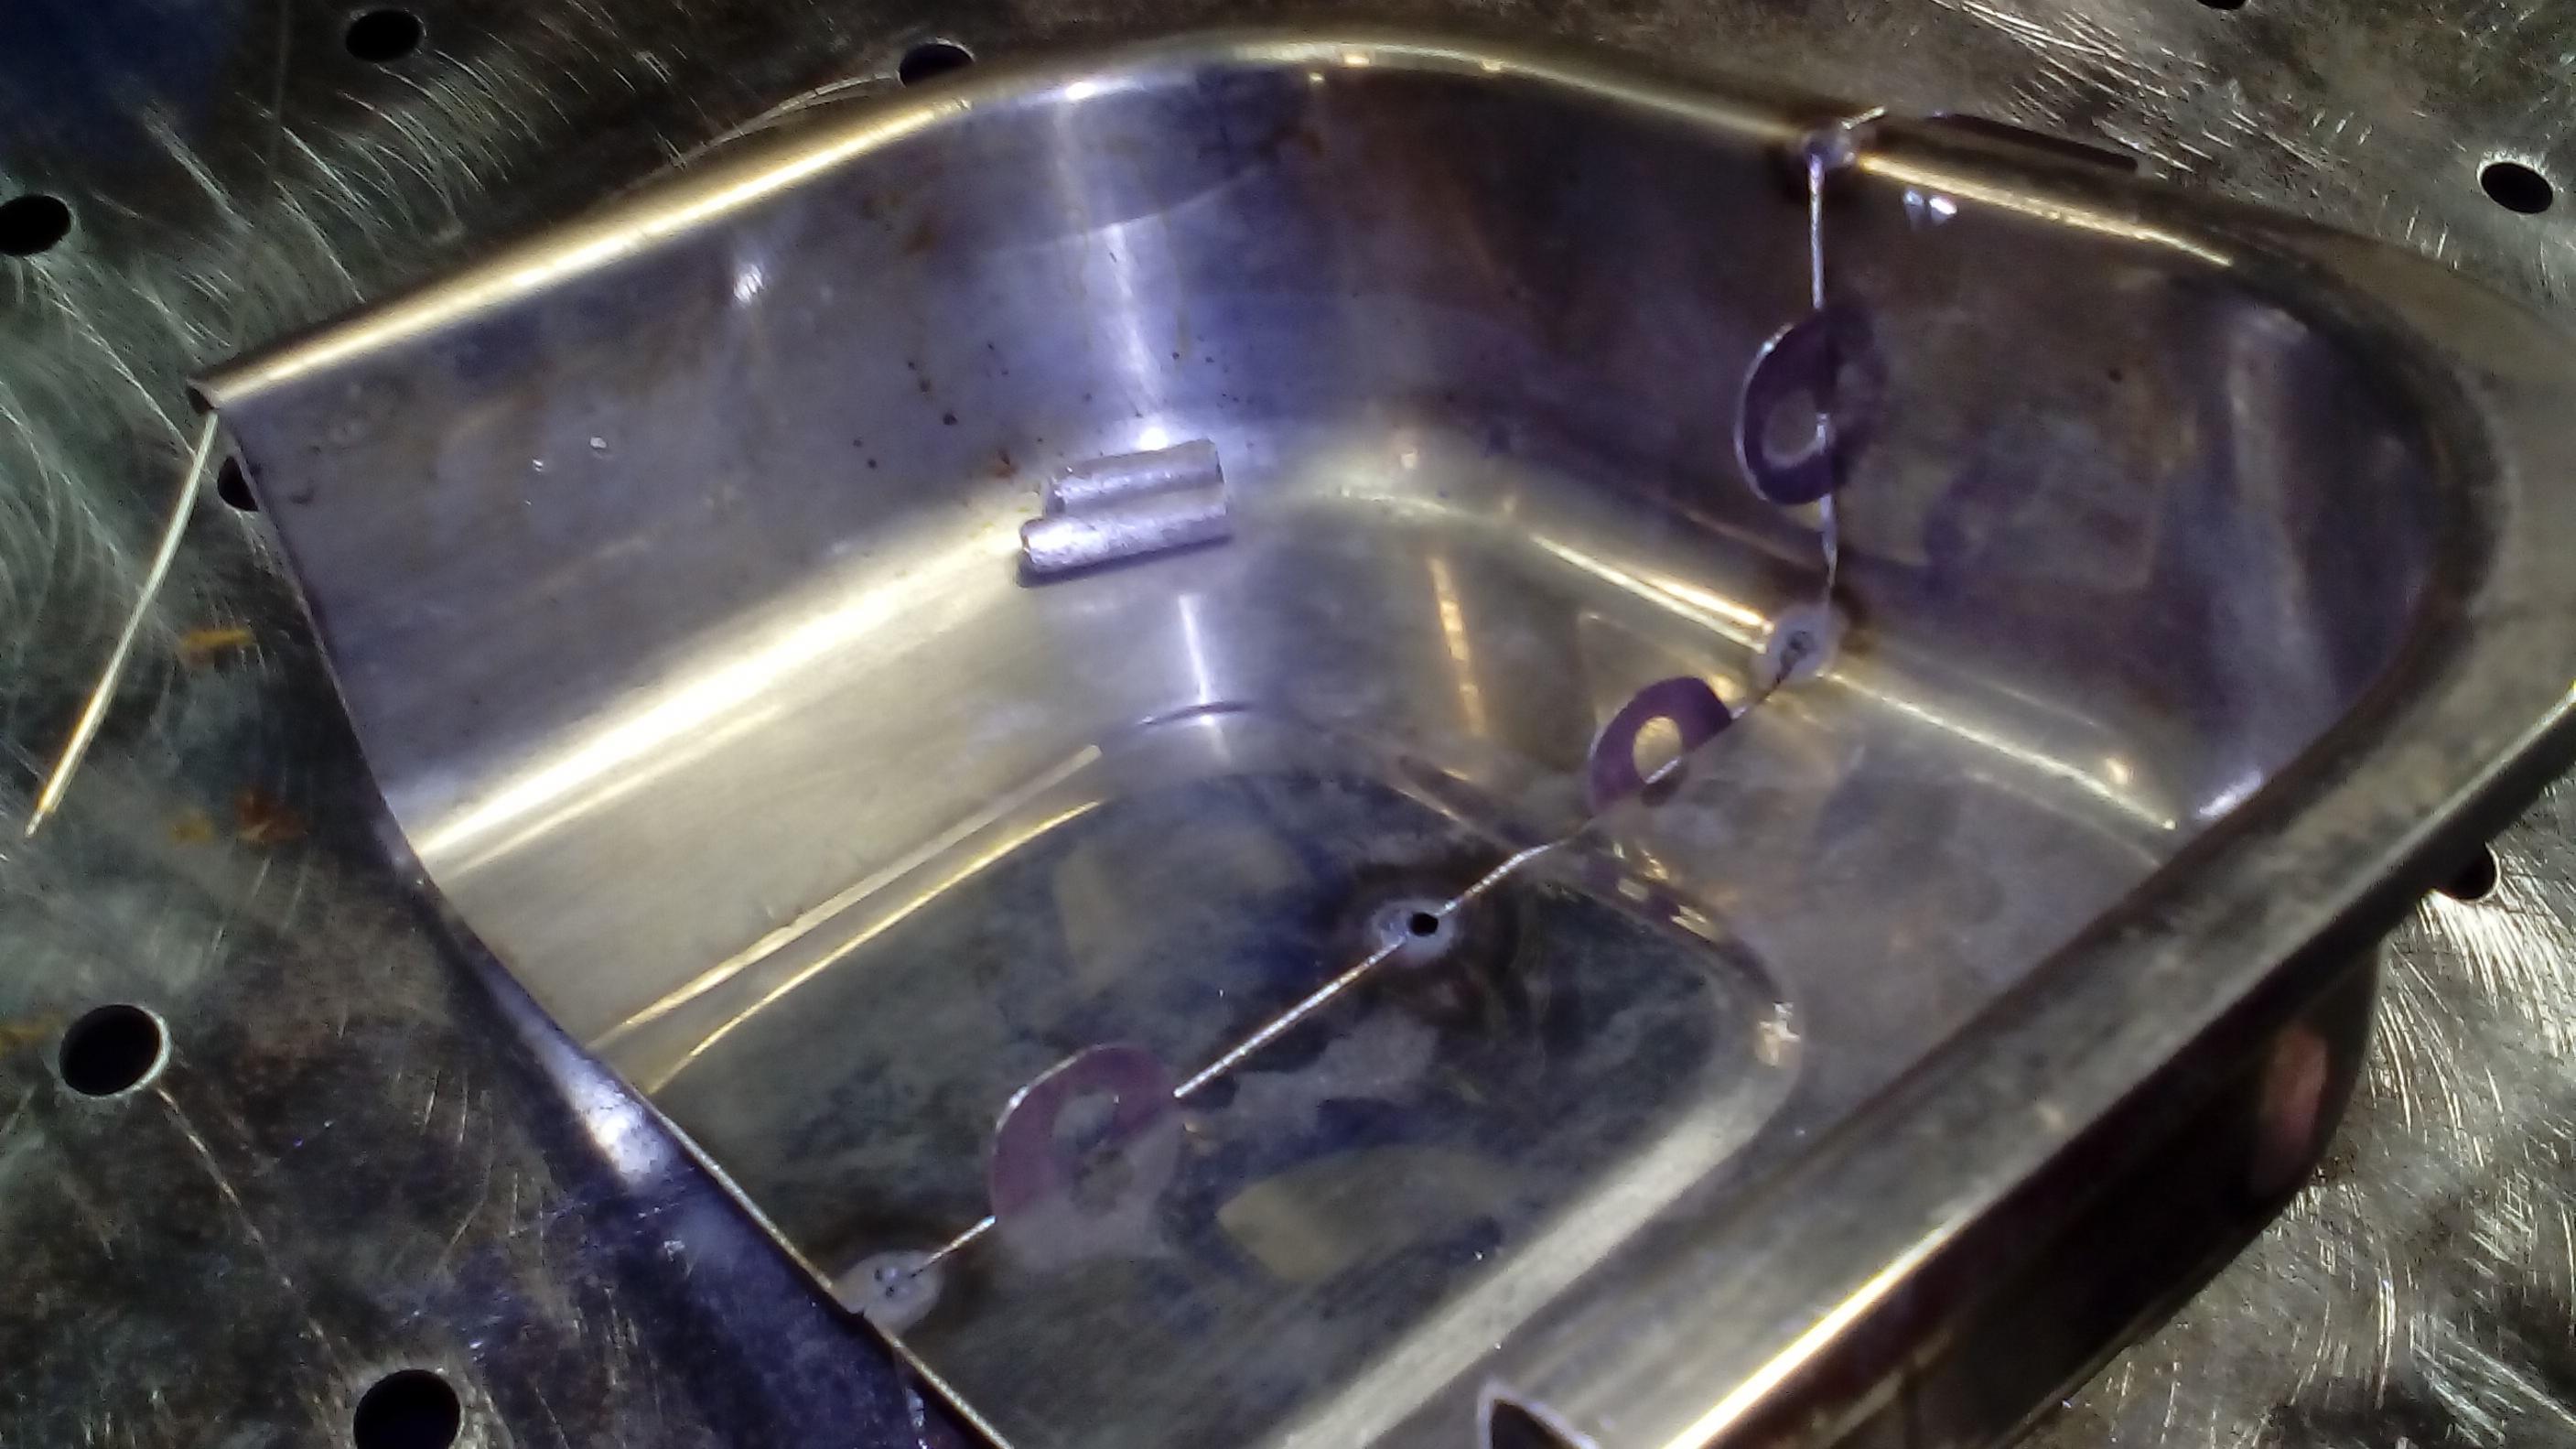
The butt welding clamps are constructed from 30x30mm shs 30mm long, 6mm round bar 20-25mm long, a m6x20 screw and nut and a piece of metal packing strap about 40mm long,
1, Take the shs and drill a 6mm hole in the center of 1 side and cut through the shs on the opposite side in the centre from one open end to the other.
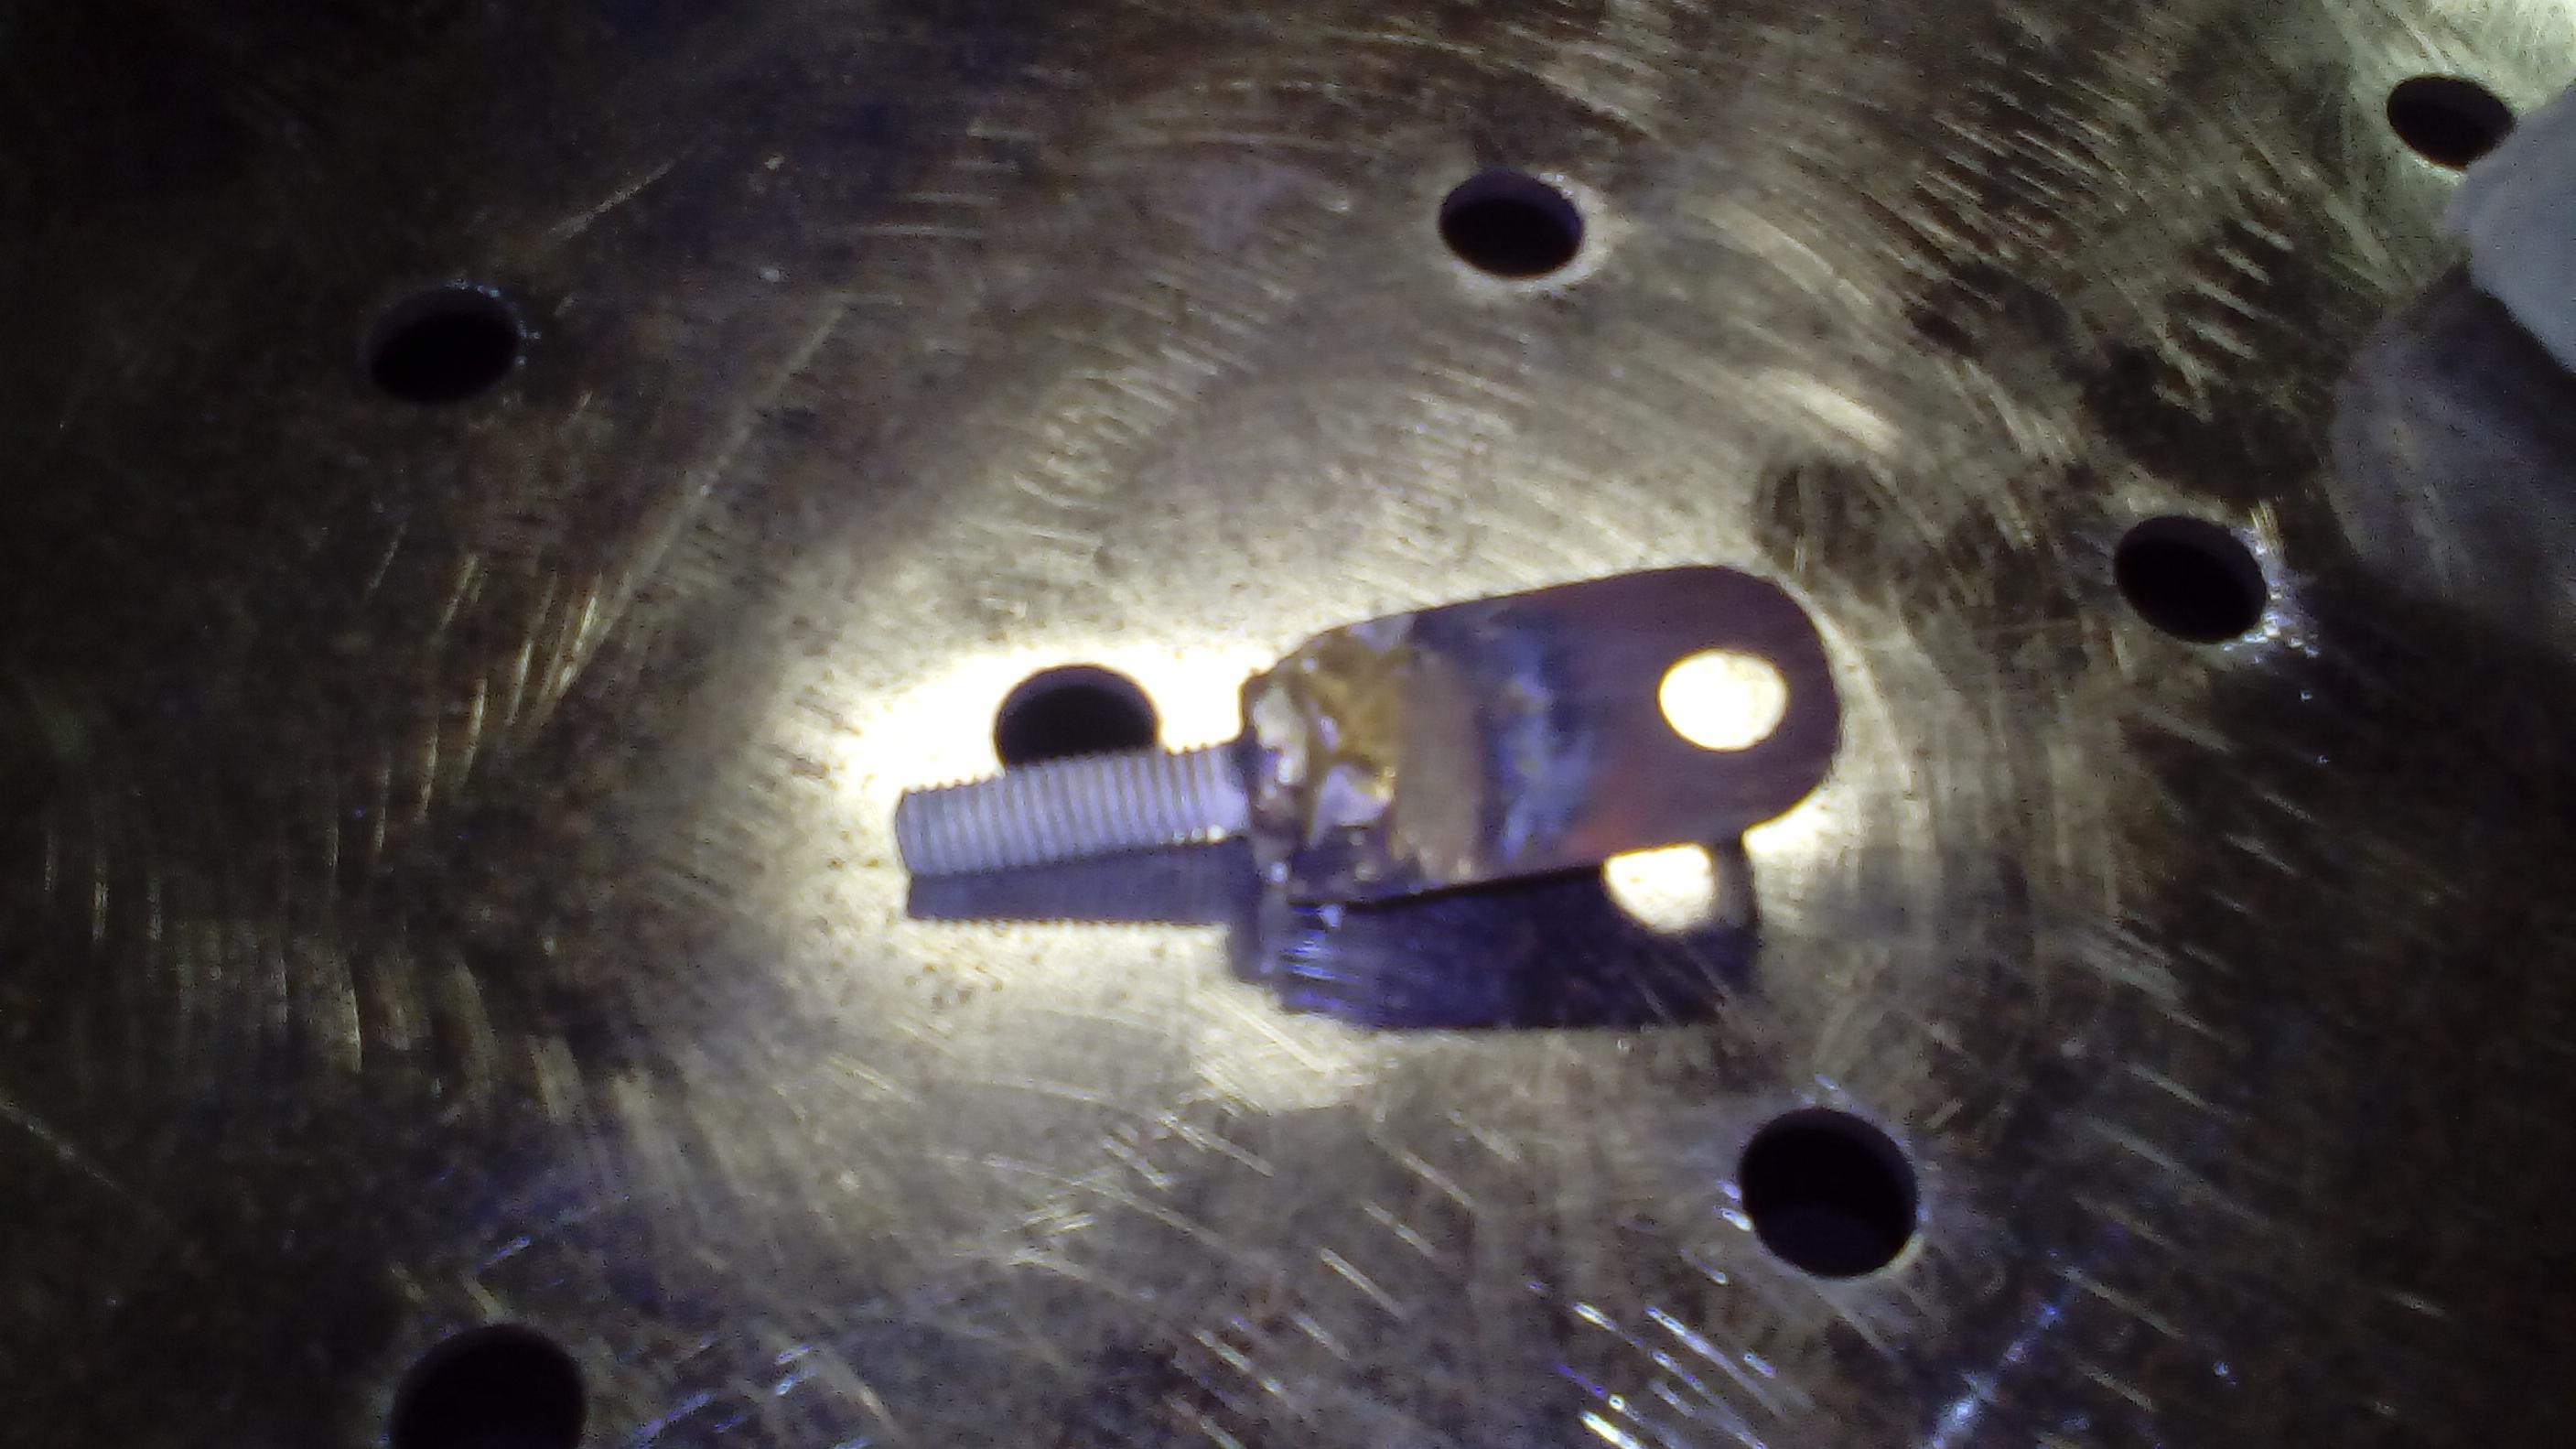
2, Take your metal strap and drill a hole big enough for your round bar to fit through neatly not to tight not to loose, the round needs to be able to slide in and out of the strapping. Mark a line across the strap 26mm from the center of your hole and cut the strap at that line, ( if you are making multiple clamps it pays to keep your strap in one piece and drill all your holes before cutting to size)
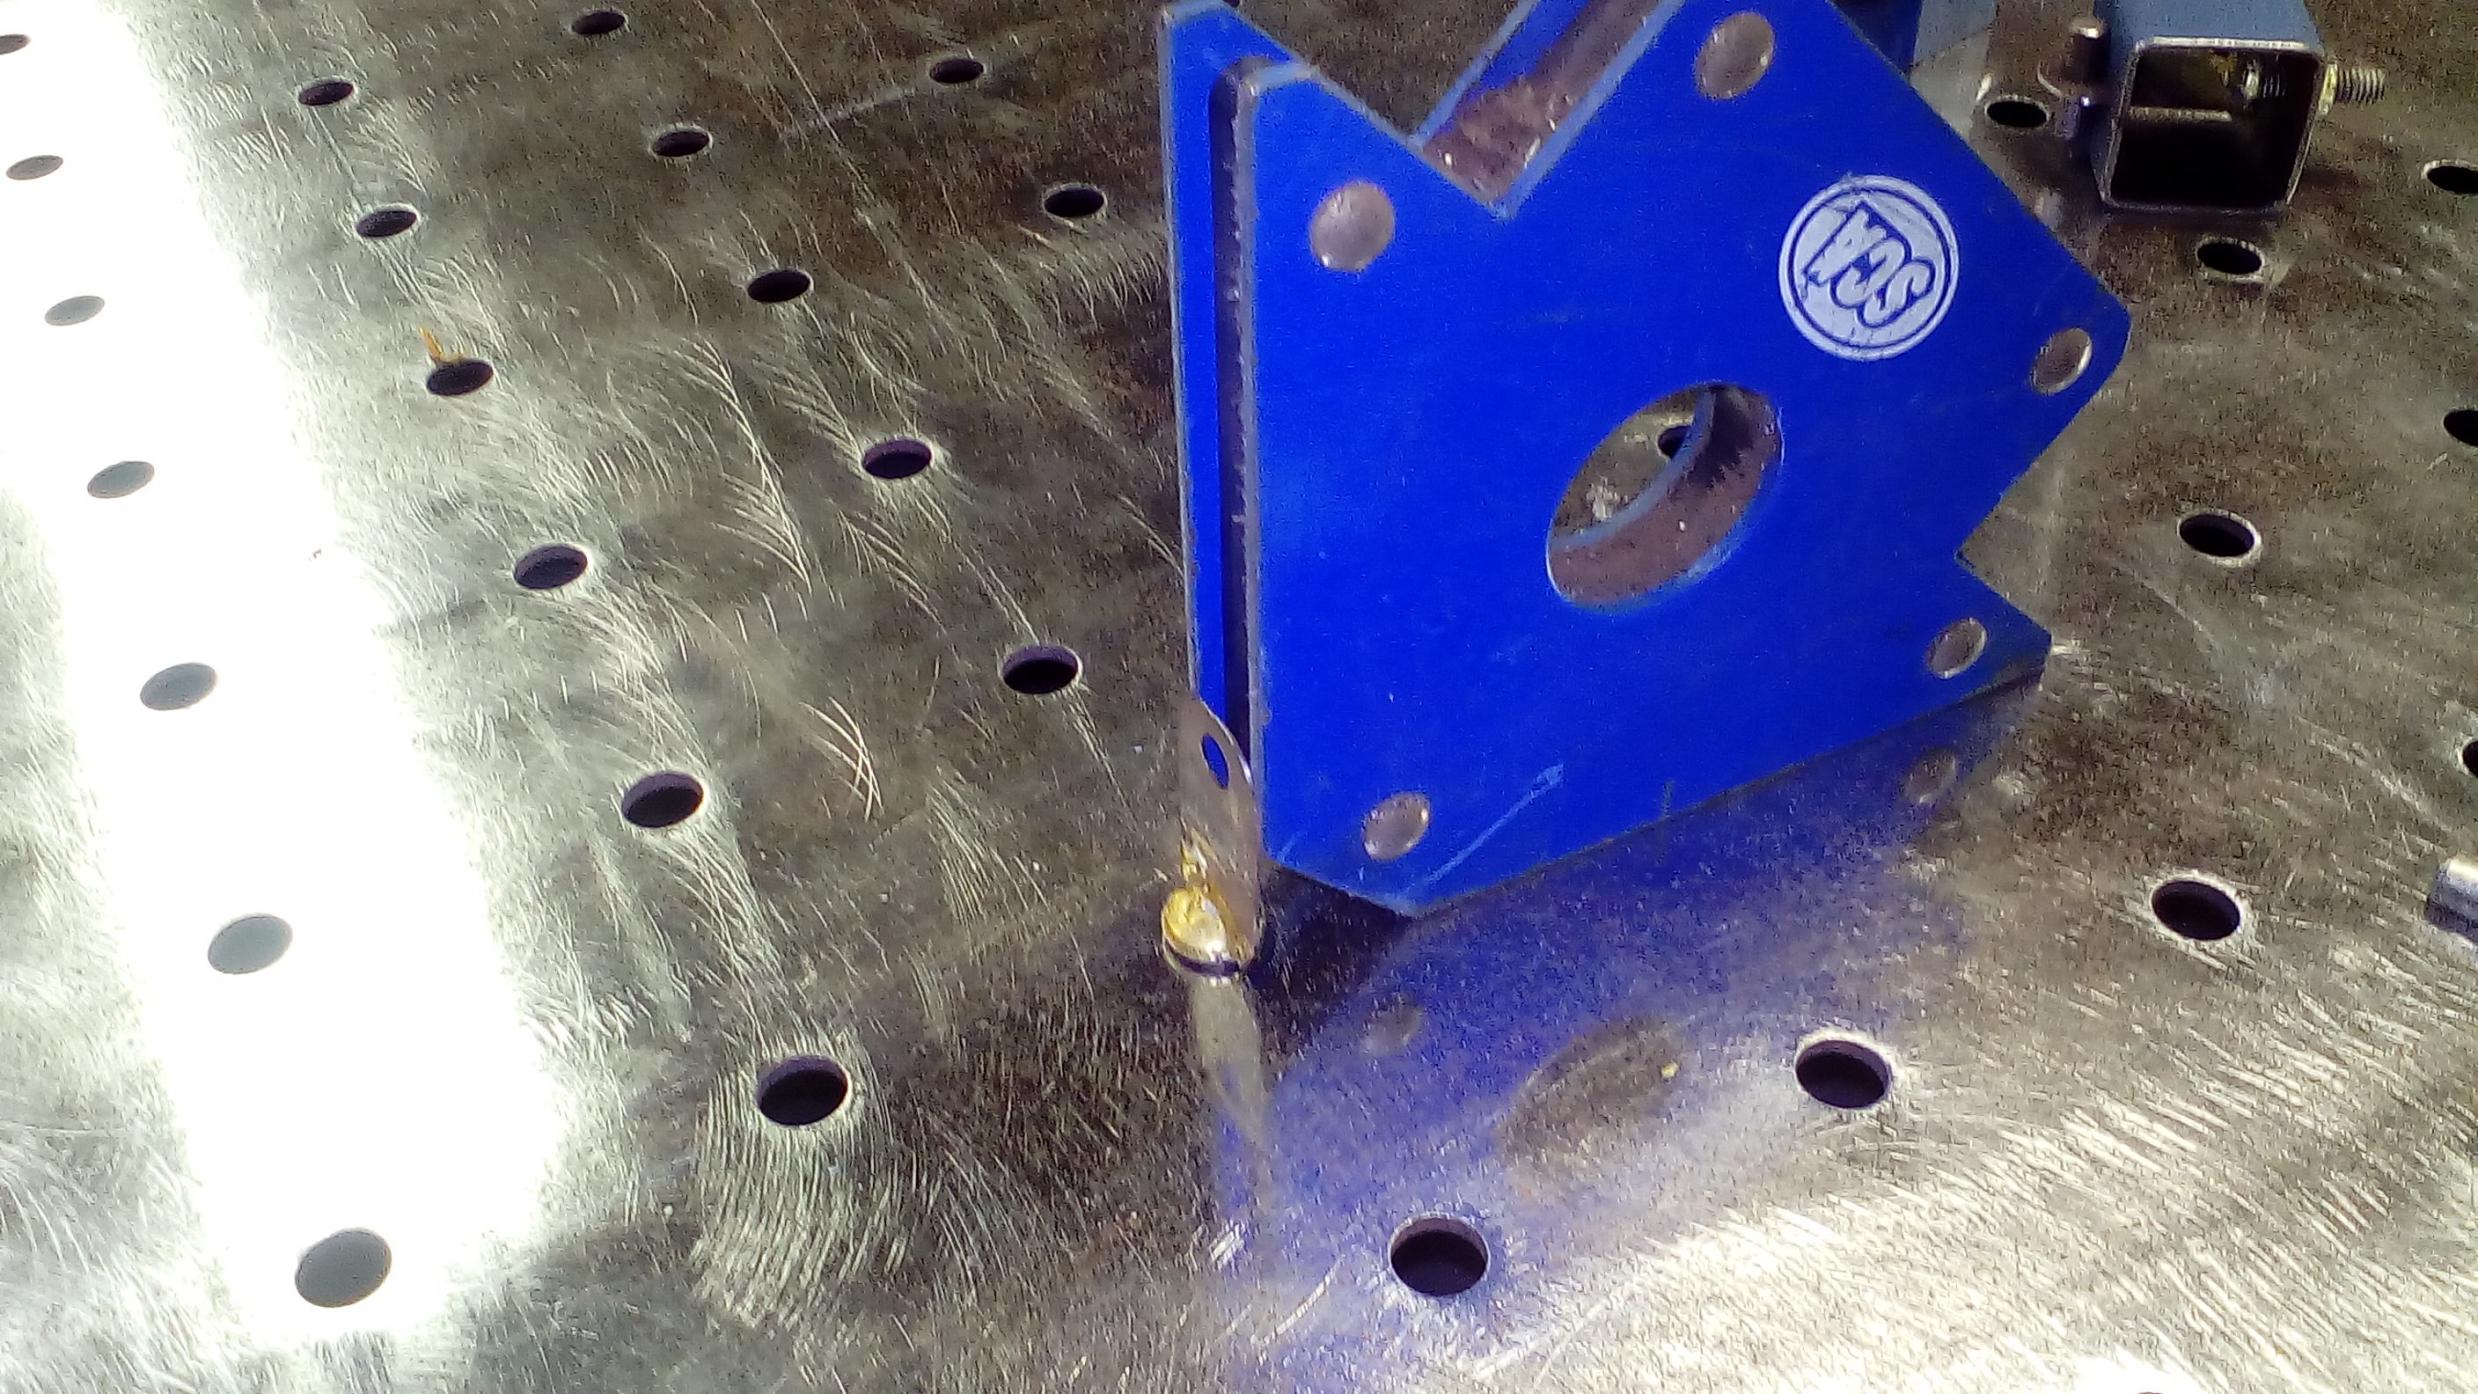
3, Take your m6 screw and if it is a Phillips head slot the head in one direction so it resembles a flat head screw. Then place the end furtherest from the hole in your packing strap into the slot and tack weld, this can be tricky for a variety if reasons, I used a magnetic clamp to hold it all together , tacked it with the mig then braze welded the joint.
4, after it has all cooled take your strap/screw and slide it into the shs strap through the slot and the screw through the hole opposite, slide the round bar through the hole in the strapping add the nut to the screw and nip it all up job done!
To use the clamp place your 2 sections to be welded either side if the strapping between the round bar and the she then tighten the nut bringing them into alignment and creating a nice gap for weld penetration, once the joint is tacked together loosen the nut, slide the round bar out of the strapping then pull the clamp body out of the joint leaving the perfect joint preparation!
Put the round bar back in the clamp so it doesn't get lost and nip it up ready for next time.
Sorry for all the metric stuff, I am sure there are equivalent imperial sections which can be substituted,
I will post photos in the next couple of days to help show how its done
Carlos
-
4 Attachment(s)
[/ATTACH]Attachment 13222Attachment 13221[ATTACH=CONFIG]13217Attachment 13216 ok guys here are some photos, these should give you a basic idea of how the clamps are constructed,
-
4 Attachment(s)