
 LinkBack URL
 About LinkBacks


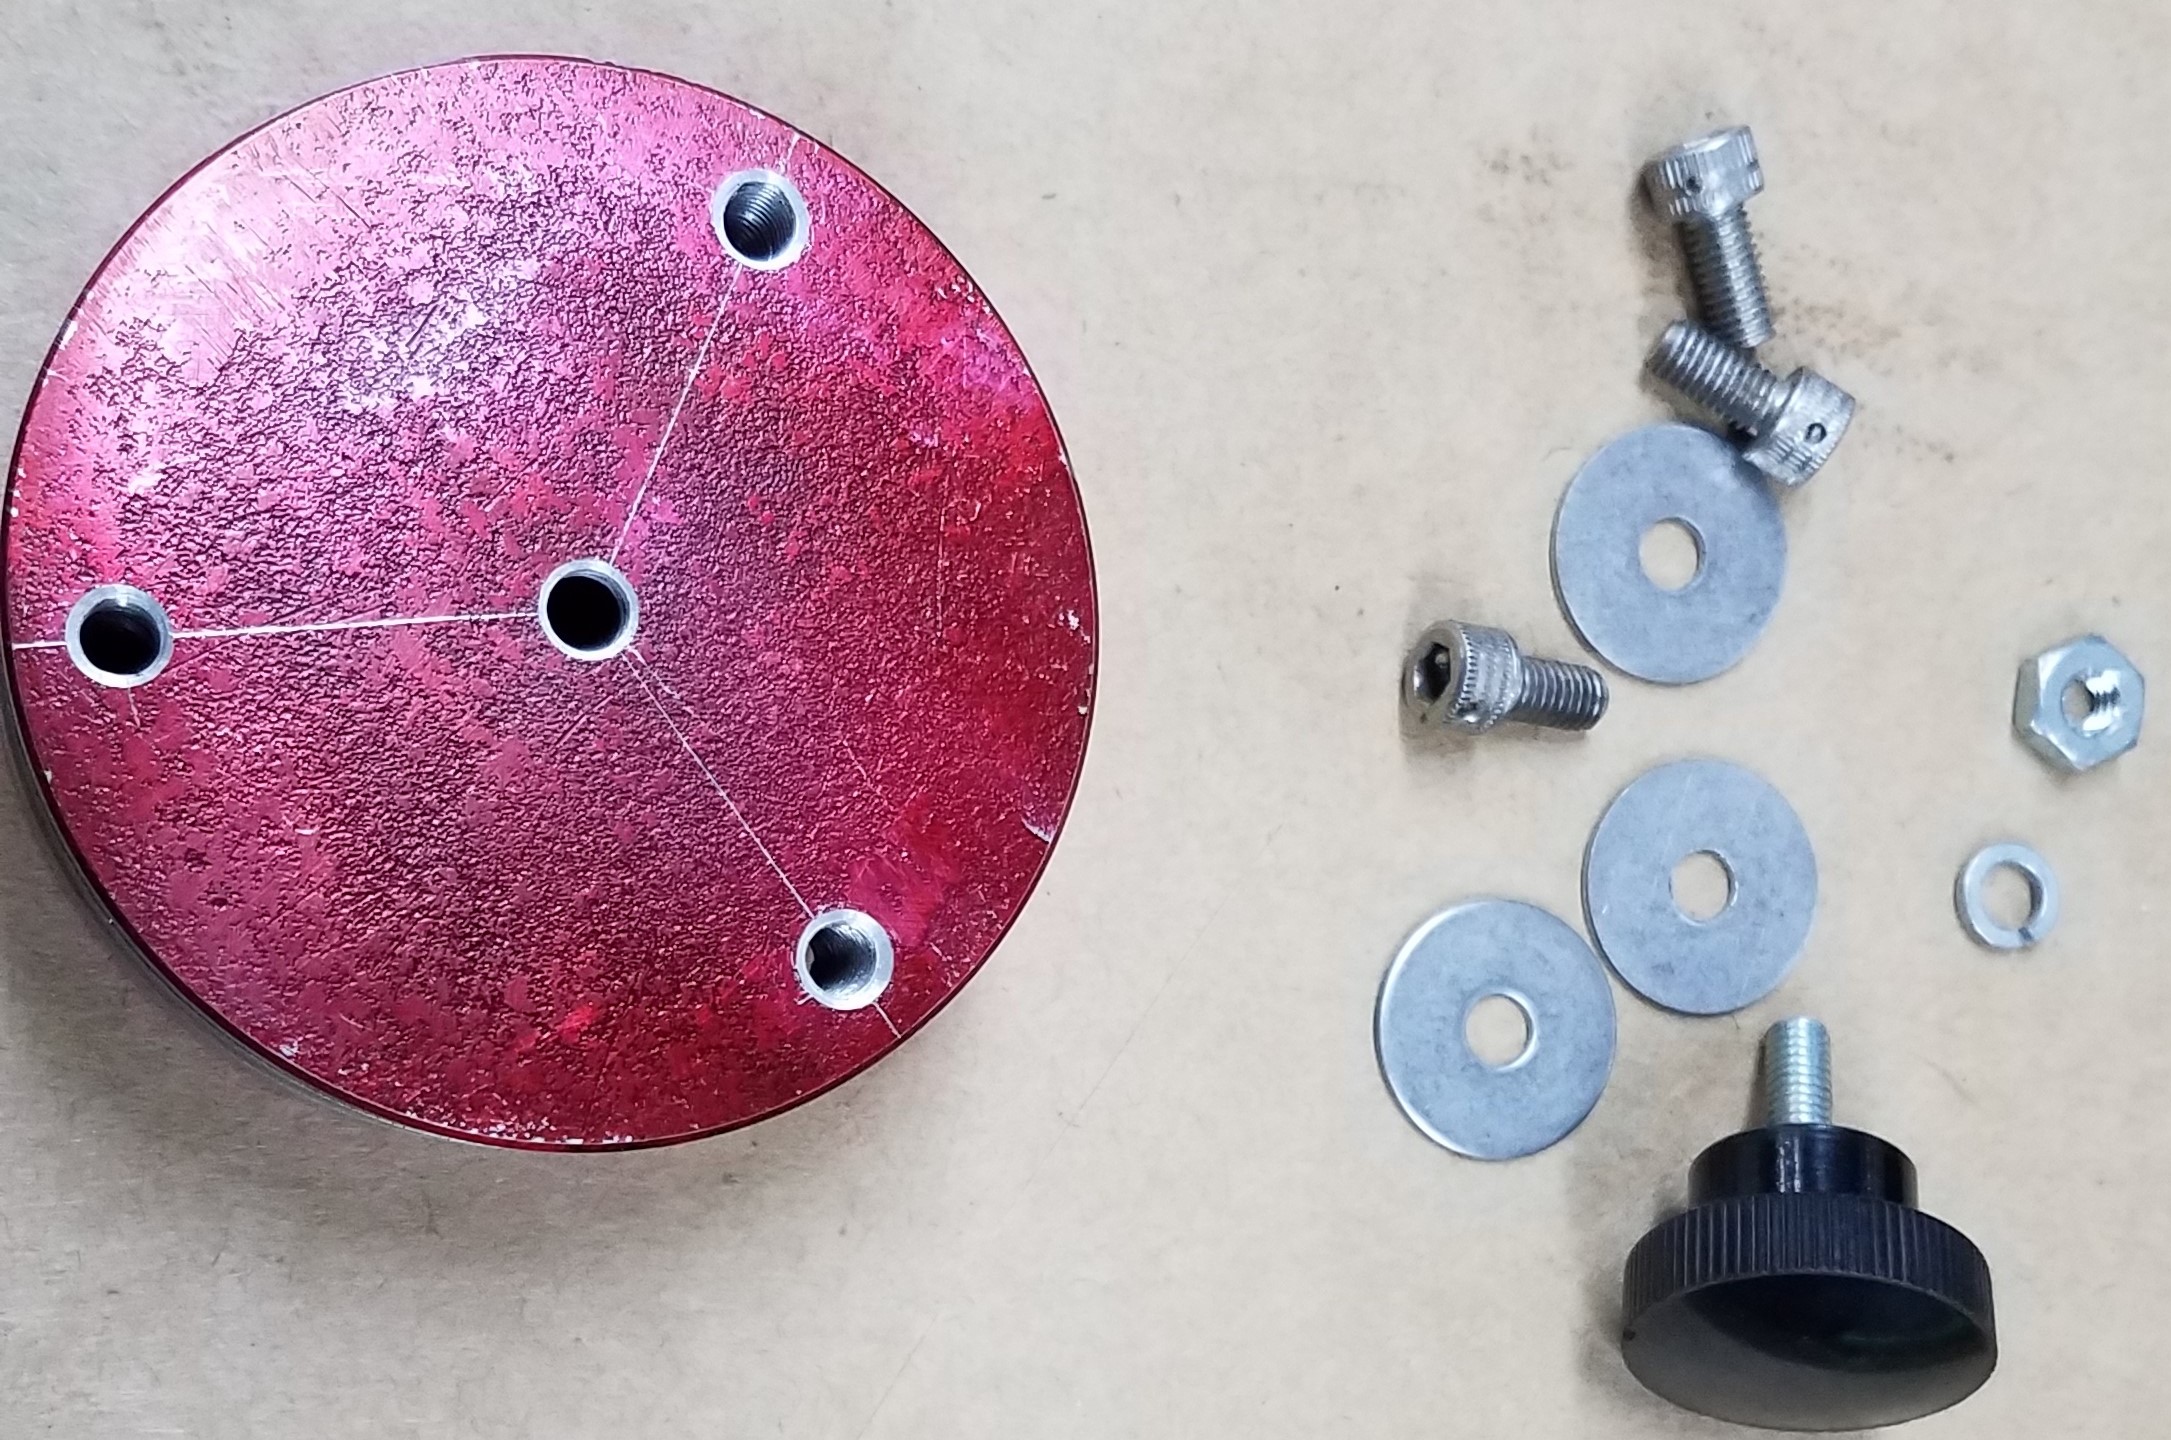
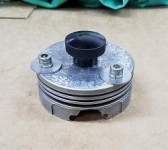
My first homemade tool post!
As a side job, I rebuild engines for a local golf cart business. I generally see the same types of engines over and over, so making a tool to help speed things up is a benefit.
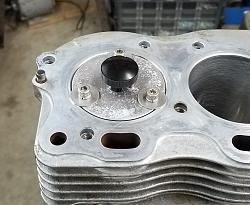
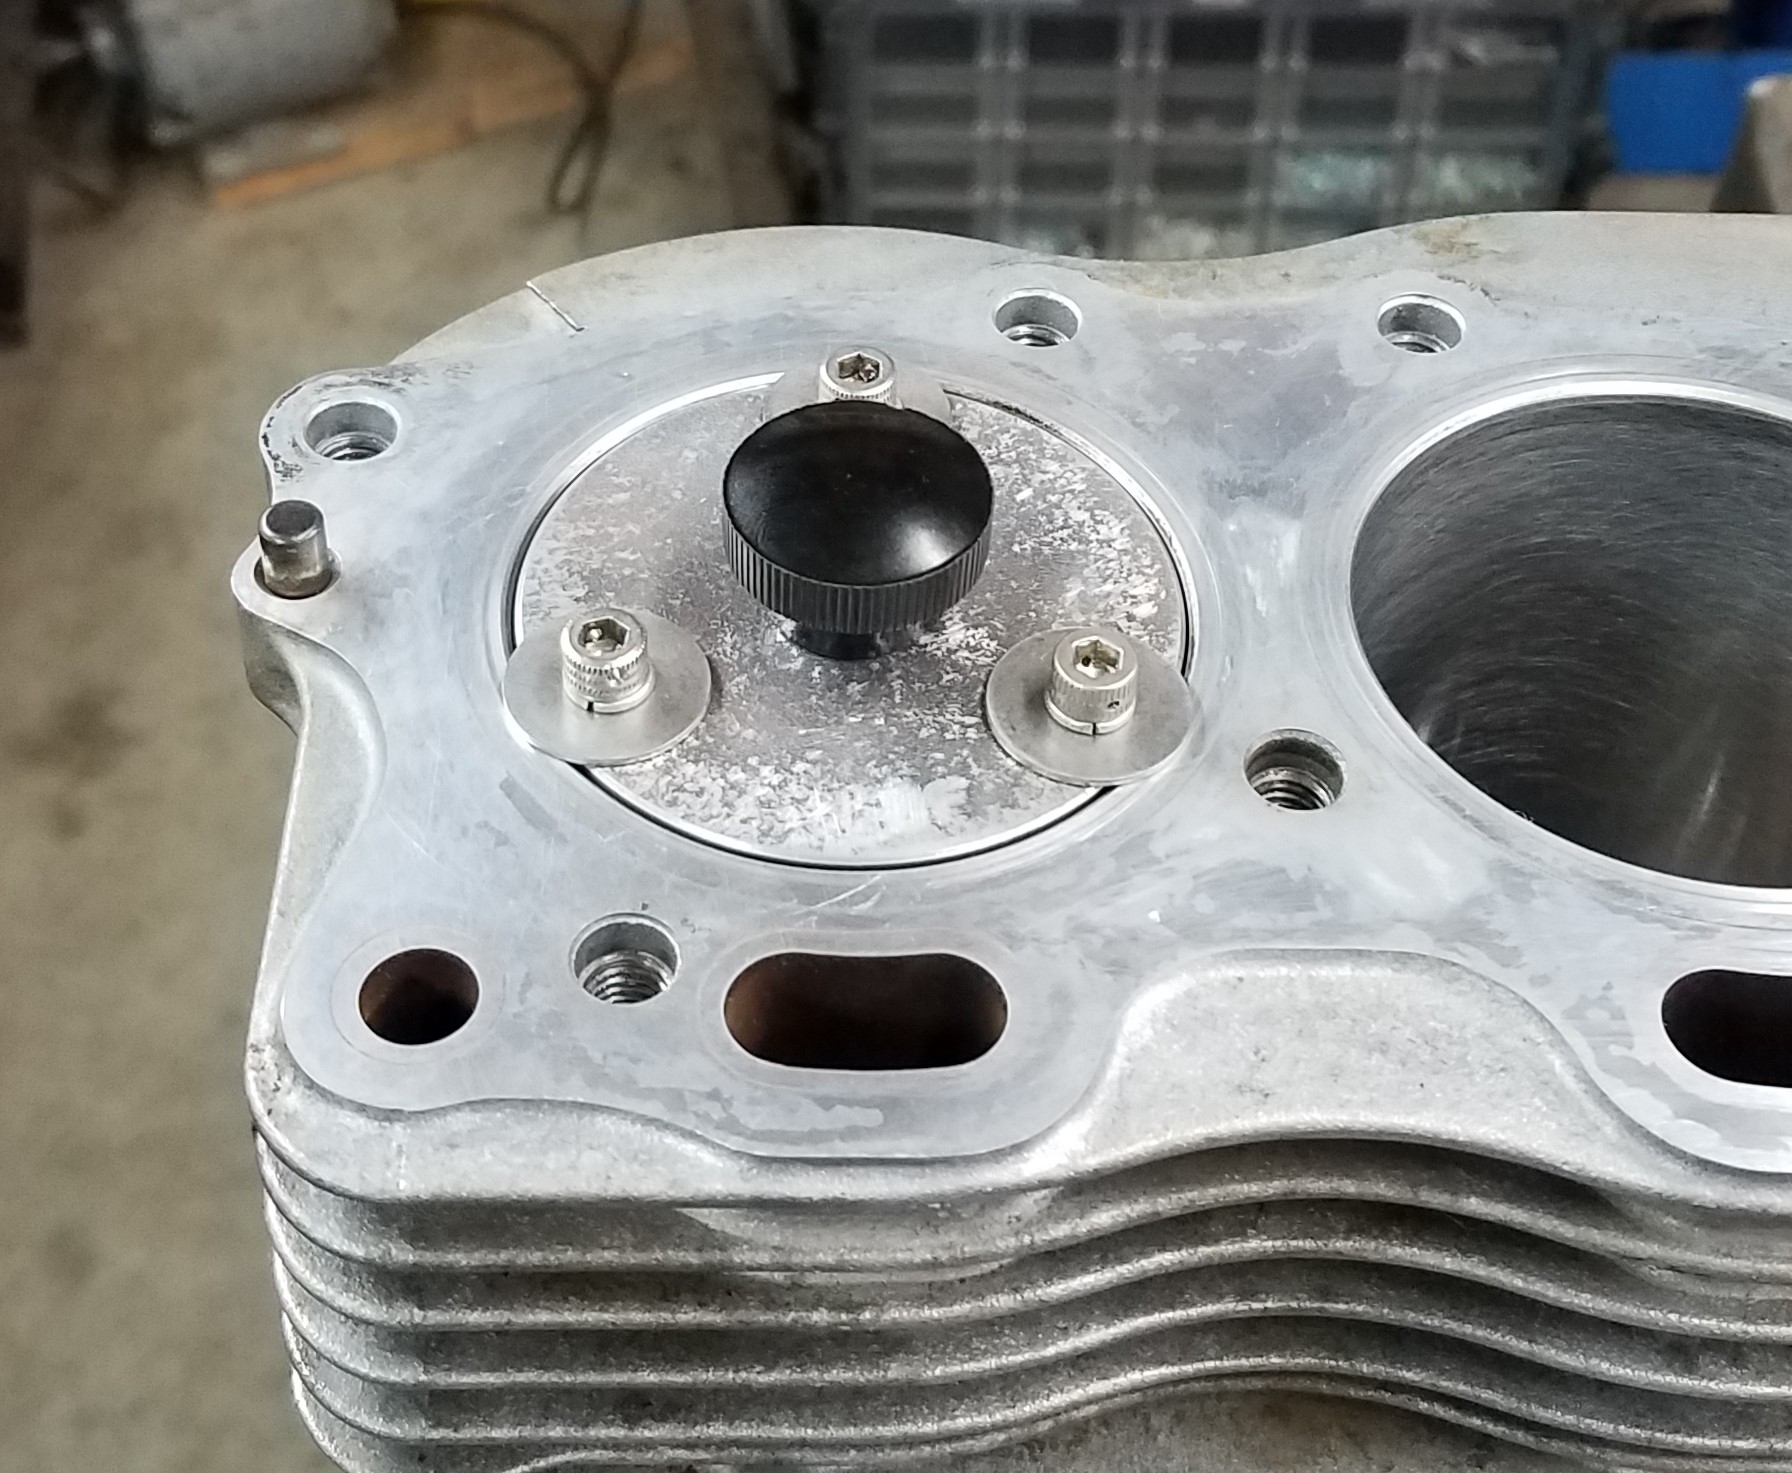
When I build the engines, I always check the piston ring end gaps to make sure they aren't too tight. I have found some that are and would have been catastrophic had I installed them. Anyway, I have to push the ring down into the bore to a specified depth and measure the gap with feeler gages. Normally, I use a new piston held upside down to square the ring in the bore, but it's not exactly accurate and it is somewhat cumbersome.
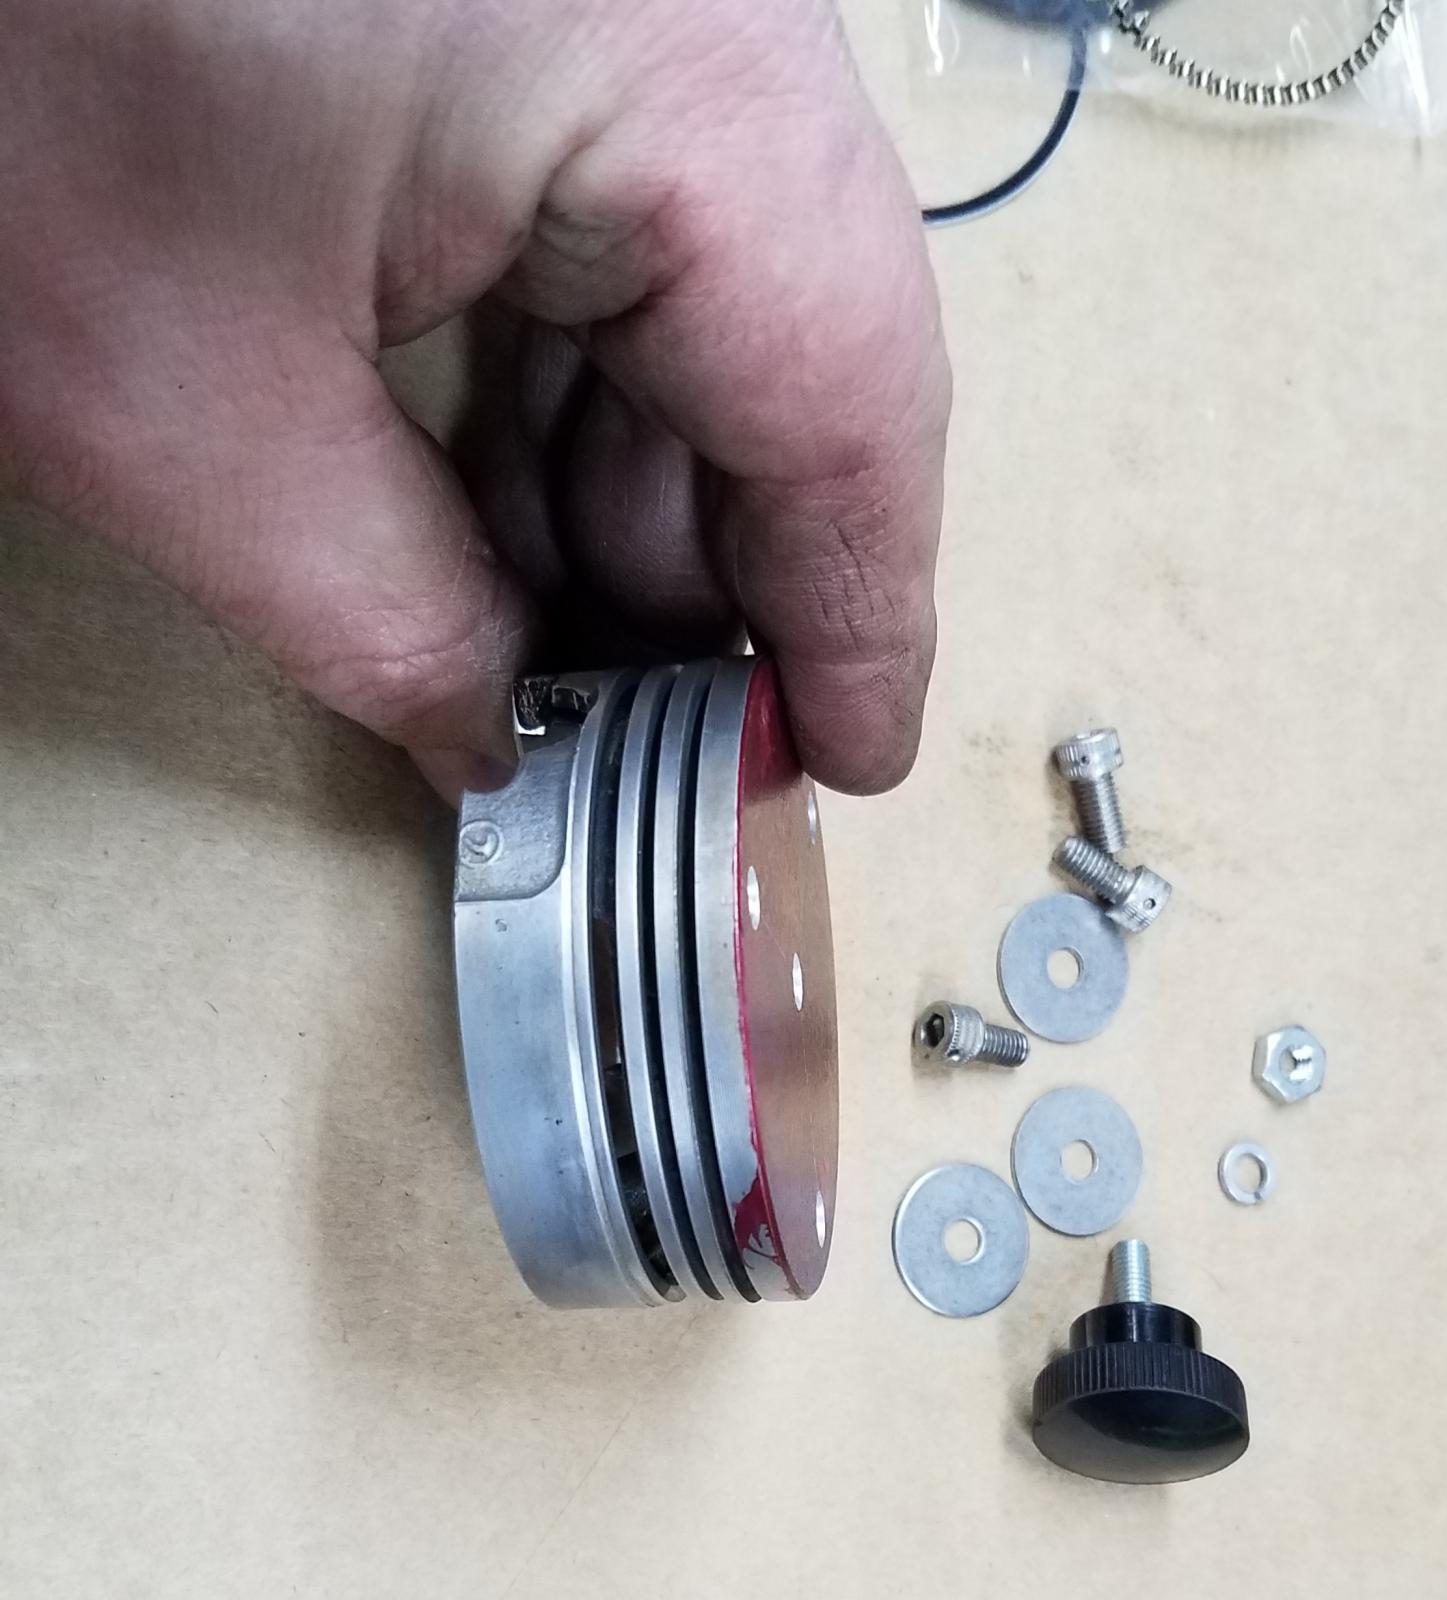
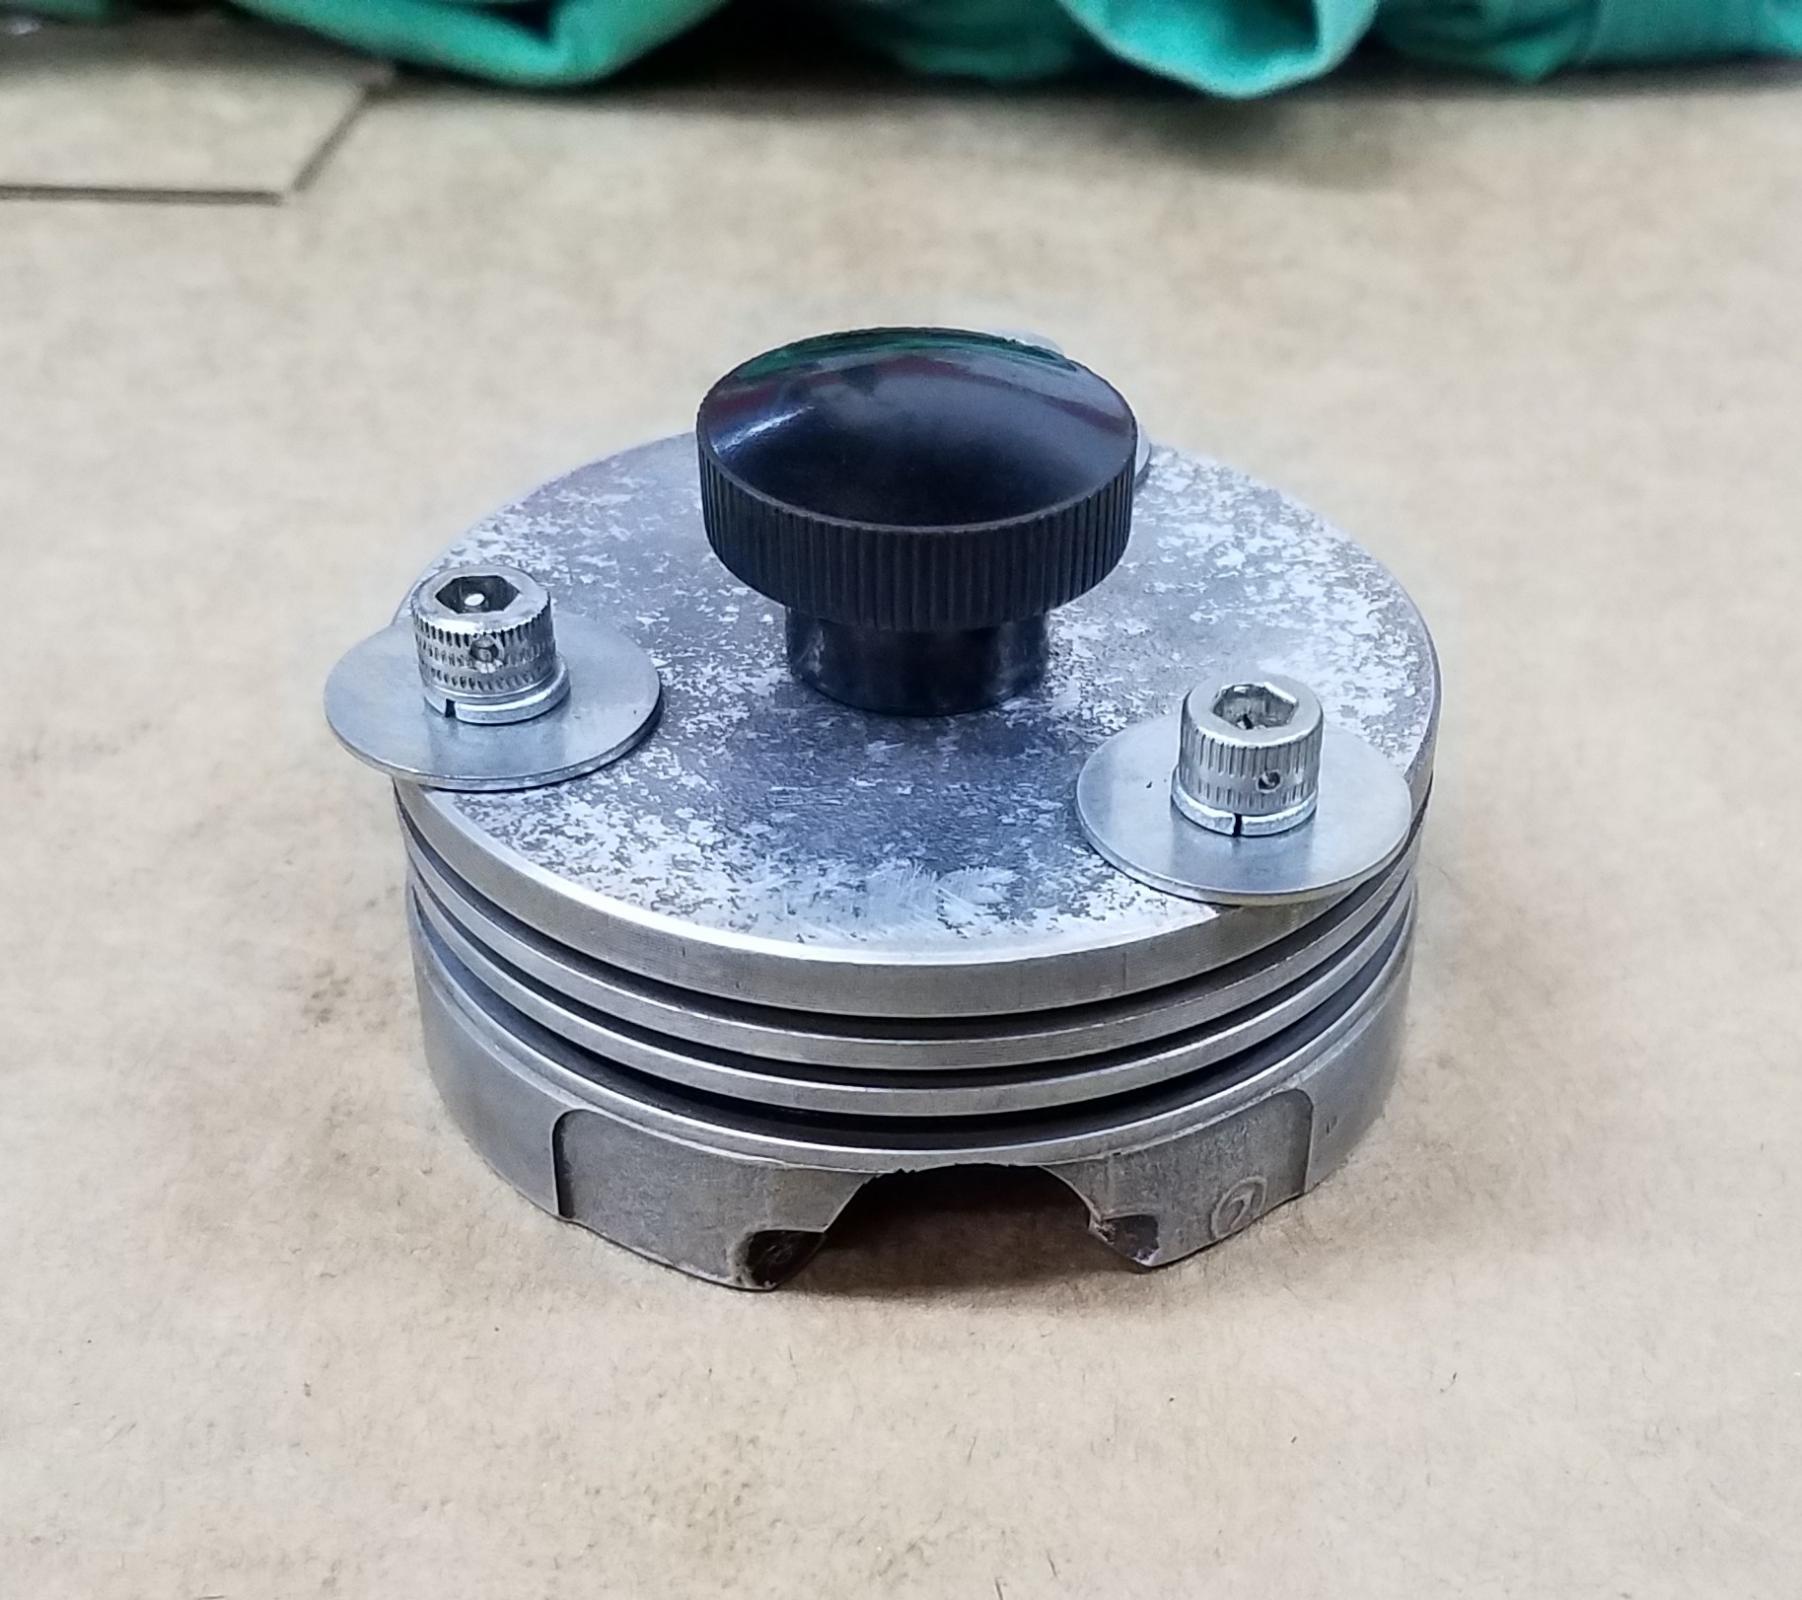
So I whipped up this little tool from a used piston to make it easier. The length between the top and bottom of the tool is within .003" all the way around, so much more accurate.
As I get in other engine types for rebuild, I will make the same tool for each.


 Reply With Quote


 As long as you can crouch and lean, you can still ride.

Bookmarks