
 LinkBack URL
 About LinkBacks

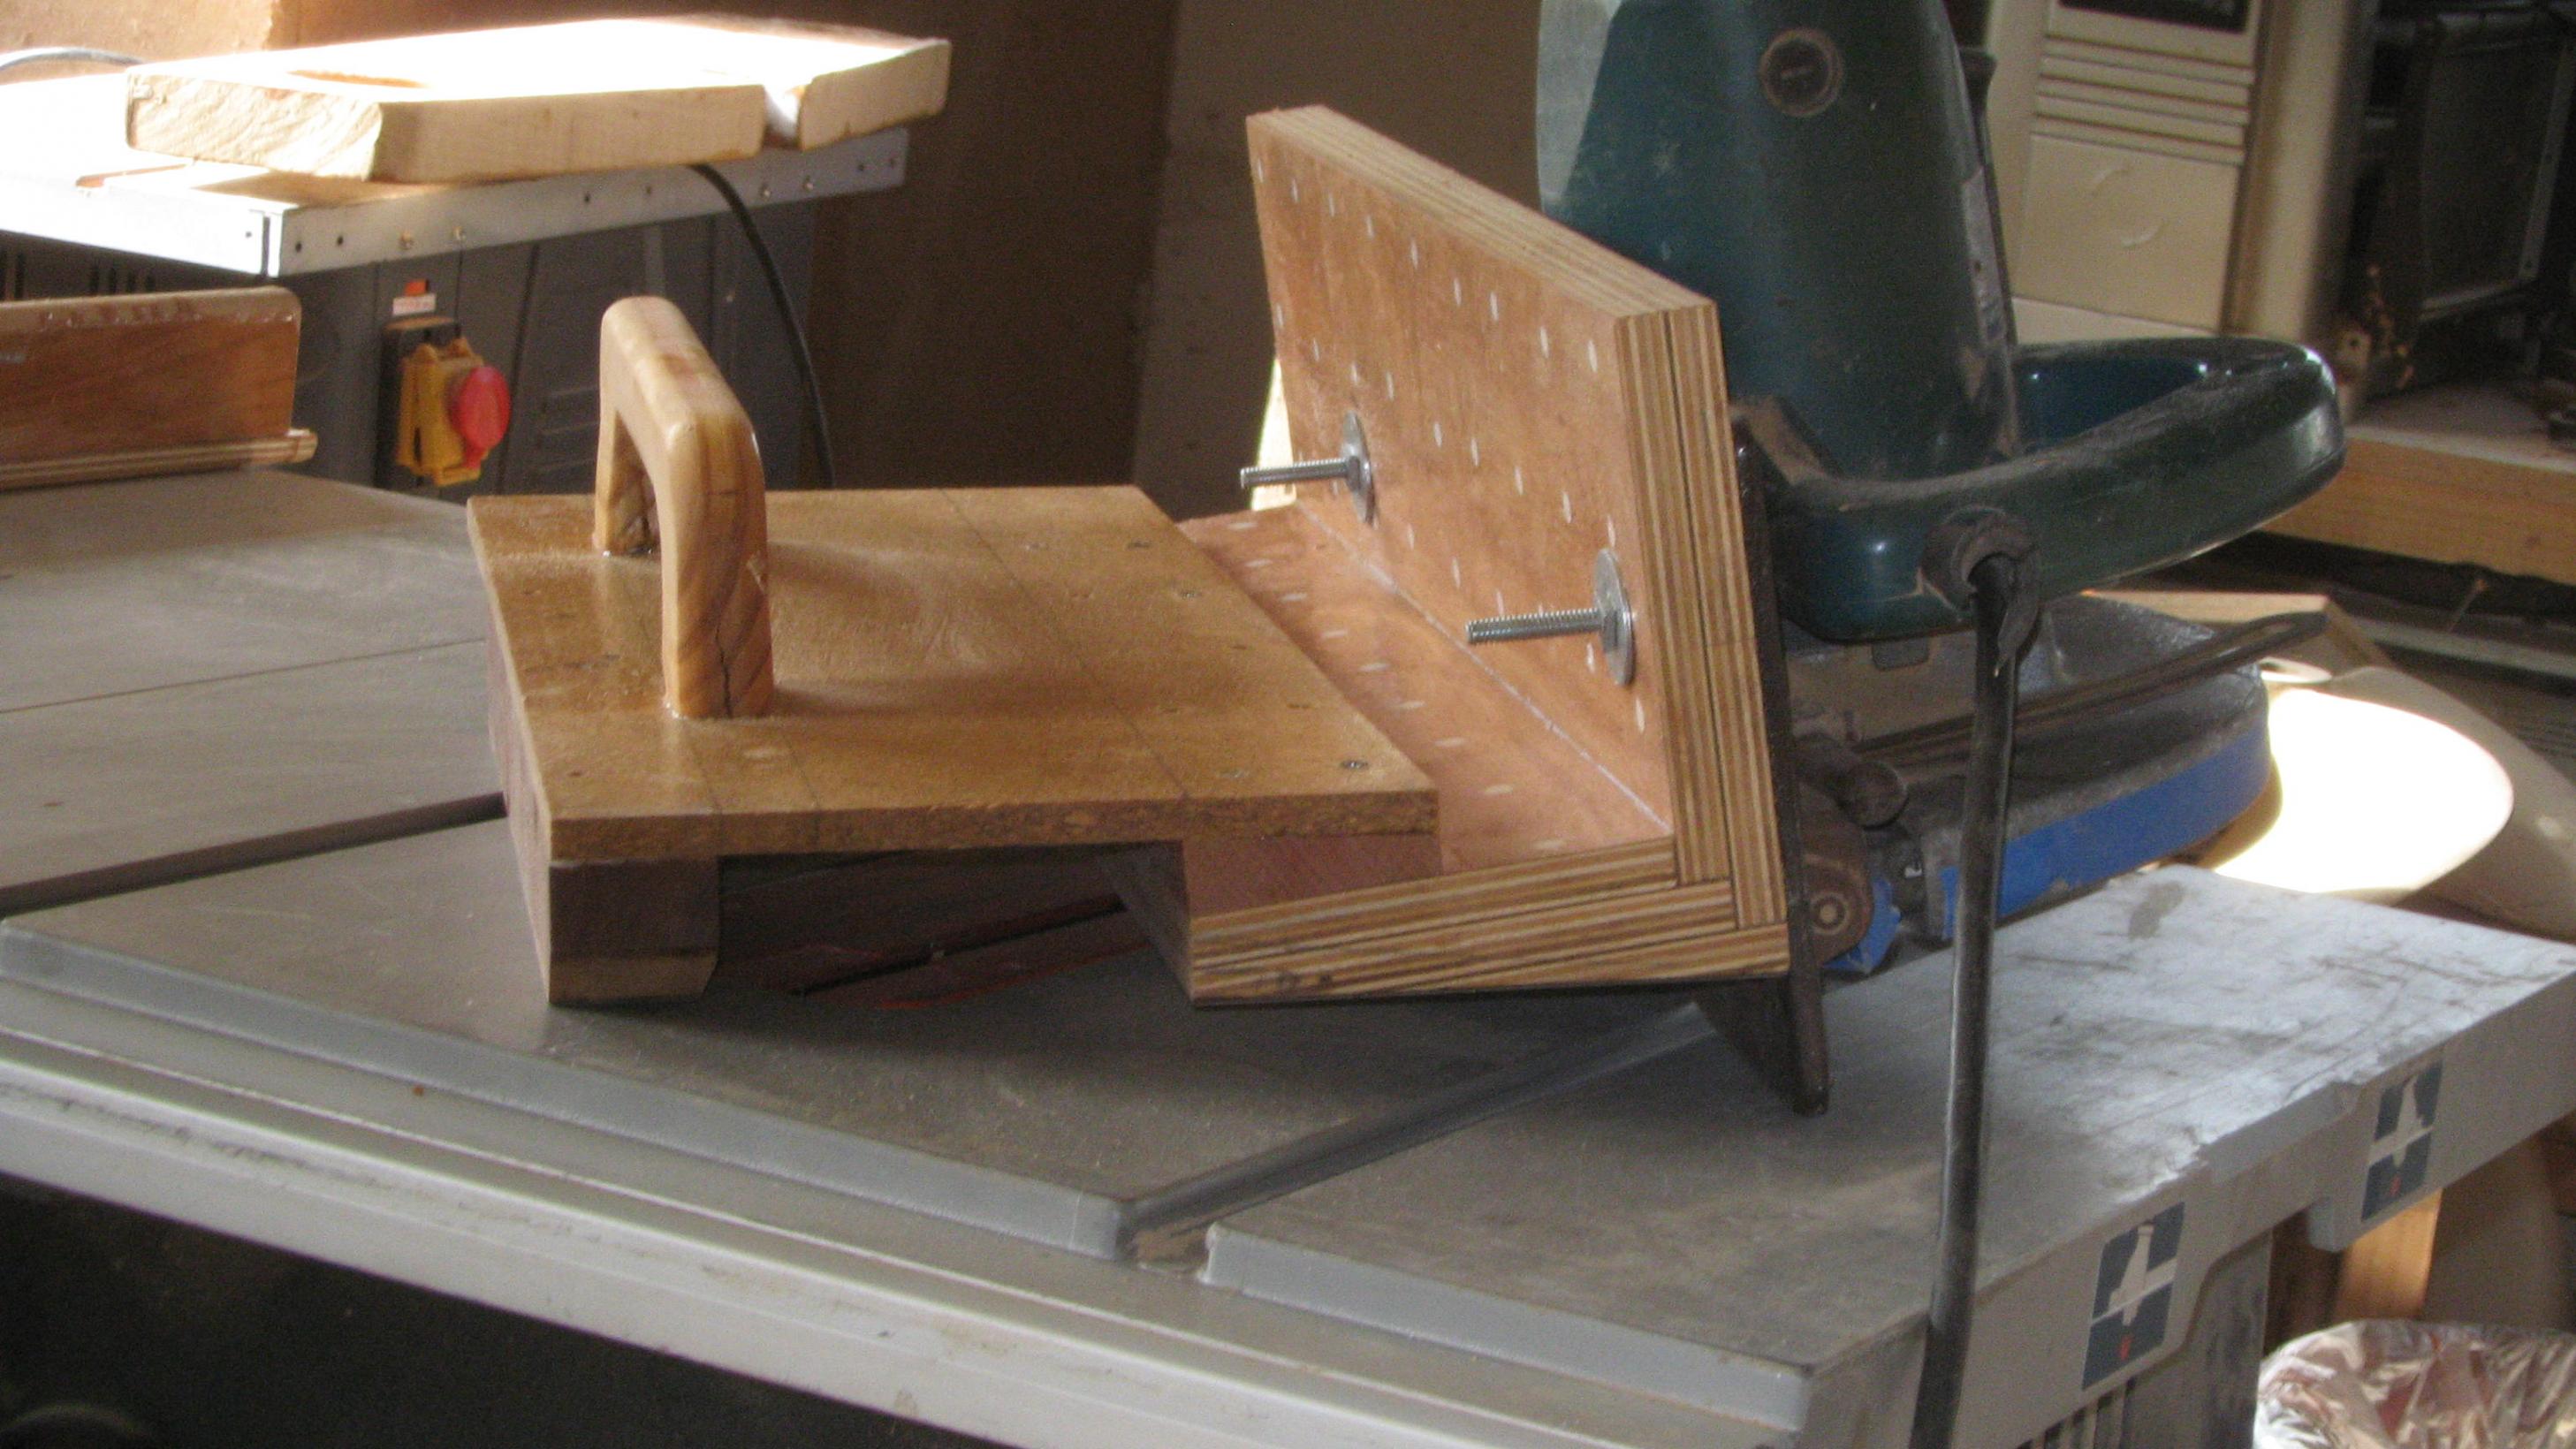
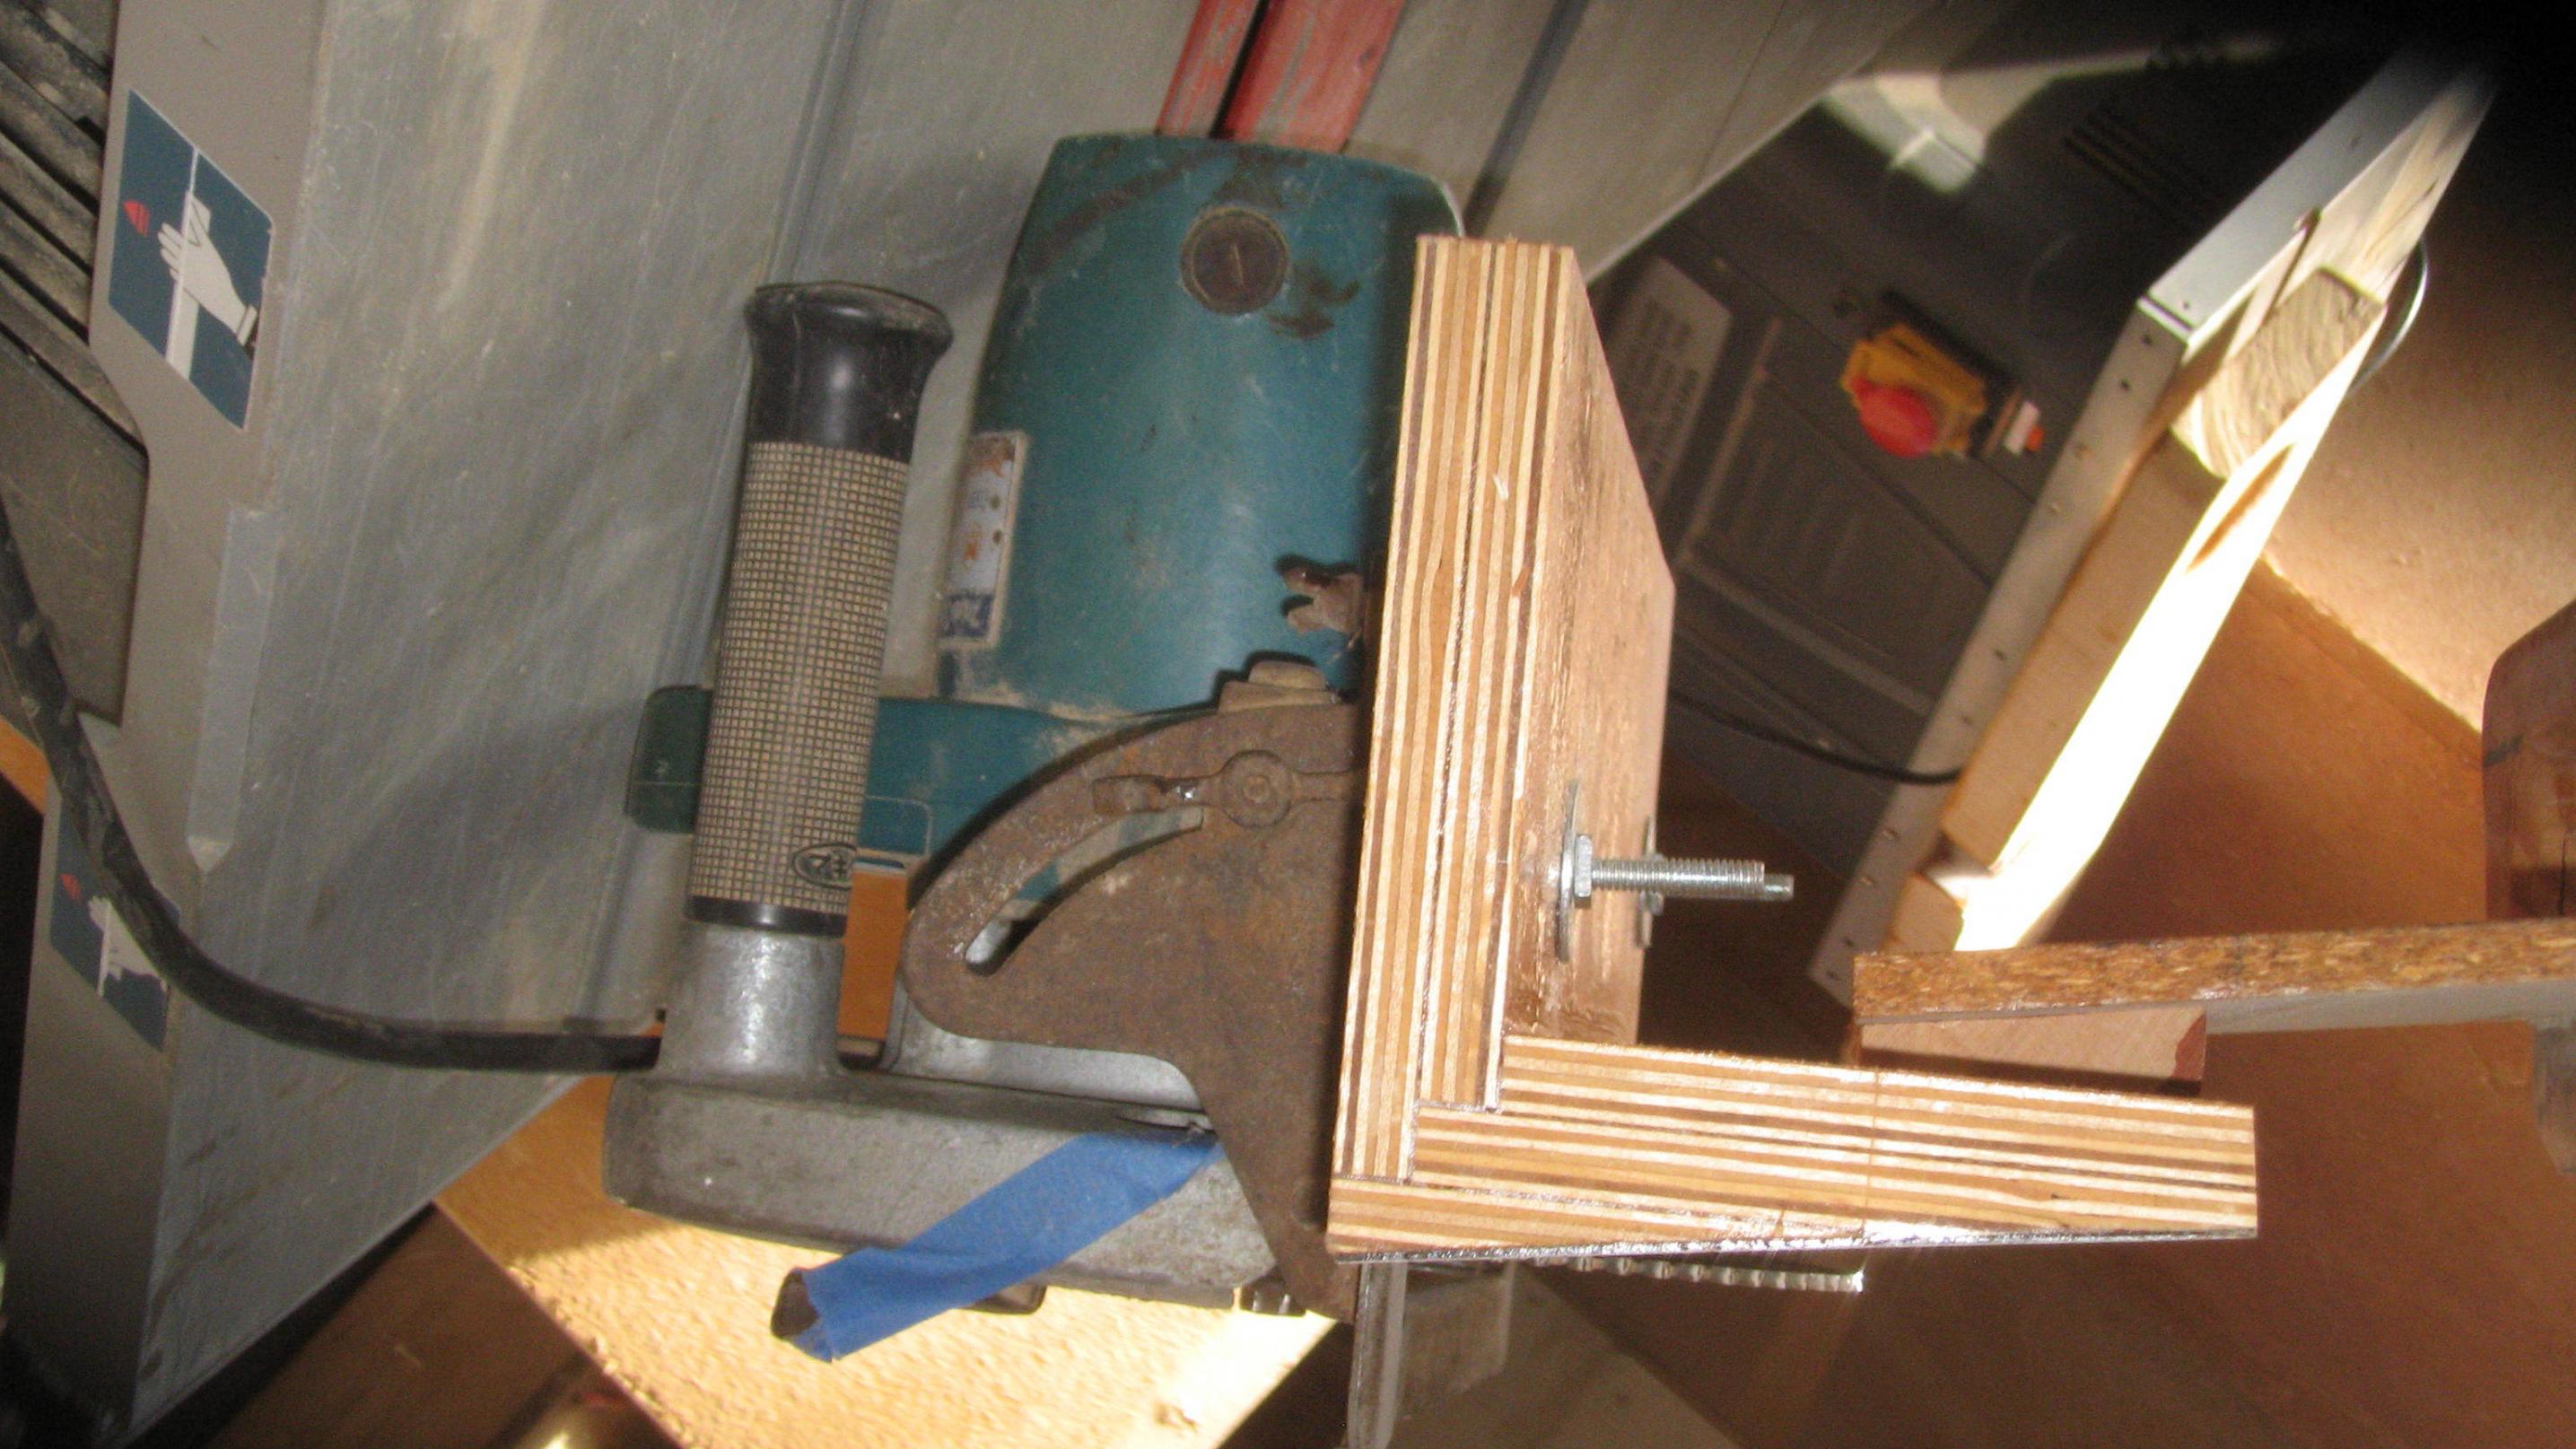
I needed to replace a scarfing jig that I had that enabled me to scarf a full 1200mm. It was table mounted and took up a lot of room I no longer had. This one is a converted 10" skill saw dedicated to full time use with the jig. Note that a fine cut blade must be used to get the best results!
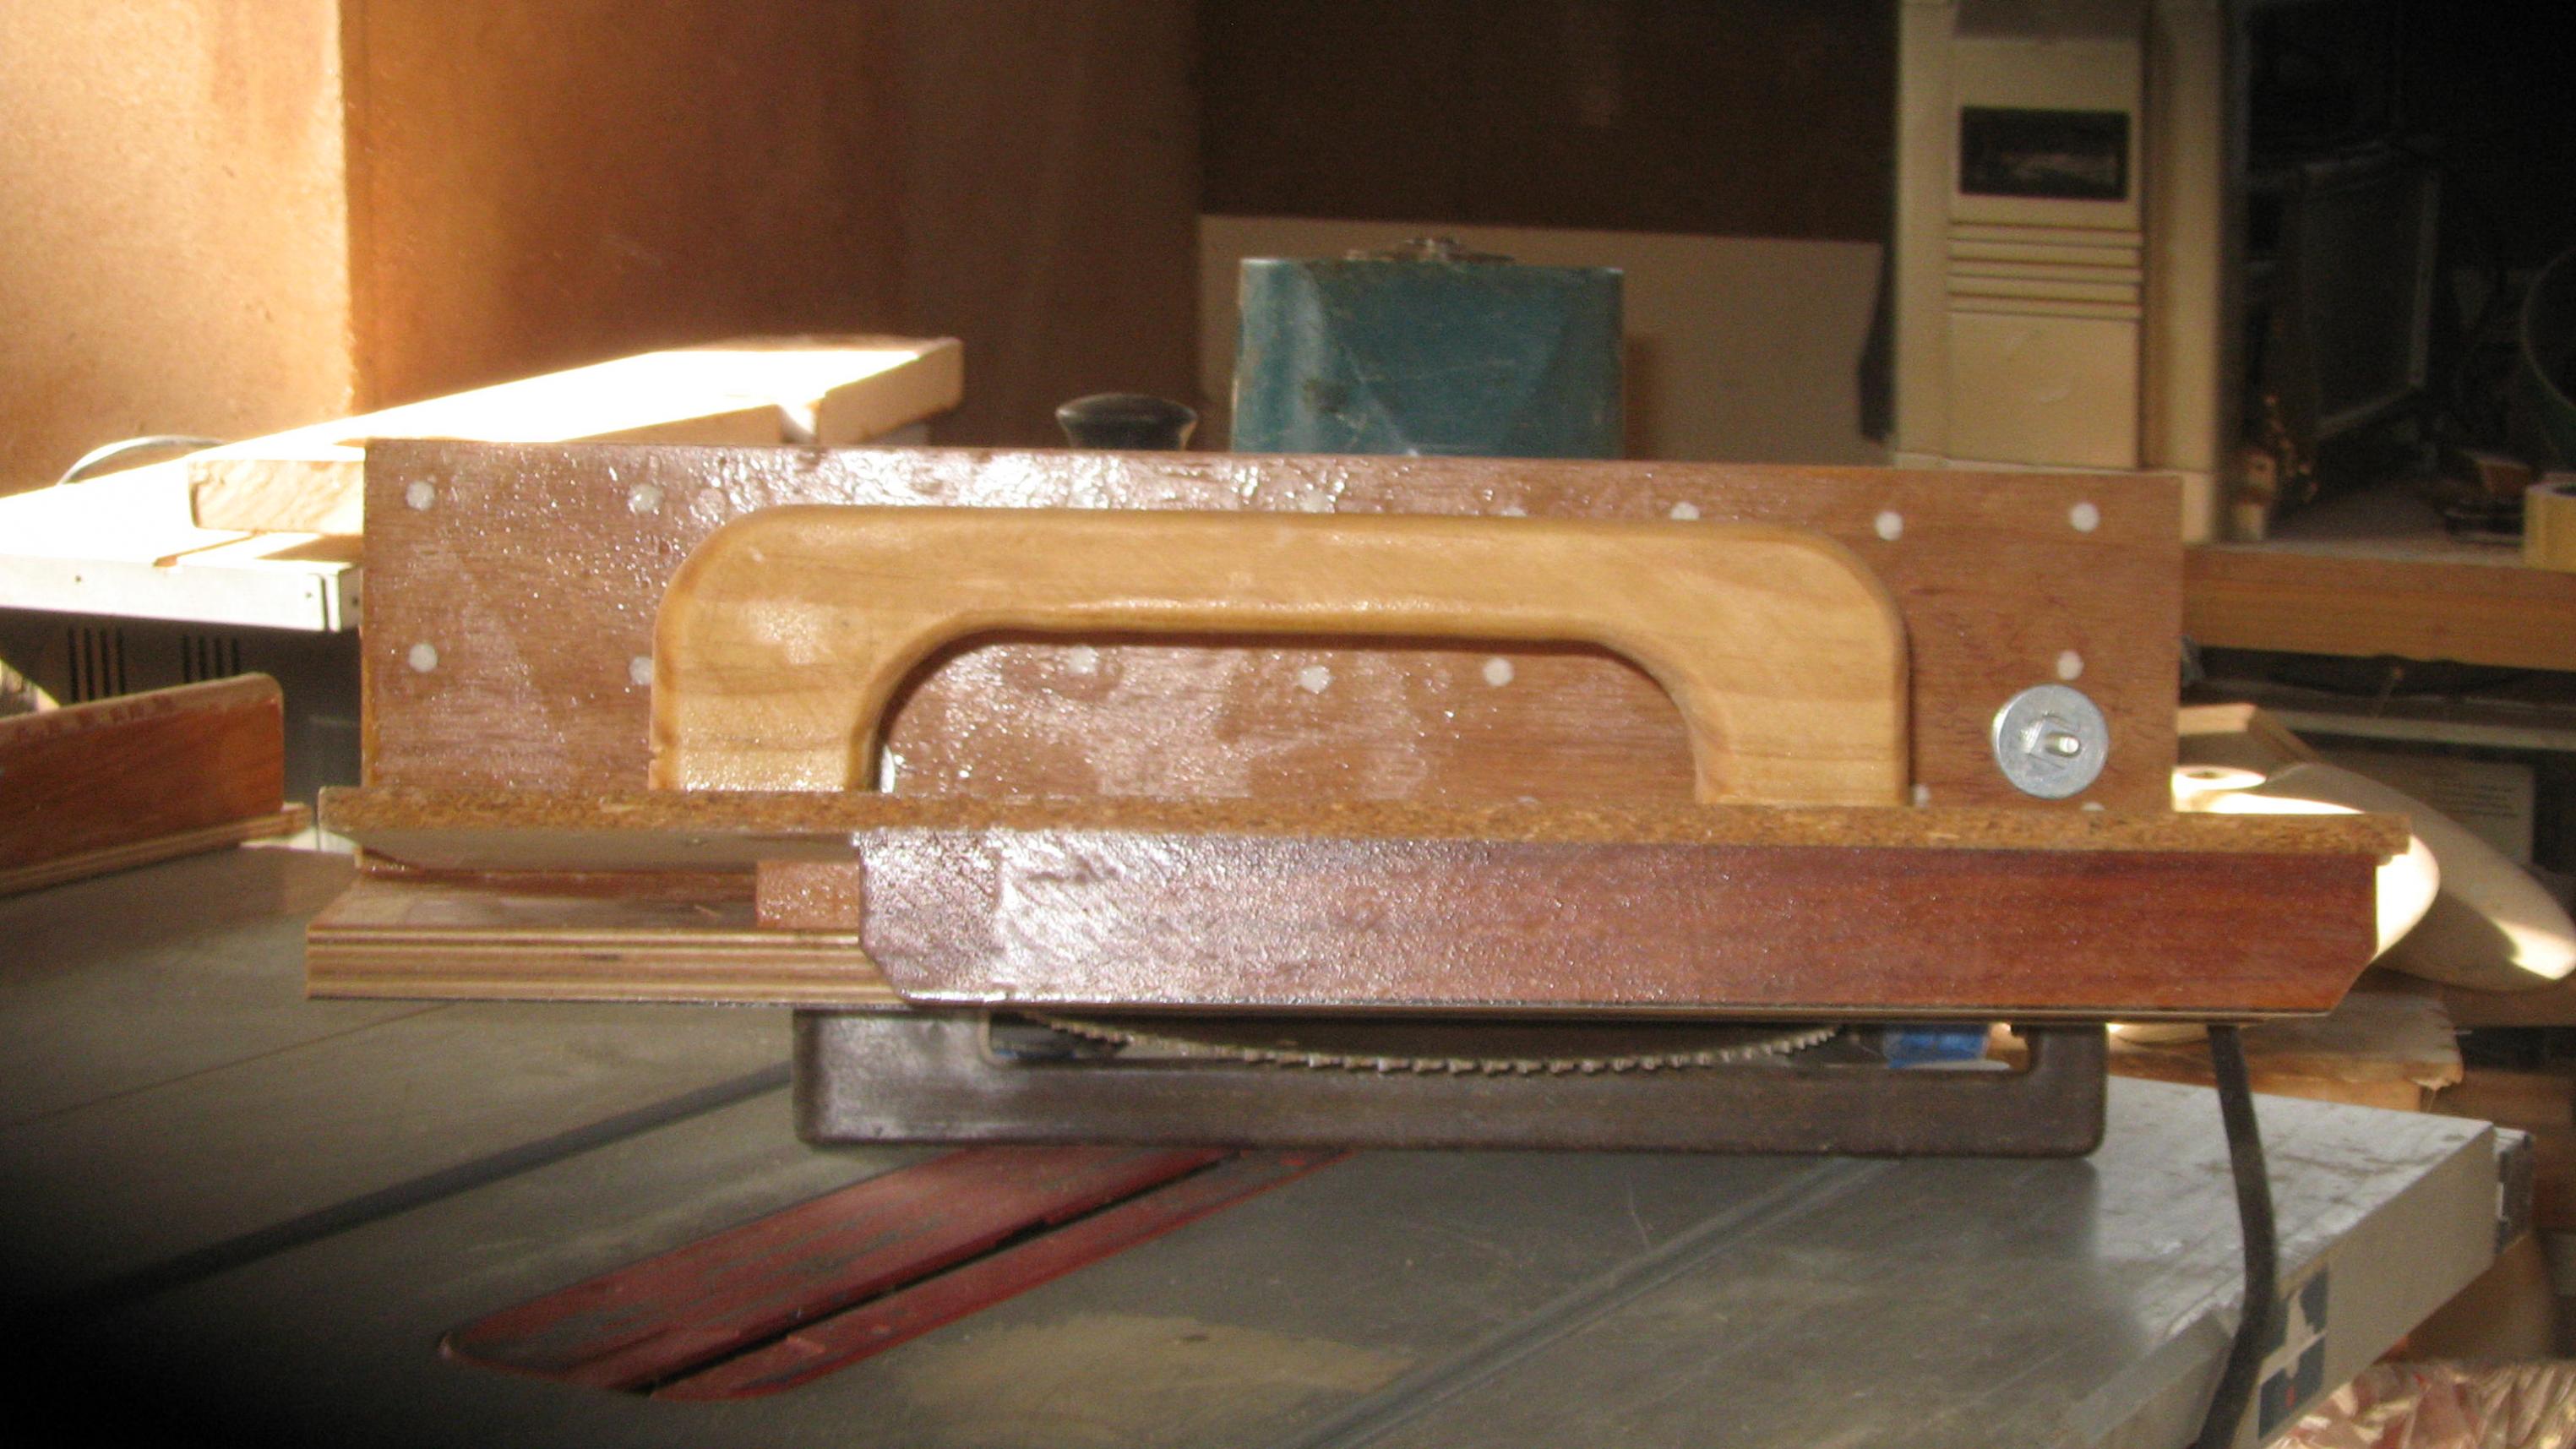
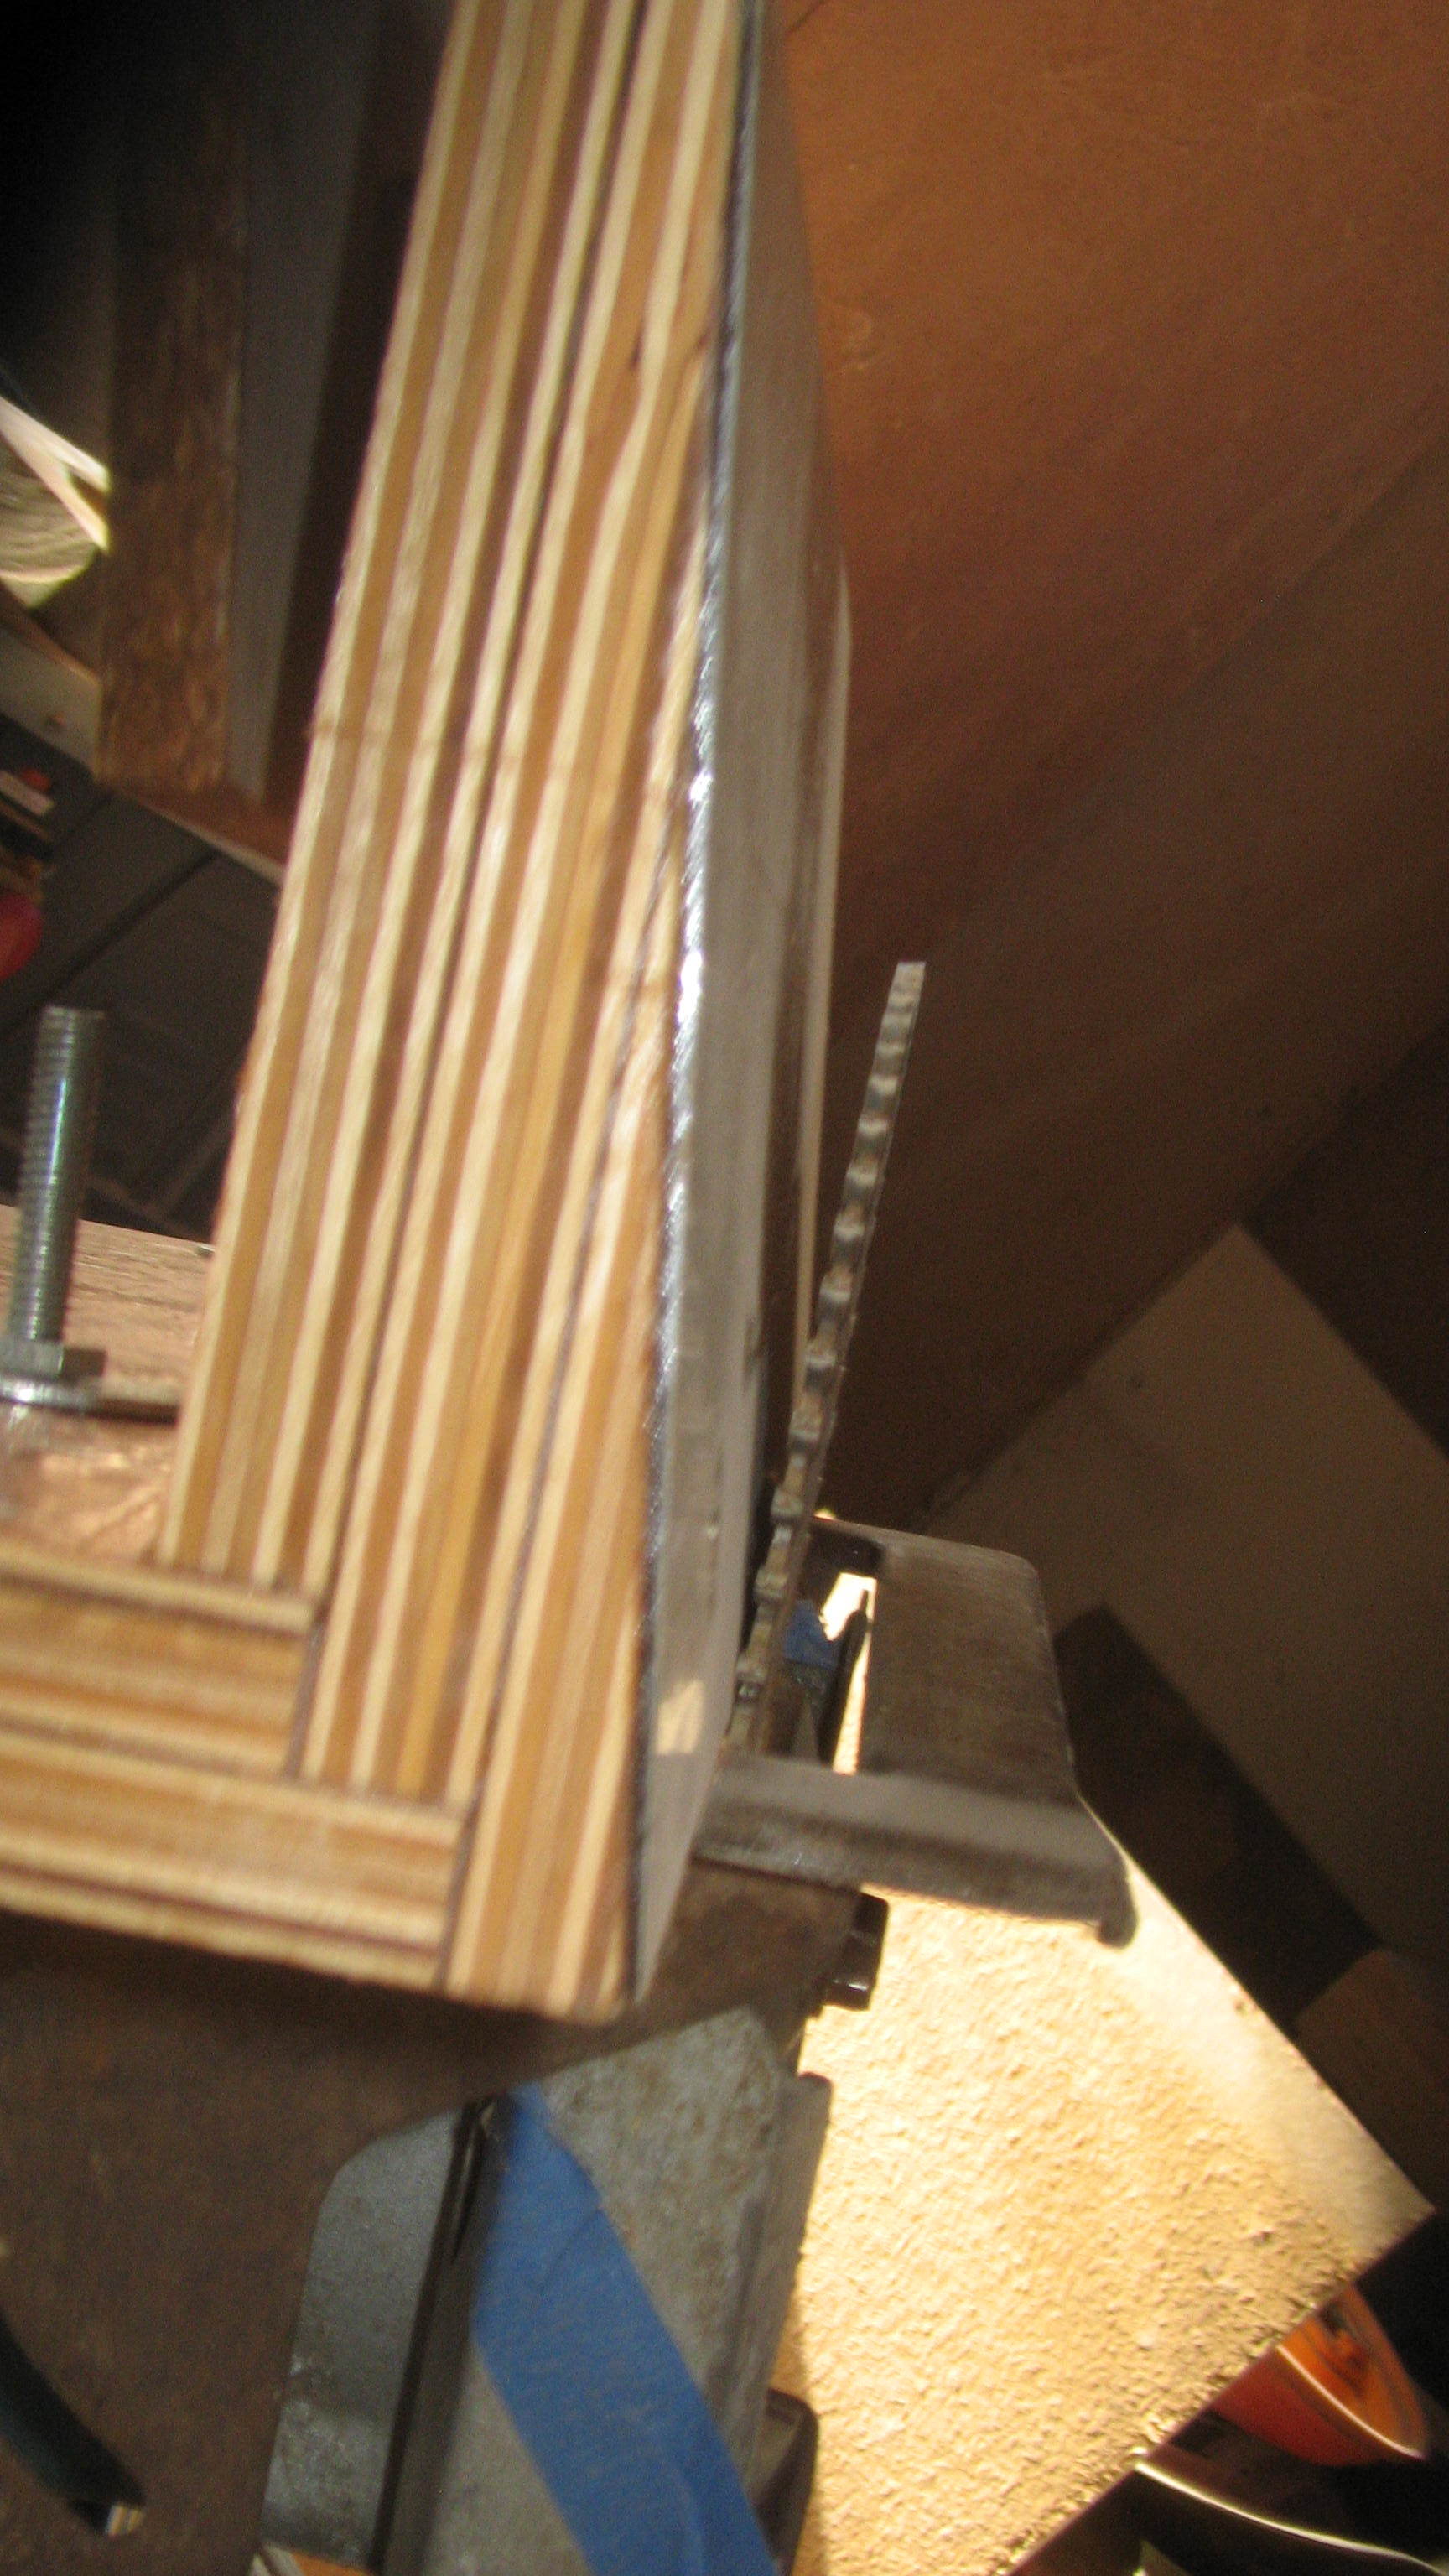
the saw is mounted on a new base cut at 7 deg. But projects out the front of the saw, so you have a lead in when making a cut. This face becomes the new saw platen. The face and back edge were trimmed on the table saw to make sure they were parallel. I attached the saw with the blade up against the edge with about 2 mm clearance, and lifted the saw blade to full height, so the blade was out of the way and bonded Formica to the platen with epoxy and let it set up. NOTE, the guard must be held up out of the way, and will not be used at all, so care must be taken in operation. When cured, the saw was run and dropped down to make a clearance cut in the Formica. Because the saw is heavy, and to help with control, I cut a length at 7 deg and bonded it to the top of the platen, and made a counter balance with a handle, the height of which is the same as the saw platen. The runner on mine is a little short so one day will replace it. It is also faced with Formica
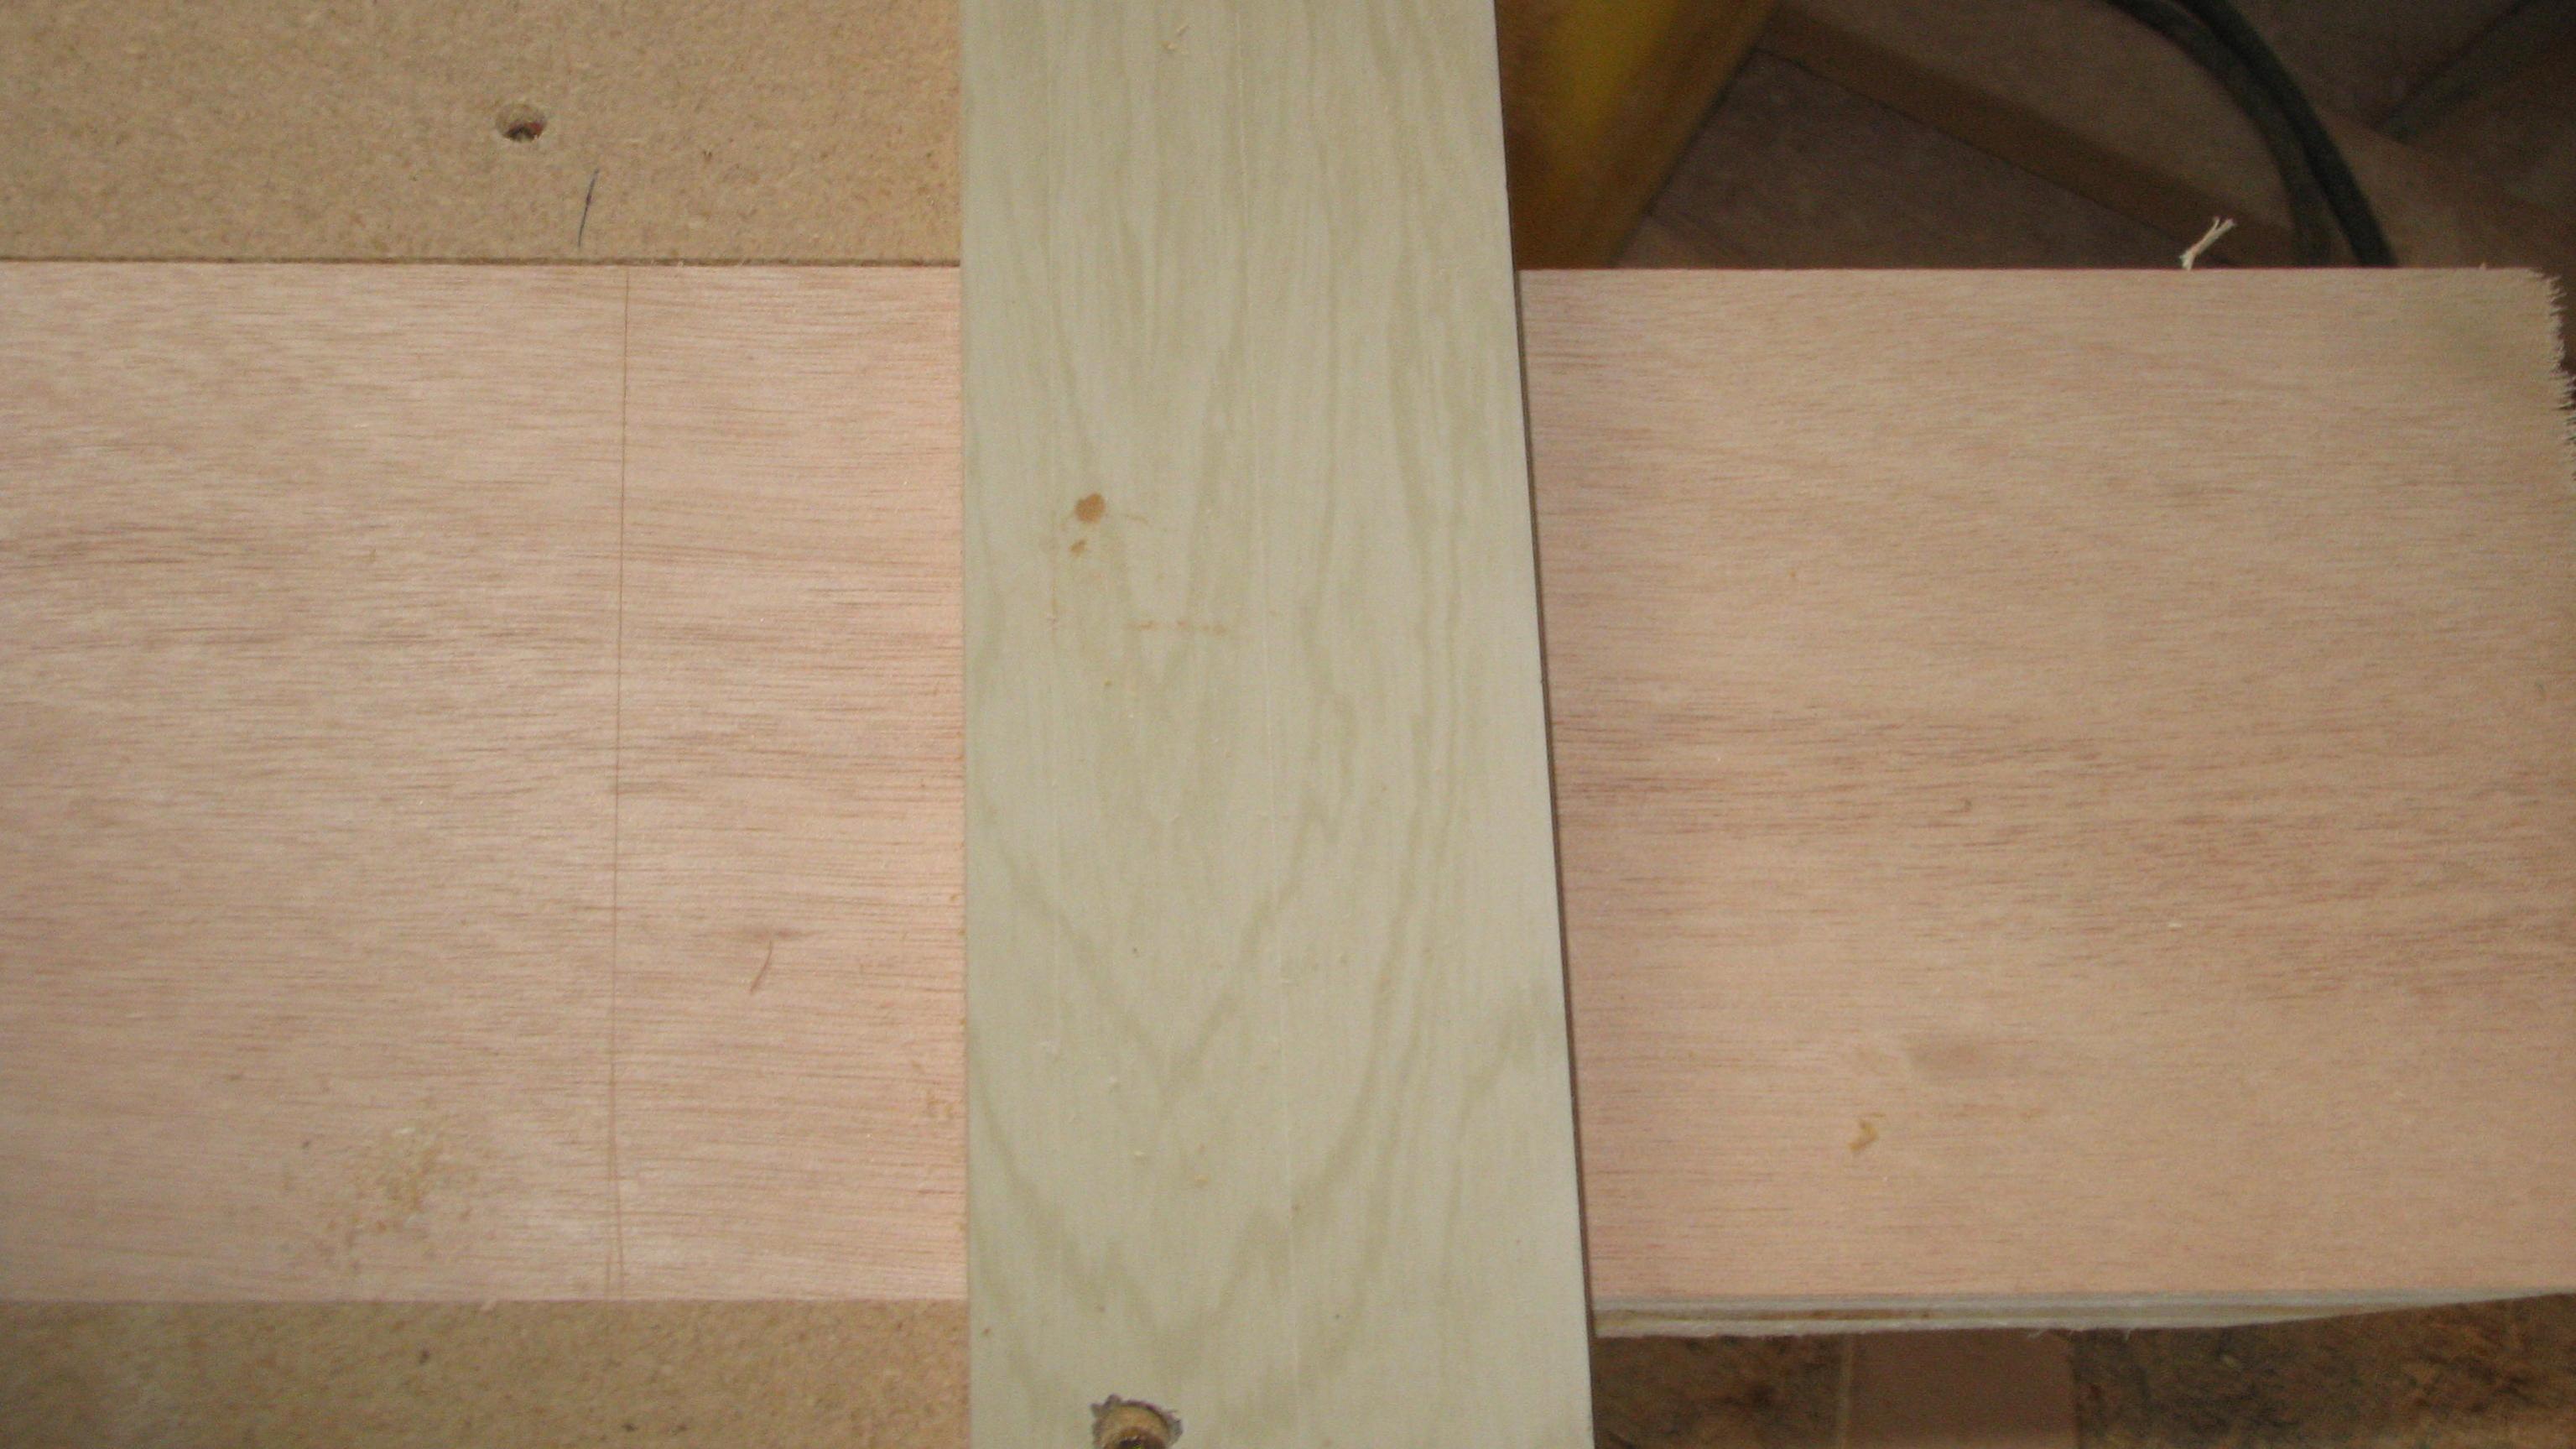
In operation, the material to be scarfed, must be held down on a table that will not move, and a lead in timber or ply that is the same height that is being cut, is mounted on the table with the ply butted against this. take a measurement from the inside saw blade edge to the out side of the platen, and mark this measurement on the ply to be cut. With the ply overhanging the table, screw a guide either on the ply, or on the outside into blocks square to the ply edge. the guide needs to have a good lead up so you can put the saw against it, and resting on the lead in timber before the blade connects with the ply
Make your cut, holding down on the counter balance, and pushing against the guide rail.
Important, wait until the saw stops running before moving it away. Adjust the measurement from the edge to the rail until you have a feather edge. If you cock up, just move the ply out a few mills and re-cut
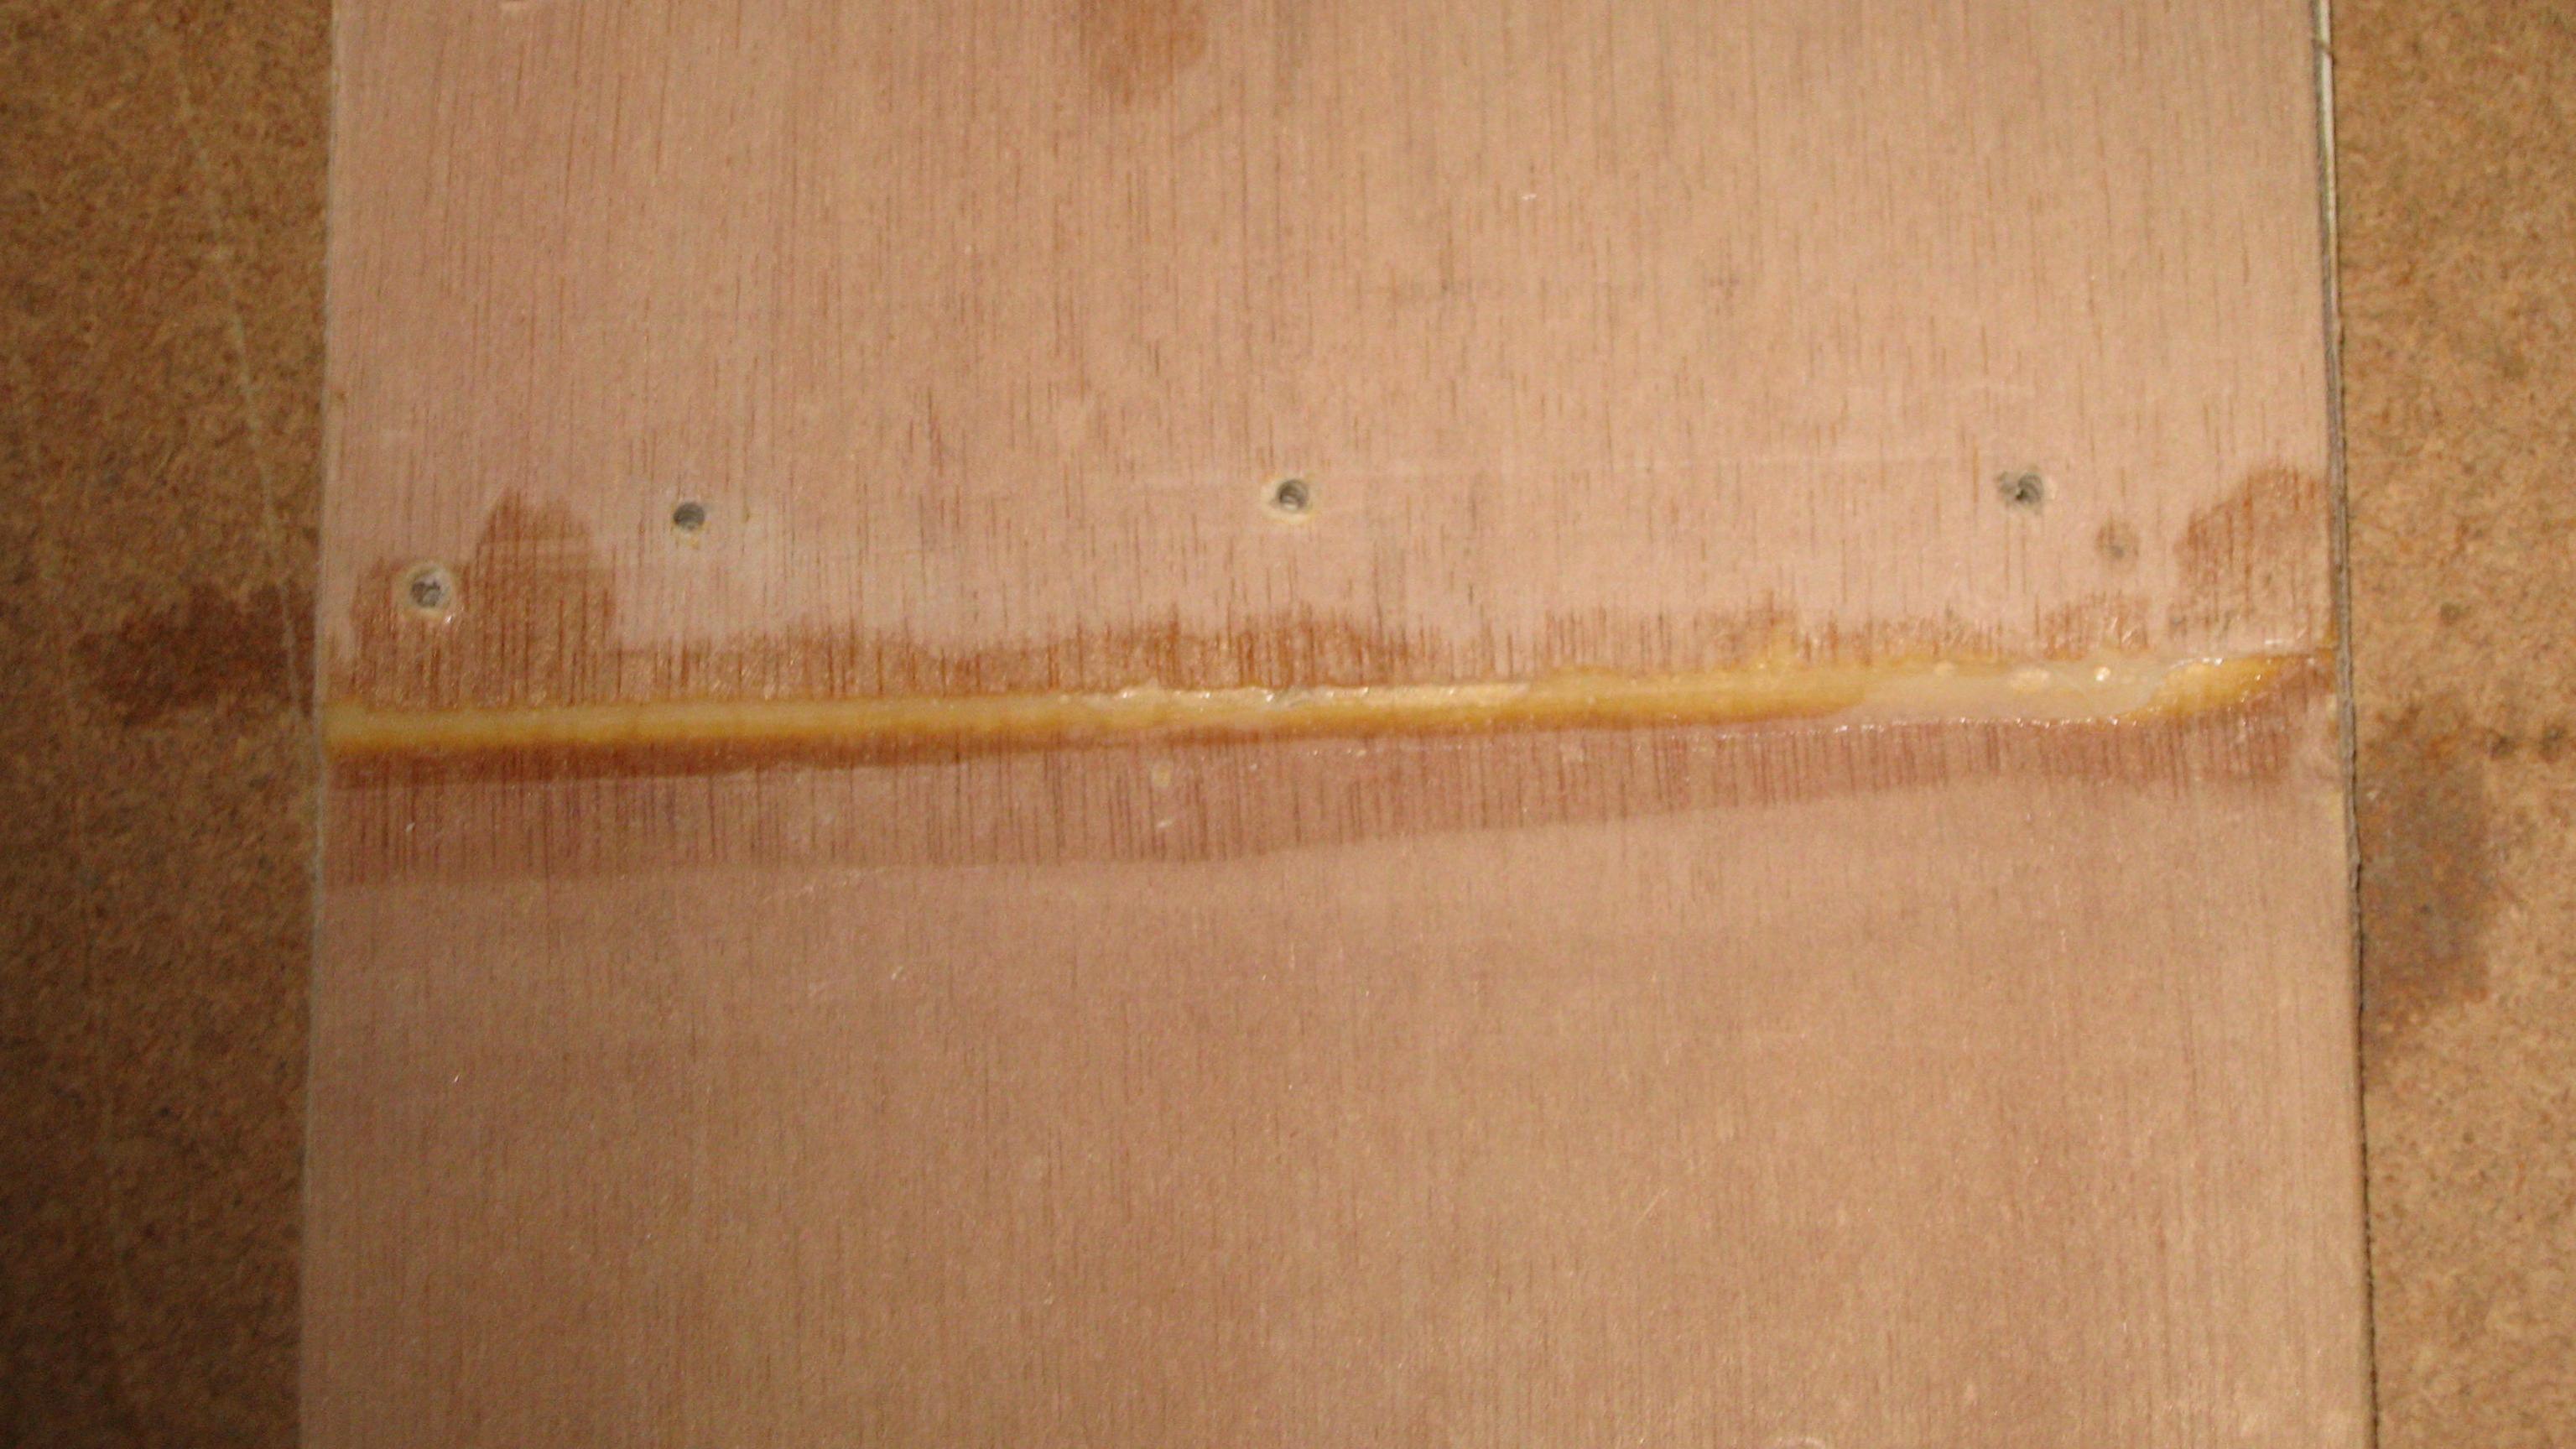
completed scarf
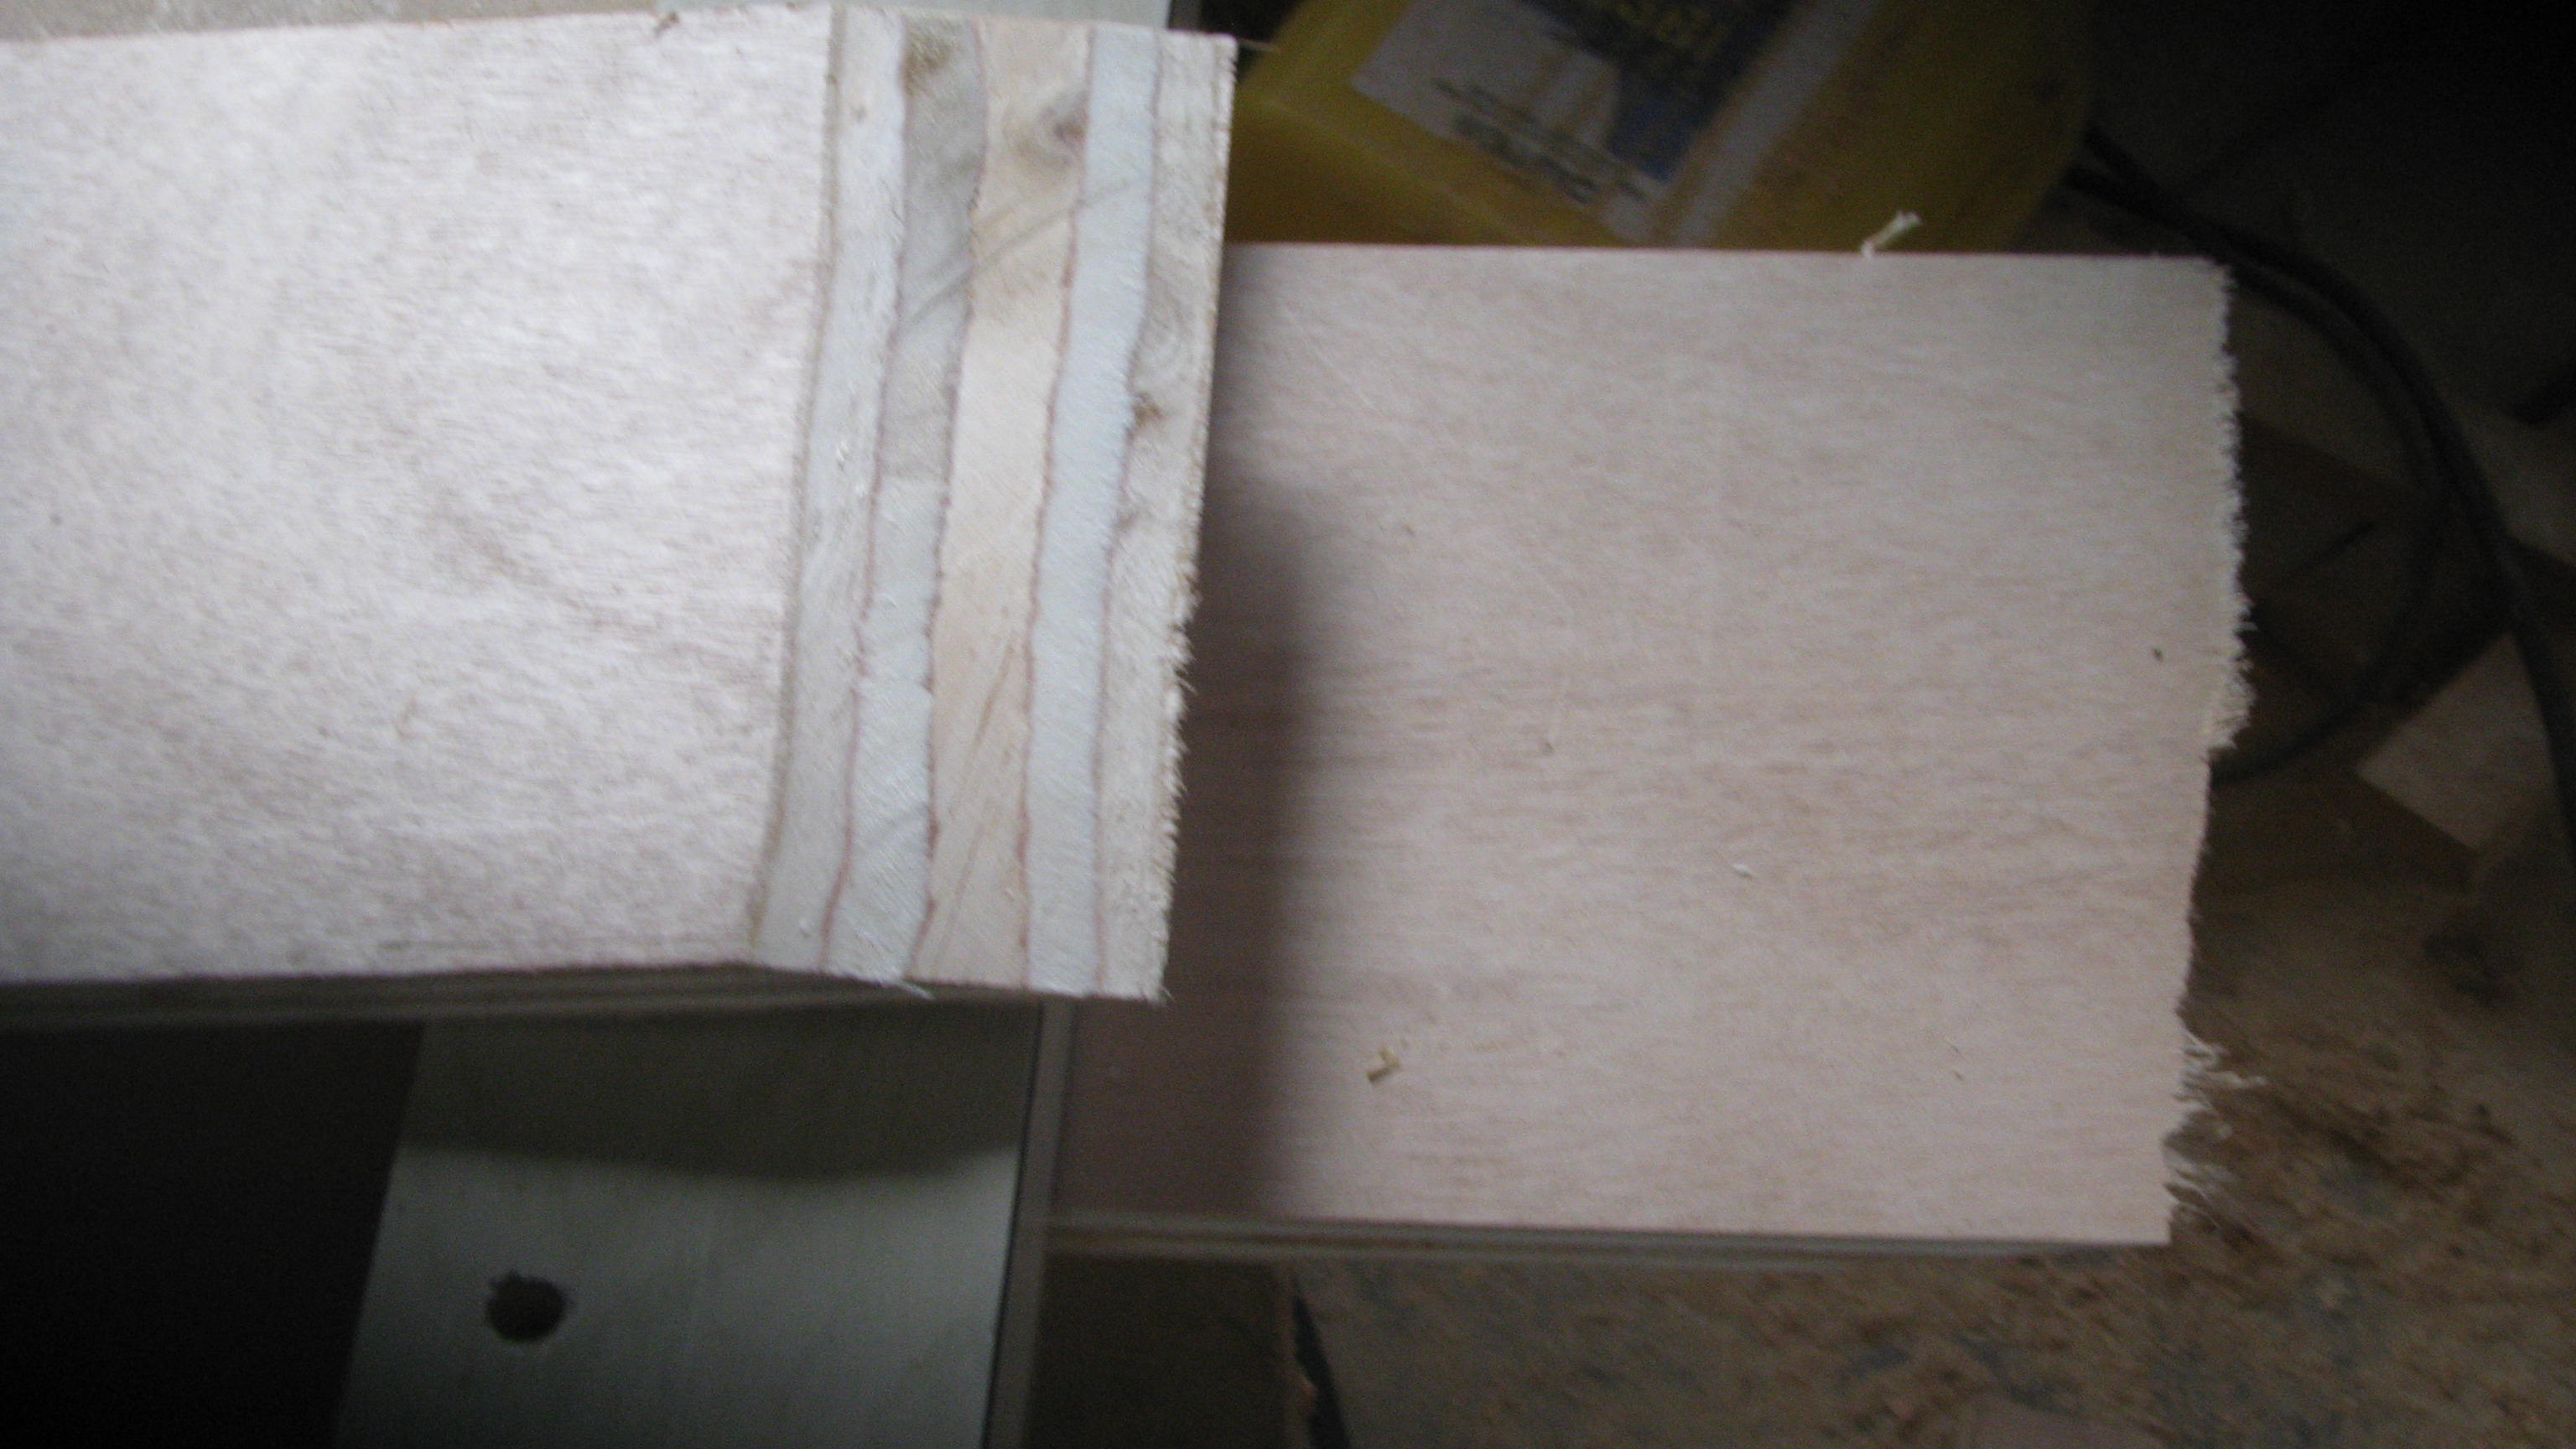
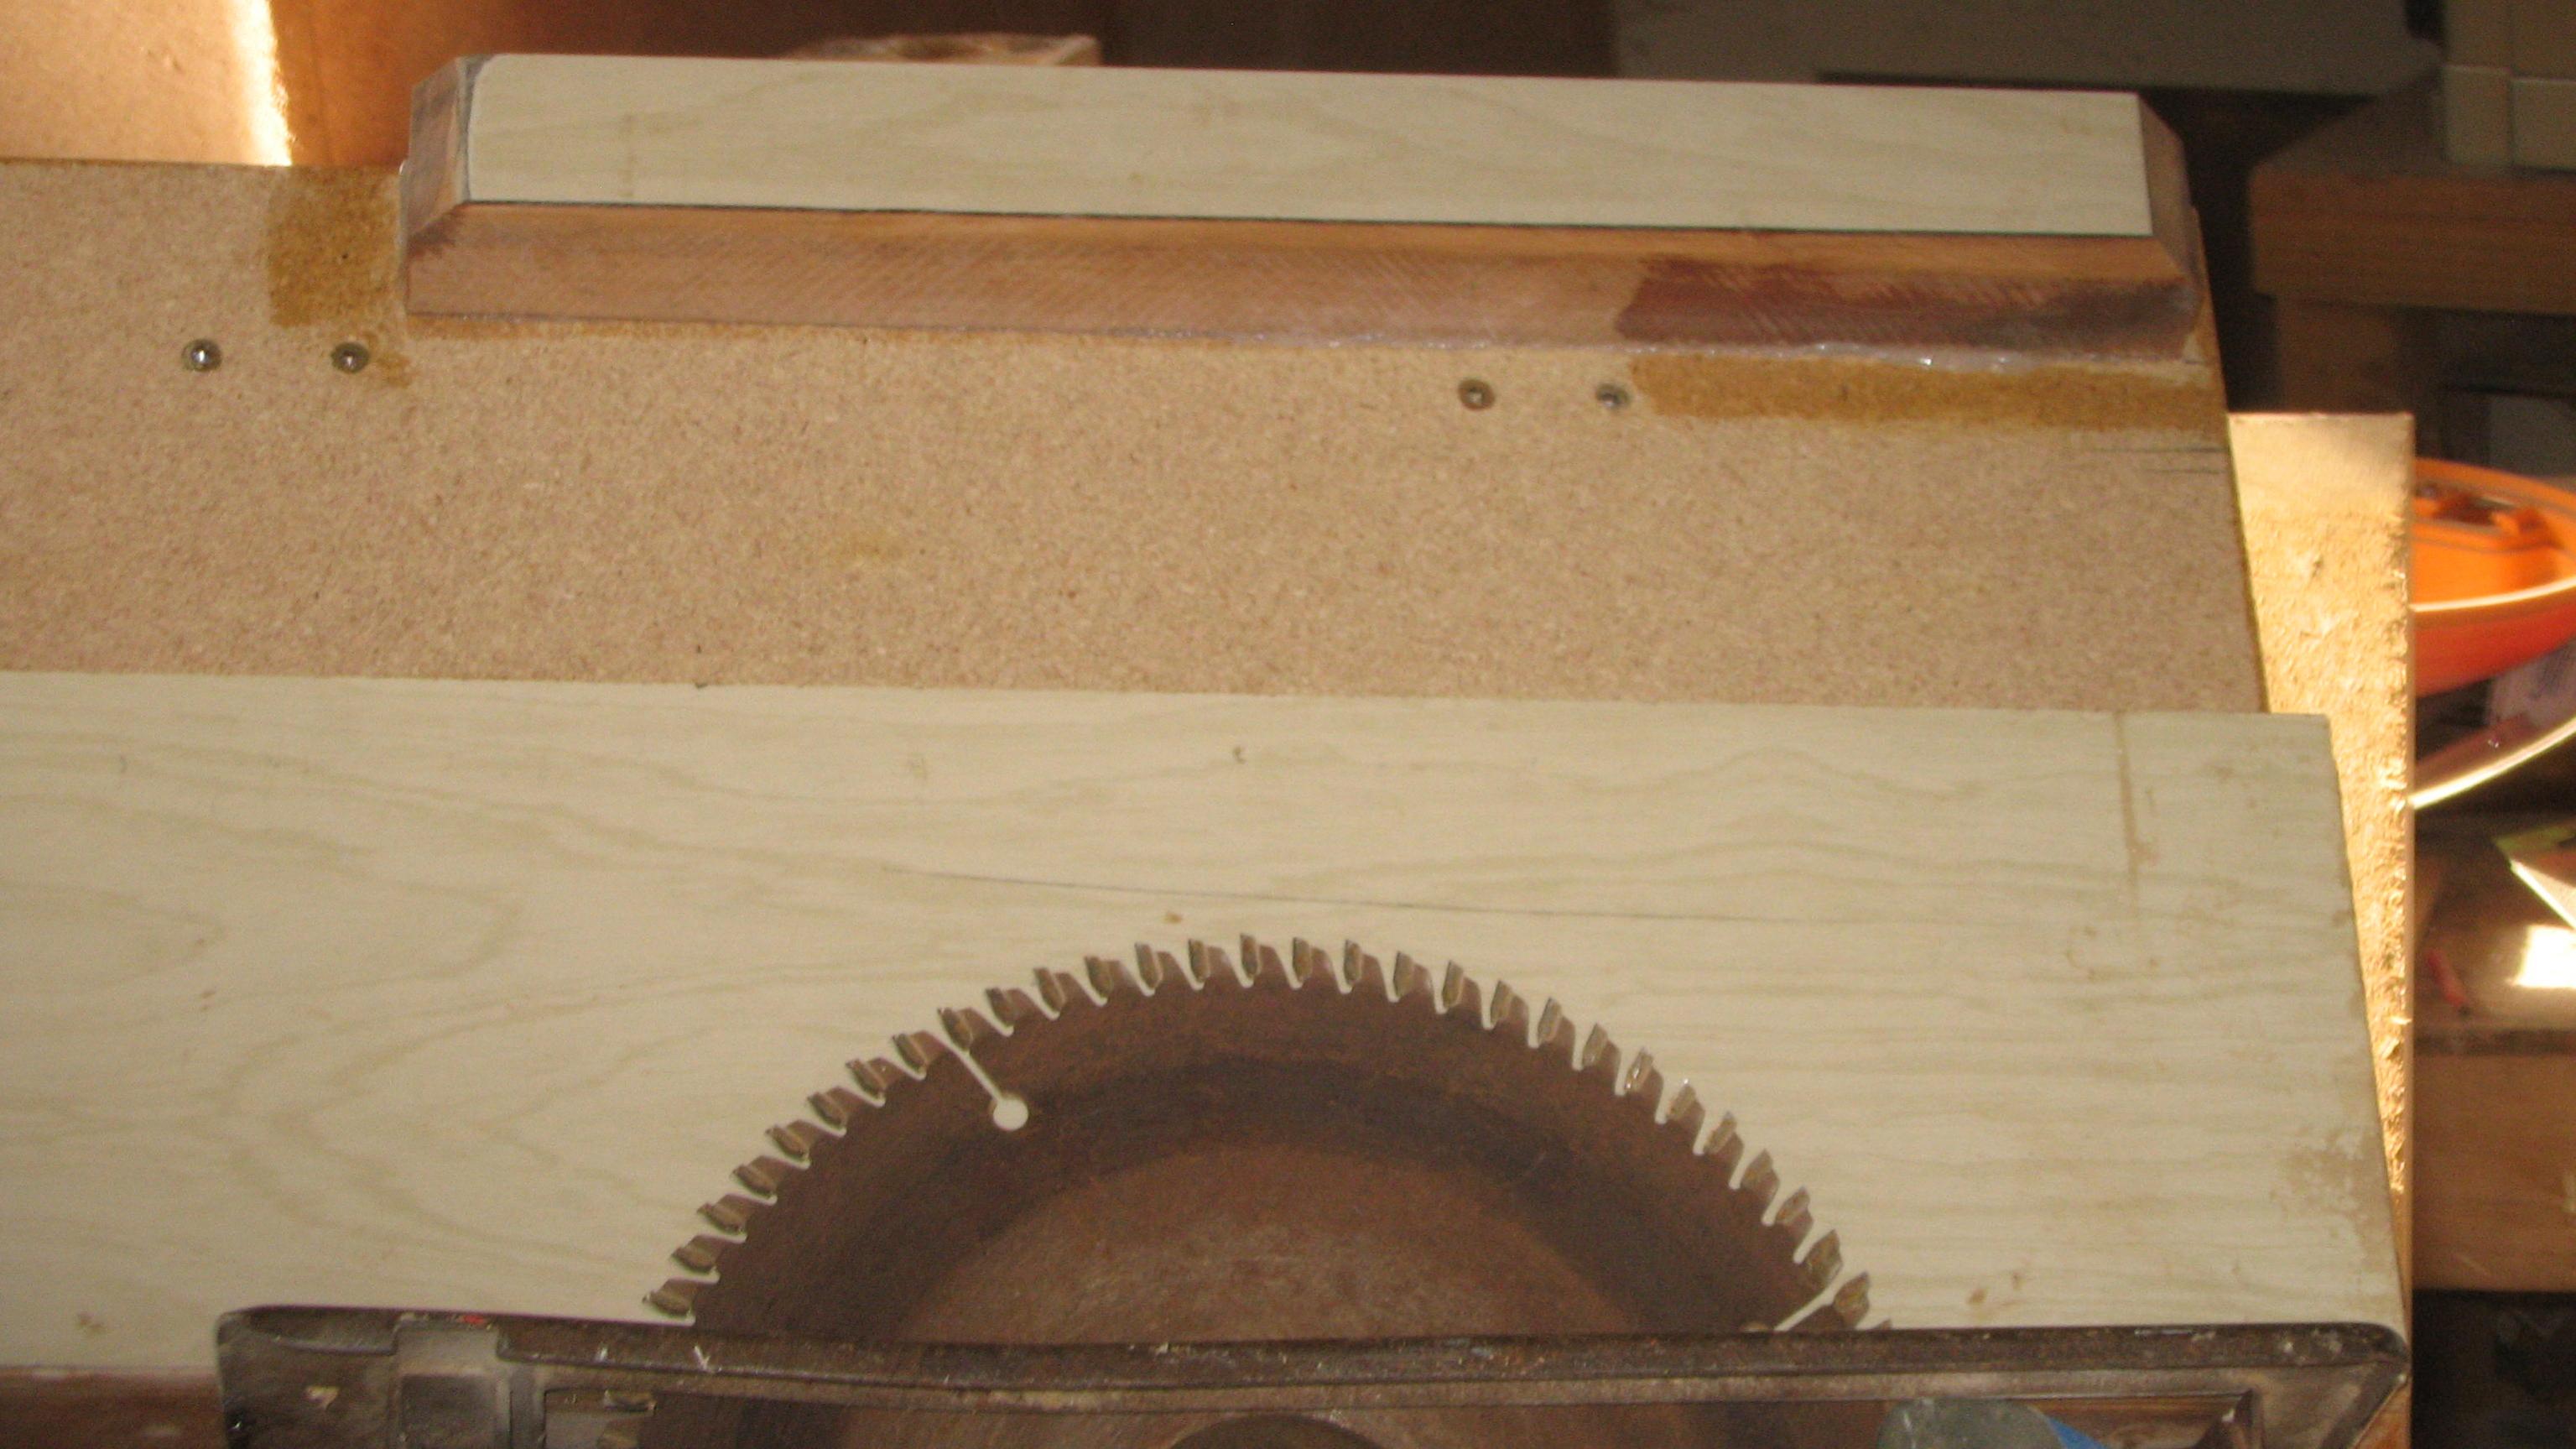
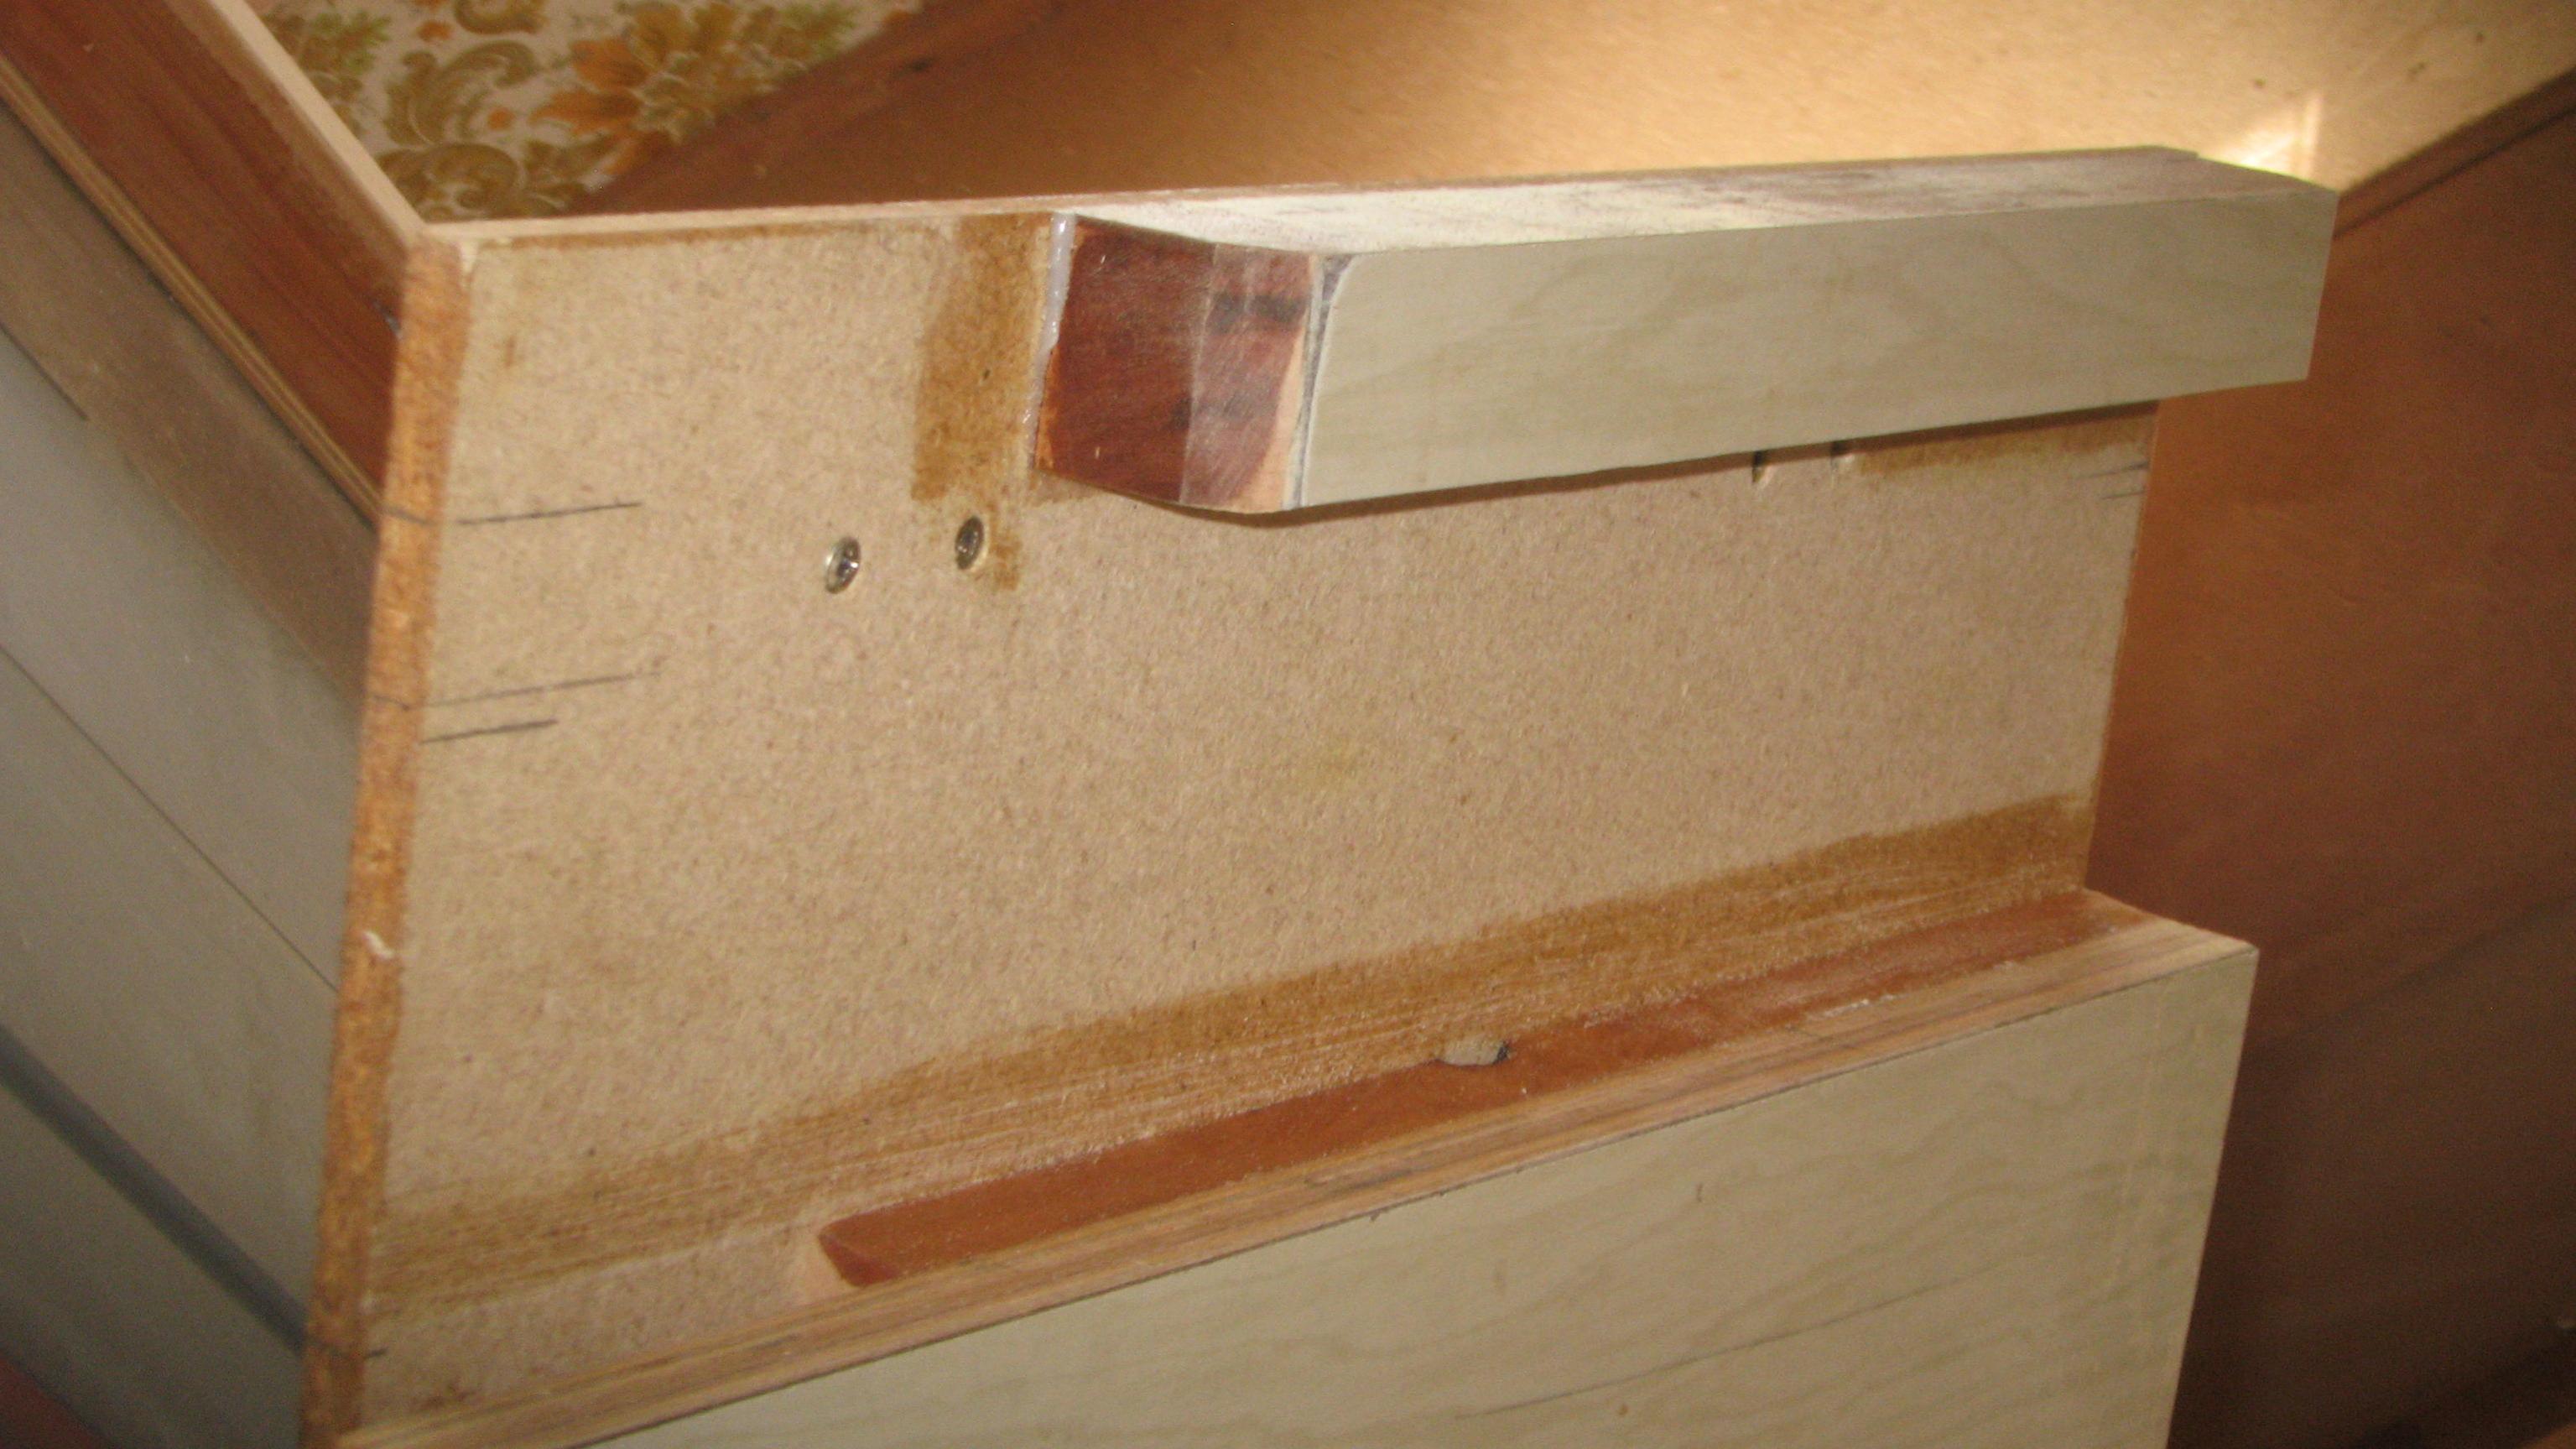
The guide rail and the lead in timbers. In this case I was cutting 9mm ply, so I used 9 mm partical board. This was crap ply and it was not 9mm, and you can see a step between the two. I just packed it up with a piece of cardboard until it was right. That small step was enough to throw the cut off square and it took me a while to figure out why!
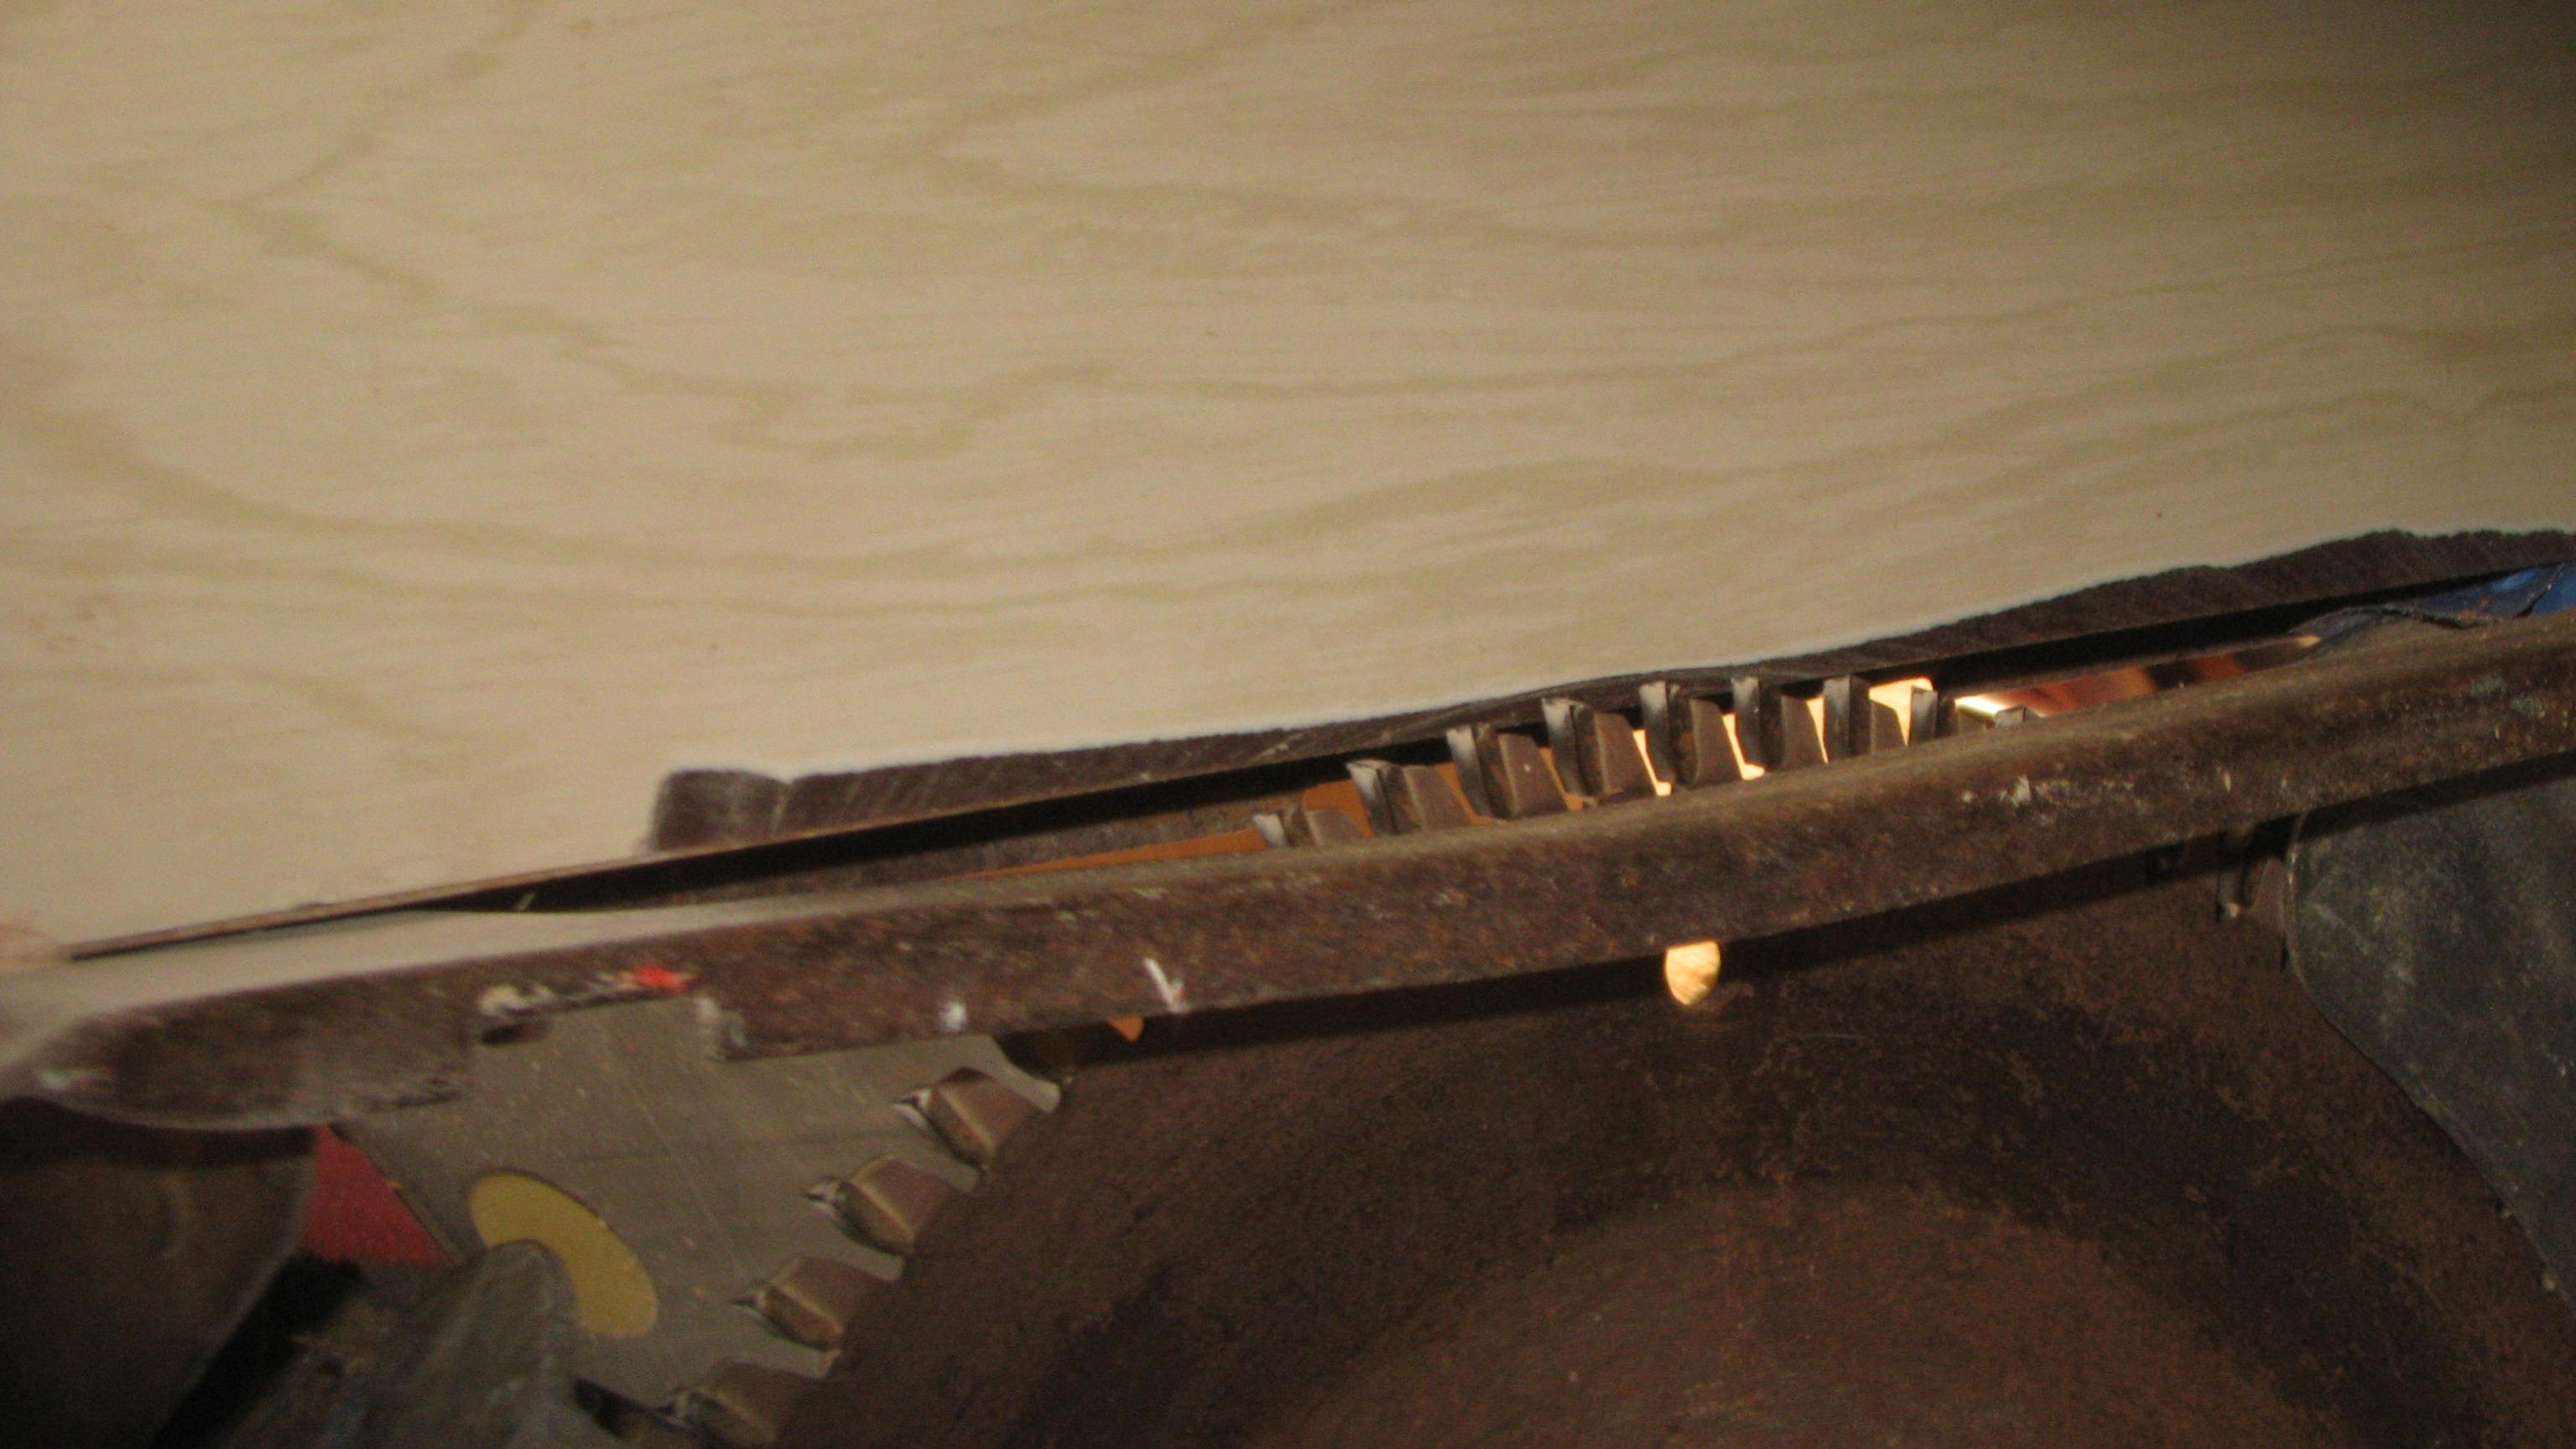
cut in the Formica shows the clearance cut
counter balance skid
the finished scarf
Note that the 7 degreas that was cut off the mount that I made up, had to be done at a joiners shop. My table saw has a ten inch blade and couldn't cope with the depth. 7 deg was supposed to give me a 8-1 scarf but it worked out about 6.5 to 1, near enough. I can always tilt the blade!


 Reply With Quote

Bookmarks