
 LinkBack URL
 About LinkBacks


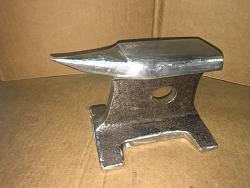
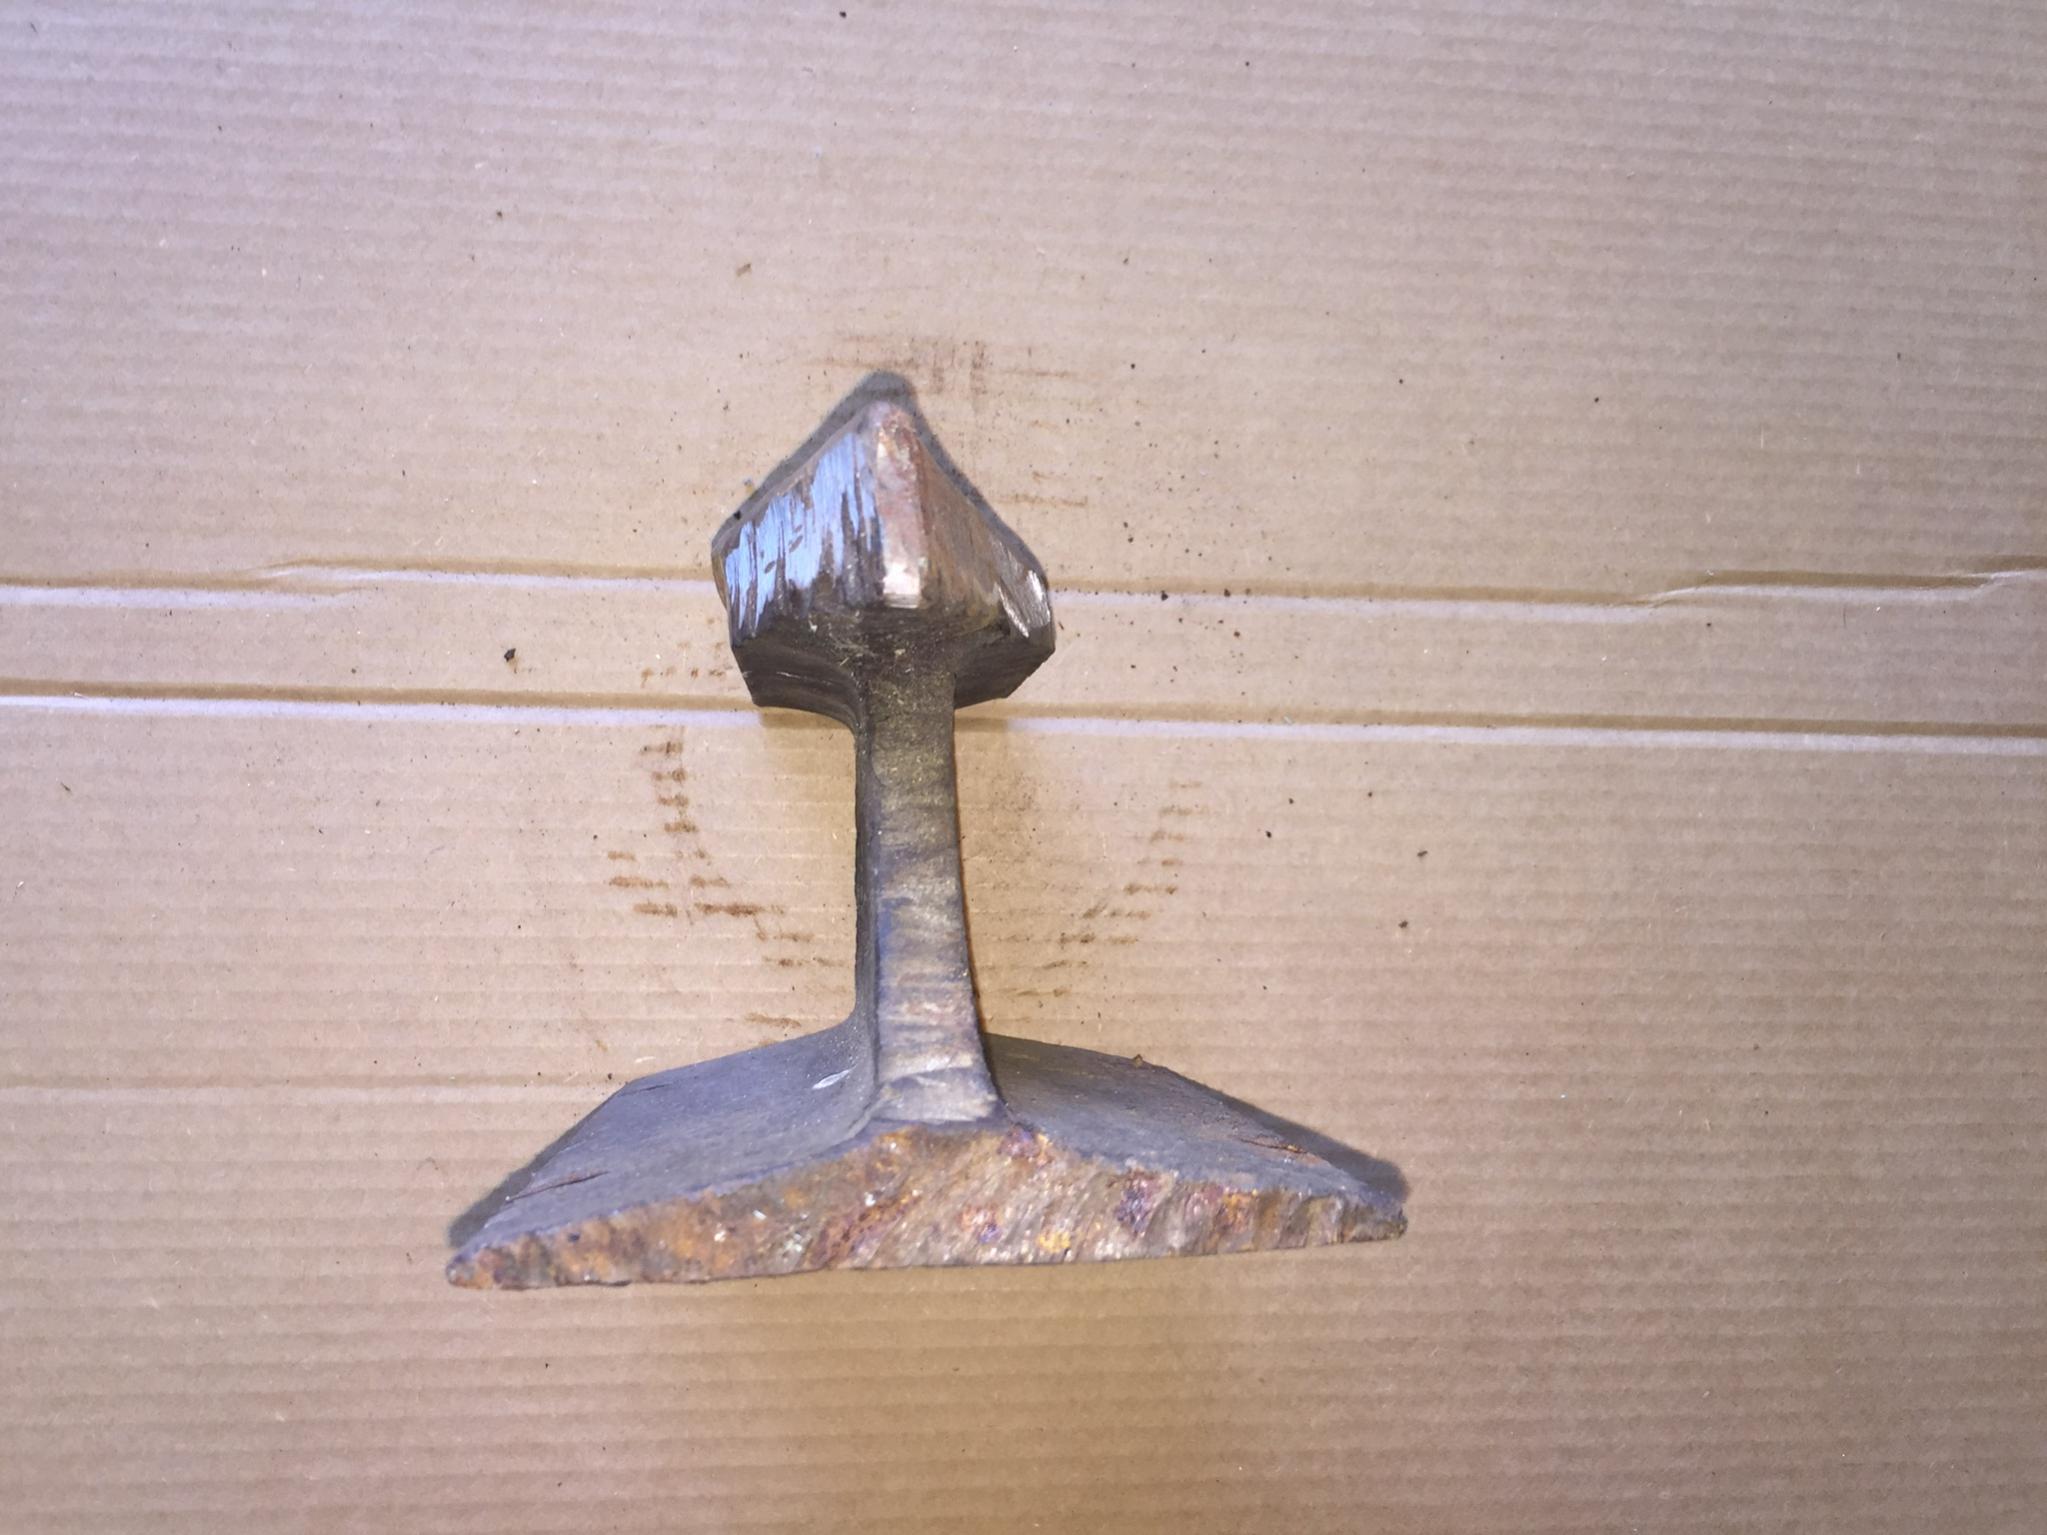
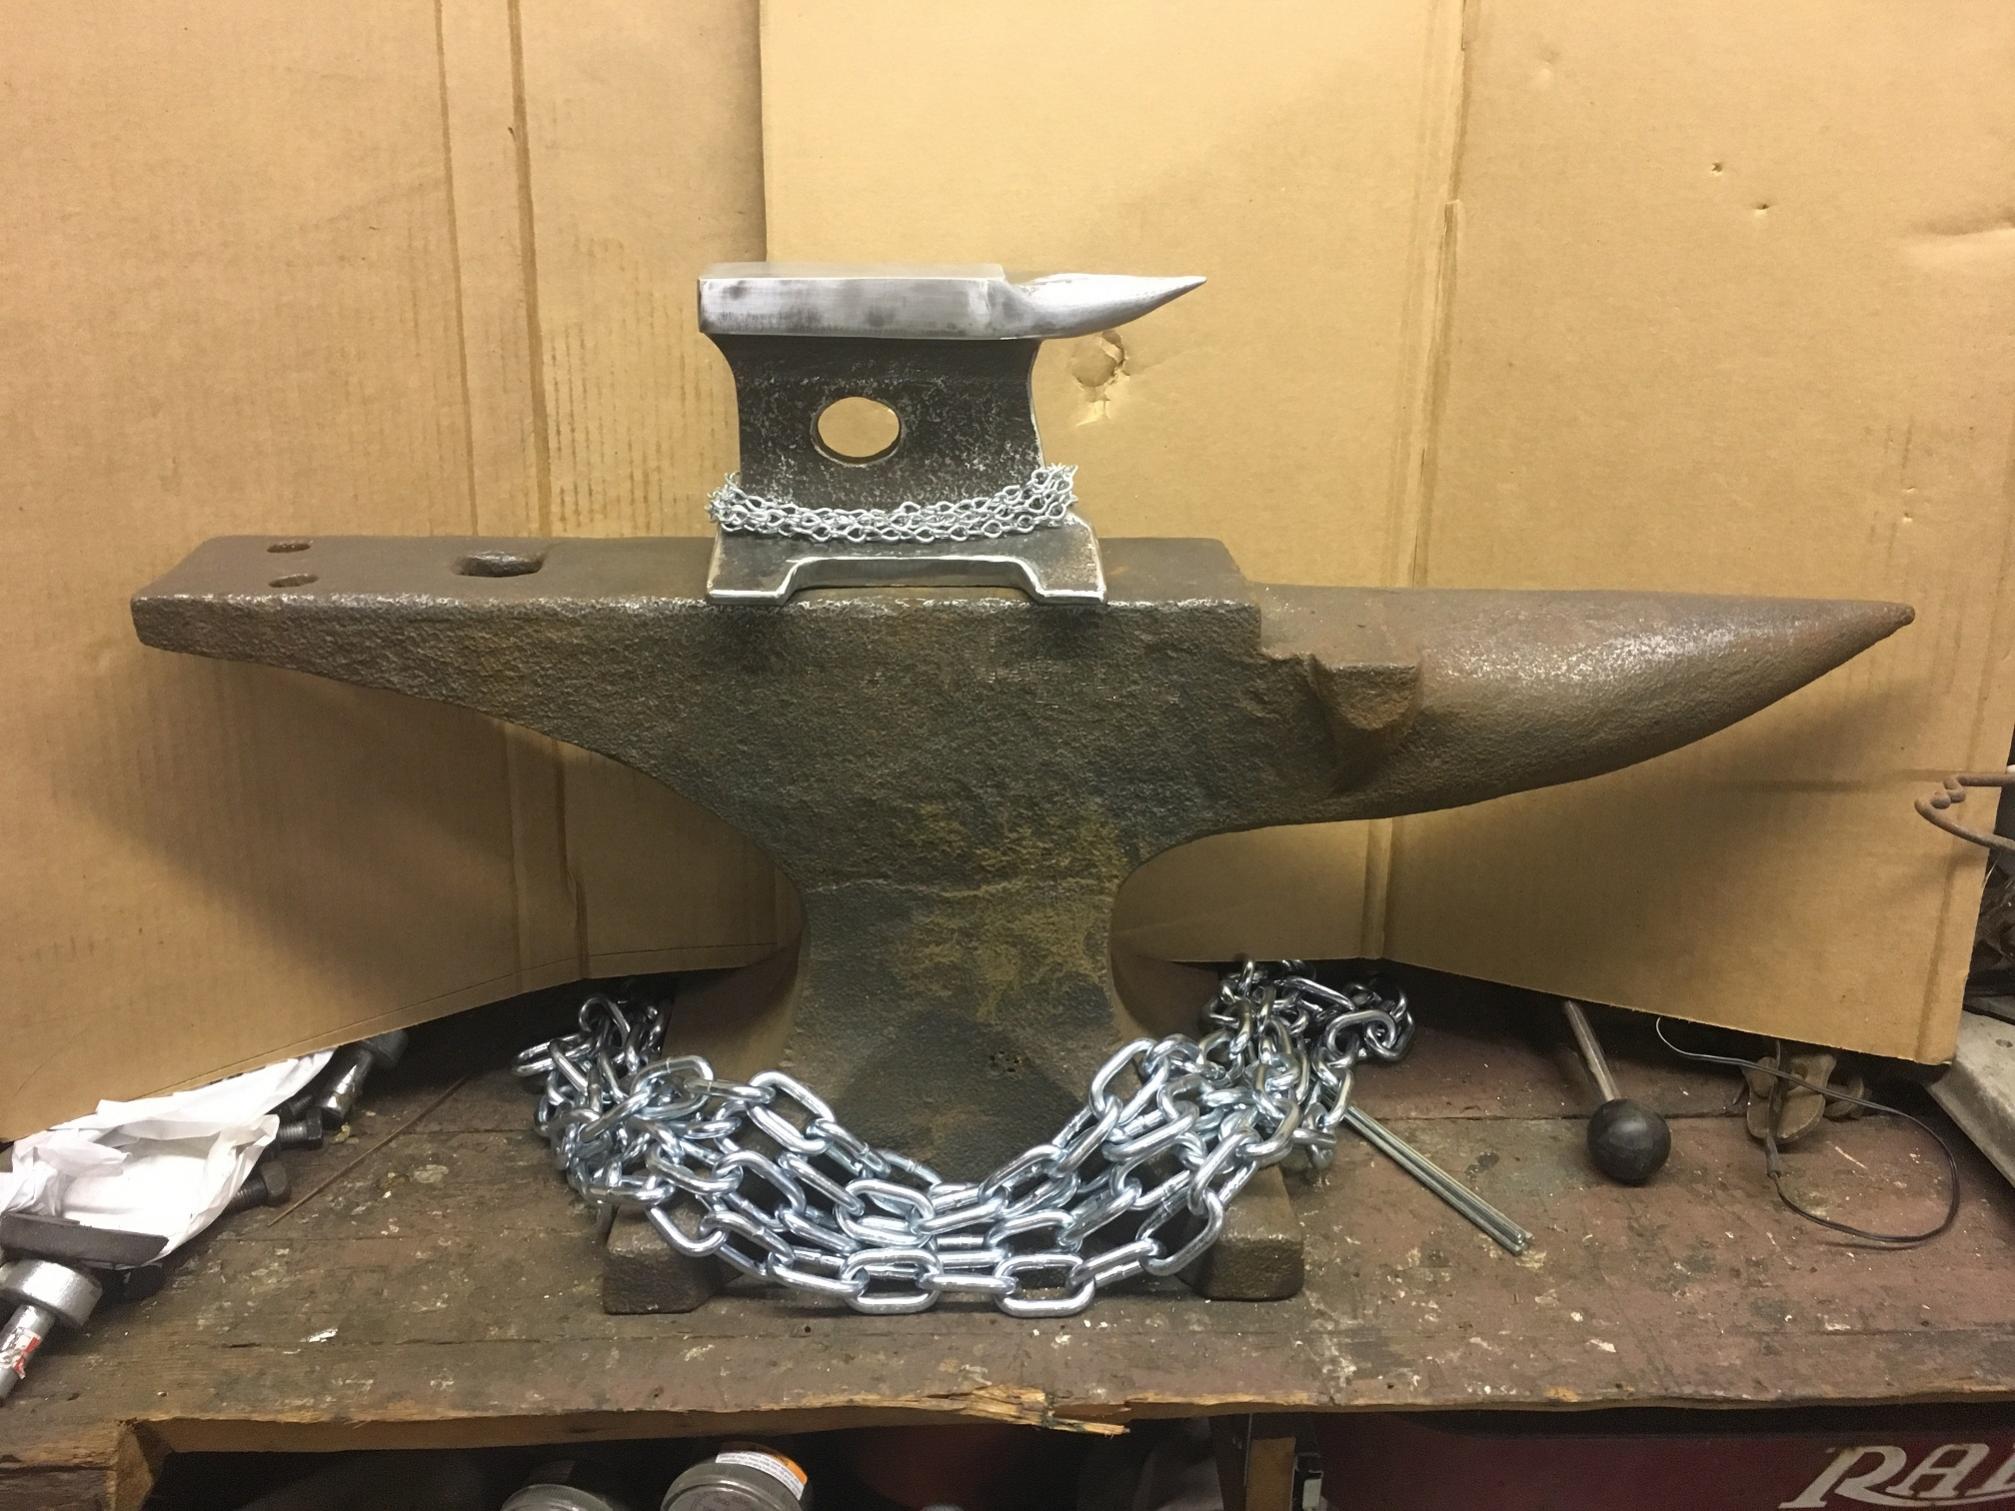
I got a small, butchered piece of rail track some years ago in a lot of tools that I bought. I wanted to, but never did anything with it until I saw the excellent one that Tuomas Soikkeli posted here recently. That inspired me to action. The 155lb Trenton anvil inspire the design. I didn't need it, and may never use it, but that's never stopped me before.
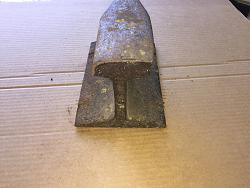
This is before:


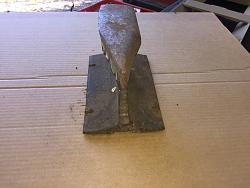
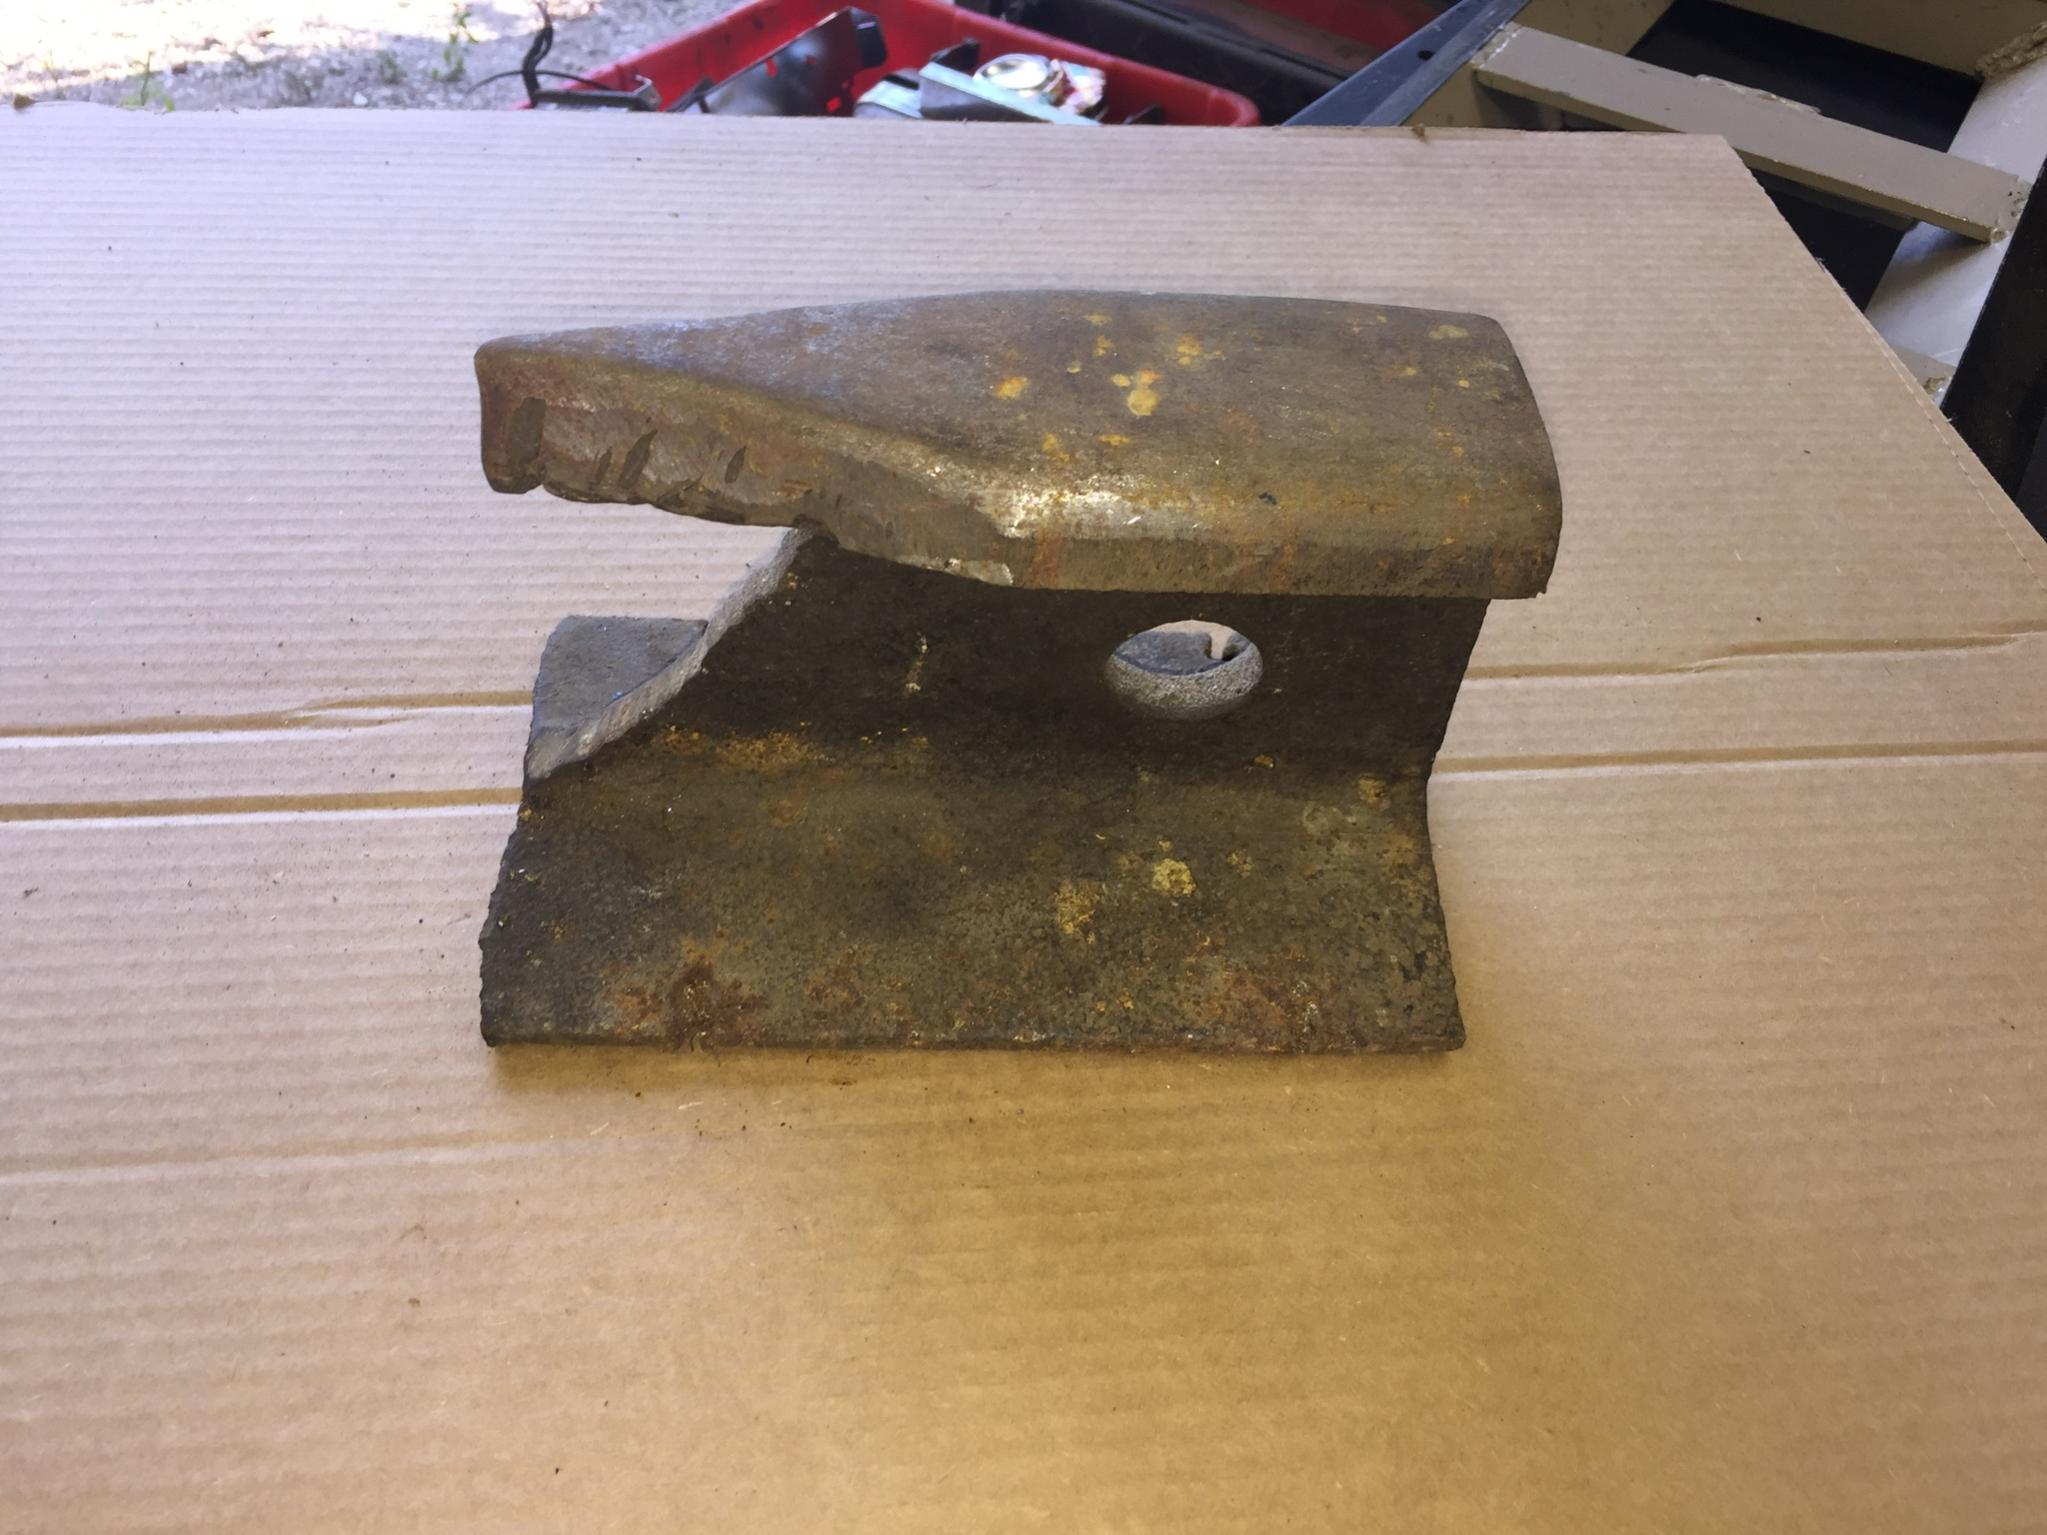
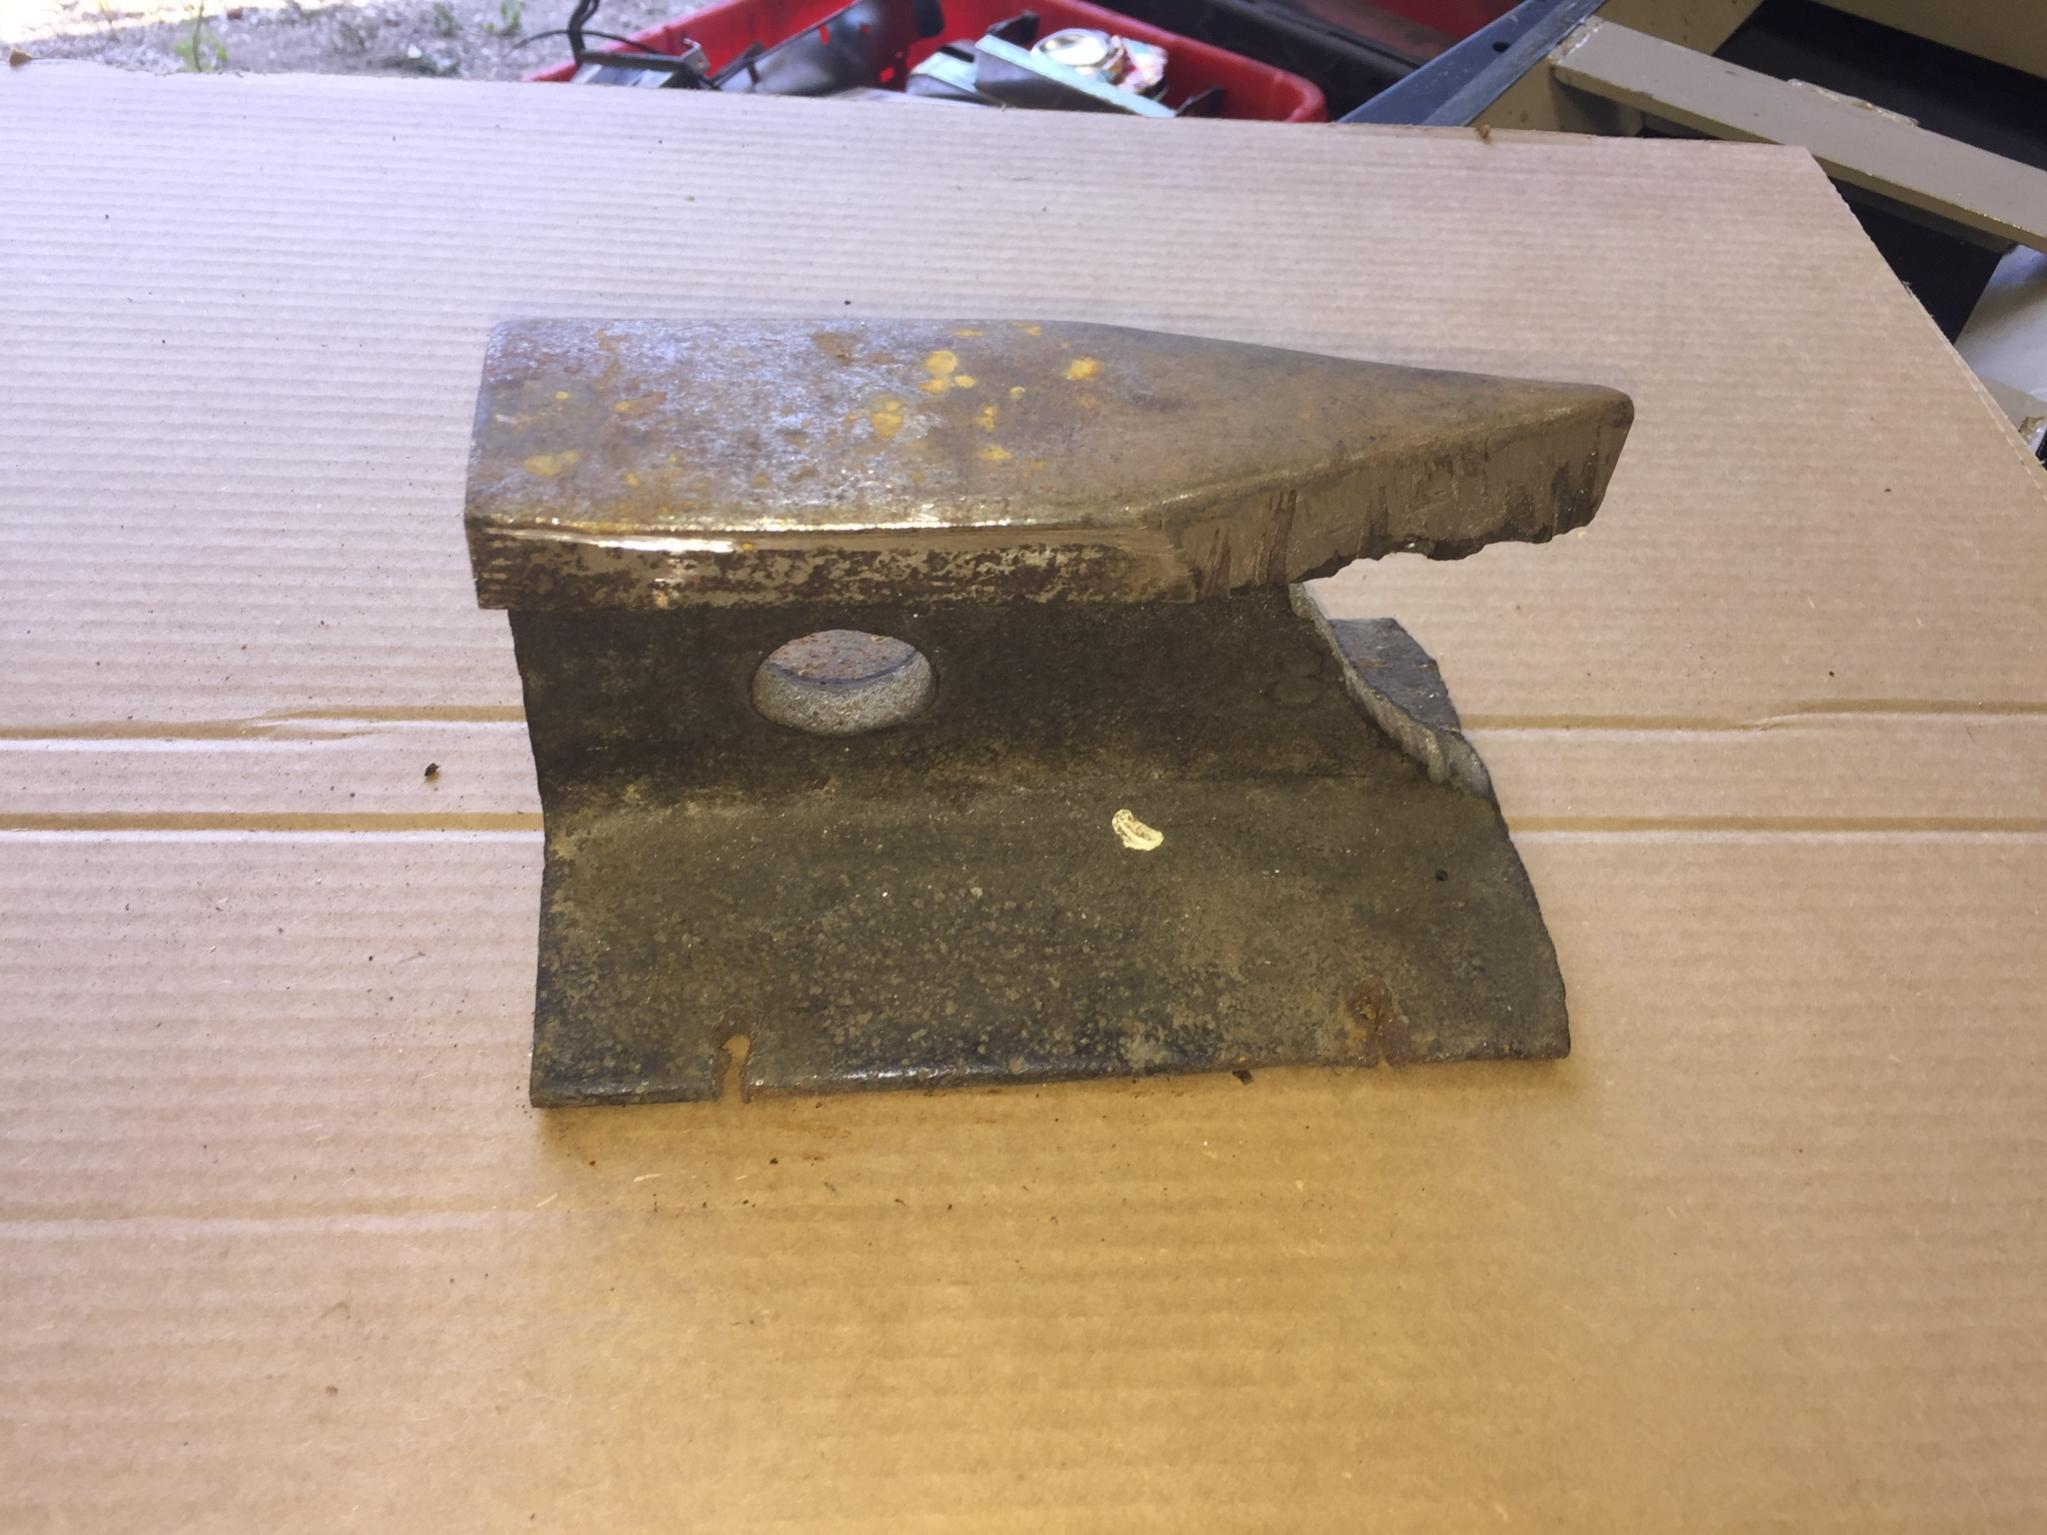
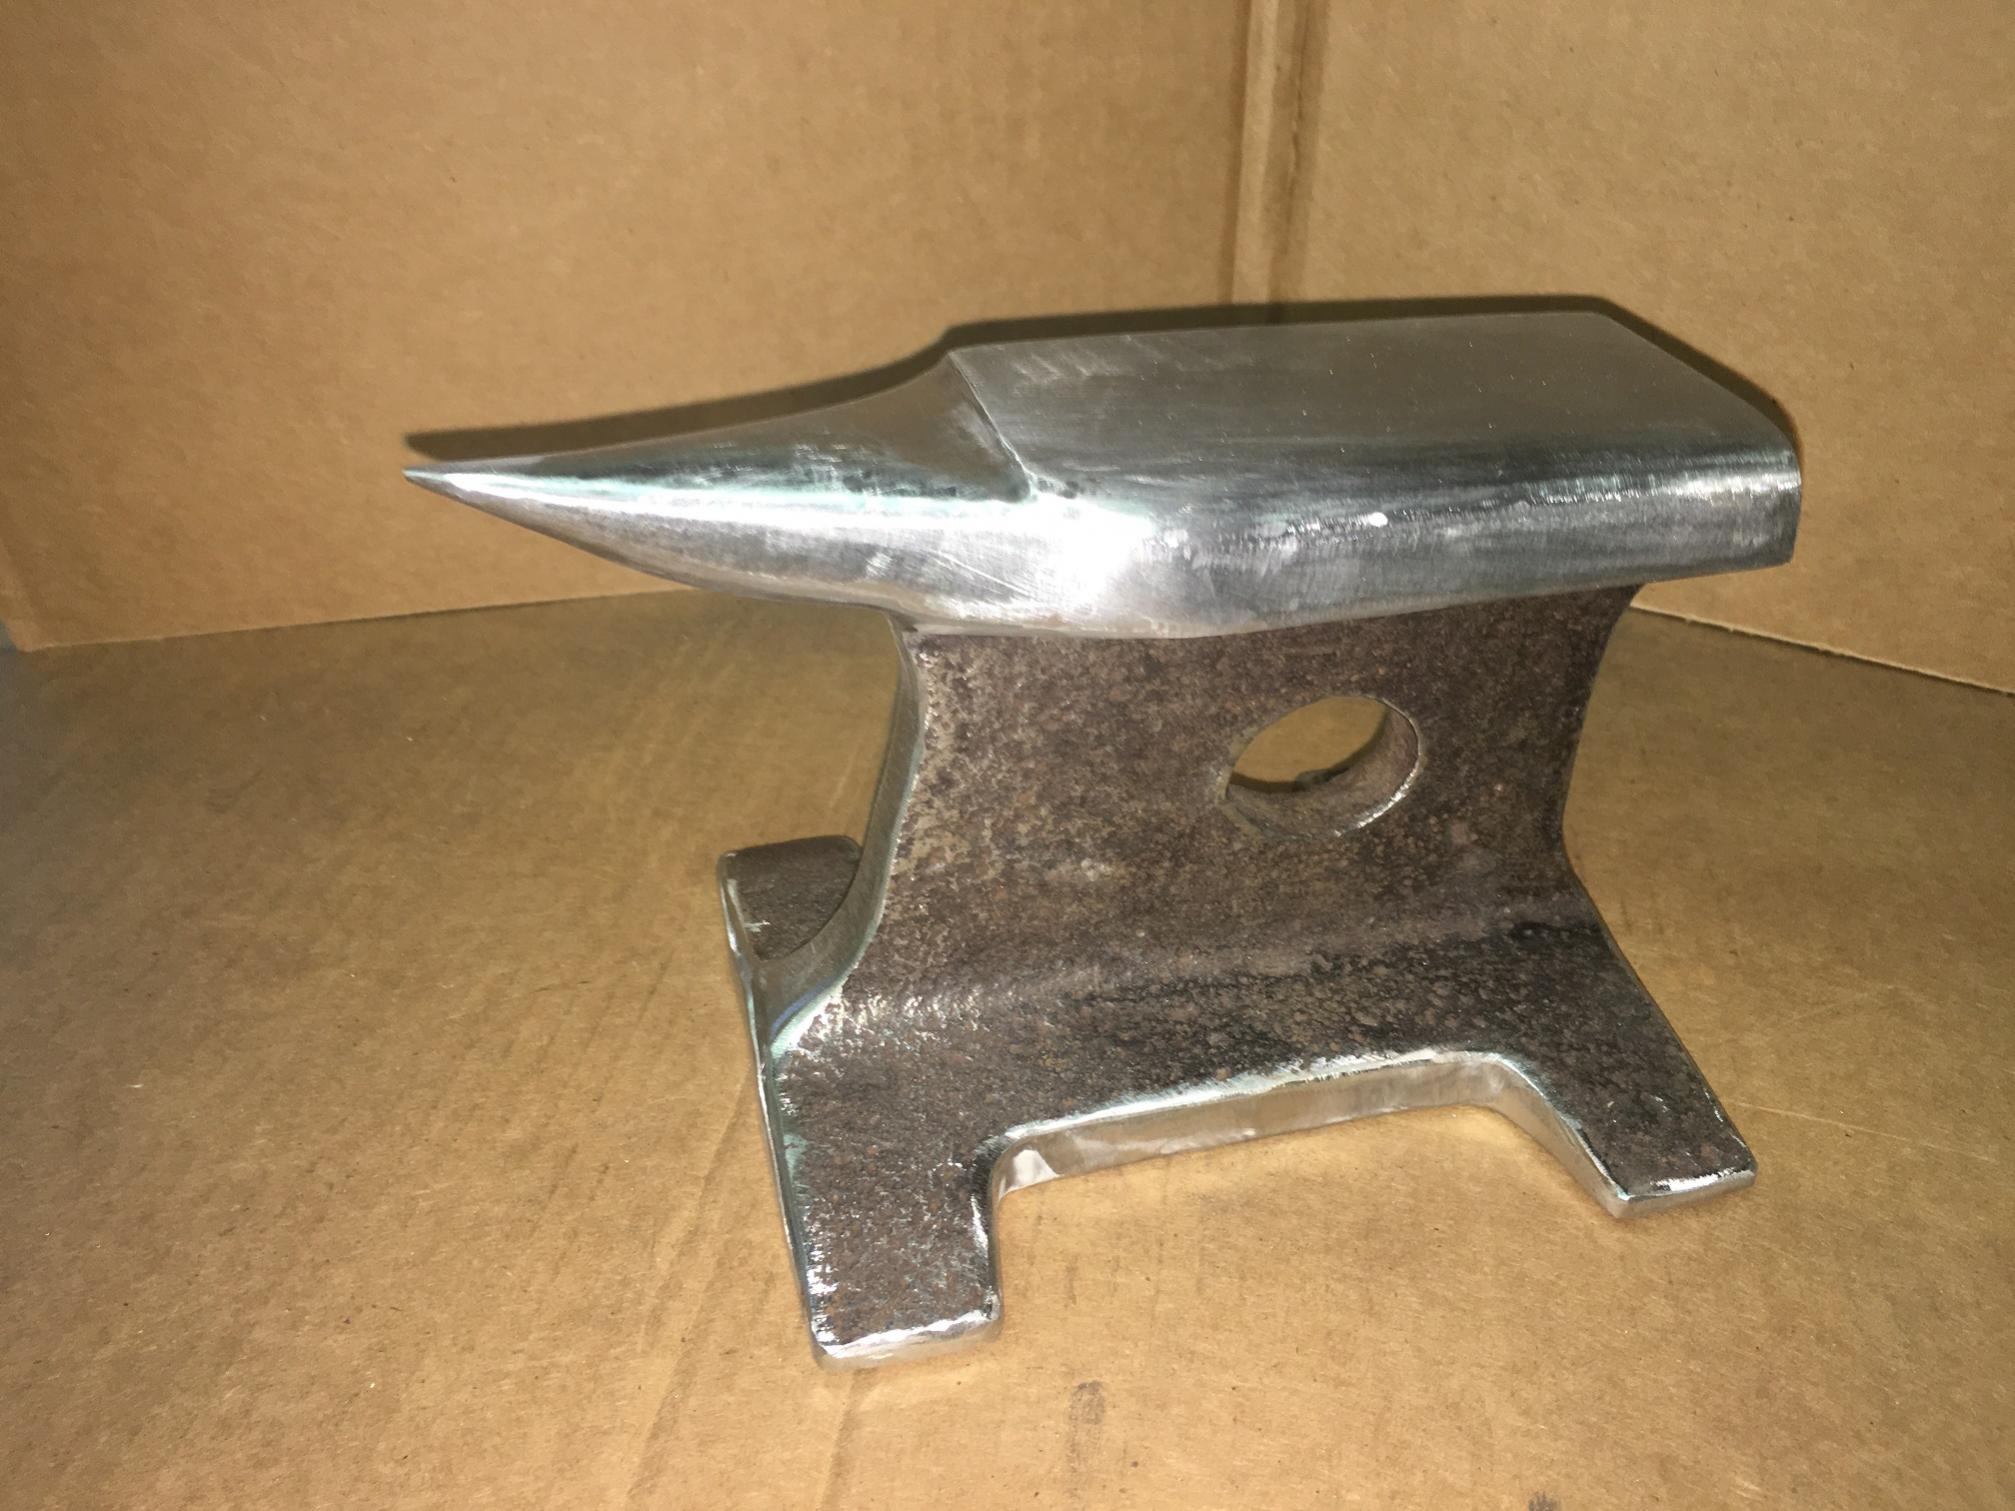
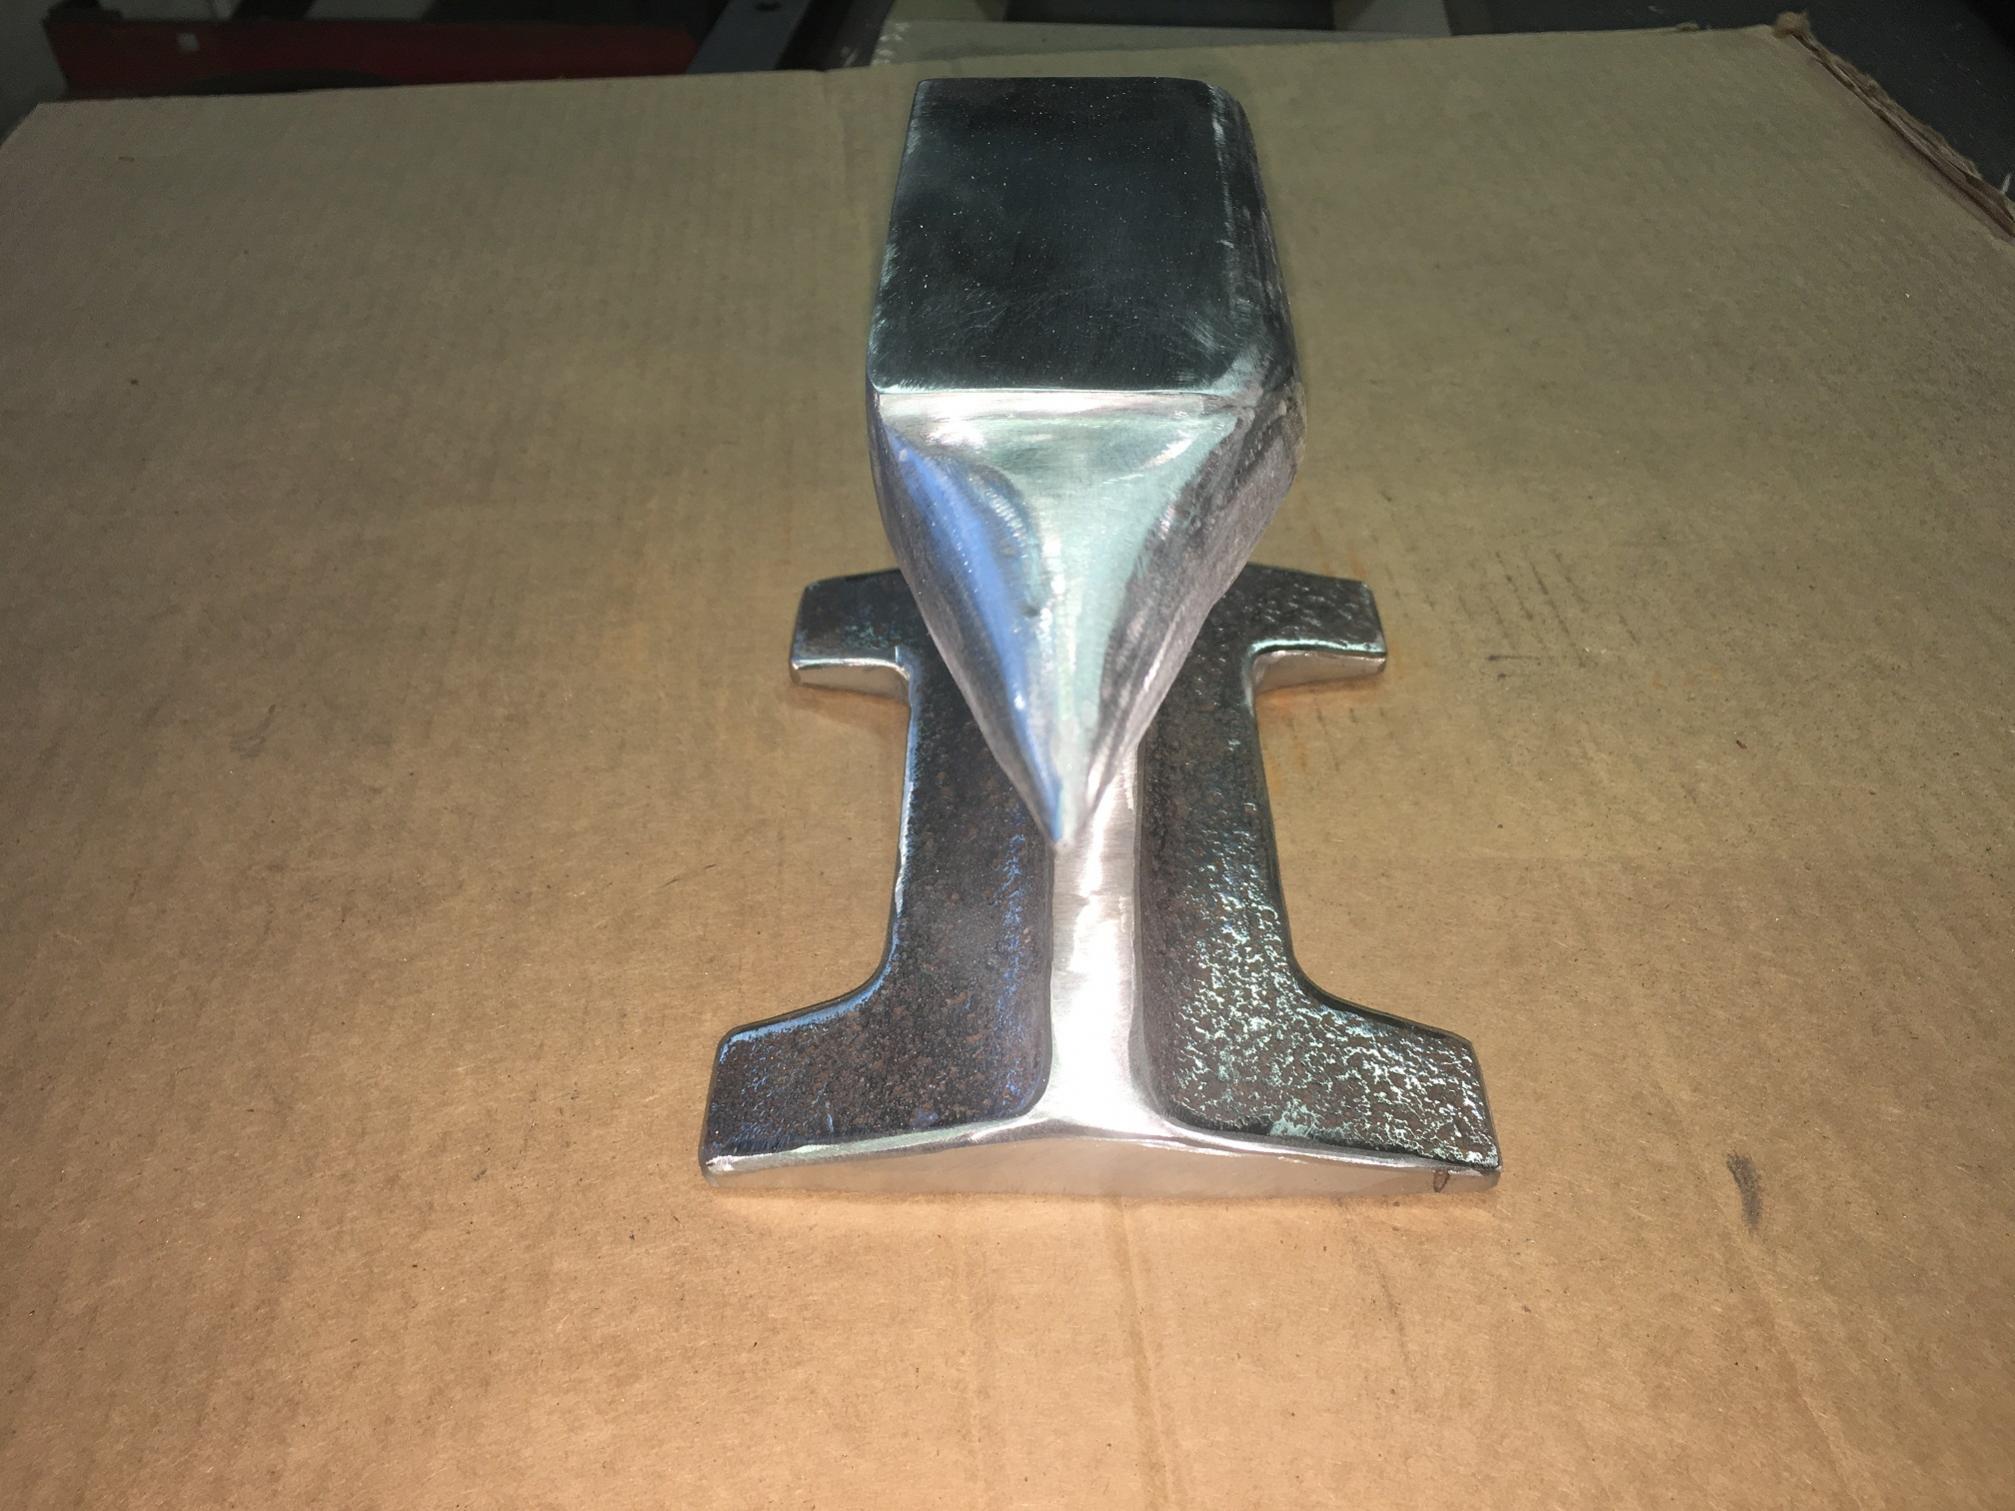
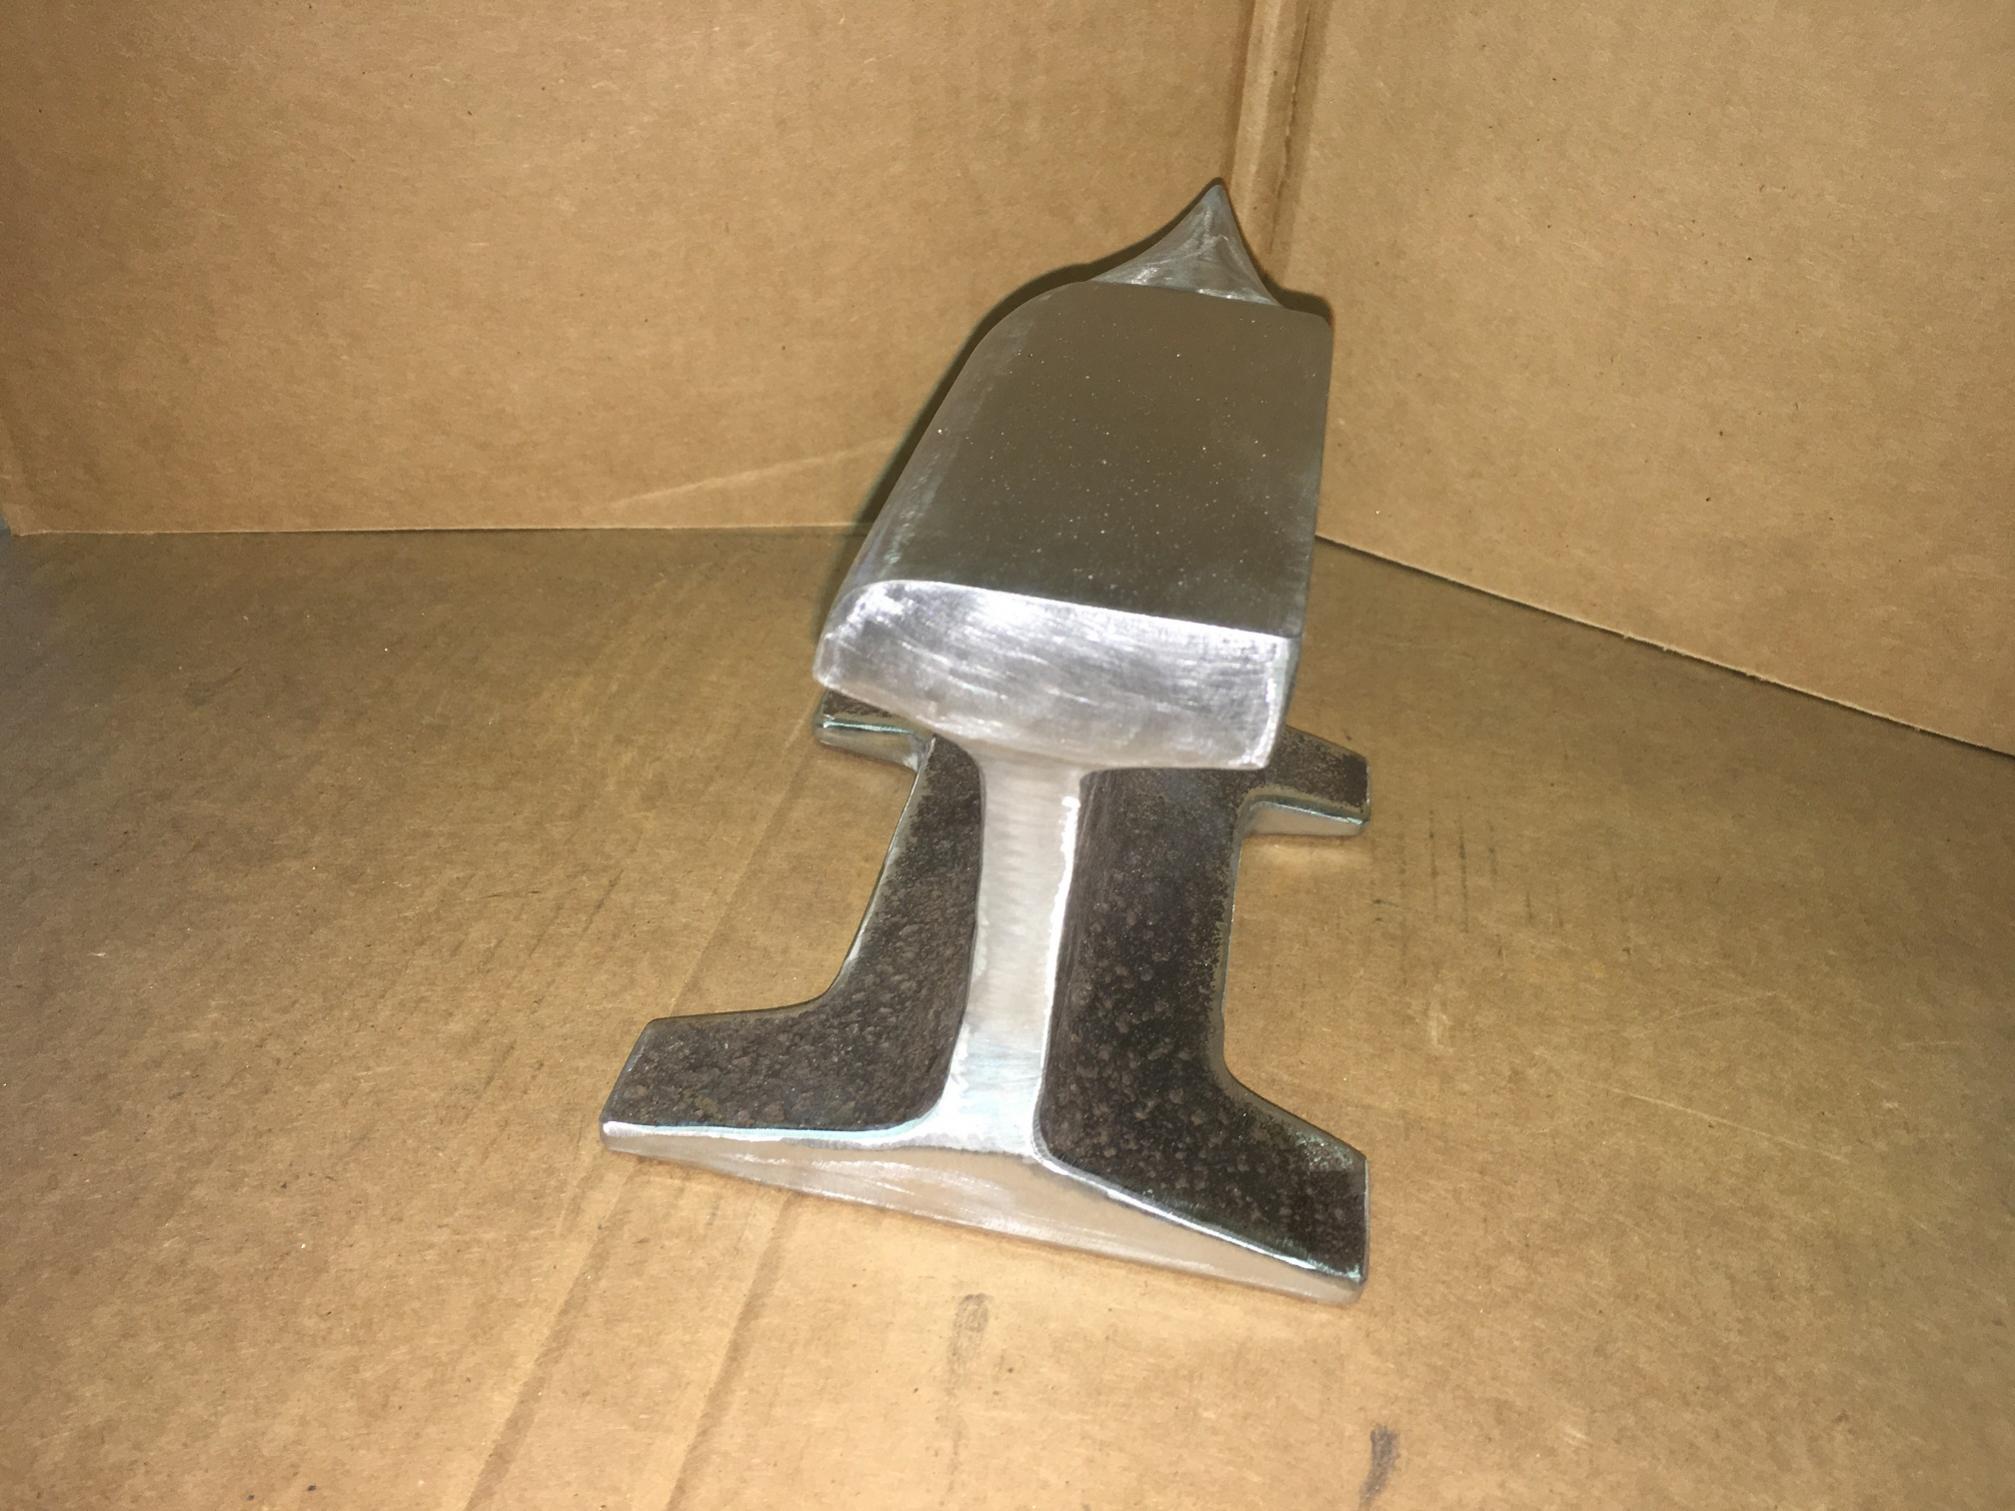
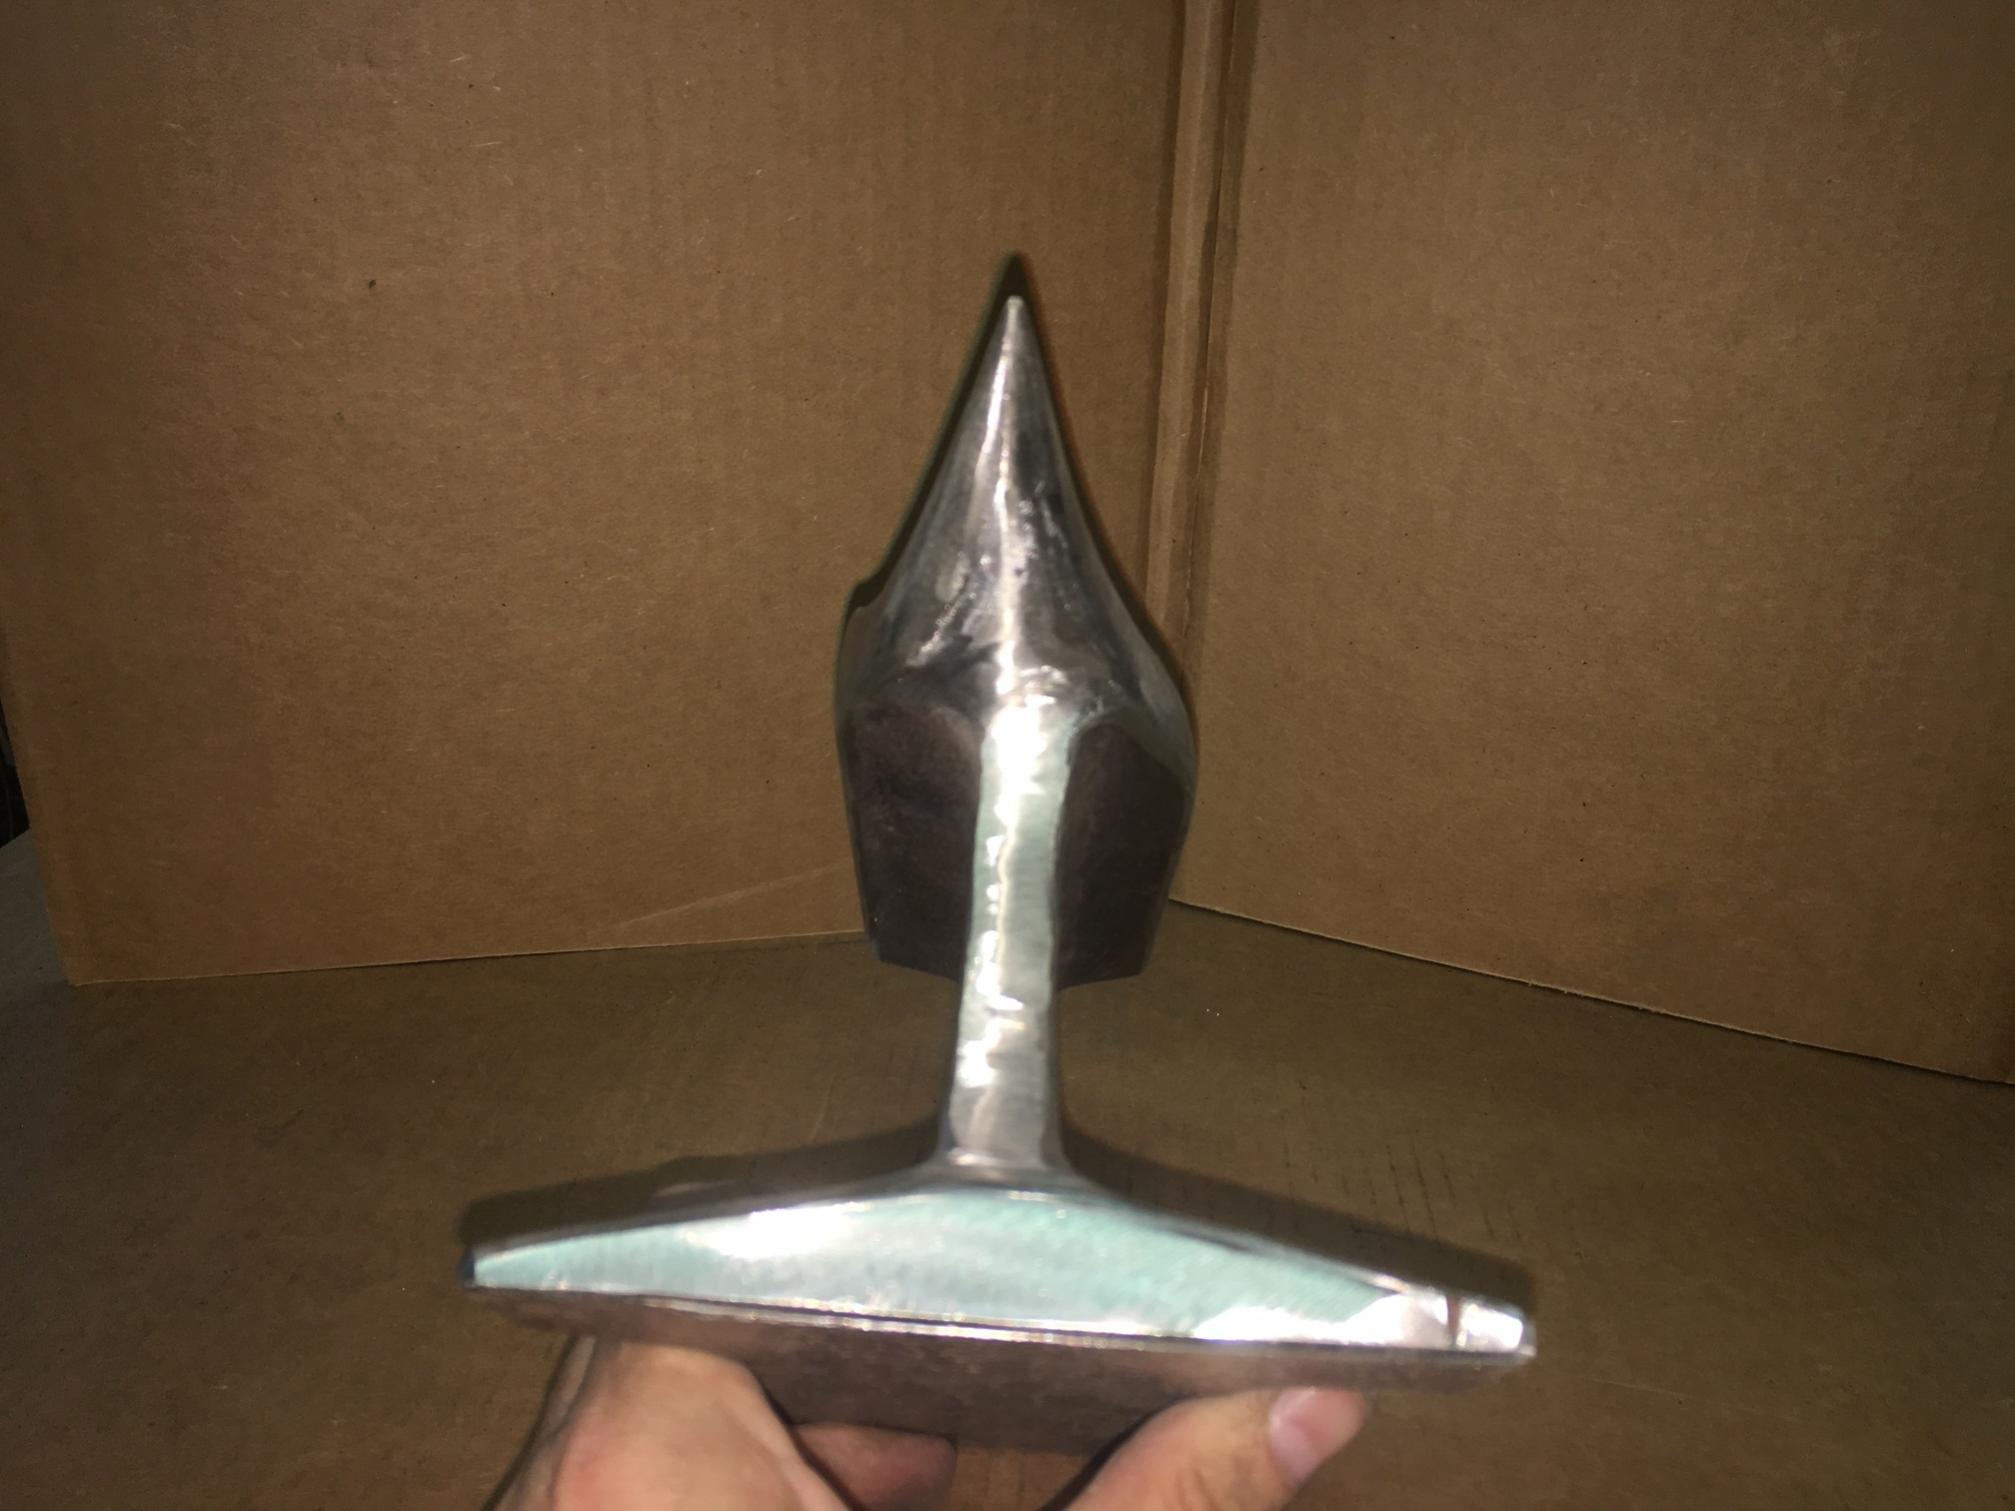
This is after:


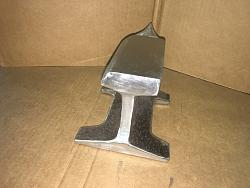
The horn is modeled after the one on my Trenton anvil. There wasn't enough material to copy the heel, and the whole top is offset, so I worked that into the shape. I don't know what kind of rail this is or how old it is, but the curved side and top looked worn in, rather than ground. The side with the sharp corner had a bit of a lip or burr. I took a 1/16th off the "sharp" side with a 7" grinder to level the top.
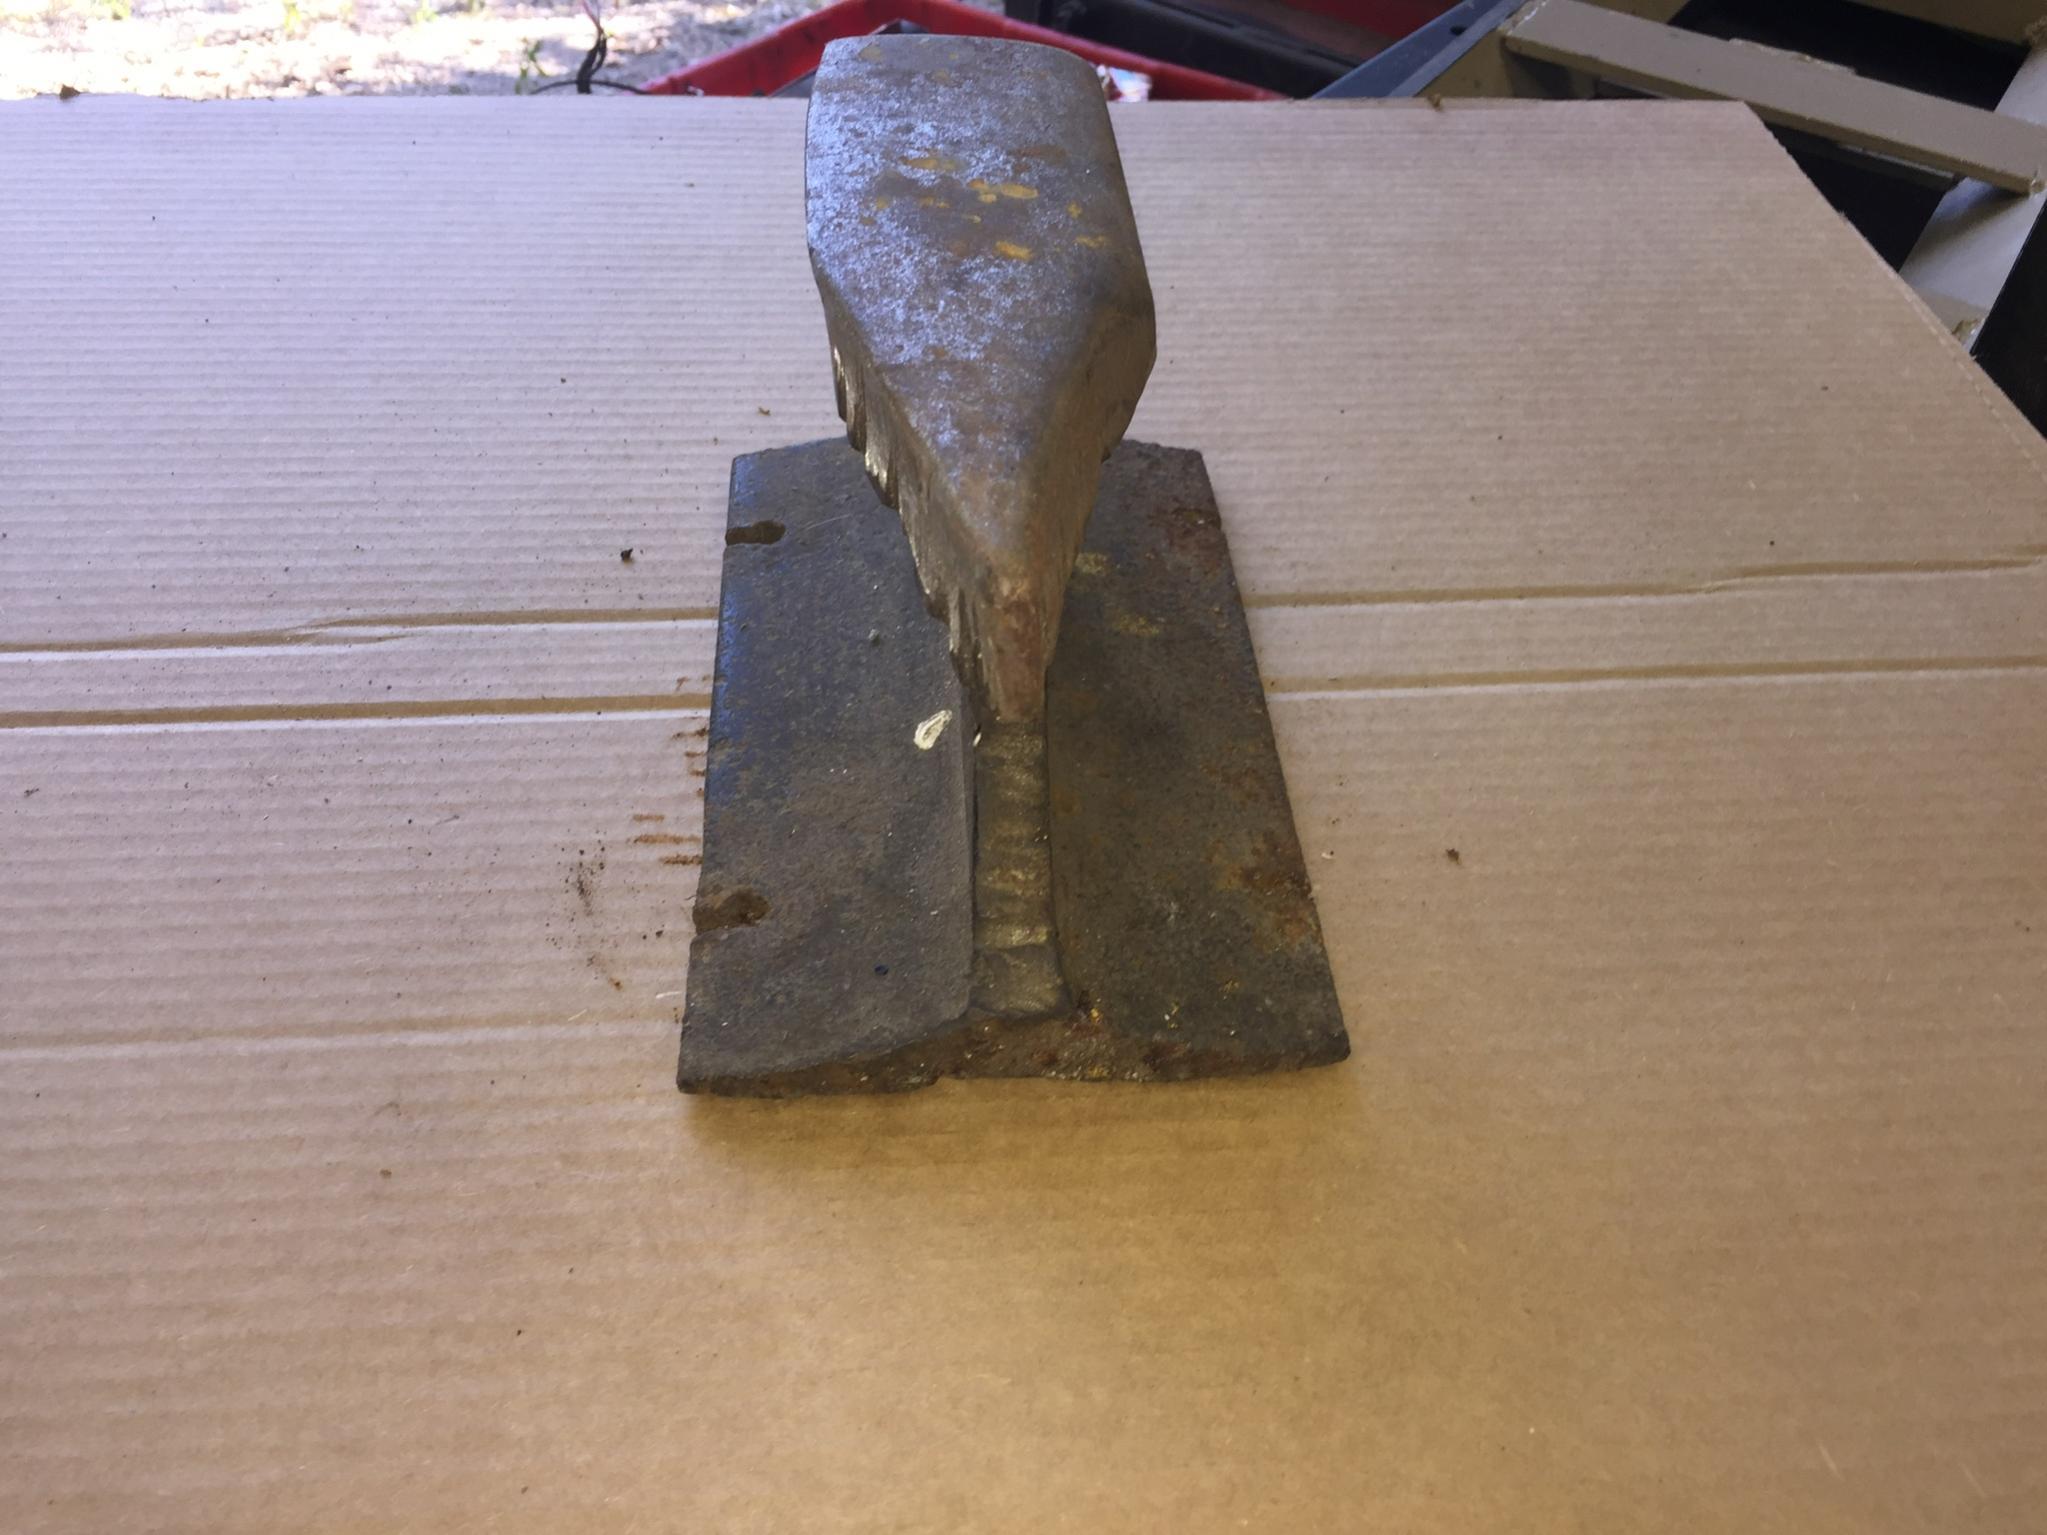
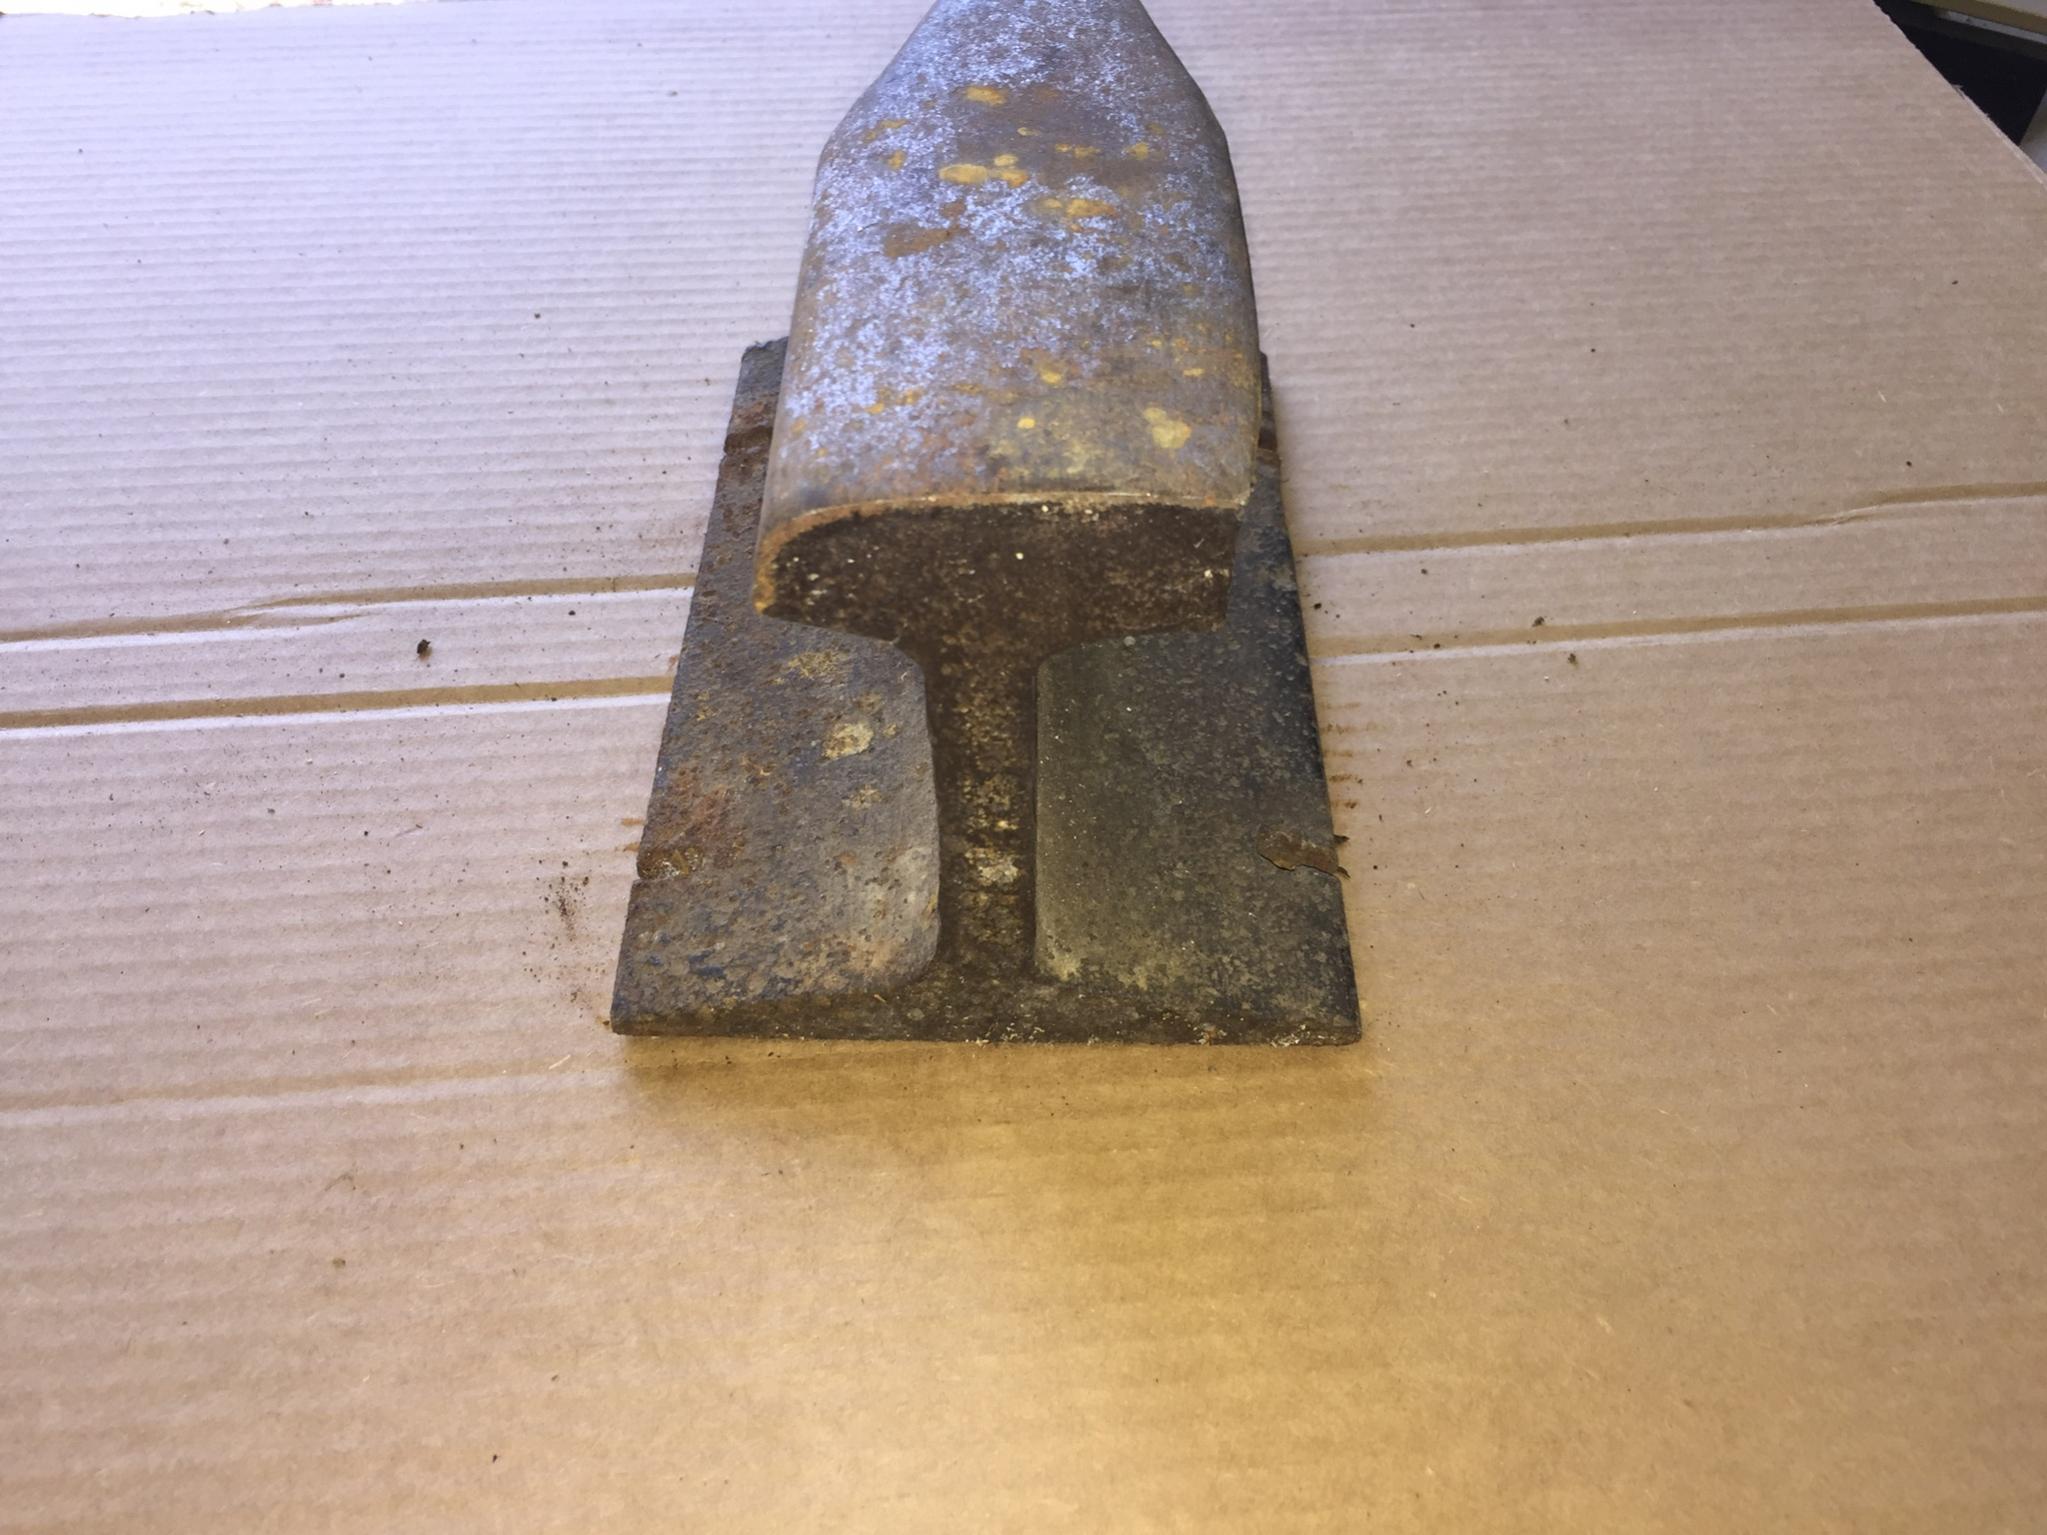
I used a bandsaw to rough in the shape, and used a Diamond X grinding wheel to level the surfaces, a diamond cutting wheel to slice the base to make the "feet", a 4 1/2" Pferd Polifan wheel to make the inside radii, then some flapdisks to smooth it all out, and a wire wheel to de-rust the rest.
When I got it done, I had to set up this photo.
If I decide to finish polish and/or mount it to a scaled stump, I'll add some more photos.


 Reply With Quote

Bookmarks