-
10 Attachment(s)
rotary table worm shaft
Hi All
Yesterday I spent the day making a new worm shaft for my rotary table. The reason for this, I am currently trying to make this motorised. controlled via an Arduino and stepper motor. As I need to find away of coupling the shaft of the rotary table to the stepper motor I didn't want to make modification to the existing shaft just in case I ever need to convert back to manual table.
The last time I cut a worm was in my apprentice days so a bit of head scratching :headscratch: and research it all came flooding back.
The first thing was to remove the existing shaft so I could get some measurements. As I could measure the pitch this was a good starting point and the table being made in Spain I was guessing it would be a Module gear? so to calculate the Mod=Pitch/Pi. So Mod=6,28/3.14= Mod 2,
I then calculated the helix angle to ensure I had enough lead clearance when setting the tool and cutter to cut the HSS tool. The helix angle is simple trigonometry. First the opposite side is the pitch and the adjacent side = (Pi x Dia of shaft) which equates to one full thread.
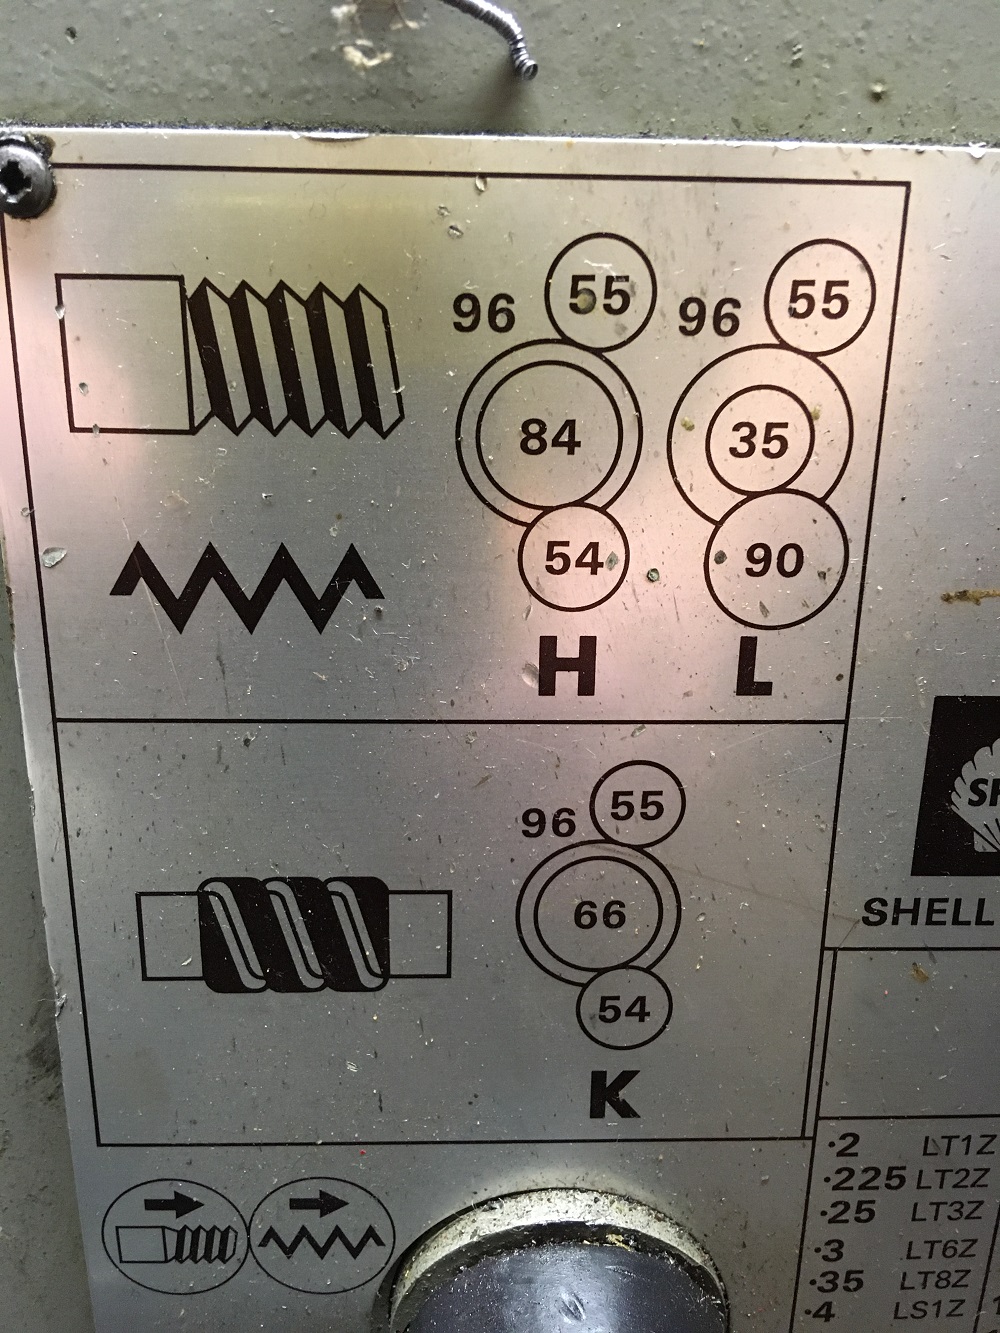
The shaft blank was machined and the lathe gear box/gear train set to the Mod 2 mode.
Attachment 31498
Gear selection chart
Attachment 31506
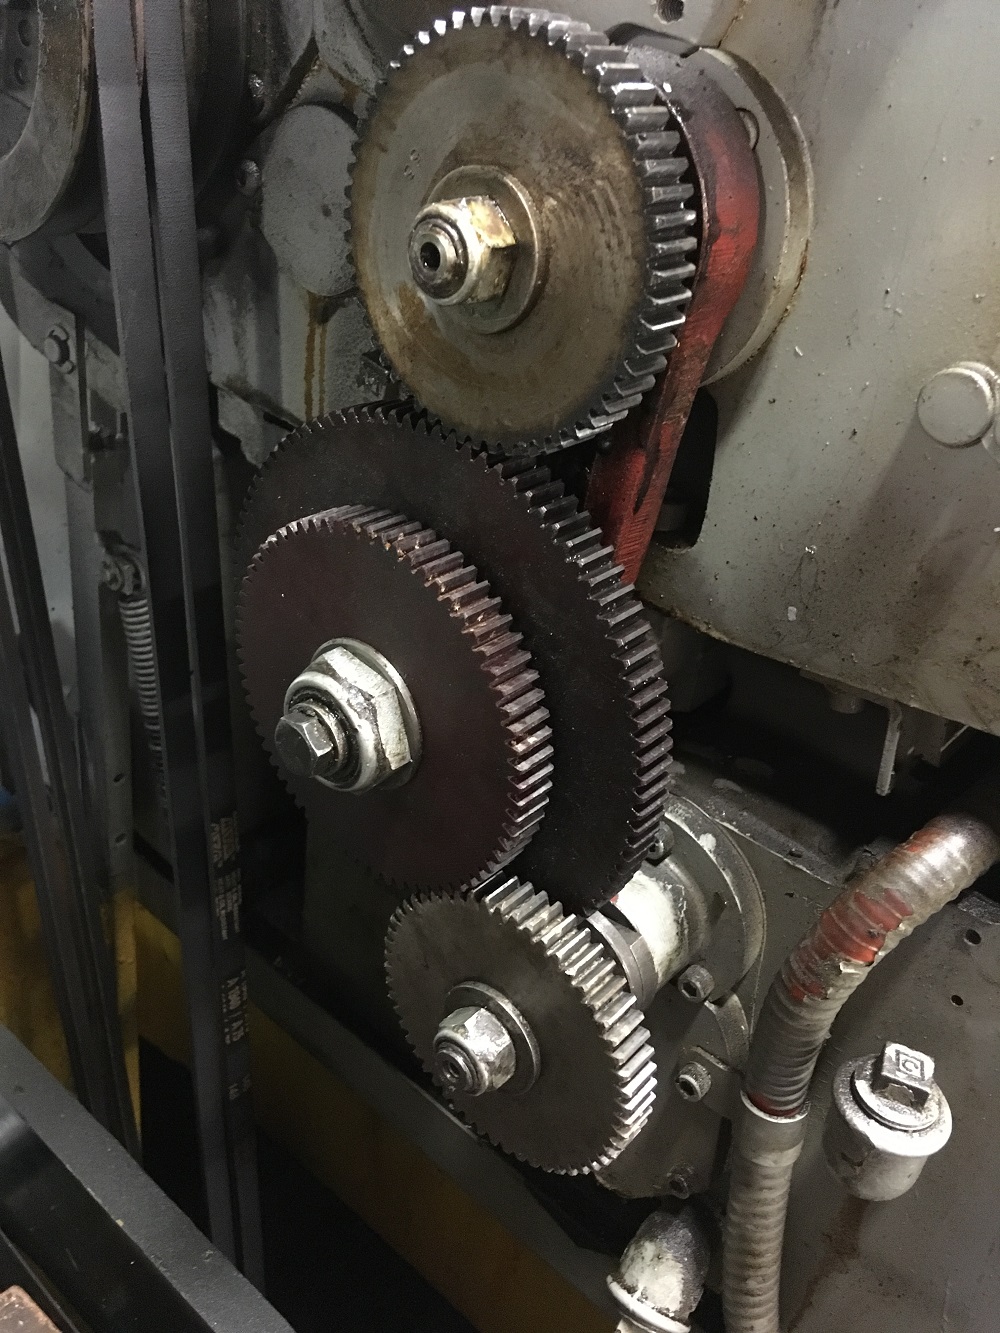
Mod gear train
Attachment 31497
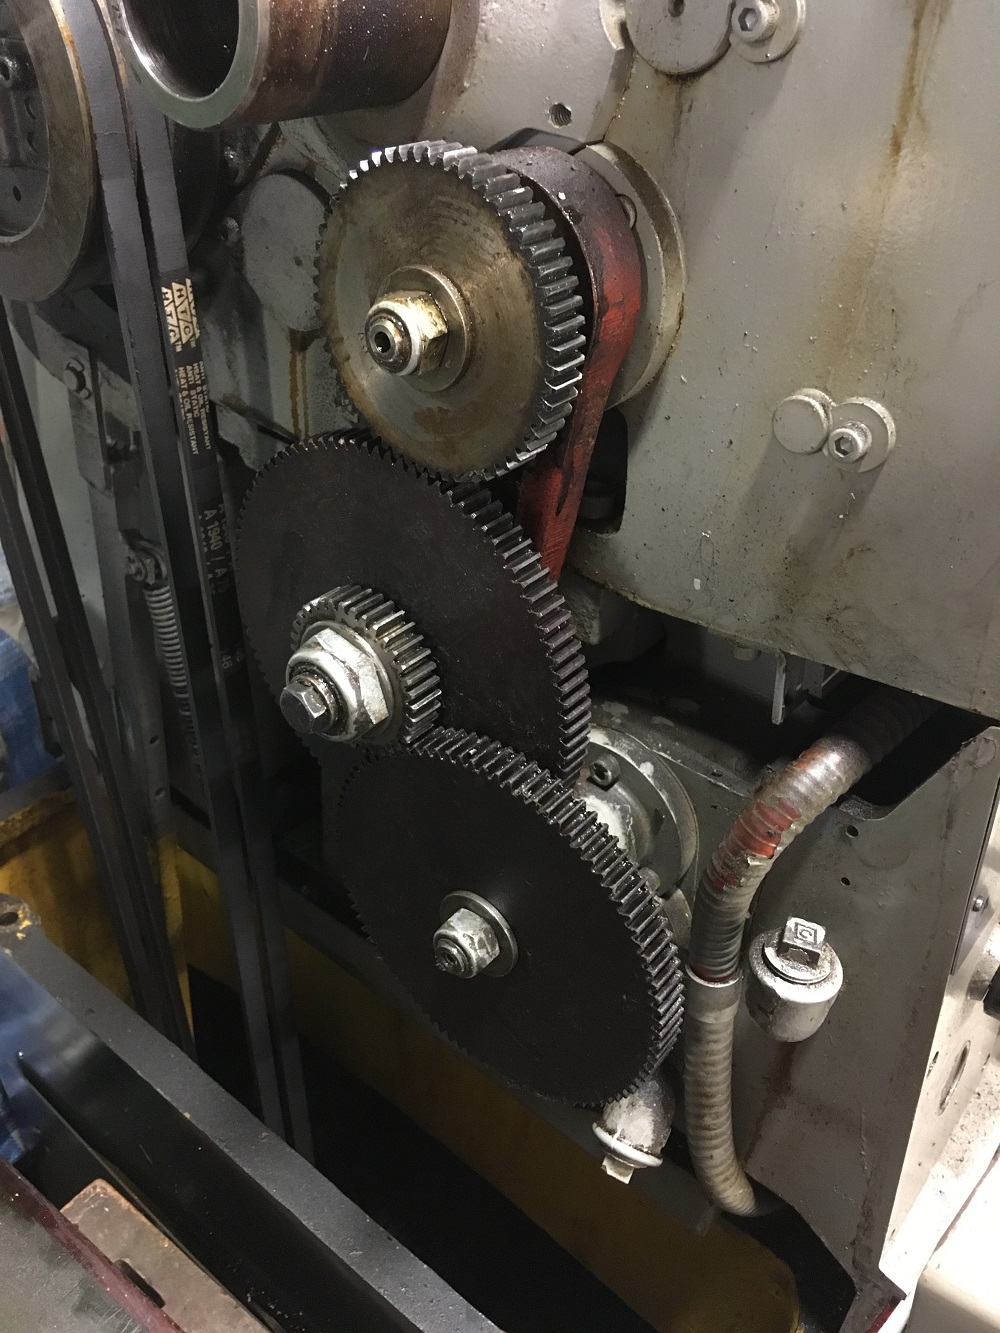
Standard low range gear train I normally use
Attachment 31499
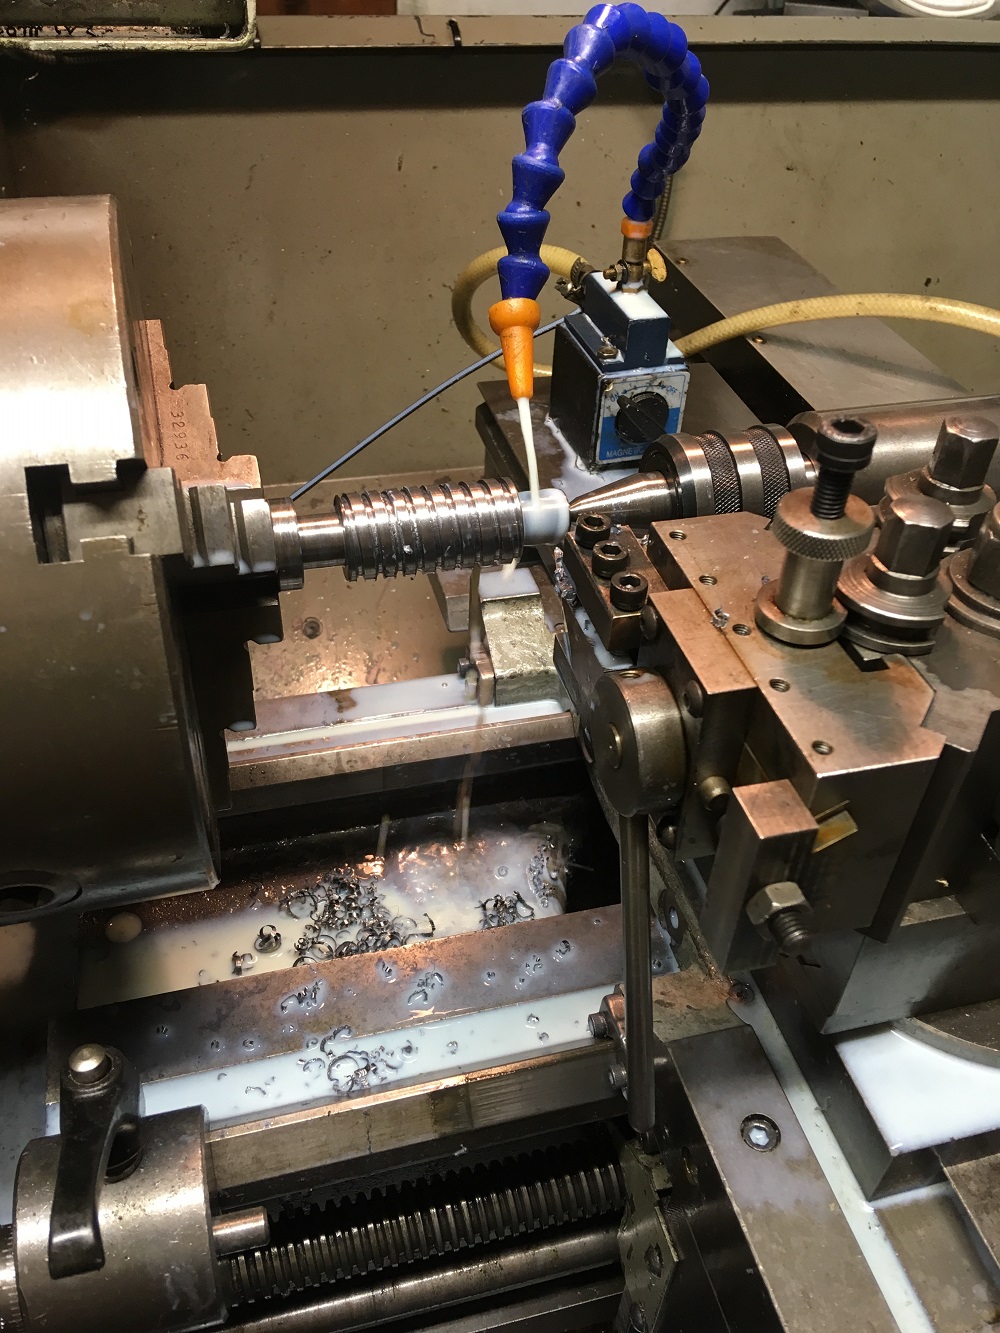
First few passes.
Attachment 31500
Retracting tool makes the process a lot easier
Attachment 31501
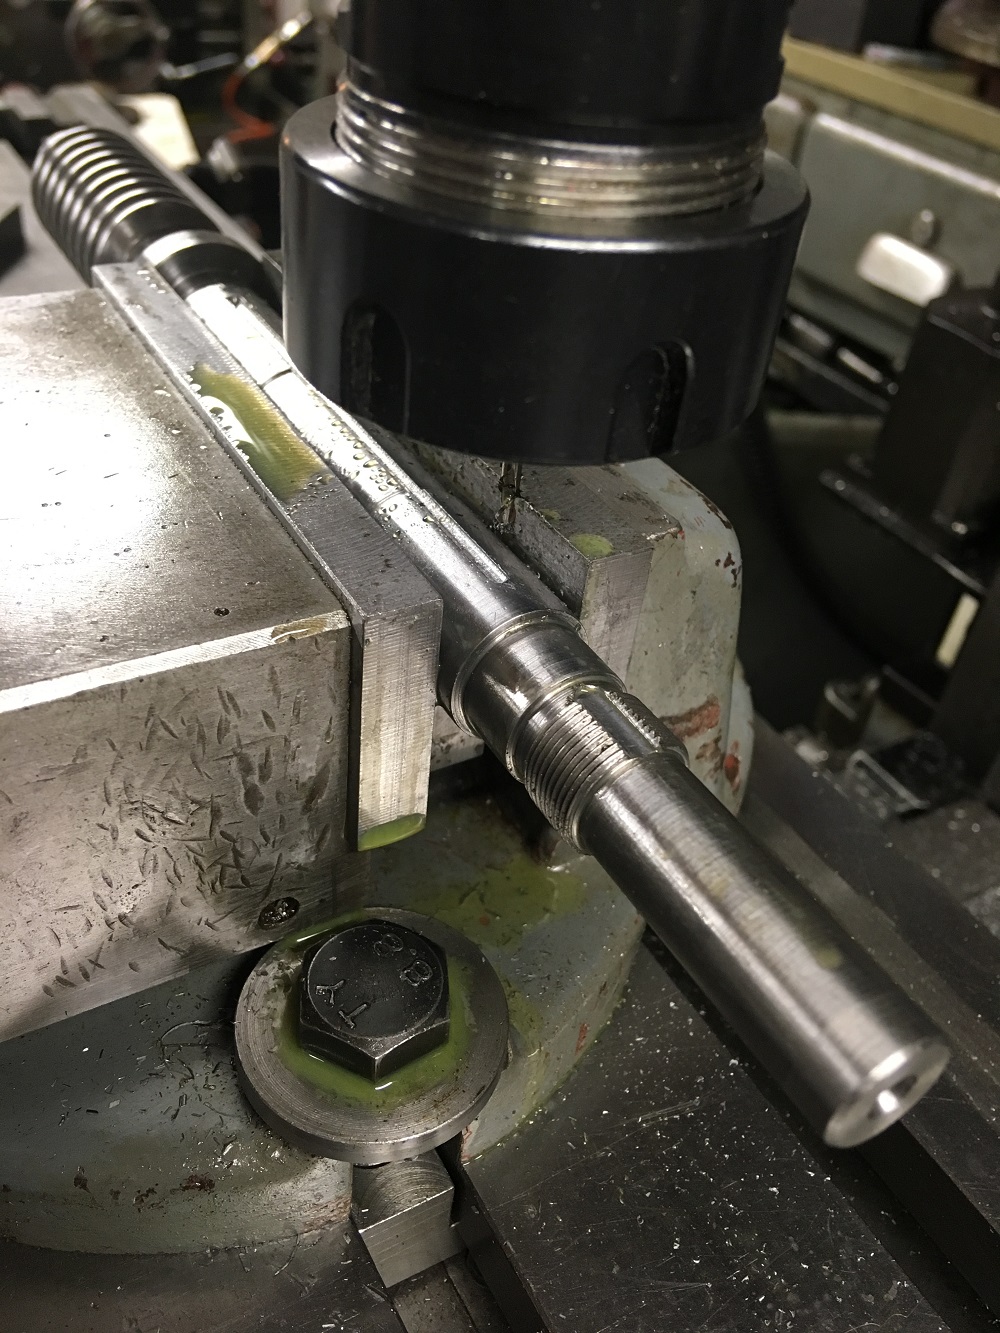
Milling oilway and lock washer tab slot
Attachment 31502
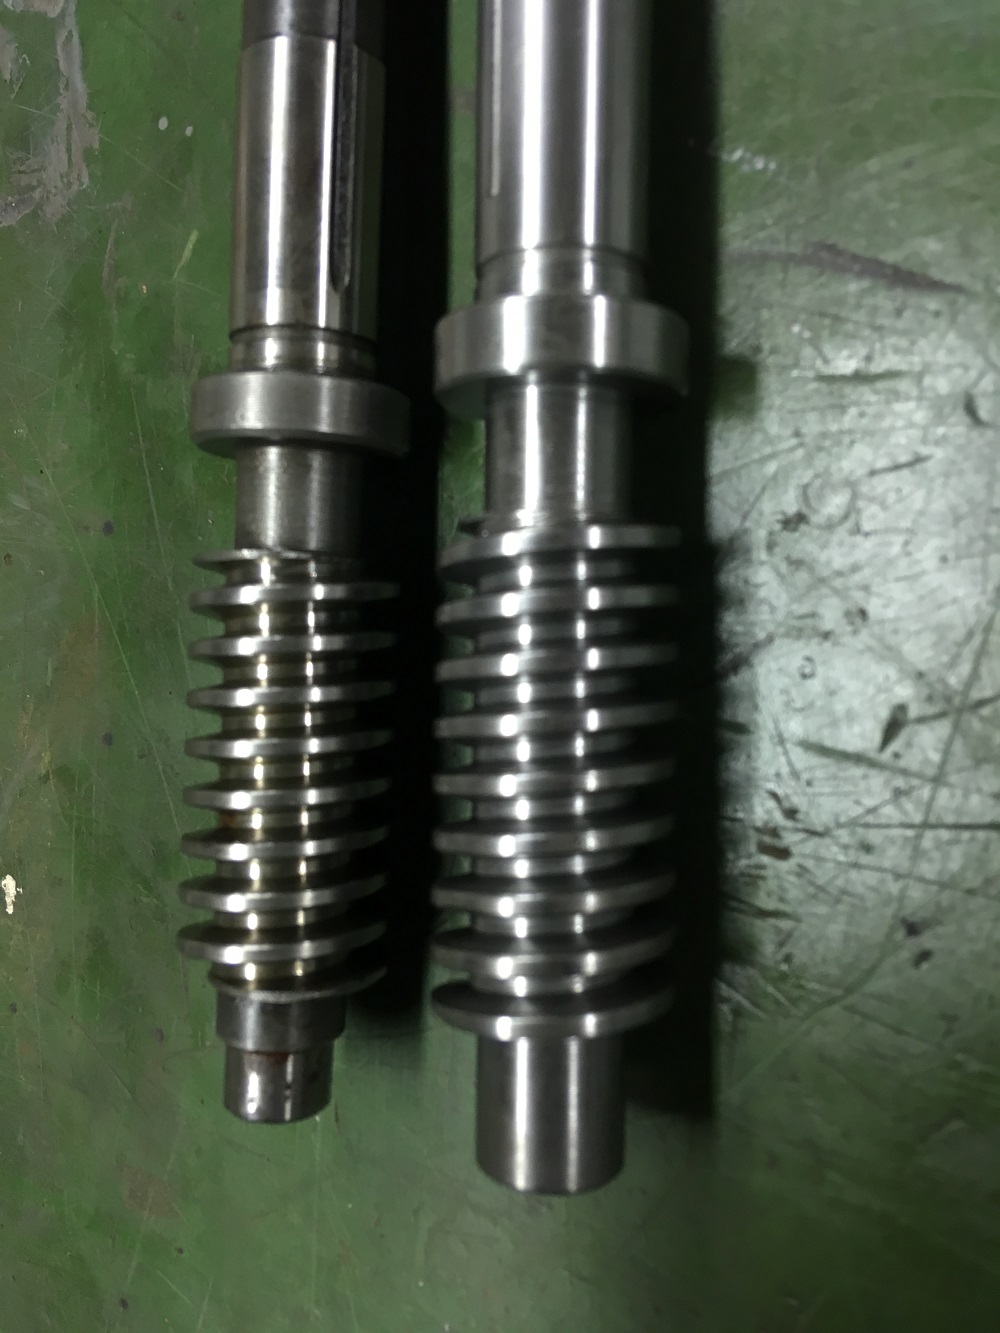
Finished worm
Attachment 31503
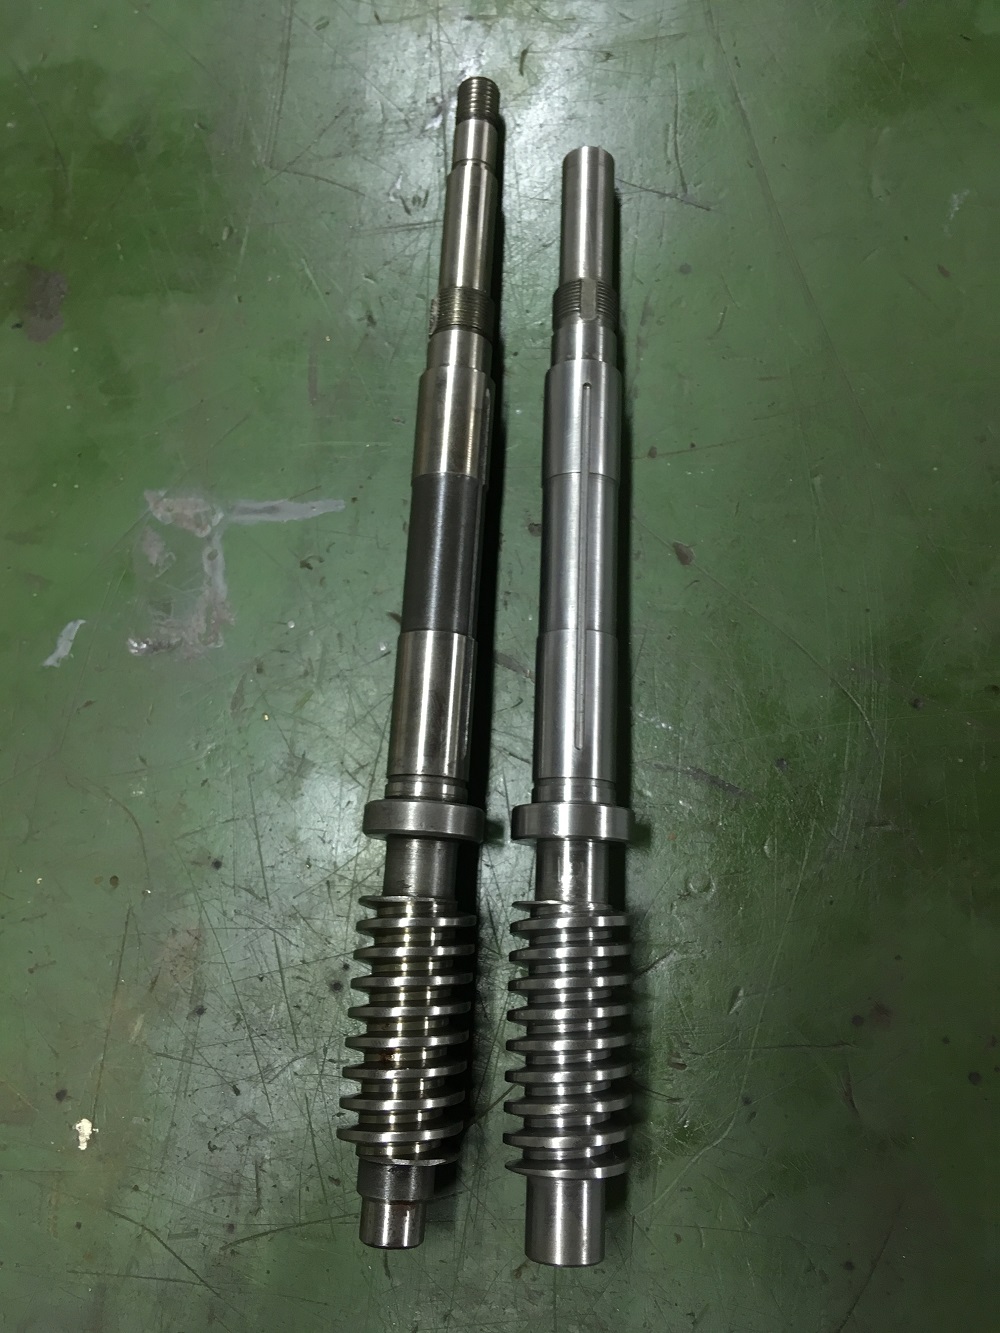
Both shafts
Attachment 31504
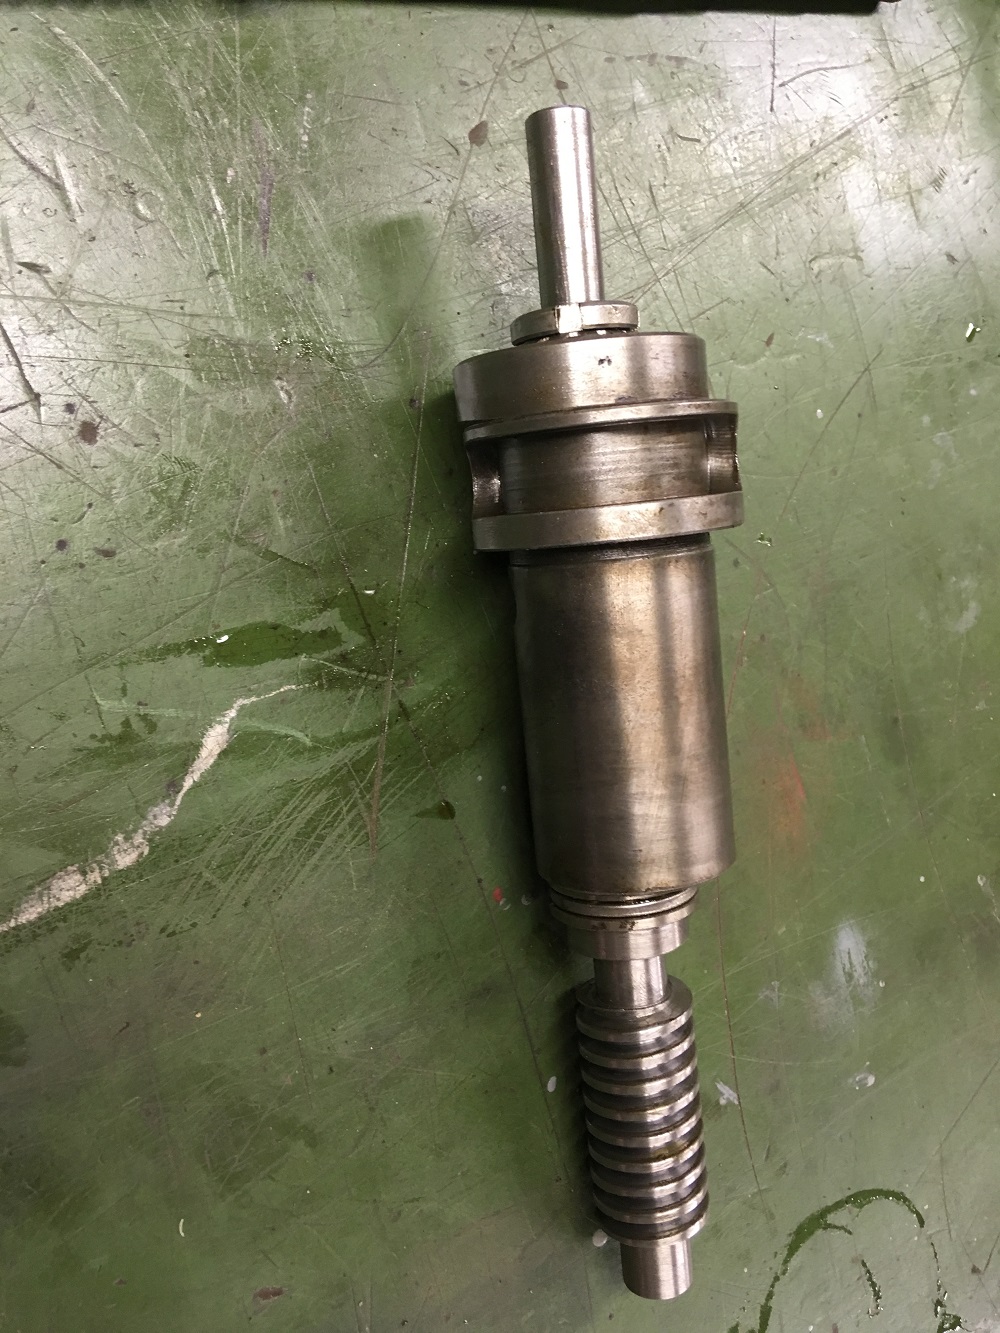
Assembled new shaft assembly
Attachment 31505
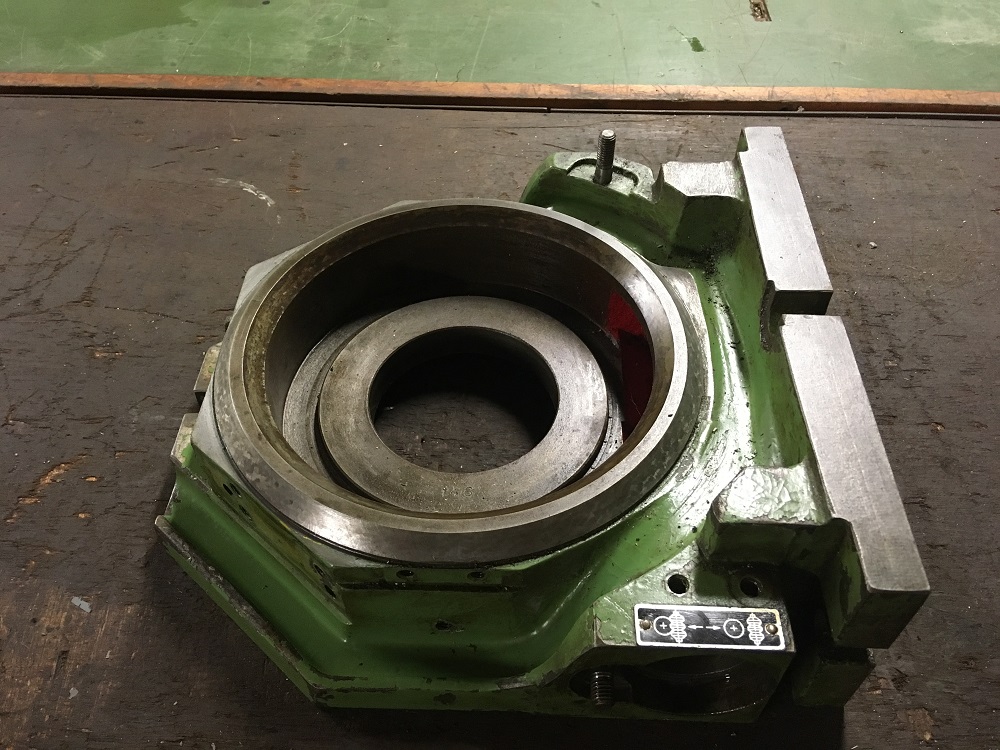
Rotary table casting
Thank you for viewing
The Home Engineer
-
<!-- BEGIN /var/www/html/homemadetools/protected/modules/zeus/views/tool/postUpdate.php -->
Thanks thehomeengineer! We've added your Rotary Table Worm Shaft to our Machining category,
as well as to your builder page: thehomeengineer's Homemade Tools. Your receipt:
<div id="blocks">
<div class="block b1 pngfix">
<div class="bimg">
<div>
<a href="https://www.homemadetools.net/homemade-rotary-table-worm-shaft">
<img src="/uploads/227026/homemade-rotary-table-worm-shaft.jpeg"/>
</a>
</div>
</div>
<div class="head pngfix"></div>
<div class="left pngfix"></div>
<div class="right pngfix"></div>
<div class="blockover b1 pngfix">
<div class="title">
<a href="https://www.homemadetools.net/homemade-rotary-table-worm-shaft">Rotary Table Worm Shaft</a>
<span> by <a href="https://www.homemadetools.net/builder/thehomeengineer">thehomeengineer</a></span>
</div>
<div class="tags">tags:
<a href='https://www.homemadetools.net/tag/driveshaft'>driveshaft</a>, <a href='https://www.homemadetools.net/tag/rotary-table'>rotary table</a>, <a href='https://www.homemadetools.net/tag/worm-gear'>worm gear</a> </div>
</div>
</div>
</div>
<!-- END /var/www/html/homemadetools/protected/modules/zeus/views/tool/postUpdate.php -->
-
Good job this is not easy to do :clapping:
-
Probably my favorite tooling; powered rotary tables.
I hunt periodically for a driven table suitable for my Kearney-Trecker 2D. It has the PTO. But powered independently DC and speed control offers different [infinite] feed options.
-
Awesome job! Simple when you finally remember how you did it the first time right!
-
Boy do I know that feeling one gets when repeating something done or learned years ago.
In any event looks like you are off to a great start, I’m expecting a working table any day now ����!