
 LinkBack URL
 About LinkBacks


I have a need to punch some louvers in an upcoming project. These things are pretty spendy. 500 to 800 dollars for a decent one. I did the same thing here as I did with the Tubing Straightener. Designed it in 3DCAD and am building it in the shop.
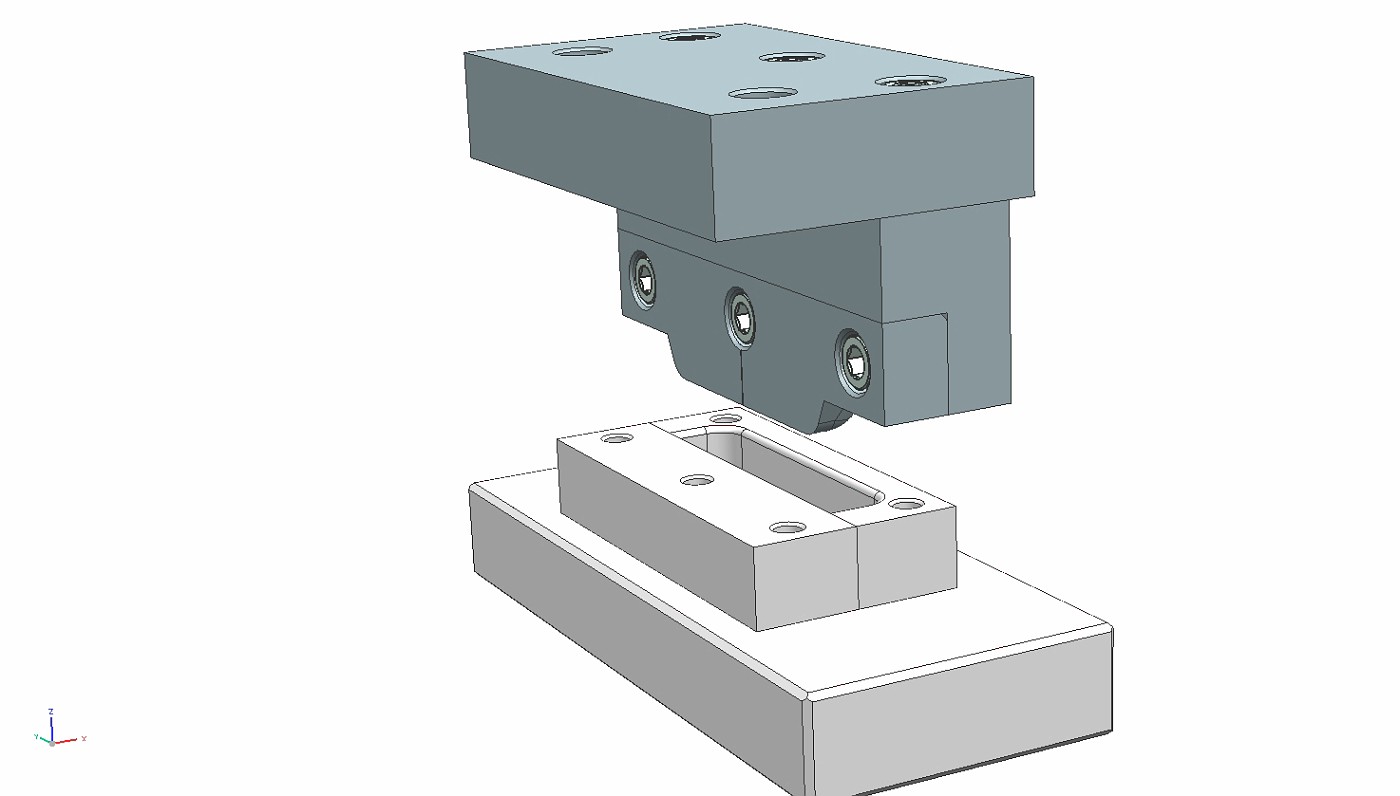
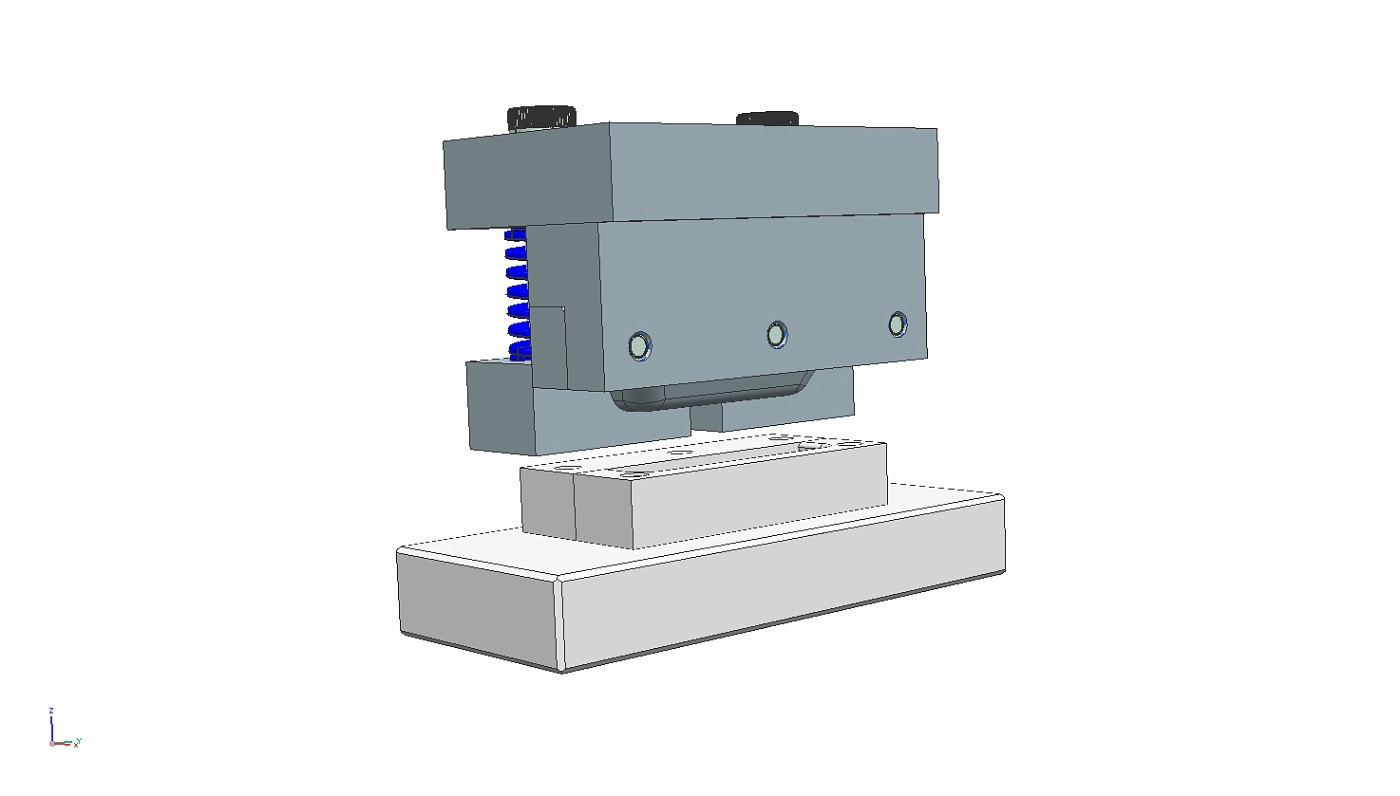
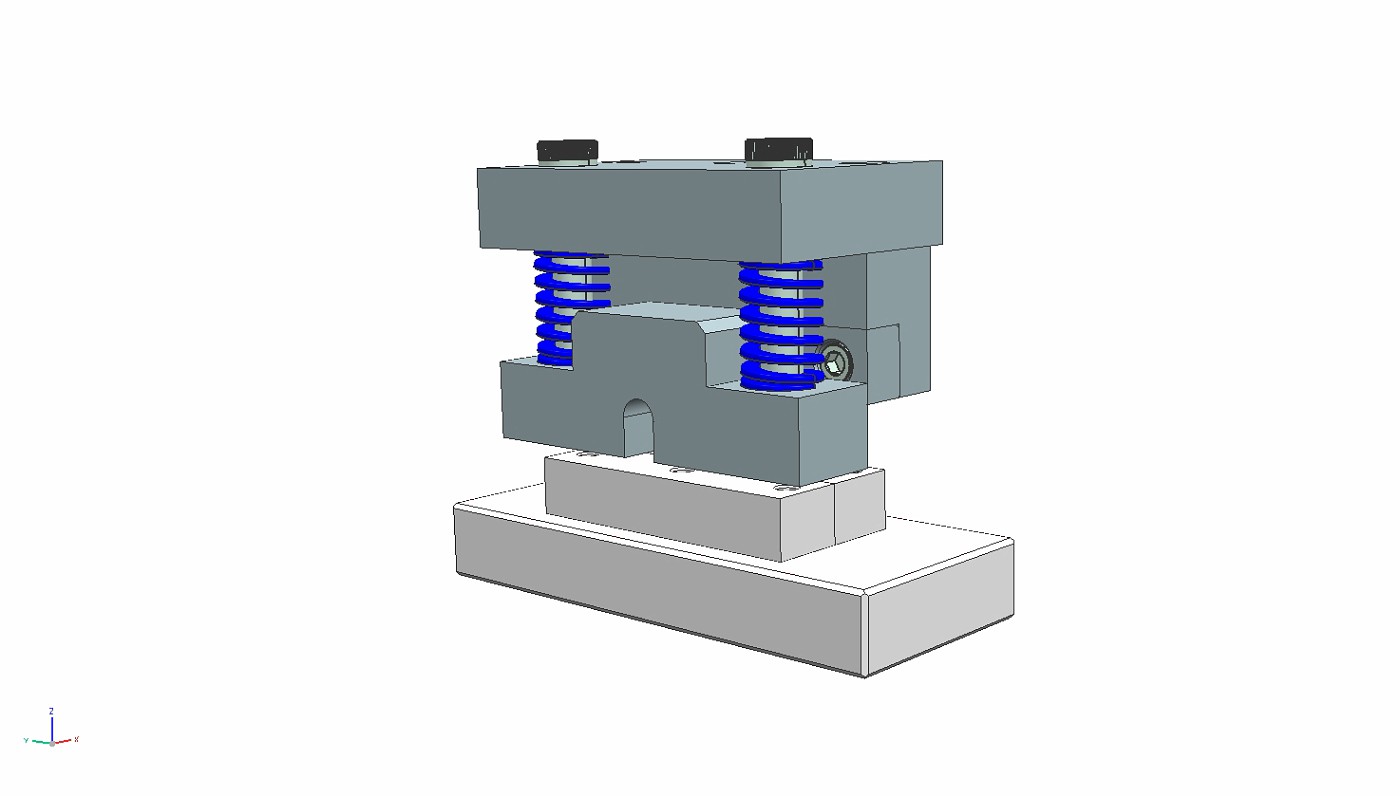
Here are some snapshots off my computer. The blue pieces are the punch and the white pieces are the die.
The back. You can see the actual punch in this pic.
This pic shows the stripper plate in place. This plate contacts the sheet metal before the punch does. The die springs will help hold the sheet in place as the punch starts to work and also keep the metal from distorting to much.
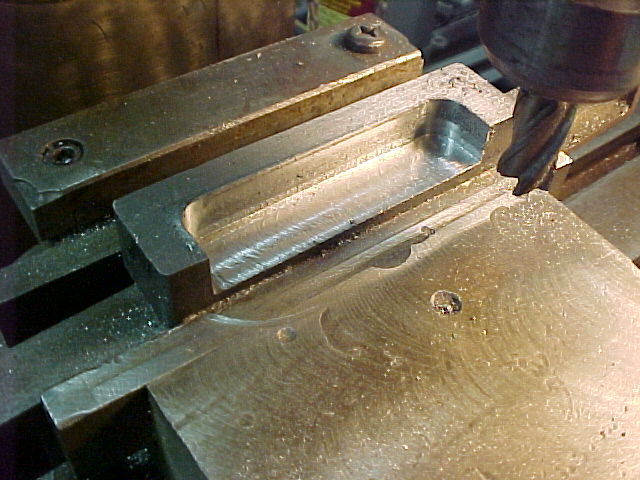
I have gotten started on the build. The punch die is milled out and has holes laid out for drilling and tapping as well as the lower support plate that carries the punch die and shear plate.
The punch die.
Continued in next post.


 Reply With Quote

Bookmarks