
 LinkBack URL
 About LinkBacks


Hi folks
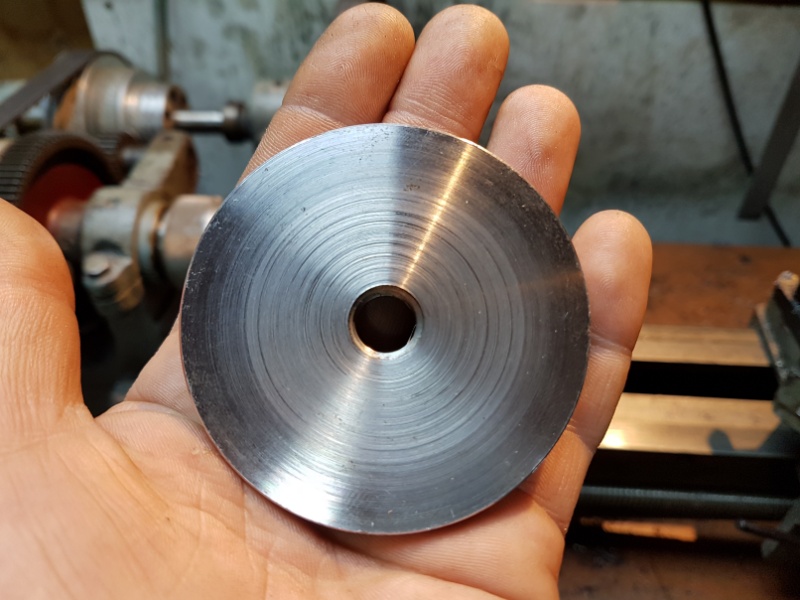
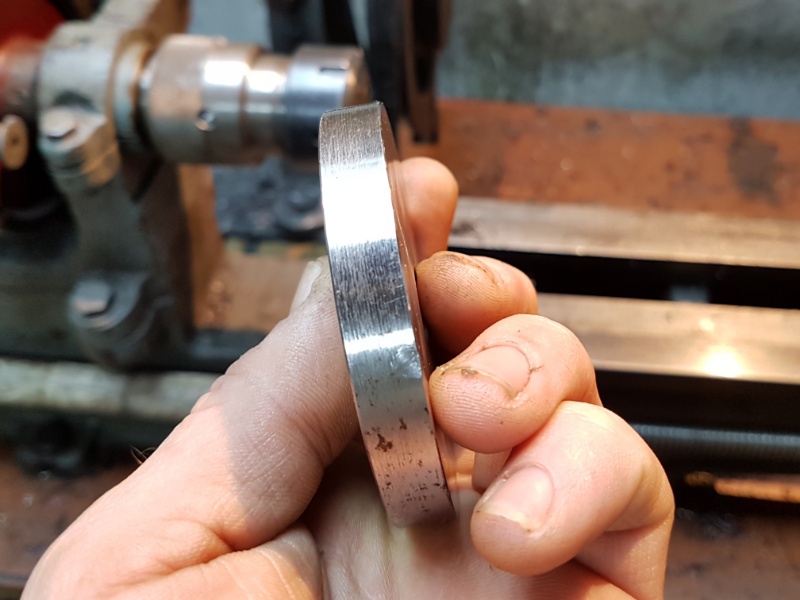
Funny how things work out. I was going to make another round flycutter but came across this disc of steel that had come from my mill bench build, which I'd tidied up, stashed away and promptly forgot about:
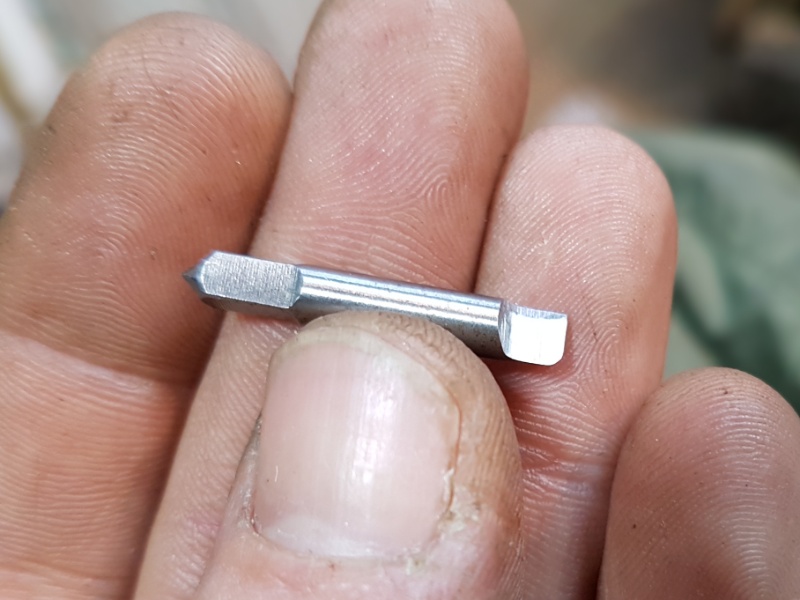
I also had a shank from a broken M4 tap, so it was a no brainer what I was going to do with them. First off I ground the tap shank into a very small cutter. It was a challenge being so small and short as there wasn't much to hold onto but it worked out ok in the end:
With the tap being quite small and therefore likely prone to flexing and chatter, my train of thought was that this flycutter would lend itself quite well for light cuts and finish passes, while my first flycutter seems more suited to roughing cuts so I get the best of both this way.
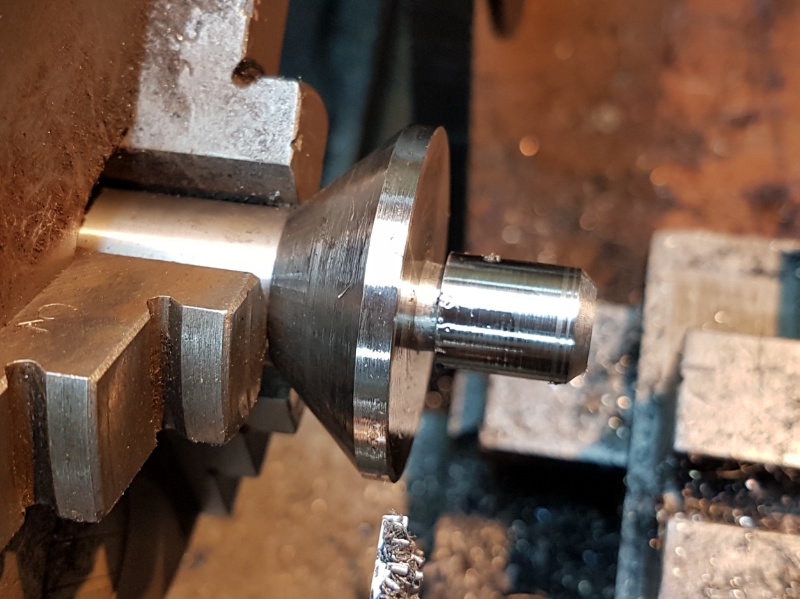
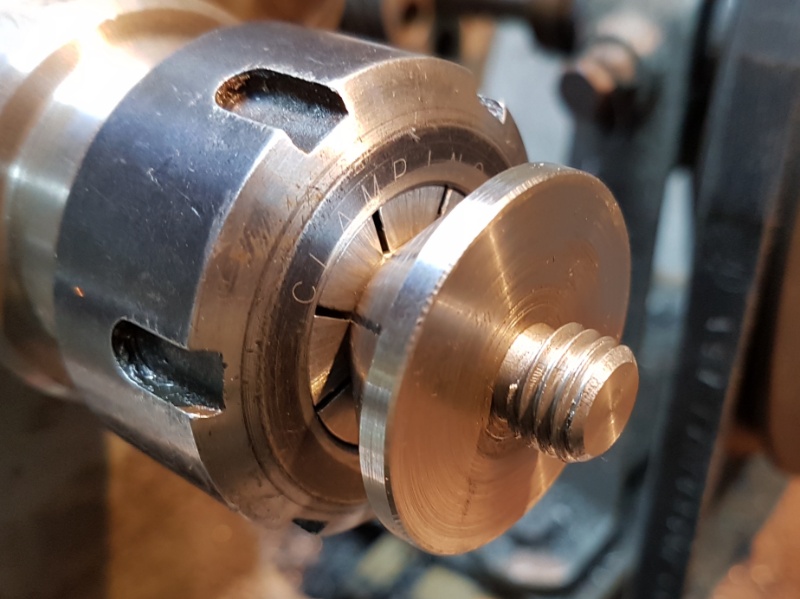
With the bit ground and honed, I turned my attention to making an arbour that would screw into the tapped hole in the disc. At this point I felt that a flange at the base of the arbour would give the flycutter a decent amount of rigidity.
Not sure if it was a mistake or not but I went with the smaller of the two larger diameter mystery metal bar stock I have and finally had confirmation of my suspicions (due to what looks like scale on the outside) that it was tempered and I found myself hard turning.
I've only used one other short piece of this steel and that was some time ago as it ate through a box of carbide tips so fast I was reluctant to use it again but I reckoned I'd gained enough knowlege regarding feeds and speeds that I felt confident enough to have another crack at it:
It went a lot better this time and I only had to change tips twice. The tool I used for turning the steel was this CCMT holder that uses the side points that normally get left unused by standared holders. It took me ages to find a source for them but they're great for getting the most out of your tips and take well to interrupted and deep cuts:
The material felt sorta gummy as it was being cut and it sparked a few times too. I was a little worried about my little old lathe being put under such duress so I didn't take many pics while working on this piece as I needed to get a feel for it so I didn't do anything untoward to my machine.
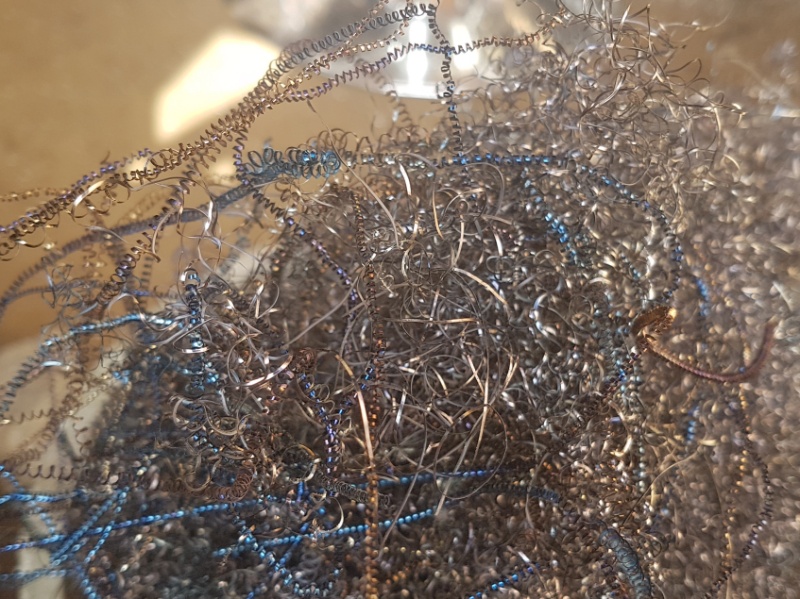
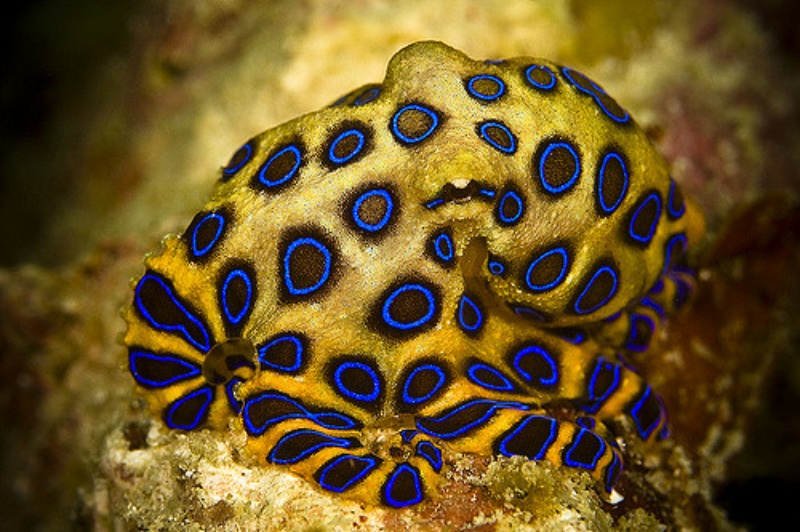
The finish though, was spectacular throughout most of the turning and the colour of the chips were so pretty they had my ma wanting to make stuff with it, until I pointed out that it would be like playing with a blue ringed octopus, just as pretty but no less lethal:
Putting threads on the end was also no easy task. My initial approach was to cut the threads and then turn it to length but that turned out to be more effort than it was worth, so I swopped the steps and finally won out:
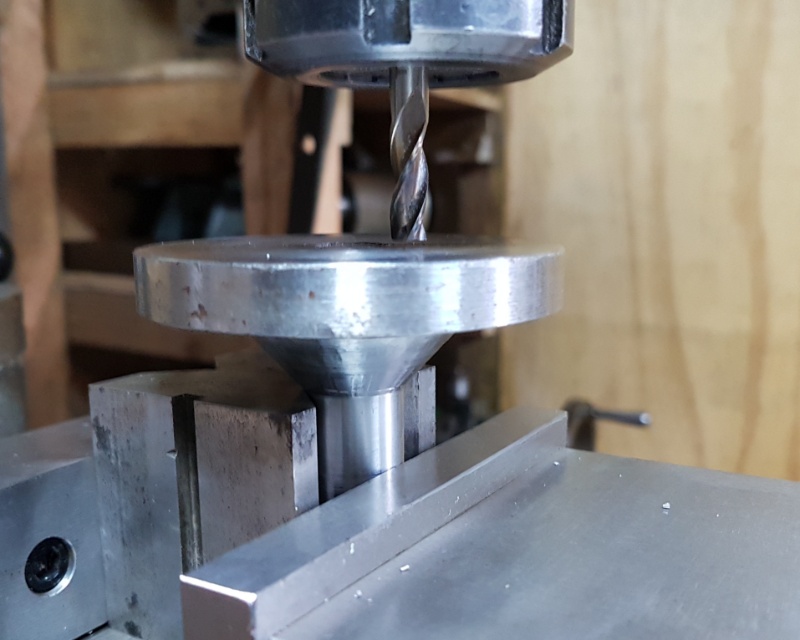
With the arbour thankfully complete, I screwed on the disc as tight as I could muster. I then drilled a hole through the disc and into the arbour flange for a locking screw. Probably not needed as it'll never be used in reverse but I wanted to prevent the disc from undoing itself anyway. Here I'm boring out the disc as it has the unthreaded portion to allow the screw through to the flange:
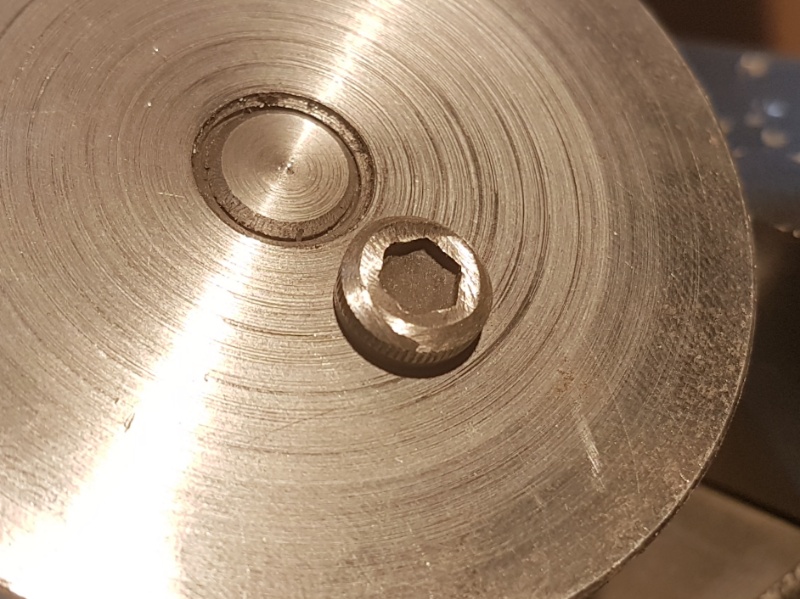
I then took a high tensile cap screw and ground the head down to a low profile, while still giving me enough depth in the hex to use an allan key:
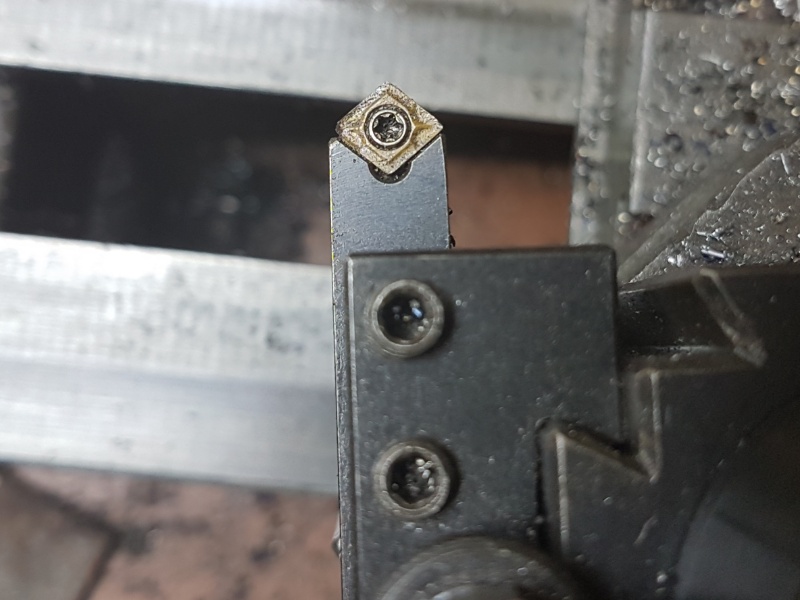
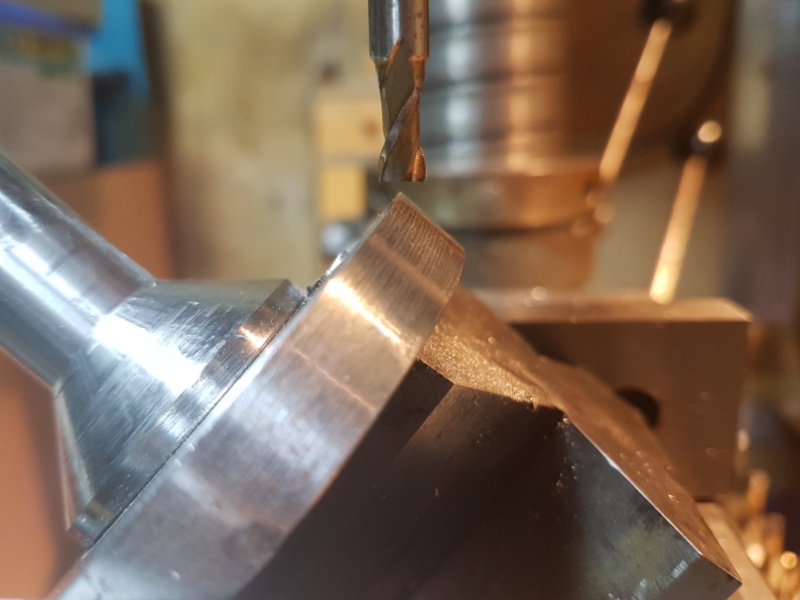
With the the parts assembled and locked together, I set it up in the vice at the angle I wanted the bit to protude and drilled it through. I then changed the set up around to make a flat for drilling a hole for the bit locking screw:
My choice for the hole location at this point was a total fail as there just wasn't enough material for the grub screw, so I milled out a section in the side of the disc instead, which worked out to be a far better solution:
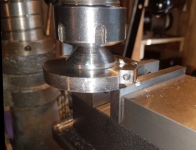
After a bit of experimentation with depths of cut, I ended up getting a pretty decent finish, which is a fair achievement with my machine as it has a bent quill:
However, after playing with this chunk of steel for a few passes, it has highlighted that I need to adjust the "nod" of my mill as it just ain't square no more, so I'll see y'all again once I've sorted it.
Until then, have fun, stay safe and keep those chips flyin'


 Reply With Quote

 PJ
PJ


Bookmarks