
 LinkBack URL
 About LinkBacks


Hi All
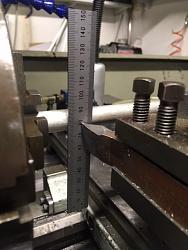
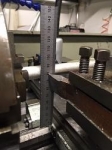
I have seen a lot of lathe centre height setting gauges. (which I might add are nicely made) I usually set my tools against the revolving centre or dead centre from the tailstock. If I need to set a tool half way in to a job which is supported by the tailstock I use the following quick fix. I use a steel rule and simply set this between the work piece and the tool to be set. If the rule leans forward the tool is to high and if the rule leans back to low. So, when the rule is upright the tool is on centre height and therefore, the cutting edge must be at a 90-degree tangent to the centre line/height of the machine. Simply and very quick.
photo showing rule between component and rule
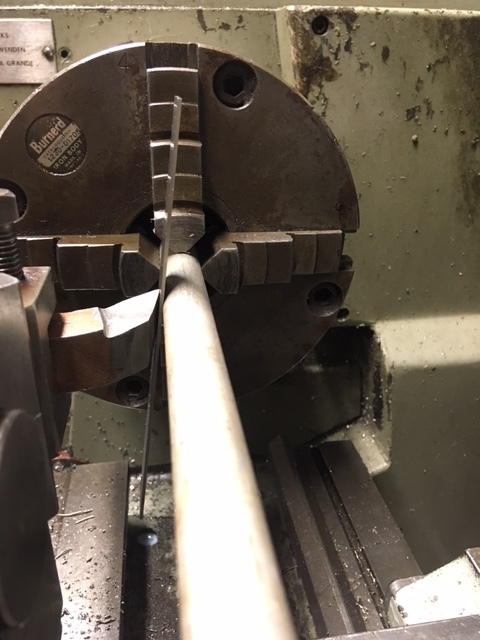
Tool to high
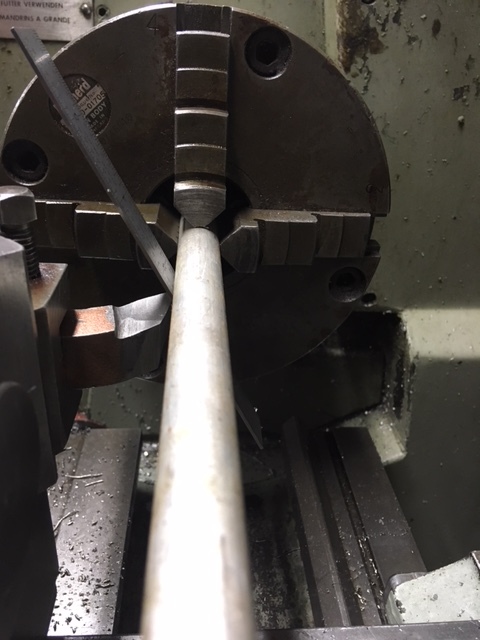
Tool to low
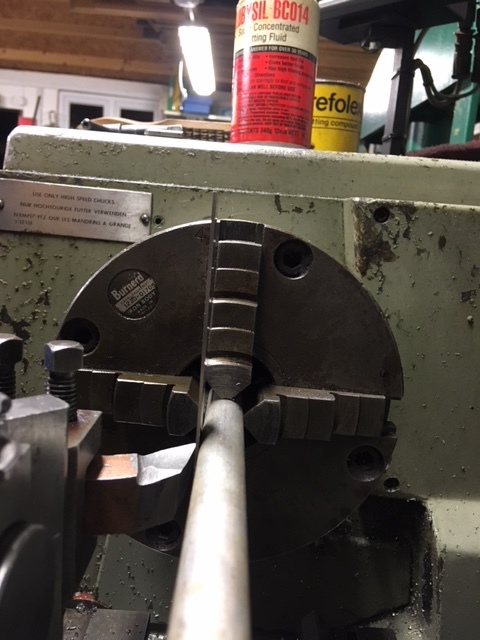
Tool at centre height
Thank you for viewing
The Home Engineer


 Reply With Quote


 install rule and carry on. "Pin It")

 where my lathe is it's a little difacult to see that angle within a degree or 3......that dam fancy anodized pretty little tool( and when I say little I mean little) is so small I cant use it..... no I dont have mondo charlie hands, but if I was a 12 year old girl I might be able to use it. they make about 4 versions of it.some have a rod that go's in the chuck witch would be perfect if you set every tool ahead of time and had lots of holders...I like to set it off the work peice....almost impossiable with this little POS. it's also so narrow it's hard to get square on any thing.
 .... I was expecting it to be about 3x as large as it is and be able tog grab it and go quickly. So for now it's on the wall of shame.
 And to farther add to the issues....setting the vial square to the tiny POS with the small set screw that moves the vial when snuged down...
 is pretty reedickyoulass. as I always say" YOU CANT FIX STUPID" and yes I did fall into that category when a spent the $16 or 18 what ever it was for the junk. But!!! It is made in USA.
 )
)


Bookmarks