I thought I would show you what I am working on now. This project will take a long time, never ending. I am showing you some patterns and molds of a viaduct that I will eventually install in my back yard. Bob.https://youtu.be/Eg-X9_A3pJ0
Printable View
I thought I would show you what I am working on now. This project will take a long time, never ending. I am showing you some patterns and molds of a viaduct that I will eventually install in my back yard. Bob.https://youtu.be/Eg-X9_A3pJ0
Thanks machiningfool! We've added your Viaduct Molds to our Model Making category, as well as to your builder page: machiningfool's Homemade Tools. Your receipt:
<div id="blocks"> <div class="block b1 pngfix"> <div class="bimg"> <div> <a href="http://www.homemadetools.net/viaduct-molds"><img src="http://www.homemadetools.net/uploads/139275/viaduct-molds.jpeg" /></a></div> </div> <div class="head pngfix"></div> <div class="left pngfix"></div> <div class="right pngfix"></div> <div class="blockover b1 pngfix"> <div class="title"> <a href="http://www.homemadetools.net/viaduct-molds">Viaduct Molds</a> <span> by <a href="/builder/machiningfool">machiningfool</a></span> </div> <div class="tags">tags: <a href="http://www.homemadetools.net/tag/molds">molds</a></div> </div> </div> </div>
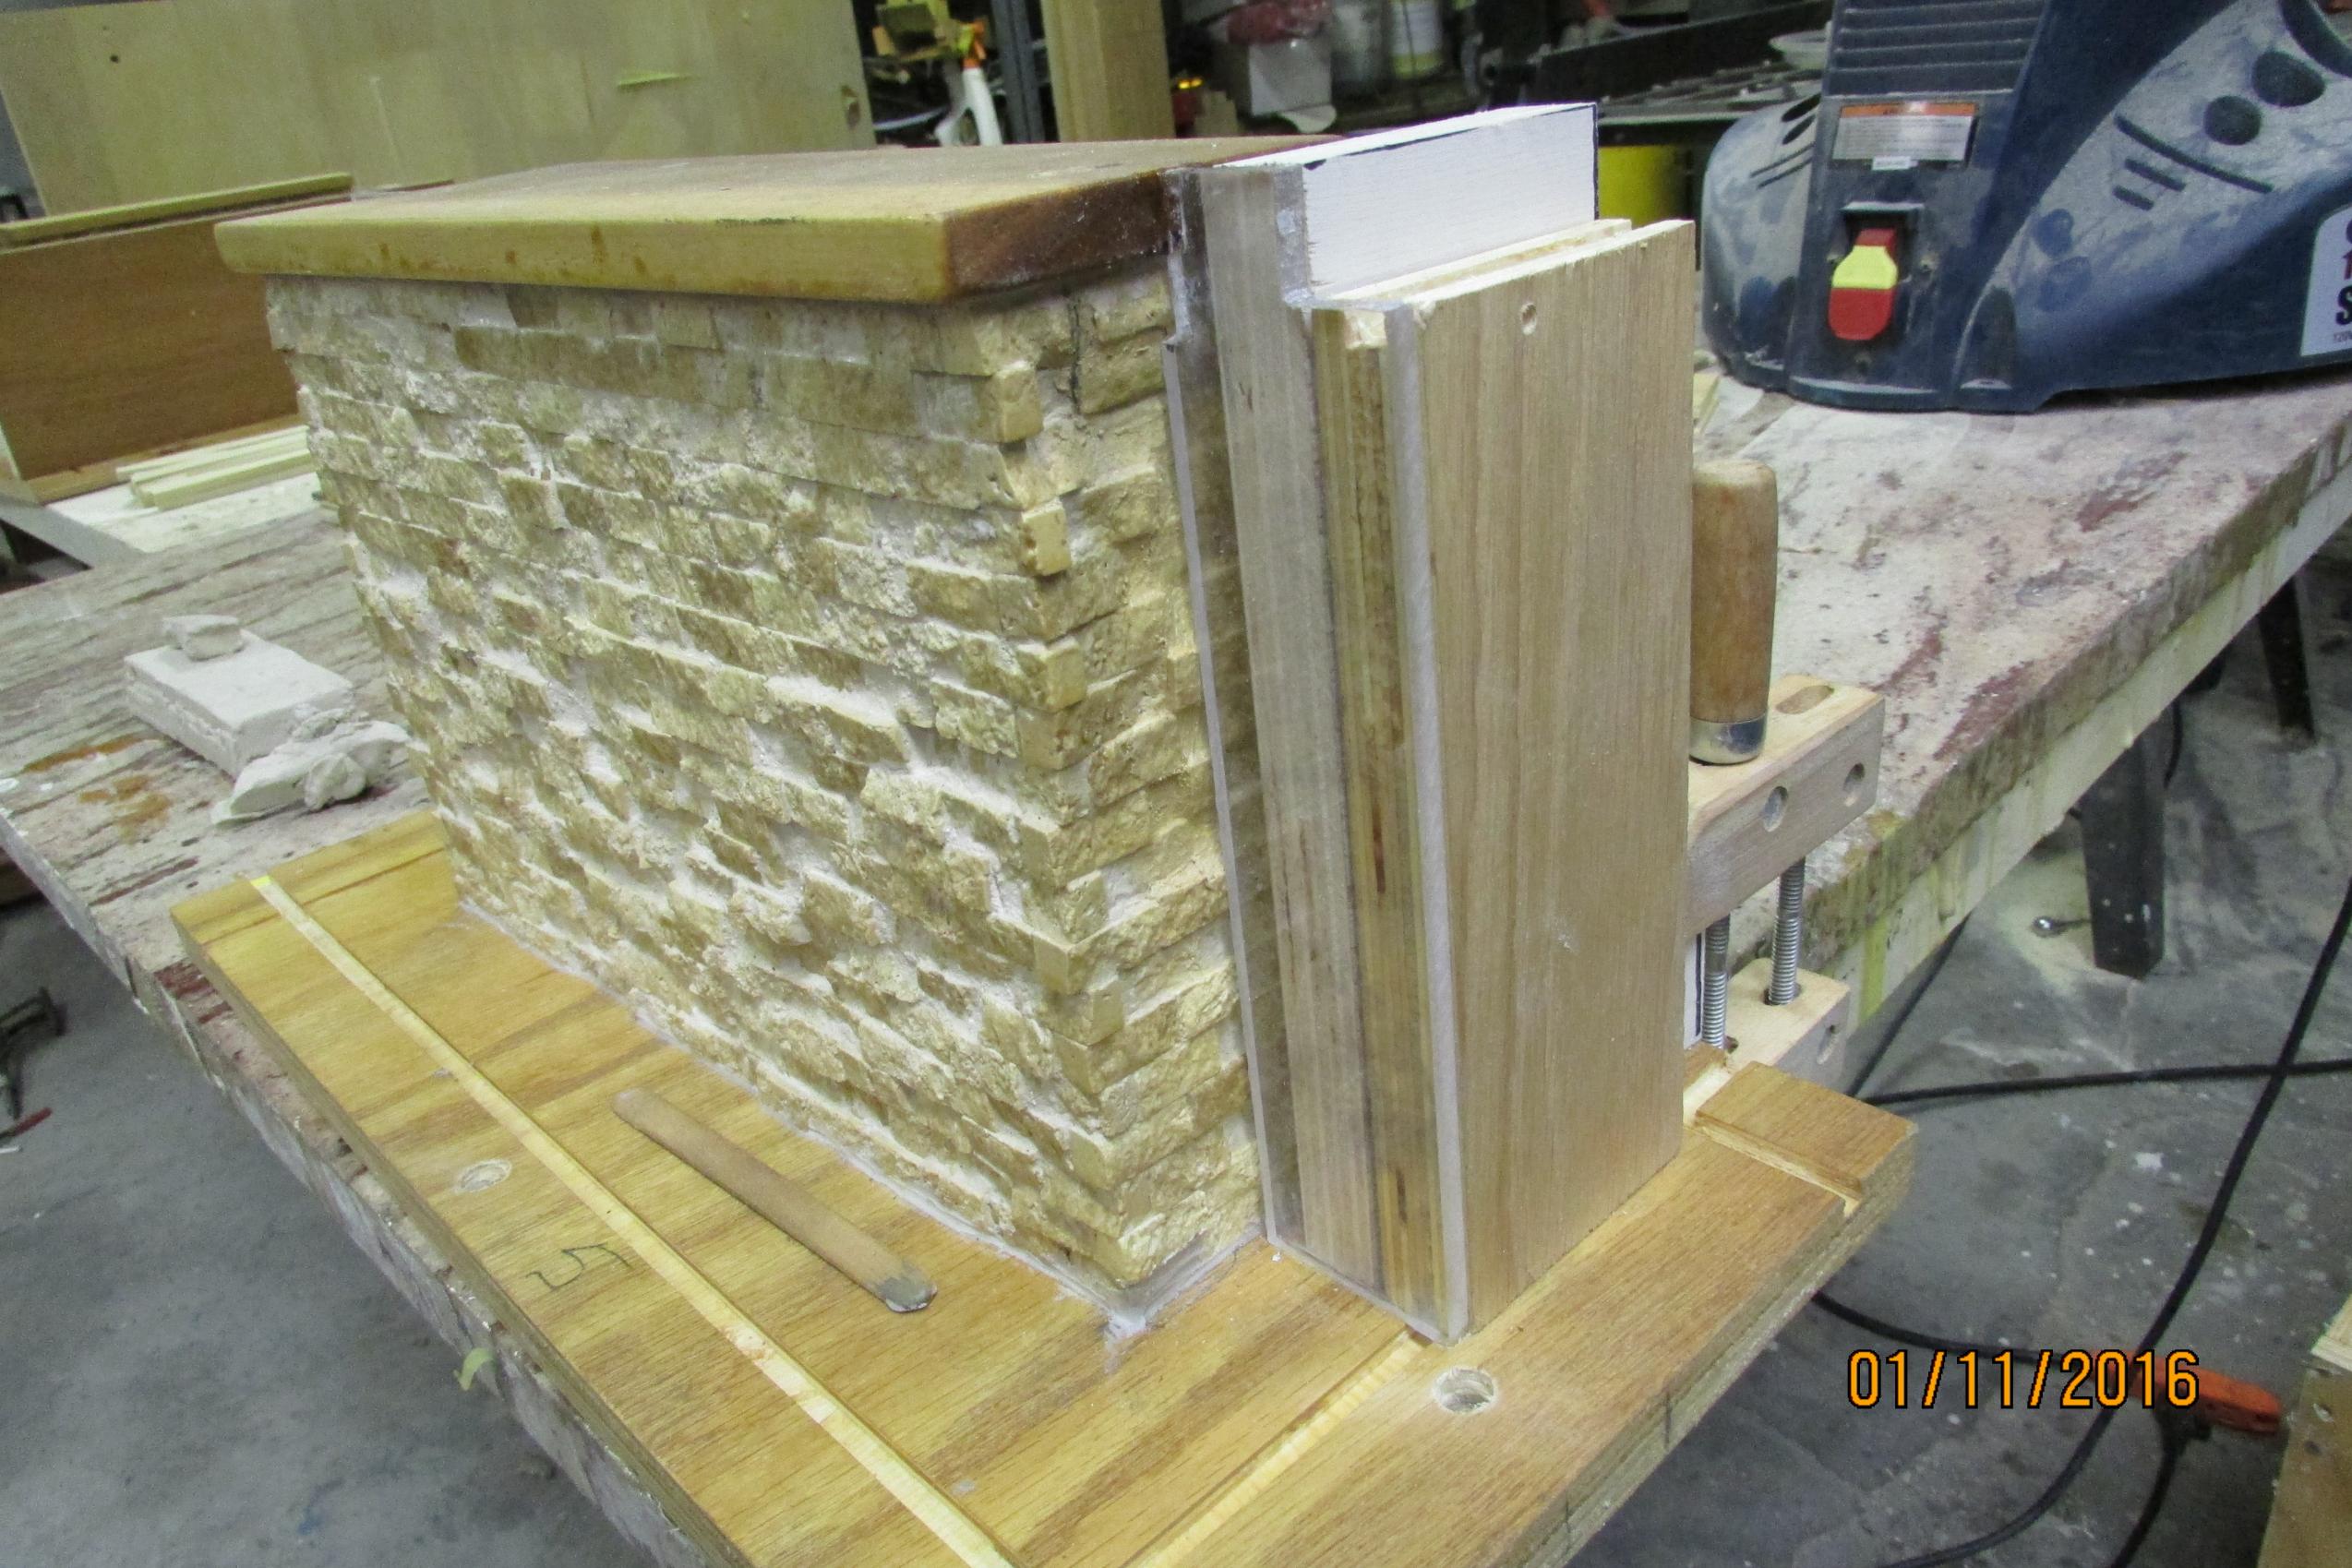
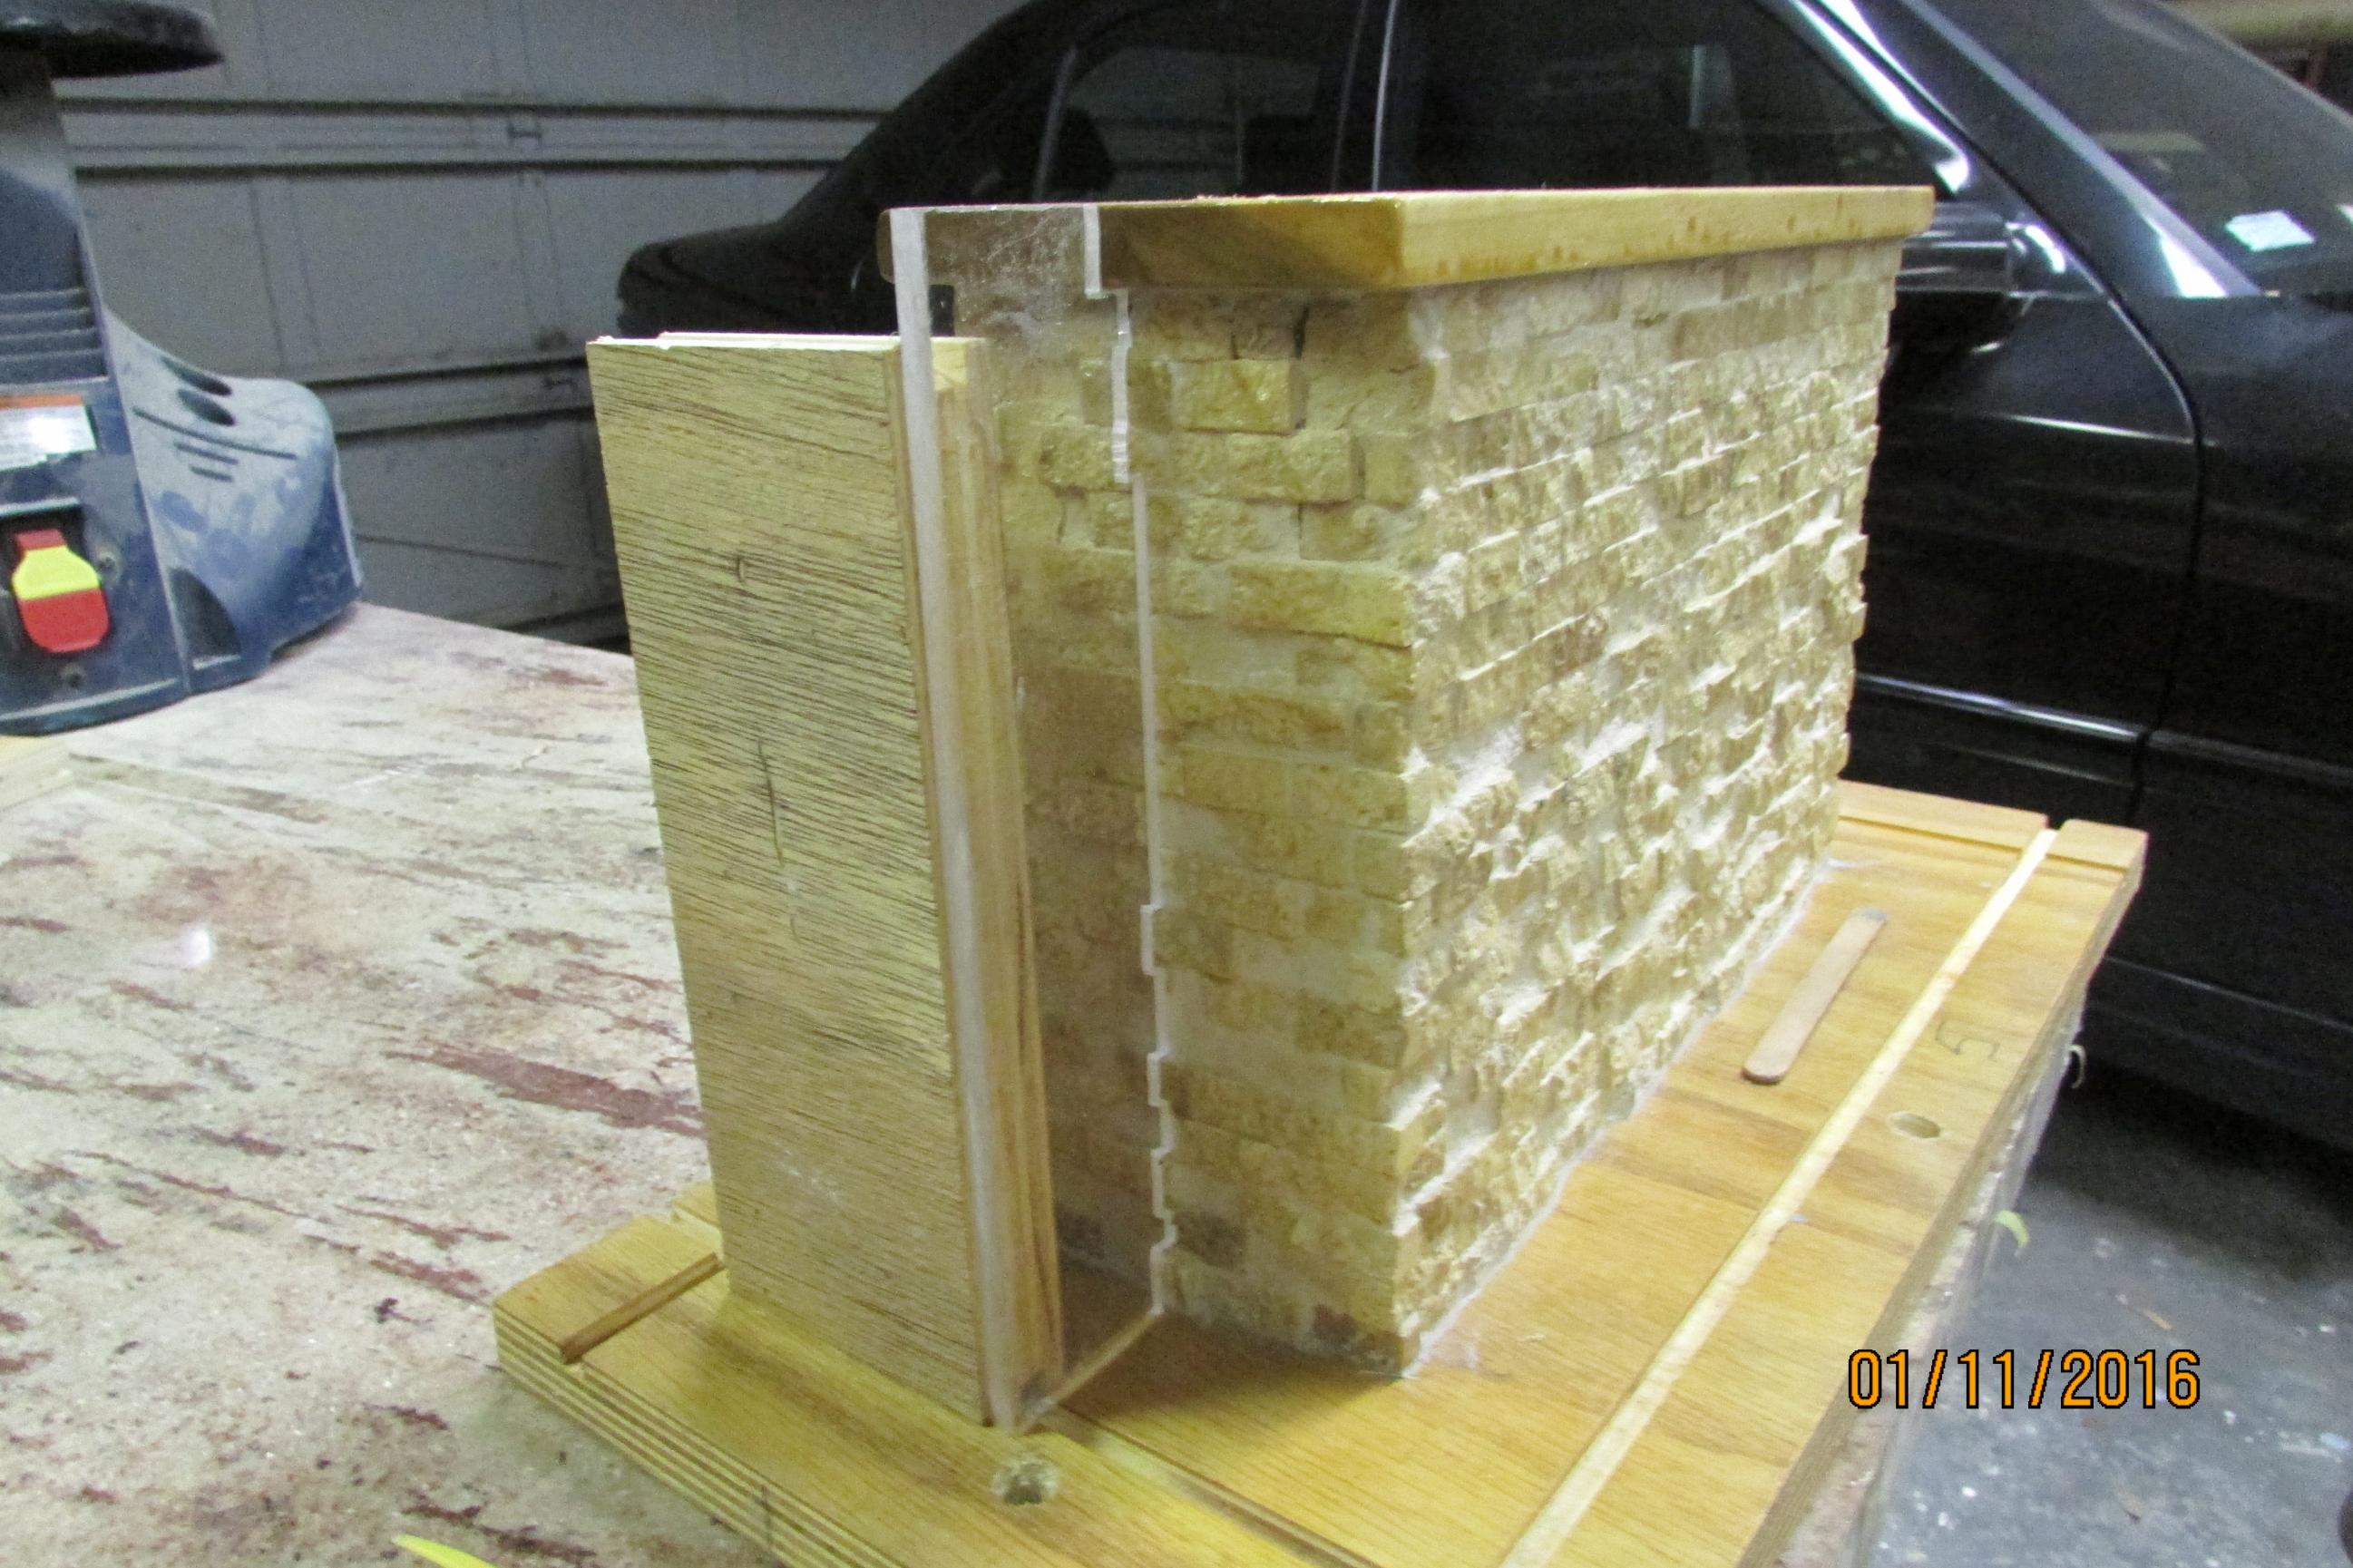
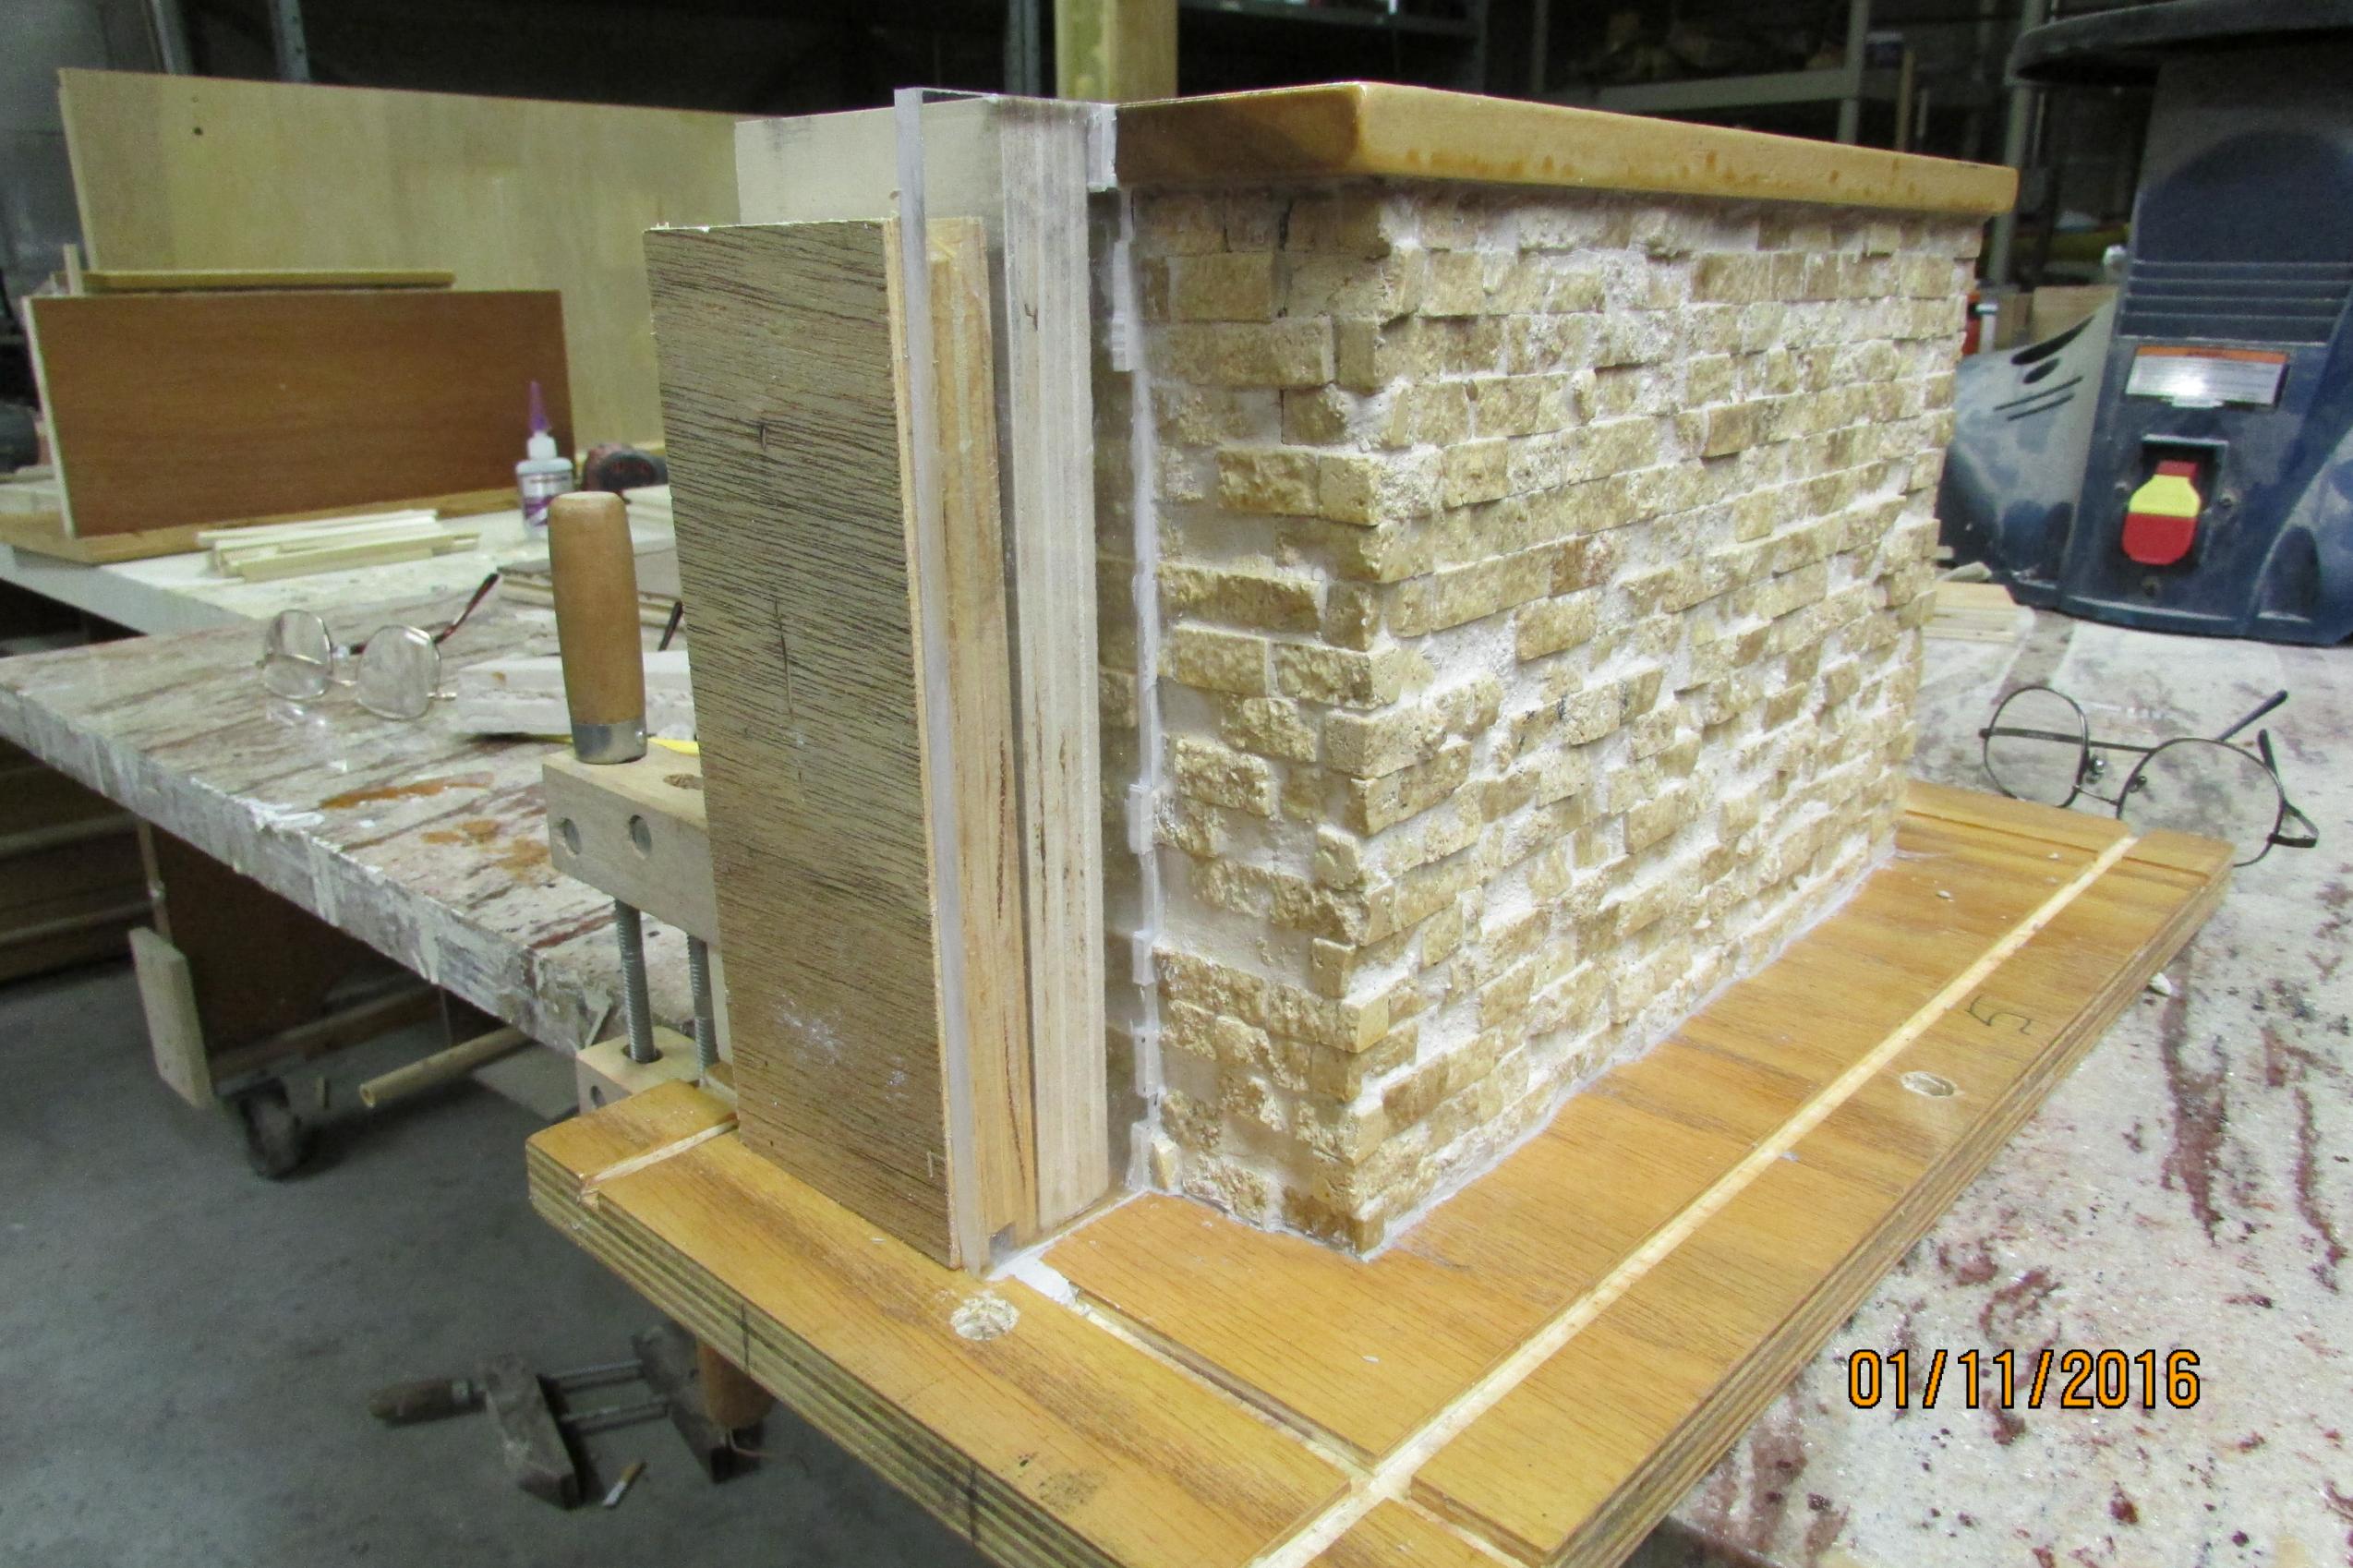
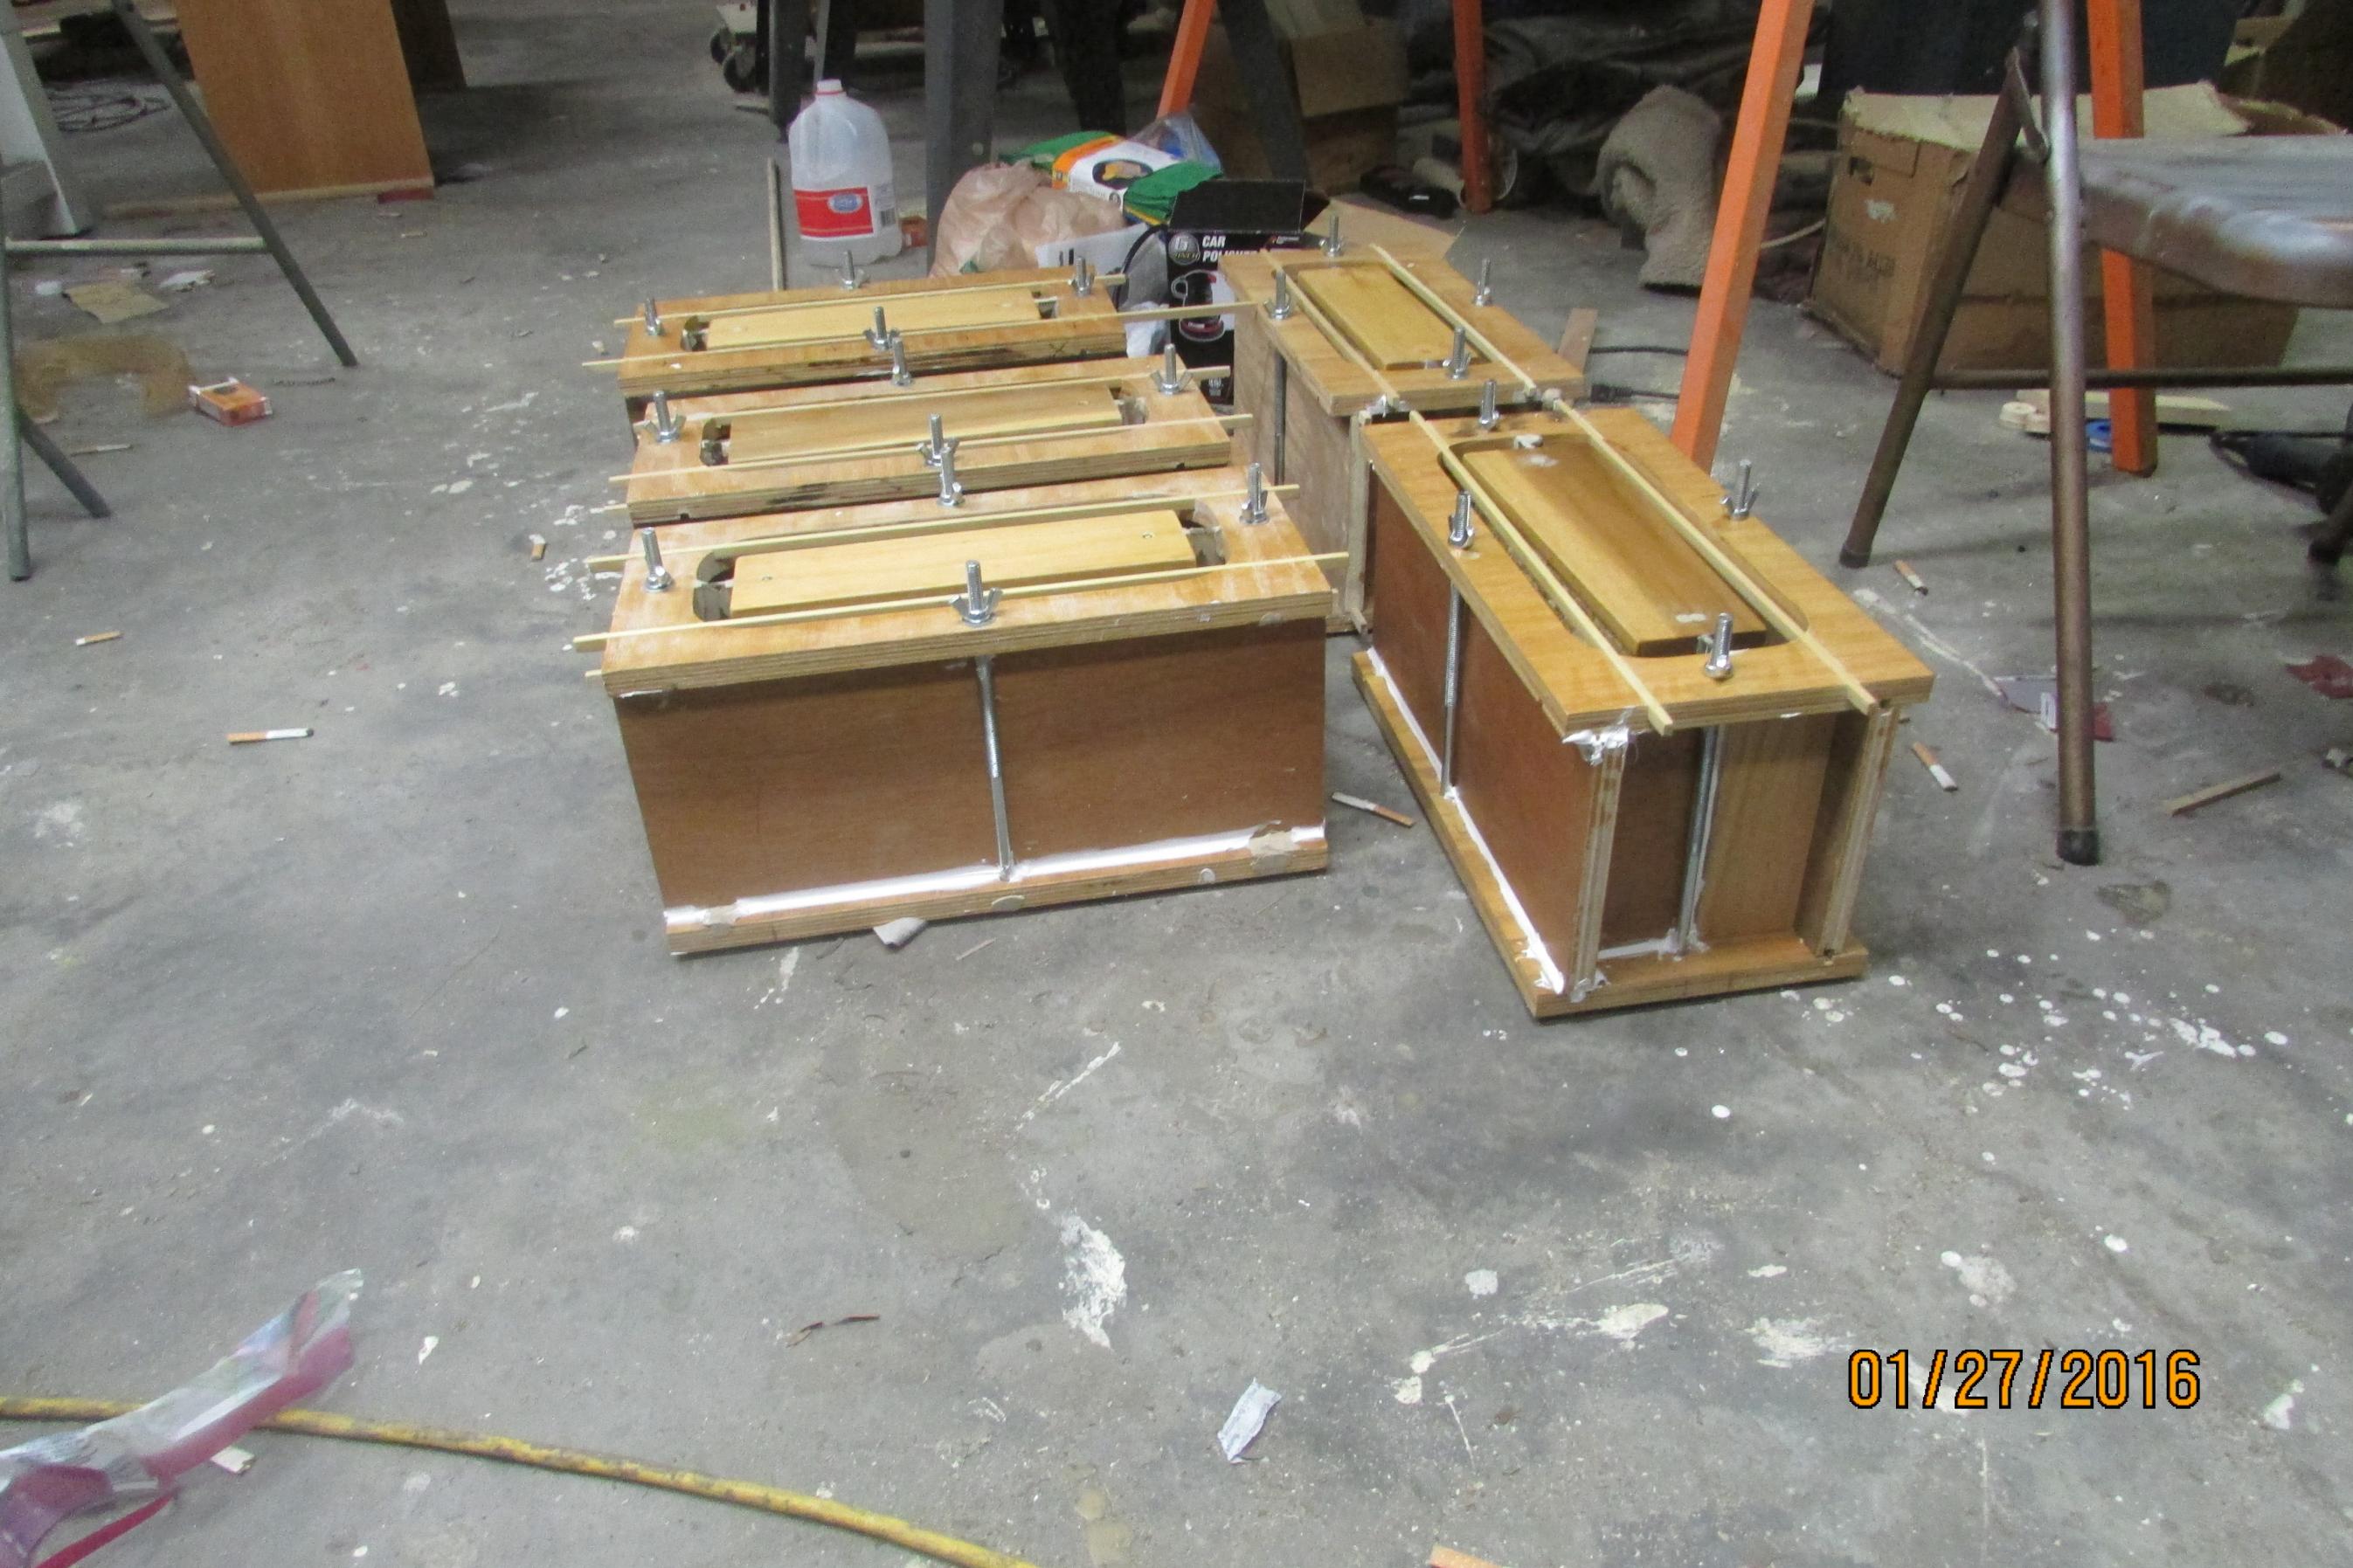
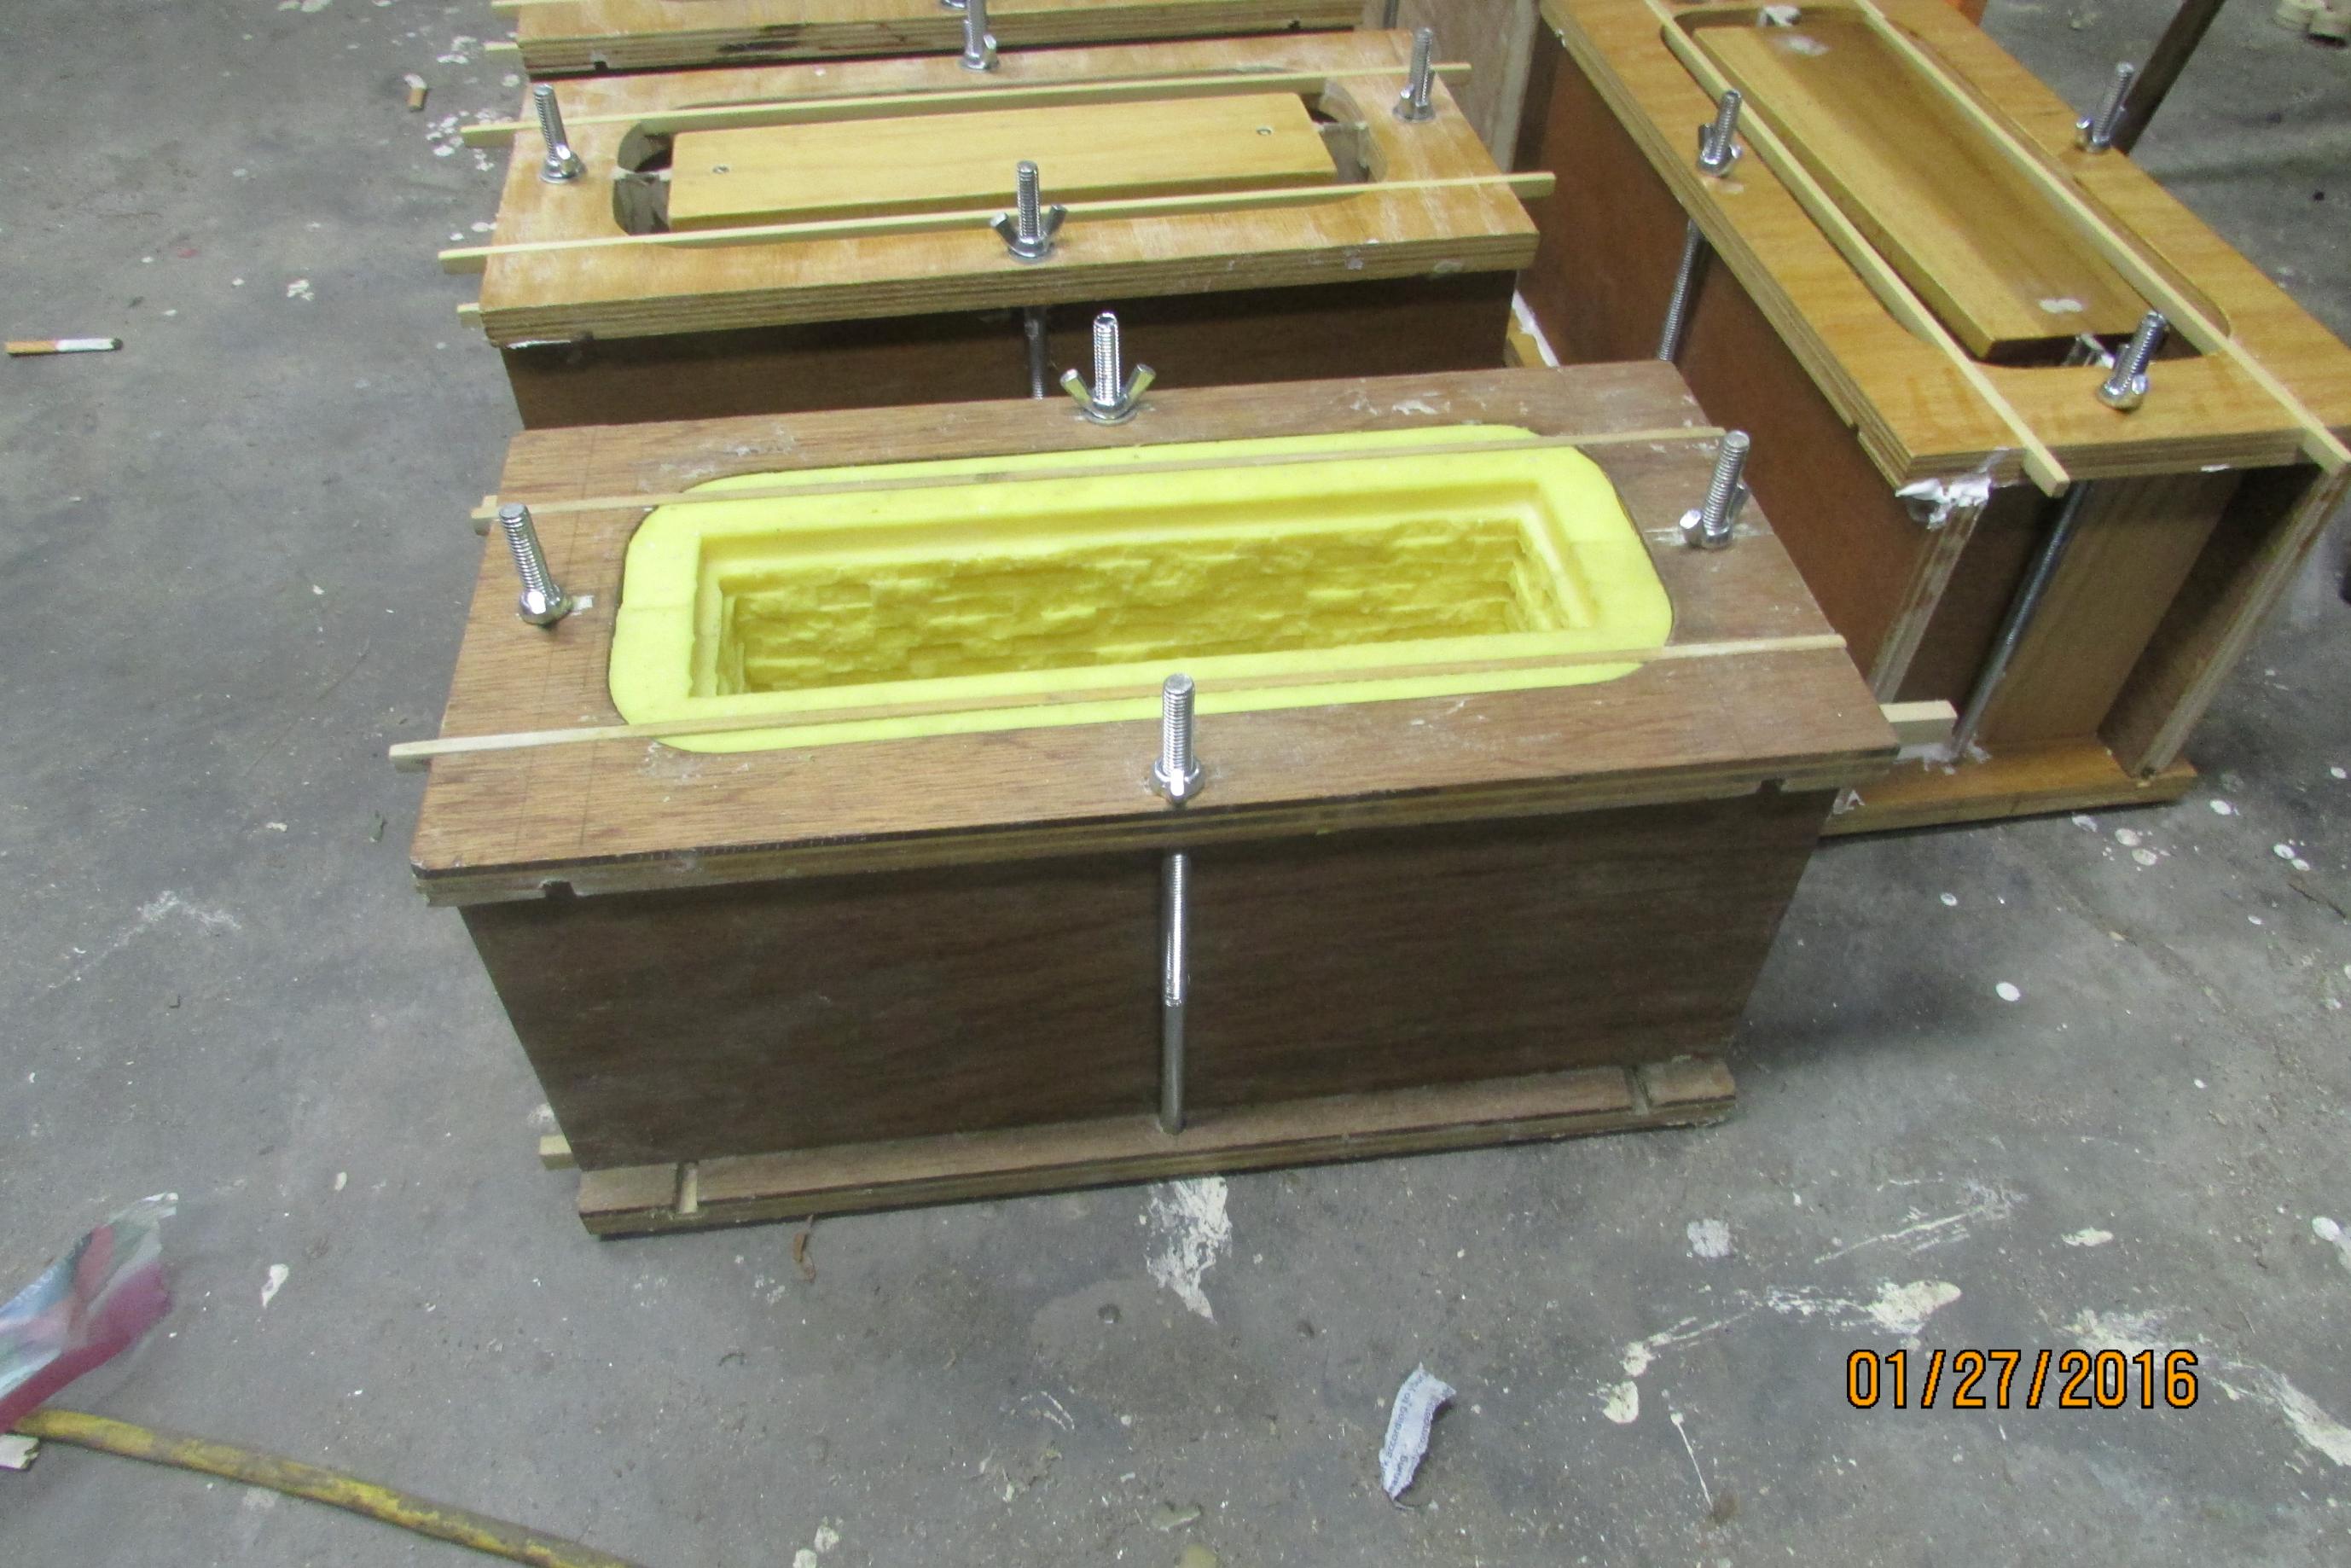
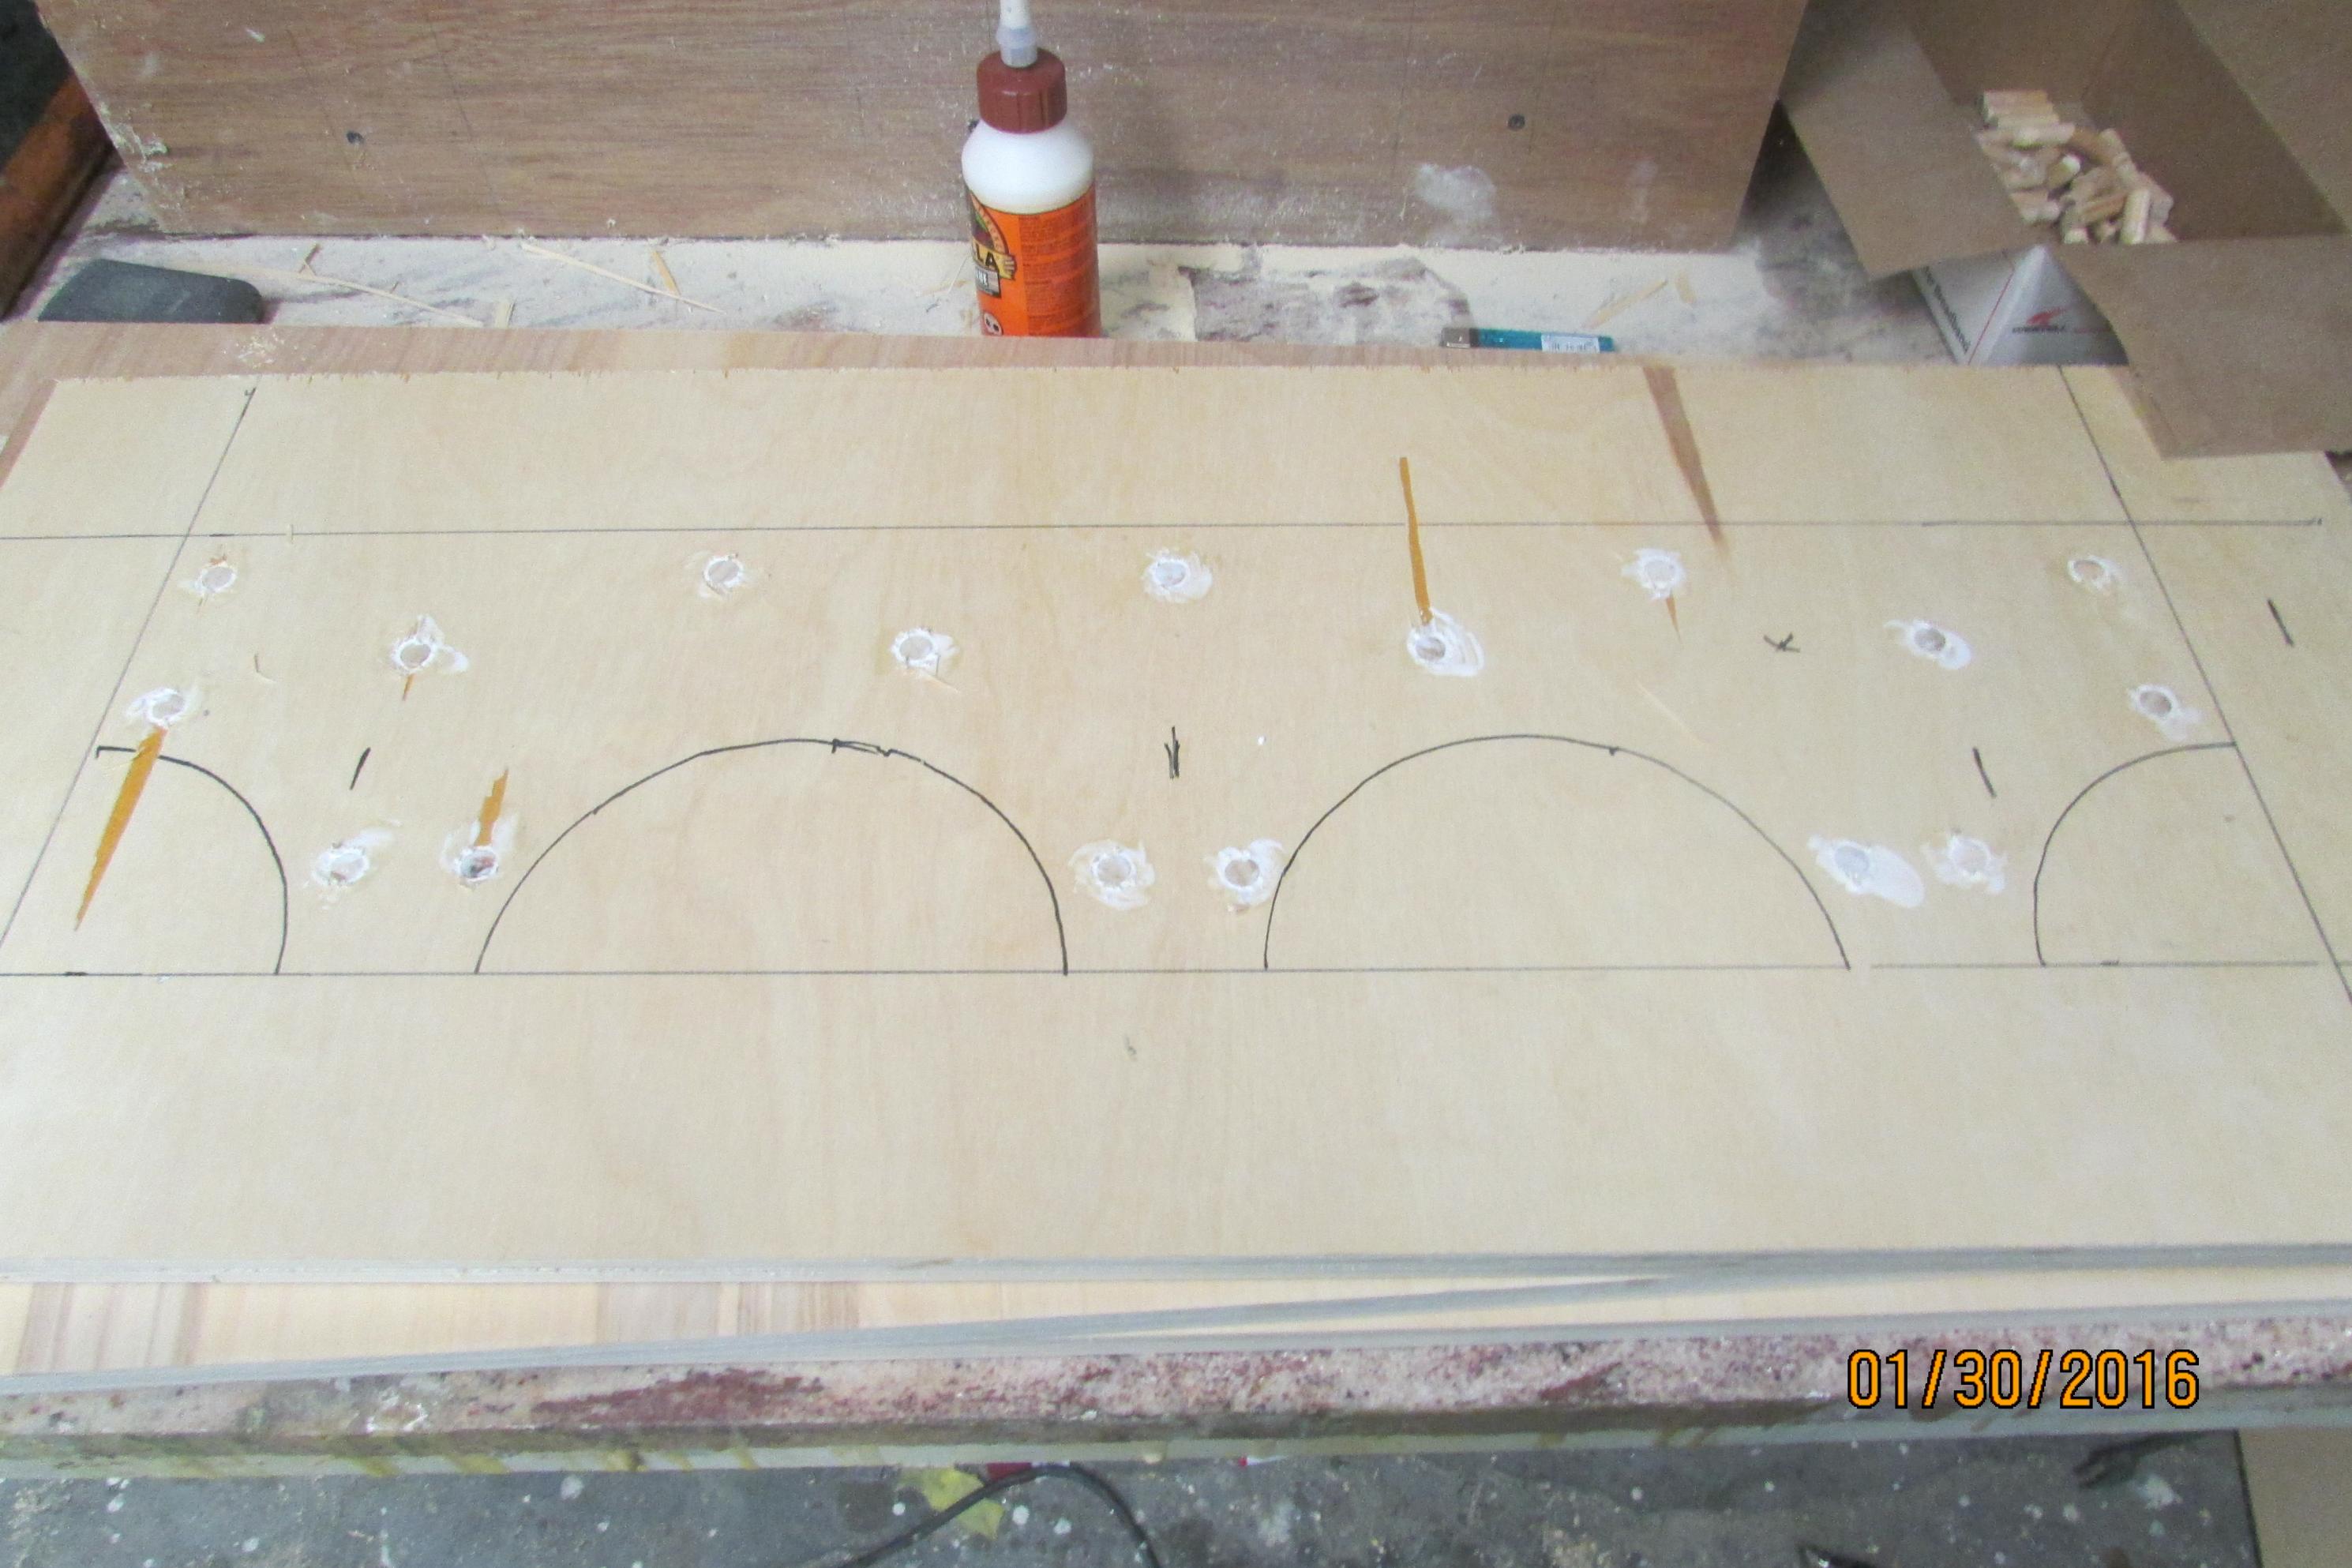
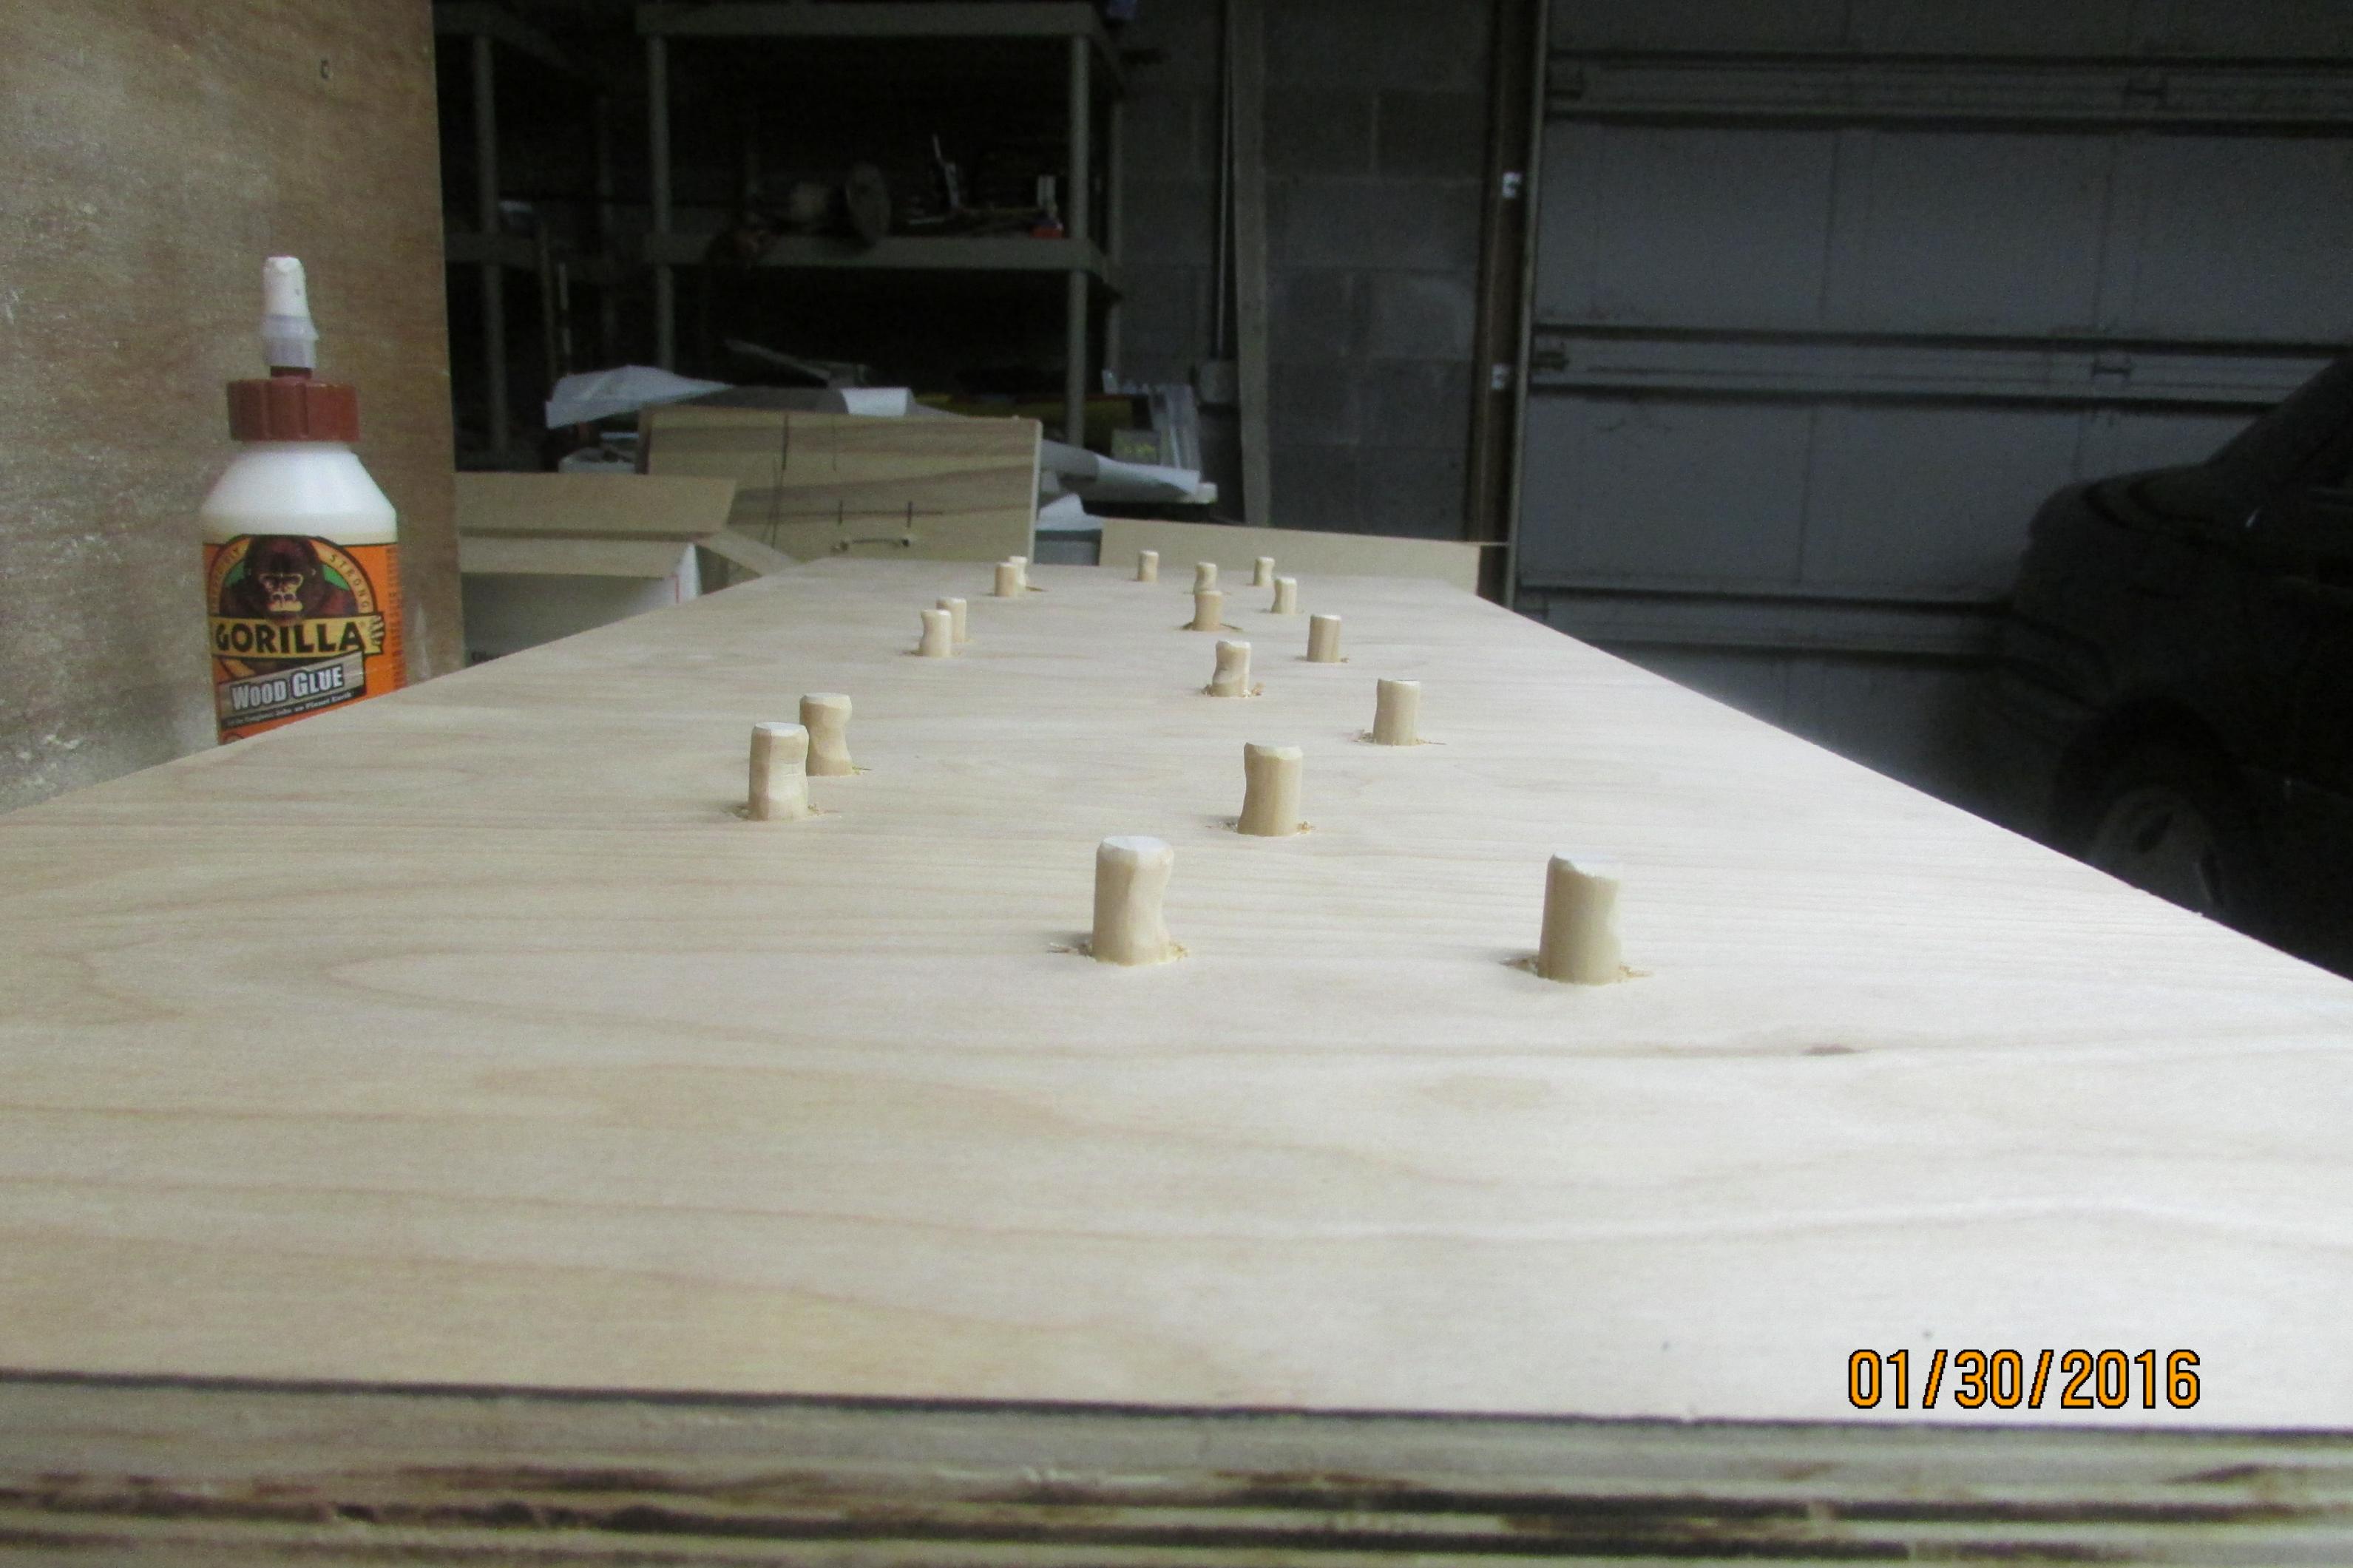
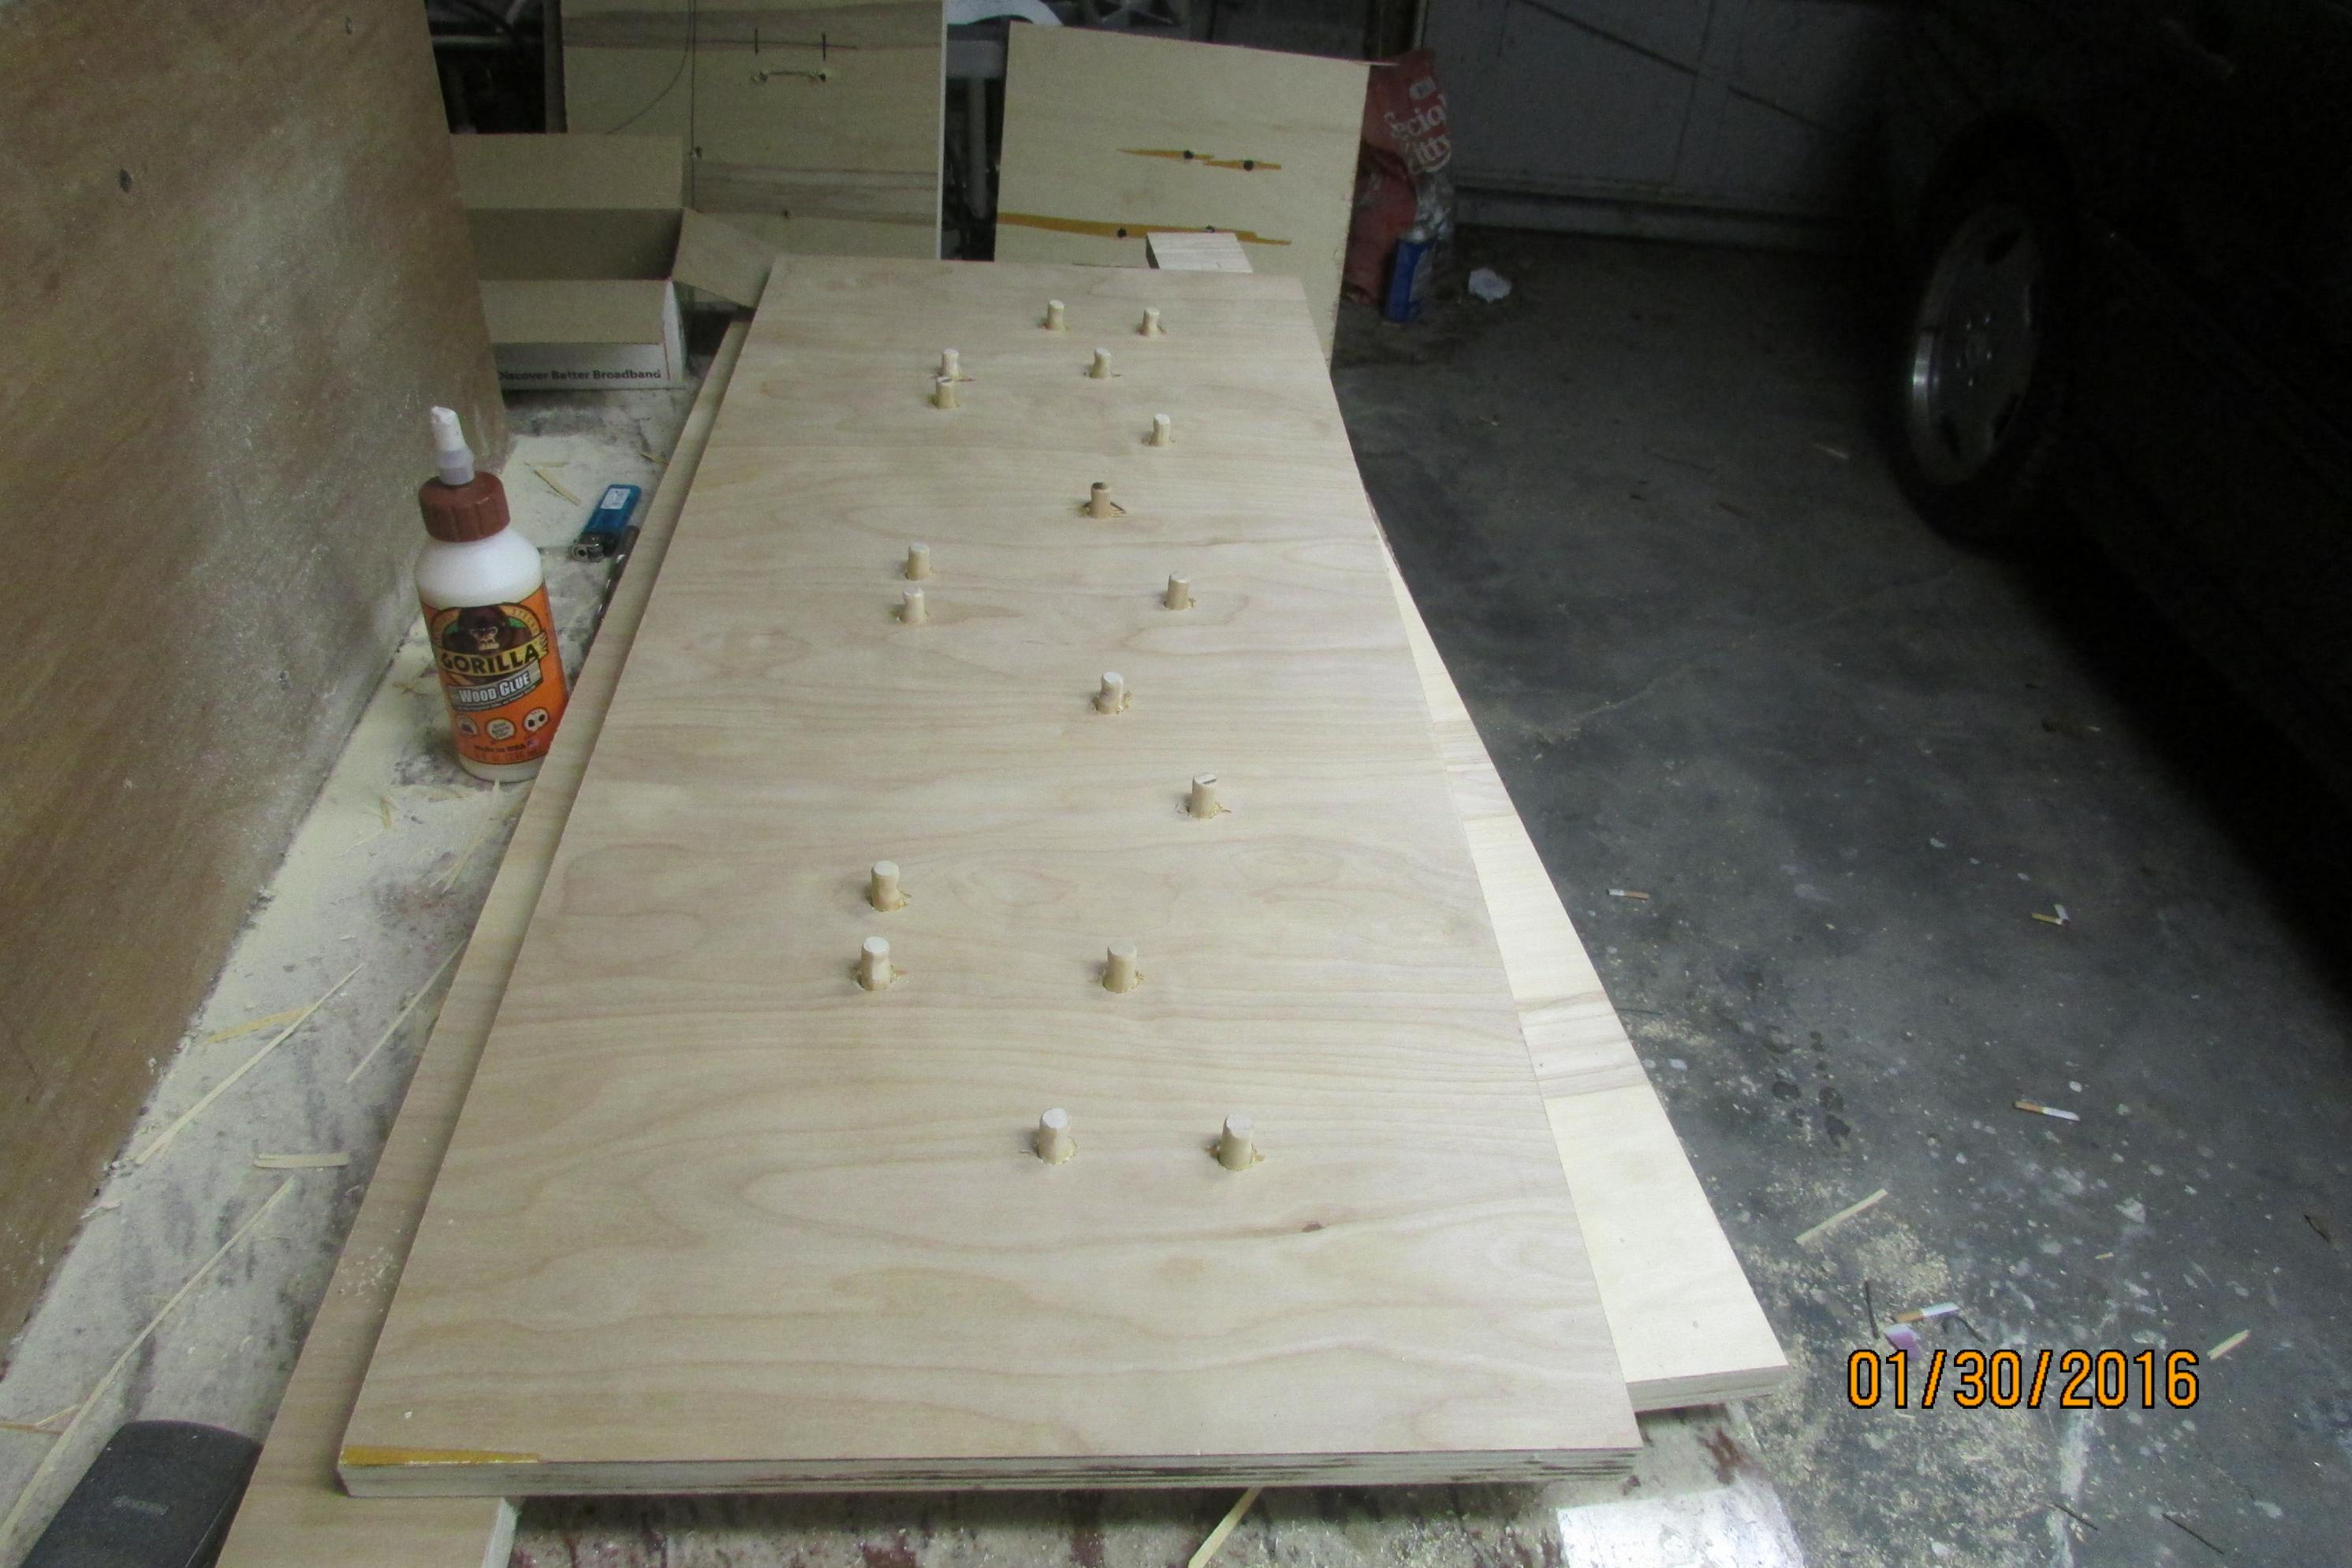
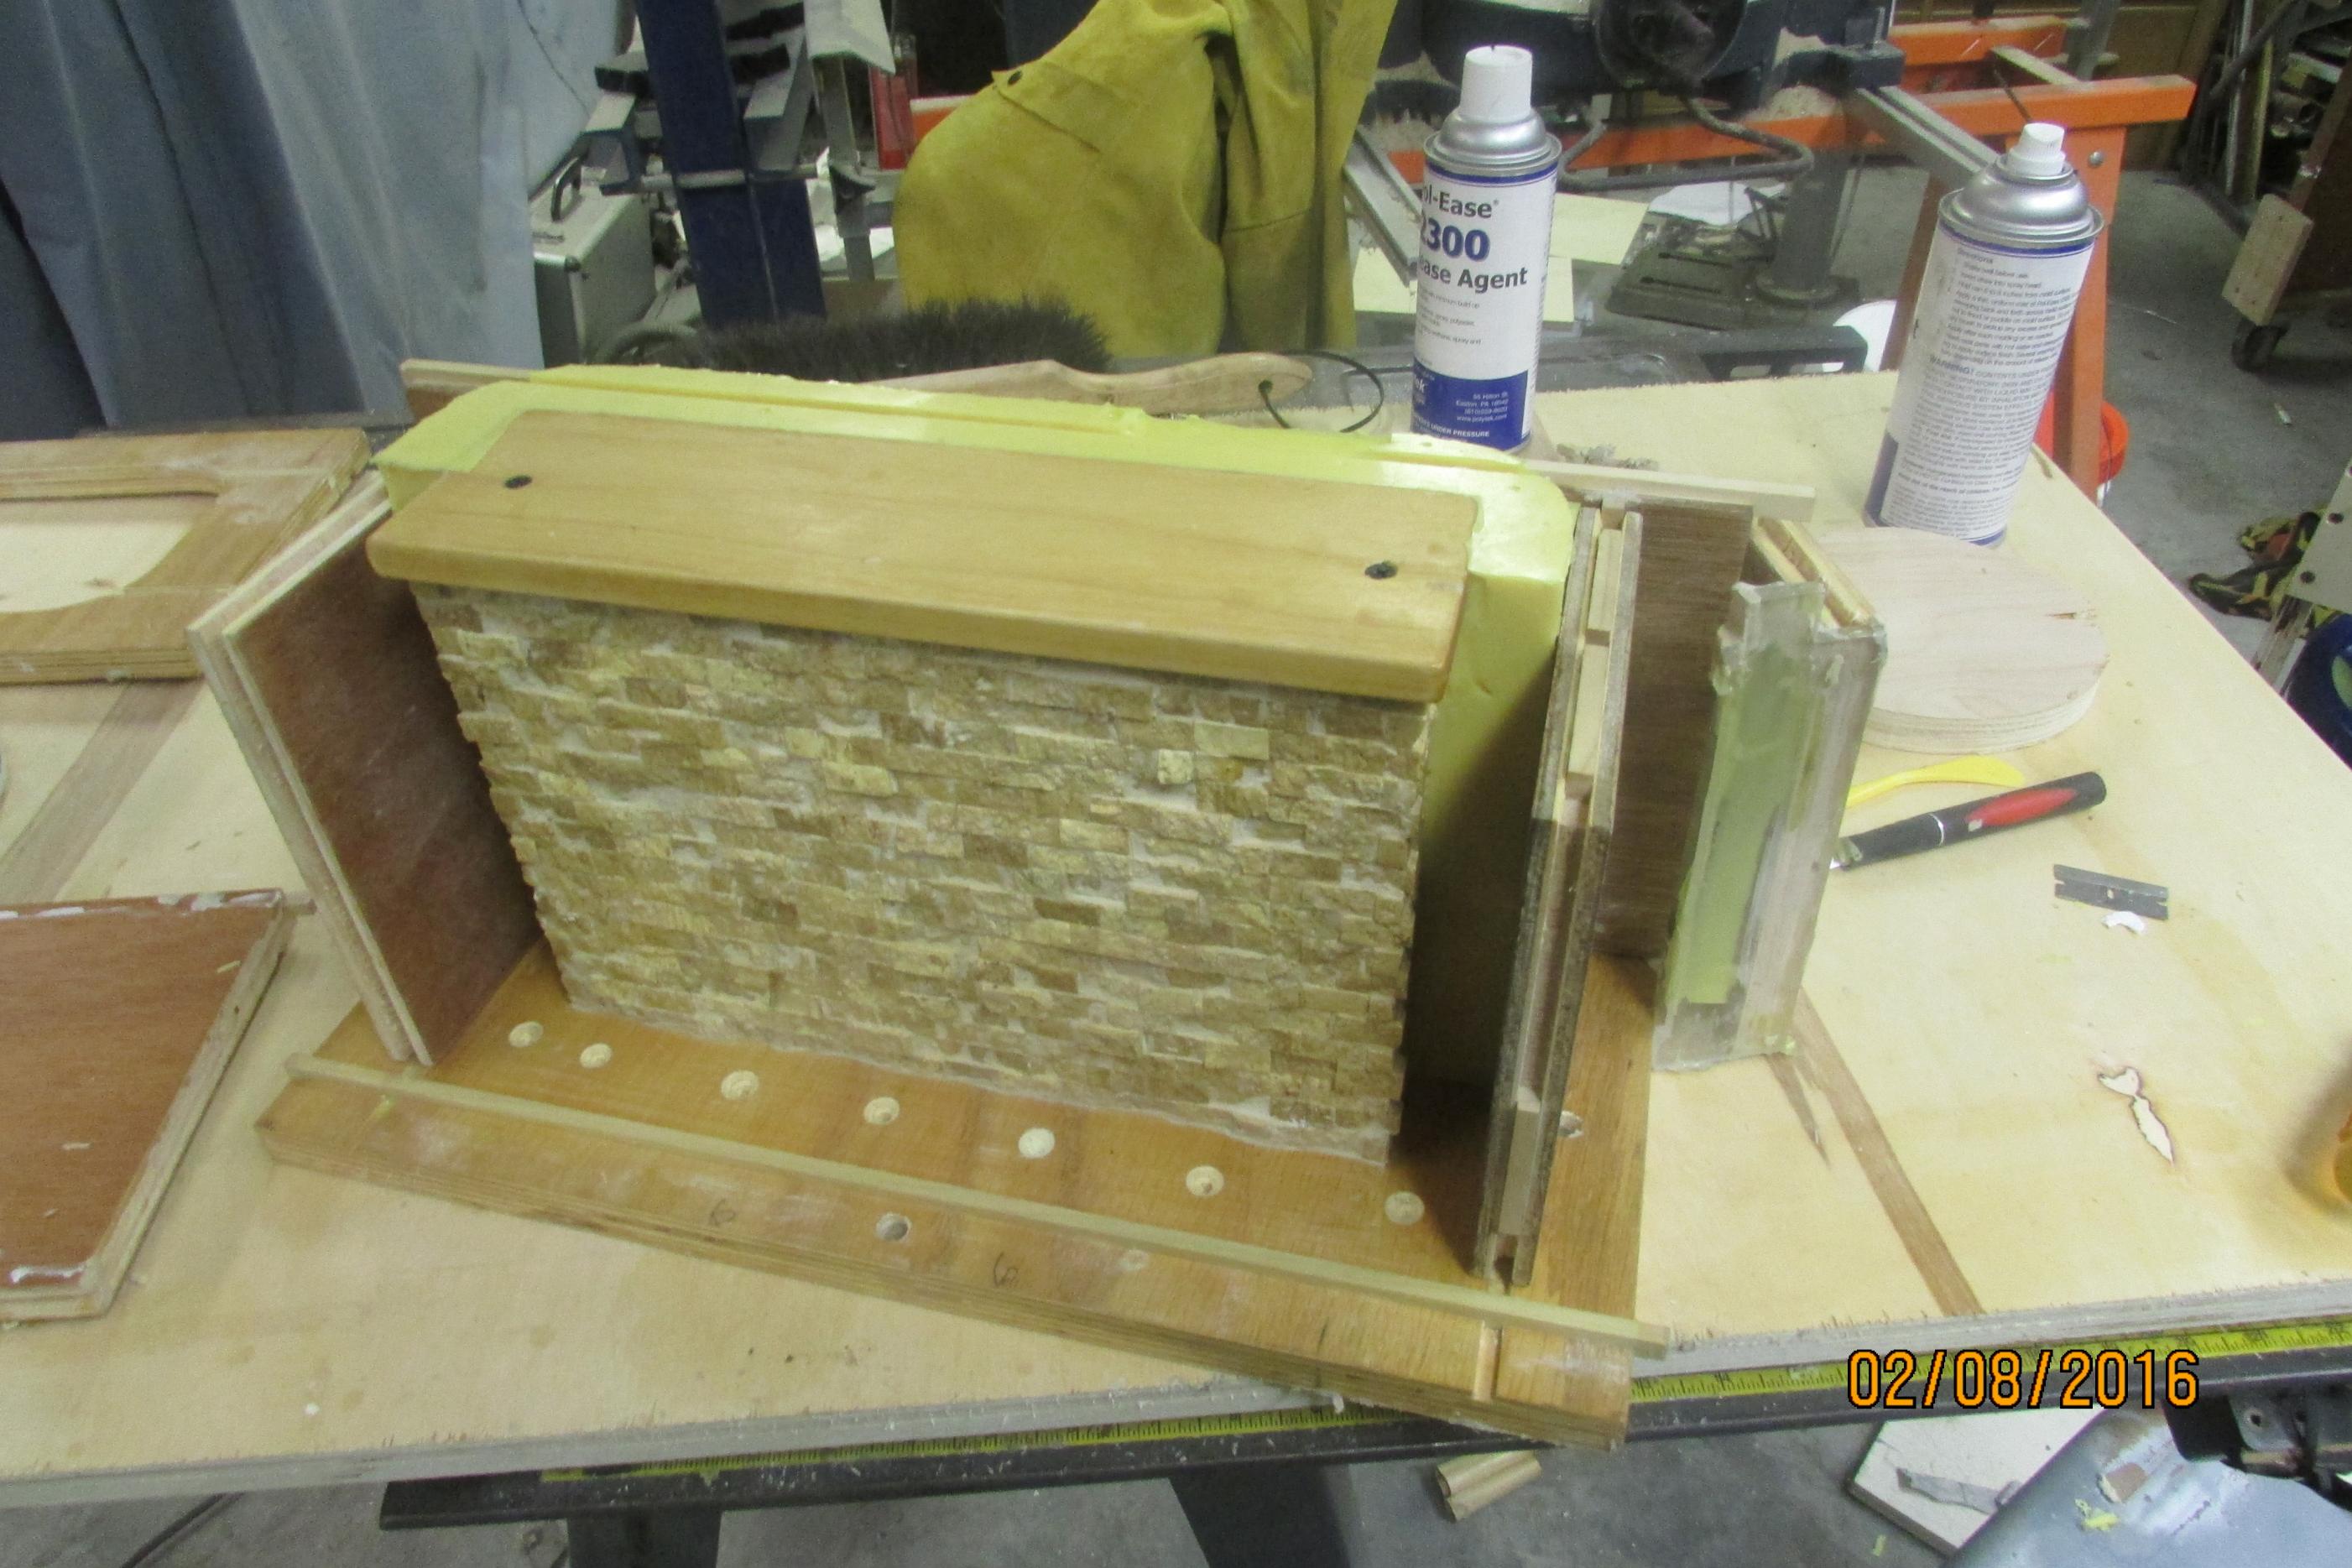
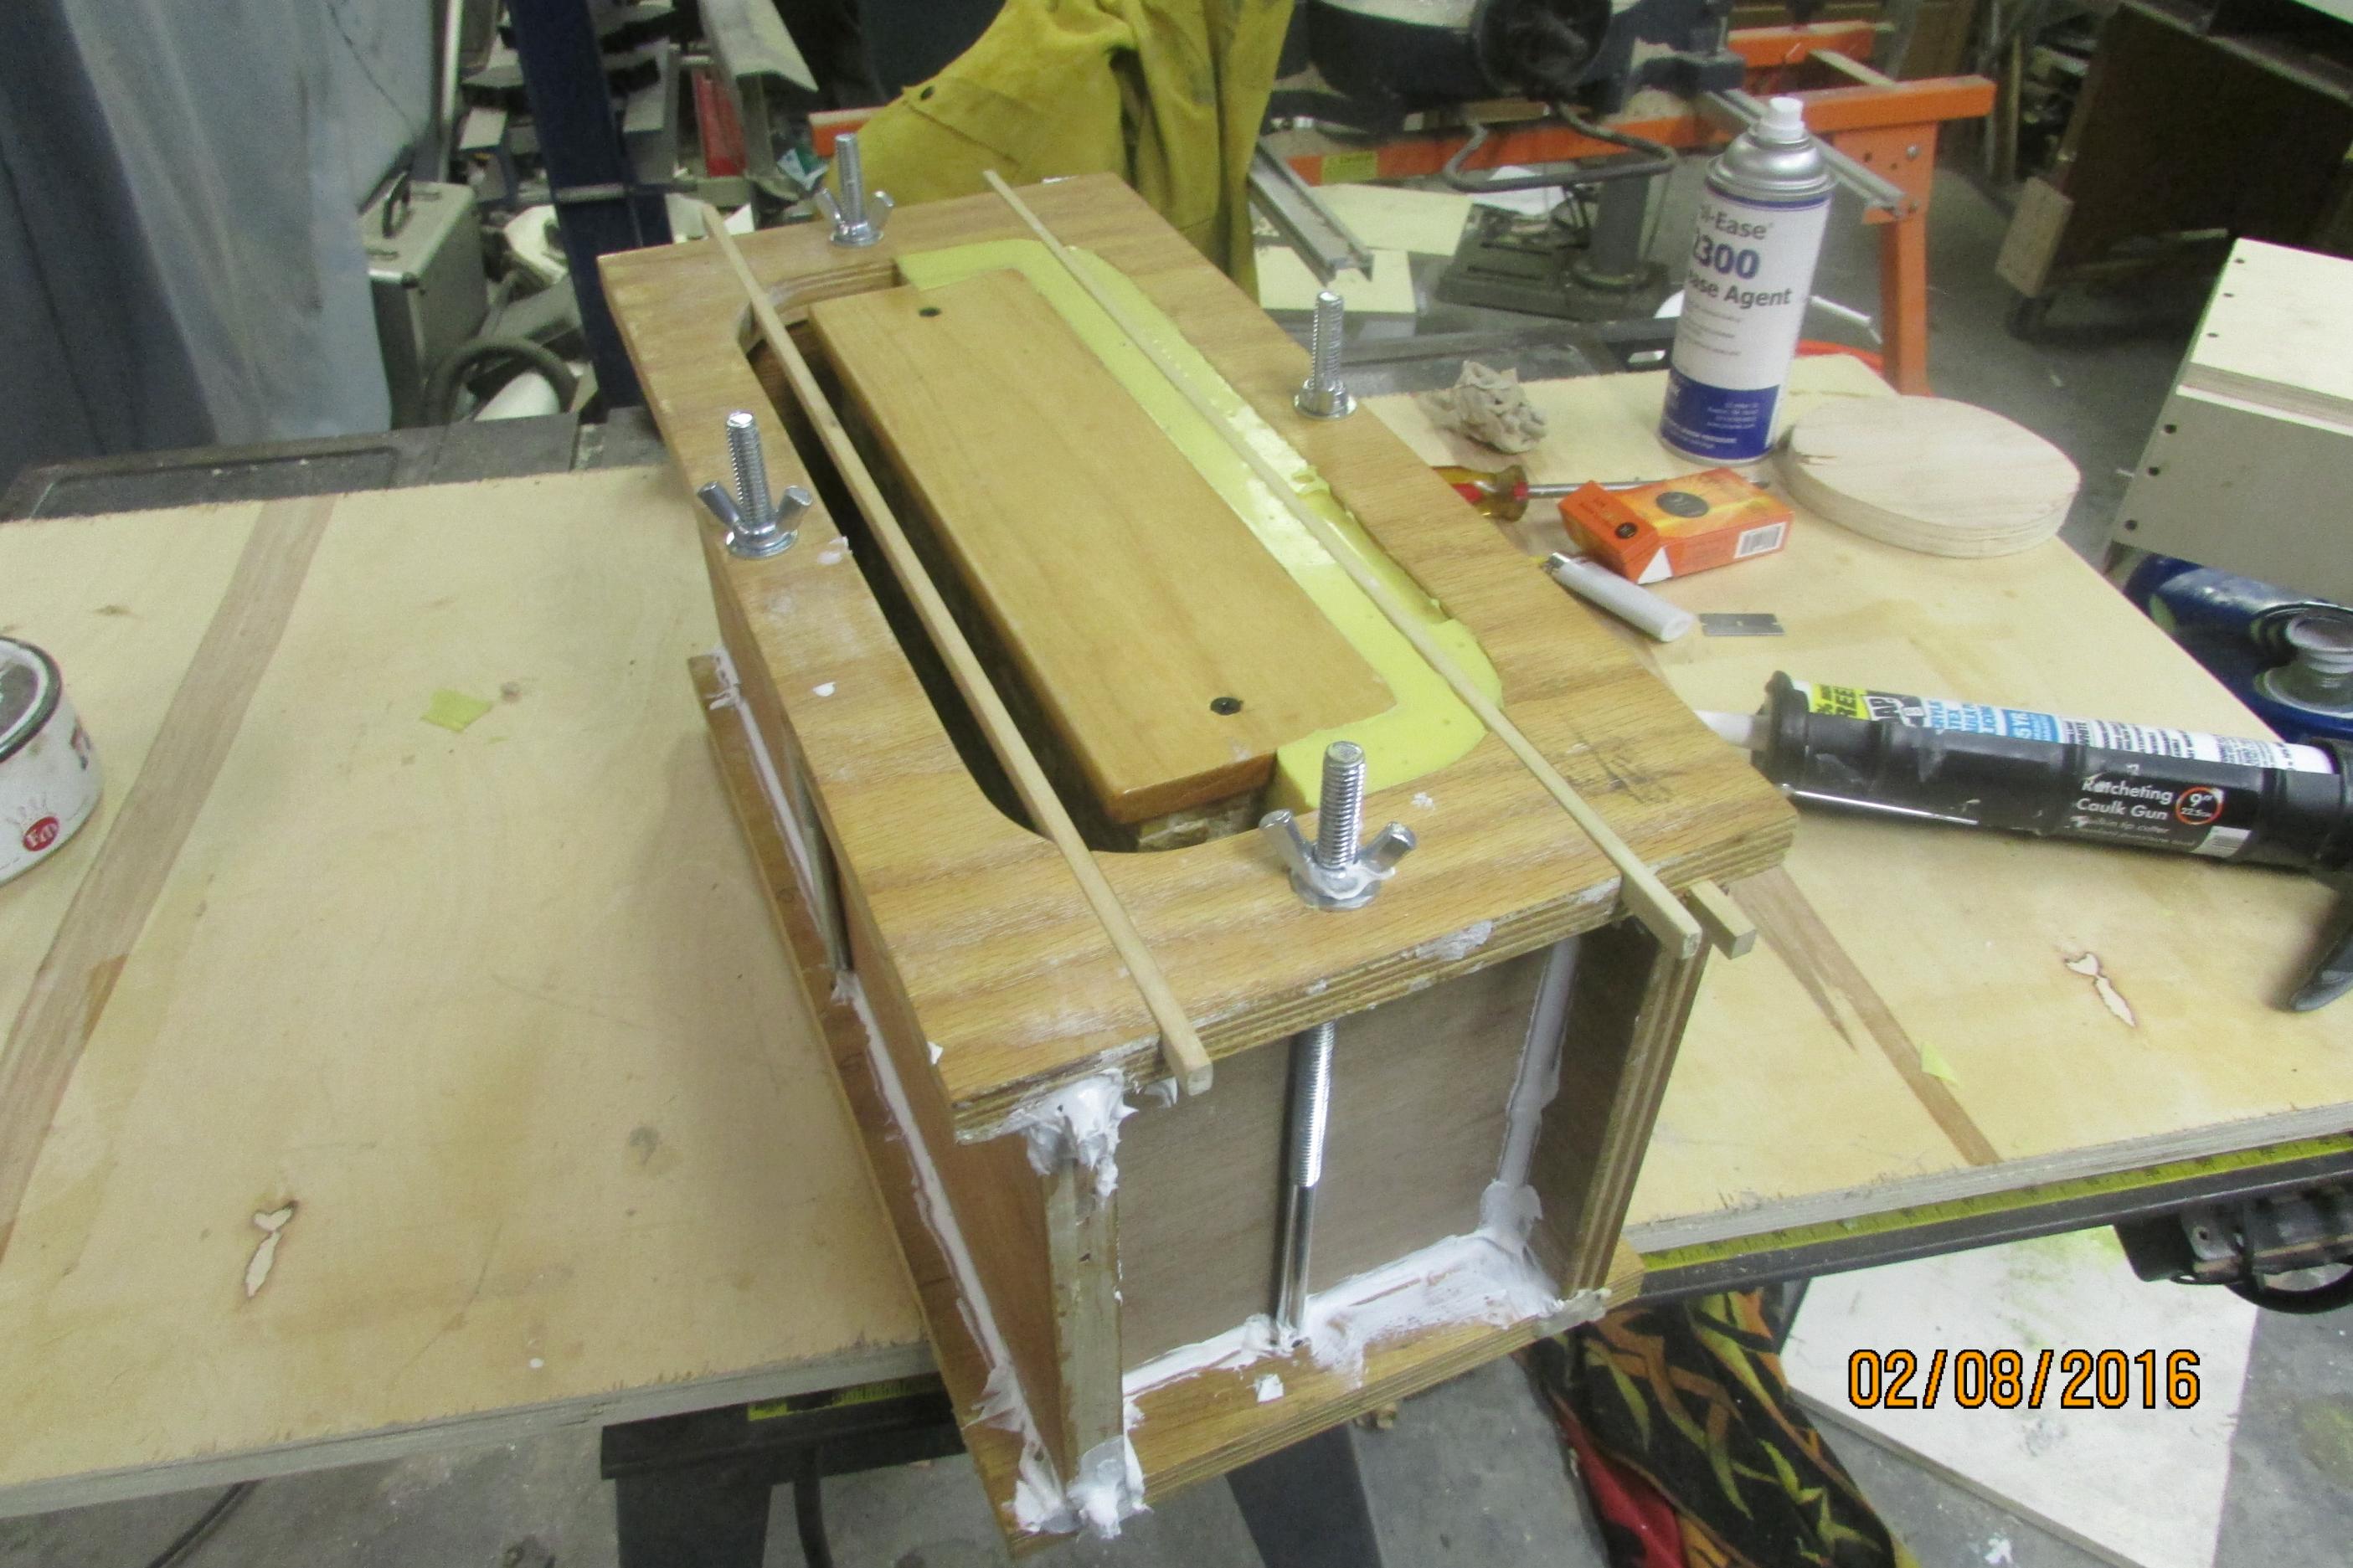
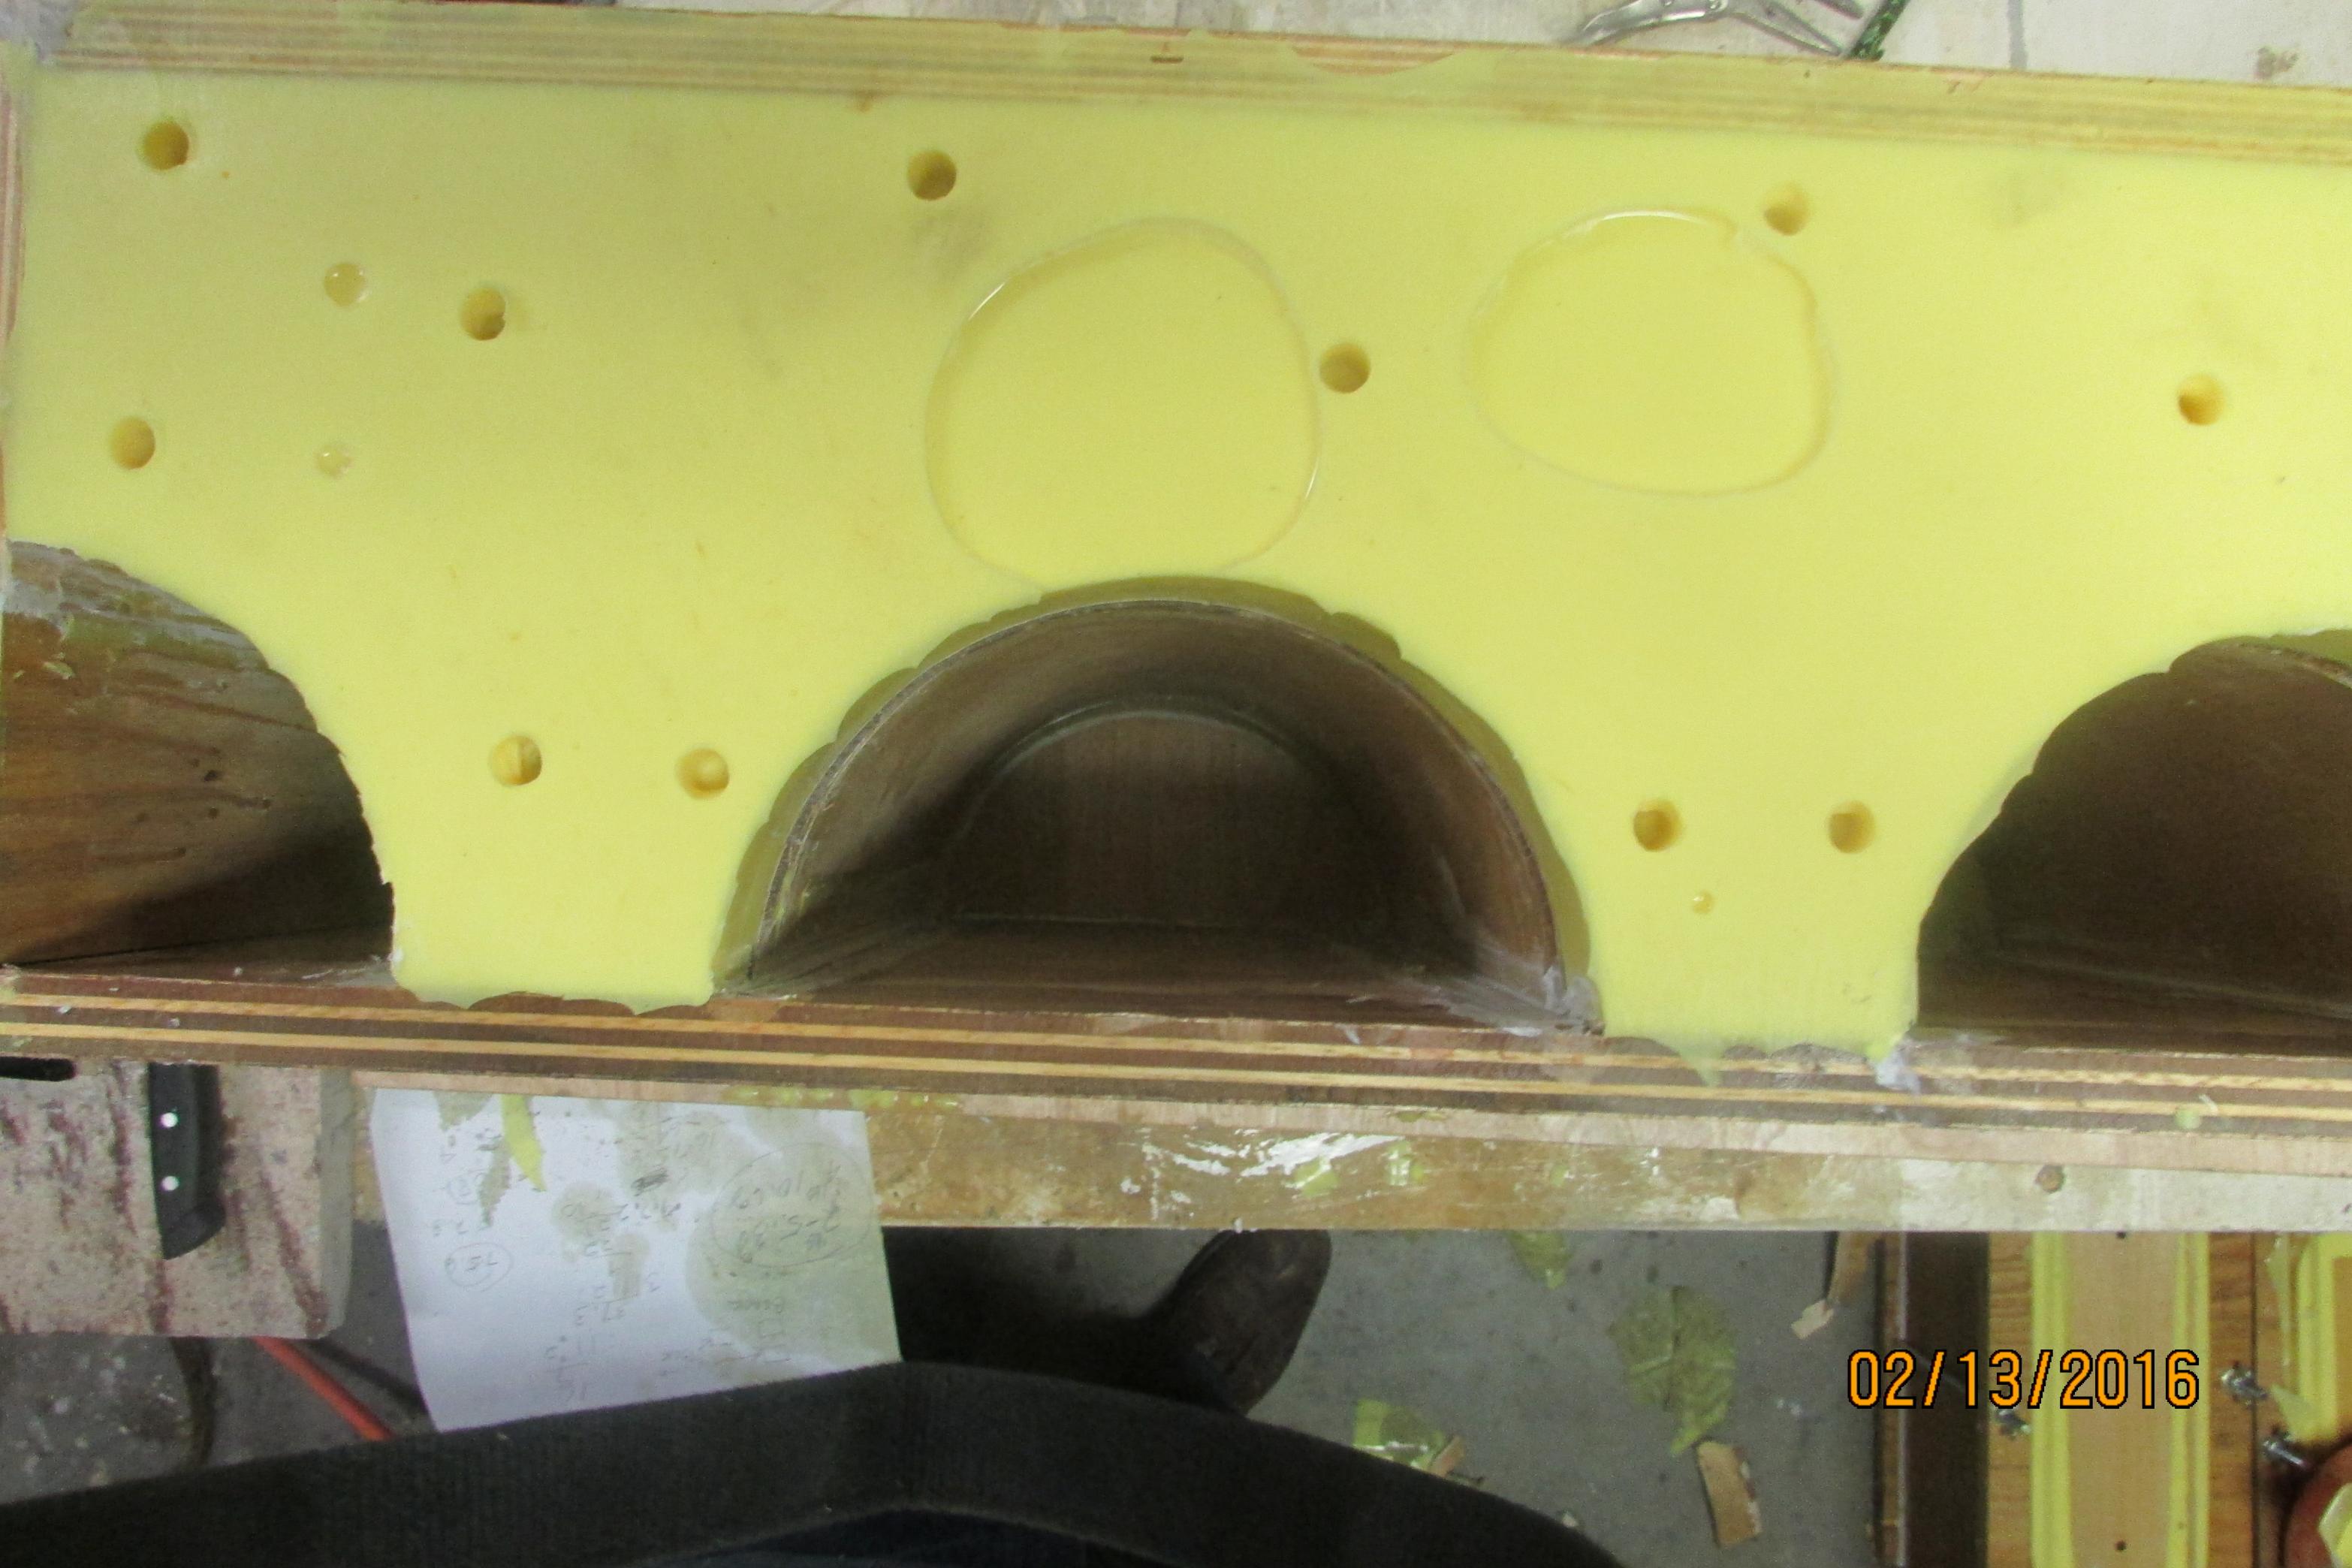
I am adding some photos of how I am preparing the pattern for the mold. Attachment 7447Attachment 7448Attachment 7449Attachment 7450
Wherever urethane will be poured, the mold must be sealed or the urethane will run out, I know, because this has happened to me. I ended up scrambling to grab some more clay and sealing the leaks before the urethane set up, it was no fun.
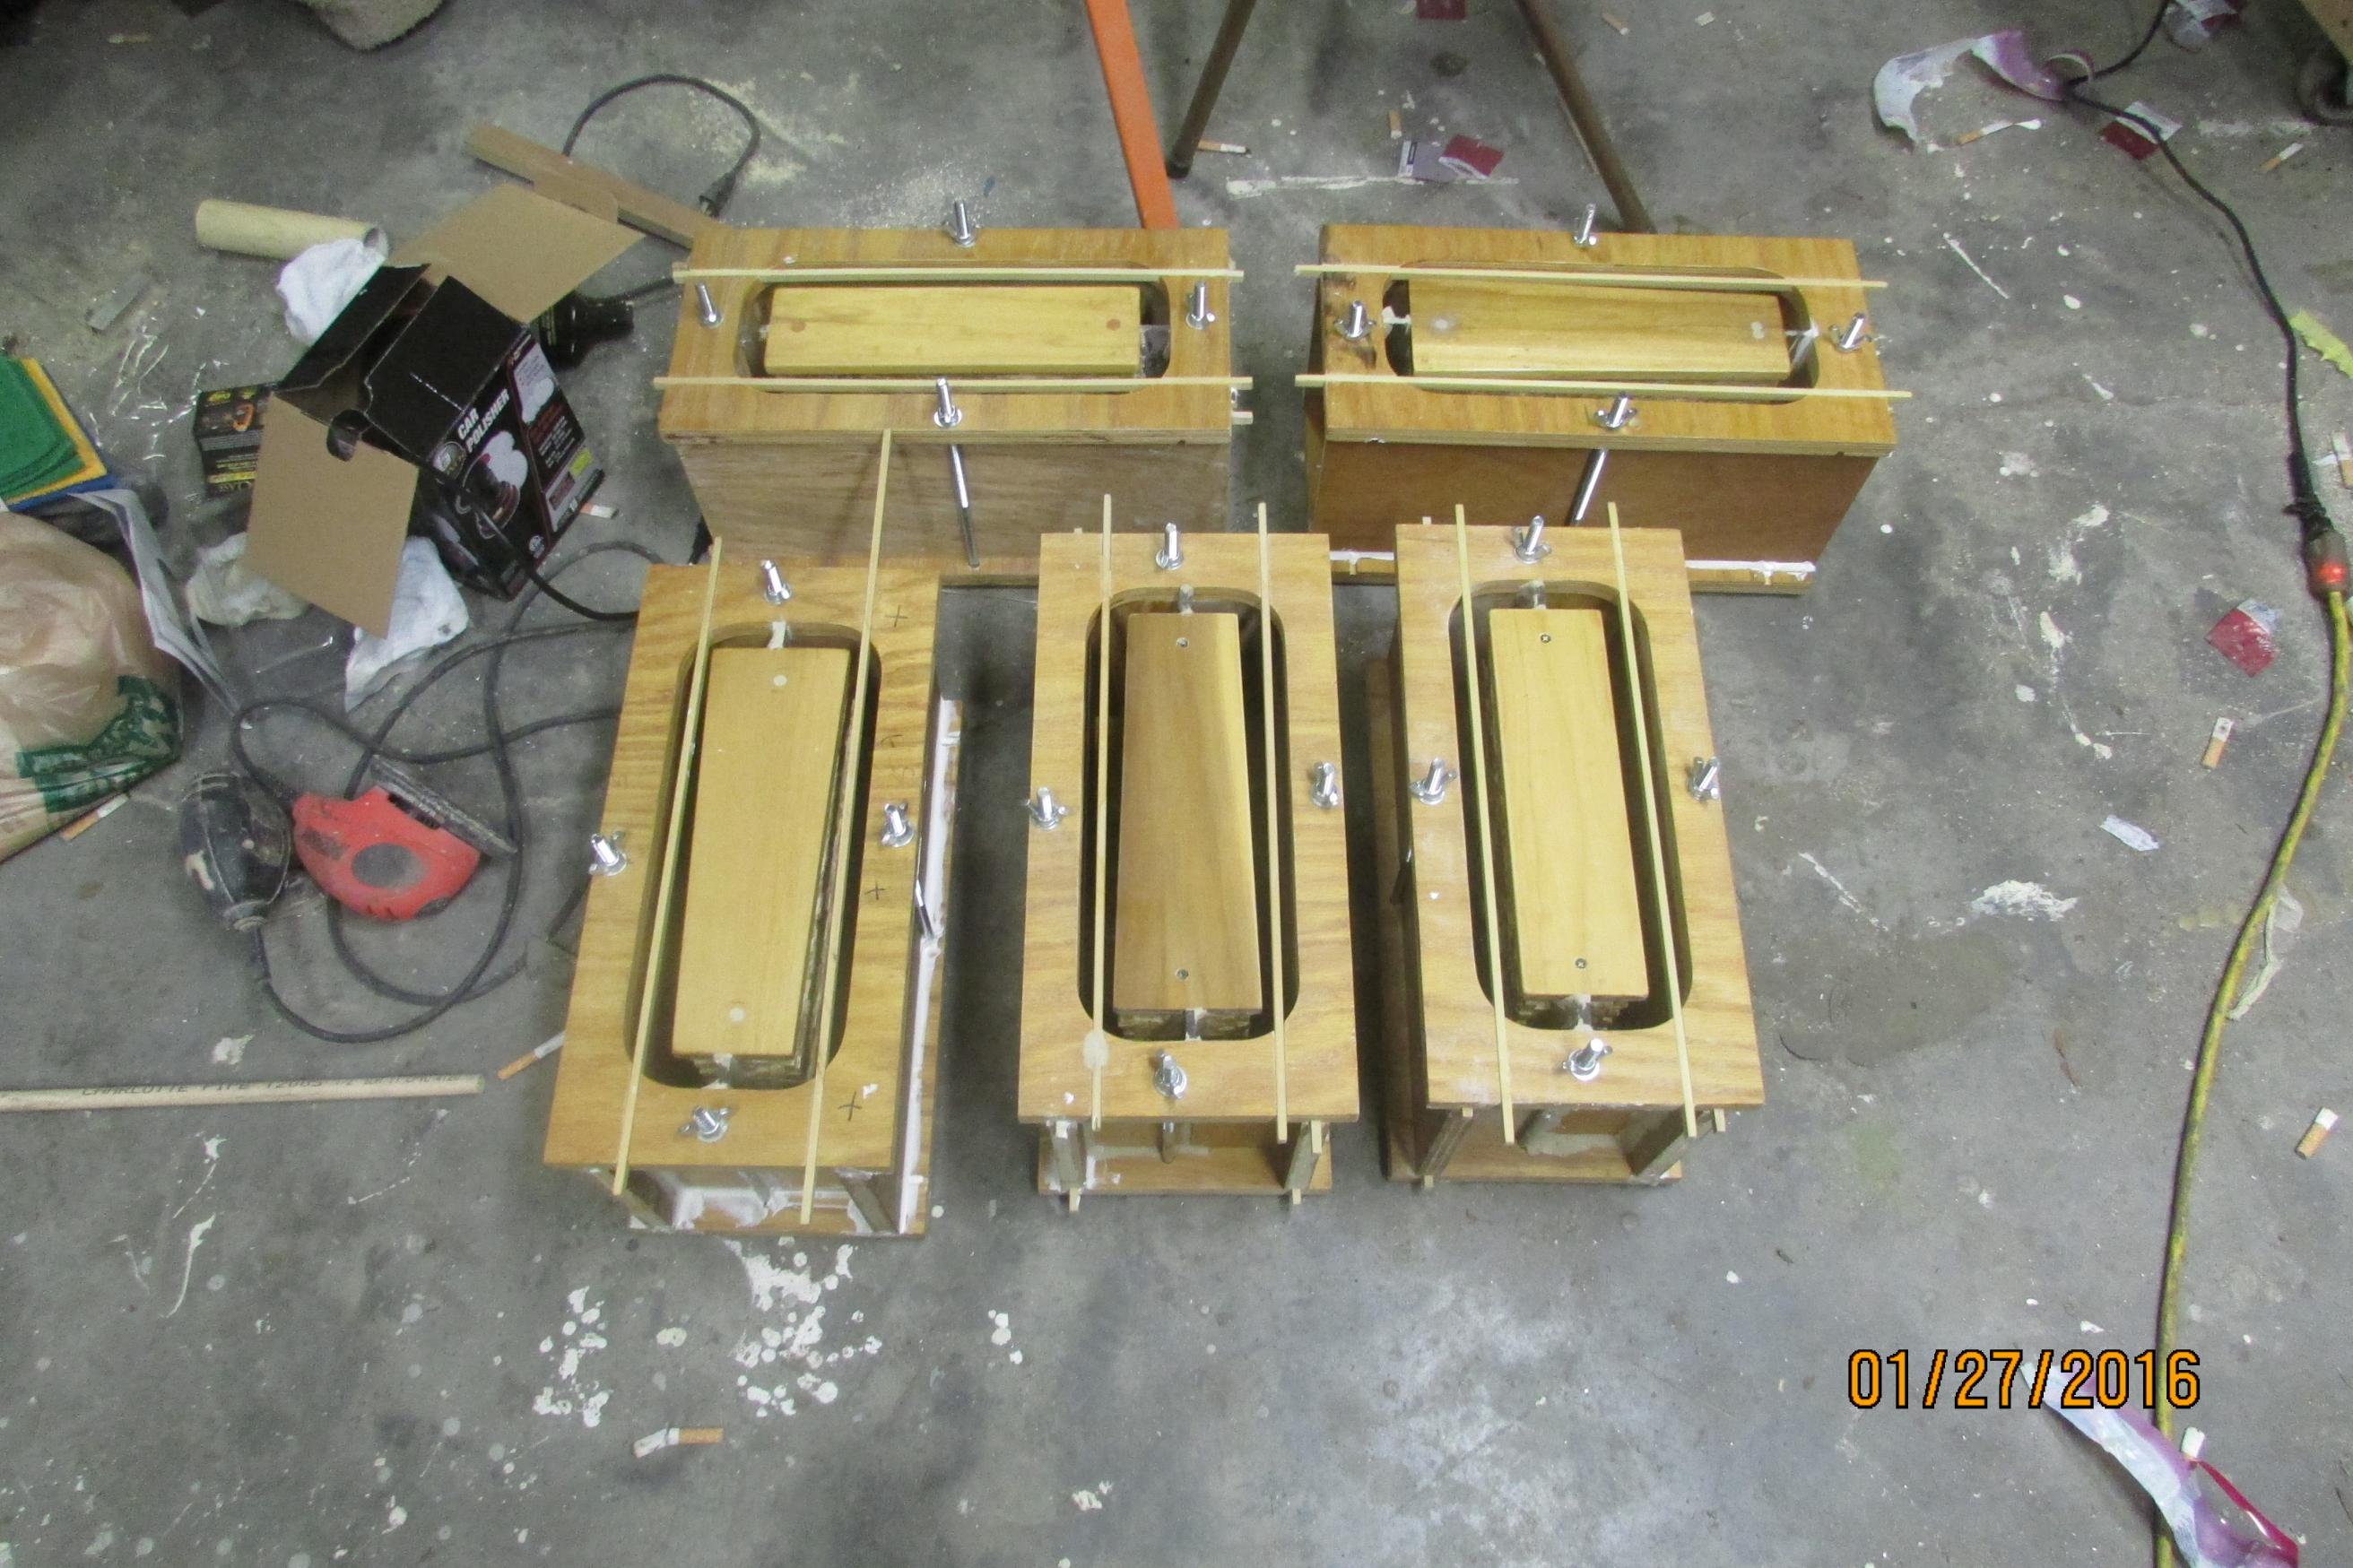
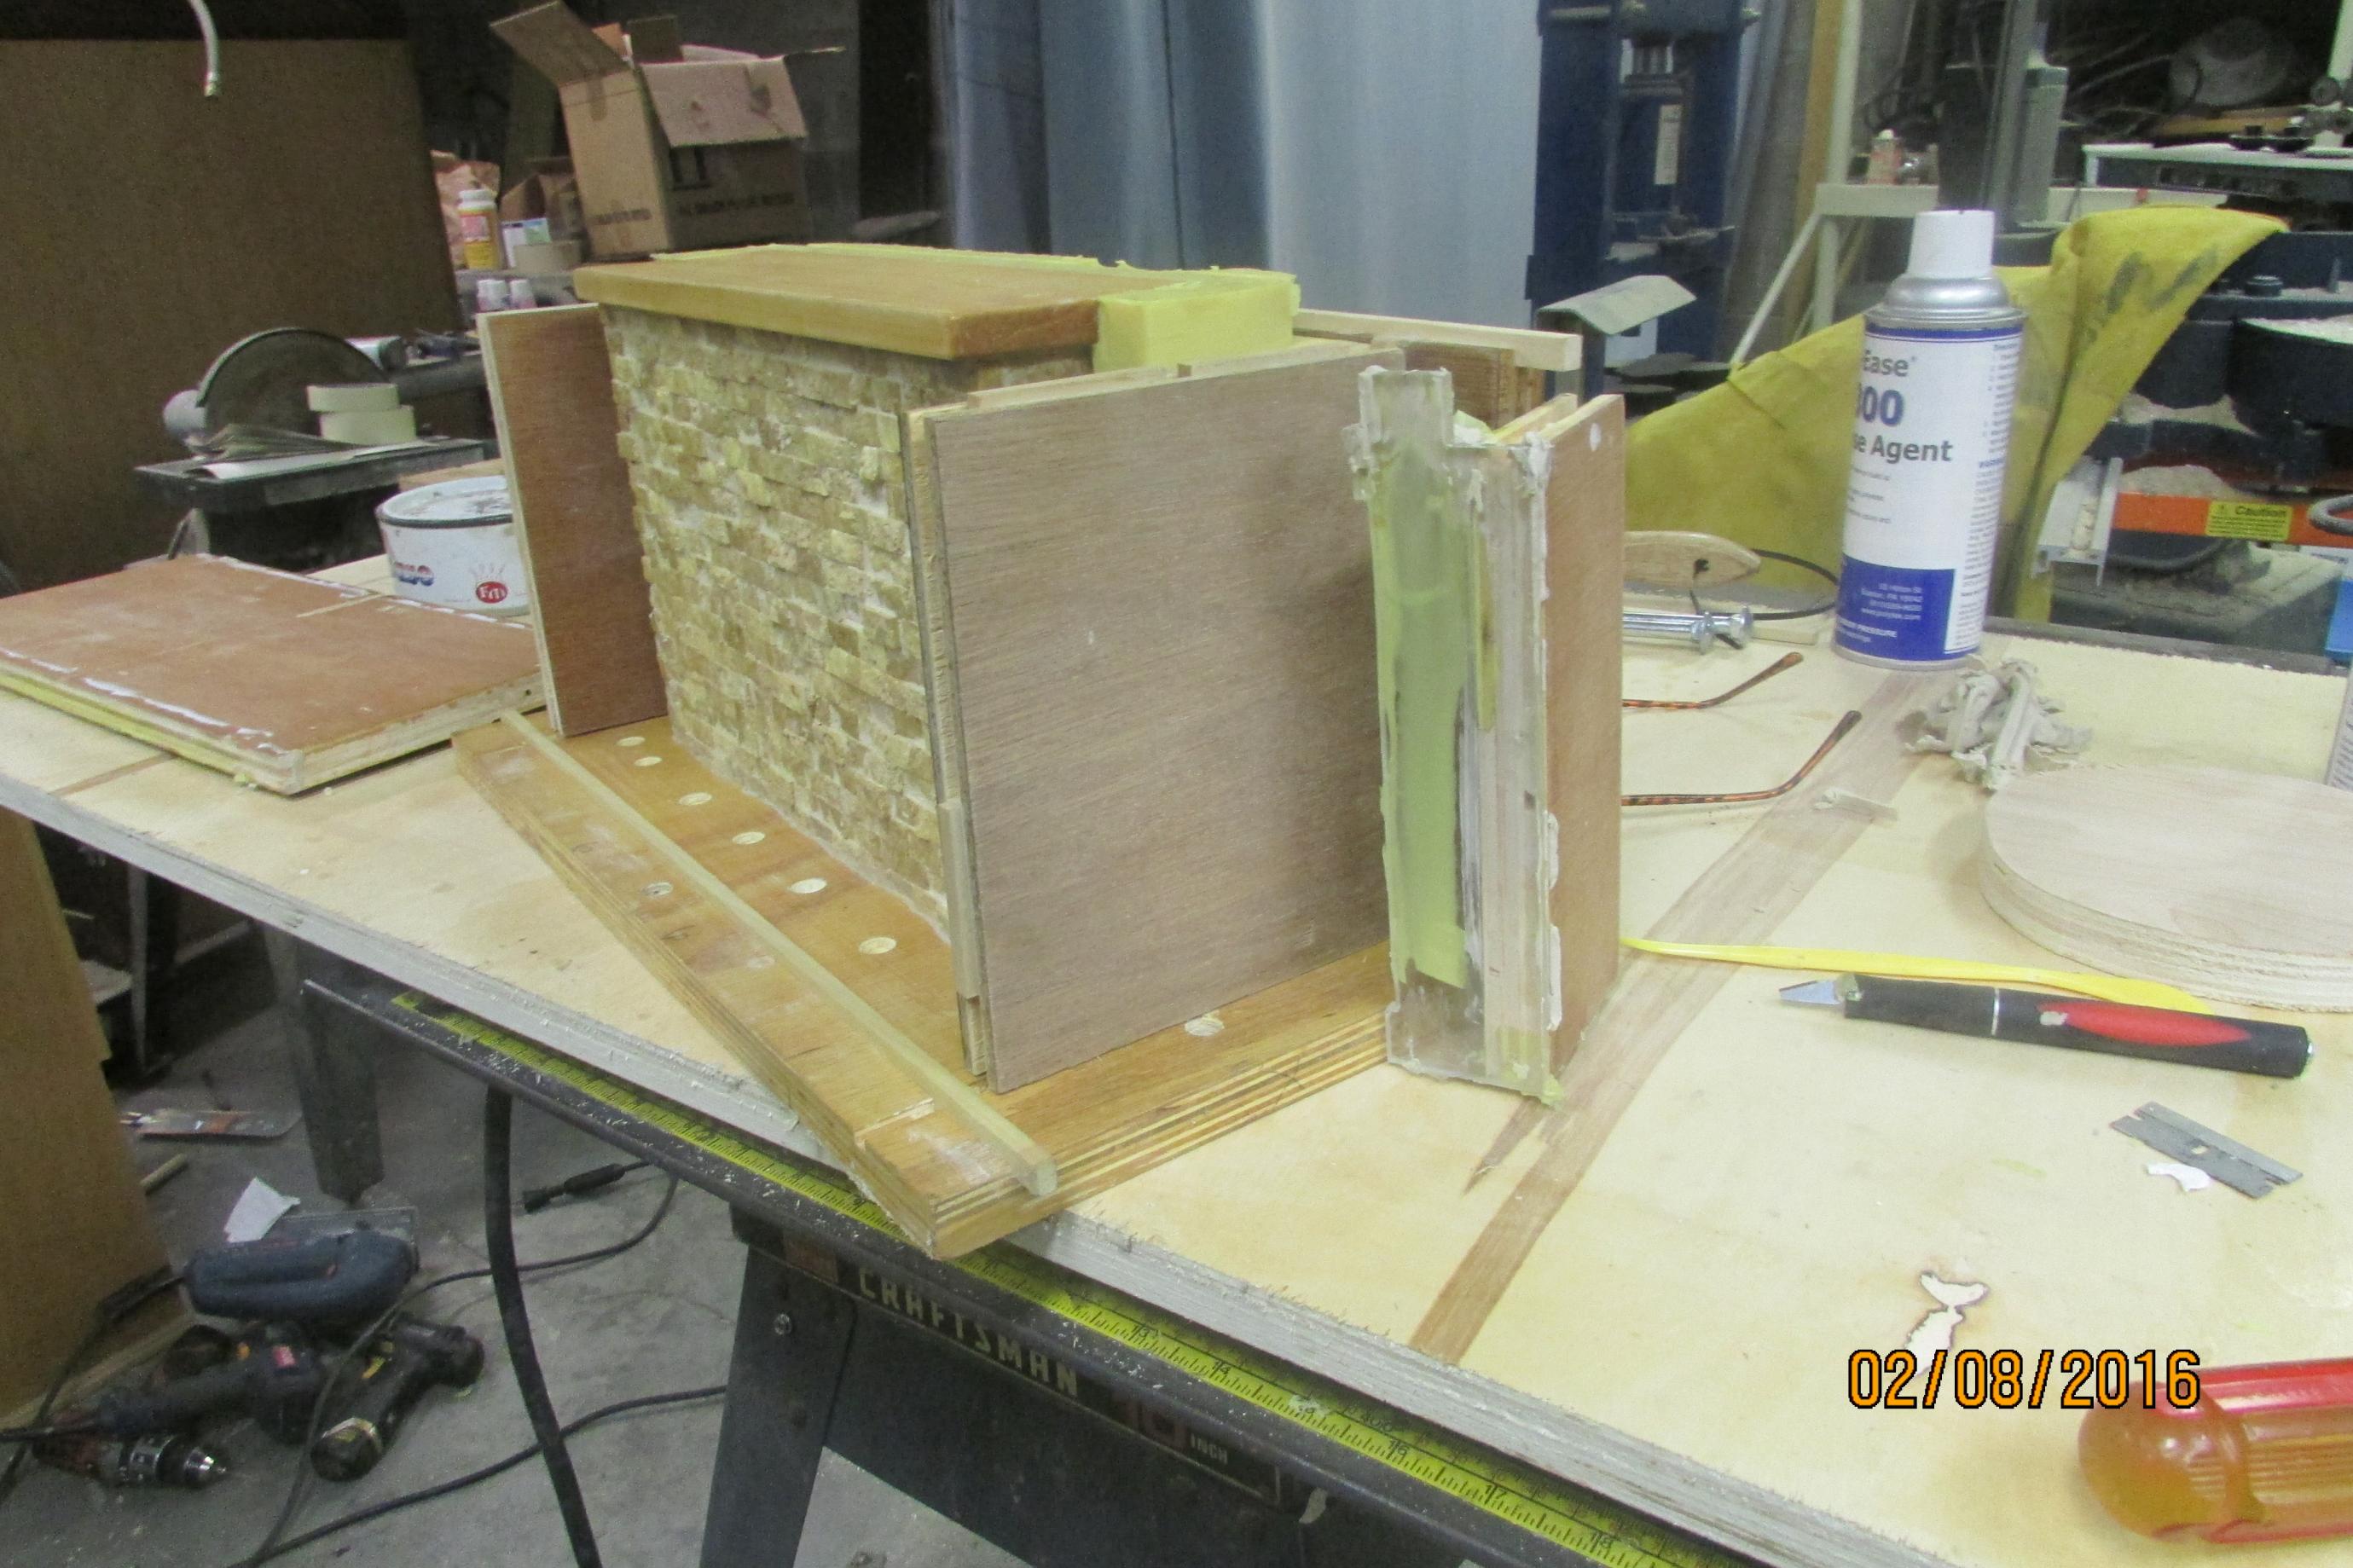
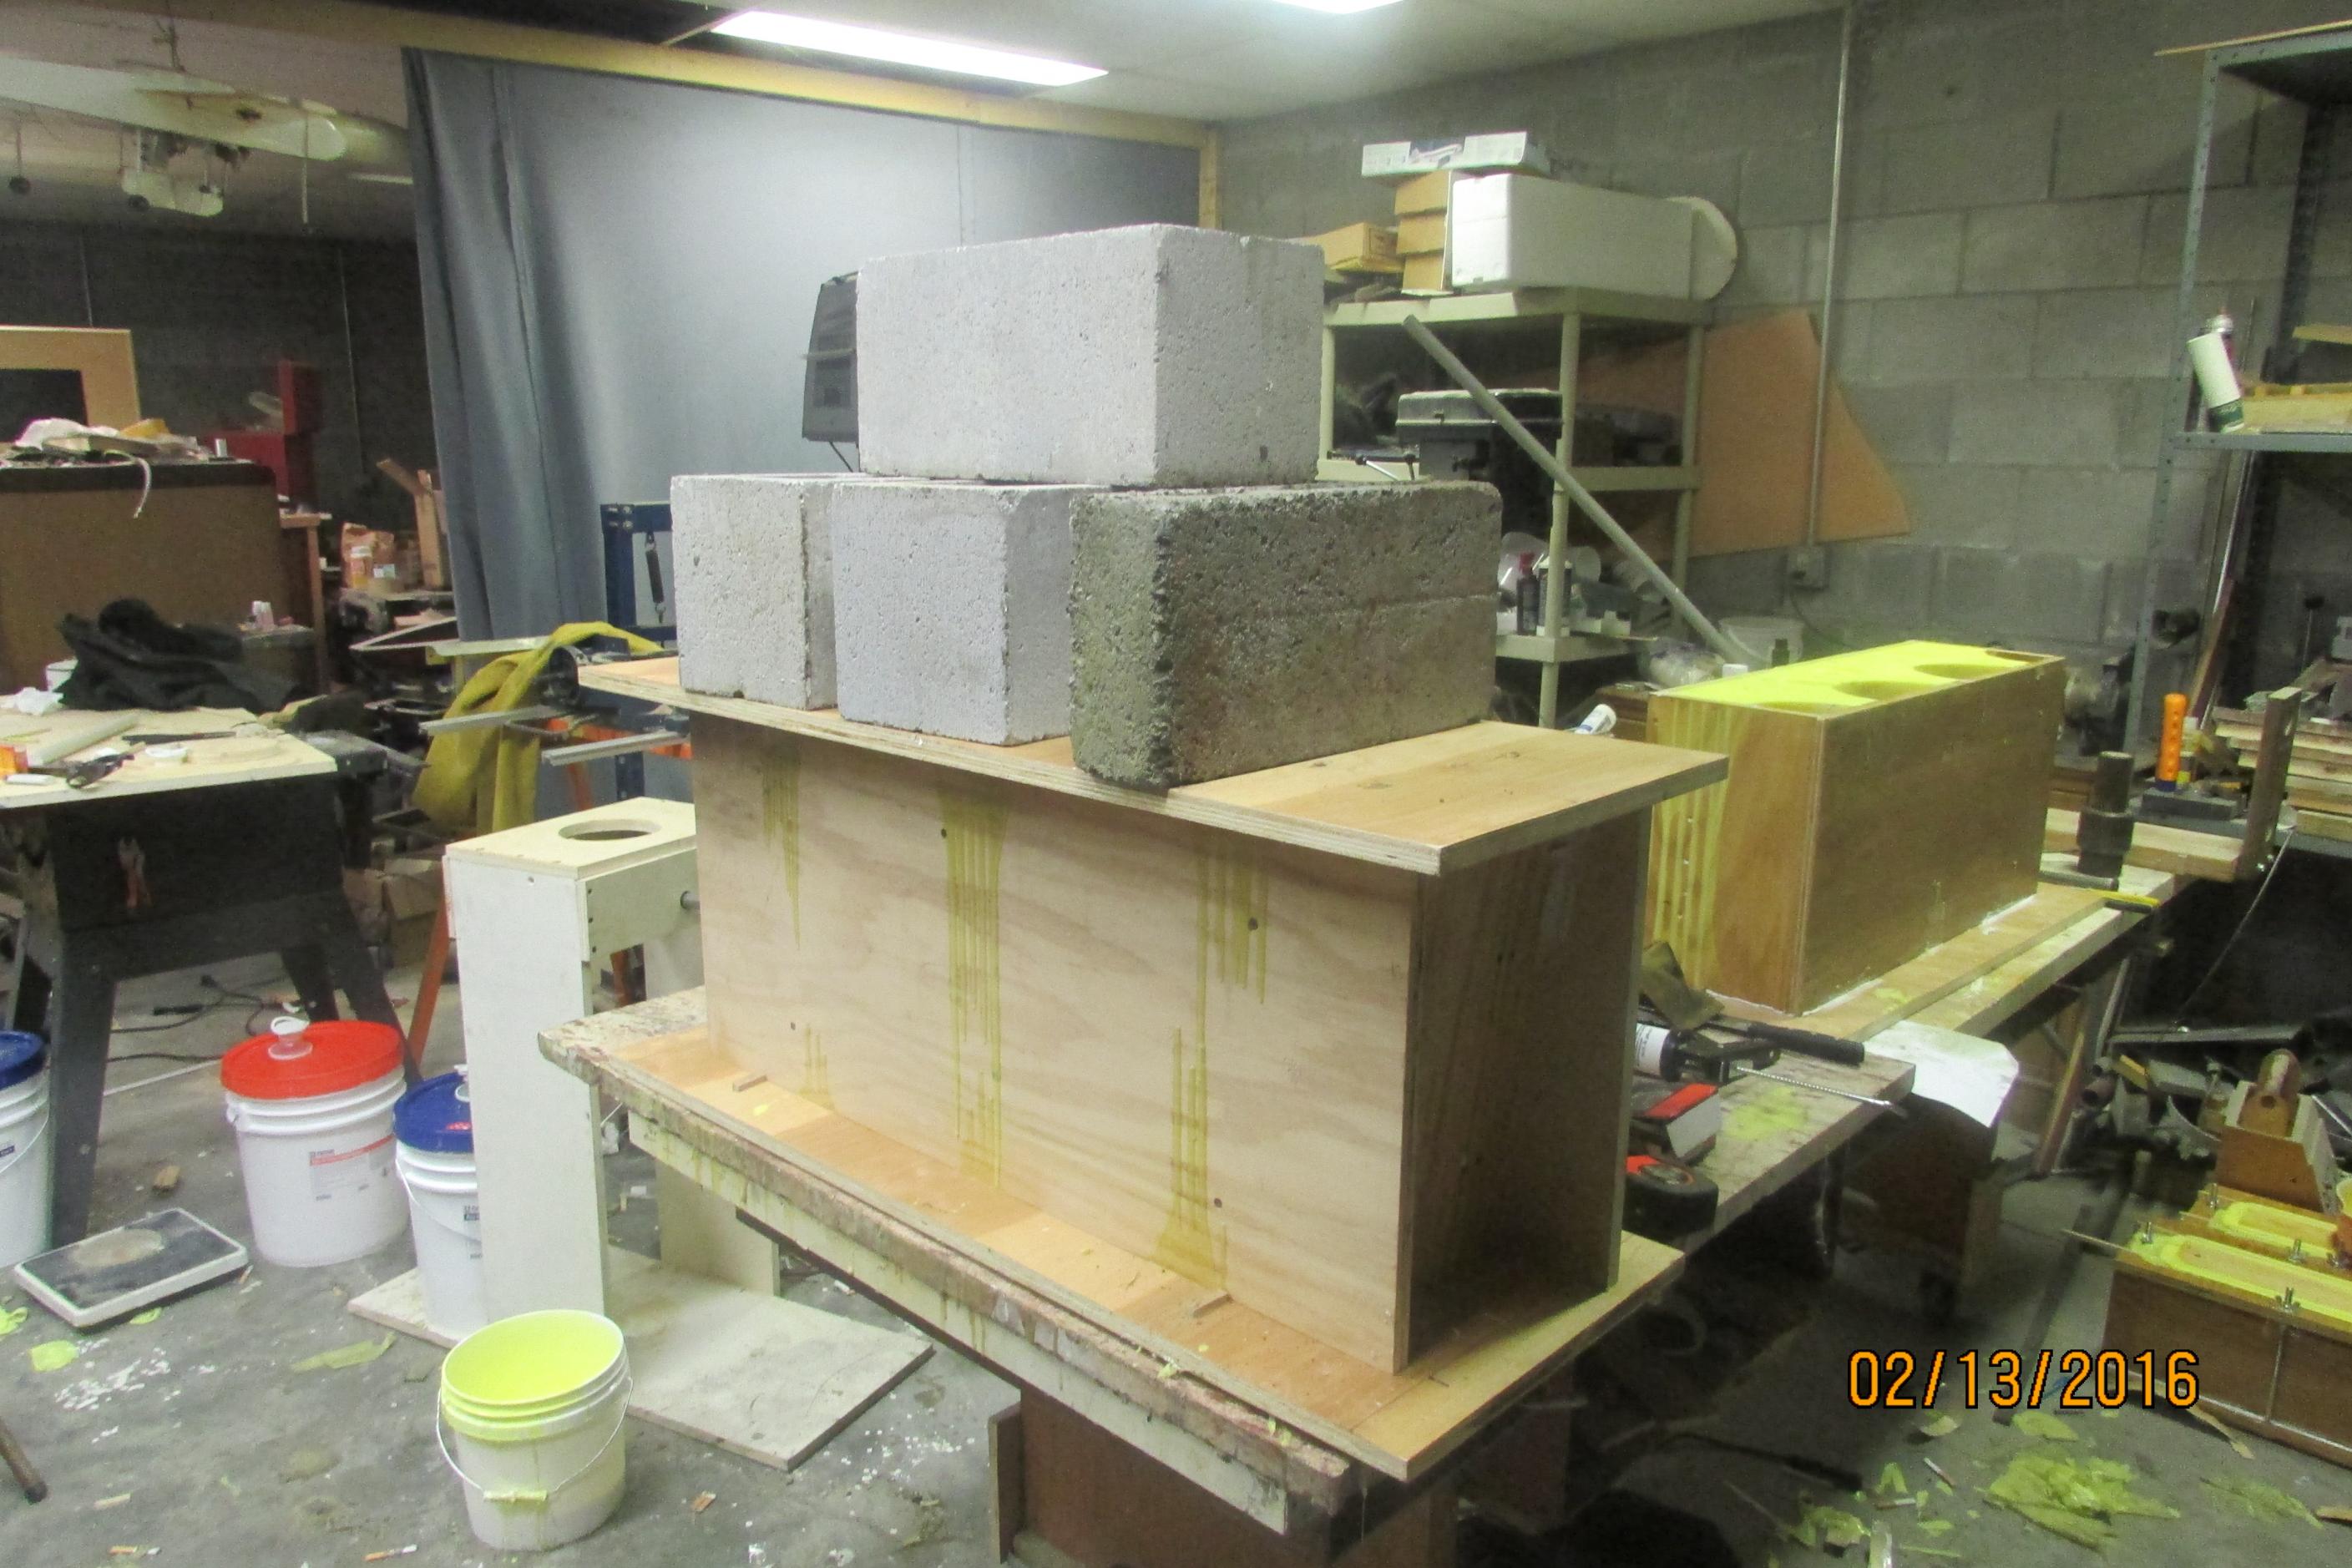
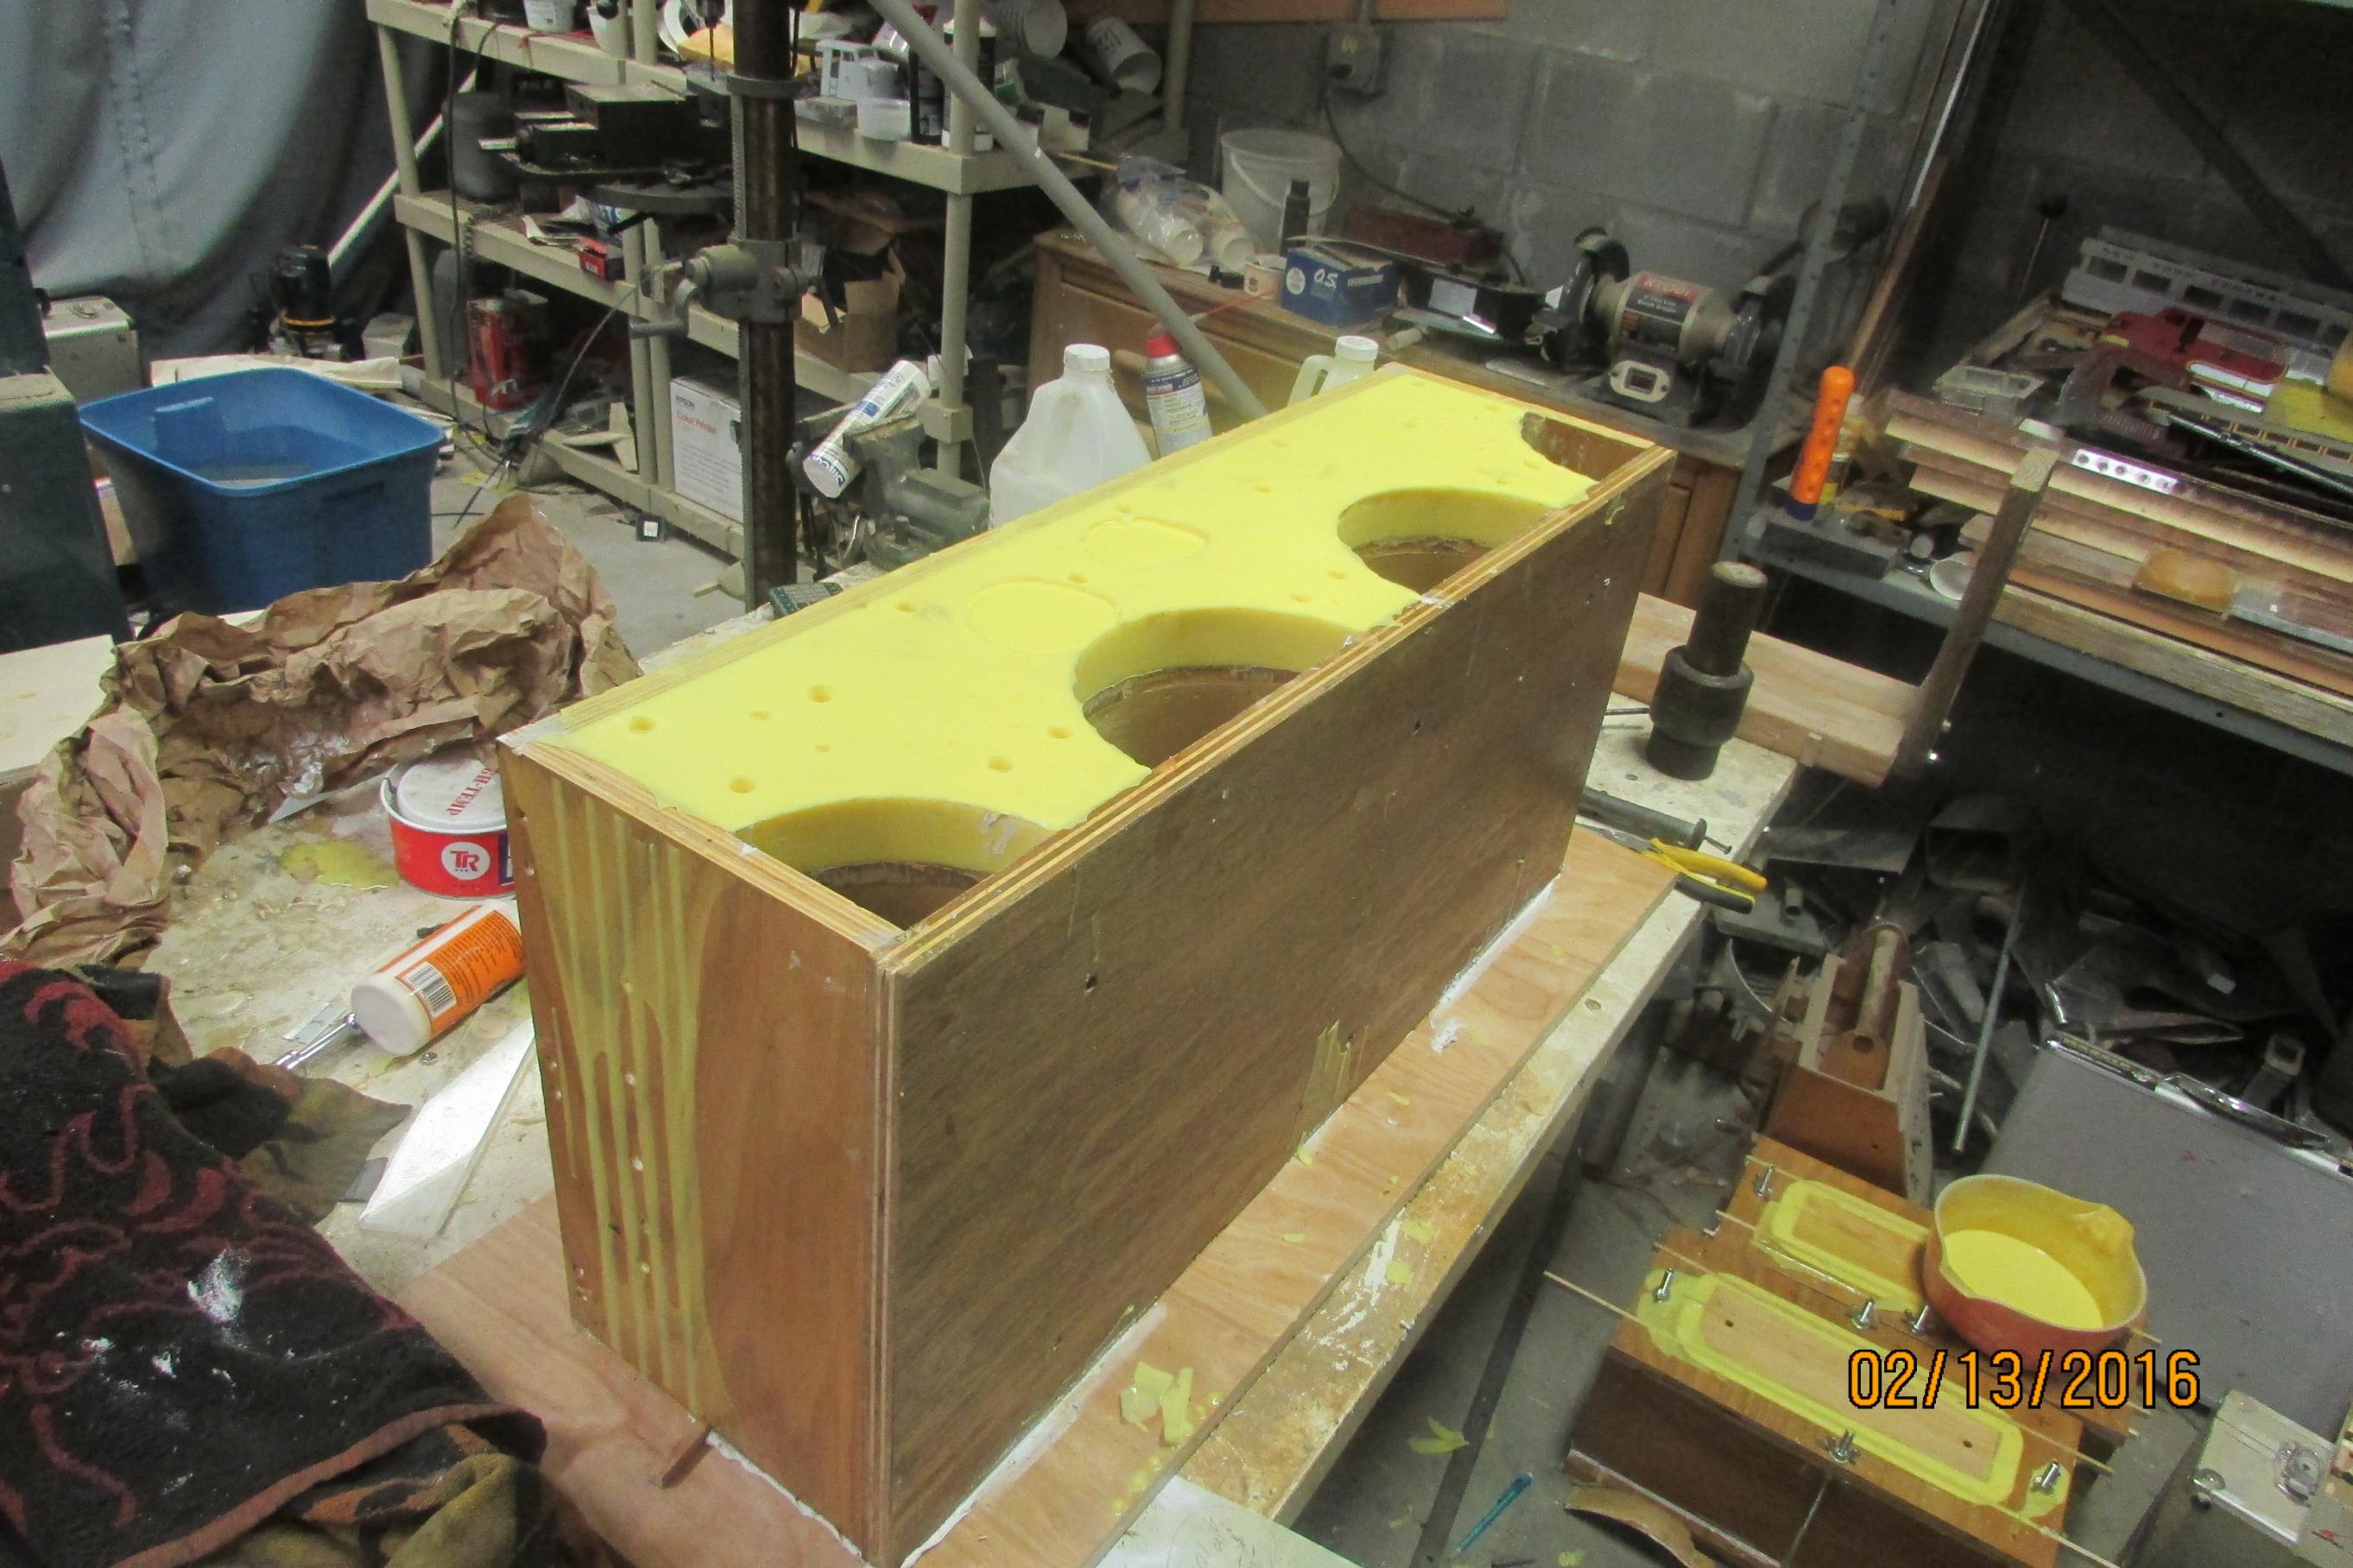
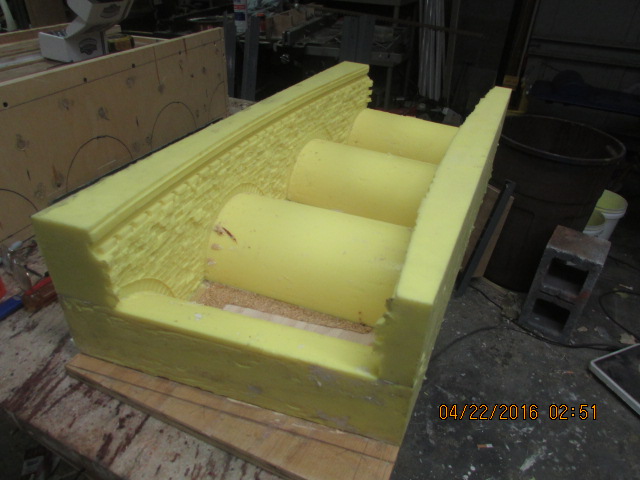
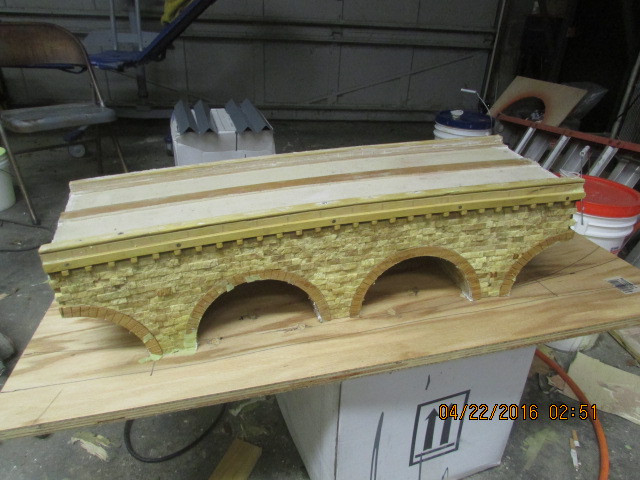
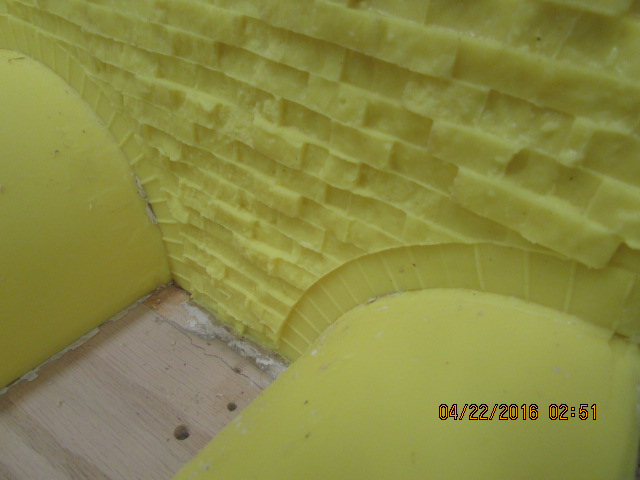
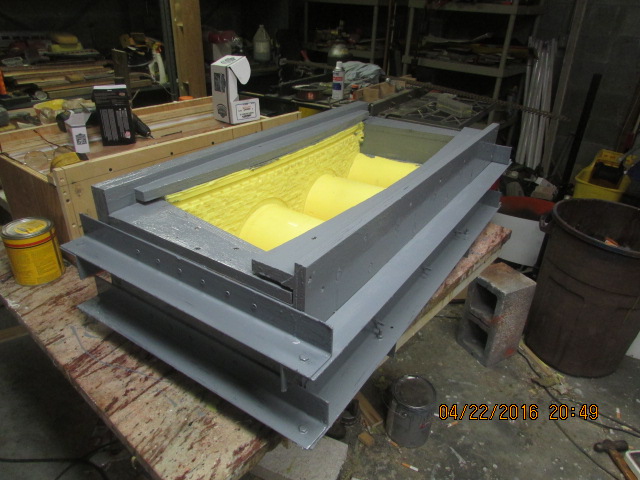
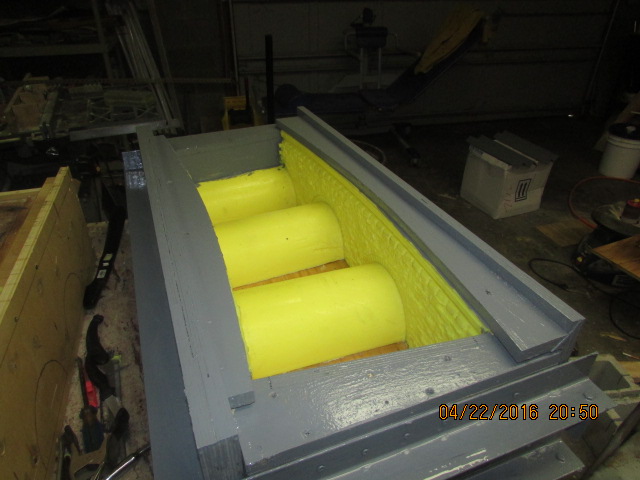
Here are the completed molds for the viaduct columns and the last picture is of one that has been finished and ready for concrete. Just for some information about the price of this urethane material, it is fairly expensive, but it sure makes a good mold. The kits come in 24 pounds and cost 185 dollars. The cost of all of the molds in this endeavor will cost about 1200. I suppose that I could have designed the molds with less urethane, but the molds would have not been as sturdy. I will have to be pouring enough parts for about 180 feet of viaduct, so there are many parts to pour and the molds have to hold up. The total weight in urethane for the molds for the columns will weigh 84 lbs. and the arch portions will weigh 42 lbs. of urethane. Next I will be making the arch portion of the molds, as soon as I figure them out. You probably already know this, but the way that you figure how much urethane that you need is: Cubic inches of the mold, divided by 27.5 and that tells you how many lbs. of urethane that your mold takes. That is for this density of urethane. BITY mold materials, number 74-20/ Bob. Attachment 7807Attachment 7808Attachment 7809
Today I ordered the 74-20 urethane from BITY mold supply and was happy to find out when ordering 120 lbs. of urethane, I could save some money, so instead of 1200., I am paying only 760. delivered, so quite a savings. The only problem is that the containers are in 5 gal. containers and I will have to transfer the urethane into gallon bottles, for easier pouring, oh well. Still working on the design of the arches and I am coming along pretty good, I think I have it licked. I will add some pictures when I get a little further along in the build. I forgot to tell you. You can probably see some sealing of the column molds with silicone and that is necessary so that the urethane does not leak out until it cures, very important. Once the urethane part of the molds are complete, it is not necessary to do any more sealing when the concrete is being poured into the molds. Bob.
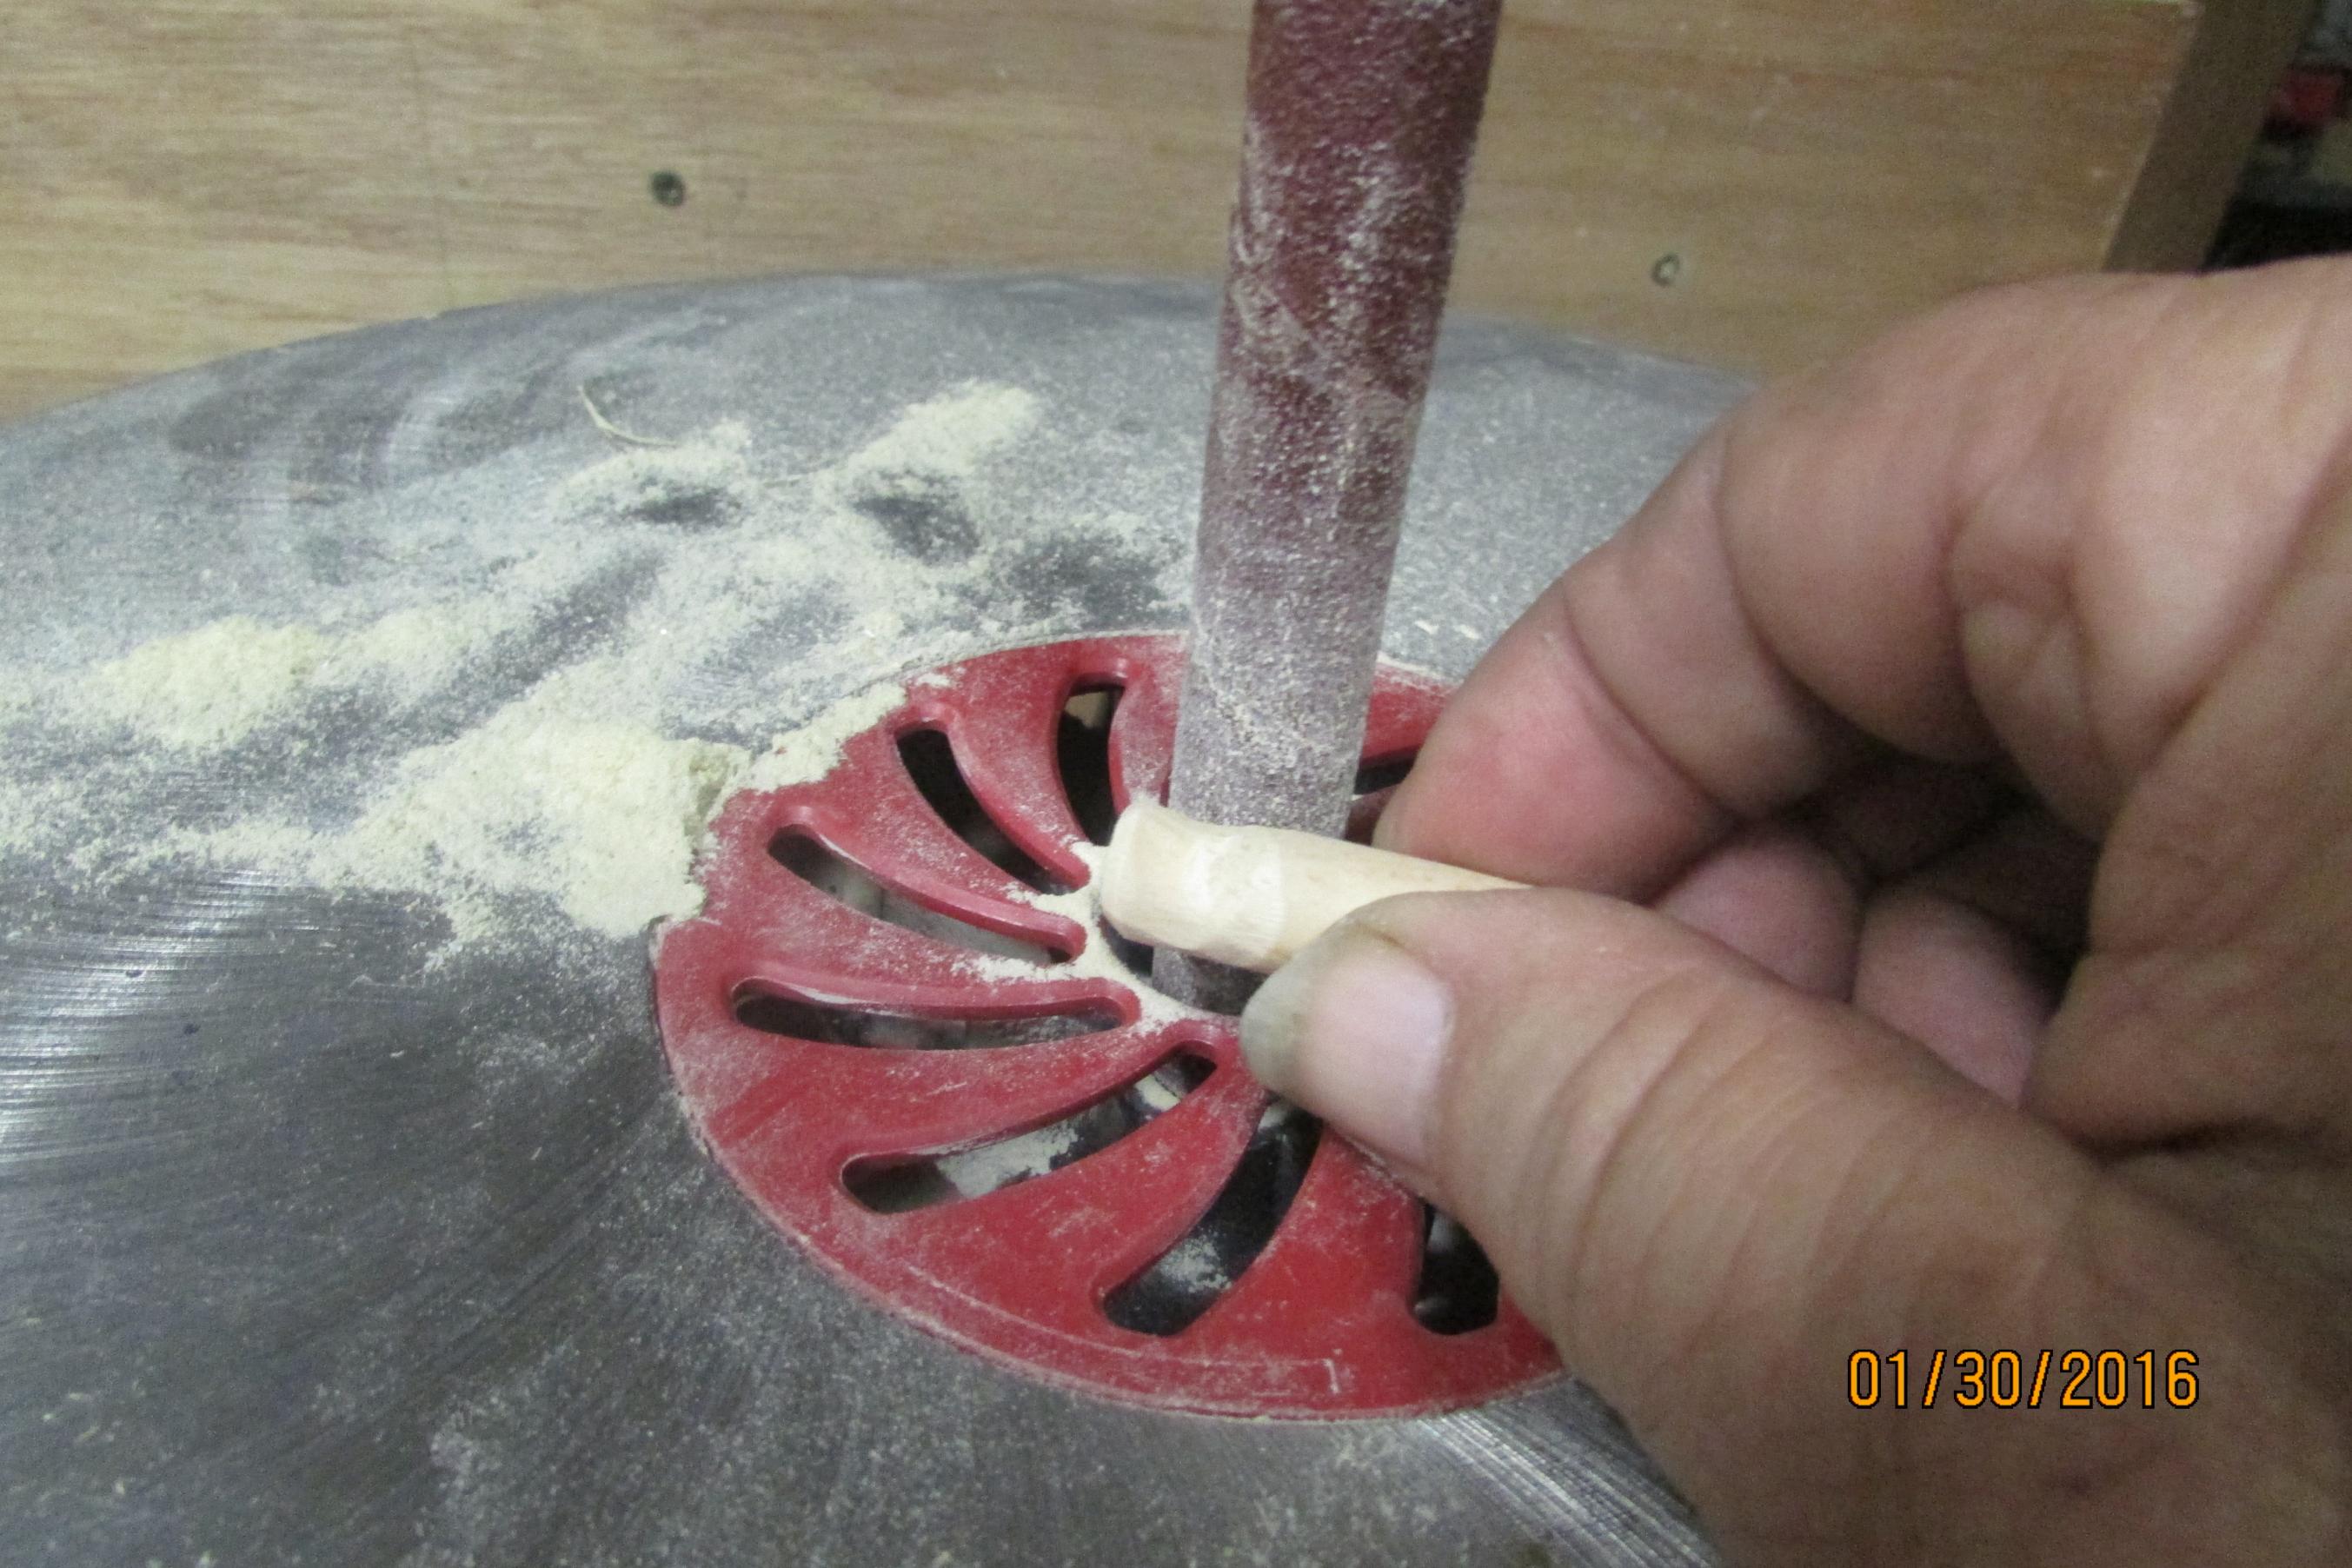
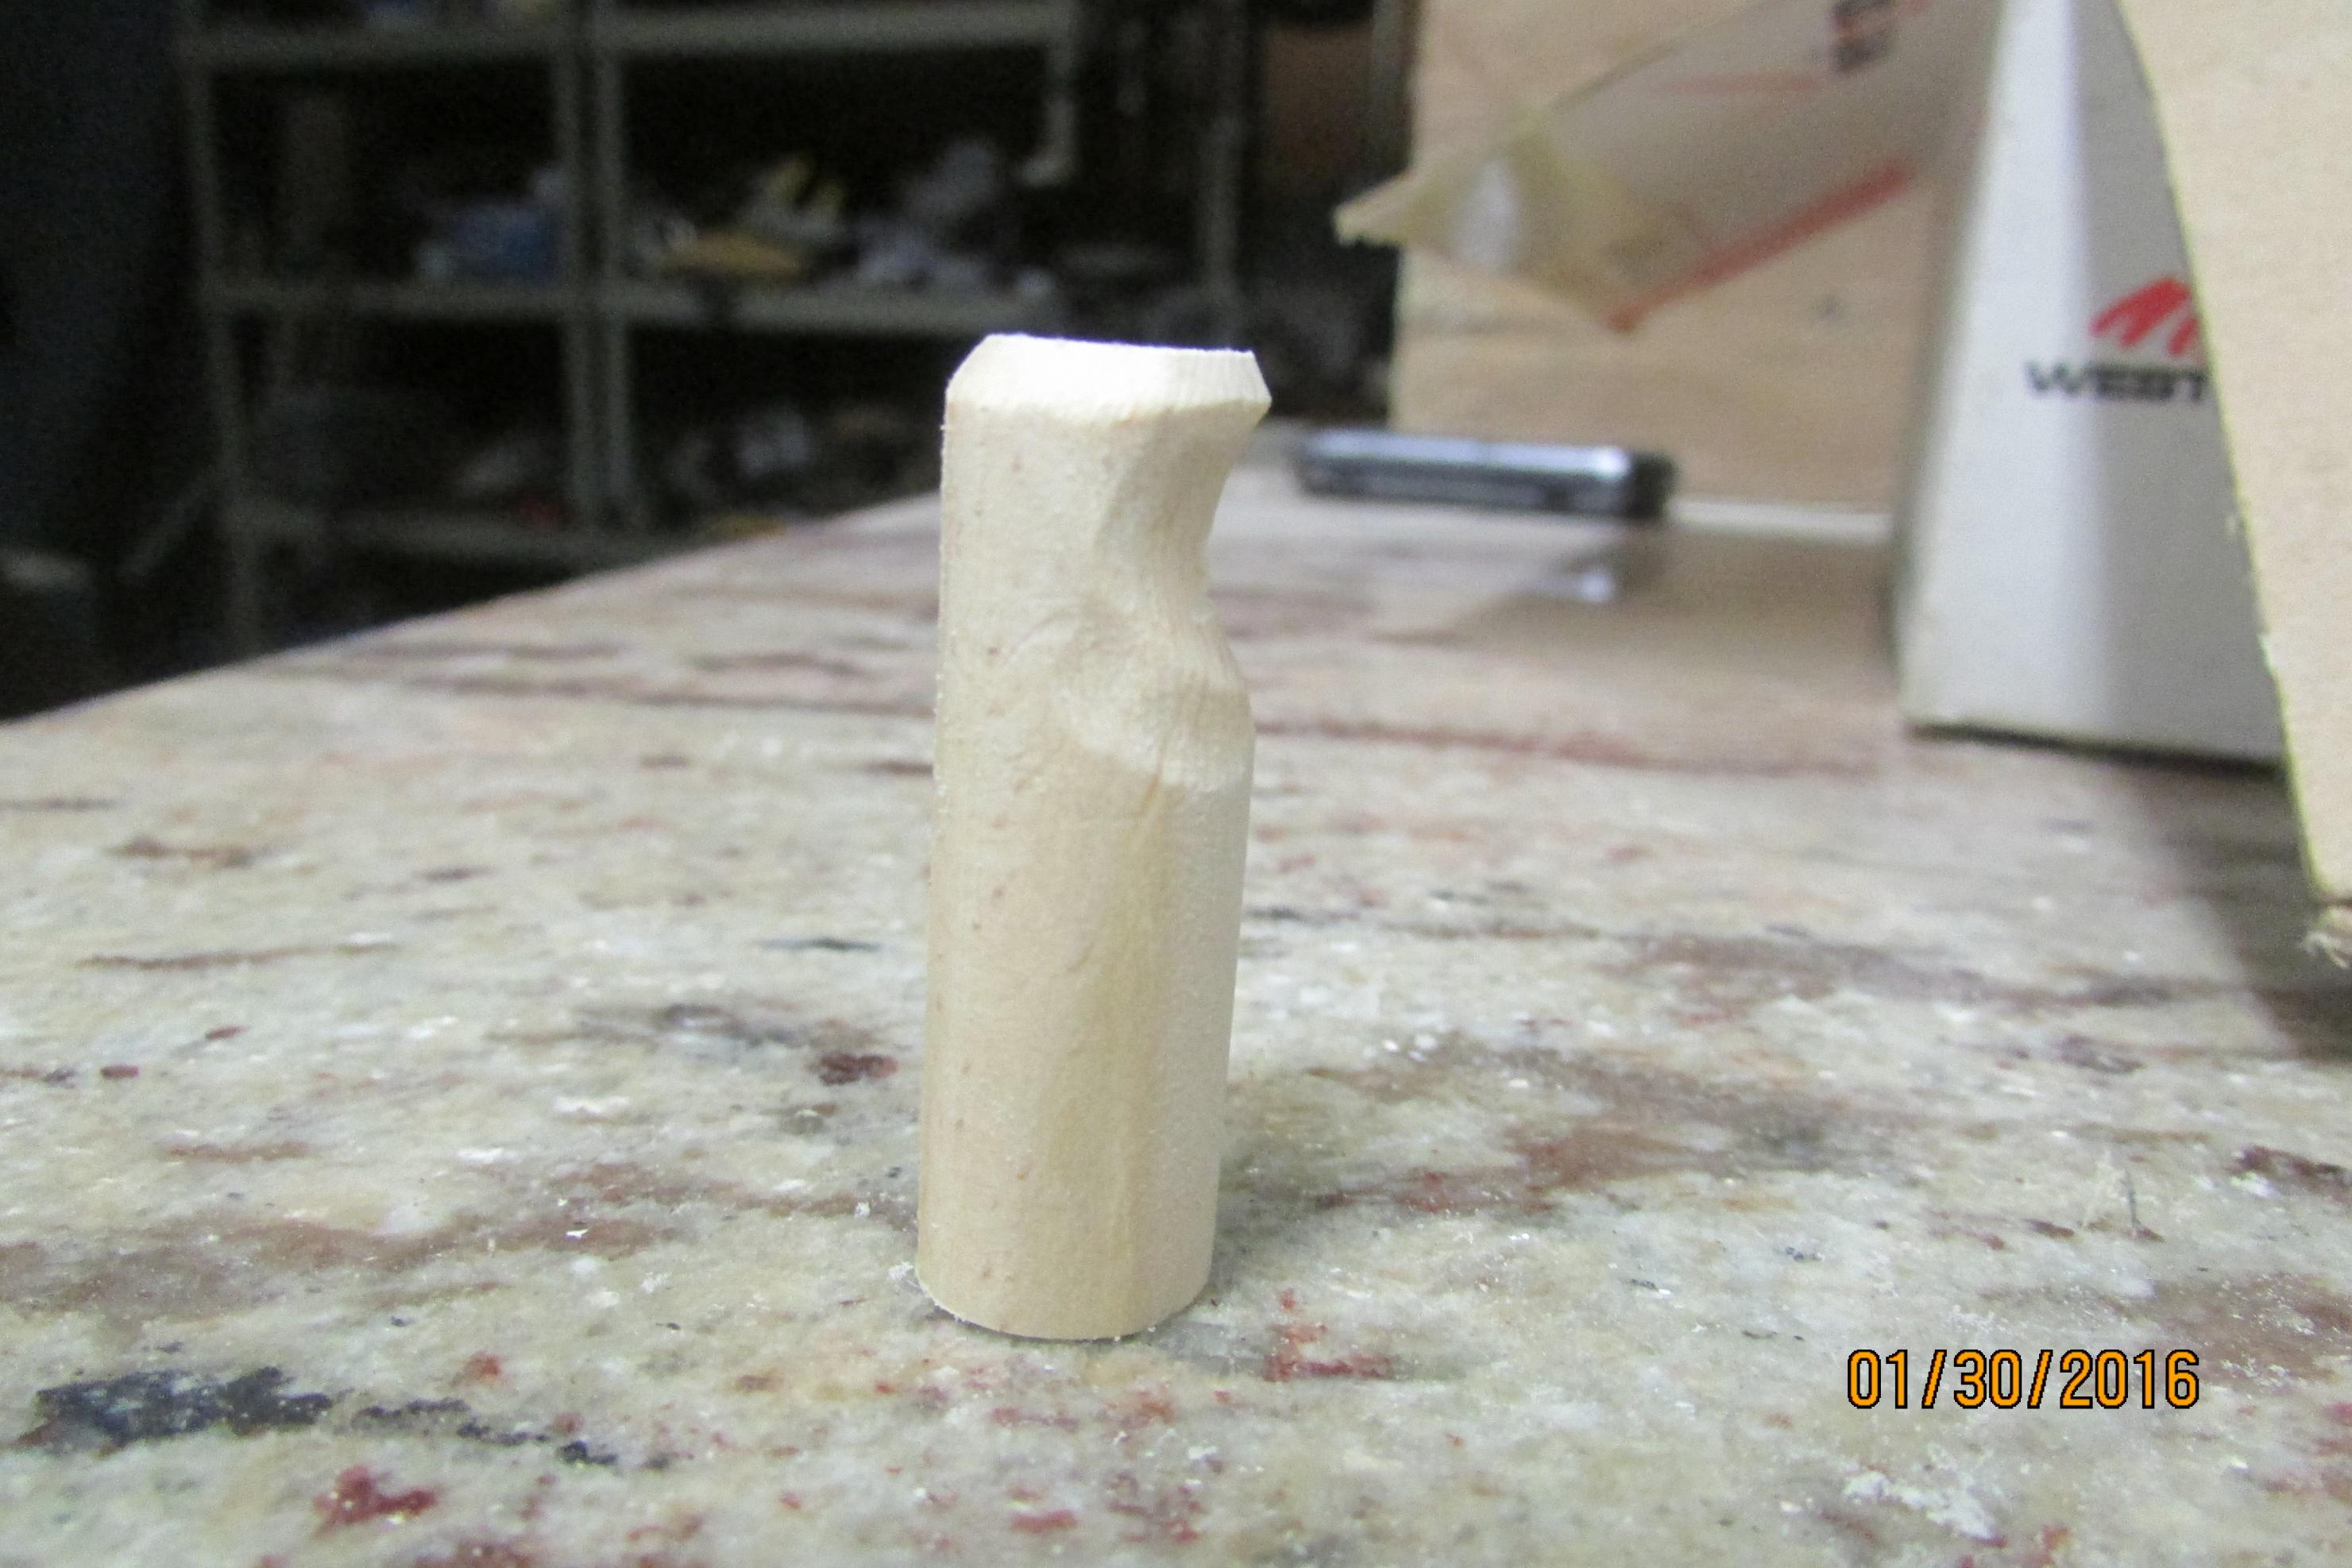
Today I made the backing for the urethane face of the viaduct. It consists of a piece of plywood and wooden dowels to hold the urethane mold to the plywood. By sanding a groove in the dowels, it allows me, if I had to, to remove the urethane mold from the plywood backing and replace it. Here are some pictures.Attachment 7905Attachment 7906Attachment 7907Attachment 7908Attachment 7909
Here are some pictures of the final stage of making the column molds-preparing and pouring the second half of the molds. The ends of the mold are replaced with a full piece instead of the two pieces with the fence in between. Bob.Attachment 8119Attachment 8120Attachment 8121
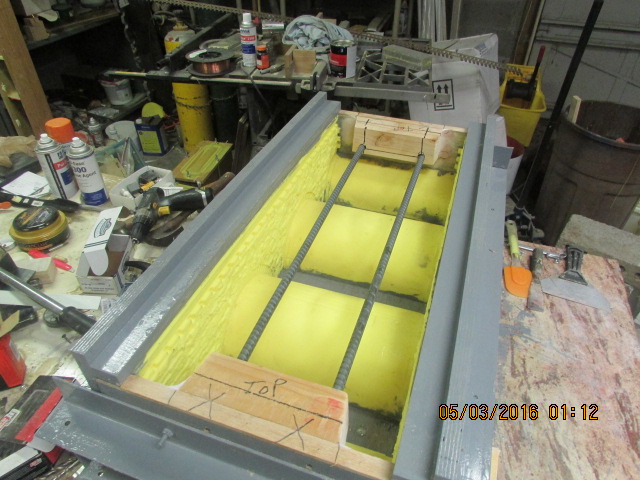
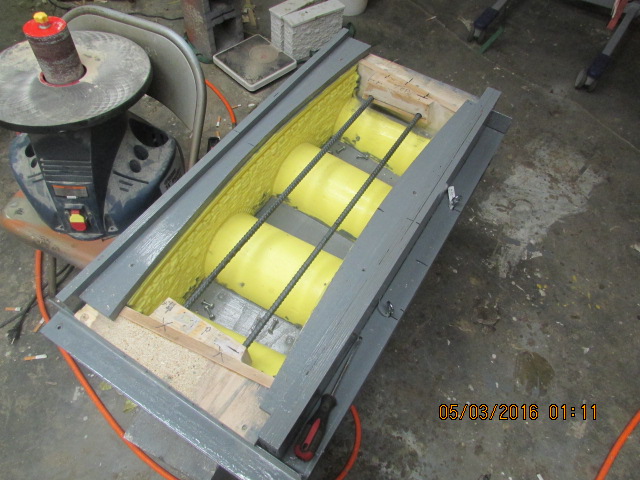
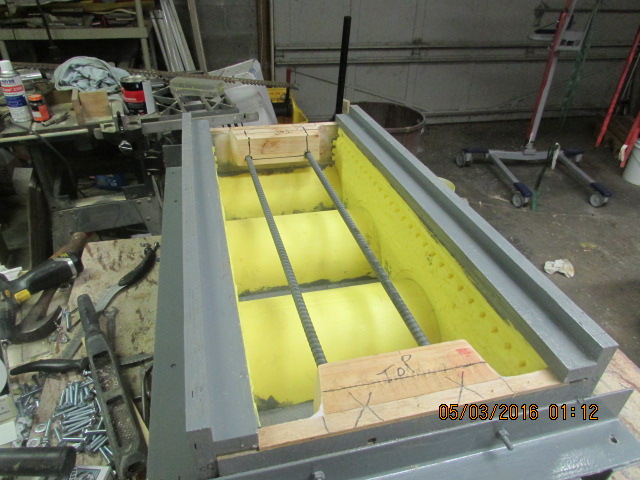
Today, I finished pouring the arch portion of the viaduct molds and am now waiting for more urethane to pour the tunnels. Everything went well with the pouring of the faces of the arches. The tunnels will be poured with urethane and doweled so that the tunnel shapes will stay in place. Next after the tunnels will be cutting the bottom rectangular access holes in the bottom of the mold and then the top where the tracks reside. The top will be poured with urethane also. I designed part of the mold to be made out of fiberglass, but after looking at it again, I decided to have all of the parts of the mold made out off urethane. Here are some pictures of the progress. Bob.Attachment 8265Attachment 8266Attachment 8267
I finally finished the viaduct mold. Here are some pictures of the finished mold and the pattern. The mold is in three parts, two sides and the bottom. This is the curved section and tomorrow I will assemble the straight section. I will add some pictures when I wrap the mold with steel and wood that is already constructed tomorrow. Bob.Attachment 10158Attachment 10159Attachment 10160
Thanks Jon. Here is the final step in the making of the mold. The steel braces are in place and except for some mold release, the mold is ready for pouring concrete. Bob.Attachment 10183Attachment 10184
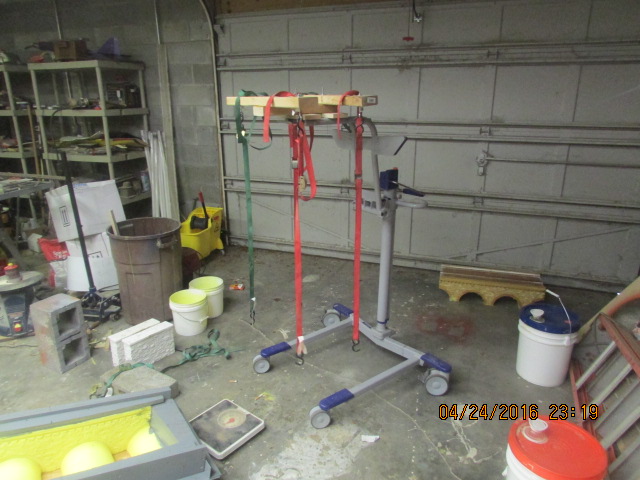
I have a picture of the modified medical lift that I will use to move the 190 lb. viaduct sections. Bob.Attachment 10200
Bob,
The pattern looks very authentic for the scale. I am sure your final product from the molds will be just as authentic looking.
Thanks for the progress report.
Paul
Thanks Paul for your interest. I am finding that the last stages of the logistics to get this heavy thing into place was challenging. I have figured it out though, and when I finalize the scheme, I will post pictures. Bob.
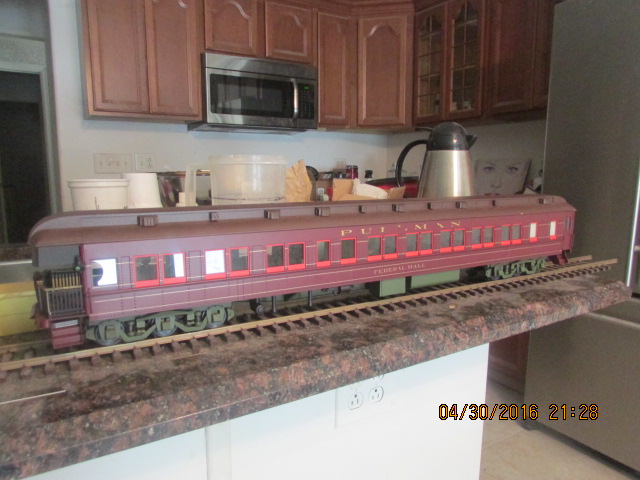
Well, I went to my first brass gauge one auction and won this J&M observation car, and what an experience. I was so nervous that I outbid myself., and that is a true story. The auctioneer laughed and said that's ok and didn't hold against me. Then I went to pay for it and looked in my jacket, where I put it because it had so much cash, it wouldn't fit into my jeans pocket, and it wasn't there. I immediately thought that someone had lifted it from my jacket, it scared me and the lady that was taking the payment. Then I checked my pants, and there it was. Wow, what a scare. I am glad that I went, because I met some of the top brass buyers in the world and they took me under there wing and gave me some pointers and I listened. Because of that, I won the observation car. I will use it on my railroad and also use it for dimensions for making more cars, better than a drawing. The auction was amazing, I was surprised at the low prices of the Samhongsa gauge one locos. I still didn't have enough money for one of those, but maybe next time. Bob.Attachment 10283
I guess that I lied. Here is the final stage of the mold. I thought that I would add some steel rebar for the transporting of the mold since I will be moving it before the full cure, so here is what it looks like. I have molded a space at each end for the rebar to protrude, so that when they are joined, they will be rigidly attached together with small pieces of rebar and concrete. Bob.Attachment 10314Attachment 10315Attachment 10316Attachment 10317
Bob,
You won a very nice brass observation car in 1:32 scale. Looks like it was kept safely on a shelf and not run through the garden. One of these days you will have to publish the "clones" you can make from this example.
The molds are progressing. Looking forward to seeing the pouring operation and mold release.
Thank you for the photos.
Paul
Hi Paul, you know me well and as I am writing, I have the brass Federal Hall completely apart and am making a mold for the sides. Boy, if some of the collecters that I met at the auction saw the car now, they would shoot me. I would have had to take it apart anyway because the windows, installed with double back tape came apart and had to be repaired anyway. Some of the installation techniques that were use to make this car were not the best. These techniques were alright for the first few years, but not after 20. It is challenging because it is brass and very thin, so I am having to design the mold to incorporate some thickness for the loss of strength compared to the metal sides. I am not a rivet counter, but I will try to reproduce the model to represent the prototype, keeping in mind that I don't want to spend the rest of my life designing the mold. As soon as I finish the one side of the car mold, I will post some pictures. I use the kiss principle, so one side of the car is different from the other side. One of the sides can be reversed to make both sides of a center car and one of the sides can only be used for the open ended obs. car, so I will only have to make two side molds to make both an observation car and also make more center cars. Then of course there are many more molds to make, including the roof, under carriage parts, trucks etc. I bought an MTH J3 Hudson to pull these cars and I am sure the train will look good. Don't worry, I haven't forgotten the viaducts, because I am taking this time to build the molds for the heavyweights because I don't have enough money to continue the viaducts at this time. Bob.
That's really freakin' gorgeous!
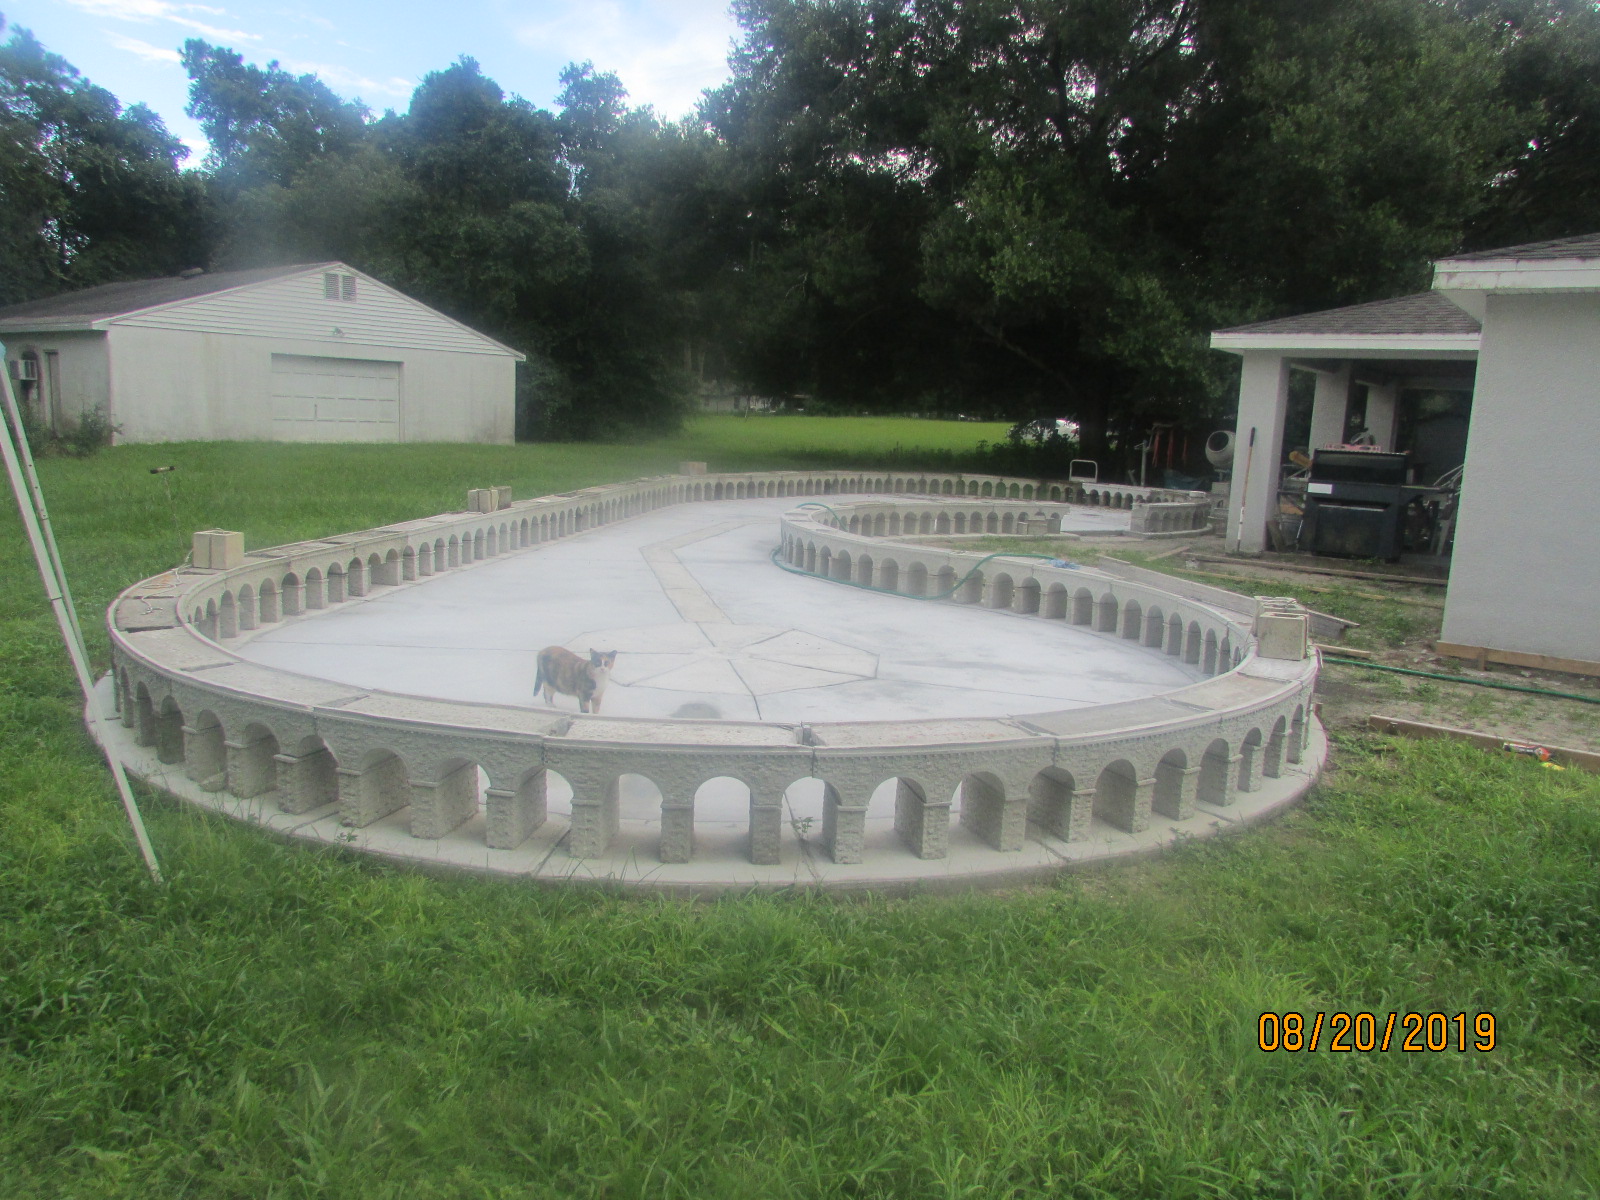
Thank you very much, and here is what the layout looks like today, took me 2 1/2 years. I am selling my molds on Ebay.I also posted a new video under homemade, not machines, of a 1:32 locomotive. Bob.Attachment 30812
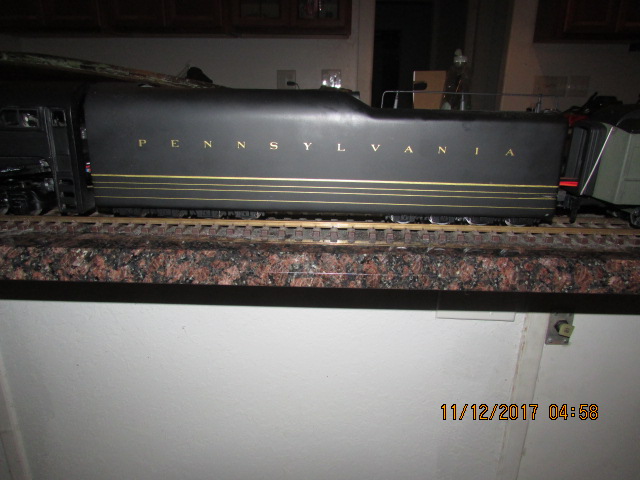
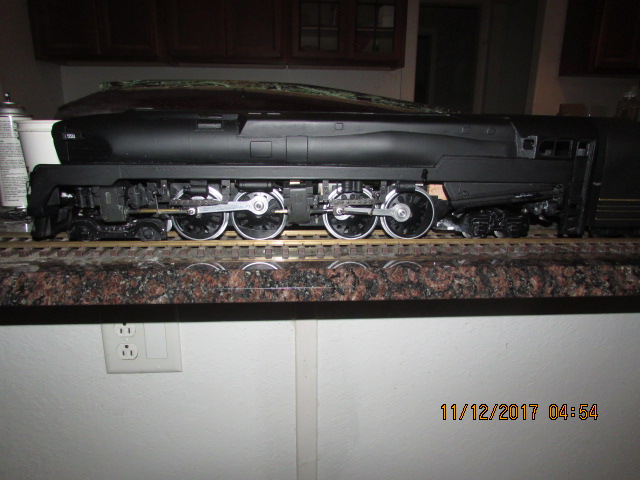
Here is one of my engines that I will be running on the layout. T1-4444 loco.Attachment 30814Attachment 30815
I thought that I would show what the layout looks like when finished. Here is a video of a completely scratch-built Amtrak Superliner train built by me, running on the completed layout. Bob.https://www.youtube.com/watch?v=PNjCwHPogB4
Here is another video of my scratch-built T1 loco pulling some Fine scale passenger cars. Bob.https://www.youtube.com/watch?v=ais1yG3xHic
Thank you everyone, collectively for liking and viewing my posts, I appreciate it. If you are interested in seeing my build on the PRR T1 locomotive, or any other projects of mine, go to gscaletrainforum.com and my handle is rbrown7713 and you will see all of my posts. The name of the post under scratch-building, for the T1 is T1 locomotive from two Hudsons. I am surprised, it has over 38,000 views. I am proud of that. Bob.
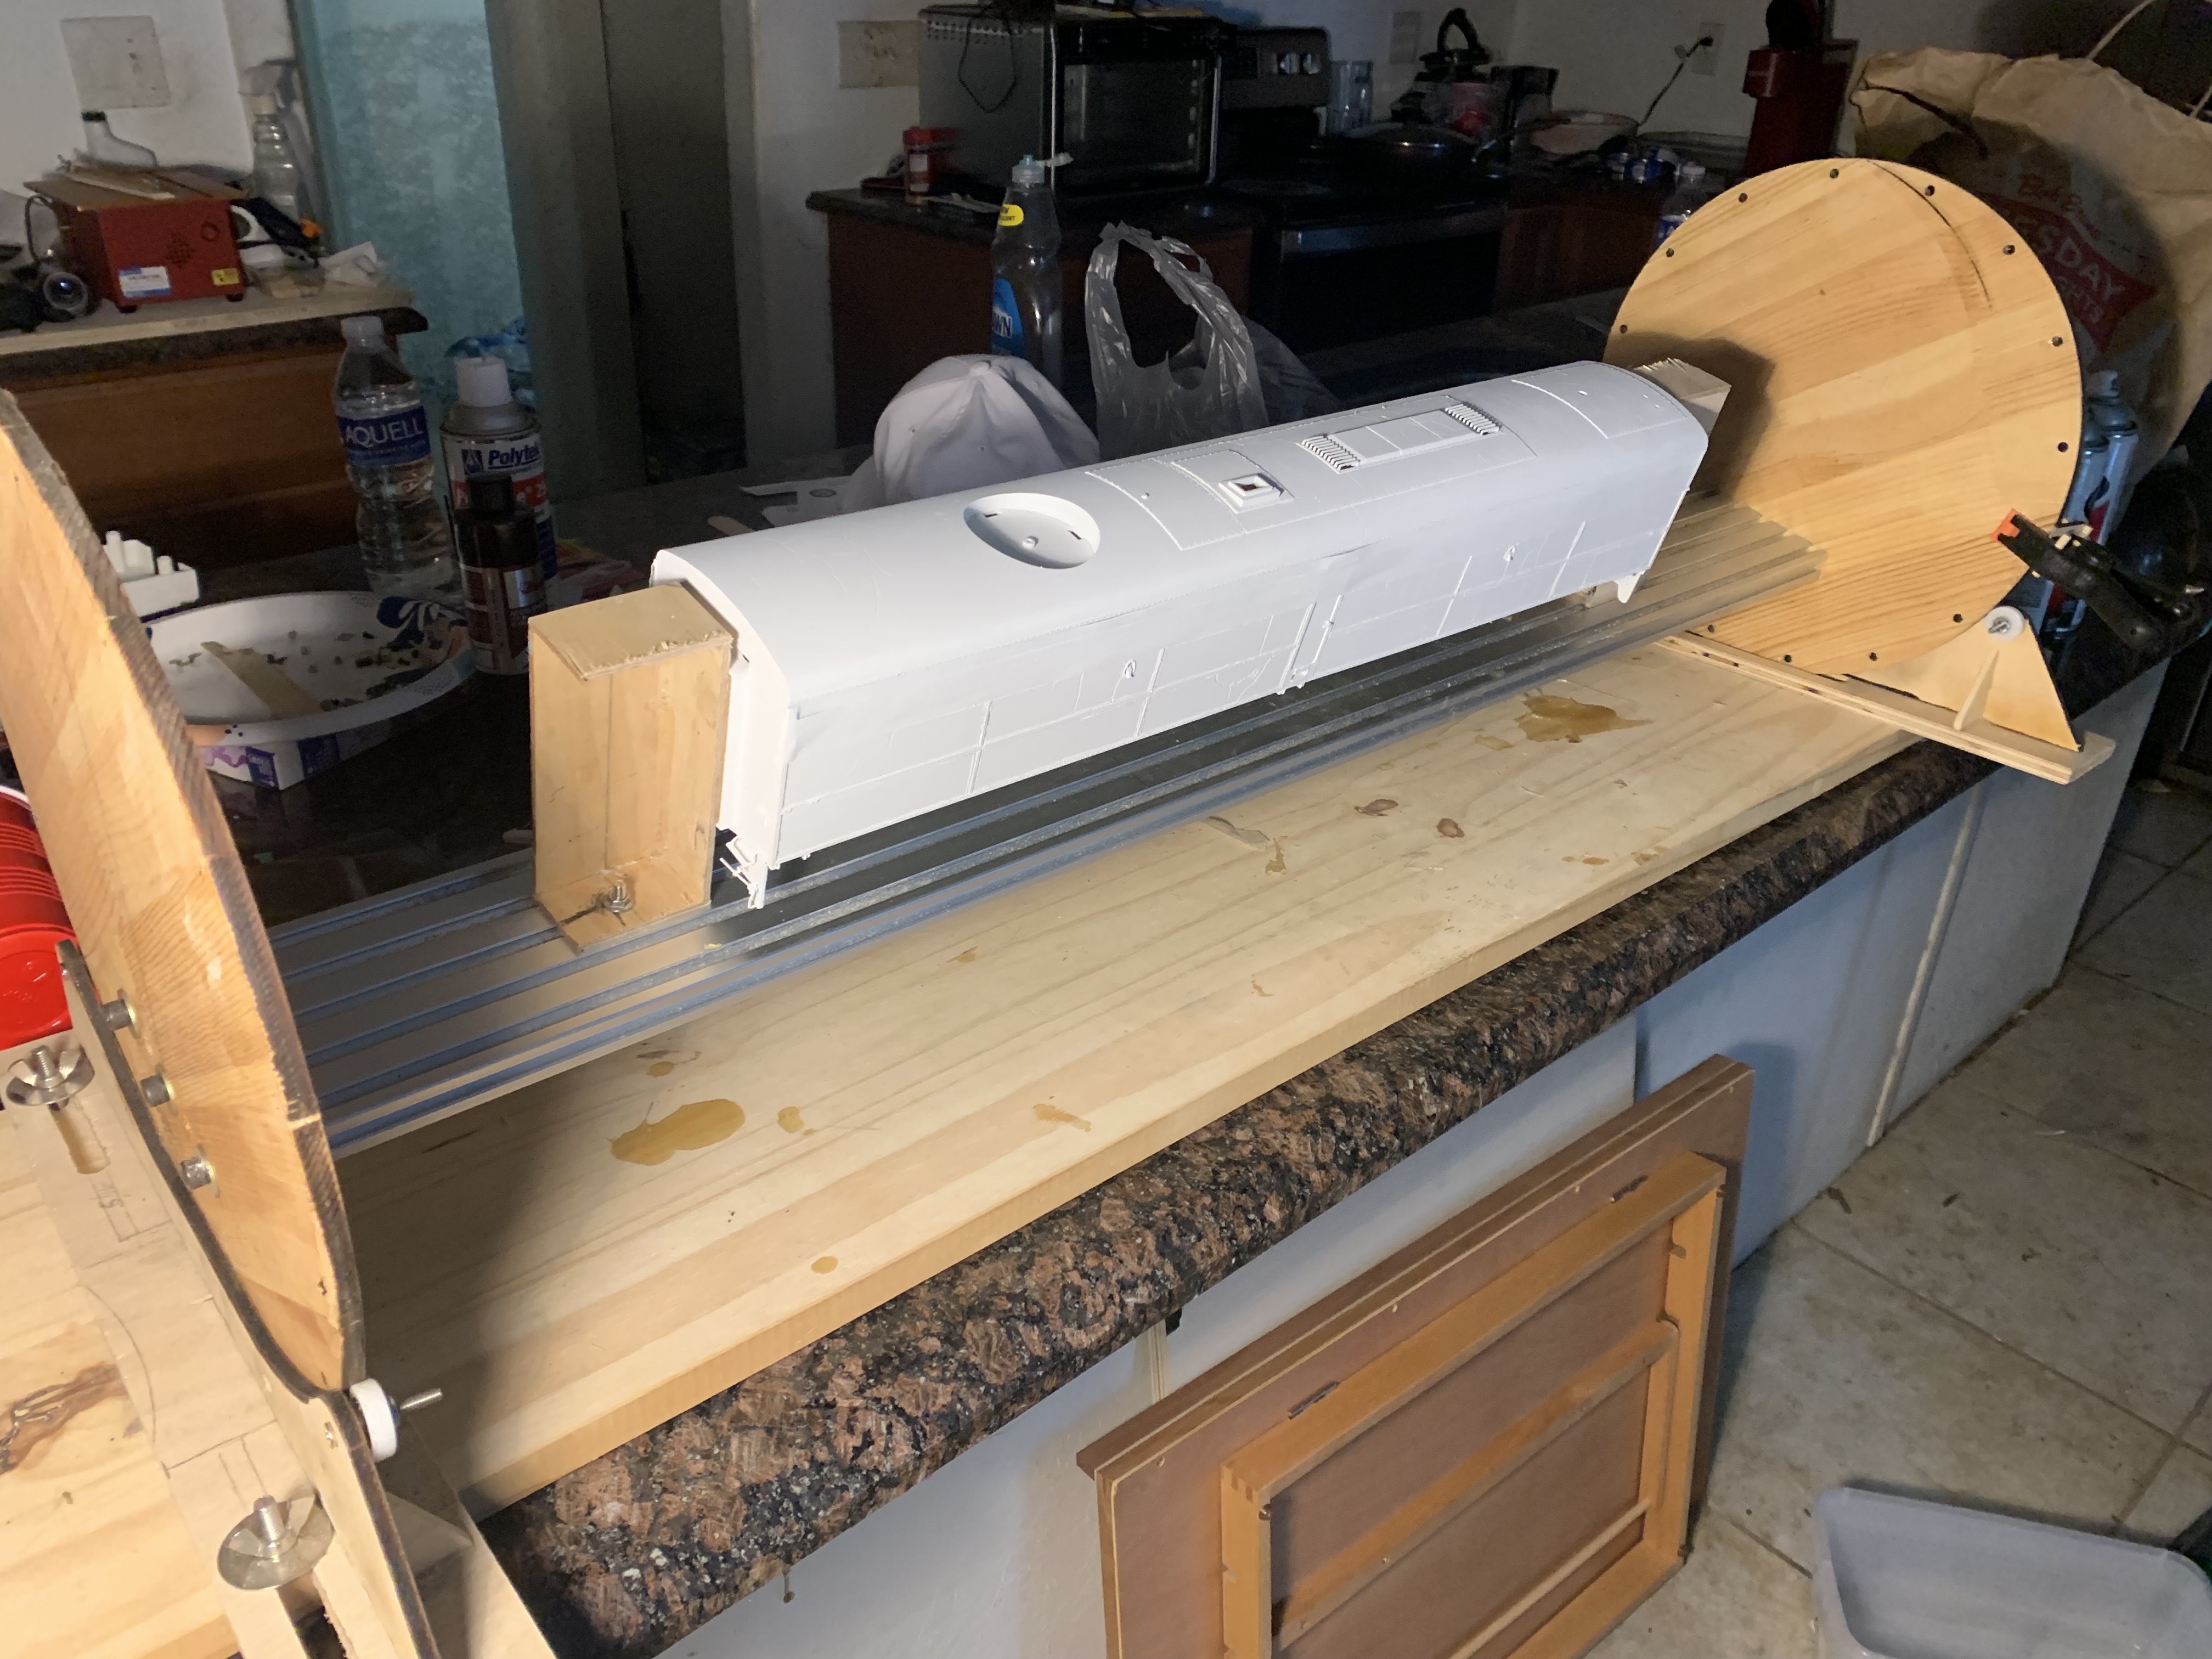
I am posting a jig for holding a model. I built it first for a model tugboat, but now I am using it to hold one of my PA-B unit locomotives. Here is a video and then I will post a picture of the locomotive on the jig. I anyone is interested in building this, I have more videos on YouTube, Channel is: omiateeful and click on videos and you will eventually find them, about three, I believe. Bob. https://www.youtube.com/watch?v=prllYvhS_H0Attachment 49154
<!-- BEGIN /var/www/html/homemadetools/protected/modules/zeus/views/tool/postUpdate.php -->
Thanks machiningfool! We've added your Rotating Model Holder to our Model Making category,
as well as to your builder page: machiningfool's Homemade Tools. Your receipt:
<div id="blocks"> <div class="block b1 pngfix"> <div class="bimg"> <div> <a href="https://www.homemadetools.net/homemade-rotating-model-holder"> <img src="/uploads/275568/homemade-rotating-model-holder.jpeg"/> </a> </div> </div> <div class="head pngfix"></div> <div class="left pngfix"></div> <div class="right pngfix"></div> <div class="blockover b1 pngfix"> <div class="title"> <a href="https://www.homemadetools.net/homemade-rotating-model-holder">Rotating Model Holder</a> <span> by <a href="https://www.homemadetools.net/builder/machiningfool">machiningfool</a></span> </div> <div class="tags">tags: <a href='https://www.homemadetools.net/tag/jig'>jig</a> </div> </div> </div> </div>
<!-- END /var/www/html/homemadetools/protected/modules/zeus/views/tool/postUpdate.php -->