Free 186 More Best Homemade Tools eBook:  
New: 300+ fresh build posts/day from 275 forums → BuildThreads.com

User Tag List

Results 1 to 7 of 7

Thread: Welding Fixture/Mini Positioner

  1. #1
    Supporting Member Carlos B's Avatar
    Join Date
    Mar 2017
    Location
    Canada
    Posts
    103
    Thanks
    81
    Thanked 180 Times in 43 Posts

    Carlos B's Tools

    Welding Fixture/Mini Positioner

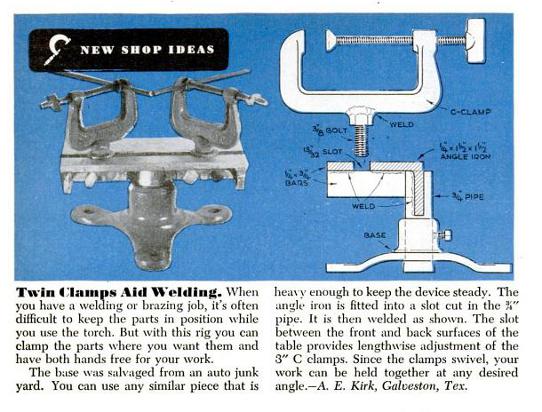
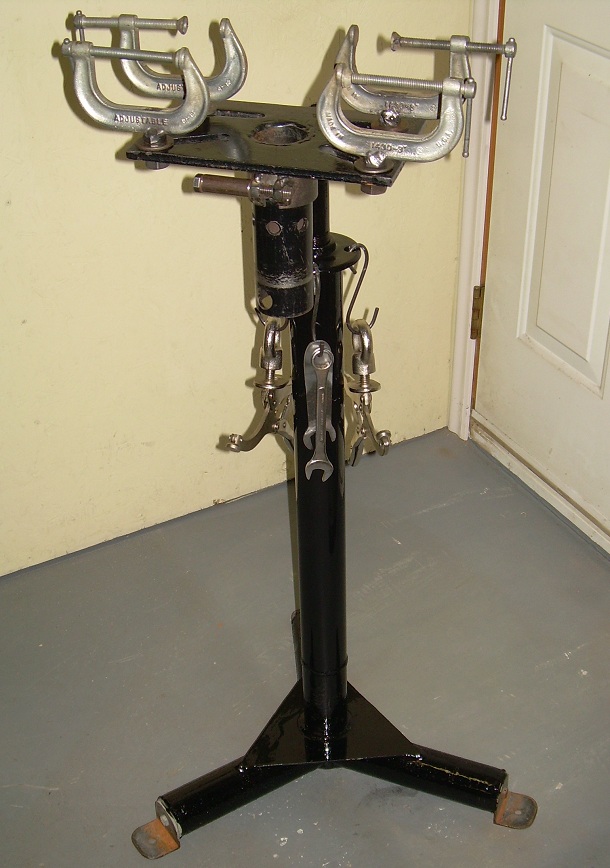
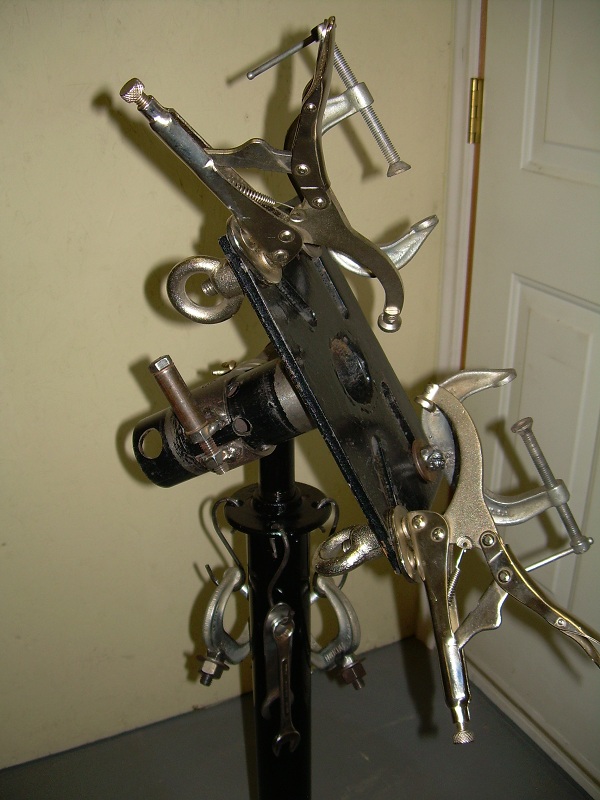
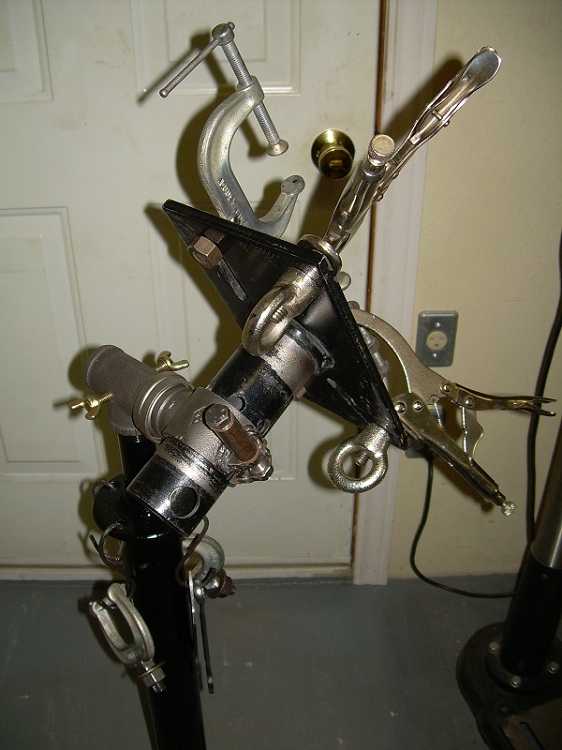
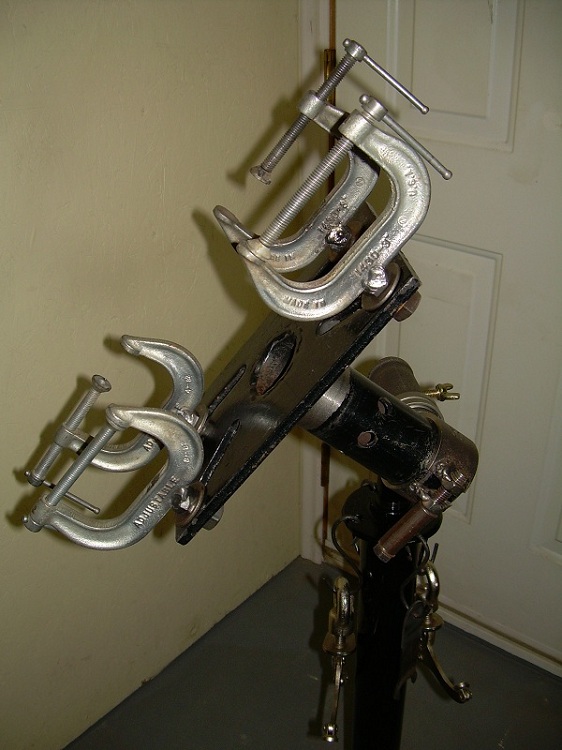
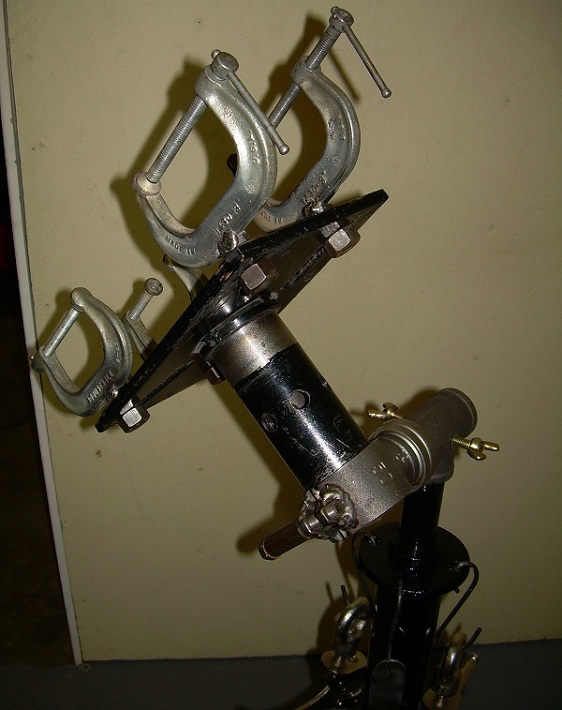
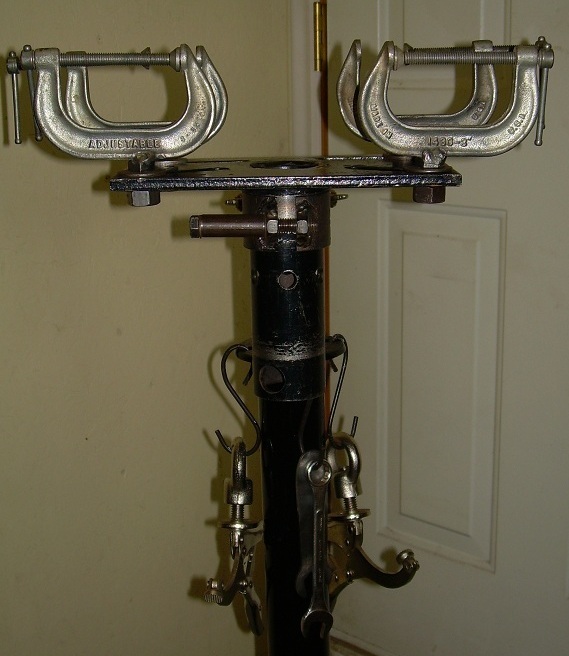
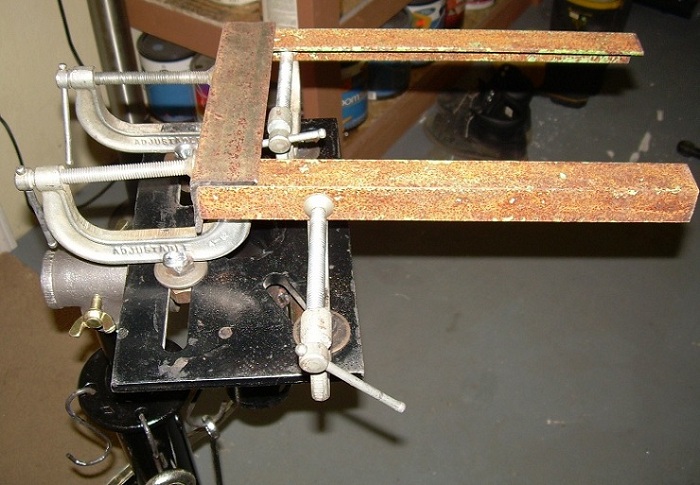
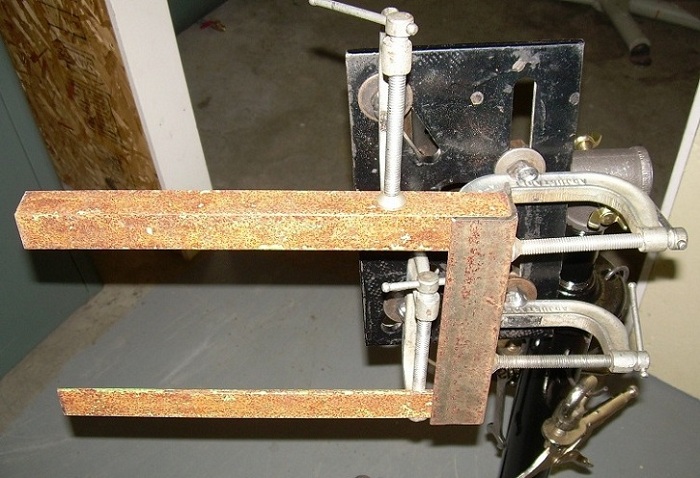
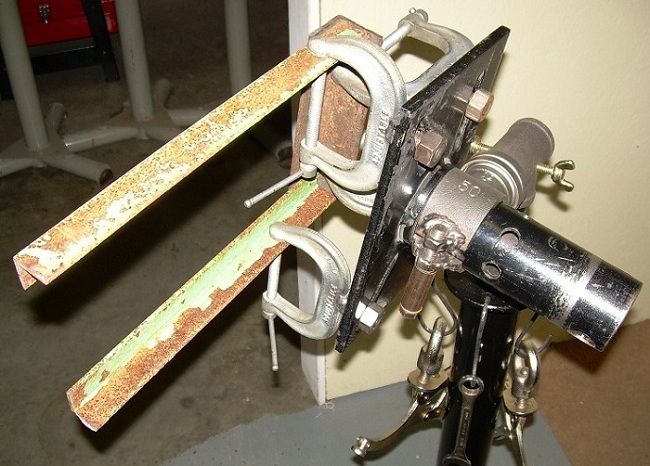
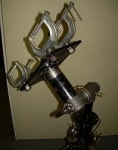
    I built this fixture late last year after seeing the tip illustrated in the first pic. somewhere on the web.When I find large enough wing nuts I will change out the nuts that require the wrenches seen on the hooks. This will make set-up even faster than it already is. The fixture can rotate 360* in two planes to allow me to make flat welds when a position weld would challenge my welding abilities. The fixture is all built from pipe and pipe fittings except for the table which is a motor mount from a discarded motor stand. The last 3 pictures is an example of the quick set-up of a small angle frame for welding.

    Welding Fixture/Mini Positioner-1.jpg

    Welding Fixture/Mini Positioner-2.jpg

    Welding Fixture/Mini Positioner-3.jpg

    Welding Fixture/Mini Positioner-4.jpg

    Welding Fixture/Mini Positioner-5.jpg

    Welding Fixture/Mini Positioner-6.jpg

    Welding Fixture/Mini Positioner-7.jpg

    Welding Fixture/Mini Positioner-8.jpg

    Welding Fixture/Mini Positioner-9.jpg

    Welding Fixture/Mini Positioner-10.jpg

    Carlos
    Last edited by Carlos B; May 22, 2017 at 12:43 PM.
    From a popular rap: "If time is money then I need a loan."
    Carlos B,http://hobbyworkshopprojects.blogspot.com

  2. The Following 18 Users Say Thank You to Carlos B For This Useful Post:

    baja (Mar 21, 2020), billster (Mar 16, 2017), C-Bag (Mar 13, 2017), Duke_of_URL (Mar 20, 2020), emu roo (Sep 5, 2025), EnginePaul (Mar 20, 2020), JD62 (Mar 15, 2017), johncg (Nov 24, 2022), NortonDommi (Jun 17, 2018), oldcaptainrusty (Feb 7, 2018), Paul Jones (Mar 16, 2017), PJs (Sep 24, 2025), Quinton 357 (Mar 21, 2020), rlm98253 (Feb 5, 2018), rossbotics (Mar 14, 2017), sossol (Feb 9, 2018), tonyfoale (Mar 13, 2017), tuchie (Nov 24, 2022)

  3. #2
    Supporting Member tonyfoale's Avatar
    Join Date
    Nov 2016
    Location
    Spain
    Posts
    1,821
    Thanks
    834
    Thanked 3,238 Times in 910 Posts

    tonyfoale's Tools
    Carlos,

    Great job and so well thought out. I definitely need to make one.

  4. The Following 2 Users Say Thank You to tonyfoale For This Useful Post:

    Carlos B (Mar 13, 2017), emu roo (Sep 5, 2025)

  5. #3
    Supporting Member Carlos B's Avatar
    Join Date
    Mar 2017
    Location
    Canada
    Posts
    103
    Thanks
    81
    Thanked 180 Times in 43 Posts

    Carlos B's Tools
    Thank you Tony

    Carlos

  6. The Following User Says Thank You to Carlos B For This Useful Post:

    emu roo (Sep 5, 2025)

  7. #4
    Supporting Member C-Bag's Avatar
    Join Date
    Aug 2015
    Location
    California, central coast
    Posts
    720
    Thanks
    689
    Thanked 923 Times in 480 Posts

    C-Bag's Tools
    Good one Carlos. This is one of those "now why didn't I think of that?" things. I don't use my tons of C-clamps that often because they can be a hassle to maneuver and this solves that.

    It kinda kills me I had an old home made engine stand I left when we moved because I don't do that kind of work anymore and didn't want to haul it over to the new place. But looking at your setup, it's the same head, just with a double pivot so it head could go 90deg from the original mount. Now I wish I'd not dumped it

  8. The Following 2 Users Say Thank You to C-Bag For This Useful Post:

    Carlos B (Mar 13, 2017), emu roo (Sep 5, 2025)

  9. #5
    Supporting Member Carlos B's Avatar
    Join Date
    Mar 2017
    Location
    Canada
    Posts
    103
    Thanks
    81
    Thanked 180 Times in 43 Posts

    Carlos B's Tools
    Thanks C-Bag, isn't that the way it goes . Cleaned out my shop a number of times and discarded stuff I didn't think I would ever use, only to find I could have used it in a project later.

    Carlos

  10. The Following User Says Thank You to Carlos B For This Useful Post:

    emu roo (Sep 5, 2025)

  11. #6
    Content Editor
    Supporting Member
    DIYer's Avatar
    Join Date
    Aug 2013
    Posts
    3,049
    Thanks
    848
    Thanked 2,974 Times in 2,528 Posts


    Thanks Carlos B! We've added your Welding Fixture and Positioner to our Welding category,
    as well as to your builder page: Carlos B's Homemade Tools. Your receipt:


    New: BuildThreads.com - 300+ build posts/day (with photos)

  12. The Following 2 Users Say Thank You to DIYer For This Useful Post:

    Carlos B (Mar 15, 2017), emu roo (Sep 5, 2025)

  13. #7
    Supporting Member desbromilow's Avatar
    Join Date
    Aug 2012
    Location
    Australia
    Posts
    913
    Thanks
    560
    Thanked 453 Times in 272 Posts

    desbromilow's Tools
    Carlos,

    since you have a welder, the quickest way to get large diameter wingnuts is to simply weld a couple of short rod sections to the nut. I do it at home for nuts as small as 6mm, and as large as 24mm. The tips of the rods is the only part you need to watch the finish on - a radiussed end (grinder or sander) is sufficient to prevent damage to your fingers in use. - Don't leave the tips "as cut by bolt cutters" - ouch.

    HTH,
    Des

    Quote Originally Posted by Carlos B View Post
    .When I find large enough wing nuts I will change out the nuts that require the wrenches seen on the hooks.

    Carlos


    2,500+ Tool Plans

  14. The Following User Says Thank You to desbromilow For This Useful Post:

    emu roo (Sep 5, 2025)

Thread Information

Users Browsing this Thread

There are currently 1 users browsing this thread. (0 members and 1 guests)

Tags for this Thread

Bookmarks

Posting Permissions

  • You may not post new threads
  • You may not post replies
  • You may not post attachments
  • You may not edit your posts
  •