
 LinkBack URL
 About LinkBacks


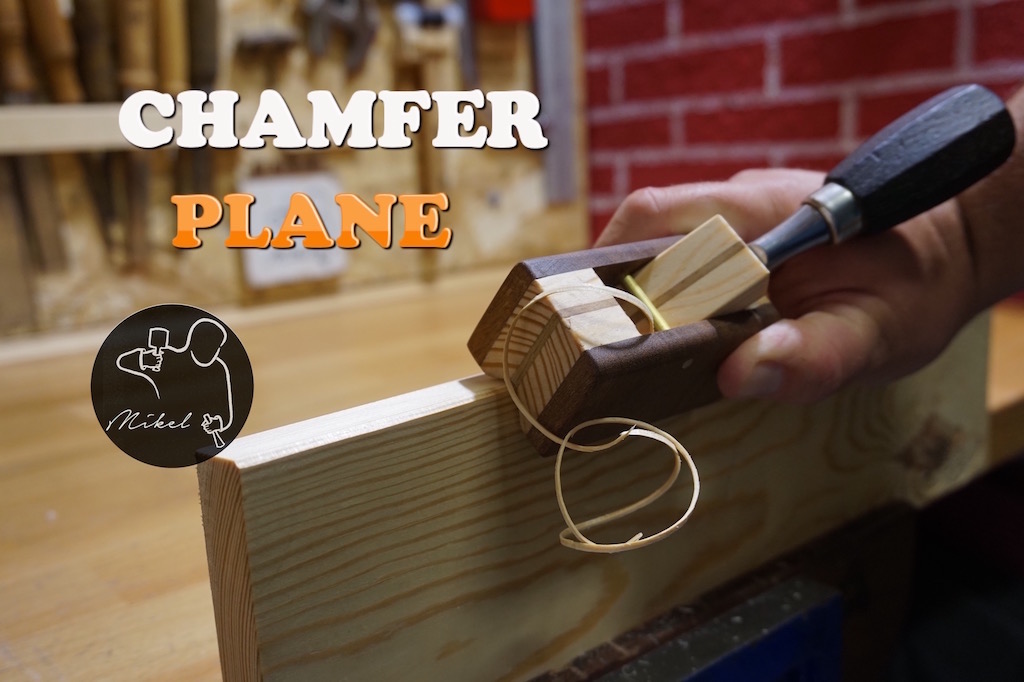
This time I want to show you how to build your own hand plane but with the particularity that it's made to be used with a chisel. Its utility is to chamfer the corners of the wood.
This tool can be made with electric tools, but one again as usual I have decided to make it only 100% with hand tools.
If you like the video please Subscribe to my Youtube Channel
I would also apologise for my English as a non-native English speaker some terms are very difficult for me. Forward, inscrutable!!
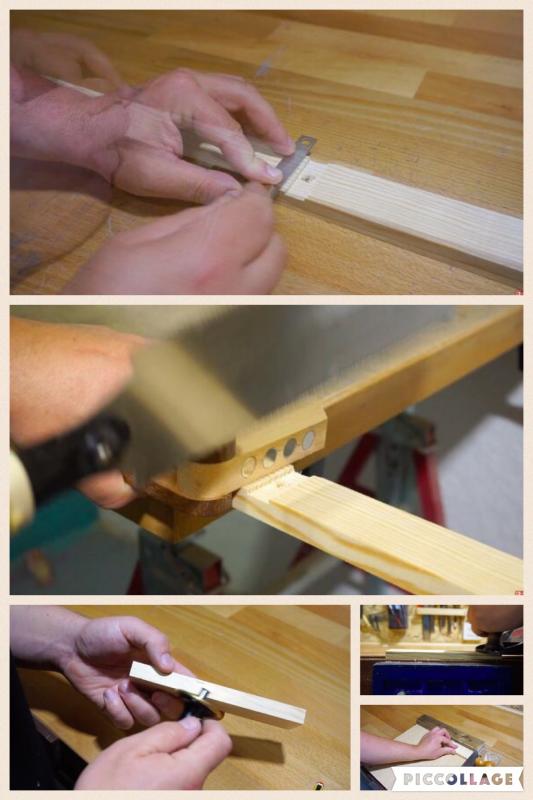
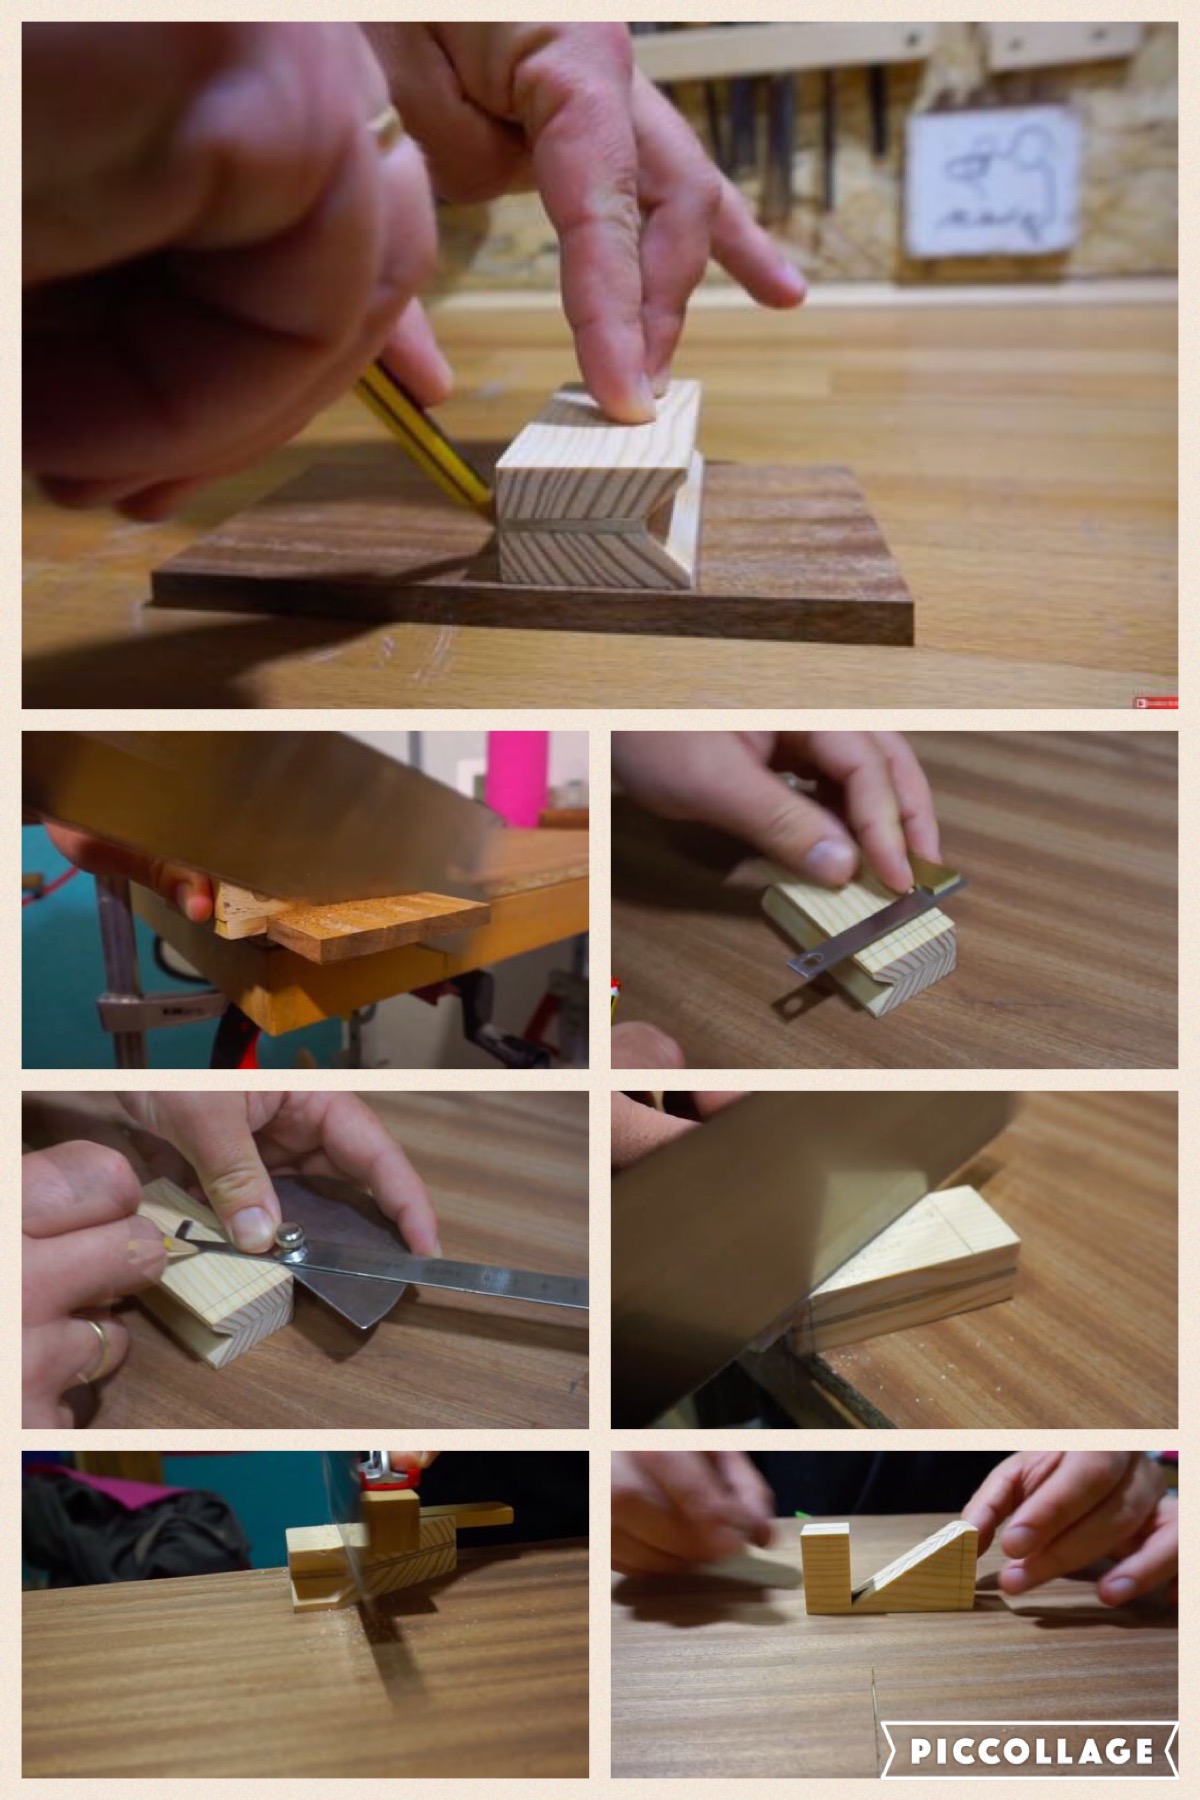
We have to start cutting the main piece. I'm going to tell you the sizes as reference, but you will have to use others depending on the size of your own chisel.
First of all I cut a piece of (158mm) with the help of a magnetic saw guide that I made some projects before. Then we have to calculate the thickness of the wood: this has to be slightly smaller that the chisel we're going to use, in my case 11mm. For this I use a gauge and afterwards a hand plane.
We will complete it making the cuts I made with the saw more precise with the help of a shooting board.
* It's very important that the piece remains completely straight.
We have to mark a 45º angle at the two ends of the wood in the same way as the picture marking an angle that we will eliminate with the block plane.
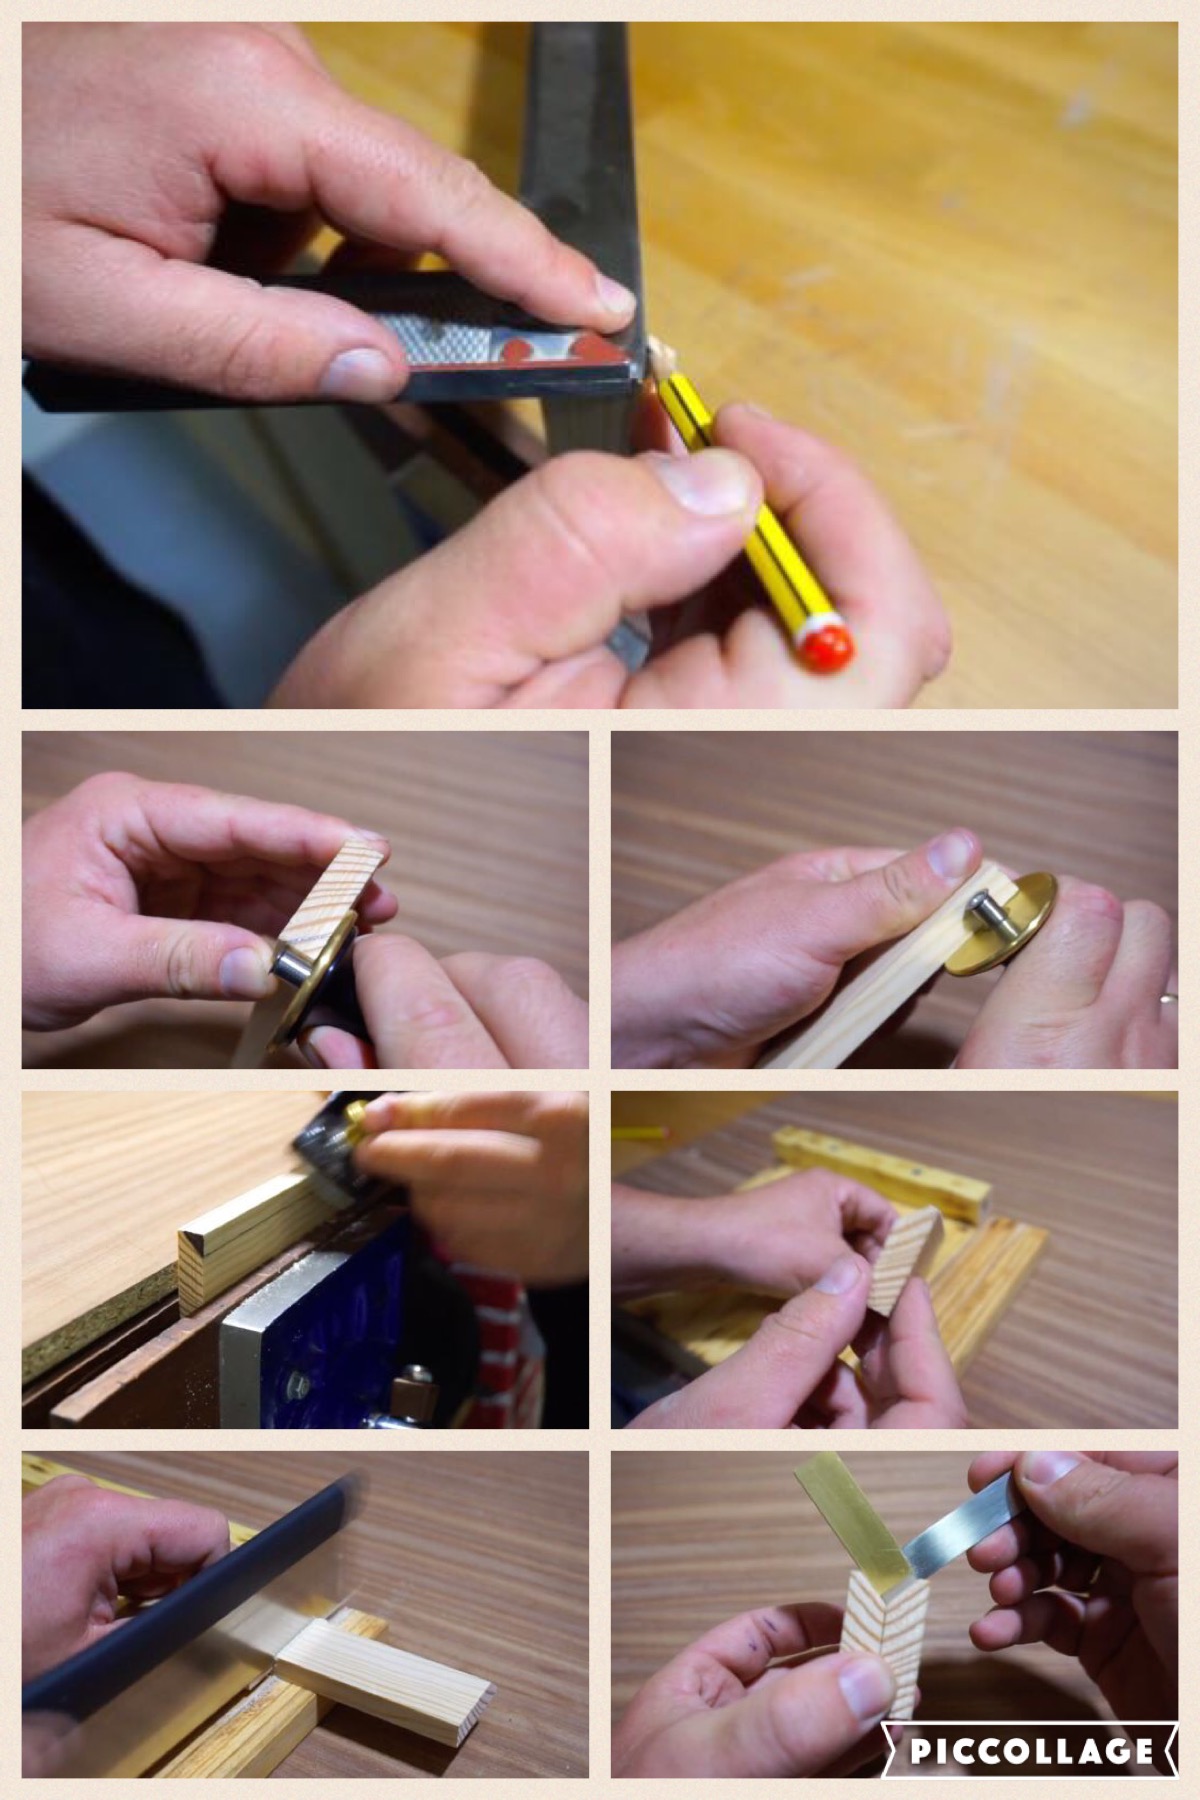
Then we will cut the piece in half becoming two identical pieces. We can see that joining these the resulting angle is of 90º.
Now we have to glue the 2 pieces entering by the middle a DM piece. This new piece will be the gauge of the chamfer: the more the thickness, the more the chamfer that will make our plane.
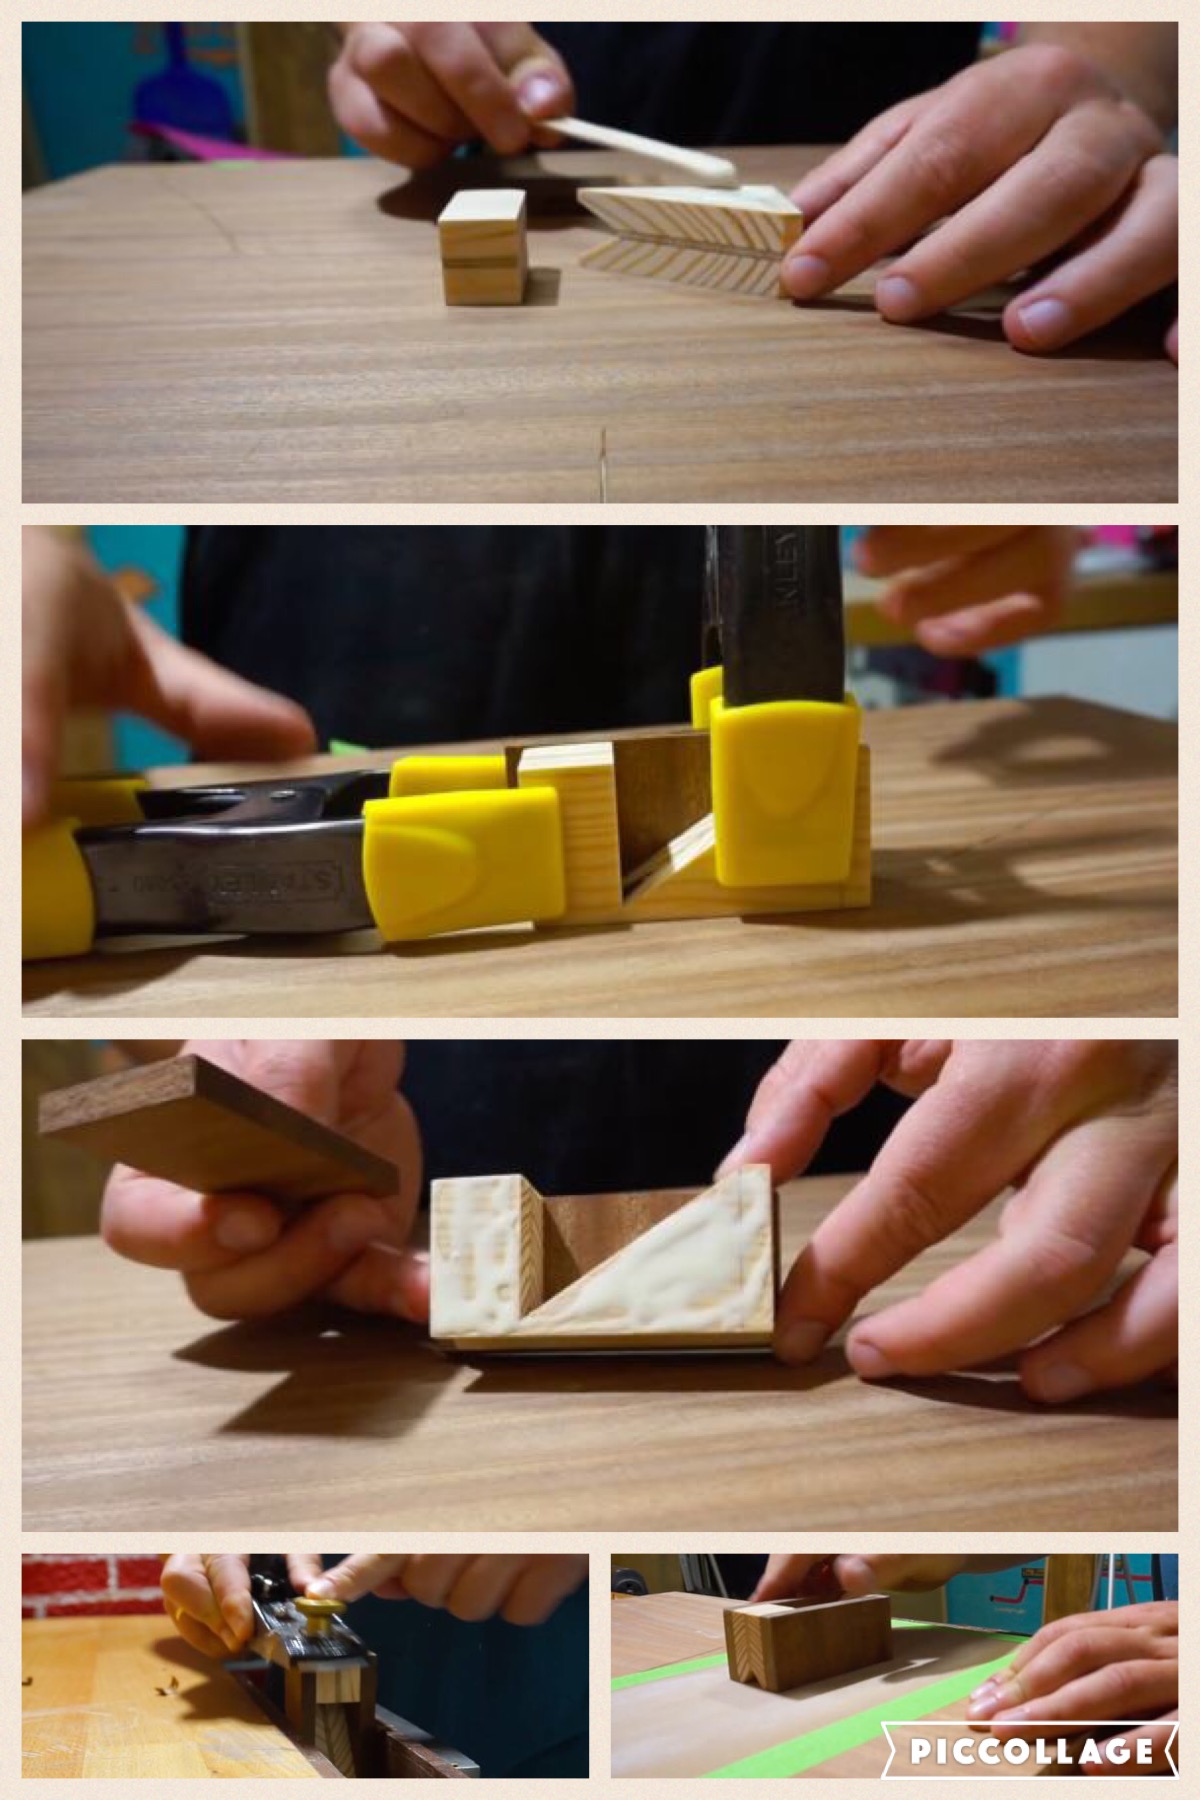
Once the glue has dried, we have to mark the figure on 2 sapeli boards and cut them for later use. Using an engineers square and an angle level we mark a 25º angle and we cut it. As you can see in the video you will have 3 pieces and we will save the centre piece for later.
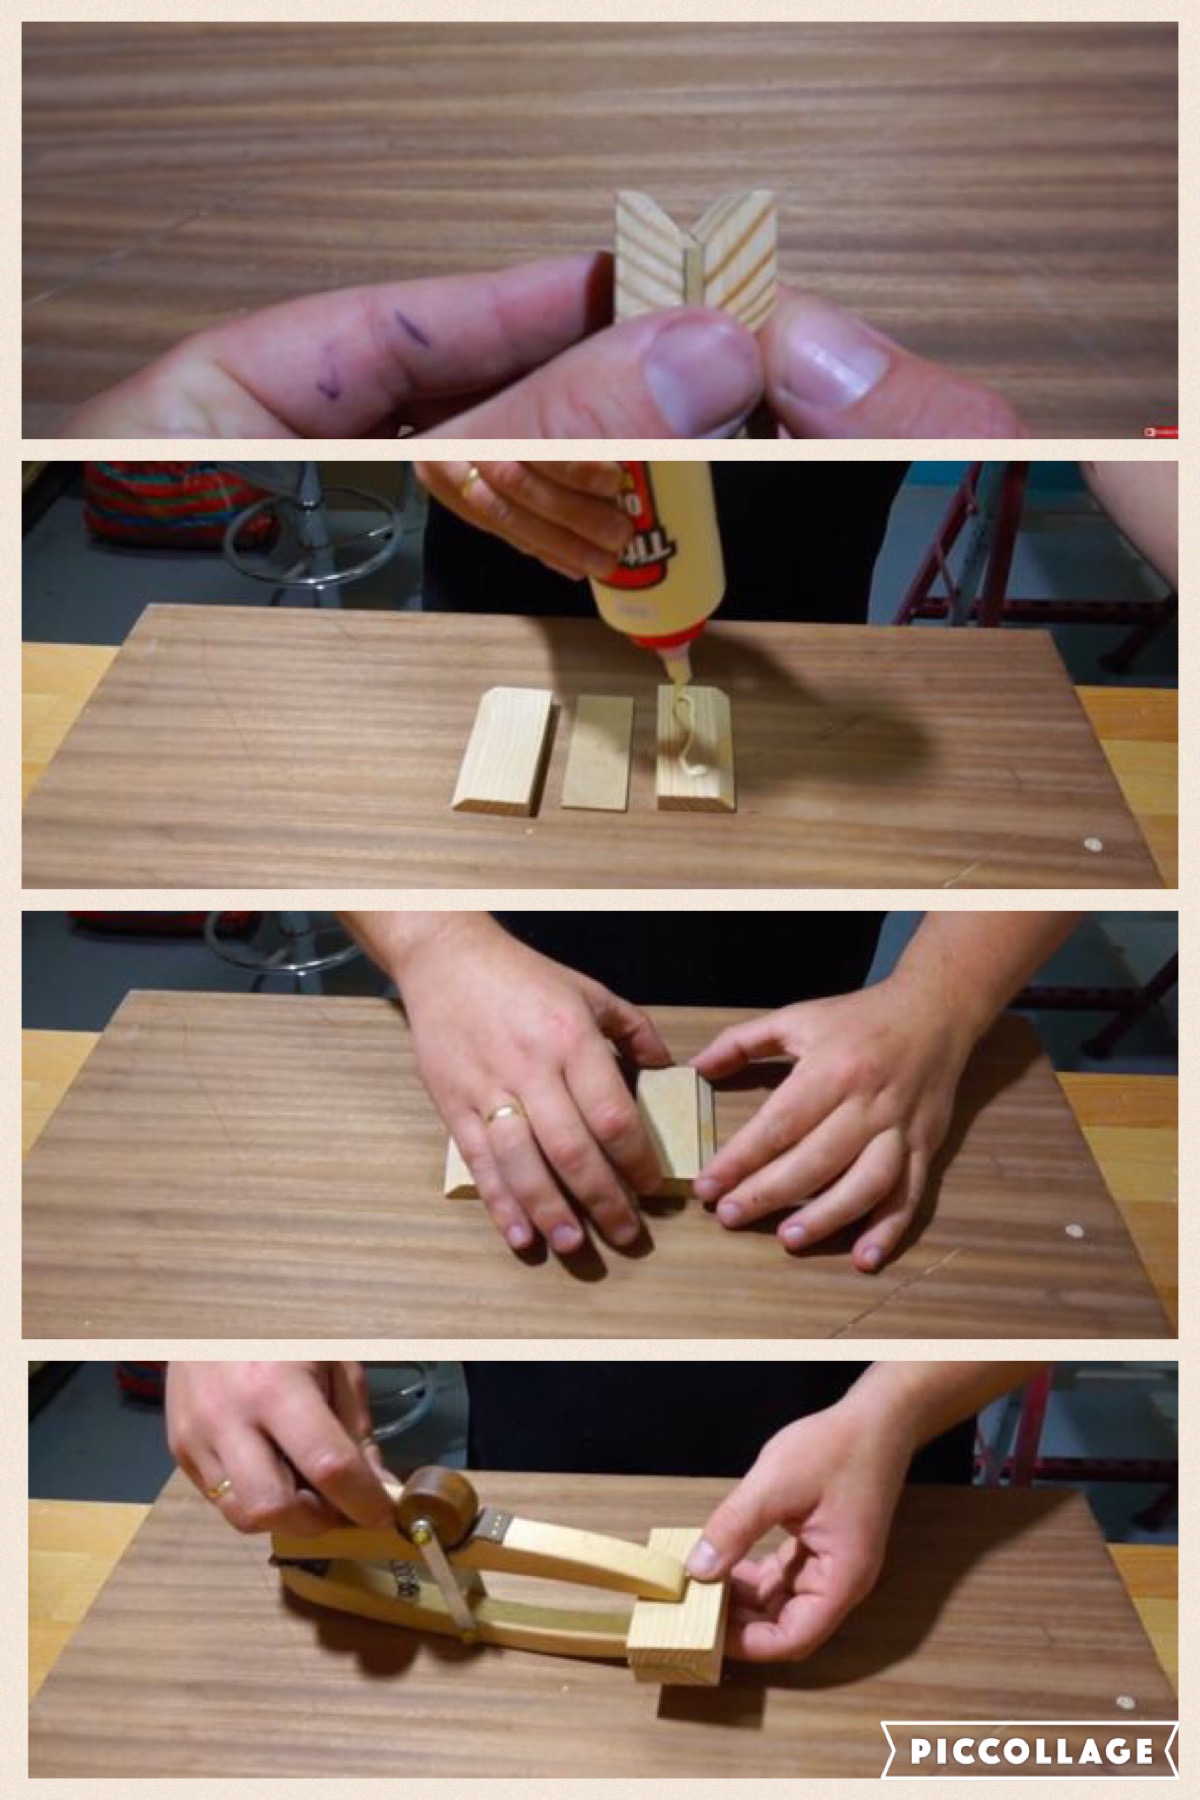
We have to glue the 2 sapeli boards cut previously and we let them dry.
Once dried we use a plane to help flatten the piece finishing it with a sanding paper grit 250
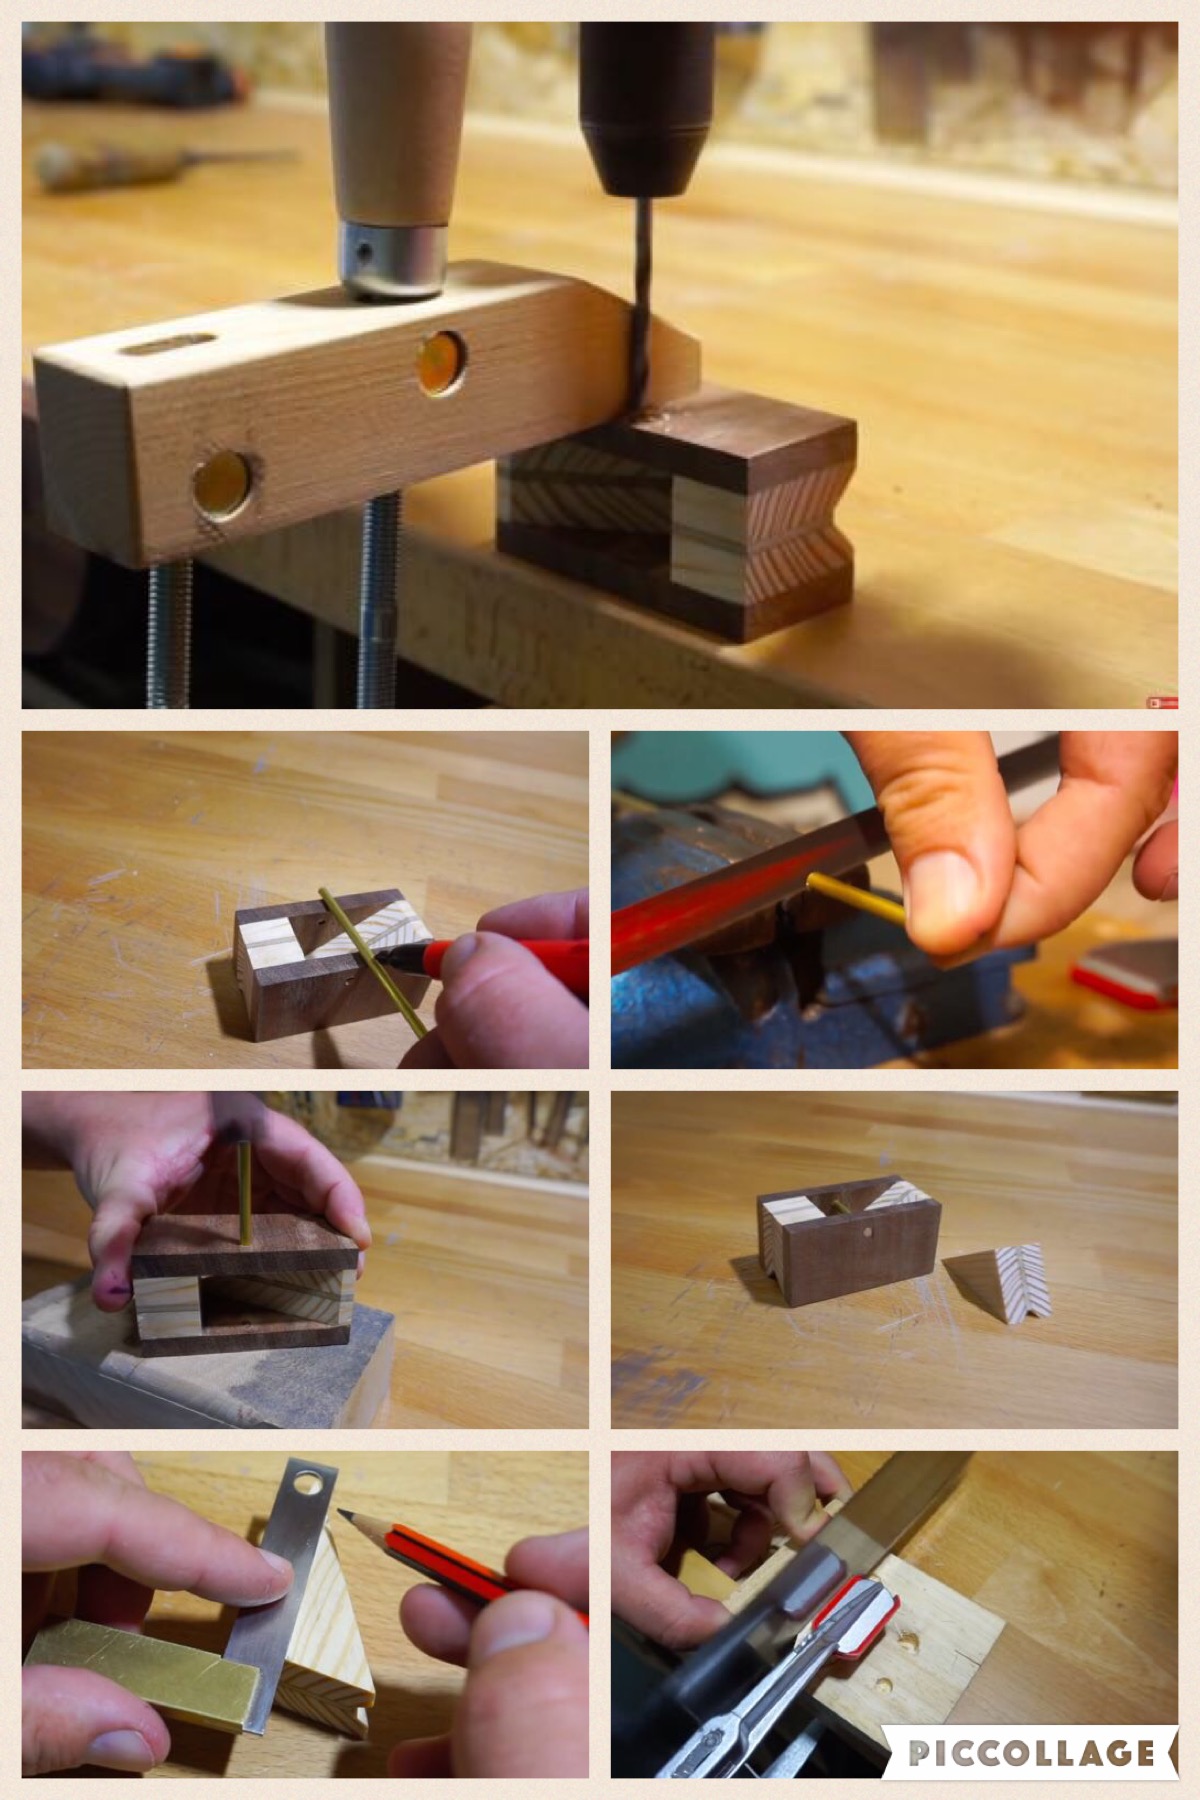
Using a hand drill and a bit drill of 4mm, drill 2 holes of 40mm from the extreme and 7,40mm of the upper part. Then cut a laton tube with the width of the plane and we will introduce it through the holes.
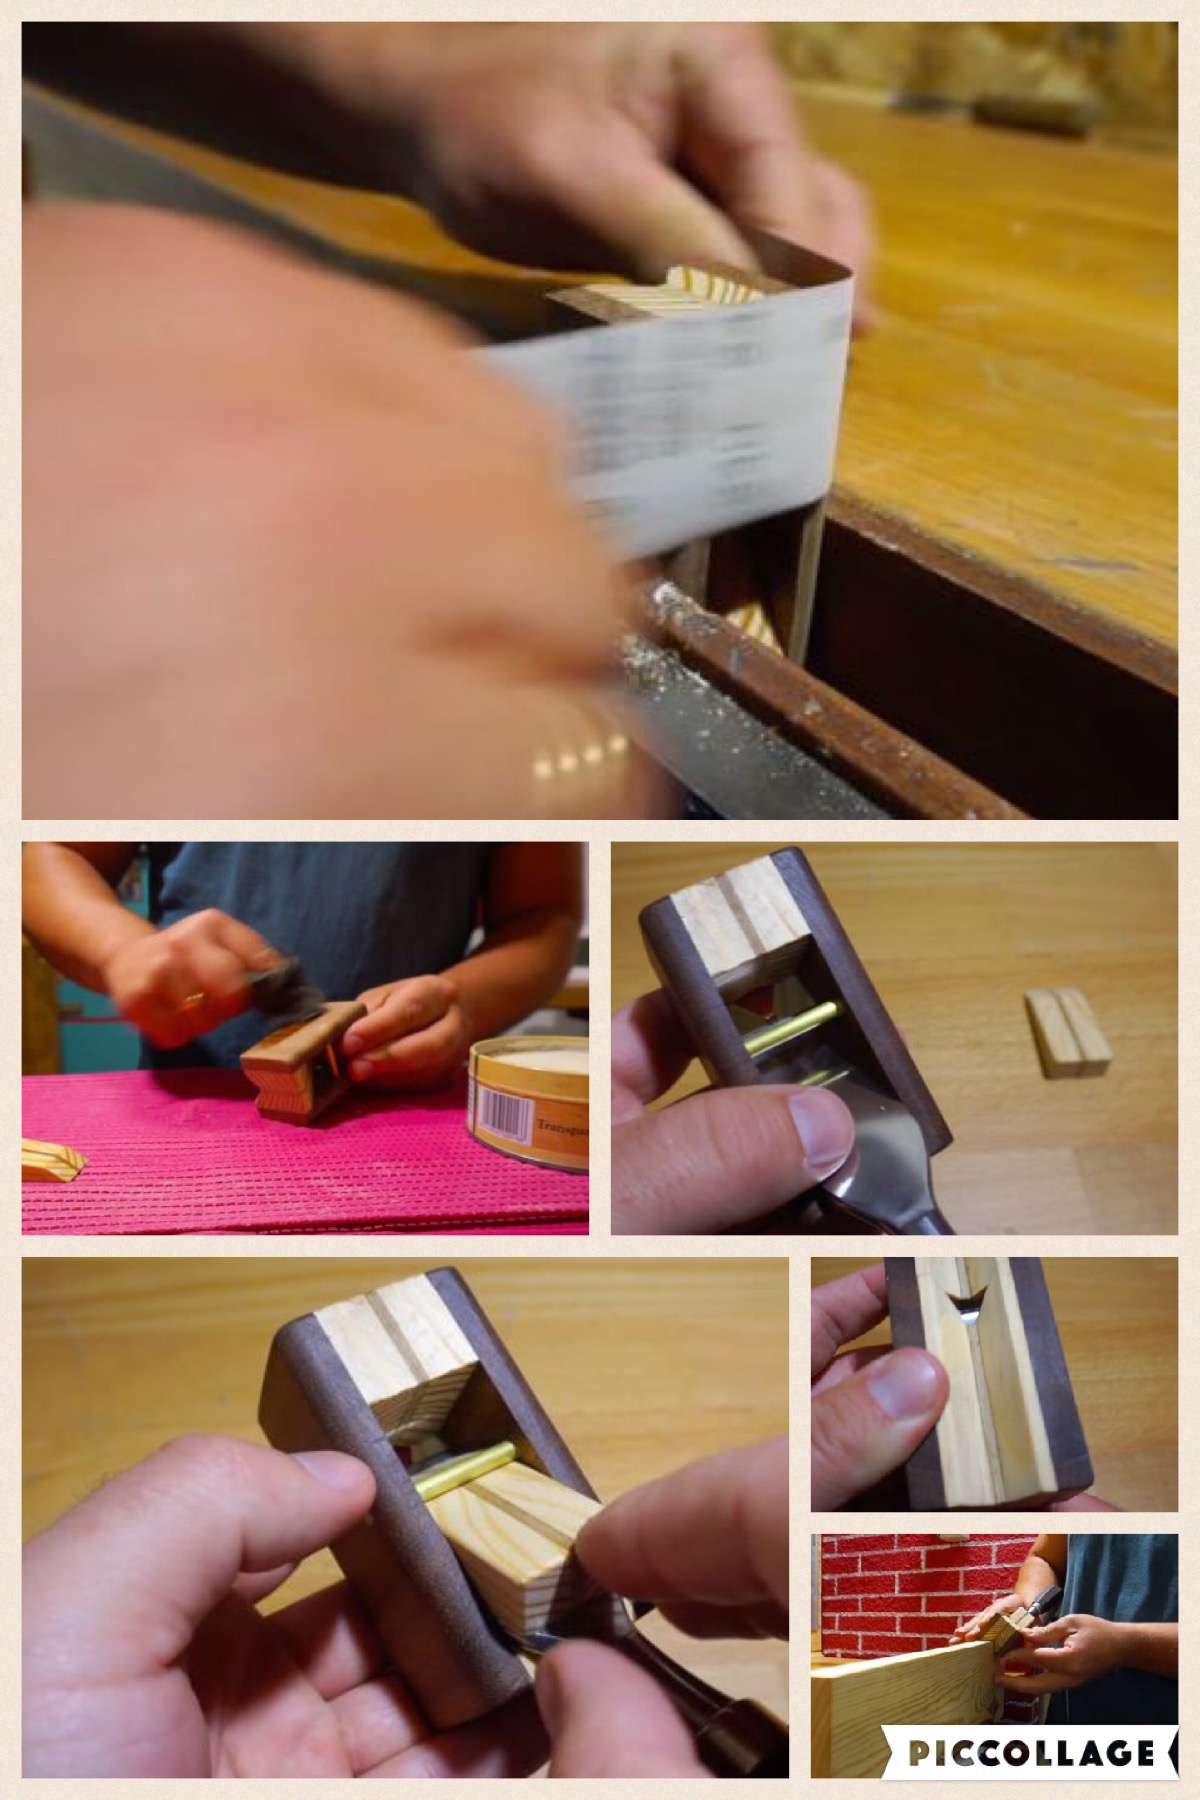
Mark and cut the piece that we save previously and we will use it as fixation for our chisel.
For a smoother touch use sanding papel and wood wax


 Reply With Quote

Bookmarks