 LinkBack URL
 About LinkBacks
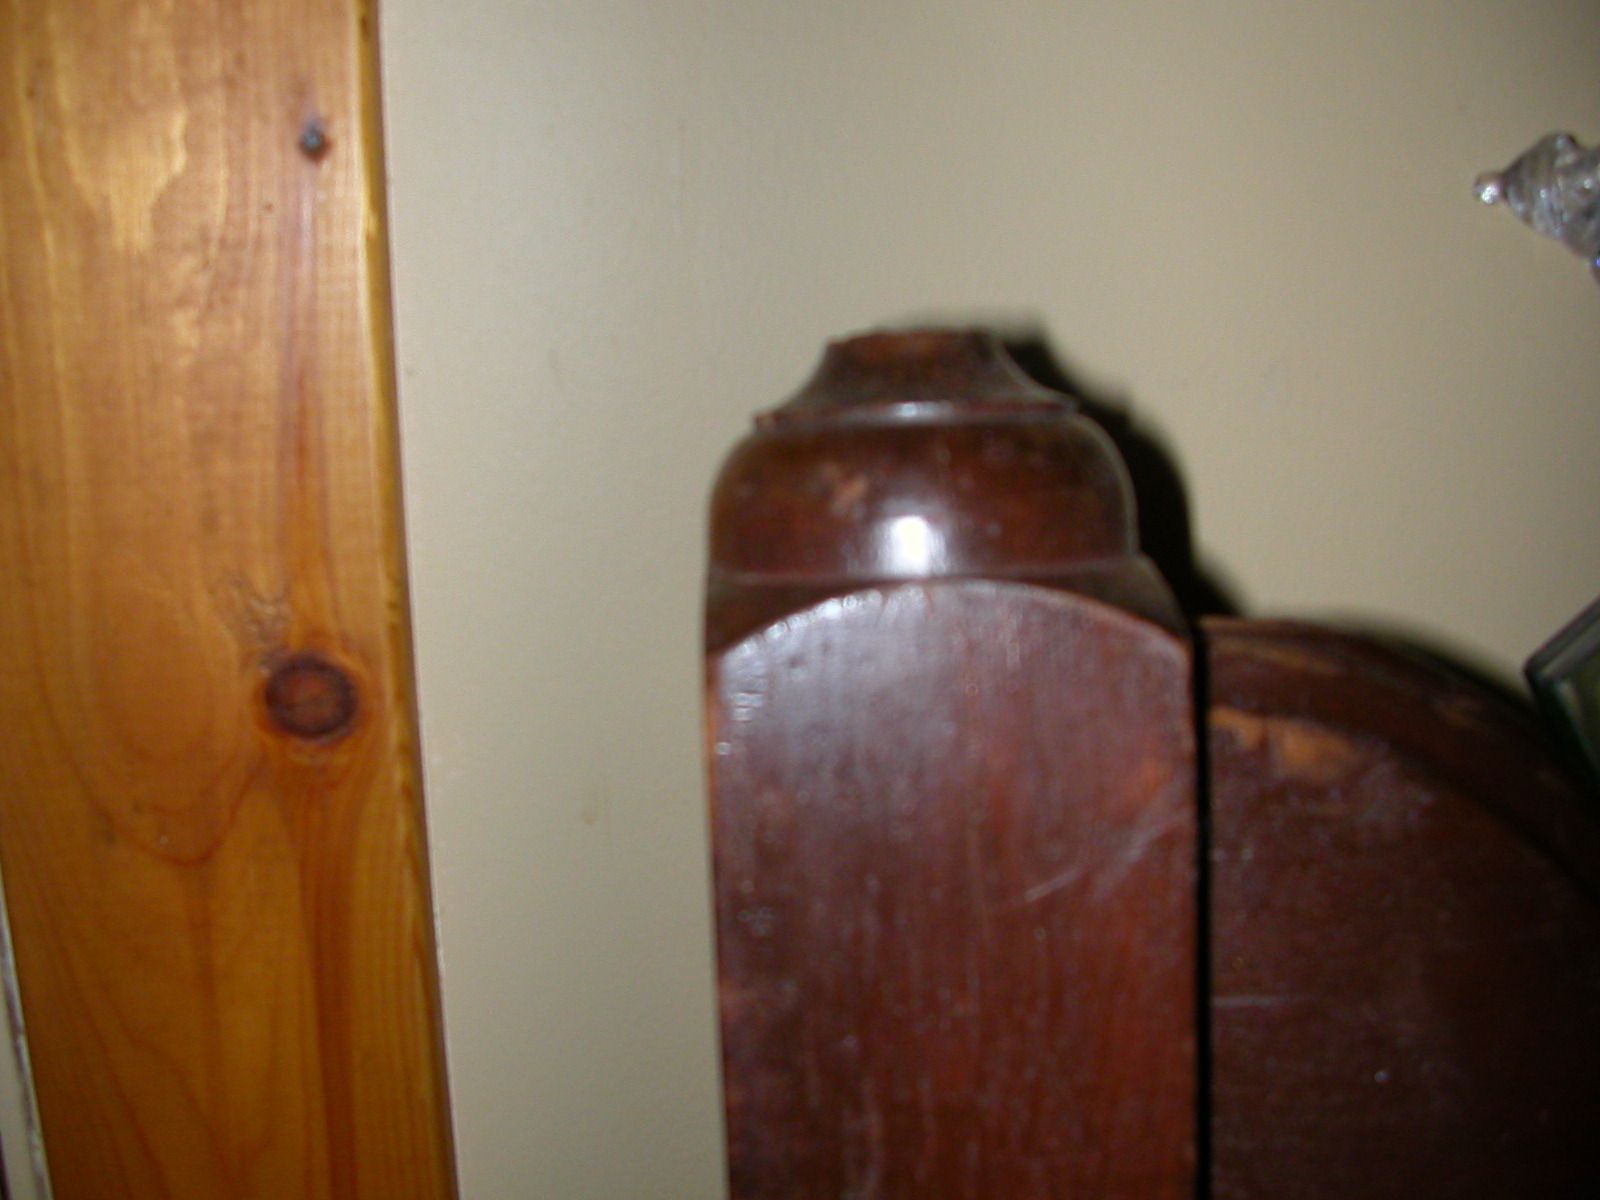
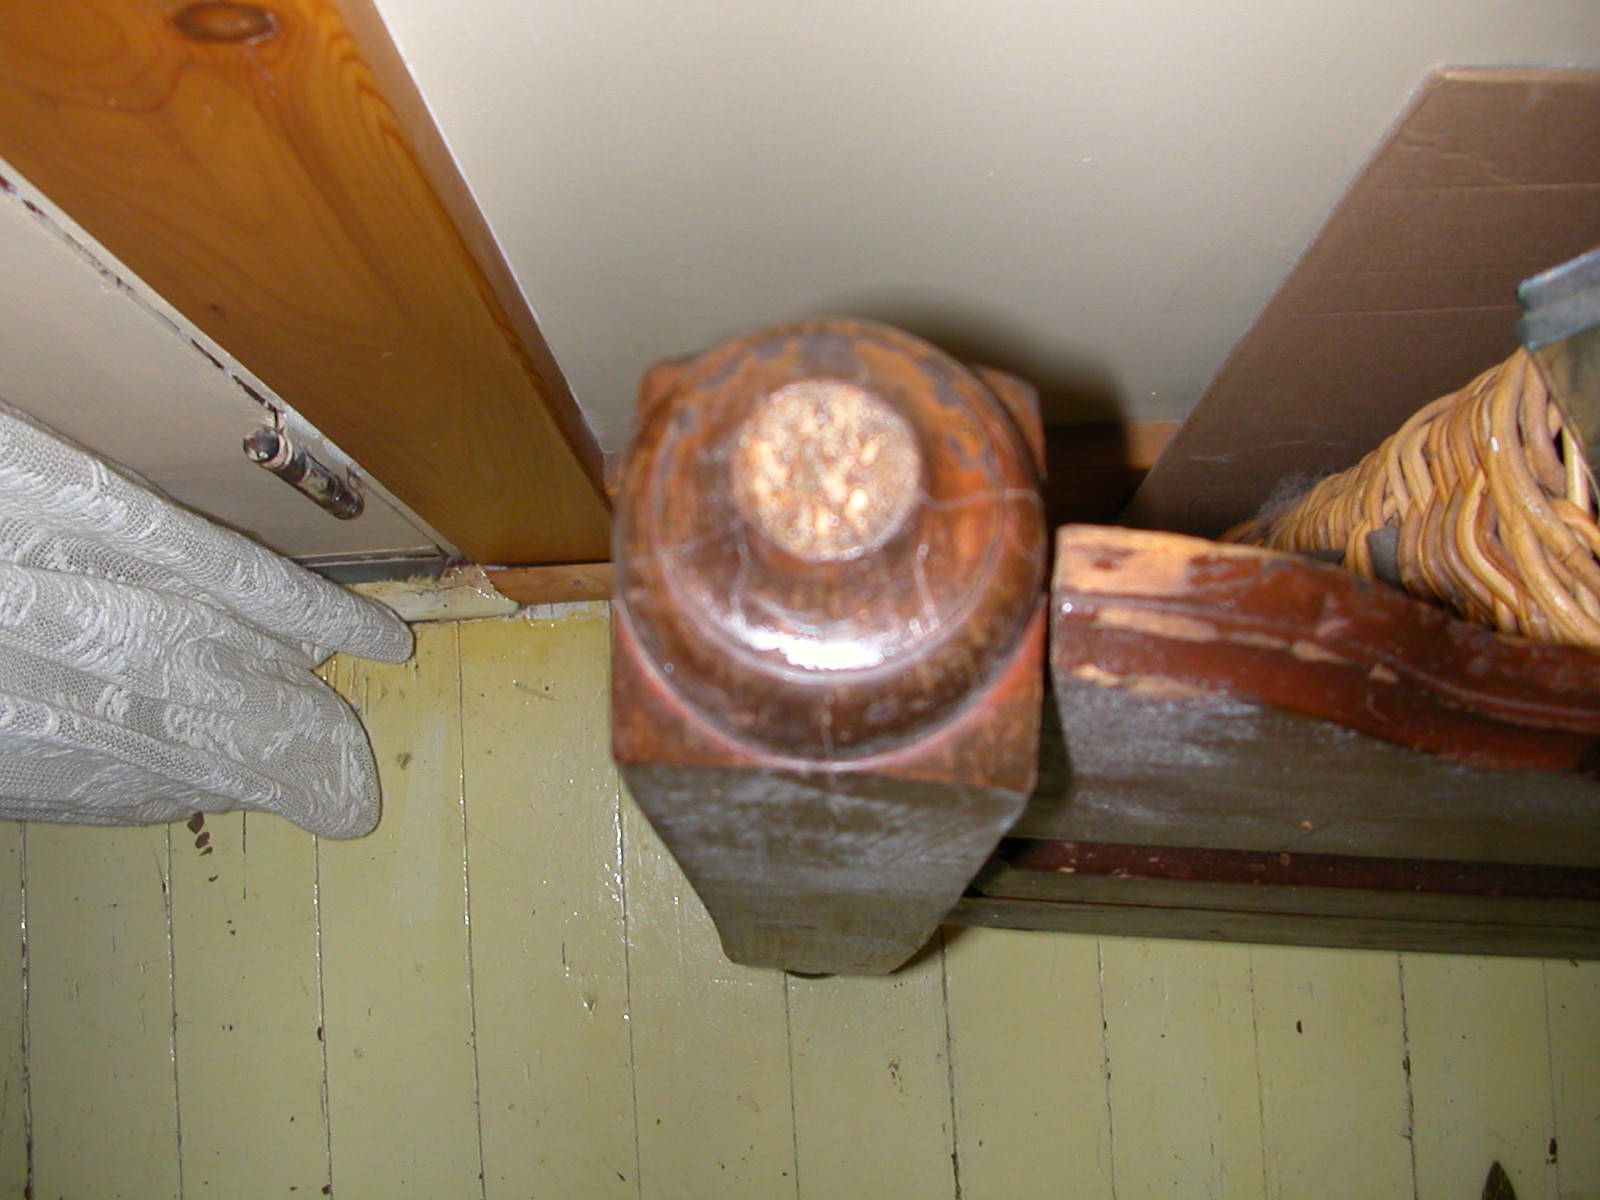
I have a broken bed post. I want to drill a hole for a dowel on each piece so I can glue it back together. I would like to hear any ideas as to how to go about this.


I have a broken bed post. I want to drill a hole for a dowel on each piece so I can glue it back together. I would like to hear any ideas as to how to go about this.


I'll assume you don't have access to a lathe.
Make or buy a center marker...
Veritas® Center Marker - Lee Valley Tools
Since both pieces have a rounded, cylindrical end, a redneck approach might work...
Obtain a funnel such that the workpiece sits about half-way down in the mouth. Find or make a pointed rod that's s good fit in the funnel spout.
With the funnel held level on the workpiece, insert the rod and tap it to make a center mark on the work.
Not terribly accurate but, hey, I did say "redneck".

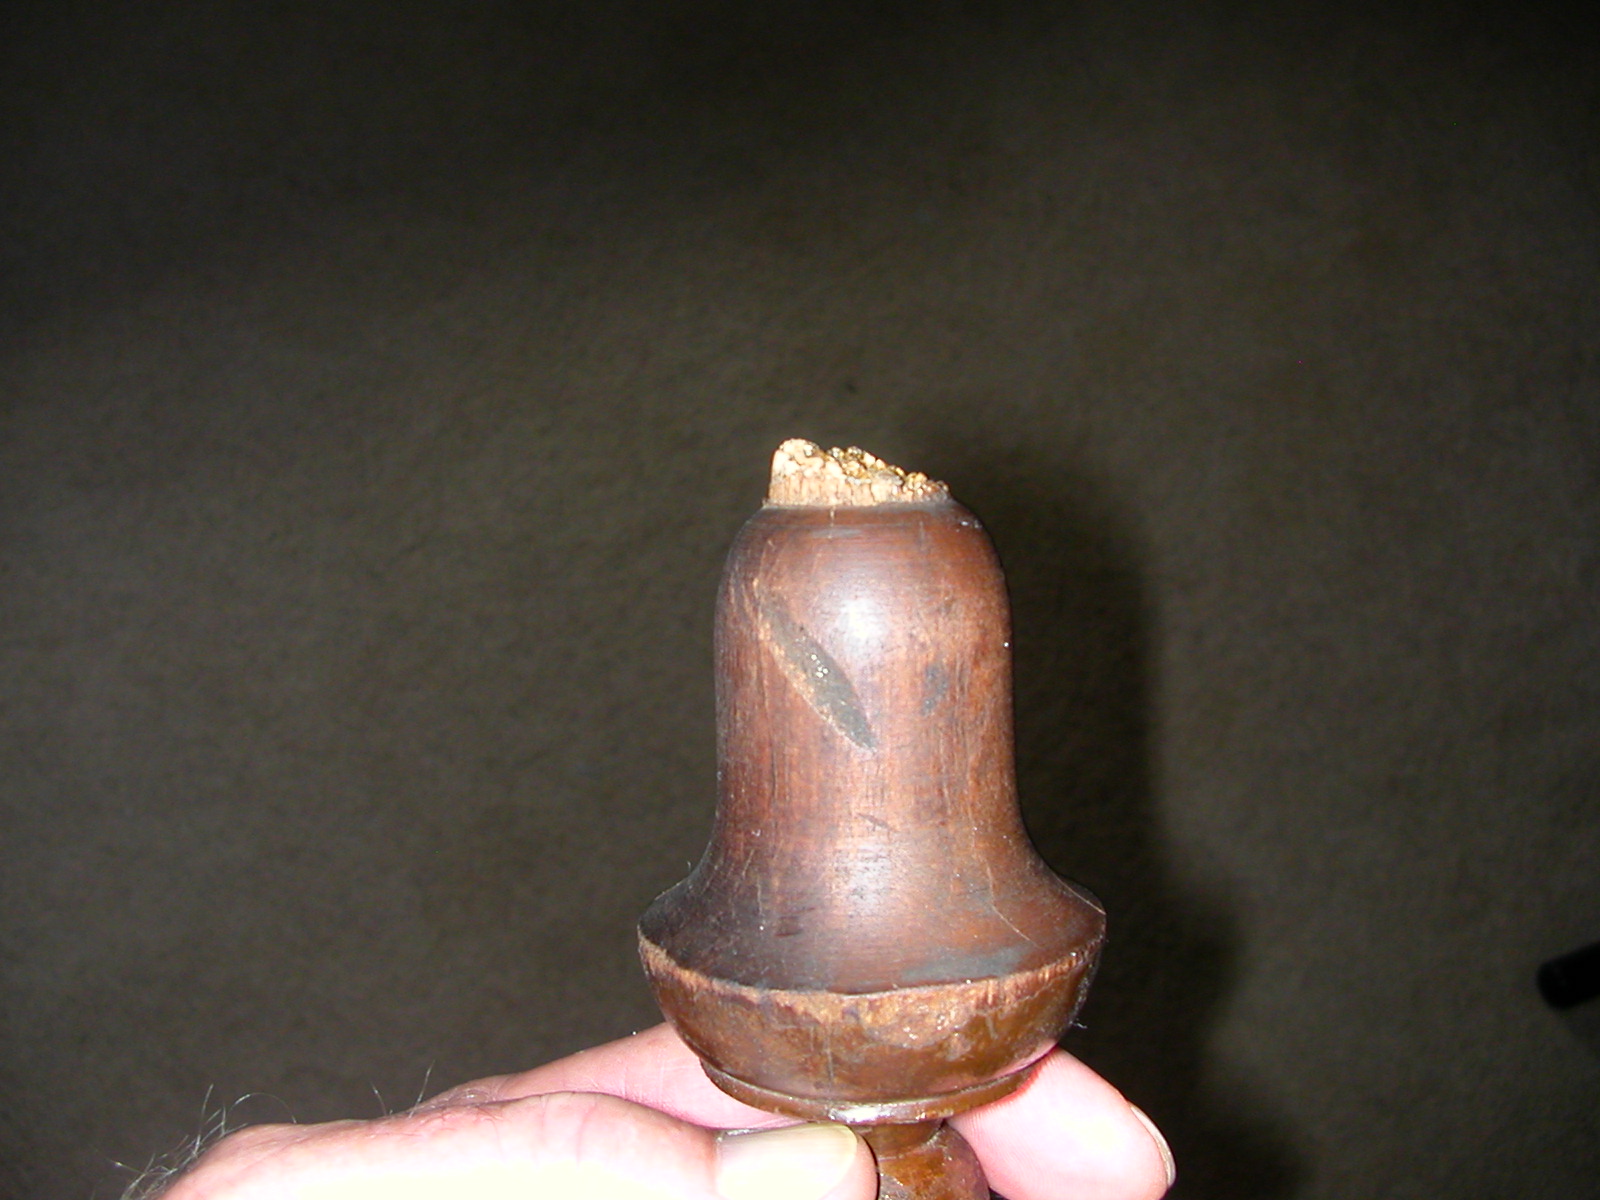
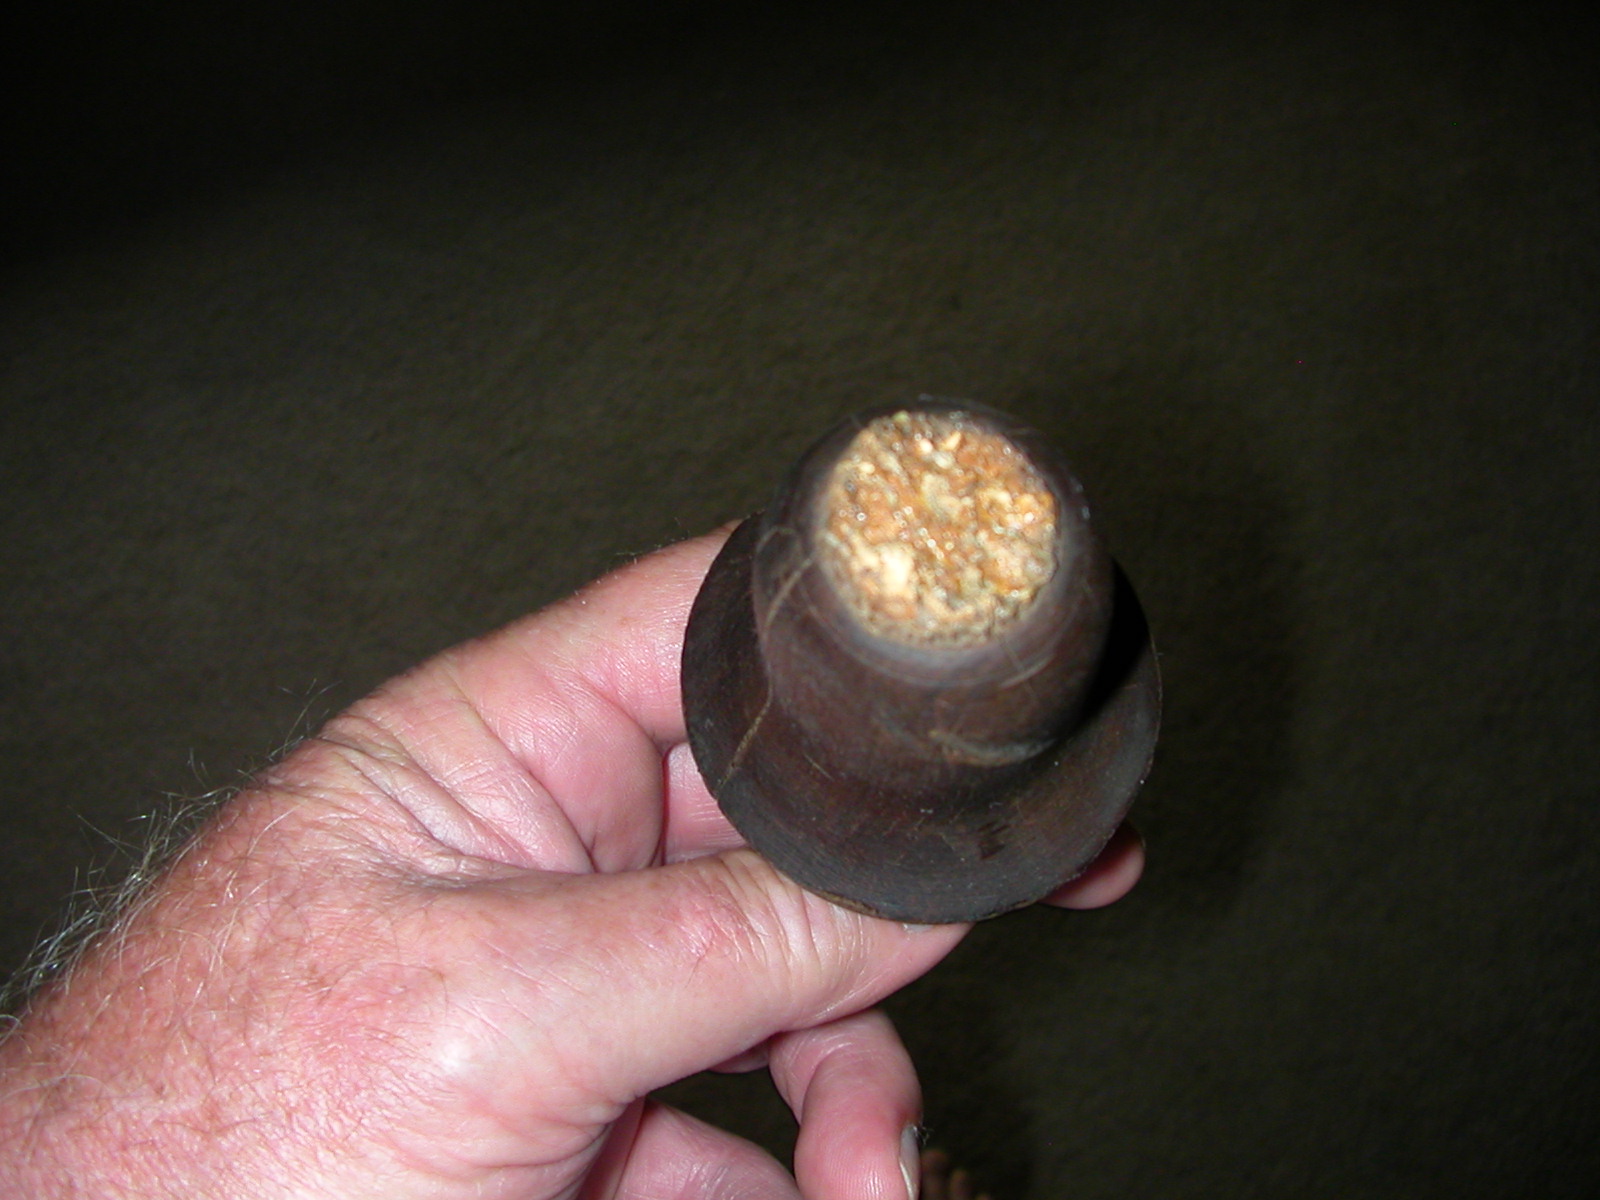
The redneck idea might work. I do have an old South Bend Lathe but the foot board is assembled and I don't want to take it apart. The broken off piece has no straight diameter to chuck on either. I have a center finder for my Starrett square, but there is only the eyeball to locate it on either piece, though I had thought about trying that.
I may make a wallowed out hole for the dowel anyway so I can put some 5 minute epoxy in to make the fix? That way, it wouldn't HAVE to be exactly centered on both pieces like for a tight fitting dowel.
Originally Posted by mklotz

Despite the fact that it's my suggestion, I really hate the funnel idea; it's just too inaccurate.
How about this approach...
Make a "corner" jig similar to the Lee Valley one in my URL. Make it from plywood. Now, measure the radius of the finial and, at that distance along the base diagonal of the jig, drill a hole. Clamp the finial into this impromptu jig and, using the guide hole in the base, drill the hole for the dowel.
Now, repeat the above but this time, instead of the radius of the finial, use half the diagonal of the bed post. Clamp this jig to the square part of the bed post and use the hole as a guide to drill the dowel hole into the bed post.
Done carefully, the two holes should line up well enough that any errors won't be obvious to the casual observer.


If I've good understood, this is just a decorative part, then why not just replace it with normal wood glue, positionning exactly as broken and with a wooden mallet and something to protect push it in place.
I've repaired a lot of antique furniture or treen broken parts just with hot animal glue and maintaining in place until hard without problems after.

I would go for centering both holes with your own Mk1 eyeball and making a well fitted hole in the top part. As both of these holes are probably going to be drilled by a hand held drill they are unlikely
to end up perpendicular, so being slightly off centre shouldn't matter too much. Then I would glue an extended length of threaded rod or cut off bolt into the top part, and wait until it dries. Then make an oversized/wallowed out hole in the base part and offer up the dowel and check that it aligns. If not wallow out some more until it does. Then glue together using a gap filling wood glue, but I guess that epoxy would also be O.K. Mask it up well before gluing, particularly if you use epoxy, and you won't have to restore the antique finish. I'd use the metal dowel because you don't ever want it to break off again. The next repair would be even harder.
There is an old Naval saying when it comes to wood working, "Engineers work to the nearest thousandth of an inch, Shipwrights work to the nearest ship".
Last edited by Moby Duck; Aug 10, 2016 at 06:39 PM.
Paul Jones (Sep 27, 2016)

Go to youtube, call up how to find the exact center. Good video.

If you have access to a drill press, clamp a board on the table and drill a hole large enough to accommodate a snug fit on the broken-off bed post top. Remove the large drill and replace it with a smaller size;perhaps 13/32 diameter. Now, push the bed post into the board hole,from the bottom, broken side towards the new drill bit--if necessary, use tape to 'shim' the broken bed post firmly in place. Now, you can drill the 3/8 hole centered in the post and parallel to its sides. At this point you can insert a 3/8" metal rod and secure it with epoxy--let it cure. It is here you can hand drill a 7/16" hole in the in the bed post partially fill that hole with epoxy and drop in the finished top portion aligning the jagged edges for final fit and run some tape over the top until it's cured. Note:verify the 3/8 metal rod is appropriate;if not, drill sizes to suit your new choice. Also, before doing any drilling, confirm the two pieces mate appropriately as suggested in final step "aligning jagged edges". Oh yes, the drill press table might have to be swung out of the way with the board hanging out over the edge to allow the large diameter hole to be drilled through the board.

You don't show the top of the finial. If you can tolerate a small hole through the top, to be patched and finished off after the repair, consider positioning the finial on top of the bed post just as you want its final position to be. Clamp it in place by whatever jury rig you can come up with, then drill down through both pieces with a very small, extra long twist drill. They are available from well stocked hardware or tool suppliers. 1/16" or so would probably be adequate and relatively easily patched and concealed afterward. Then separate the two pieces and you have a pilot hole that is in proper alignment to maintain the two pieces in proper relative position no matter where the pilot hole is relative to the center of the fracture. Now carefully, gradually enlarge the pilot holes in each piece with successively larger twist drills, working from the fracture surface. By using only very small increments of drill size as you enlarge the holes the drills will follow the original path of the pilot holes with minimum tendency to wander off course. Using a lightweight power drill, rather than an unnecessarily large, high powered and heavy drill motor will also give you more feel for where the drill wants to go and will minimize the tendency to wander.
For the glue, I would use epoxy, not common wood glues. The homebuilt aircraft hobbyists put together wood-structured aircraft with epoxy and they are willing to fly in them. I don't think most "wood glue" approaches the strength of epoxy. (Of course, I understand that you will not be flying your bed, but it DID break!) And I would argue against using "5-Minute" epoxy. You are not going to be in a hurry, so no sense putting yourself in a tight race to get it all assembled and then trying to work with thickening epoxy. Slow cure epoxy will soak into the wood better and give you plenty of time to get things positioned. Wipe any excess epoxy off the surface with a rag and a little solvent that you have tested beforehand in an inconspicuous location so you know it won't affect the existing finish. Naptha might be a good choice but be sure it will cut the epoxy. If the fracture areas mate up well you can end up with a very inconspicuous repair.


I might make a box with no bottom and a thick top (2 pieces of 3/4?) that fit the diameter of the broken parts and a hole on center to keep me centered and straight.
Paul Jones (Sep 27, 2016)
There are currently 1 users browsing this thread. (0 members and 1 guests)
 Posting Permissions

 Reply With Quote
Bookmarks