
 LinkBack URL
 About LinkBacks


No pause for the wicked:
Needing an accurate and repeatable Machinist's level for some time, but being a Swedish cheapskate,
I didn't particularly want to part from the 100-150ish bucks necessary to get one.
-Lo and behold: there IS actually one to be found for 35-ish USD at a Chinese web vendor site!
-Now, is this to good to be true, you may rightly ask?
-Well, this might seem simple and straightforward - but wait 'til I've explained!
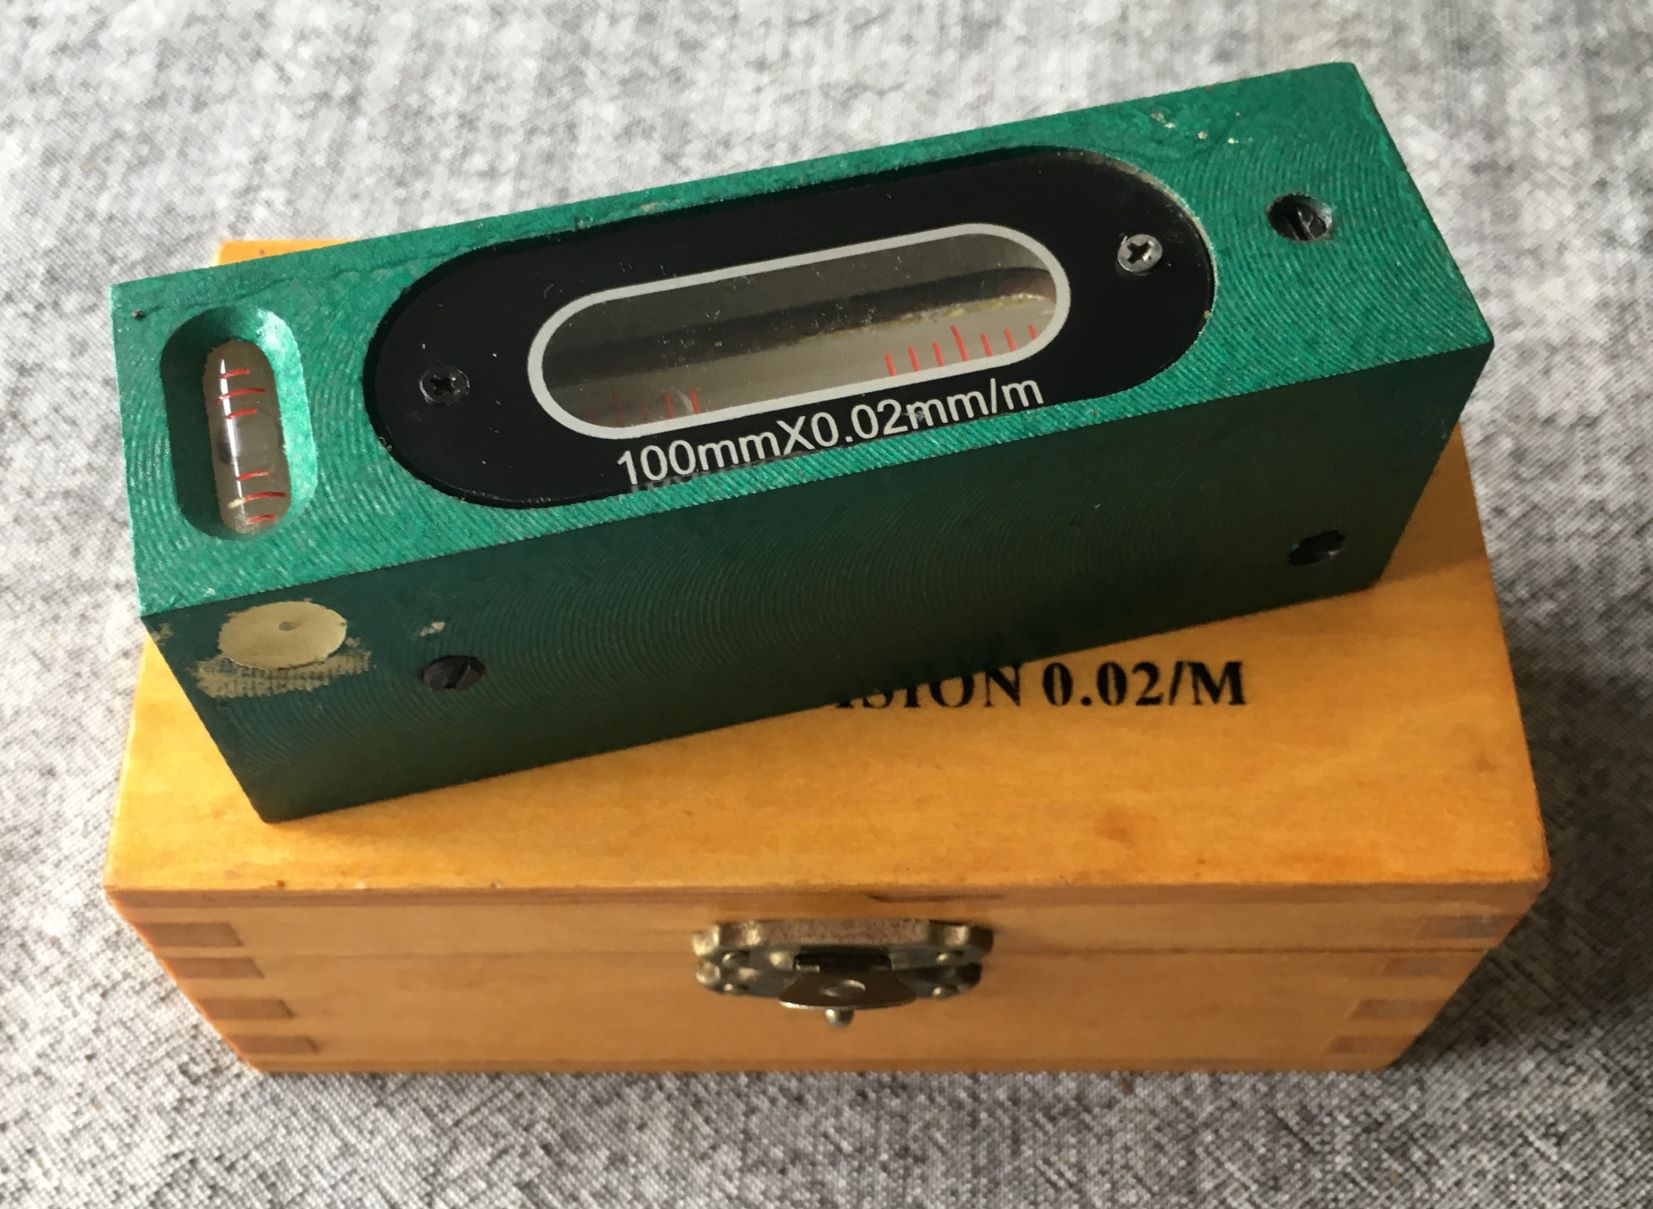
First: It IS within stated specs in the pic above, confirmed relatively via a 1 m long DIY sine bar & feeler gauges:
2 hundreds of a mm (per div) in 1 meter is darned good at that price, equals 1 in 50 000 (any measurement system).
You really have to wait for the bubble to set, and even my weight shifting on the
(wood on concrete) floor below the bench influences it...
Machining of the 4 x 1 x 1" tool steel house, the paint choice & job + the fixation of the tiny, coarse vial on top is a bit sloppy,
but its foot with the V-groove is excellently ground - checked by its consistent bluing from my surface plate.
There were also some ill-fitting black rubber "butt-plugs" at the tool ends.
Todays assignment was to try out the DIY 3-point absolute leveling system I've kludged together for my surface plate,
taping up an angle to rest the level against: Check, twist the level, check and turn knobs. Rinse and repeat - Simple, right?
Started out to measure, soon to find that the calibration screws weren't even close enuff for comfort.
There's 5 of them, two horizontal pivot set screws at the tiny vial's end, and three at the other, 120 degrees apart,
for vertical (and side - if ever needed...) alignment. The latter ones didn't have the travel enuff to zero it out. Dang.
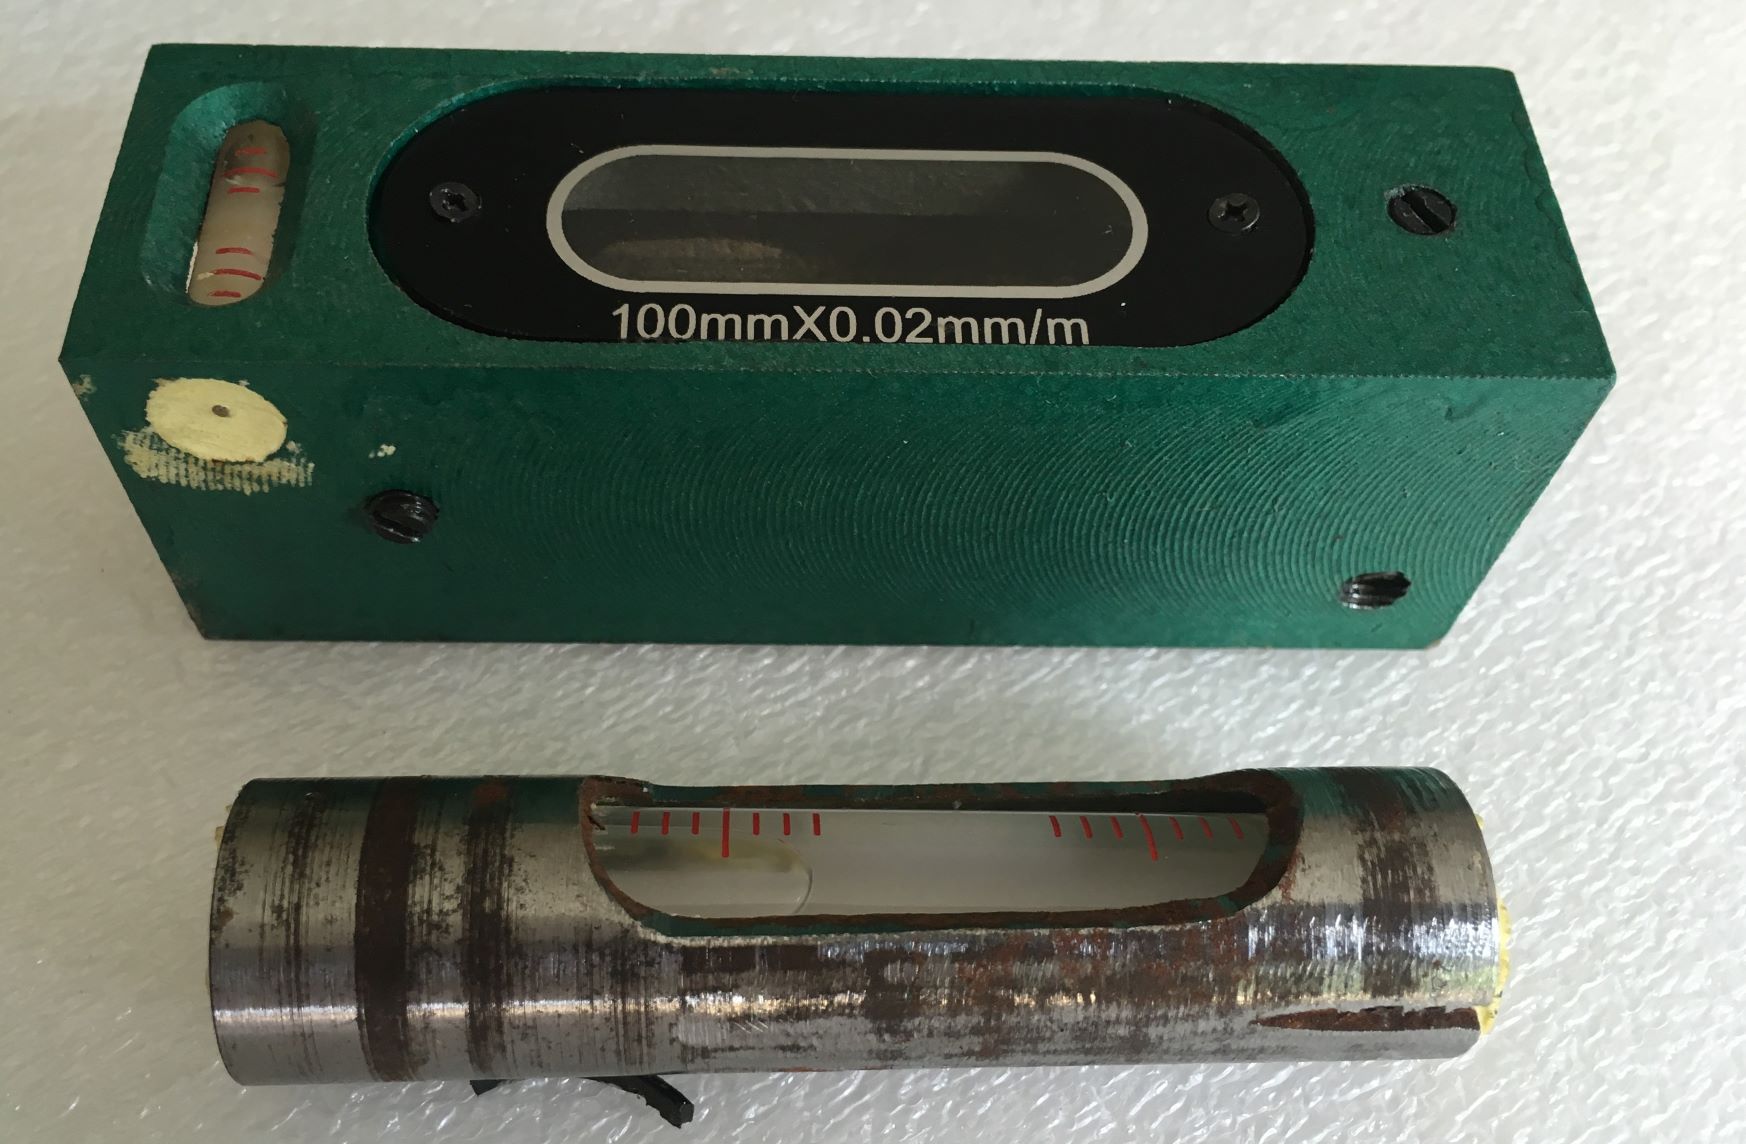
So - opening up and checking for a remedy I found all this inside:
(Yeah - I've turned the vial tube over ends...)
The vial's fitted (by something yellowish, looking like molten sulphur...) inside a 3/4" steel tube (non-stainless...)
within the house's 20,5 mm bore (also rusty where the paint haven't run), so given the two horizontal pivot points,
the 3" long vial tube should have a plentiful movement of +/- 0,7 mm at the other end, right?
NOTE: I'm NOT sniveling over the lousy turning, poor grinding or the rough hacksawing of the tube, right?
This tool, though produced with the immense possibilities of achieveing an excellent value for money, misses out a bit:
This end view of the vial tube would've been totally uncalled for, hadn't it been for the 2 grooves' horizontal positions.
I took the liberty of Sharpie-extending the grooves' angles inwards, to show their "peripheral offset from intention"...
Given the hacksawed grooves' offset downwards from center, the tube's top rests darned close to the bore,
thus eliminating the small nudge needed to zero it out, as the tube's other end jams to the bore's ceiling.
What to do?
1) Turn the entire tube clean a few thou, drill 2 tiny holes for the pivot screws at the right spots. Rustproof. Remount. or:
2) Fit entire house in 4-jaw, bore out hole with a compound taper to accomodate more travel. Rustproof inside.
Both methods having slight disadvantages: Mounting the vial tube in a collet and turning it feels kinda anxious,
but OTOH hard-turning the housing feels a bit overkill.
"Work order" as of now:
1) Turn/ clean up the vial tube, radially drill two holes for set screws at the right places lengthwise and centered. Rustproof.
2) Wrap emery round a tight-fitting wooden/ plastic dowel, run round and down the house's hole. Rustproof.
3) Remount the shooting works and cralibate it. Enamel the screws.
4) Rejoice in all the achieved cheap results, and use for intended purposes.
To be continued...


 Reply With Quote

Bookmarks