Attachment 40765Attachment 40766
Added Youtube and photo
https://www.youtube.com/watch?v=sChQ...?feature=share
https://www.youtube.com/watch?v=ZOM7VFSsz0c?feature=share
https://www.youtube.com/watch?v=SkIZr_O5V-w?feature=share
Attachment 46744
Printable View
<!-- BEGIN /var/www/html/homemadetools/protected/modules/zeus/views/tool/postUpdate.php -->
Thanks albertq! We've added your Ball Turner to our Machining category,
as well as to your builder page: albertq's Homemade Tools. Your receipt:
<div id="blocks"> <div class="block b1 pngfix"> <div class="bimg"> <div> <a href="https://www.homemadetools.net/homemade-ball-turner-36"> <img src="/uploads/261100/homemade-ball-turner-36.jpeg"/> </a> </div> </div> <div class="head pngfix"></div> <div class="left pngfix"></div> <div class="right pngfix"></div> <div class="blockover b1 pngfix"> <div class="title"> <a href="https://www.homemadetools.net/homemade-ball-turner-36">Ball Turner</a> <span> by <a href="https://www.homemadetools.net/builder/albertq">albertq</a></span> </div> <div class="tags">tags: <a href='https://www.homemadetools.net/tag/ball-turning'>ball turning</a> </div> </div> </div> </div>
<!-- END /var/www/html/homemadetools/protected/modules/zeus/views/tool/postUpdate.php -->
Nice one. Have you seen my minimum component version?
https://www.homemadetools.net/forum/...2832#post97247
Hi
Thank you for sharing.
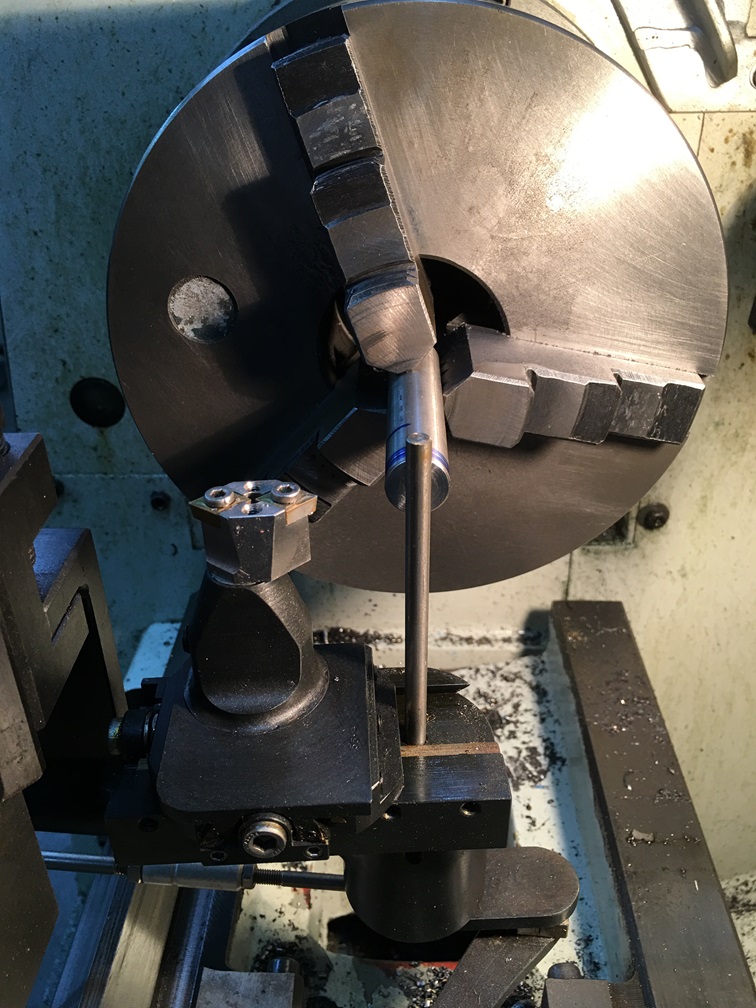
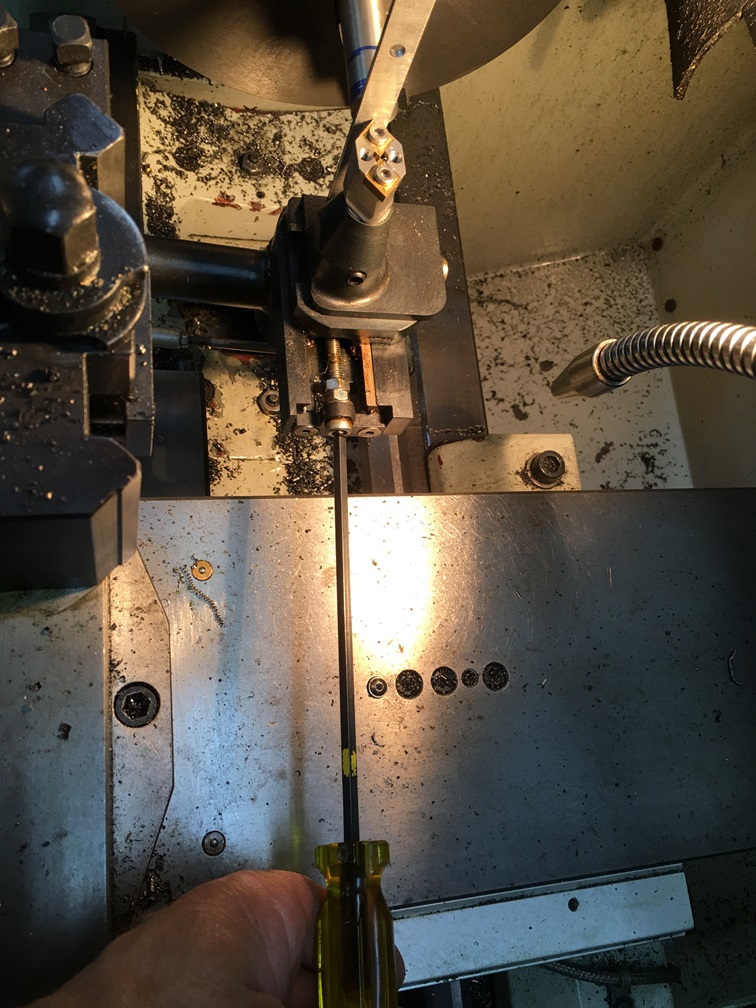
Really like the connecting rod and remote handle to operate the attachment. Great idea.
I hope you don't mind, but I think I might try to incorporate something similar to your design to the one I built. This would be a great improvement to my tool.
Below is a link to my attachment, which you might find of interest as the cutting tool can be set using slip gauges to set the radius of the tool accurately.
https://www.homemadetools.net/forum/radius-turning-attachment-76137
Many thanks again and a good job
The Home Engineer
You're welcome to use useful bits of my design. I see we have similar ideas.Quote:
Originally Posted by thehomeengineer
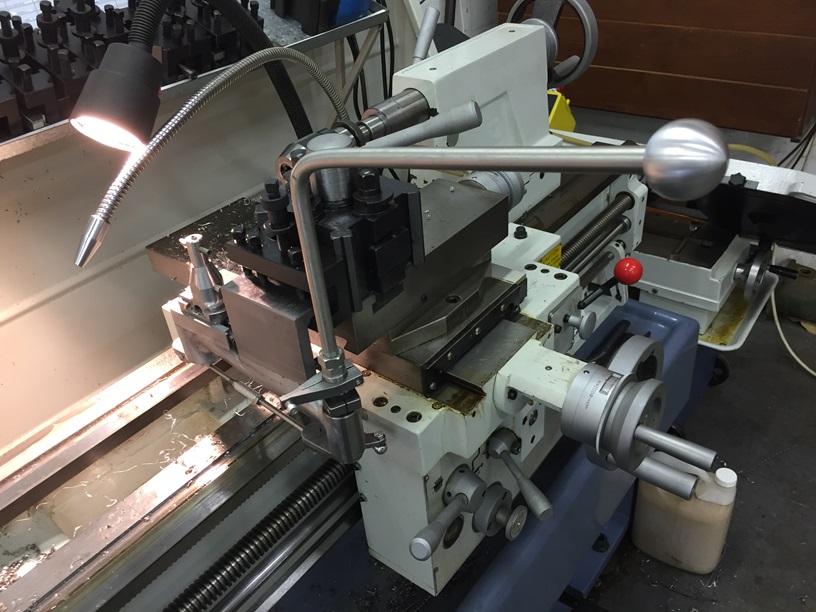
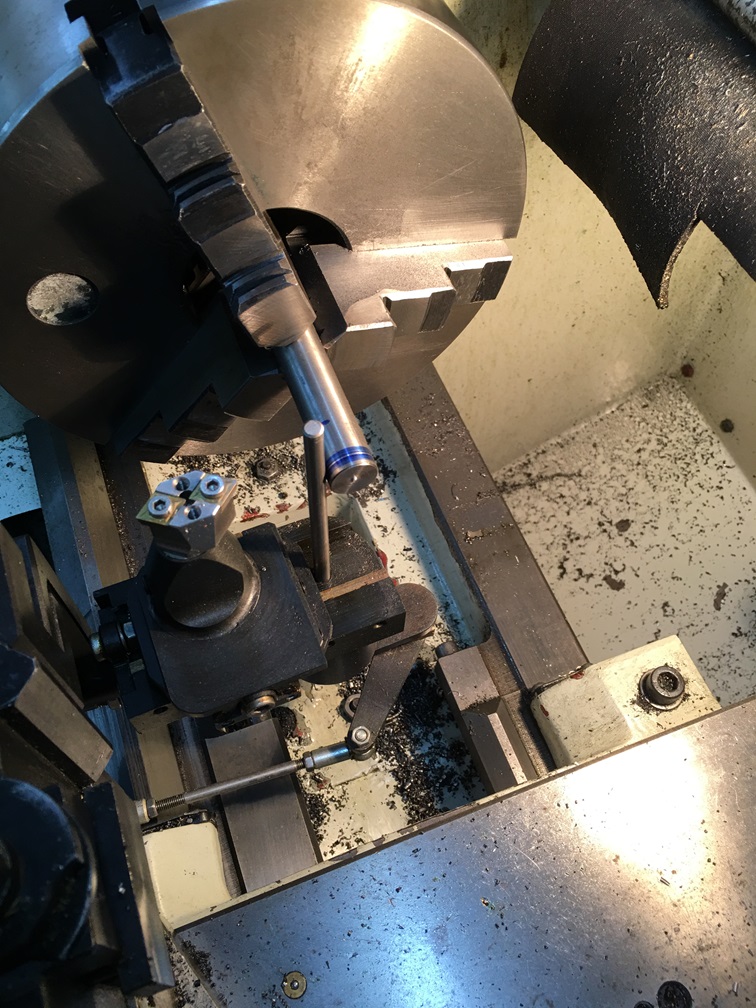
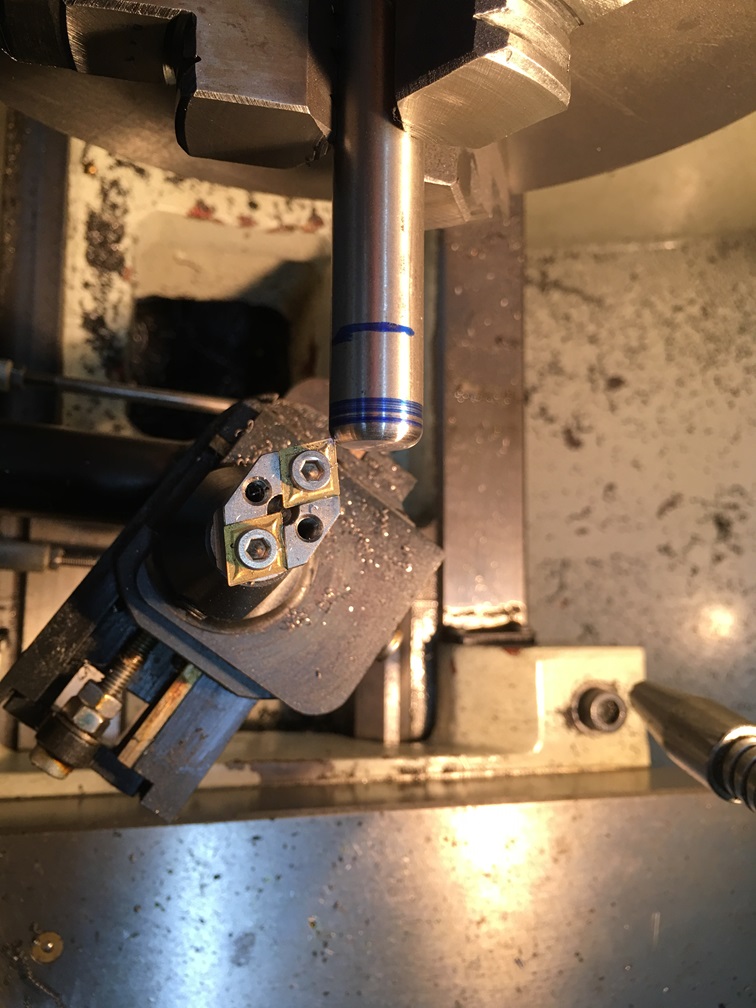
I also incorporated a removable 6mm ground pin that I insert in a reamed hole at center of rotation, to align the center of rotation with center of work piece. Then Zero y-axis on DRO.
Then I turn the adjusting radius screw until cutter just touches work piece OD, then turn in radius distance of work piece to align cutter tip over the center of rotation. Now both center of rotation and center of work piece are at zero.
Set cutter 90 degrees to work piece face and set x-axis to zero.
Now set the radius distance required, either in or out depending on concave or convex.
Then using lathe cross slide touch cutter tip to work piece OD and Zero y-axis on DRO, then turn 90 degrees to touch the face and set x-axis to zero.
You are now ready to cut the radius. I turn the cross slide outwards and doing multiple cuts feed in y-axis until zero. Job finished.
Attachment 46802 Attachment 46803 Attachment 46804 Attachment 46805